Category: Papercrafting

  • It’s a banner day!

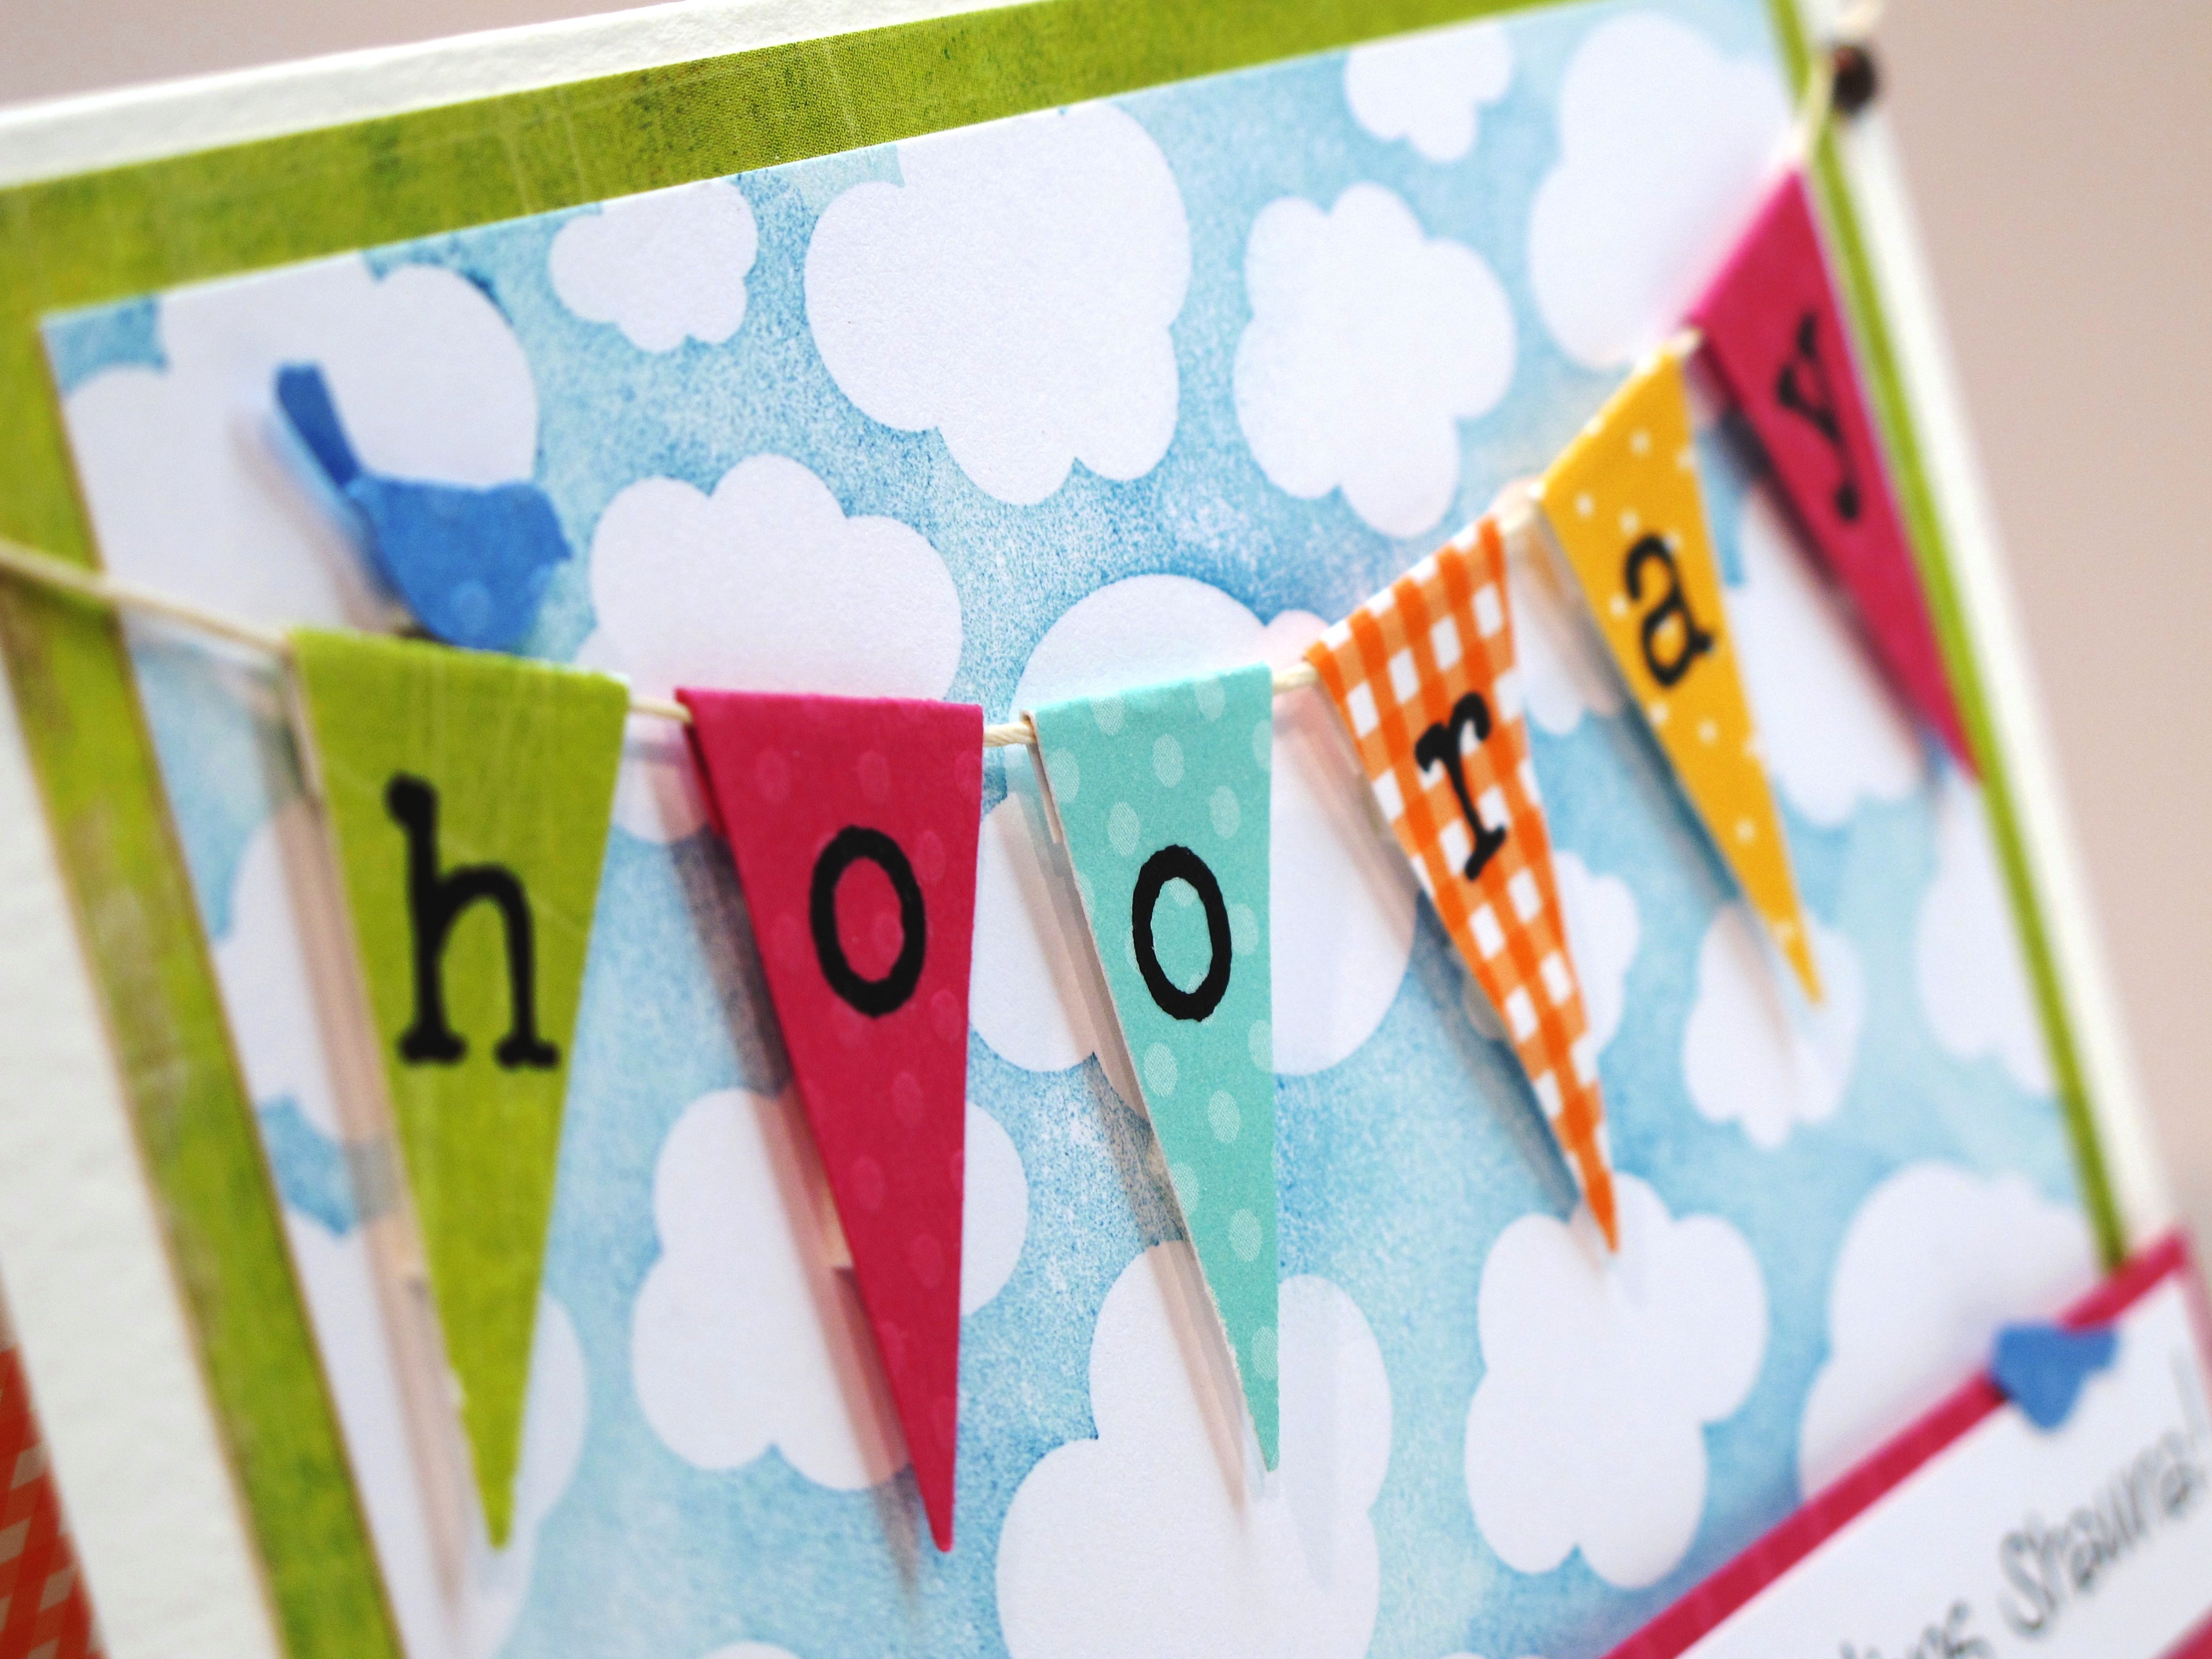
    How are you this lovely breezy day!? It is so beautiful today that I am uplifted and energized. Have you seen all the supah cute banner cards posted on the interwebs and blogs lately? I love that look because it's so cheerful and happy. Well… I've been wanting to make my own banner card for a long time…and lo and behold…it finally happened! One of my sweet friends just earned her Master's Degree and that calls for a HOORAY! Here is the card I made for her:

    Bloggie 002


    I attached the flags onto scrapper's floss and then popped them off the page with foam tape.

    Bloggie 006


    Here's the side view with a peek inside – there's a little birdie flying by!

    Bloggie 008


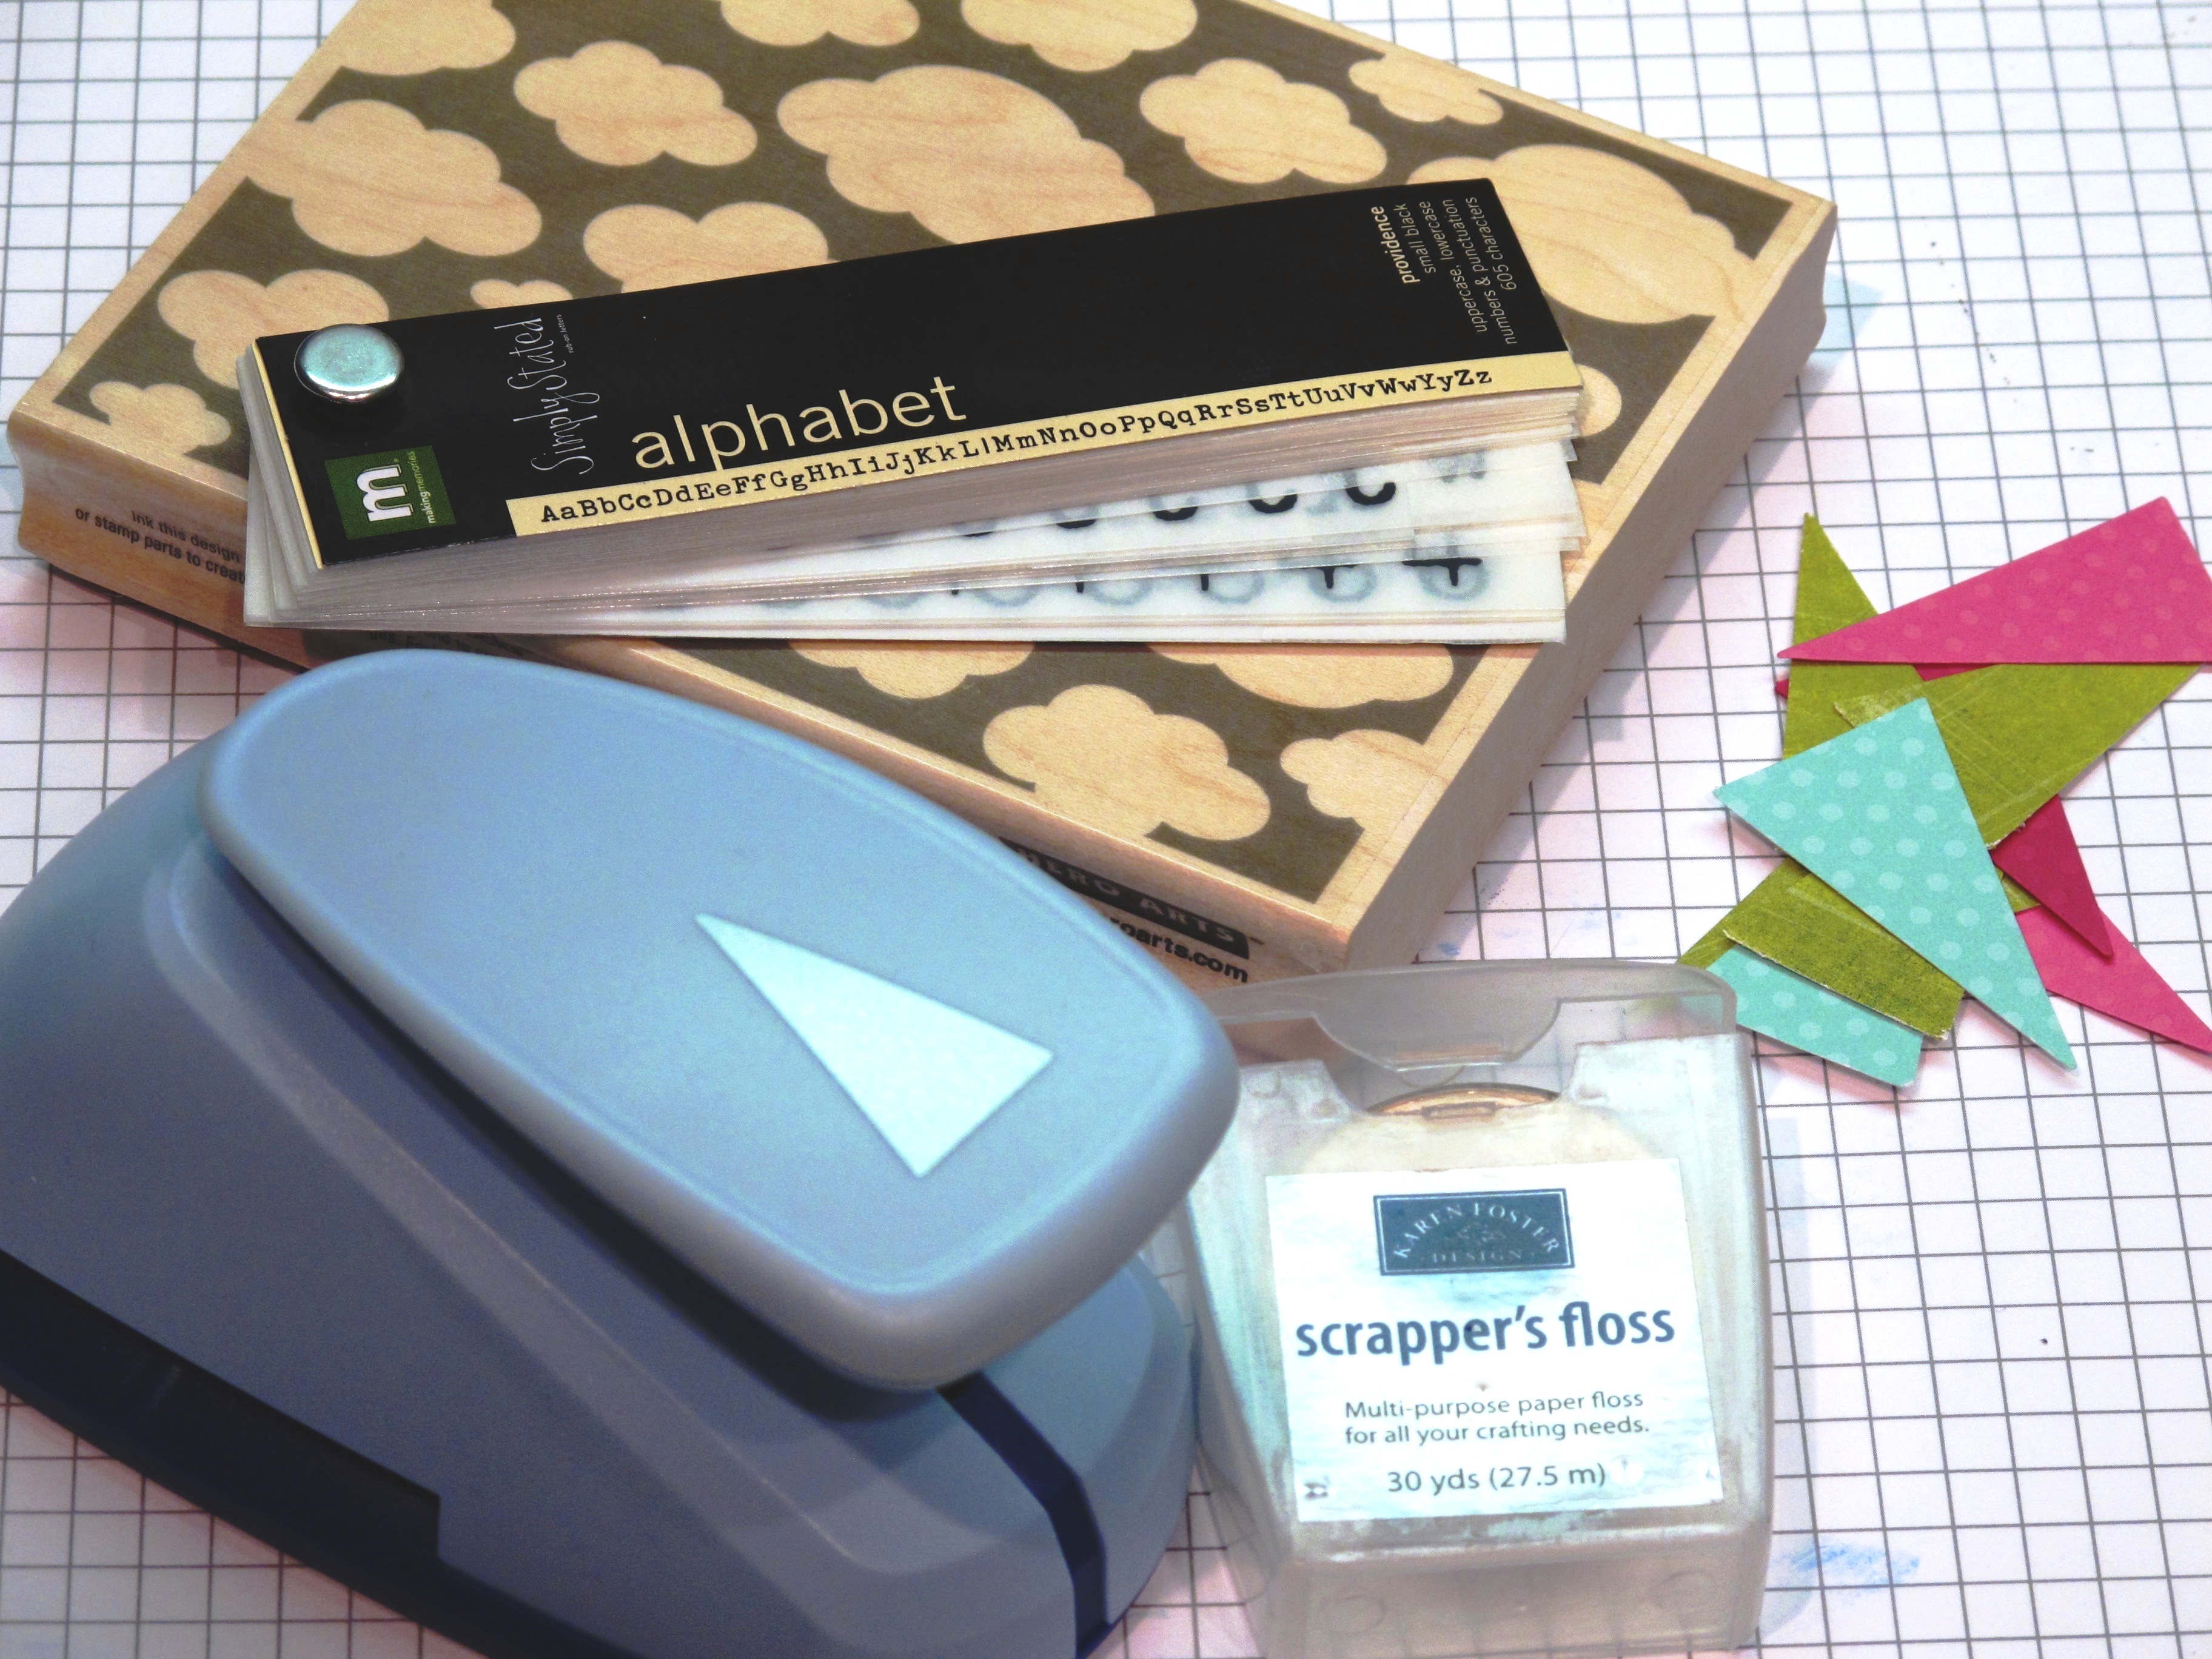
    Here are some of the materials I used! The giant cloud stamp is from Hero Arts (do you love that?)…The punch is from Marvy. The alphabet I used to spell hooray is an old rub on set from Making Memories. The little birdies are (what else) Martha Stewart punches.

    Bloggie 001

    What do you have to celebrate today?

  • Sweet Strawberries!

    Tonight is my monthly stamp club meeting! Yay! it's a group that gets together the first Wednesday of every month to potluck, stamp and gab and it's wonderful. I look forward to seeing those crazy gals each month. We do card swaps too – woohoo! Tonight instead of a card to swap, I'm bringing little paper strawberries that I made. Stephanie at Paper Garden had these as a make-n-take a long time ago and my little berry has been sitting in my craft room ever since – and now finally I made a whole bunch!

    Bloggie 001

    I cut the strawberries out of different red papers and the tops out of green polka dots! The sentiment is from Amuse stamps and the strawberry is an old Stampin' Up image. I colored the strawberry stamp with my water based markers from SU! in Rose Red and Green Galore.

    Bloggie 002 

    My little strawberry patch is ready to go! Inside are dark chocolate kisses….mmmmm.

    Bloggie 004

    Close up of the sentiment.

    Bloggie 006 

    Have a sweet day!

  • Some random stuff for a Tuesday…

    Today I have a little story, a card and a funny picture! Over at The Shabby Tea Room Blog I got an honorable mention for my last entry!!! Woo hoo!!! I love that blog and the entries are always beautiful and amazing. I was honored to be mentioned! Get it…snort snort. Anyhoo…I was excited about this development. It's the card I made last week with the pretty Victorian house and the shabby flowers.

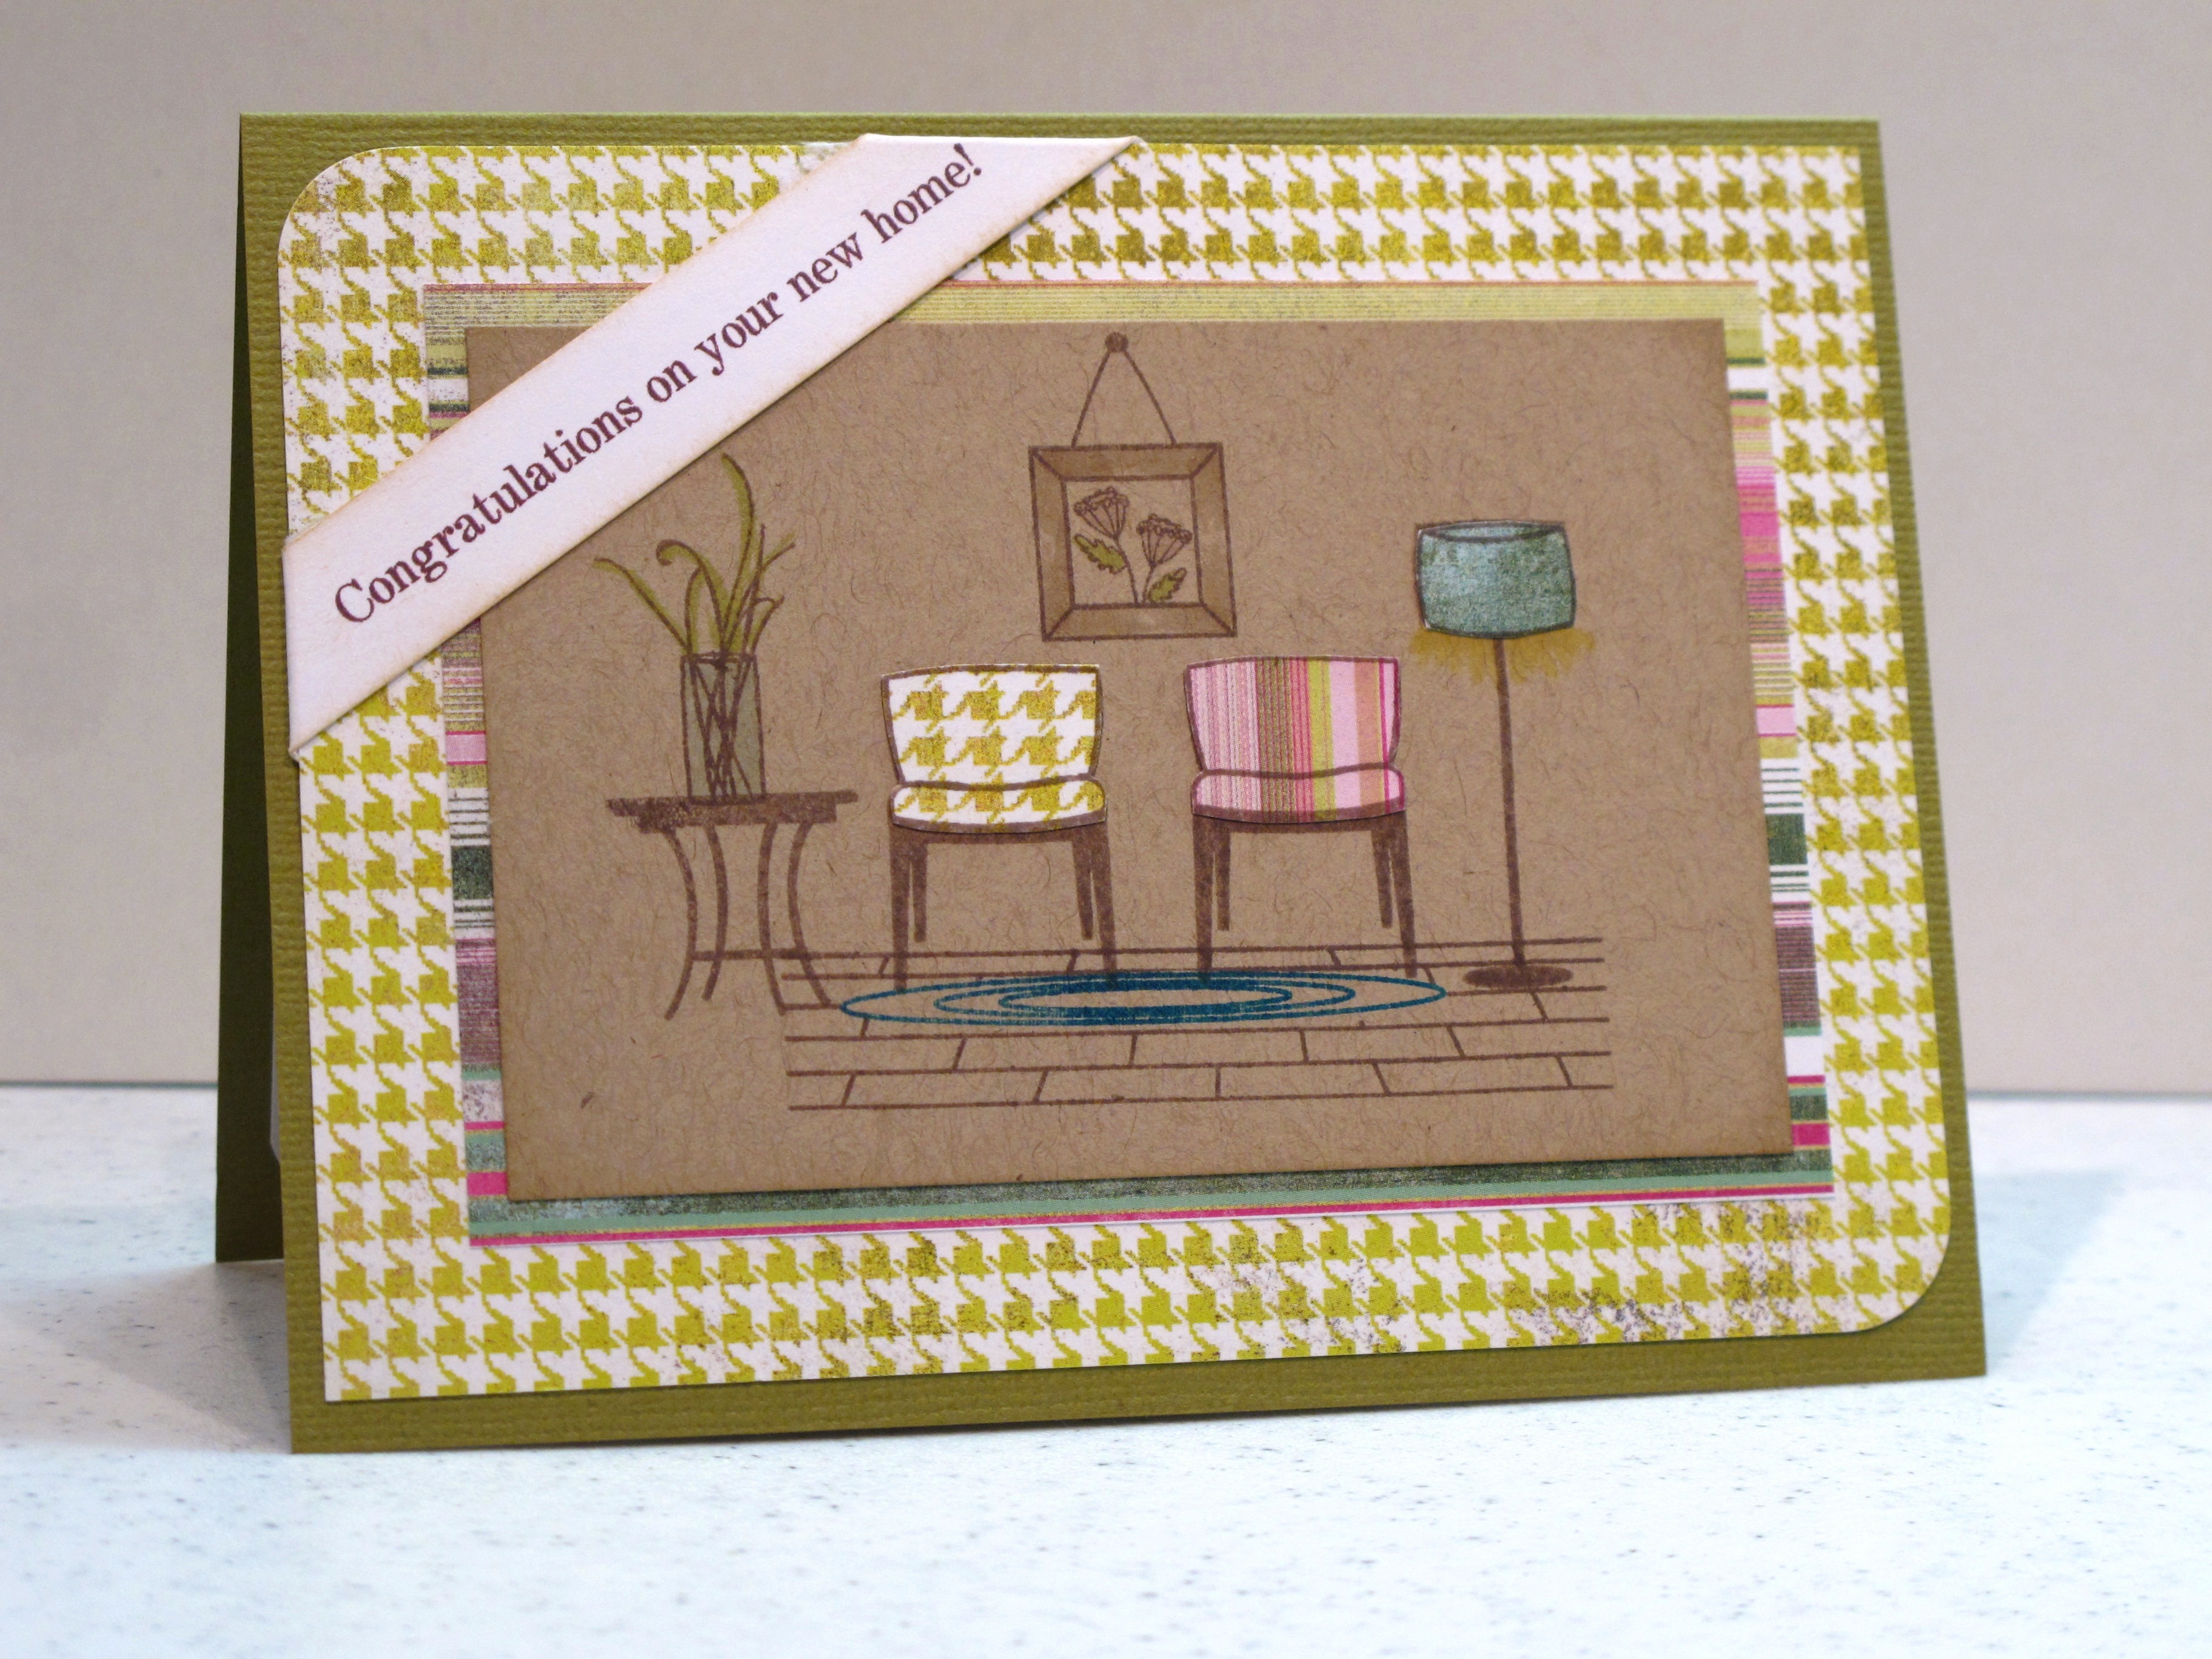
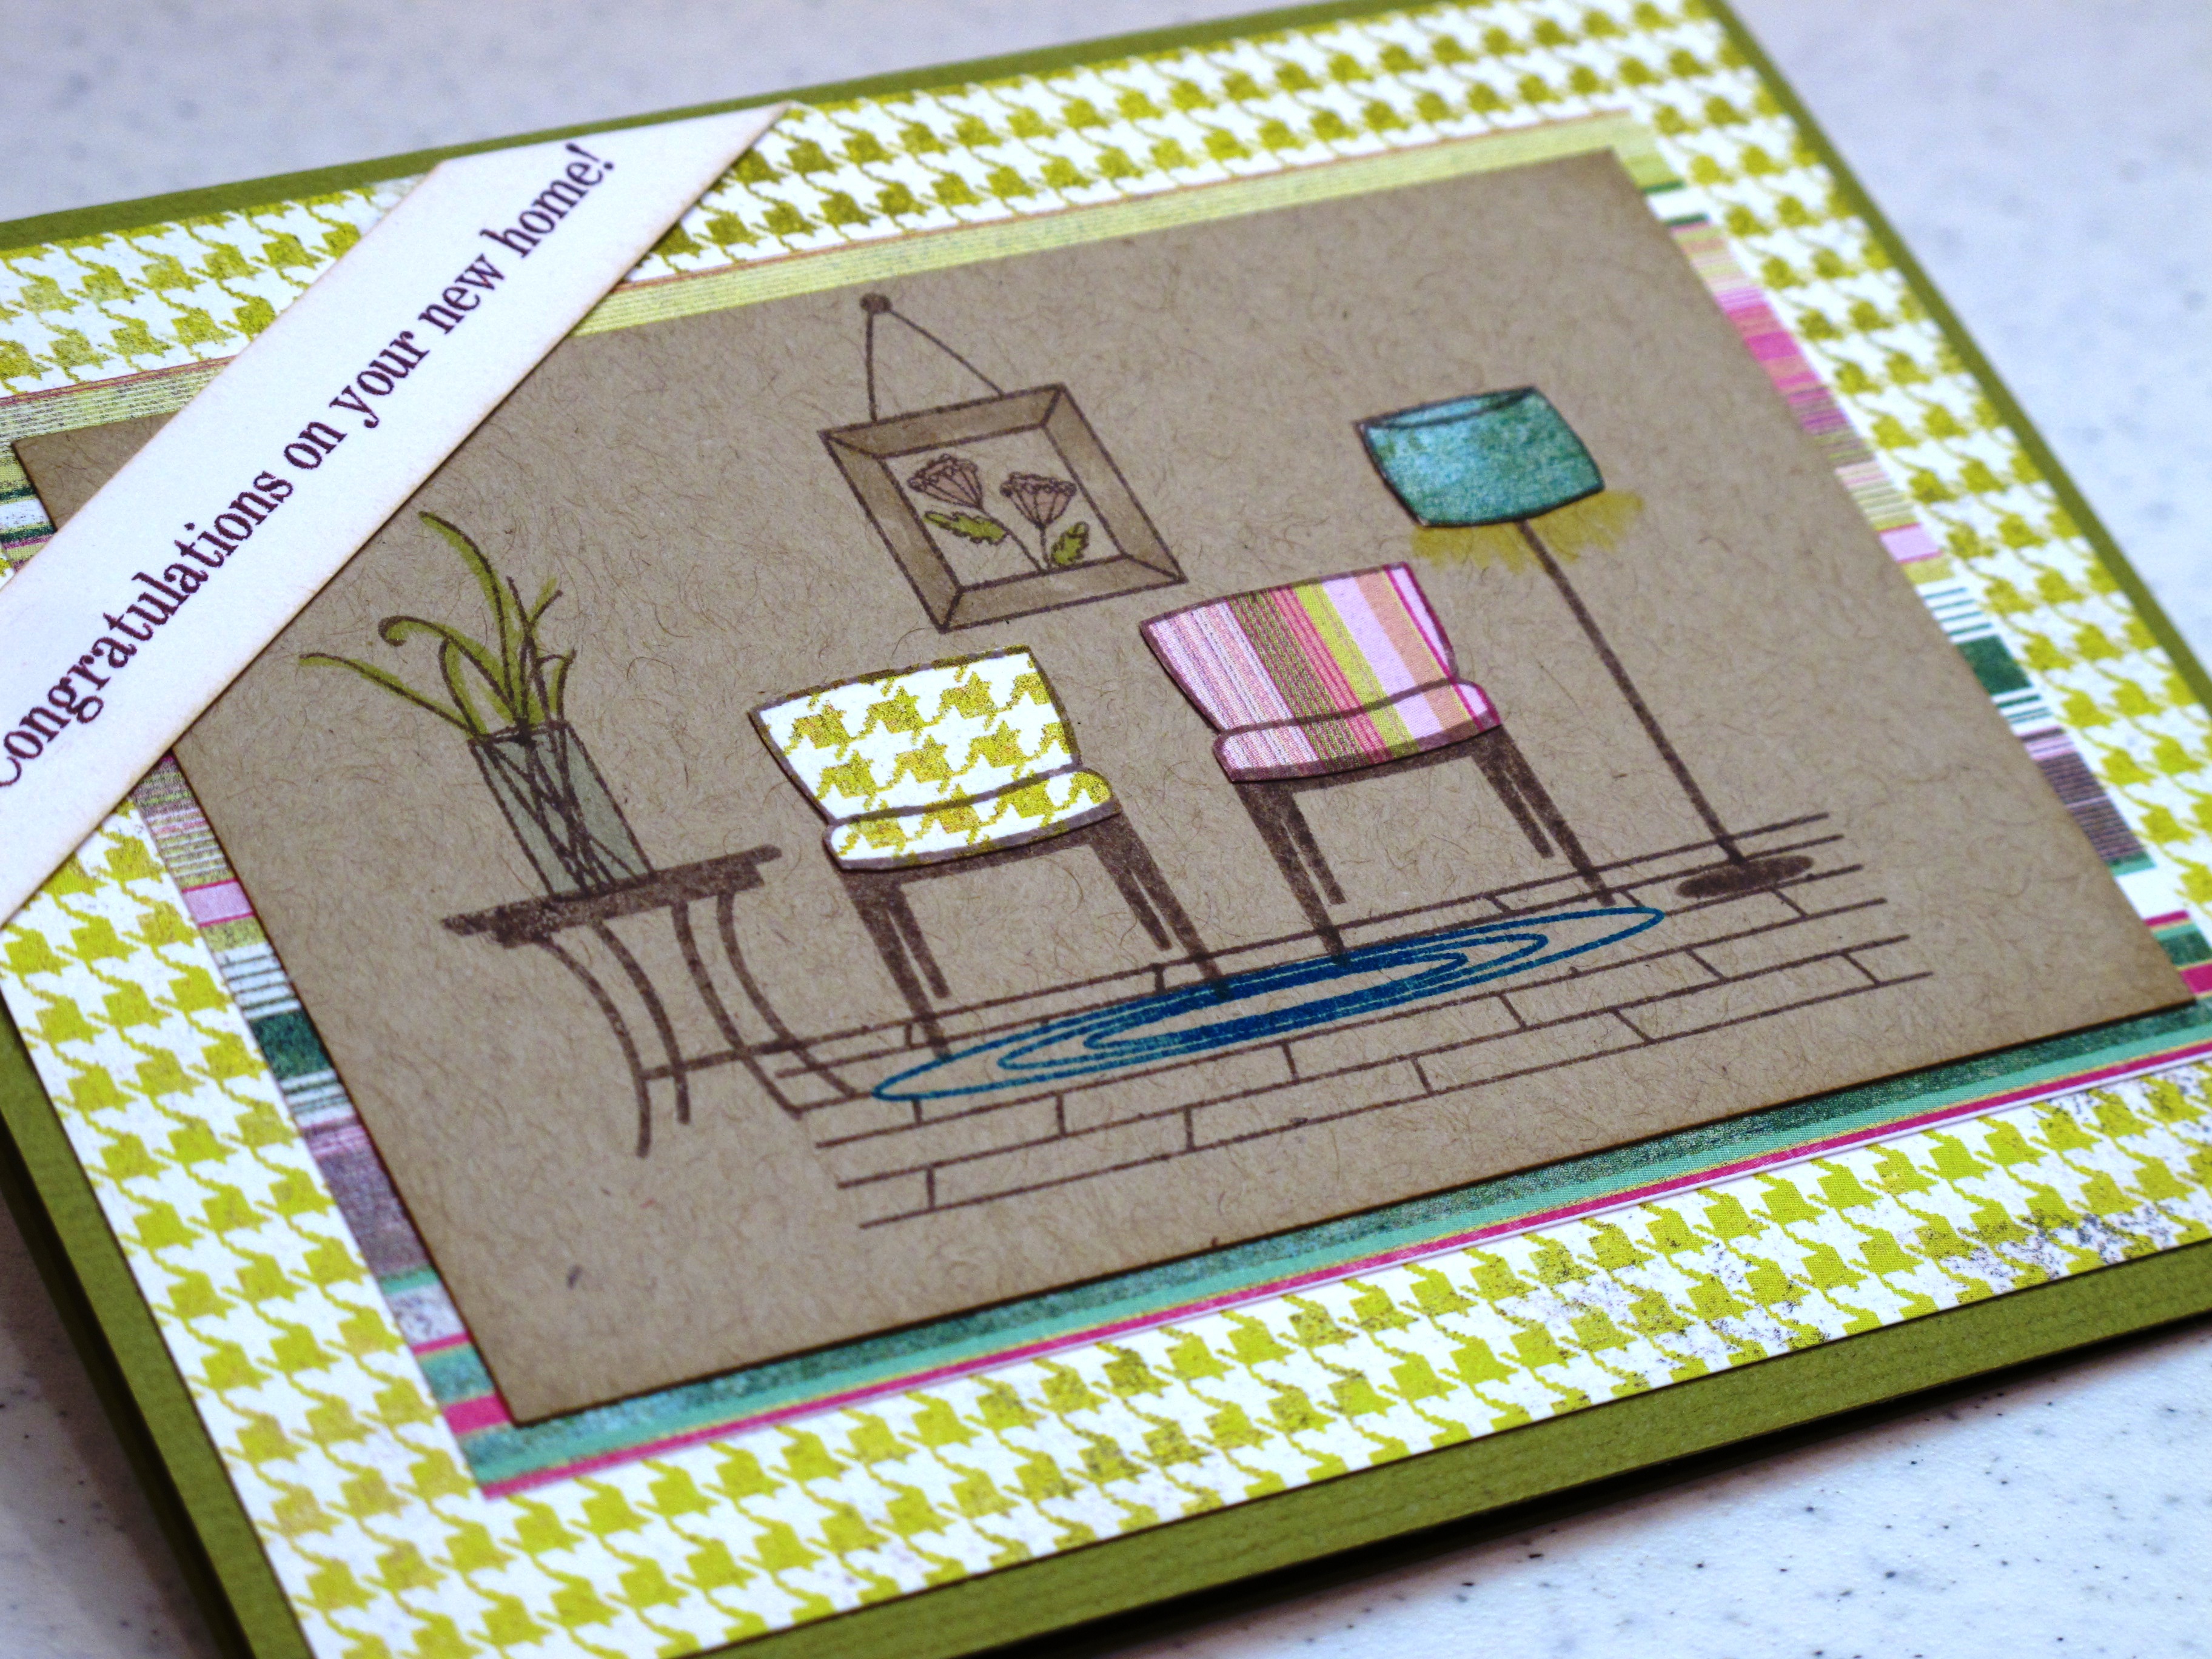
    My card for today was commissioned by my best customer – TJ. She needed a new home card for her gal pal in New York. We decided on a cool retro color scheme and then the ideas started flowing. Okay – how much, seriously, can you love the PTI couches, chairs, etc.??? Oy. Three Cheers for Chairs! (This is also a Moxie Fab Card Challenge!)

    Bloggie 001

    This little cozy scene used SEVEN stamps! LOVE it! I used my Copics to color in the rays of light from the lamp, the photo on the wall and the vase.

    Bloggie 003

    This is the inside. Both the sentiment on the front and the one on the inside were printed on my computer using a font called Annual. You know I had to make one more chair!! I really enjoy paper piecing these projects. Not too much detailed cutting.

    Bloggie 004

    Bloggie 005


    The last thing for today is a fun photo! This picture proves that, if you want to badly enough, you can stamp ANYWHERE! My adorable friend Jilli Bling stamping in the car. CLASSIC! Had to share this with you guys.

    Photo

     Hope your week is good so far and that it keeps gettin' better! 

    OH! Okay, one more thing. This is a totally random reference and I know ONE other person out there is gonna crack up. I am a Bravo tv junkie. I'll just admit it right now. I also have recently become a DWTS junkie. Think of these two voices: Chad from Million Dollar Listing and Evan Lysacek… Am I right?? If you are the one other person that gets that – email me! I want to be your friend! Okay – bye now.

  • Copic Camp was a success!

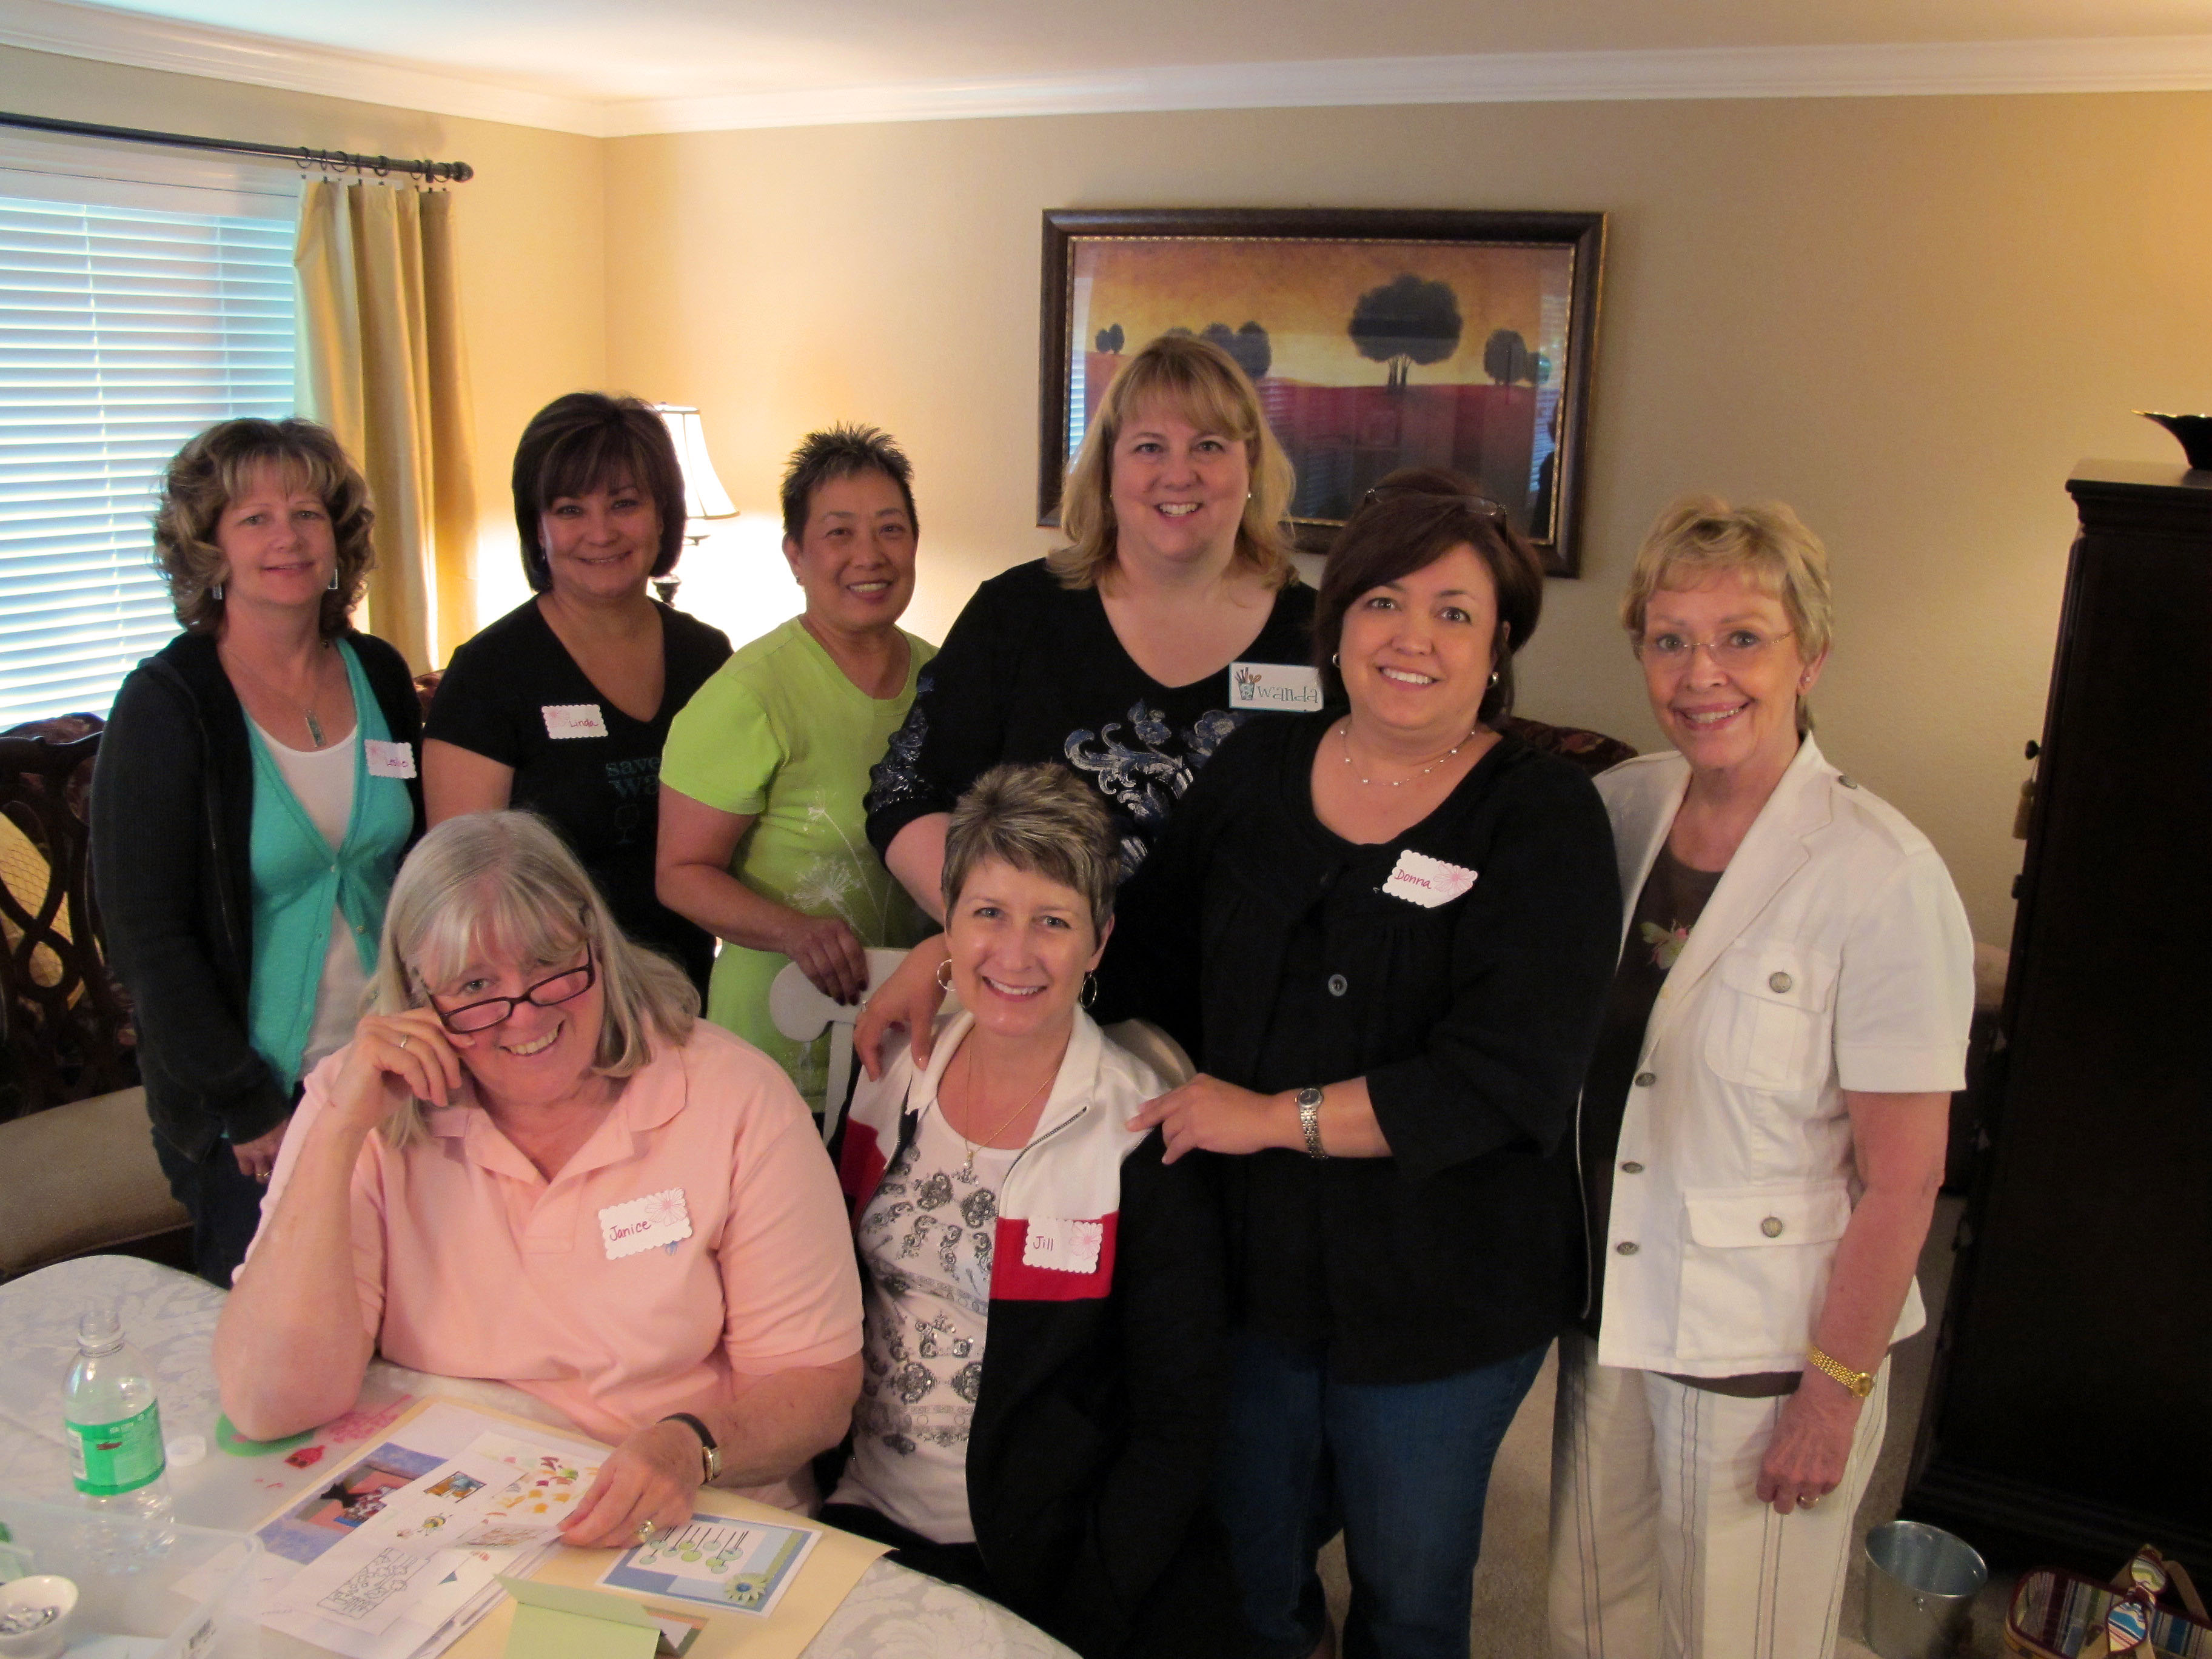
    Hi everyone! I am so excited to report that Copic Camp weekend was a success! It's Sunday night and I'm taking a moment to sit down and let it all sink in. I'm re-acquainting myself with my boys who have been inundated by women all weekend! We had a great time of stamping, laughing, eating and learning together at Copic Camp. I taught two 5 hour classes on the techniques, tips and tricks to Copic Markers. There were 6 people on Saturday and 7 on Sunday. I know I had a great time! I'm pretty sure I got everyone hooked on Copics. Thank you to everyone who came! Your enthusiasm is contagious and I enjoyed spending time with all of you – and making some new stamping friends along the way. Stamping chicks rock! Okay, here are some pix to share…

    Saturday's group:

    IMG_1689


    IMG_1683


    IMG_1685


    This was Shauna's first card EVER! Good job girlfriend!

    IMG_1686 

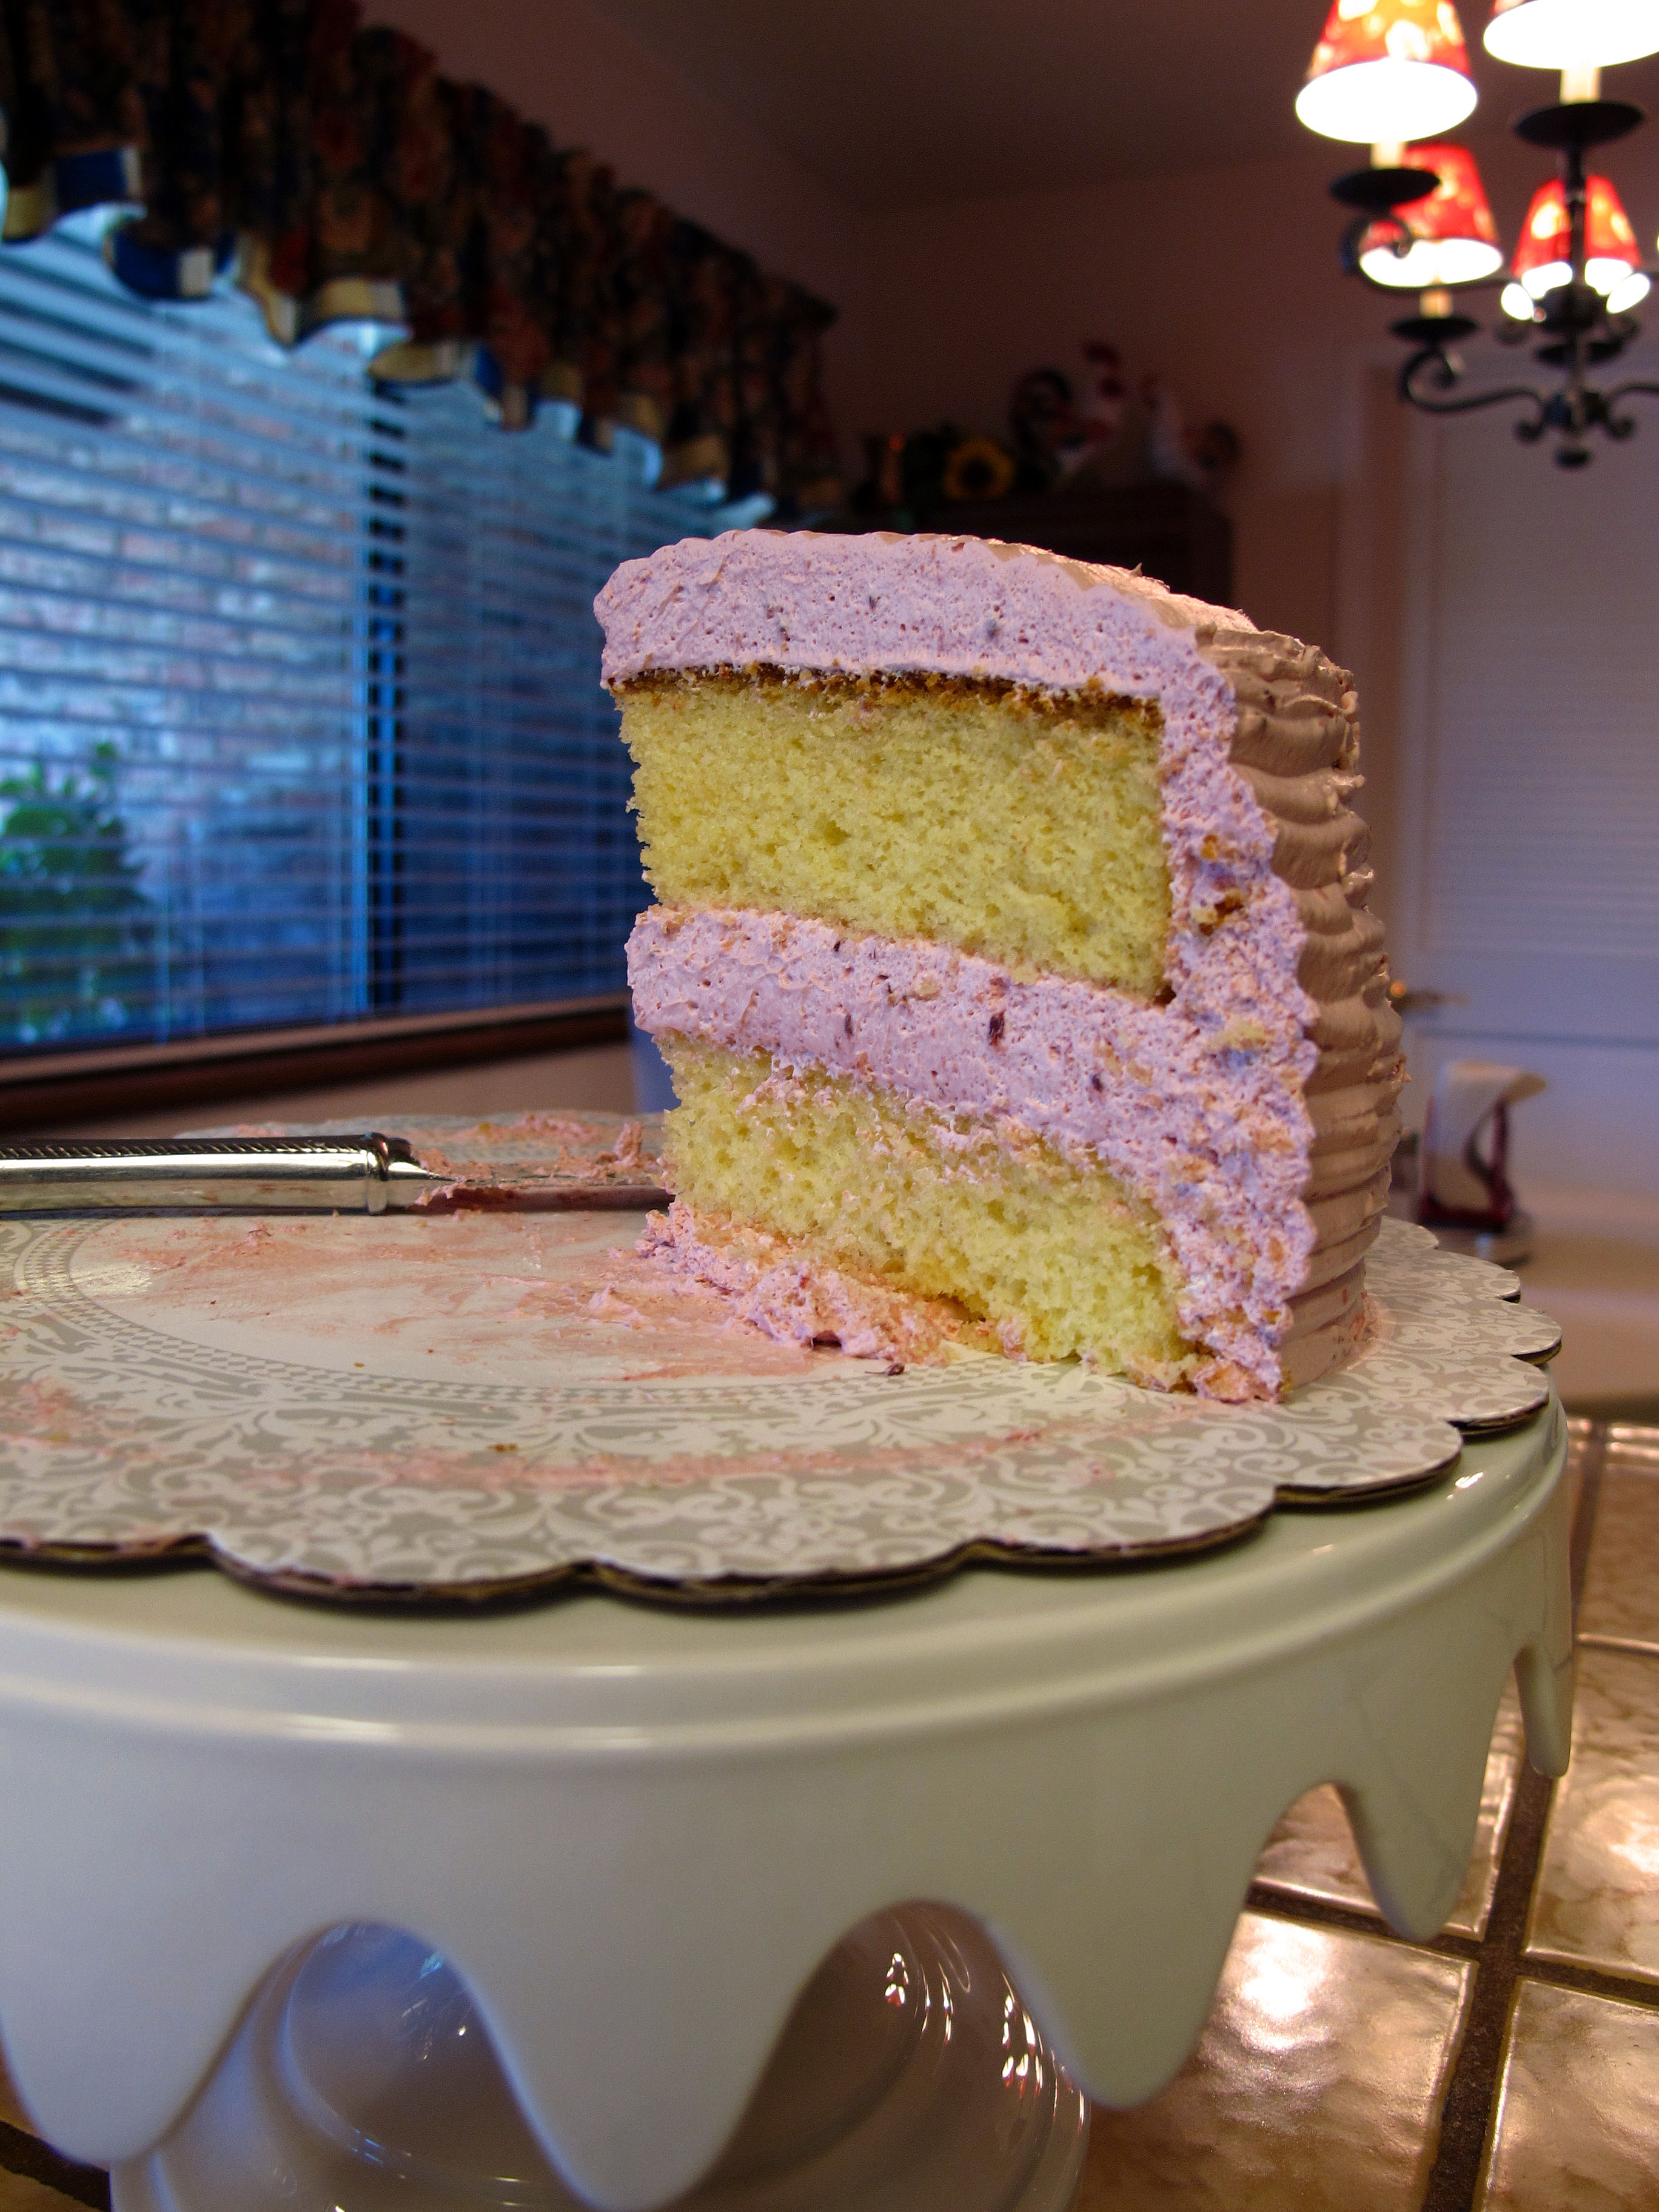
    Caroline brought this beautiful cake to share with everyone. She is a fantastic baker/cake decorator. Um, only thing is, I forgot to take a before picture! Here's the after! It was delicious and didn't last long.

    IMG_1688 

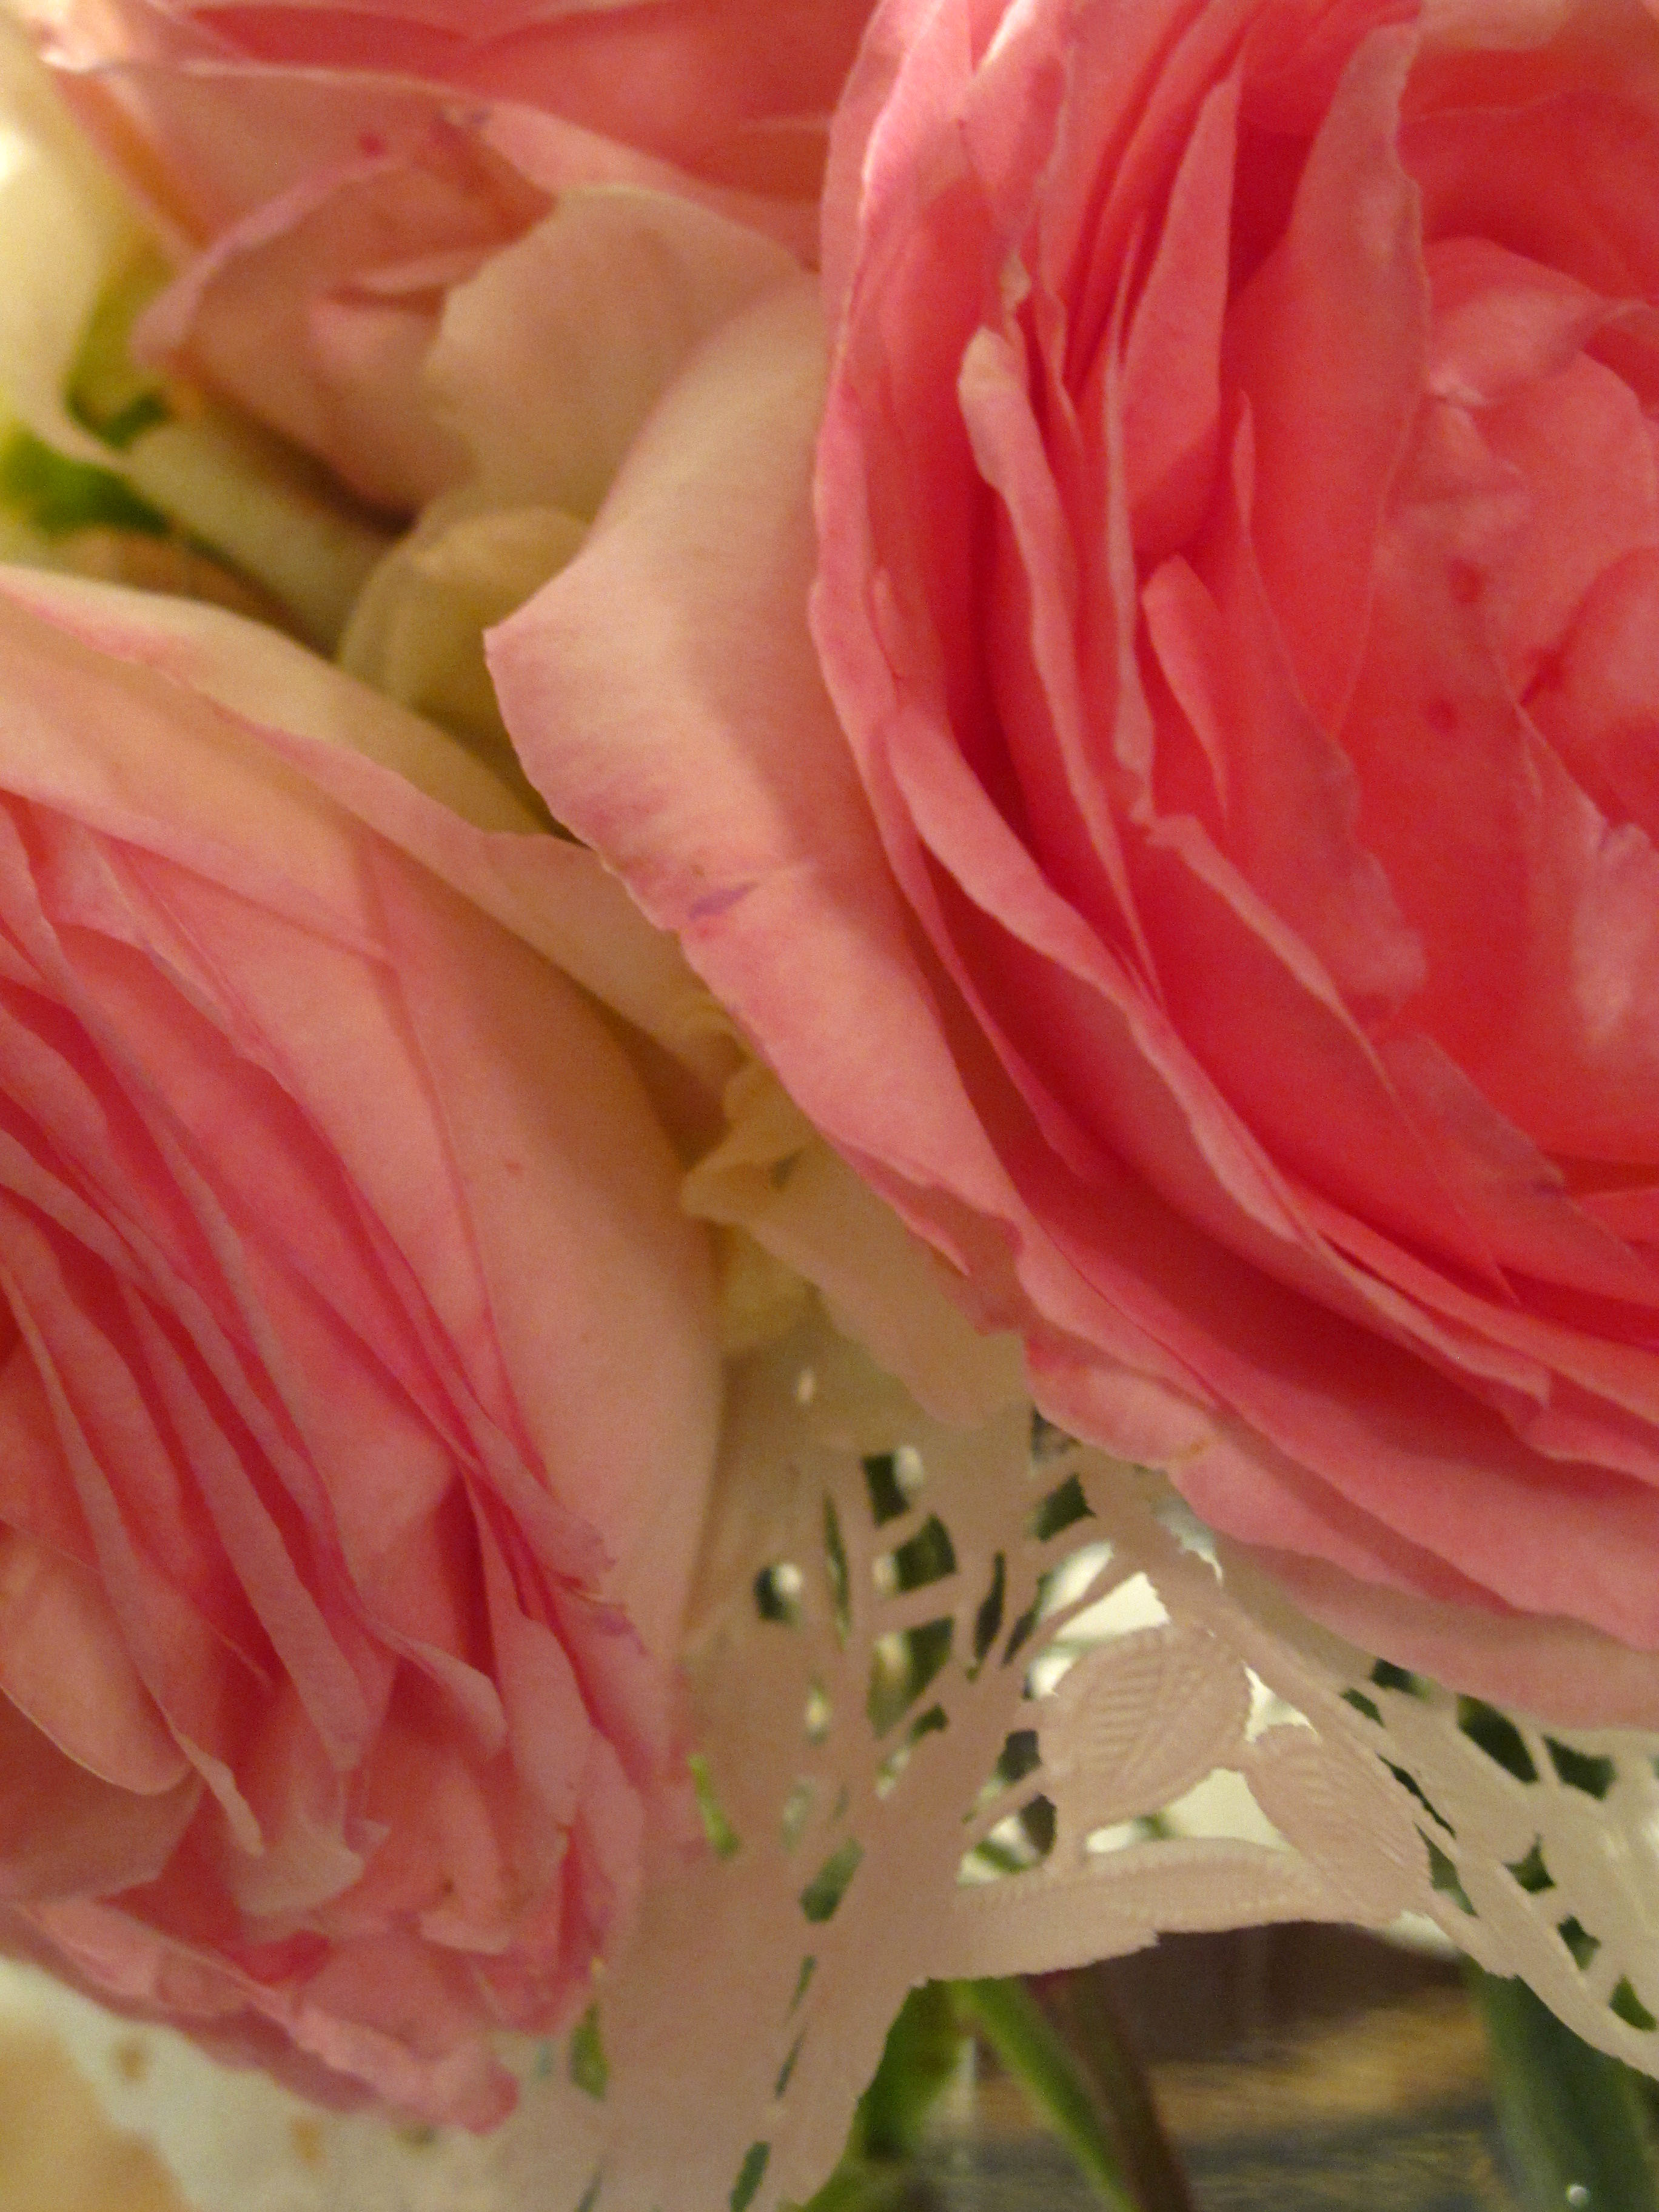
    Shauna brought these gorgeous roses from her garden. Look how she put that pretty doily underneath the flowers to make a sweet bouquet. I am enjoying these flowers so much!

    IMG_1696


    Here is Sunday's group!

    IMG_1706

    This looks pretty serious… Markers everywhere and deep concentration…

    IMG_1703


    IMG_1698 

    Here's to a great week ahead – cheers! 

  • Comforts of Home…Shabby Tea Room challenge card!

    FRIDAY! GLORIOUS FRIDAY! We made it! Whew…had to get that off my chest. Lots going on with me this week and here it is FRIDAY! Today's card is my entry to The Shabby Tea Room blog contest #7 titled The Comforts of Home. They had a lovely soft image to work from that I fell in love with instantly. Can I just say that I adore this color pallette? MMMMMM. It was easy to get the old creative juices flowing for this challenge.

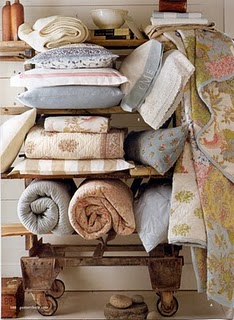
    Here is the beautiful image! Could you just die? That stack of pretty quilts all piled up like that contrasted with the weathered wood. Go-jus. Really. It sets a mood for sure.

    Photo inspiration _7 

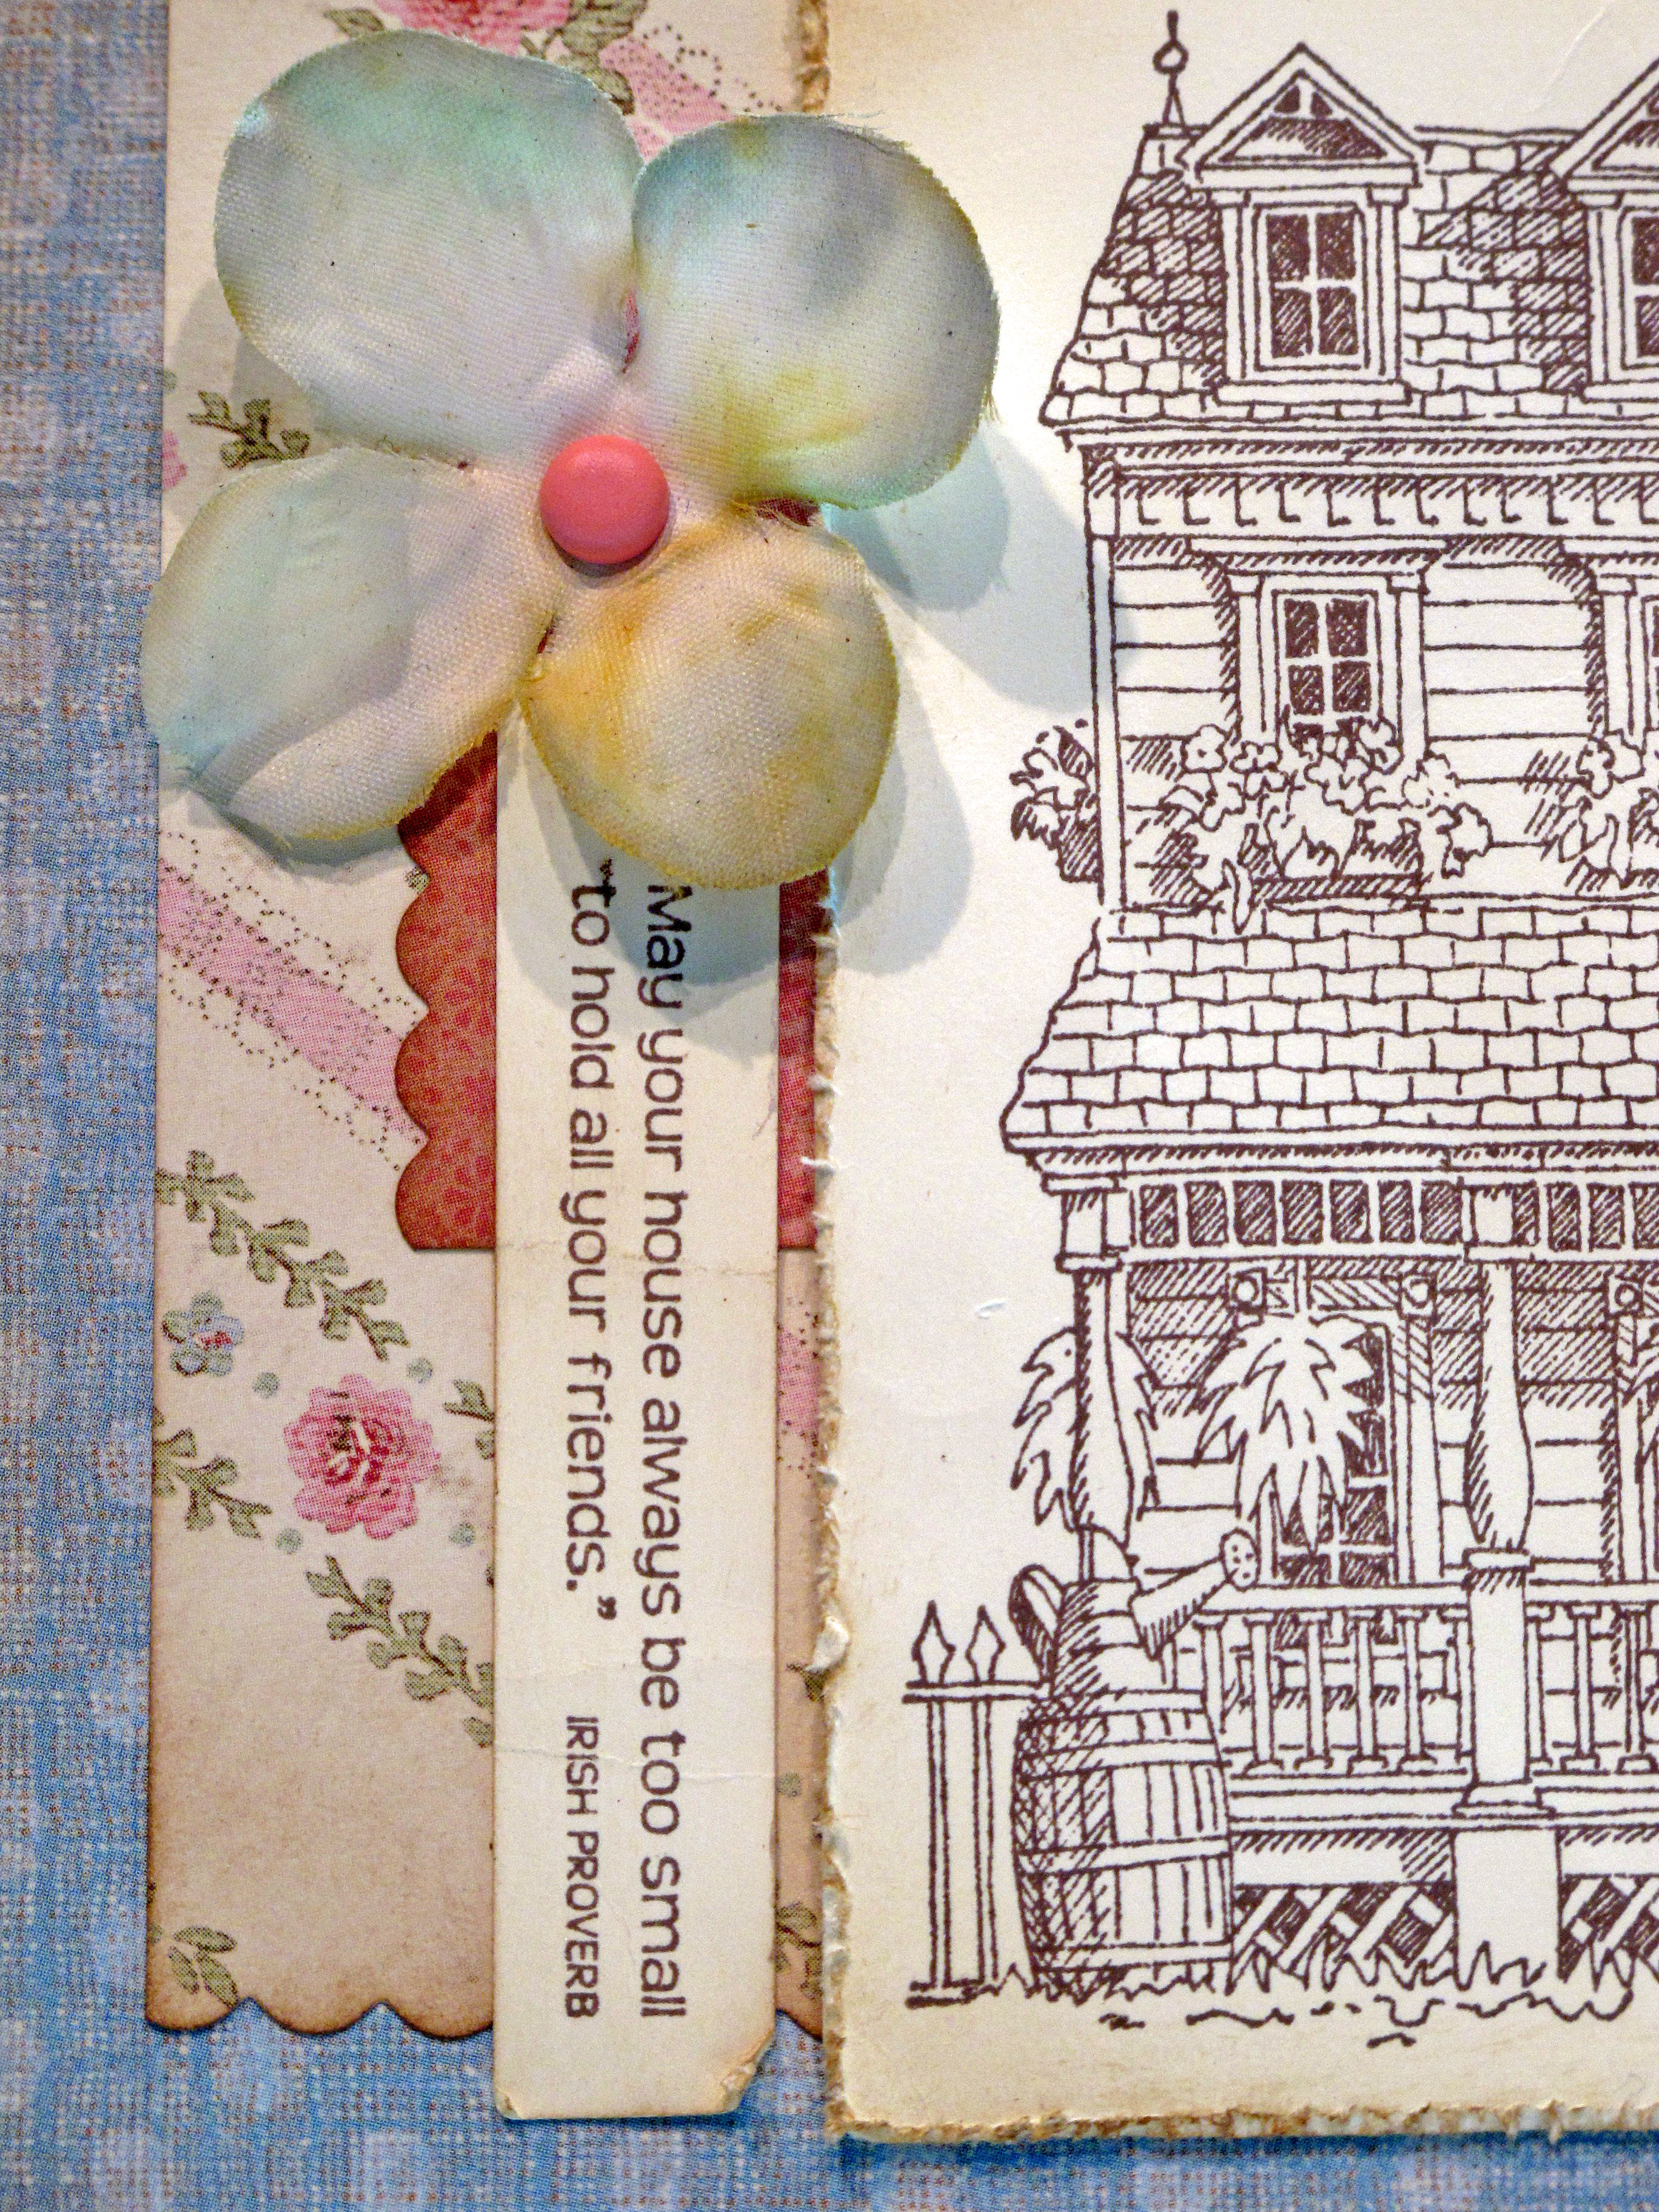
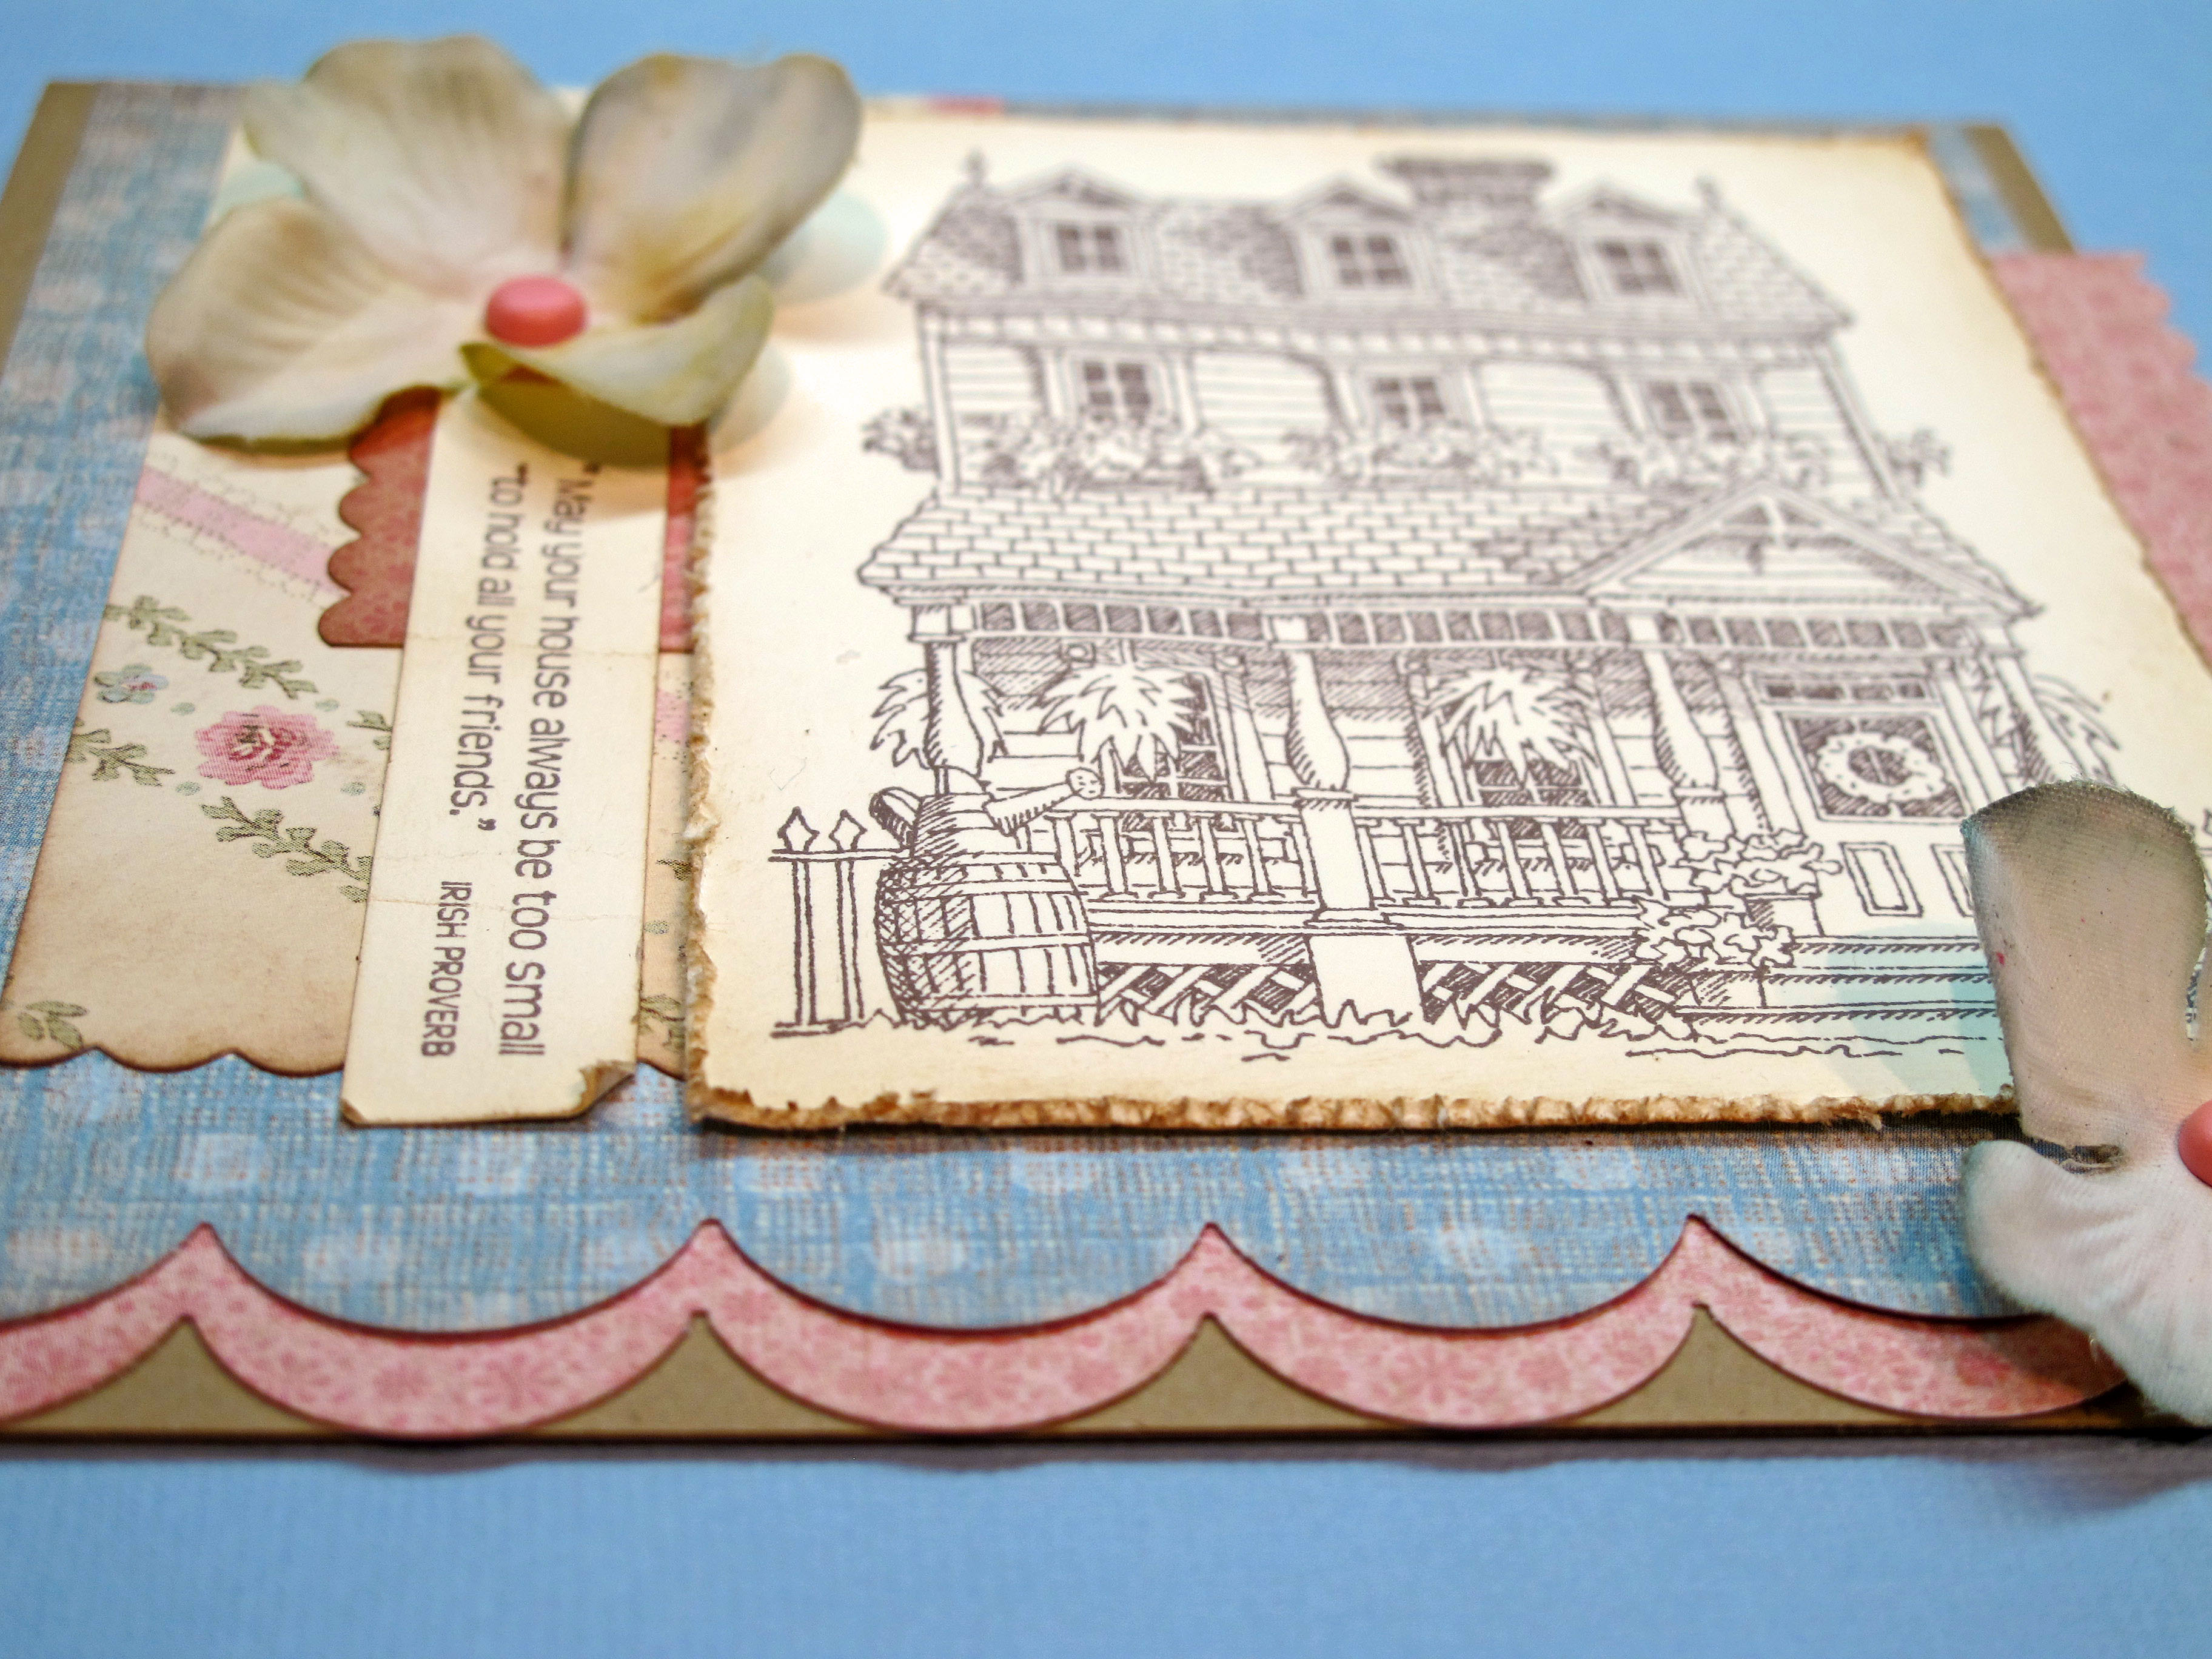
    Here is my entry for the challenge combining the image with the sentiment "Comforts of Home." I incorporated most of the colors with the patterned paper and gave the feel of the stack of quilts via using different patterned papers.

    IMG_1670_edited-1 

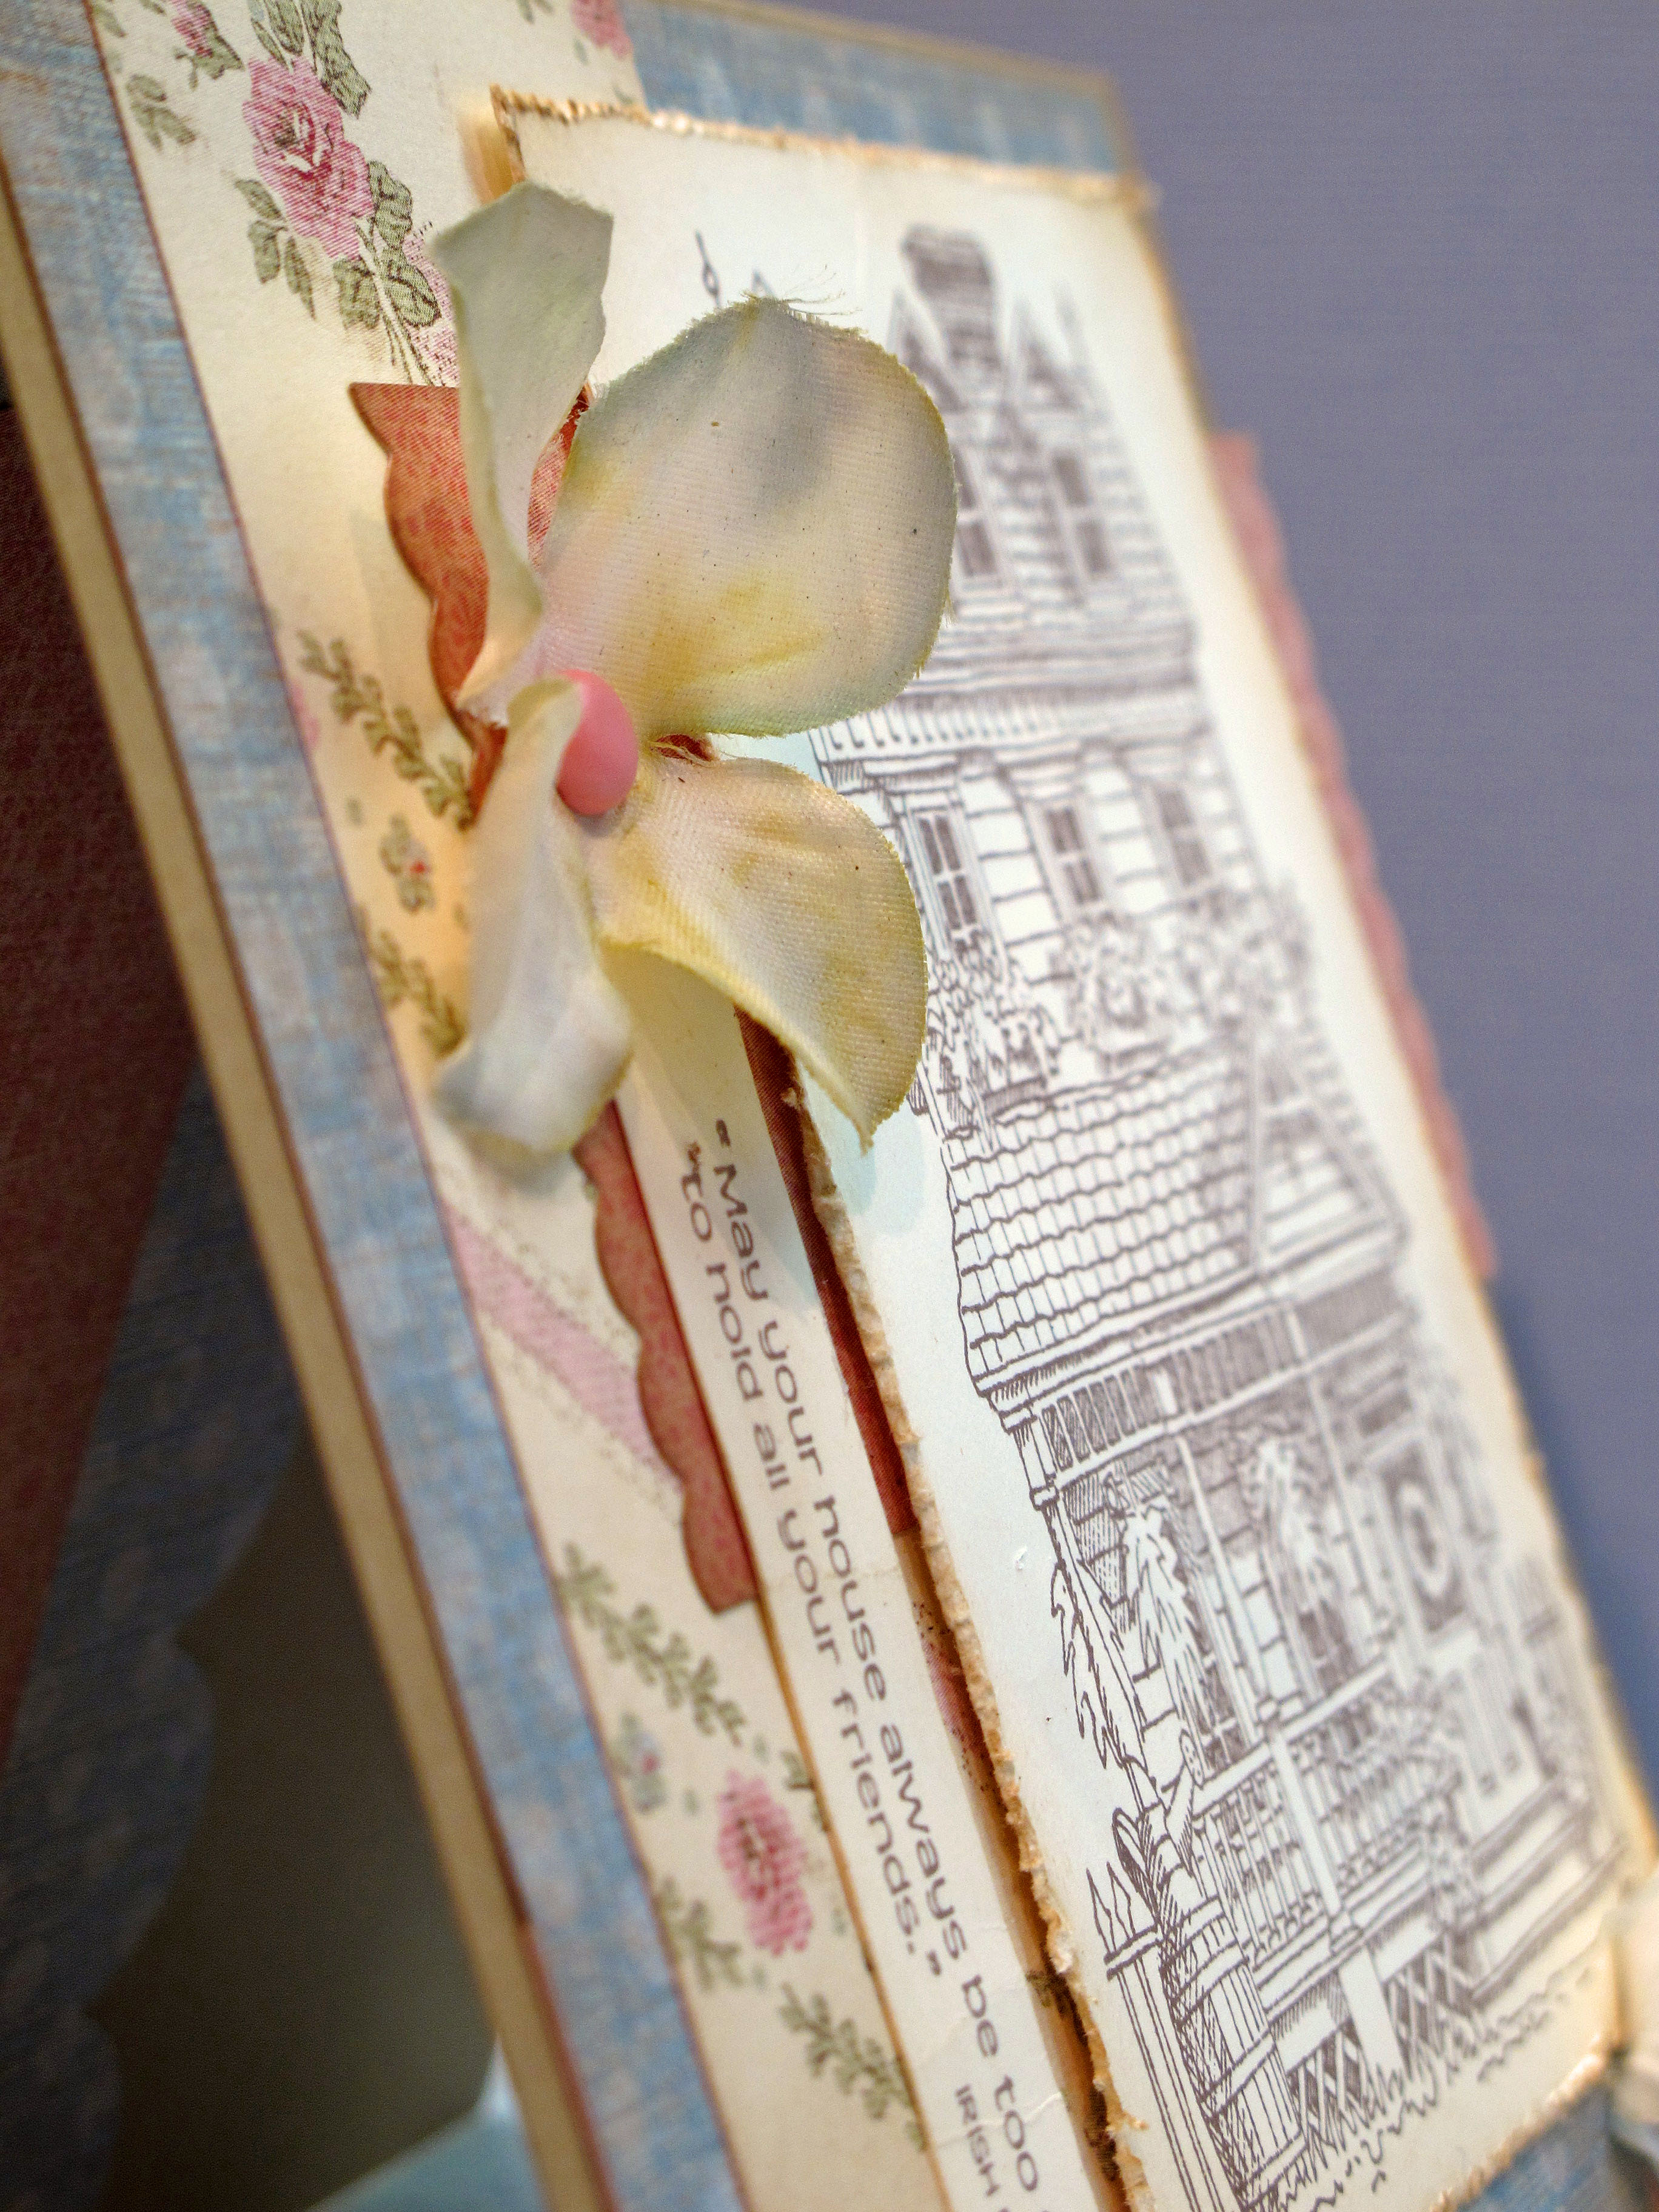
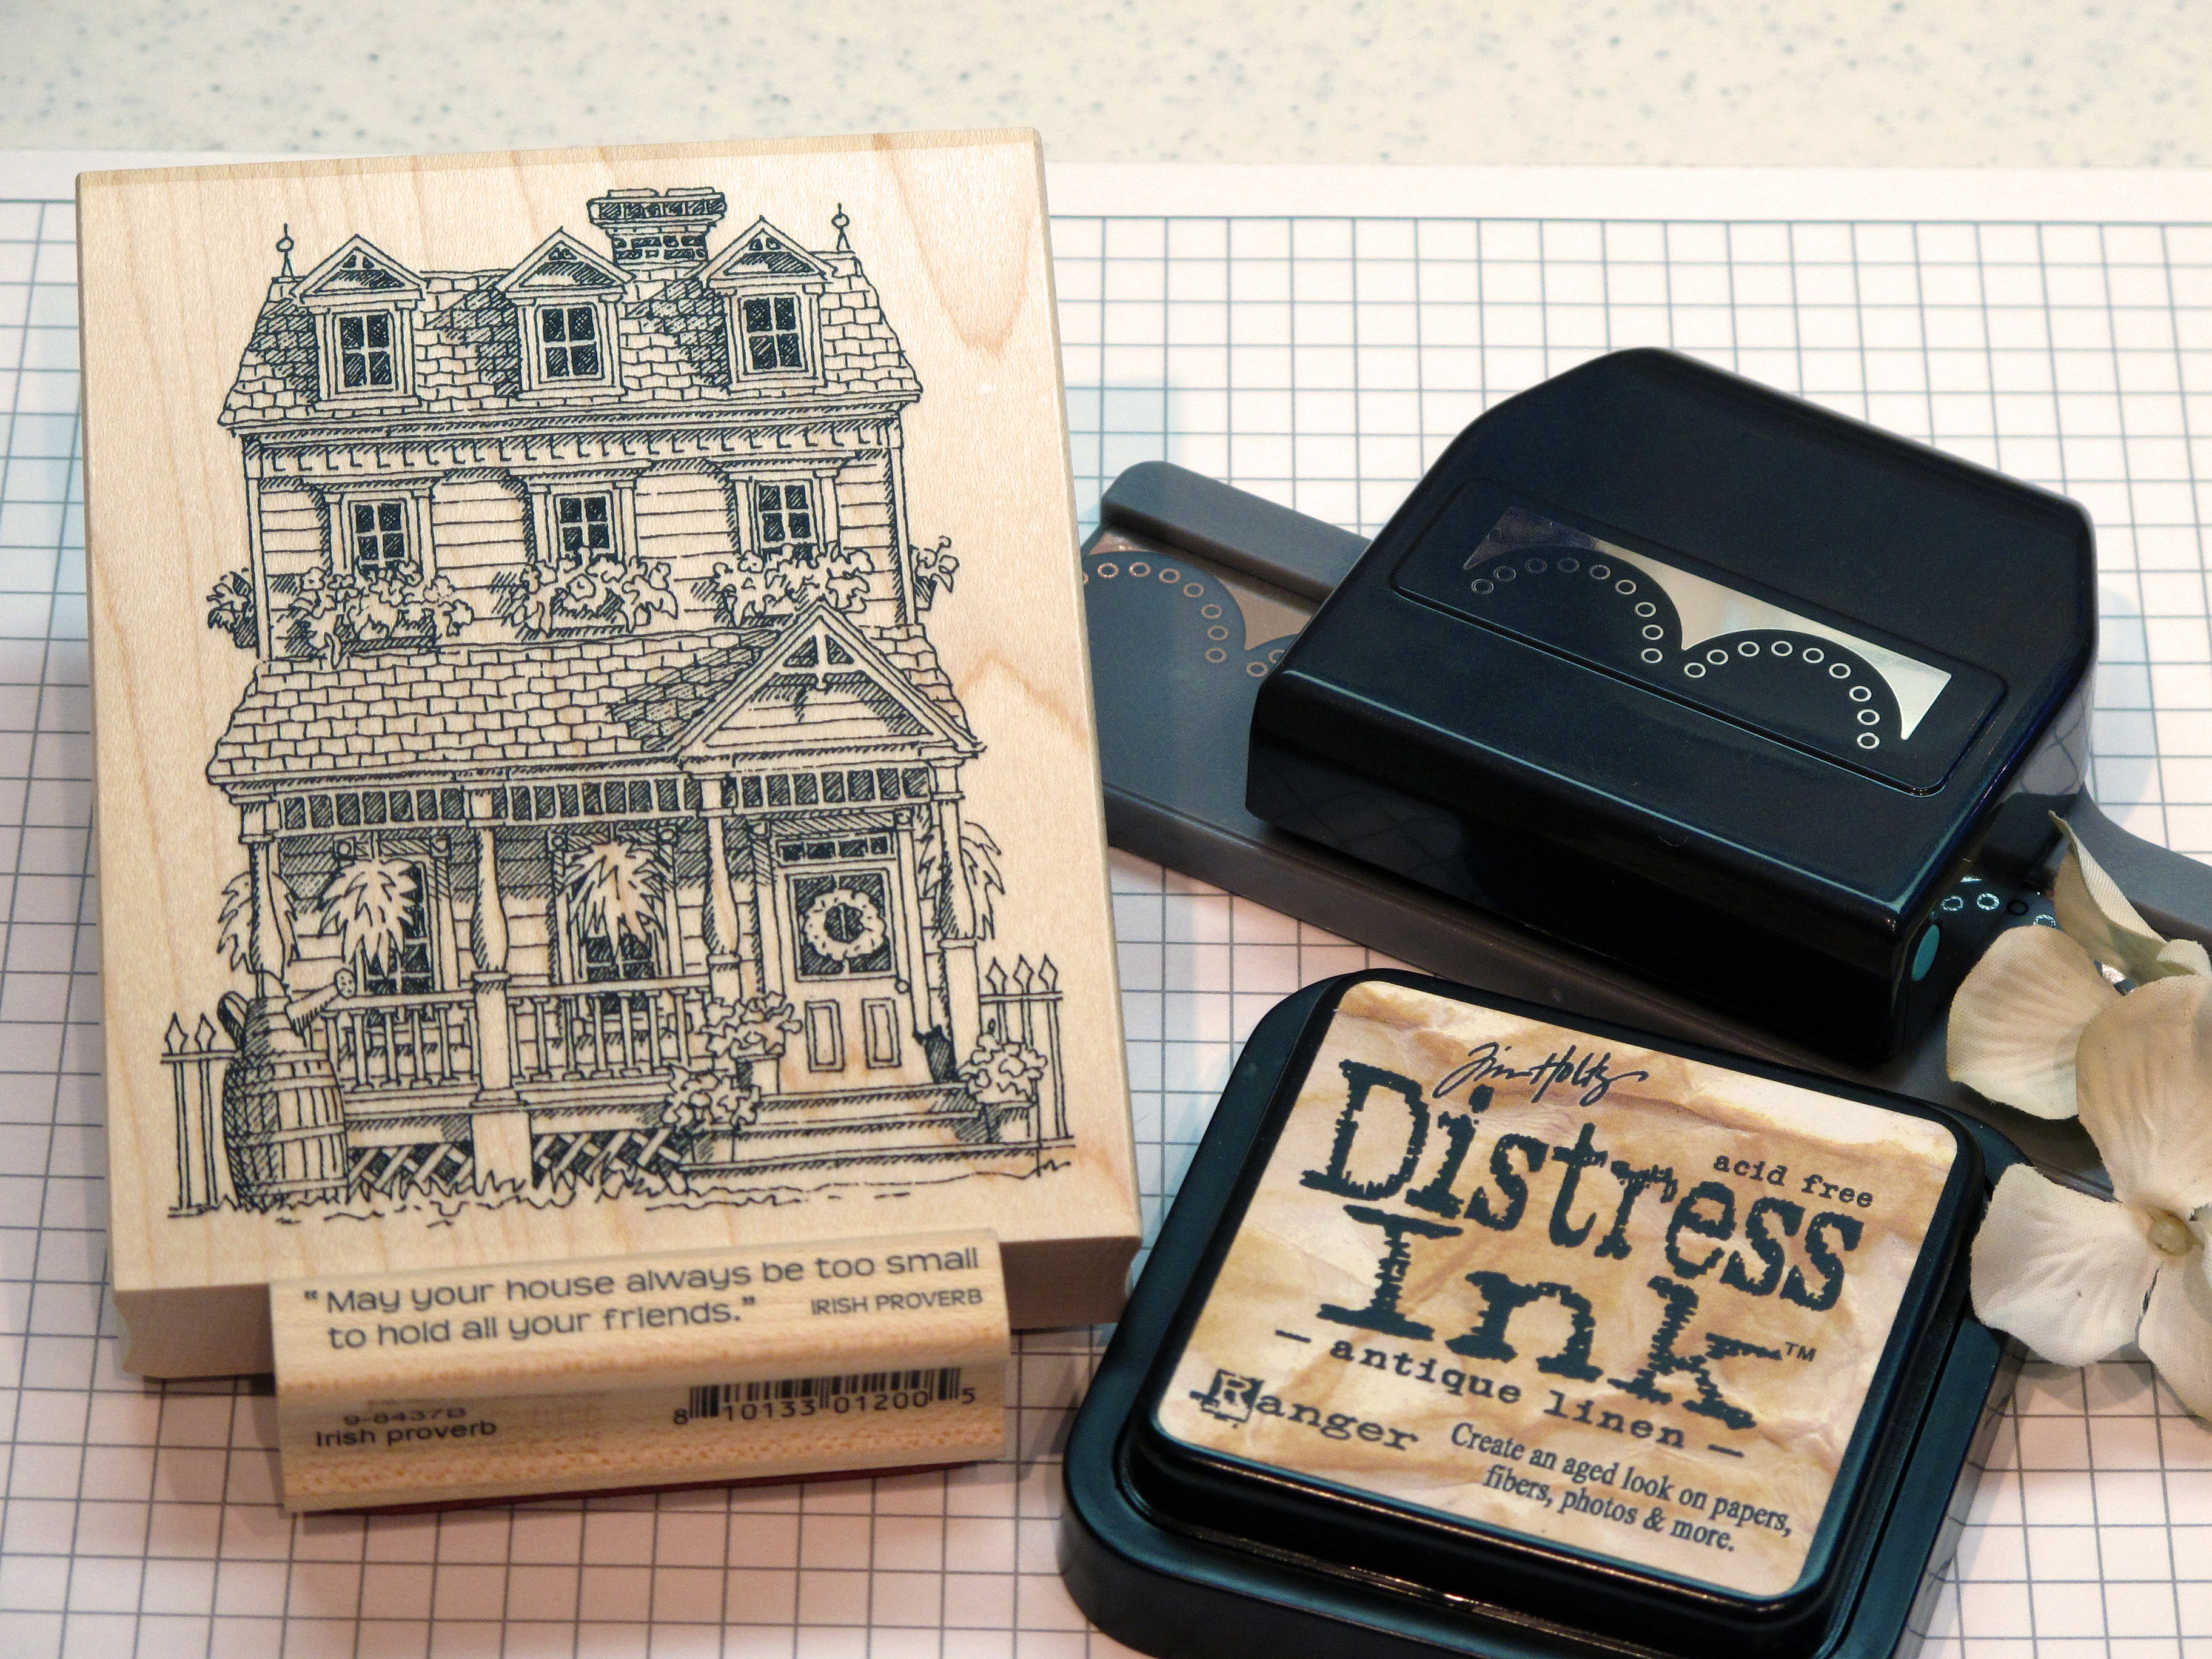
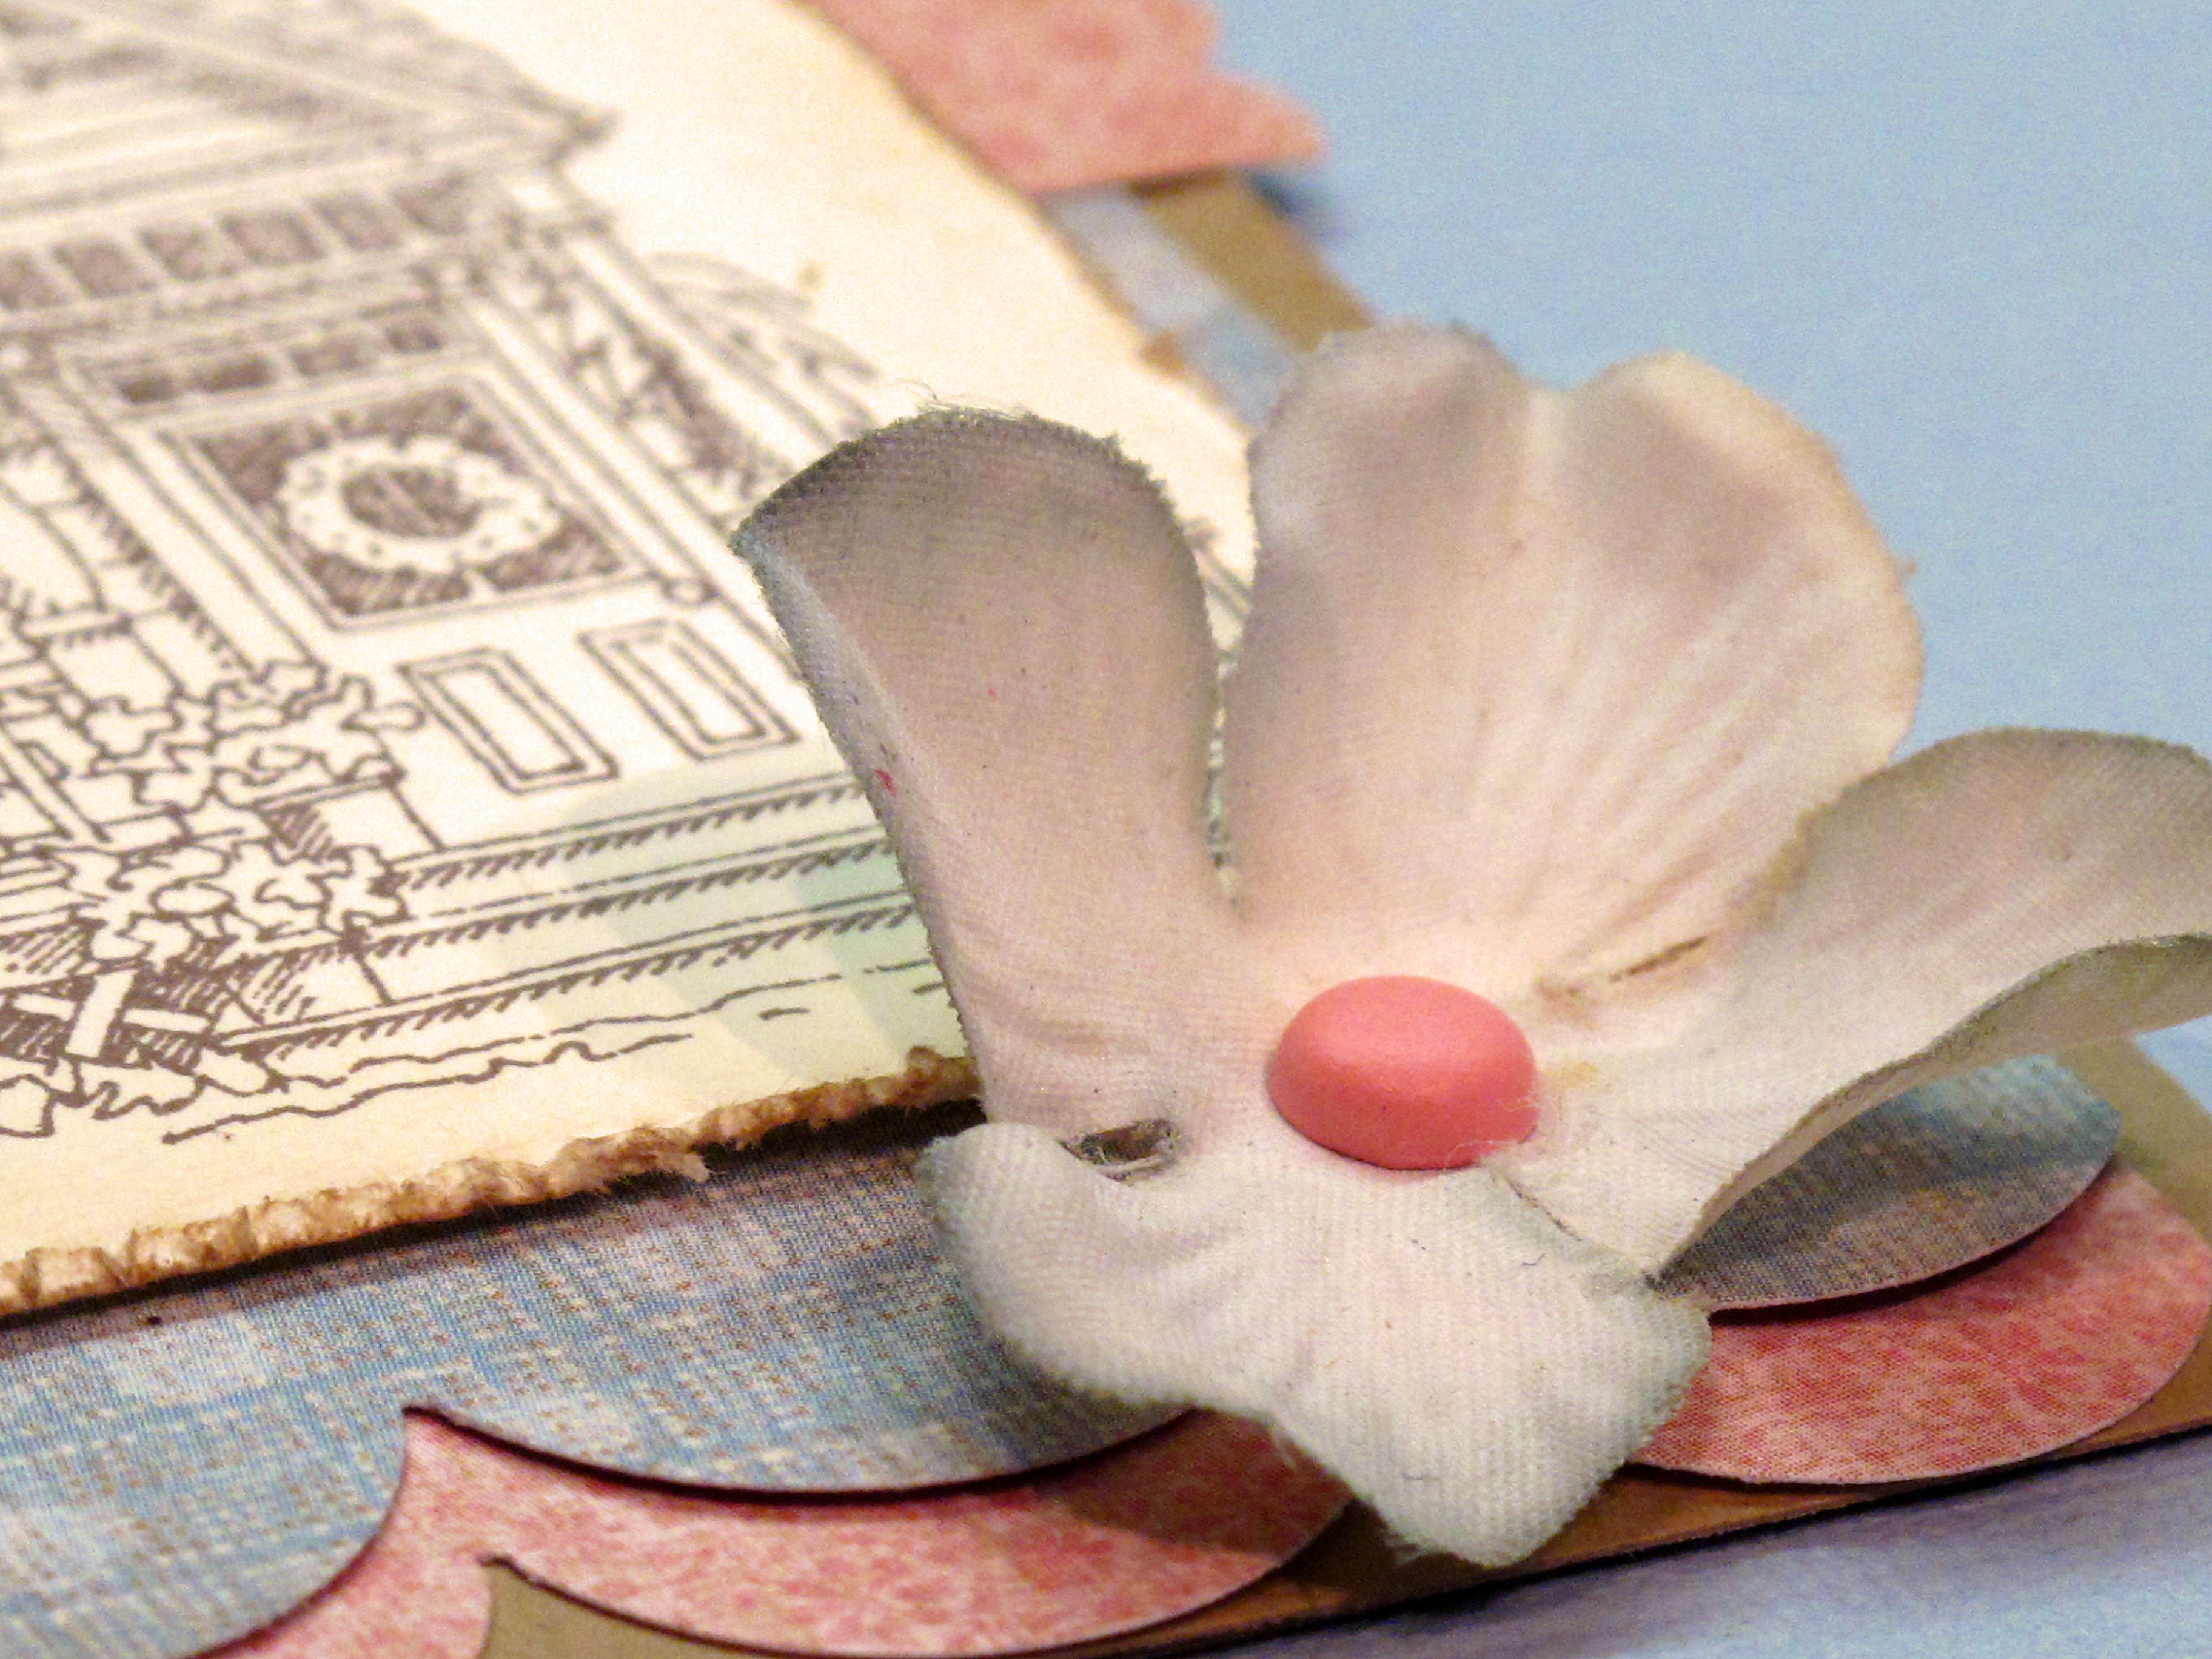
    I stamped my images in brown ink. Then I grunged up the edges of the paper with my distresser and some light brown ink. I took the image of the house and the sentiment and crumpled the paper a bit to make it less "perfect." I mounted the house with foam tape. The little flowers were part of a giant hydrangea silk flower….then I put some soft pink brads in the center. 

    IMG_1671


    IMG_1672

    I am in love with this new edge punch from EK Success!!! Giant scallop – perfection.

    IMG_1675


    IMG_1666


    IMG_1674 
       

    Before I sign off for today – I want to let you know that I probably won't be blogging this weekend. I am holding my first ever Copic Camp weekend at my house! Classes from 10-3 both days talking about Copic Marker techniques, tricks and tips. I have 14 people coming and I am really excited about it. I love to share my, um, obsession about Copics! I'm making a nice lunch and we're doing two card projects too. I taught classes for four years at one of my local stamp stores, but it's been quite some time ago. I forgot how much fun it is to get ready and teach/share with other cool, crafty women. I will take pictures and post all about it on Monday!

    Have a fantastic weekend everyone!

  • Challenge Card! TESC #110…

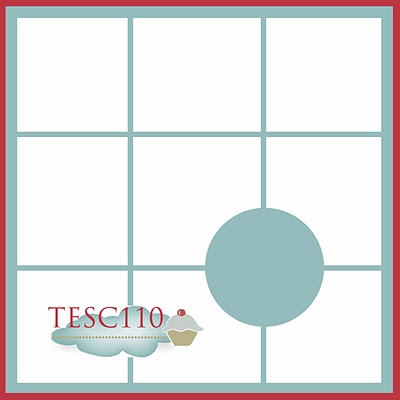
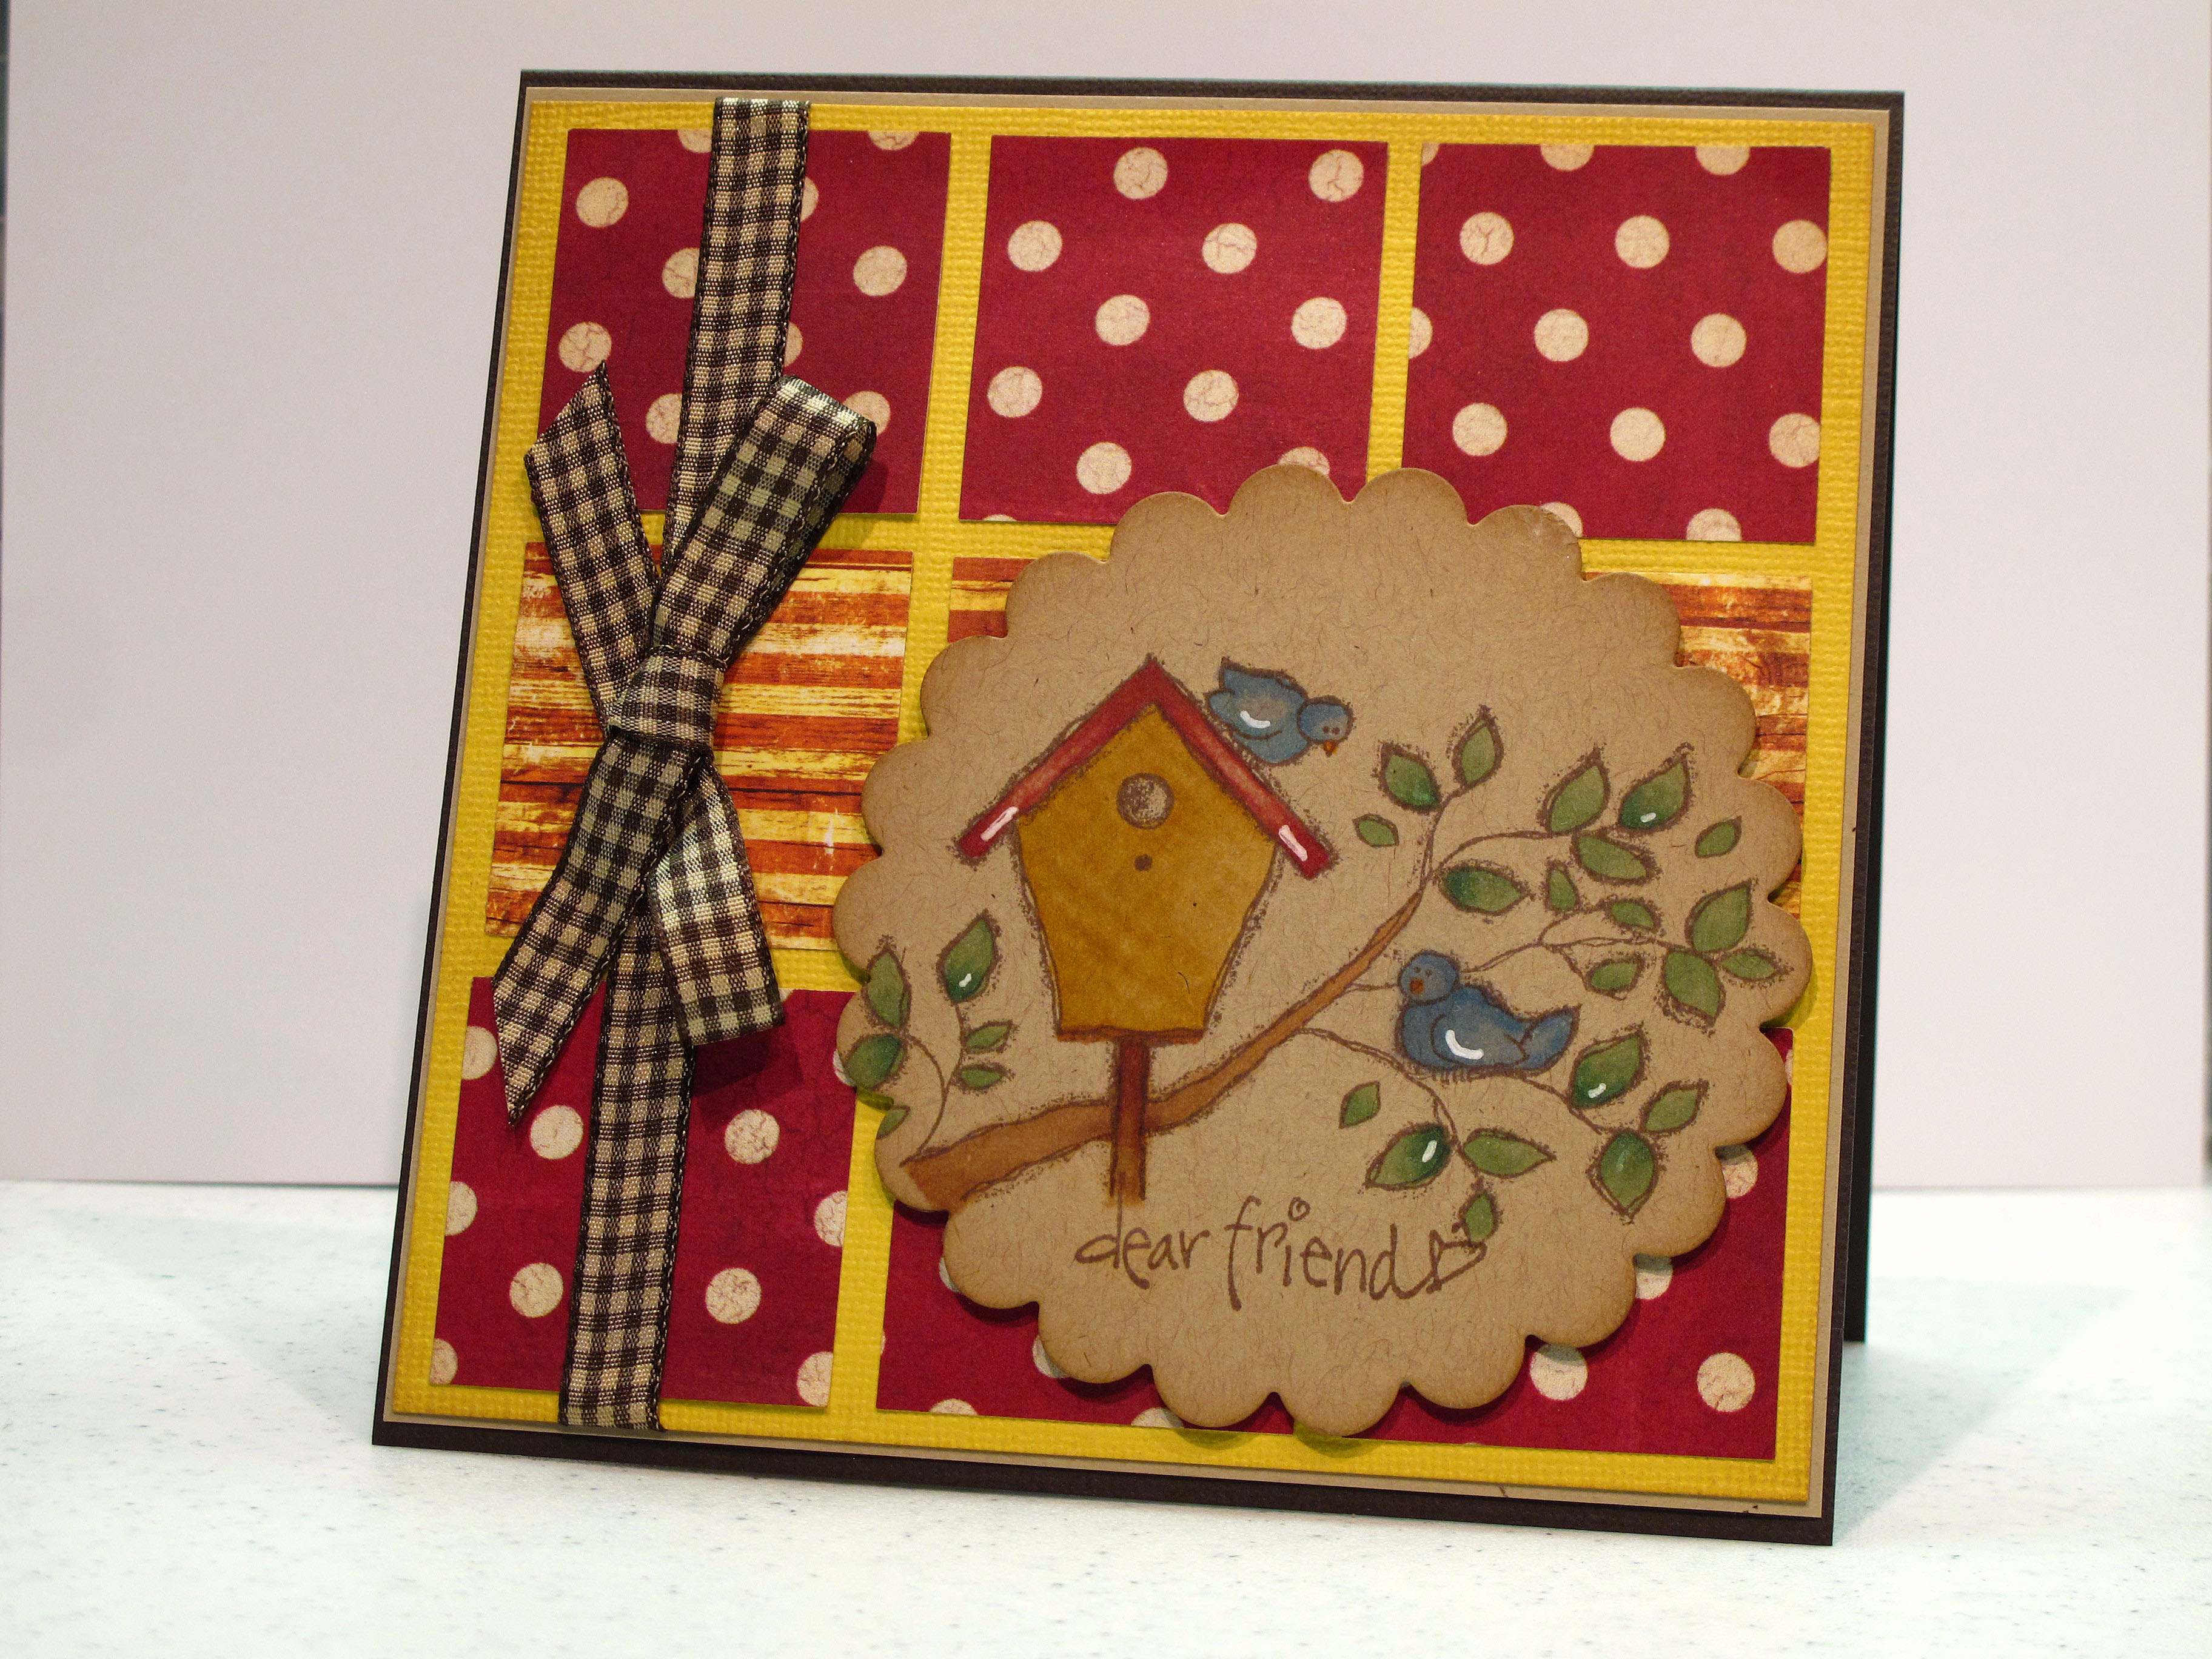
    Today's card is my entry for Taylored Expressions #110 sketch challenge. You can find her blog by clicking here. Seems as though everyone is into squares lately! Good thing I have a square punch so I didn't have to try to get all those squares perfect!

    Here is the sketch layout:

    TESC110


    Here is my card! I tried to make it sort of country and fun at the same time.

    IMG_1648


    IMG_1650


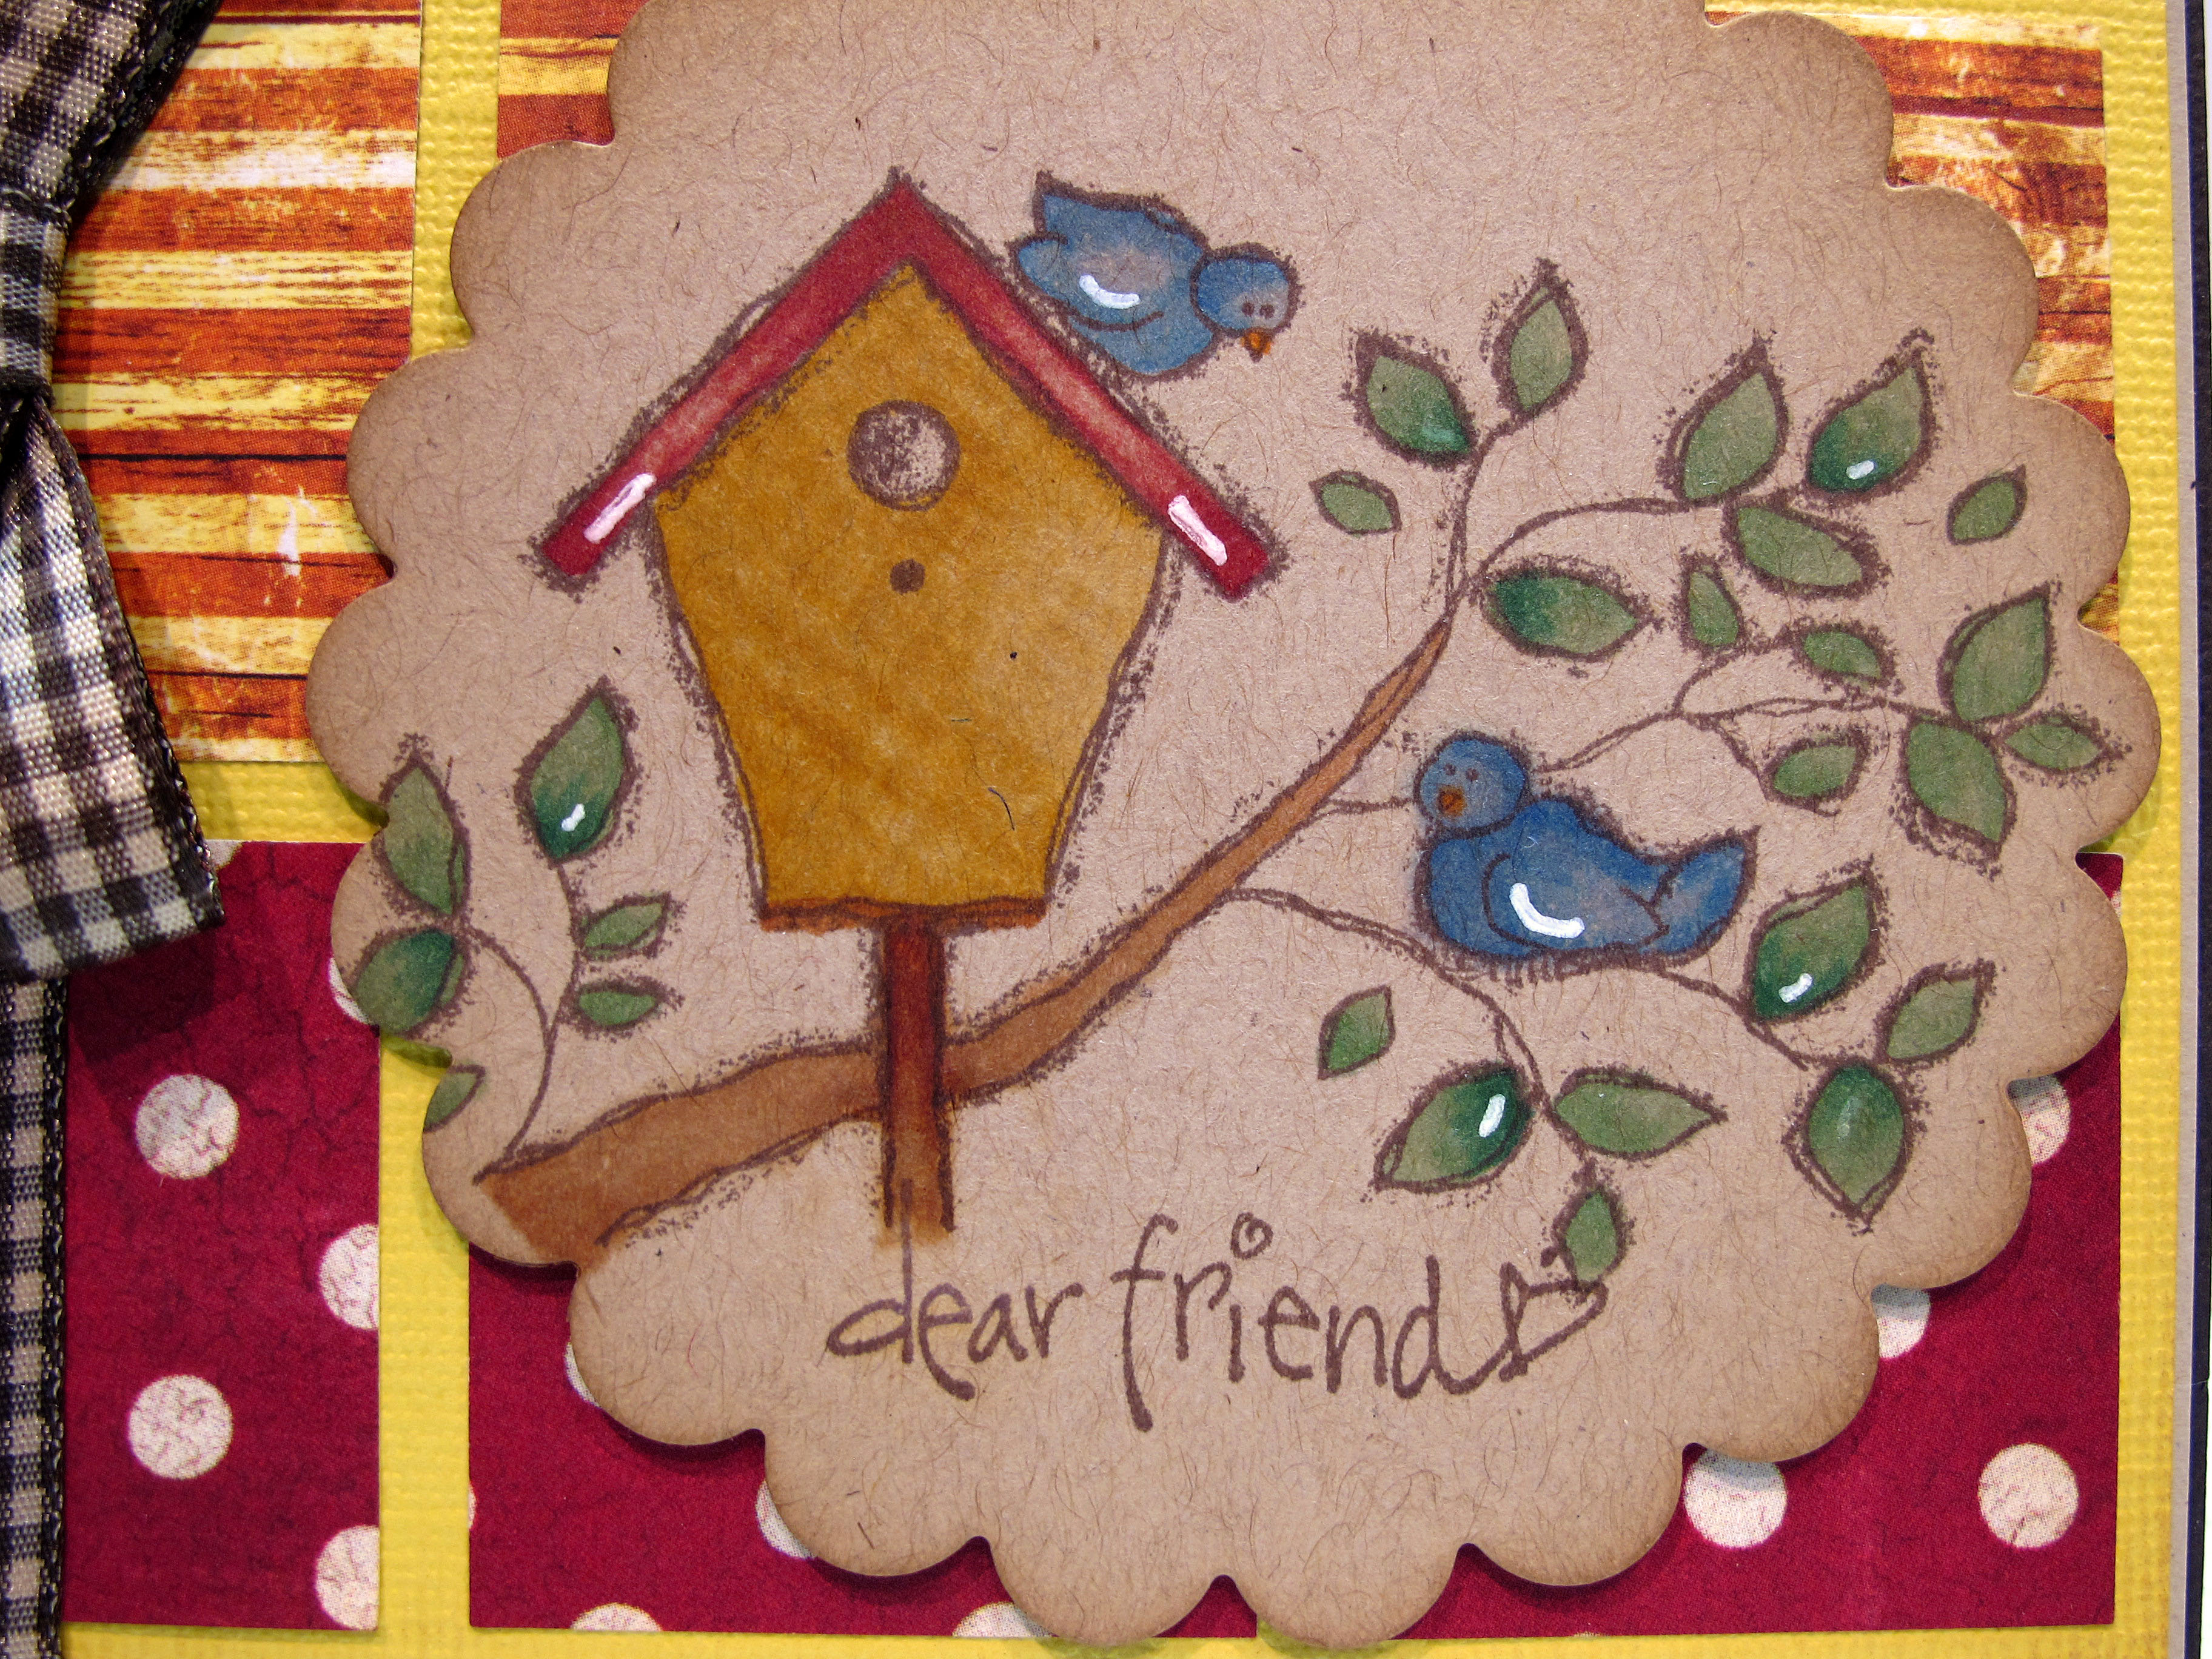
    Something I have been wanting to try for a long time is using my Copic markers on kraft paper. This is my first attempt at that! I had thought I would use darker colors to make up for the darker paper…but the opposite turned out to be true. I used lighter colors! For the birdhouse I used two shades of mustard yellow and then made hatch marks with my blender pen to make it look weathered. Lastly, I got out the white gel pen to add some highlights.

    IMG_1649


    IMG_1651 

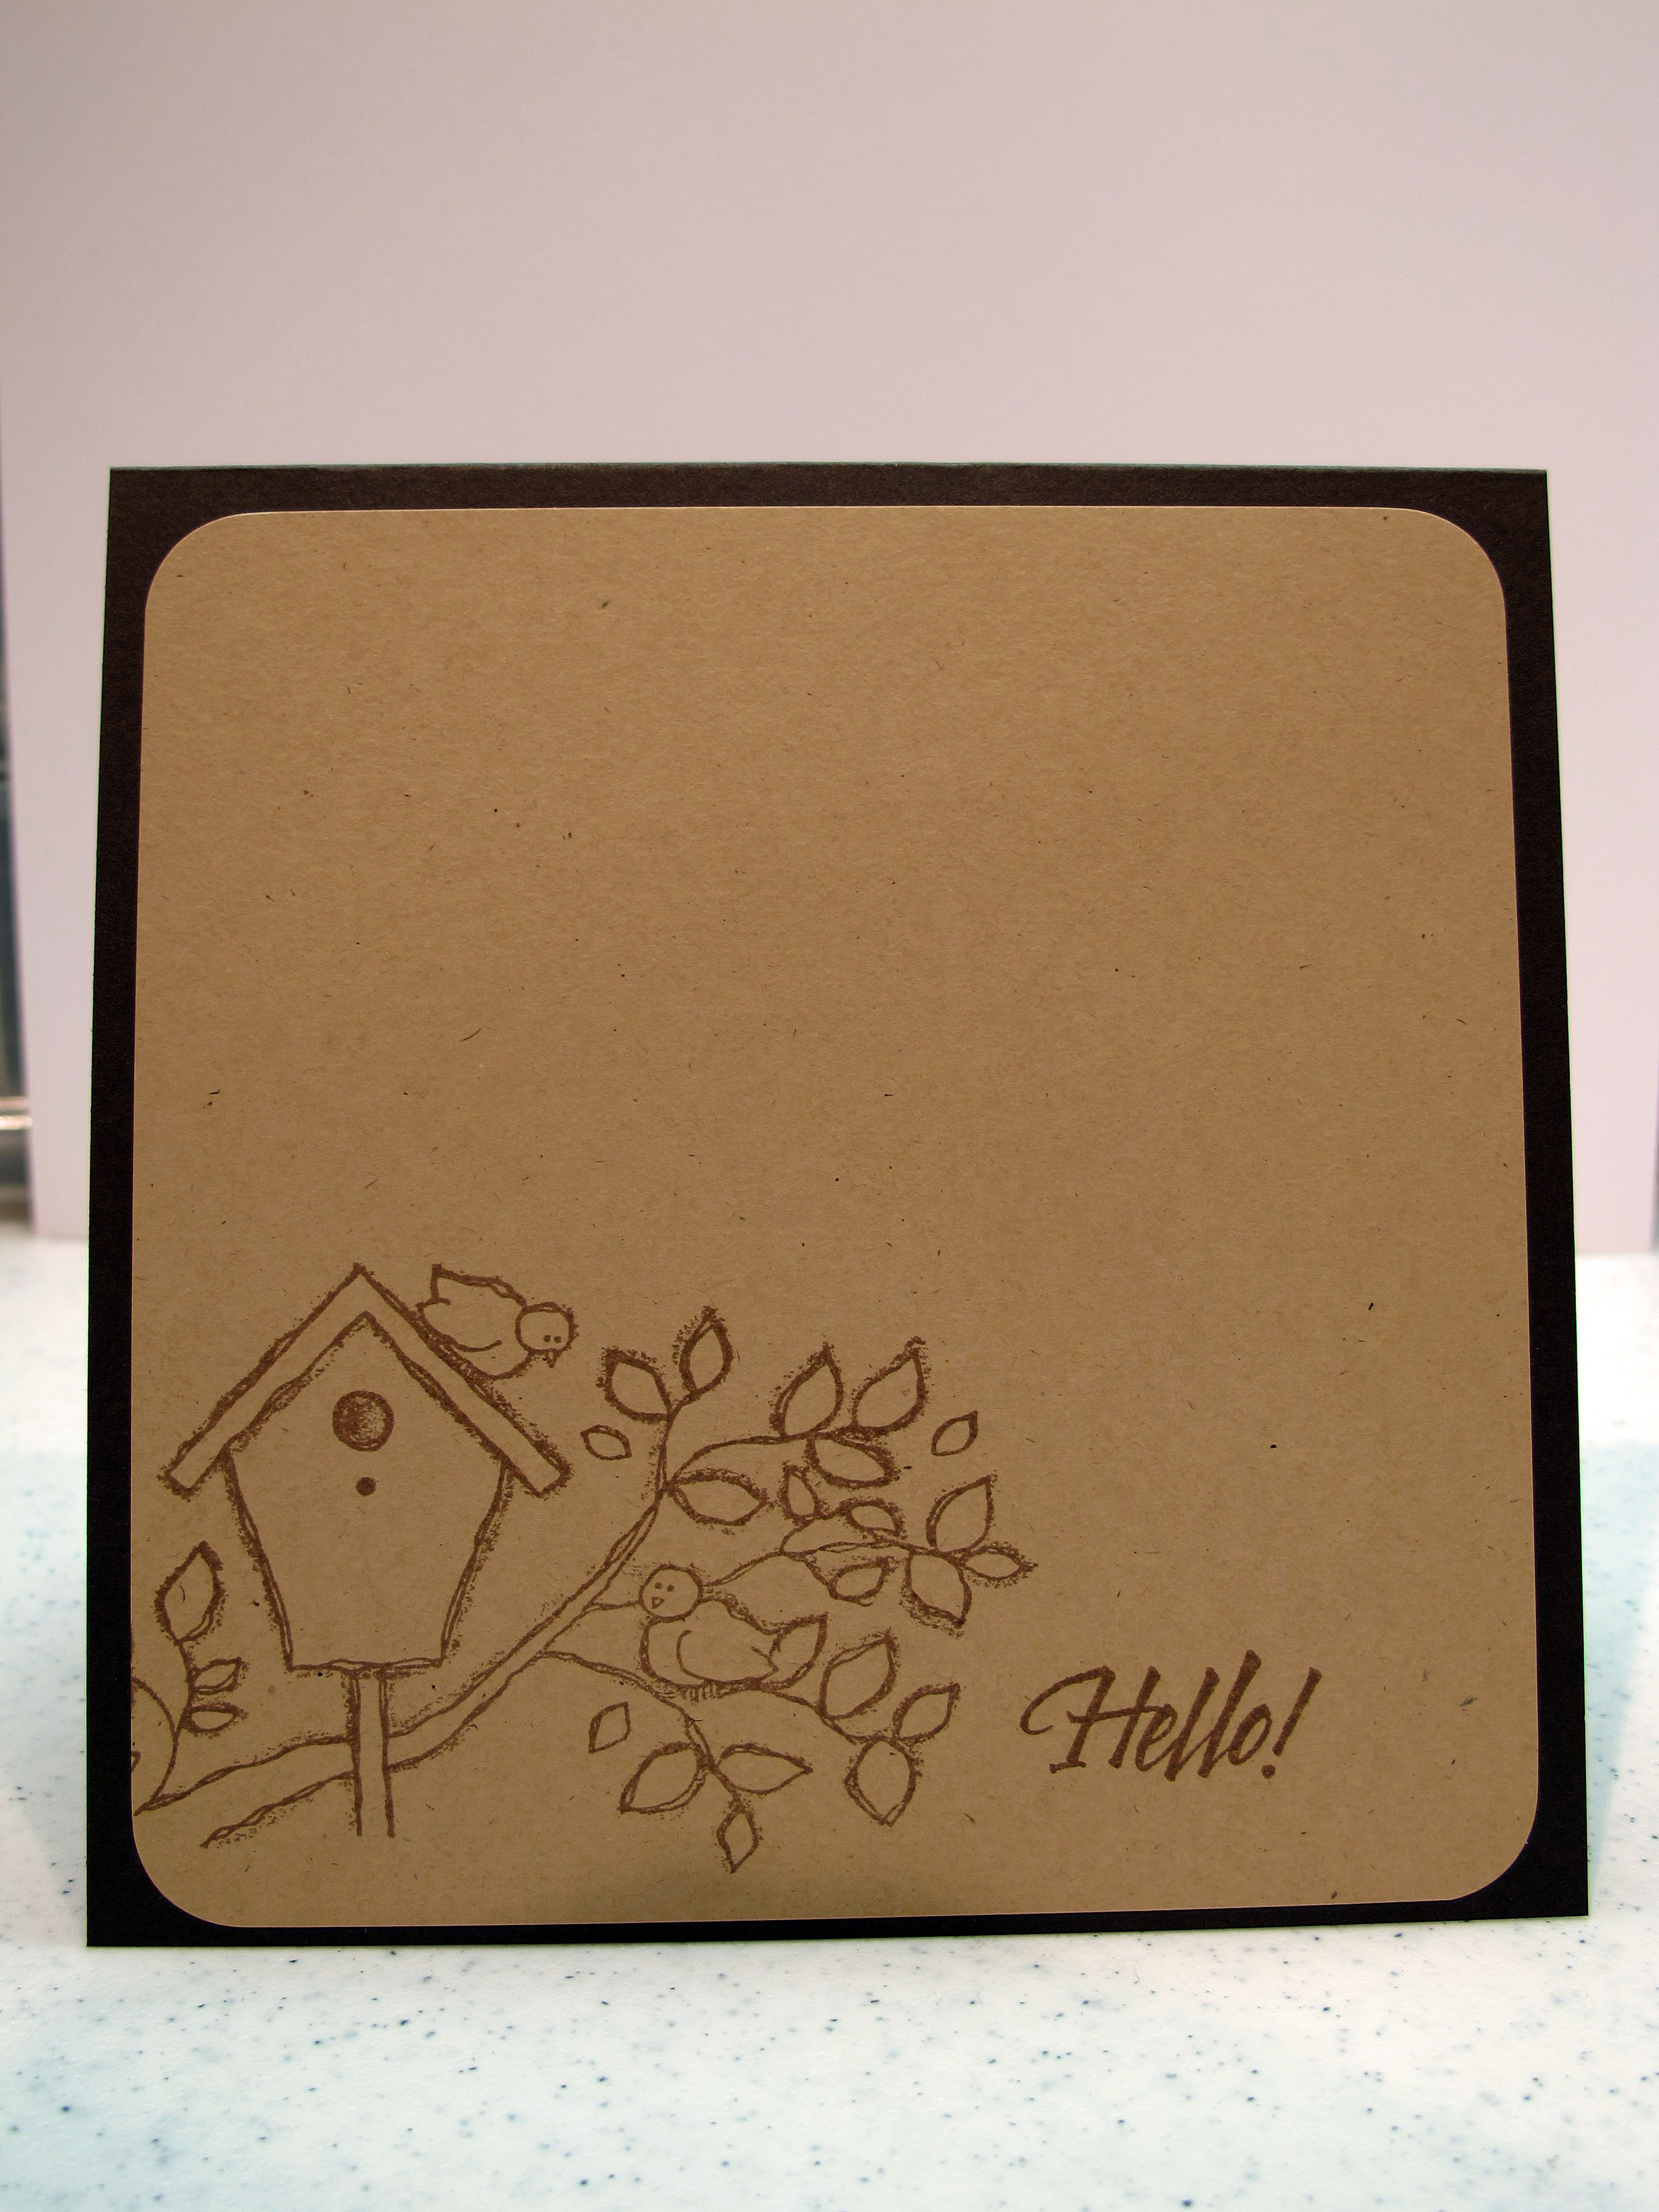
    For the inside I just stamped the front image again and didn't color it…added a happy hello!

    IMG_1653


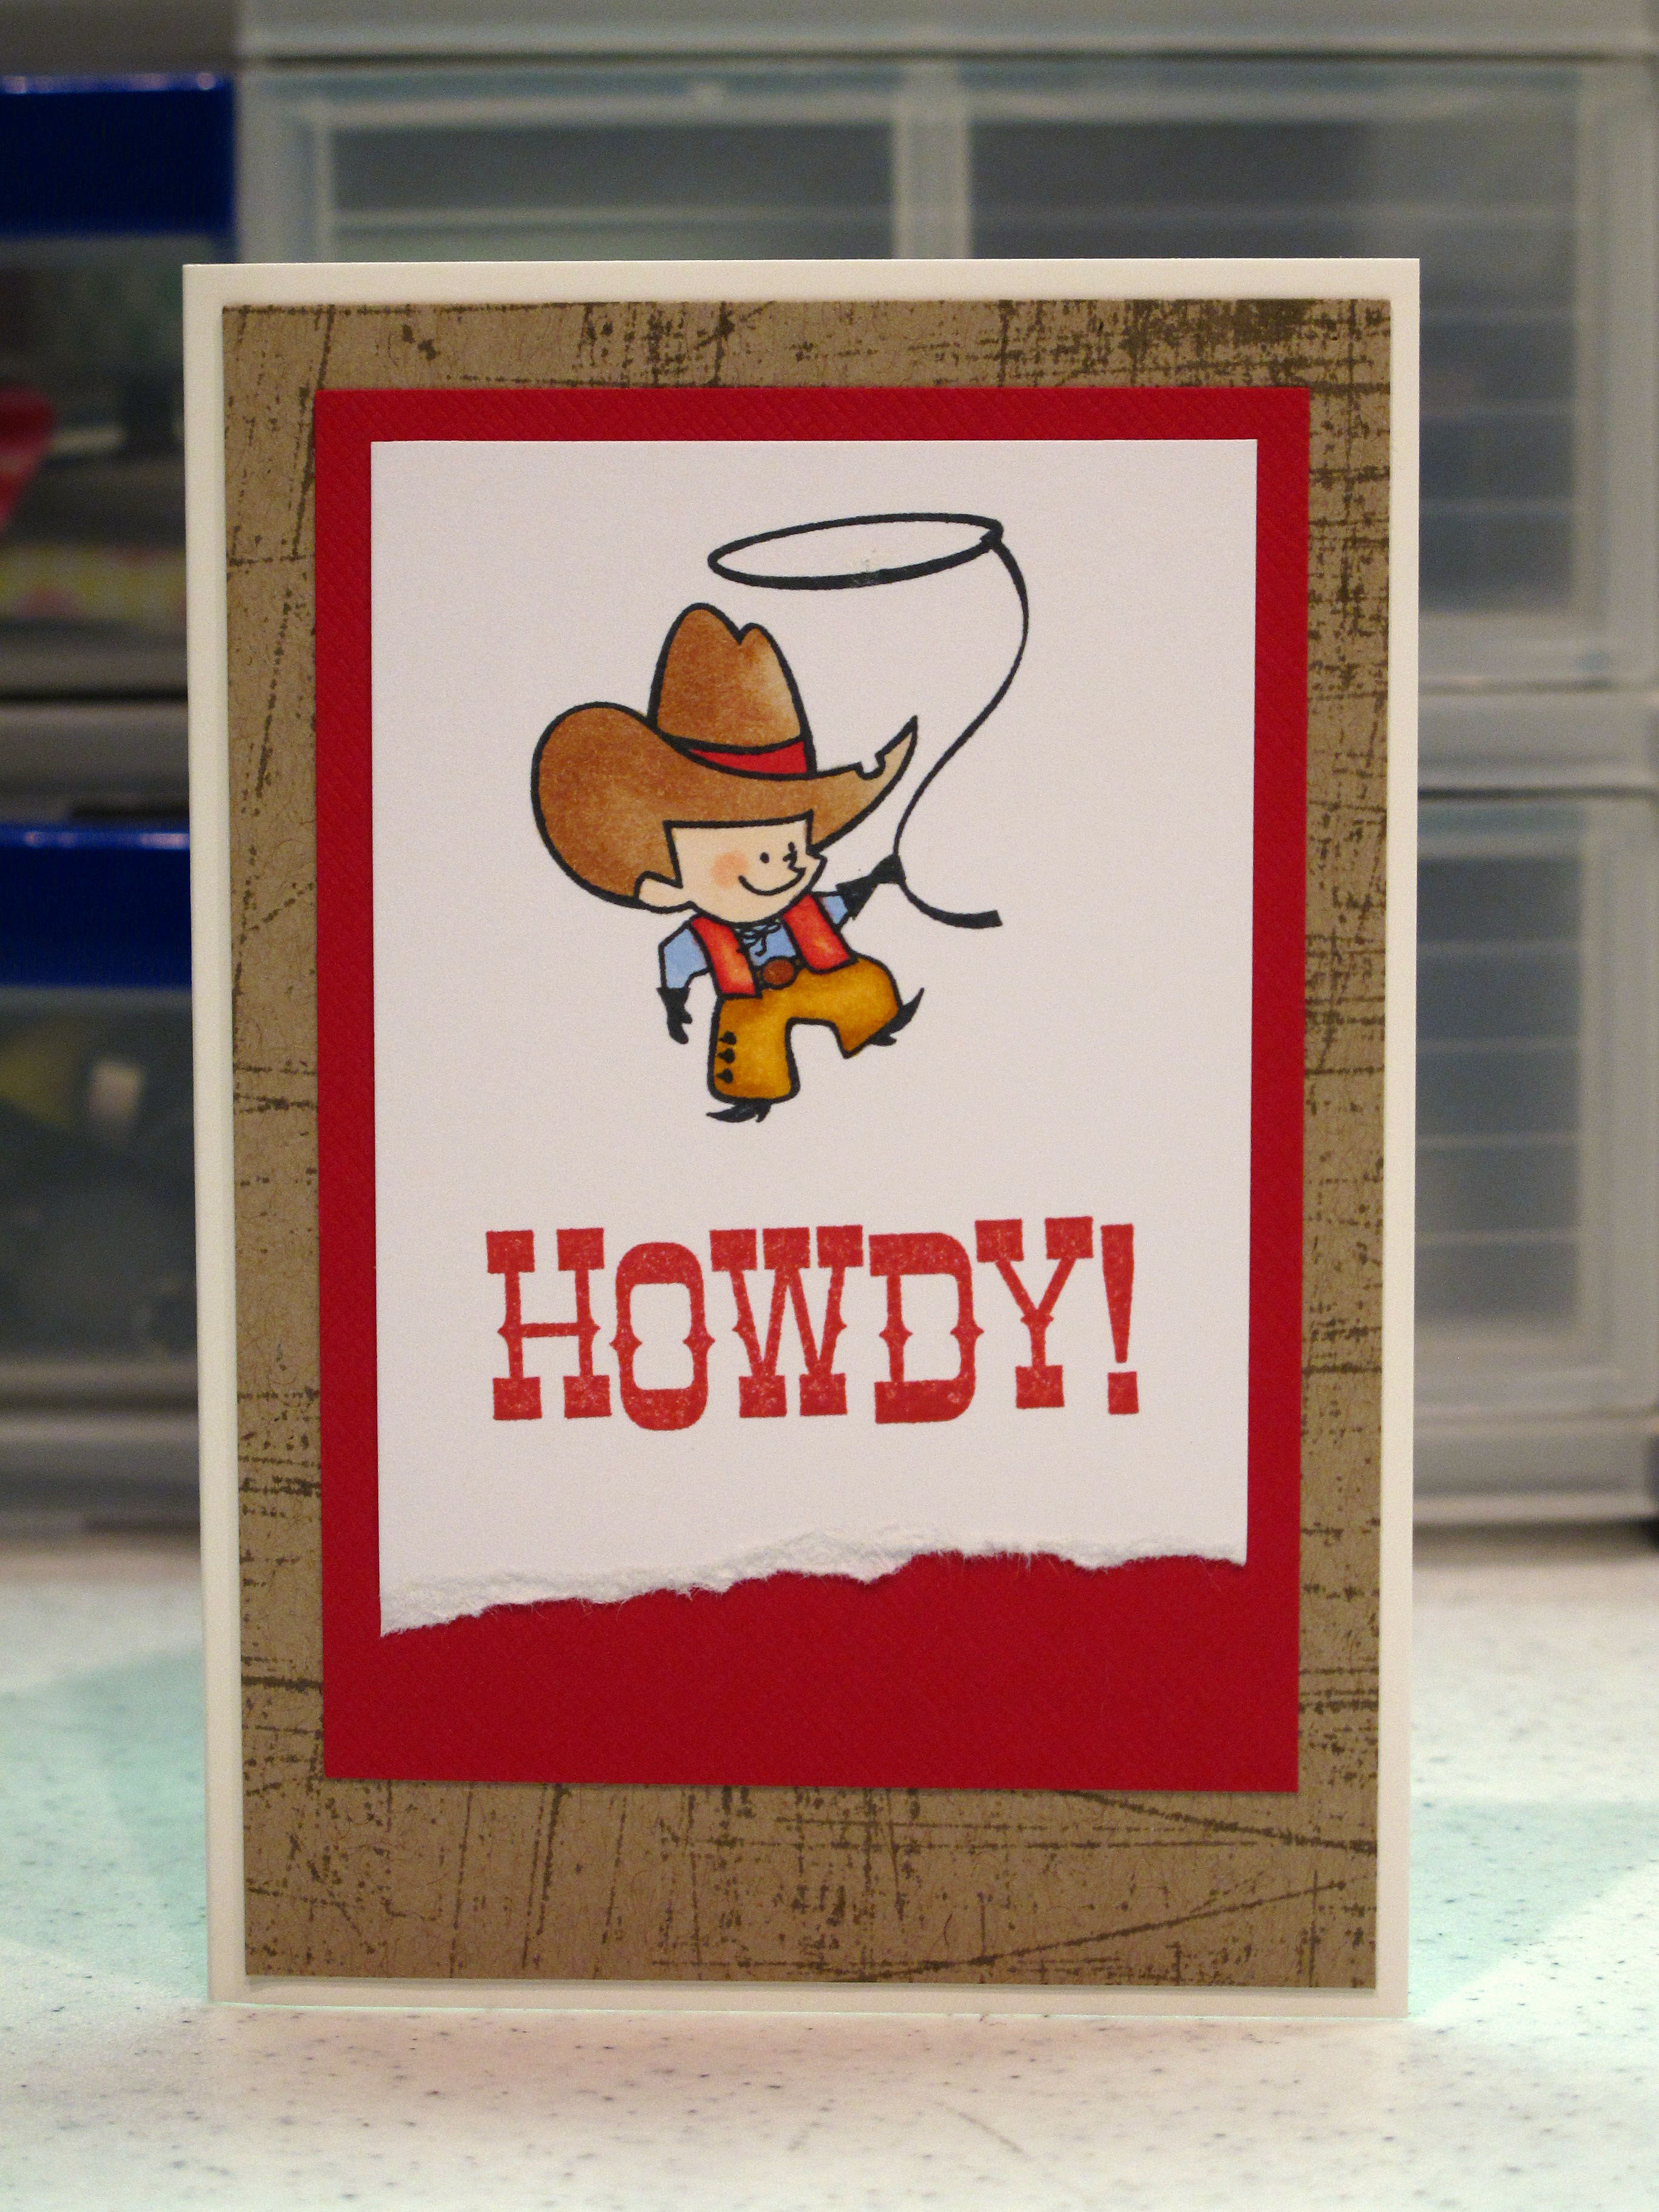
    Here's another quick and simple card I made - thought I would throw it in too! Love those stamps from Cats Pajamas! How cute is that little cowboy??

    IMG_1642


    Gotta run…too much good tv on tonight. Lost and DWTS results show…and Biggest Loser… Ack! And I still have some chores to do…and eat dinner…bye!


  • My Craft Studio!

    Hi everybody! For the past two days we have been cleaning and doing yard work non-stop. Whew. I'm about done with all the chores for a bit. It's beautiful outside and it was time for a good old fashioned Spring cleaning at our house. We even did the windows. How great does that feel? I love it – afterwards! haha. Everything is in tip top shape and sparkly.

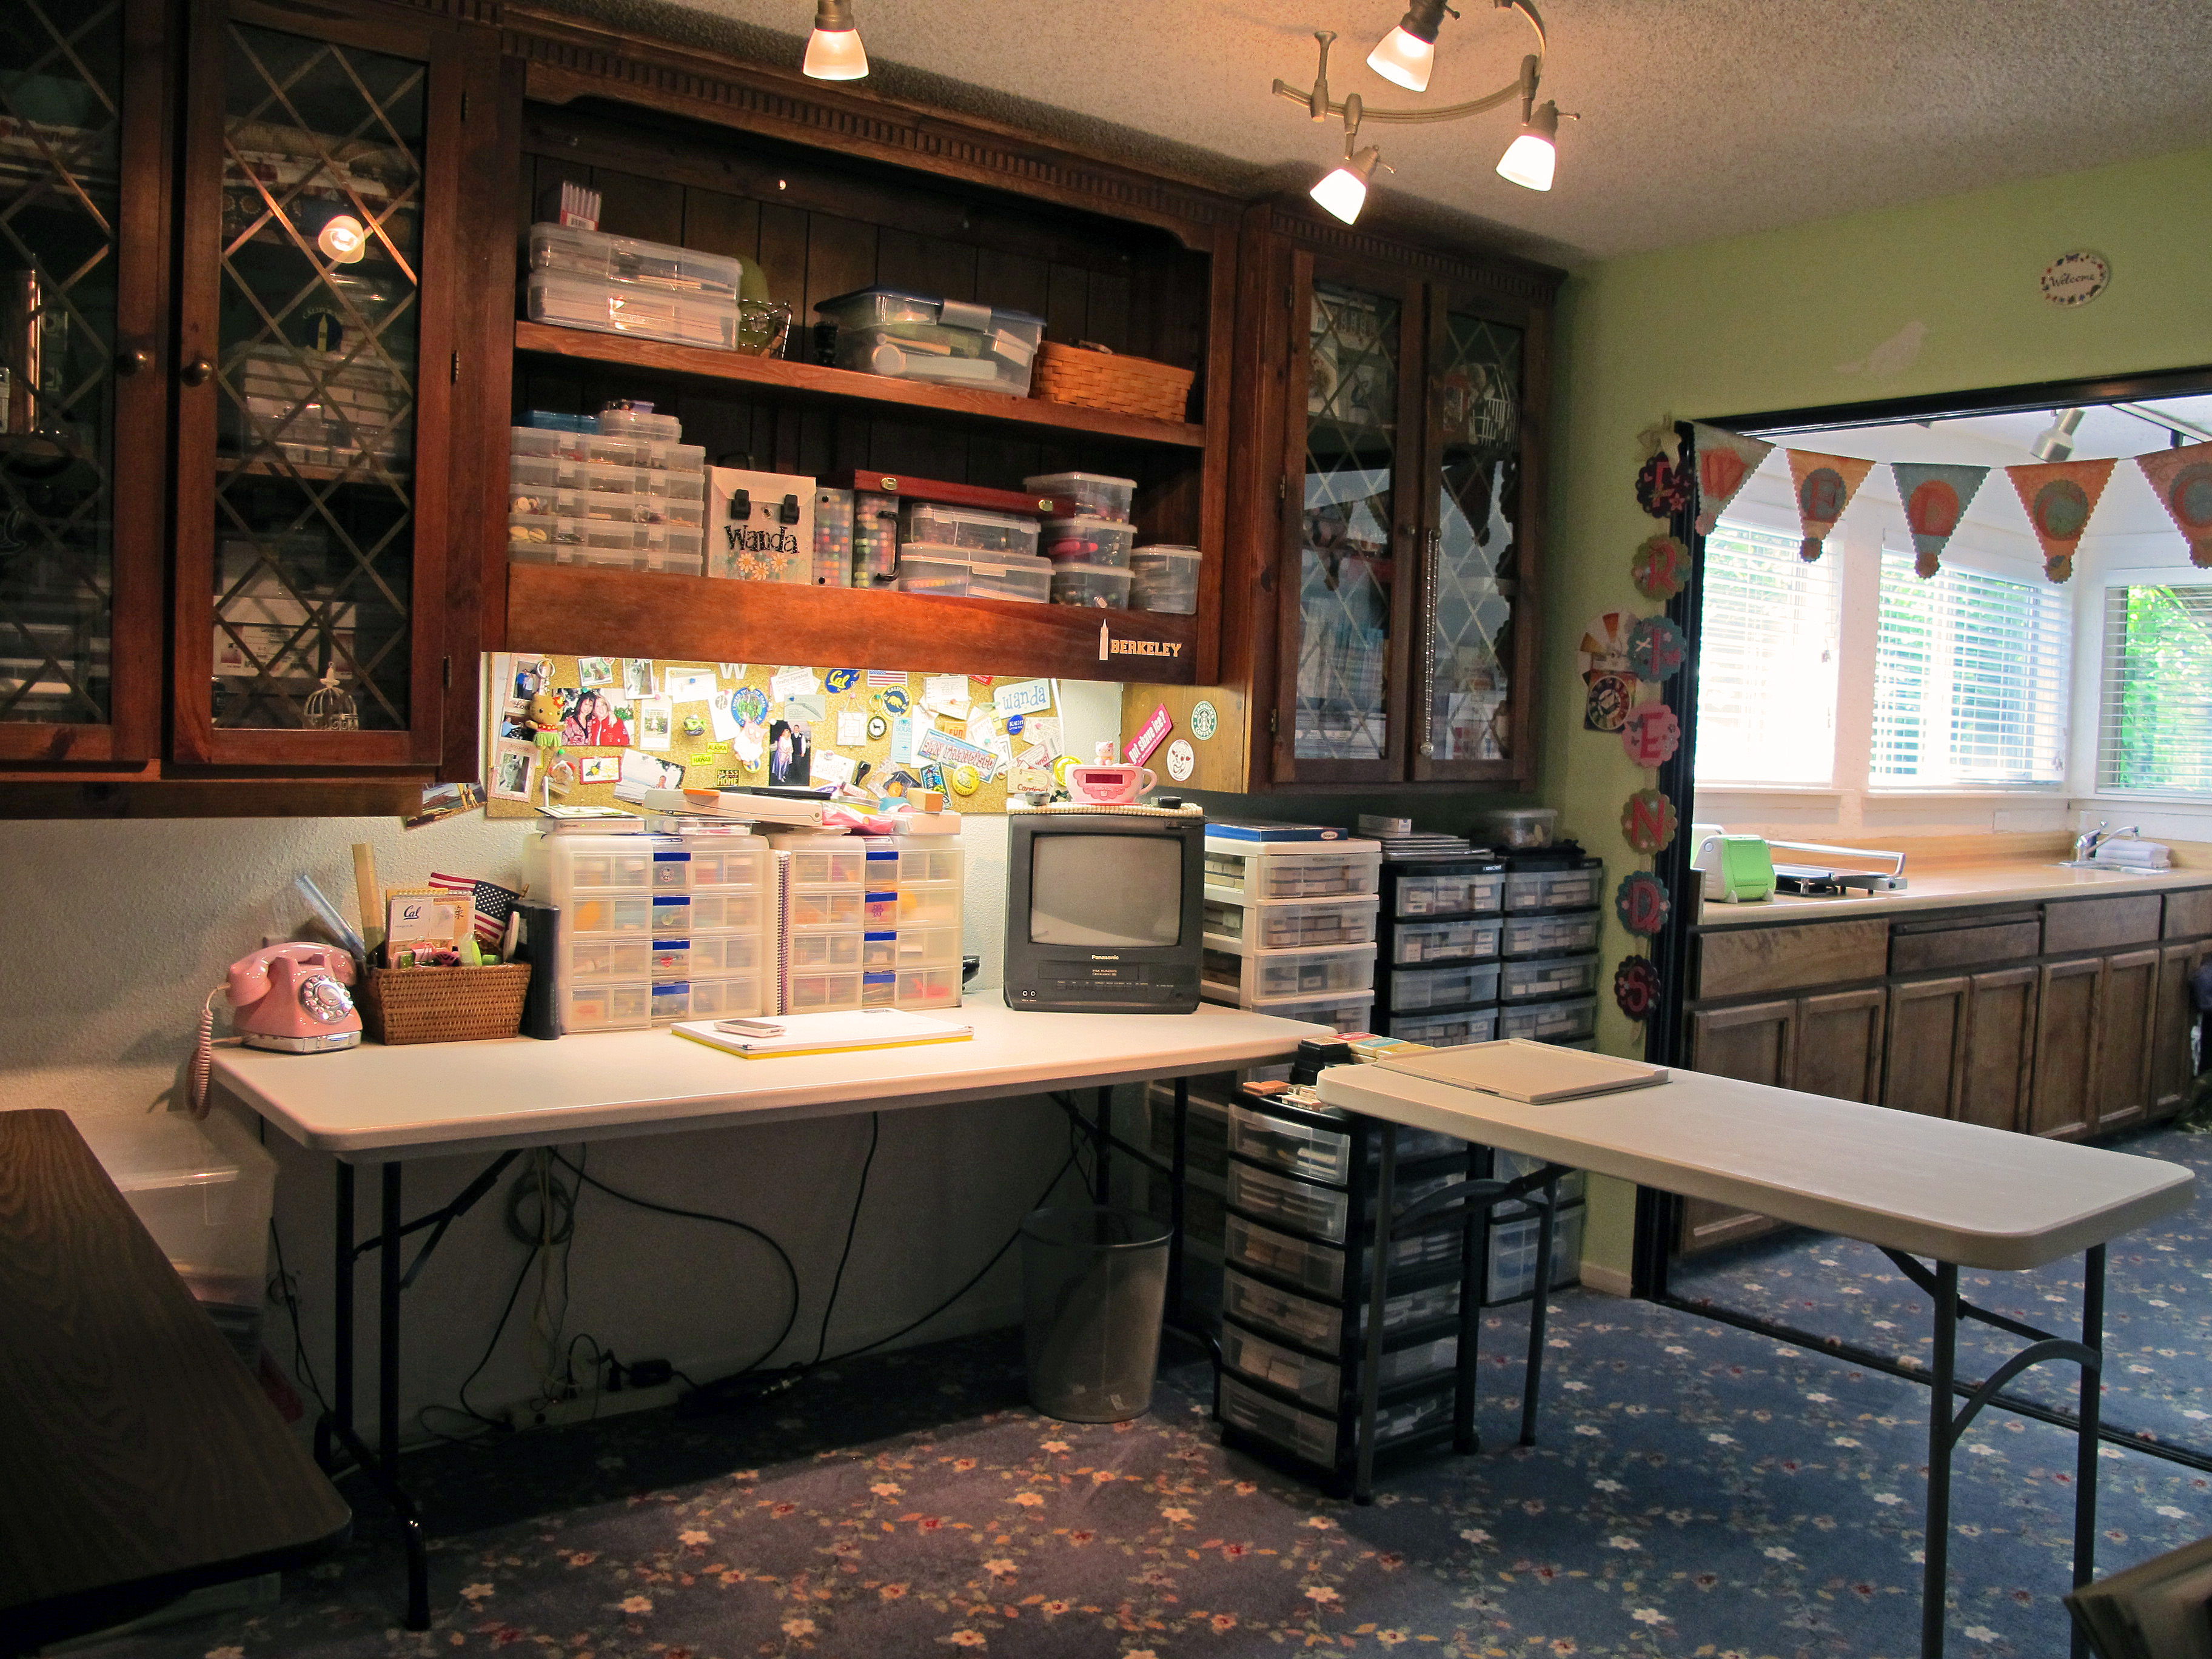
    Given that we have been cleaning and doing chores…I have not had time to stamp anything this weekend to post on the old bloggy blog. However – I thought it would be a good time to share pictures of my craft studio! What the heck, it might not be this clean again for a while!

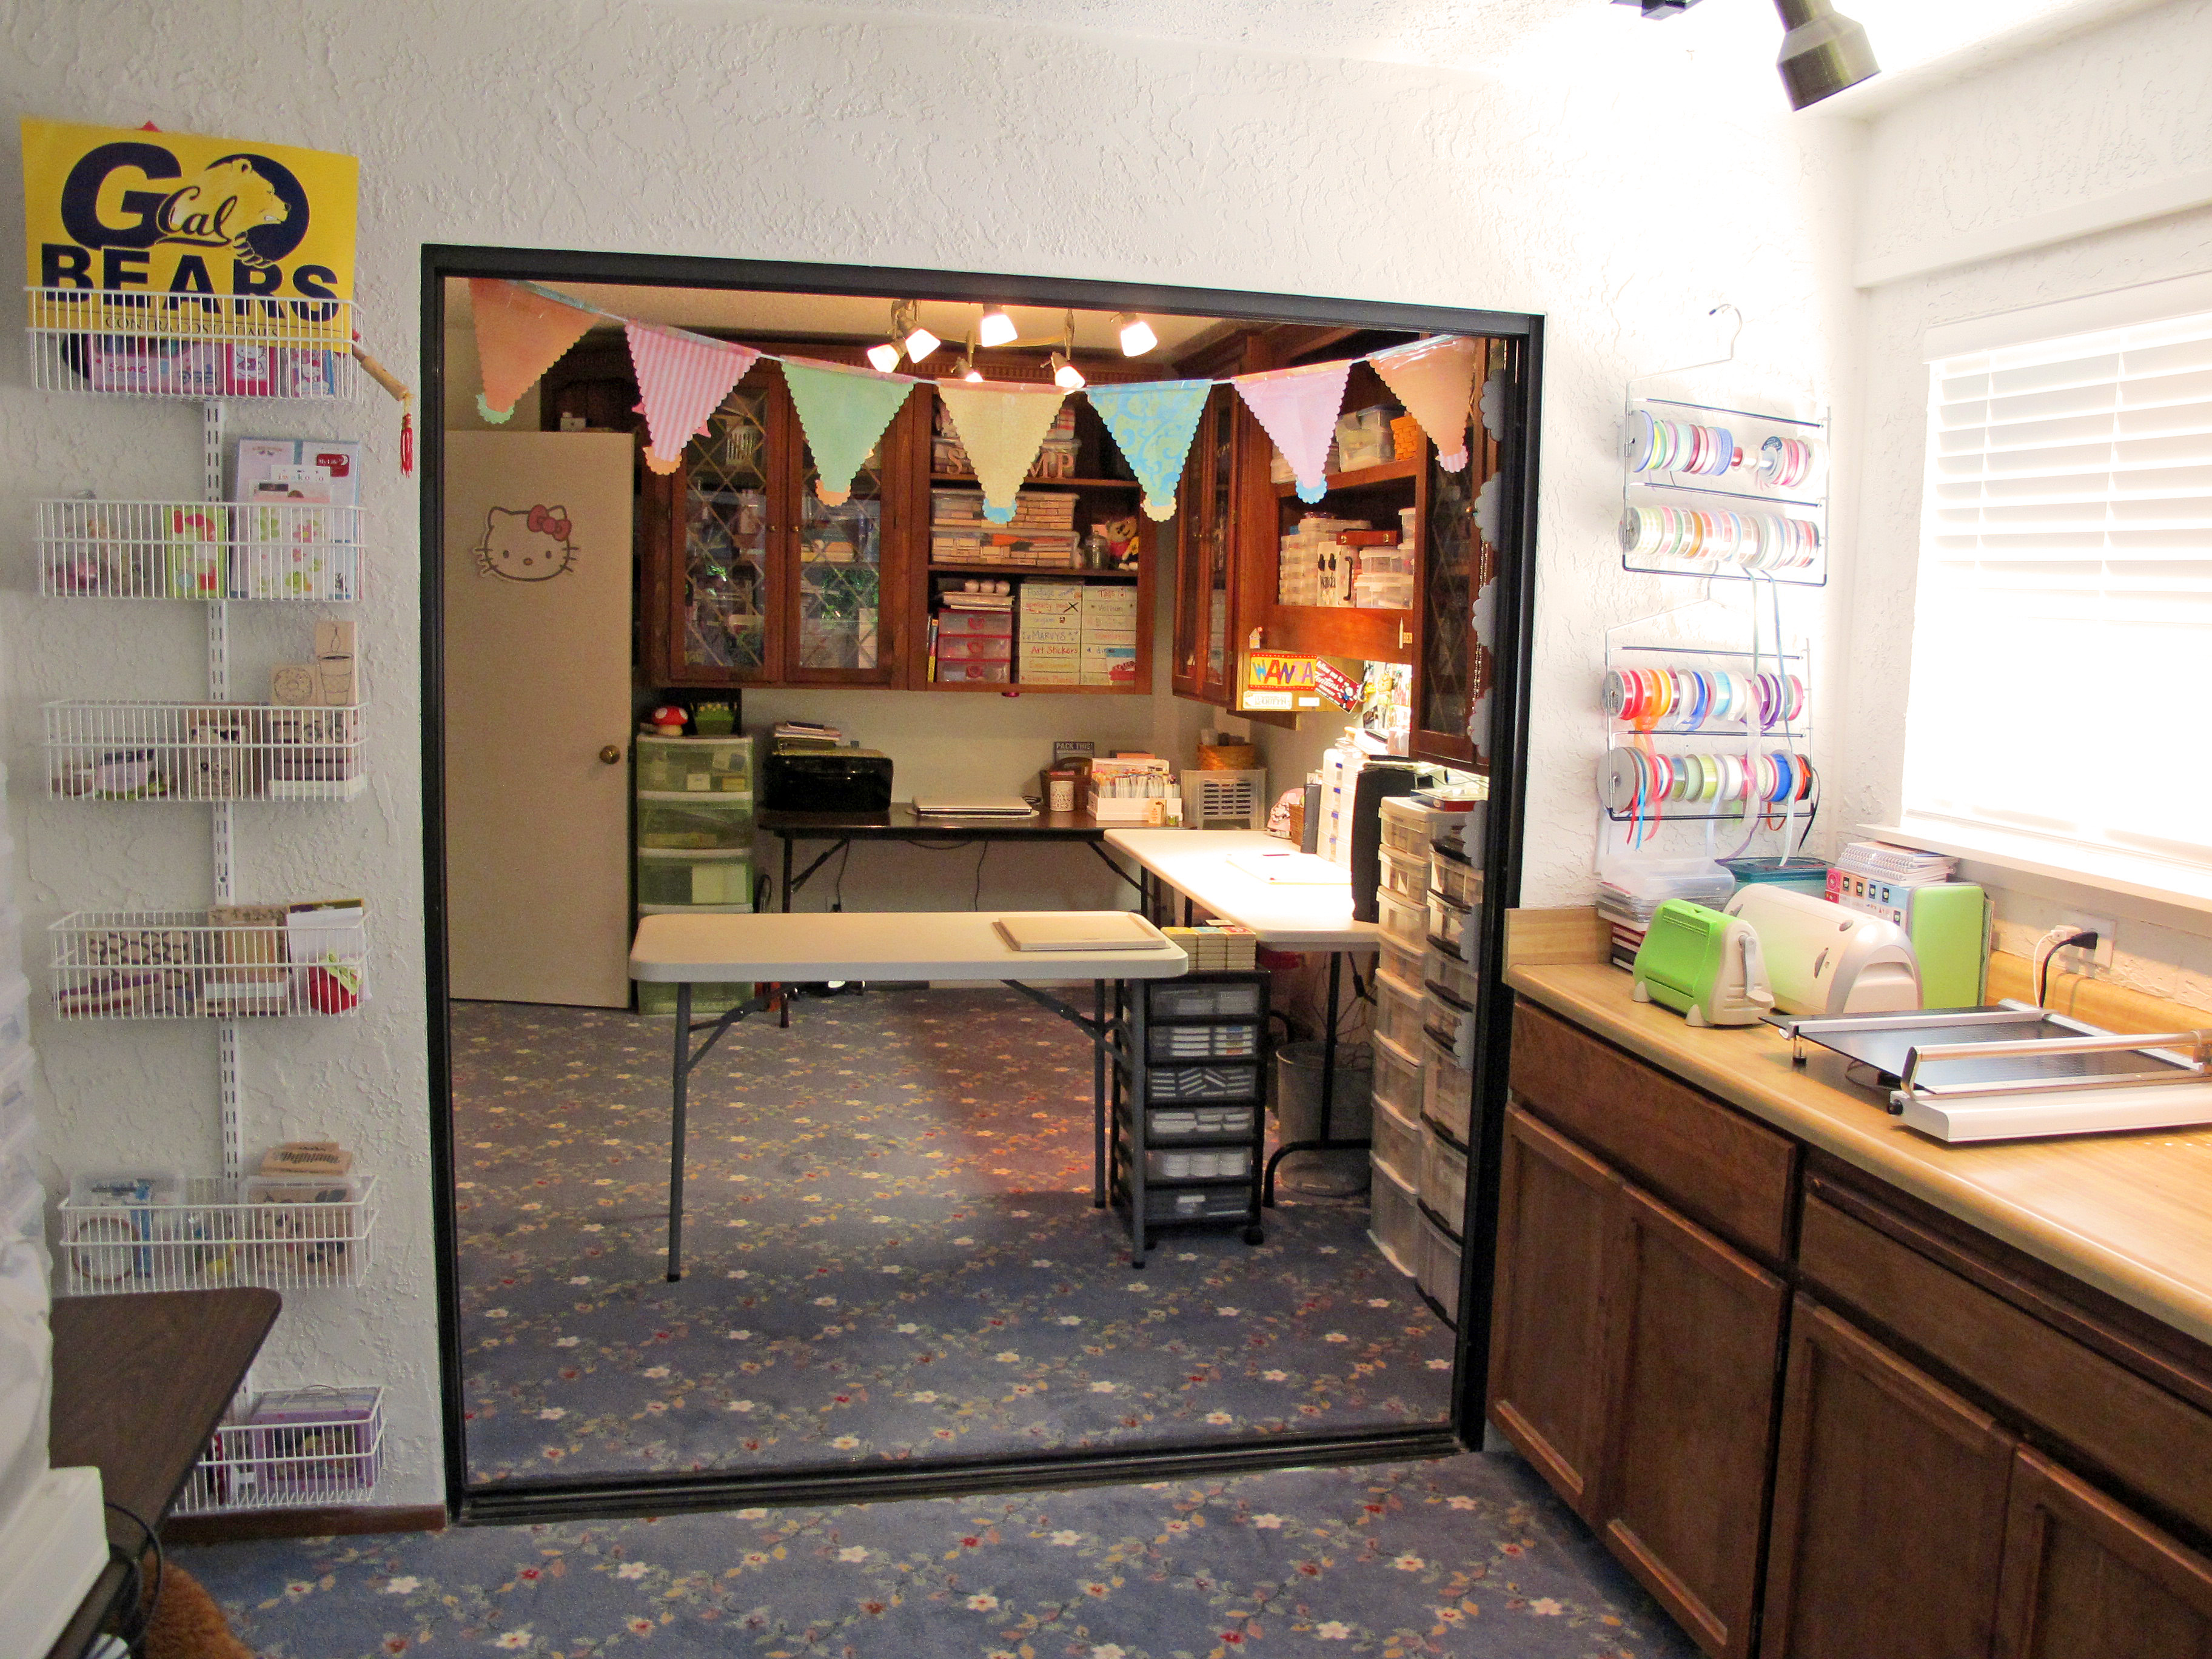
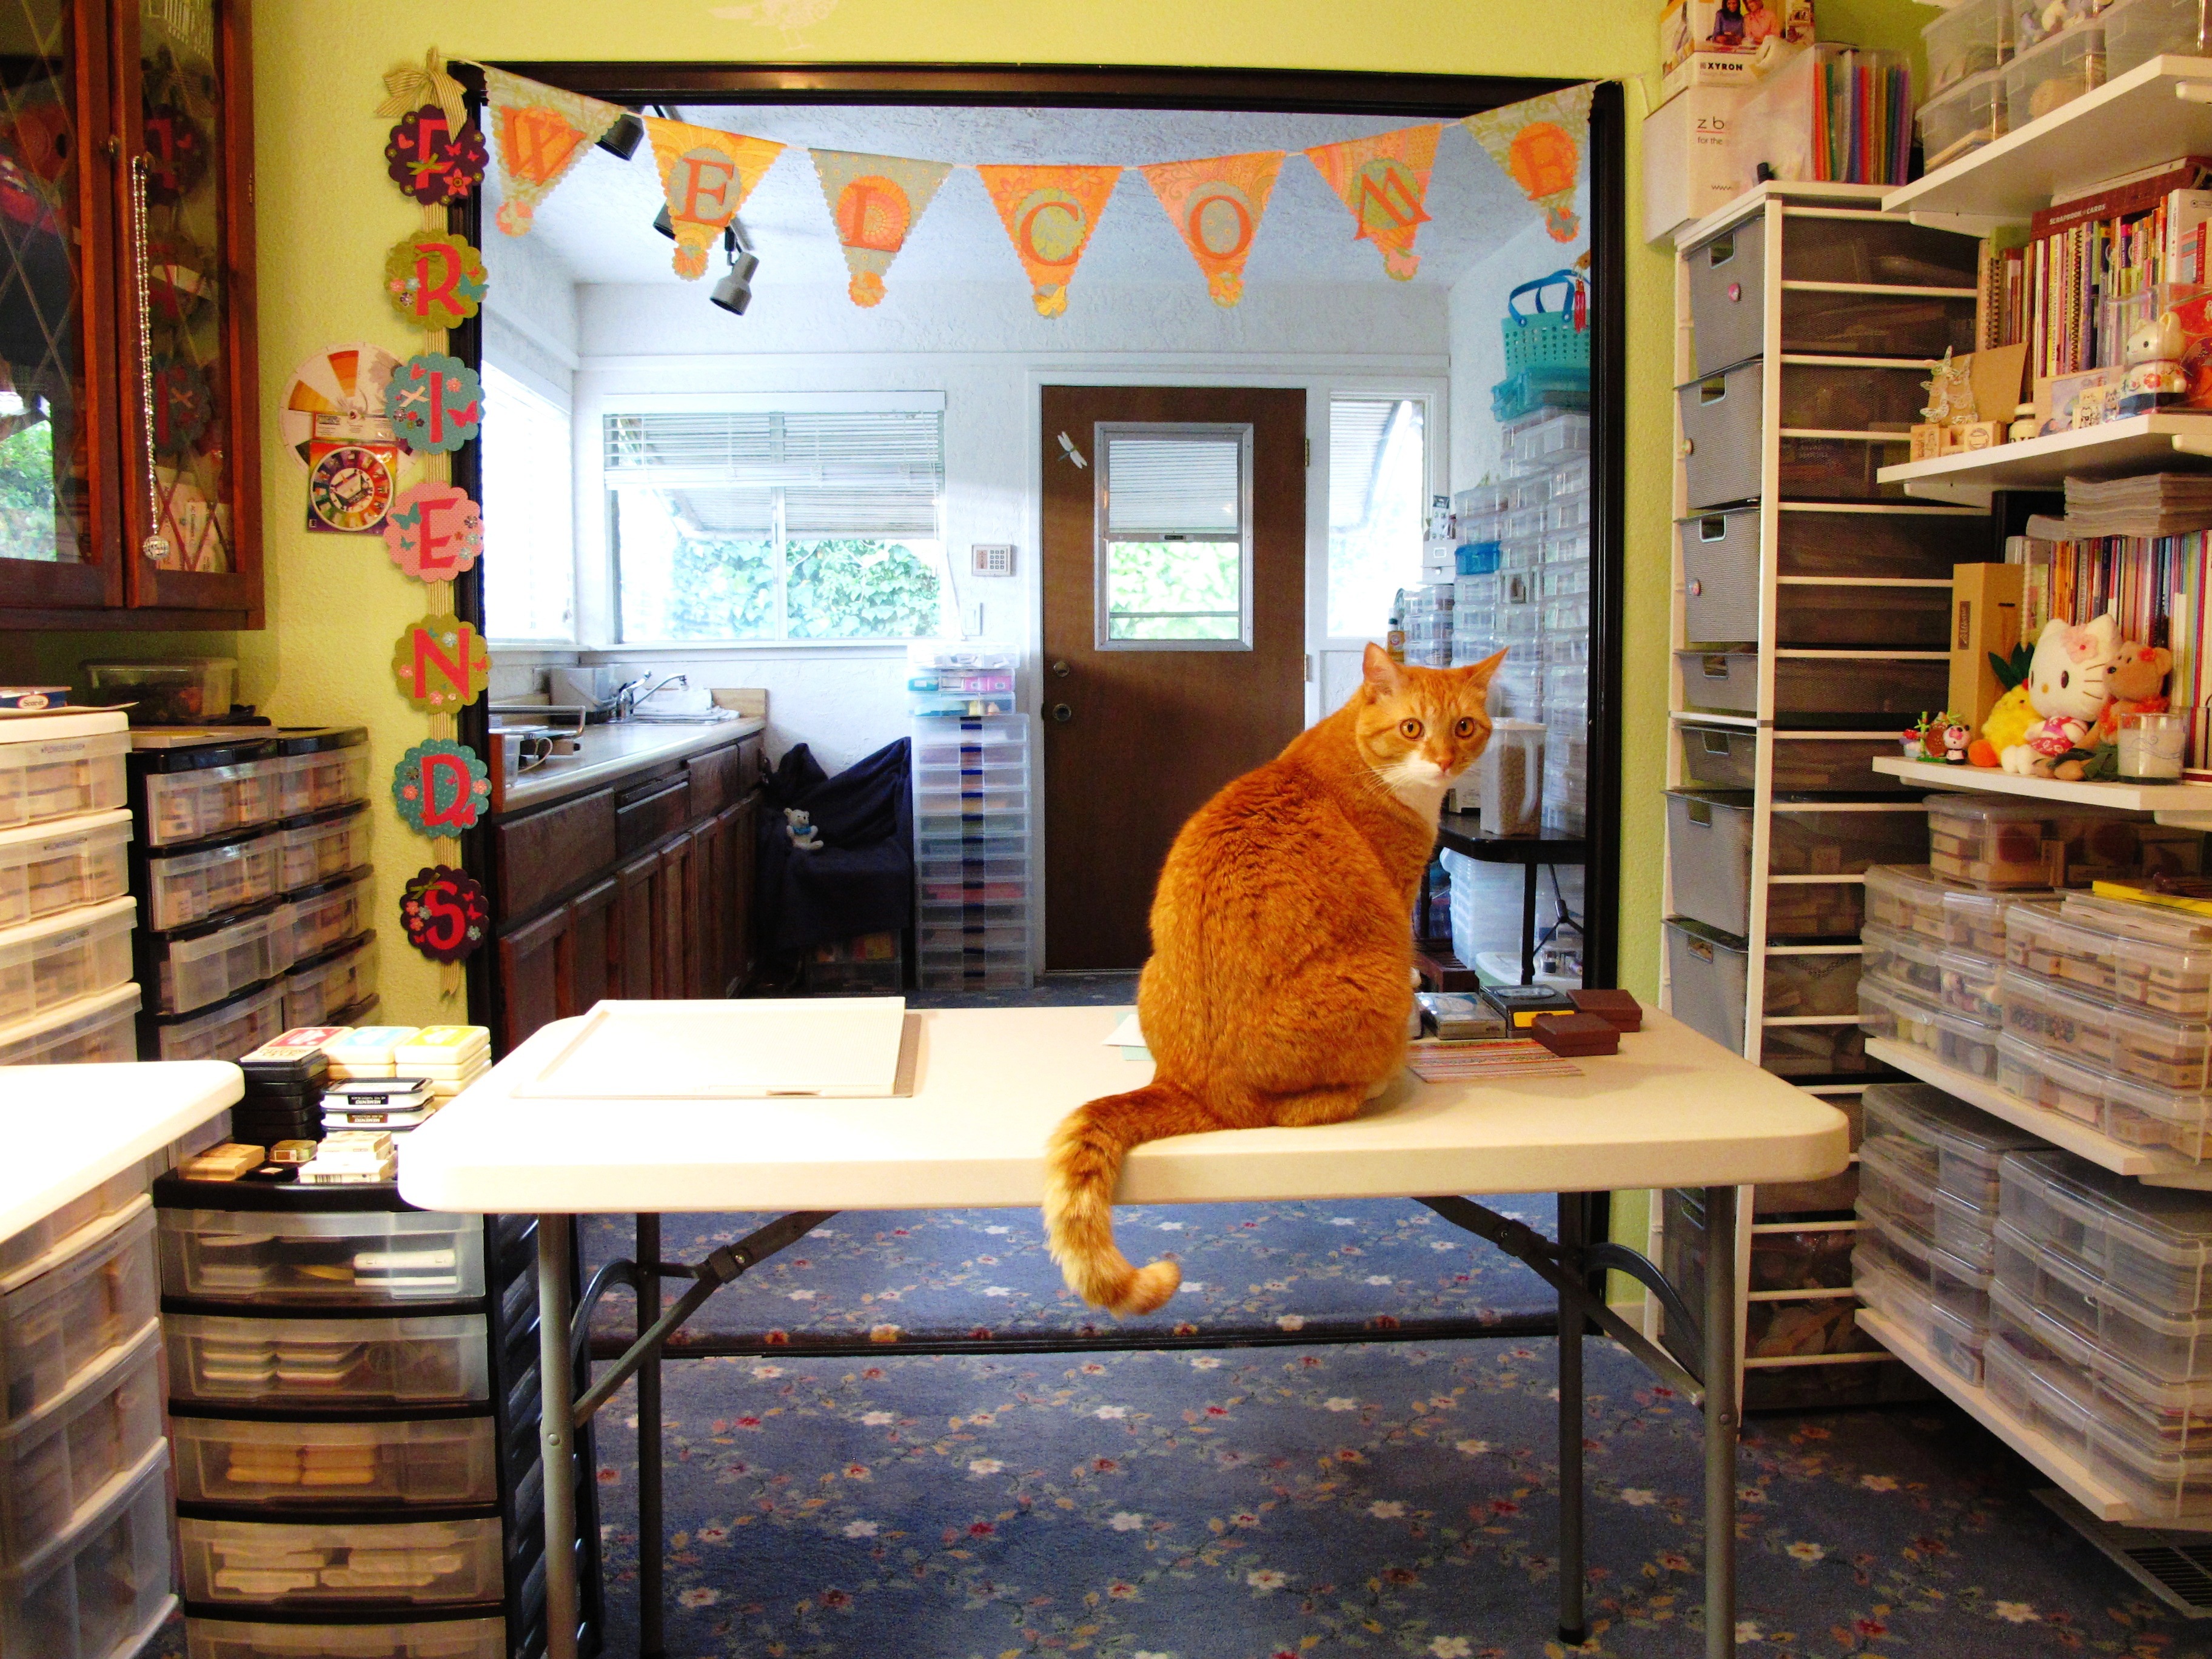
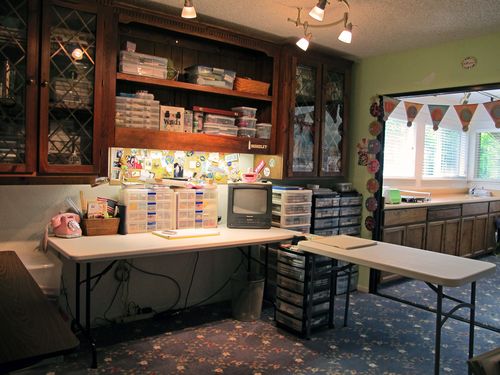
    This is the view from the door as you walk in. The table on the right is a new addition and I like it for extra stamping room and for when someone comes over to stamp with me! The bins right in front on the main table hold all of my necessities: scissors, adhesives, glue, bone folder, exacto knife, etc.
    IMG_1616

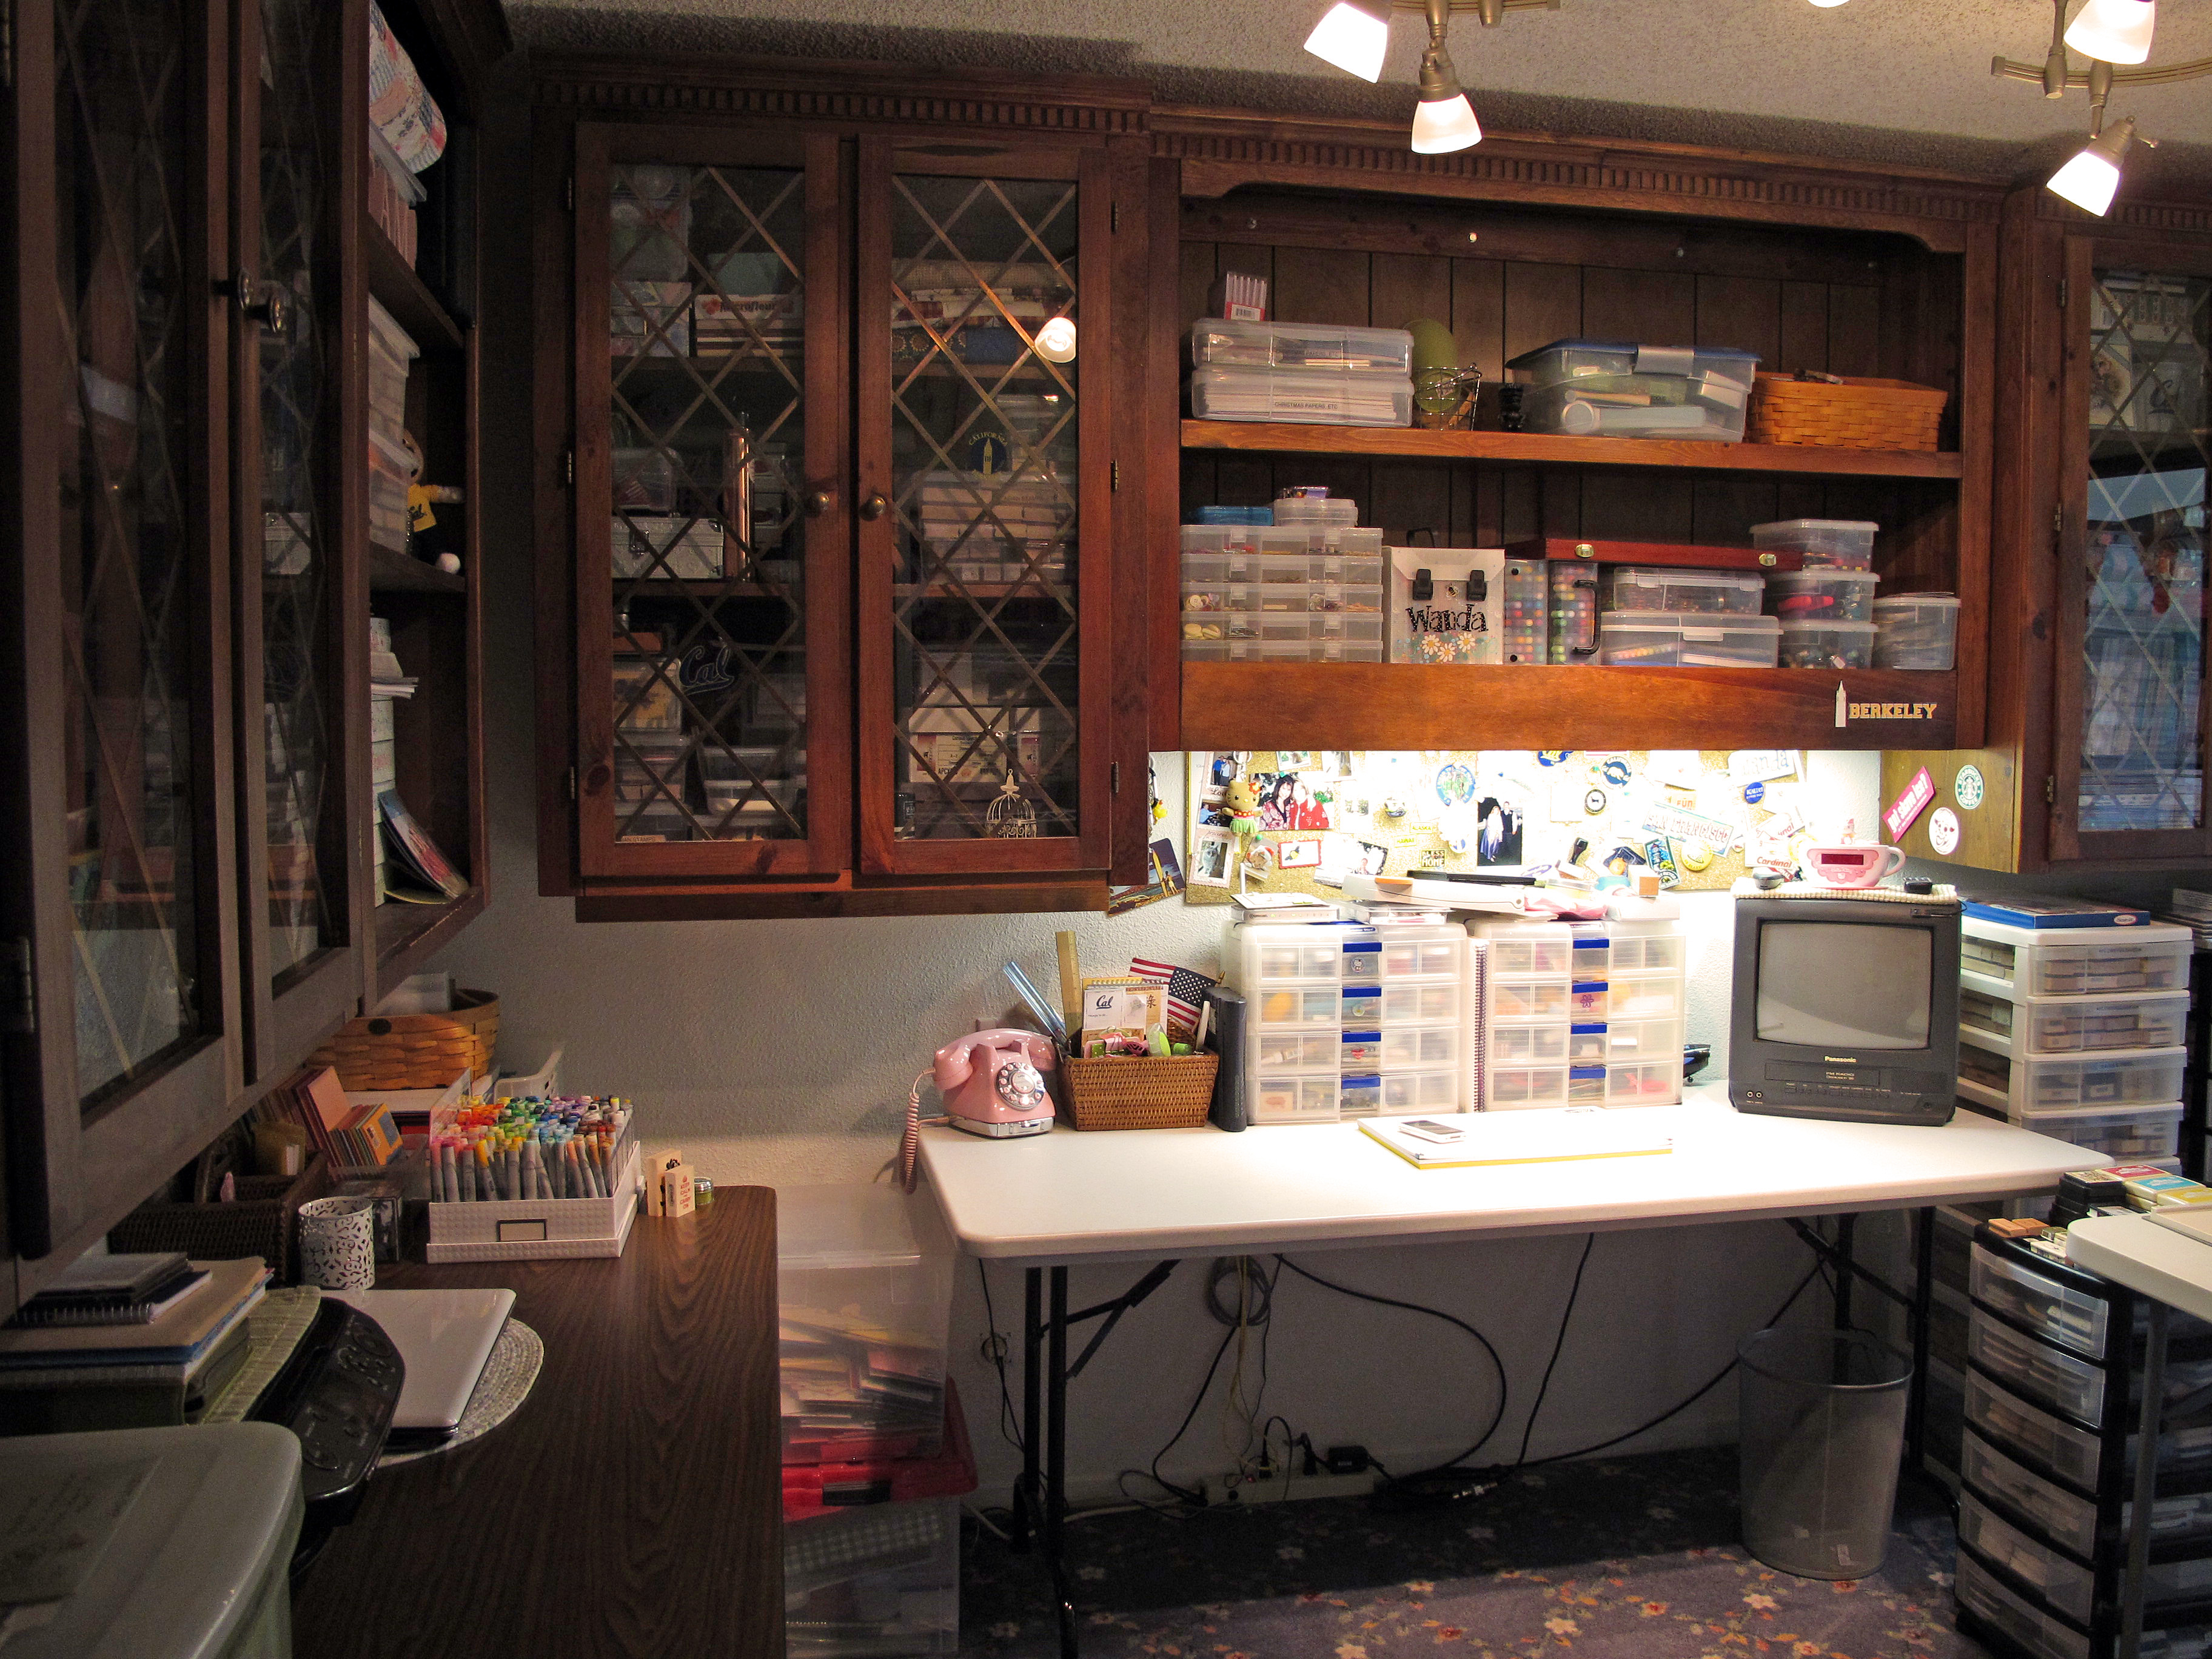
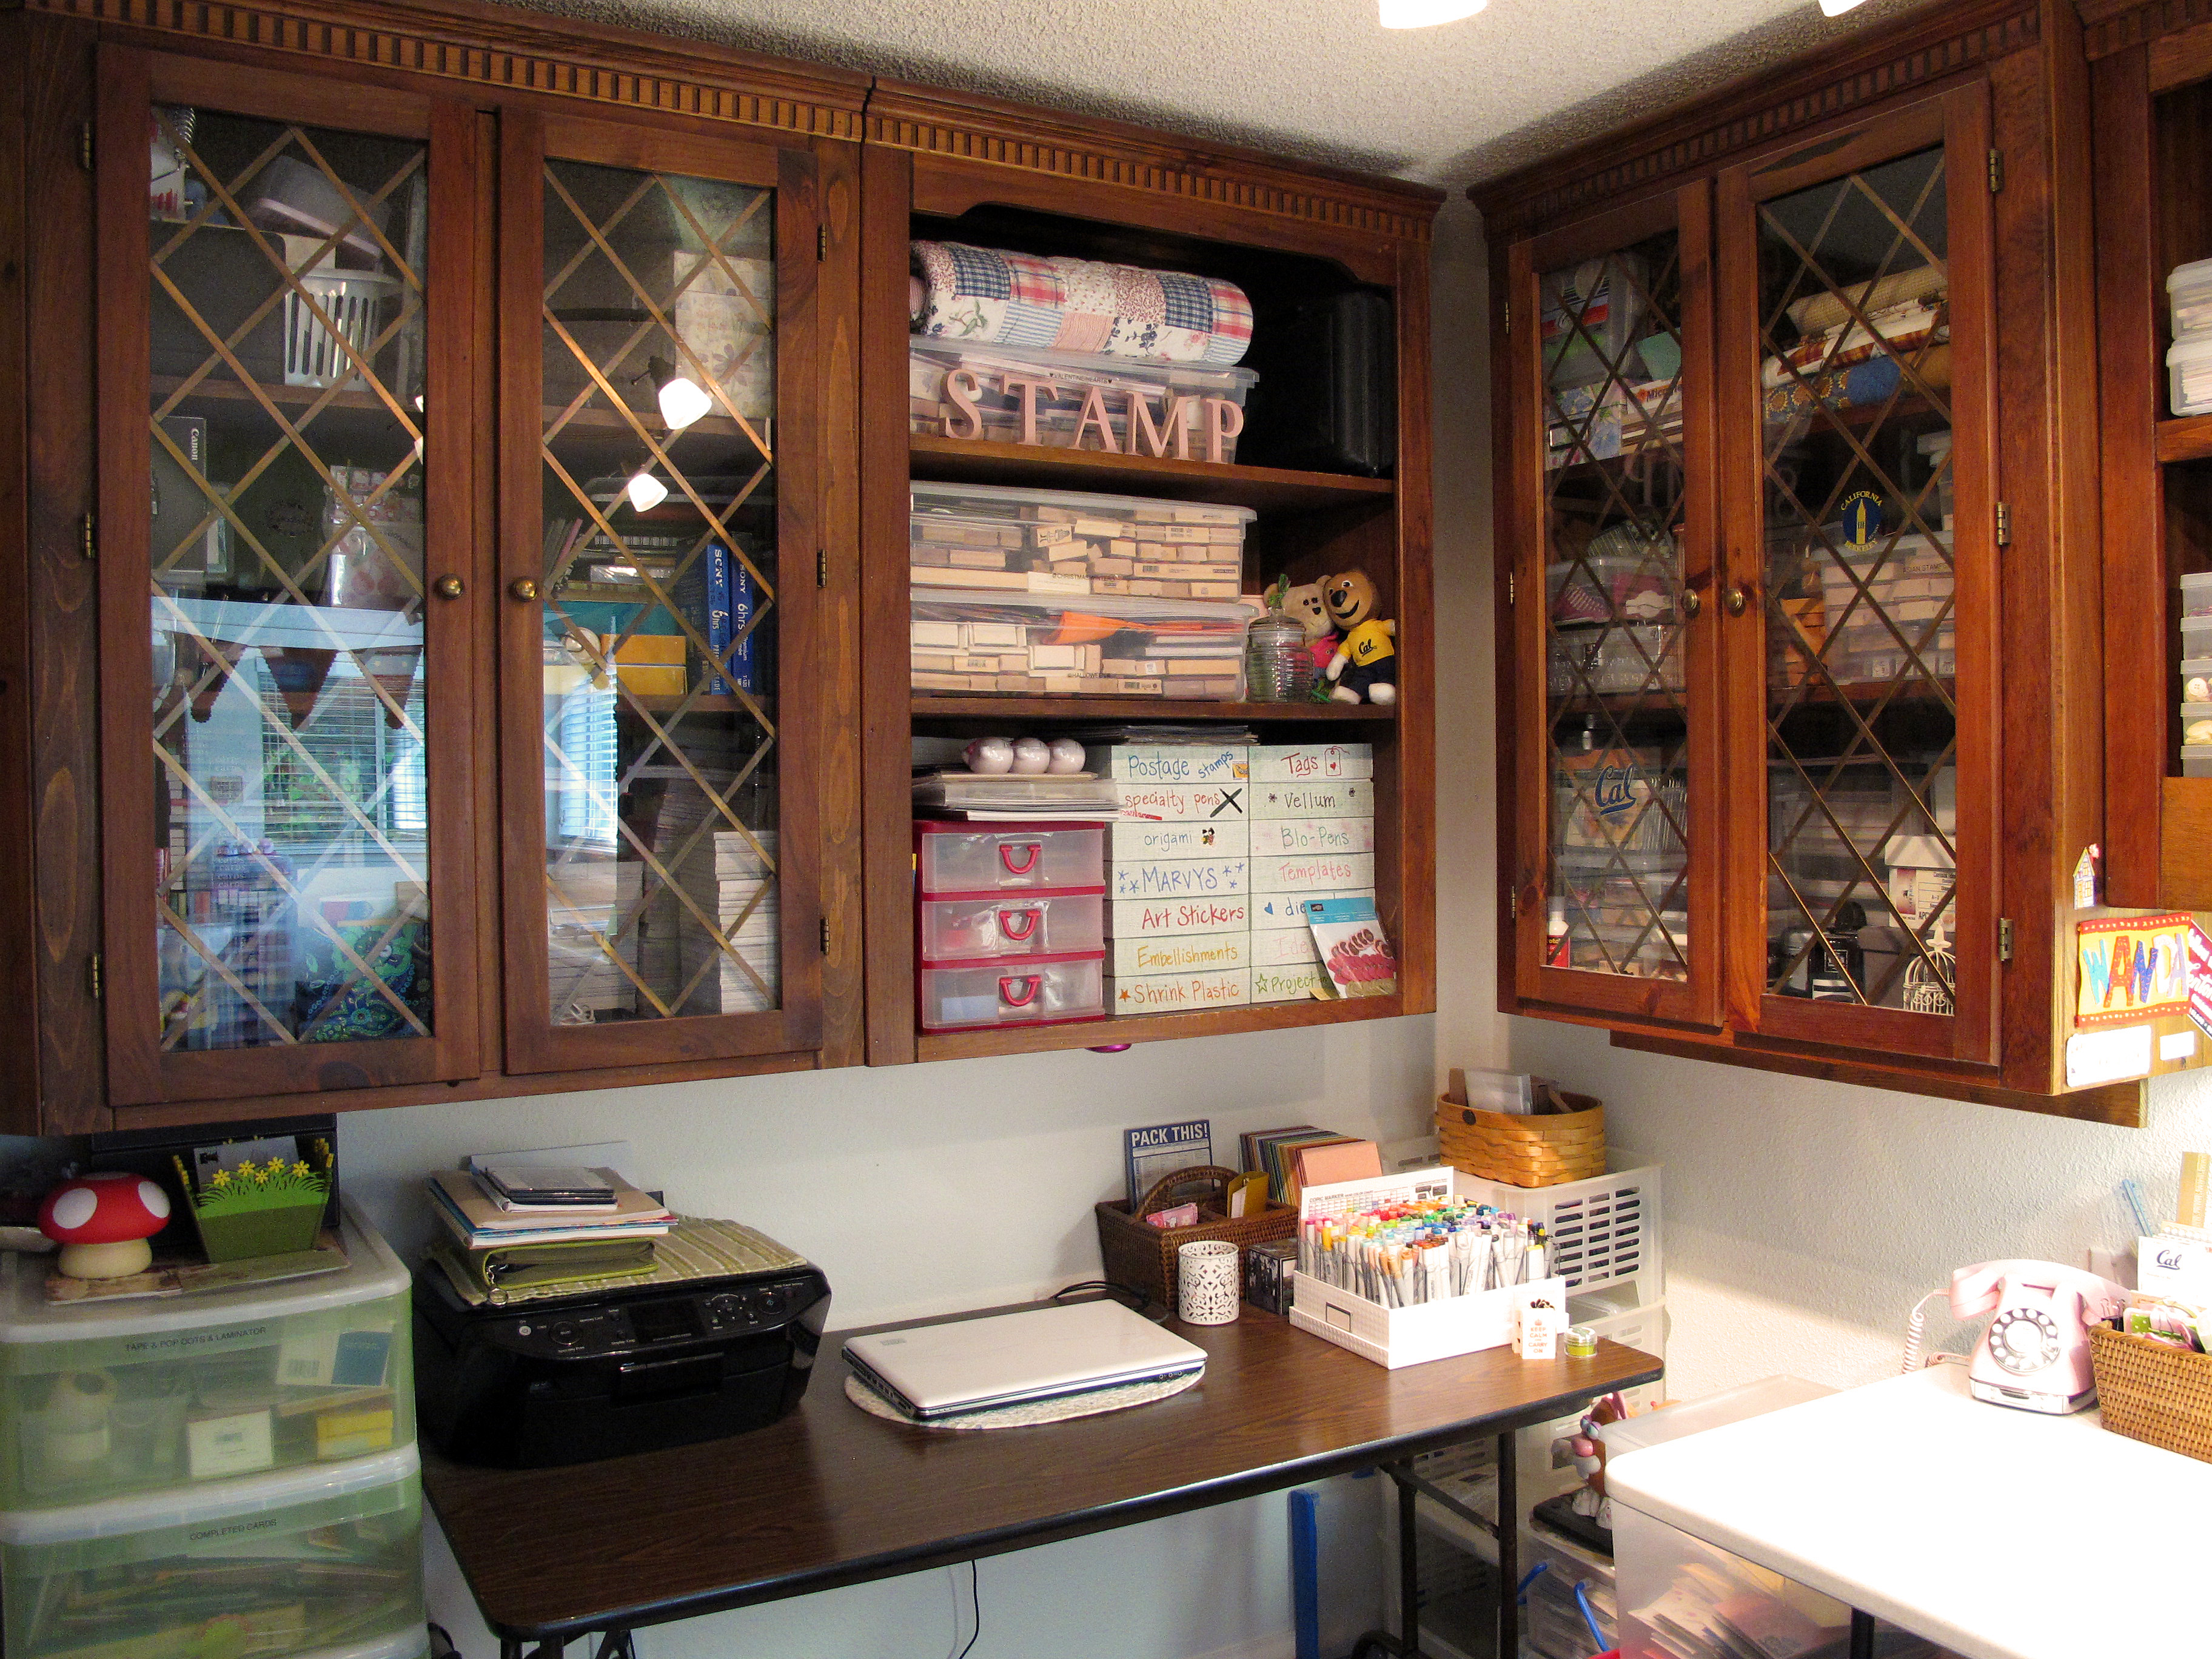
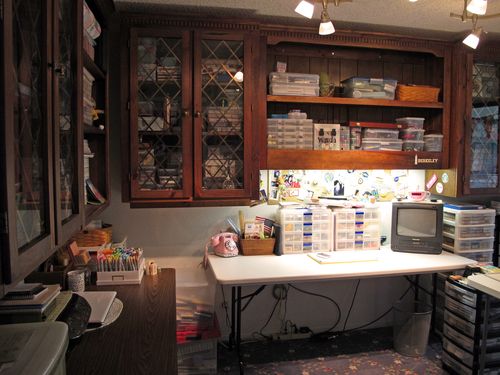
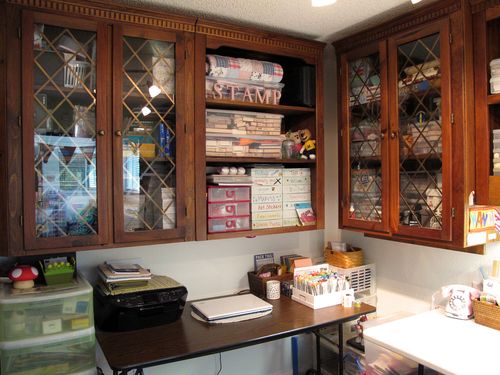
    The shelves were all here when we moved in. The people who owned the house before us worked from home and this was their office. The only drawback of my room is that there is no window in here. I have track lighting above and some flourescents under the cabinet.
    IMG_1621

    My 'office' area with my laptop and my printer.
    IMG_1623

    The main stamping table area up close. Love the pink phone from Pottery Barn kids! Gotta have tv to watch movies while stamping! My colored pencils, brads, and embellishments are right above.

    IMG_1624

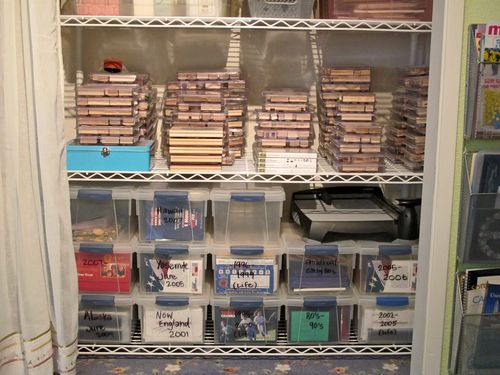
    This was the closet for this room! Now it is stamp, paper and photo storage. On the bottom rack are all of our family photograps by year and event. The next shelf up has all of my Stampin' Up sets from the last 16 years. I don't really get rid of them. You never know when you might want an oldie!

    IMG_1625

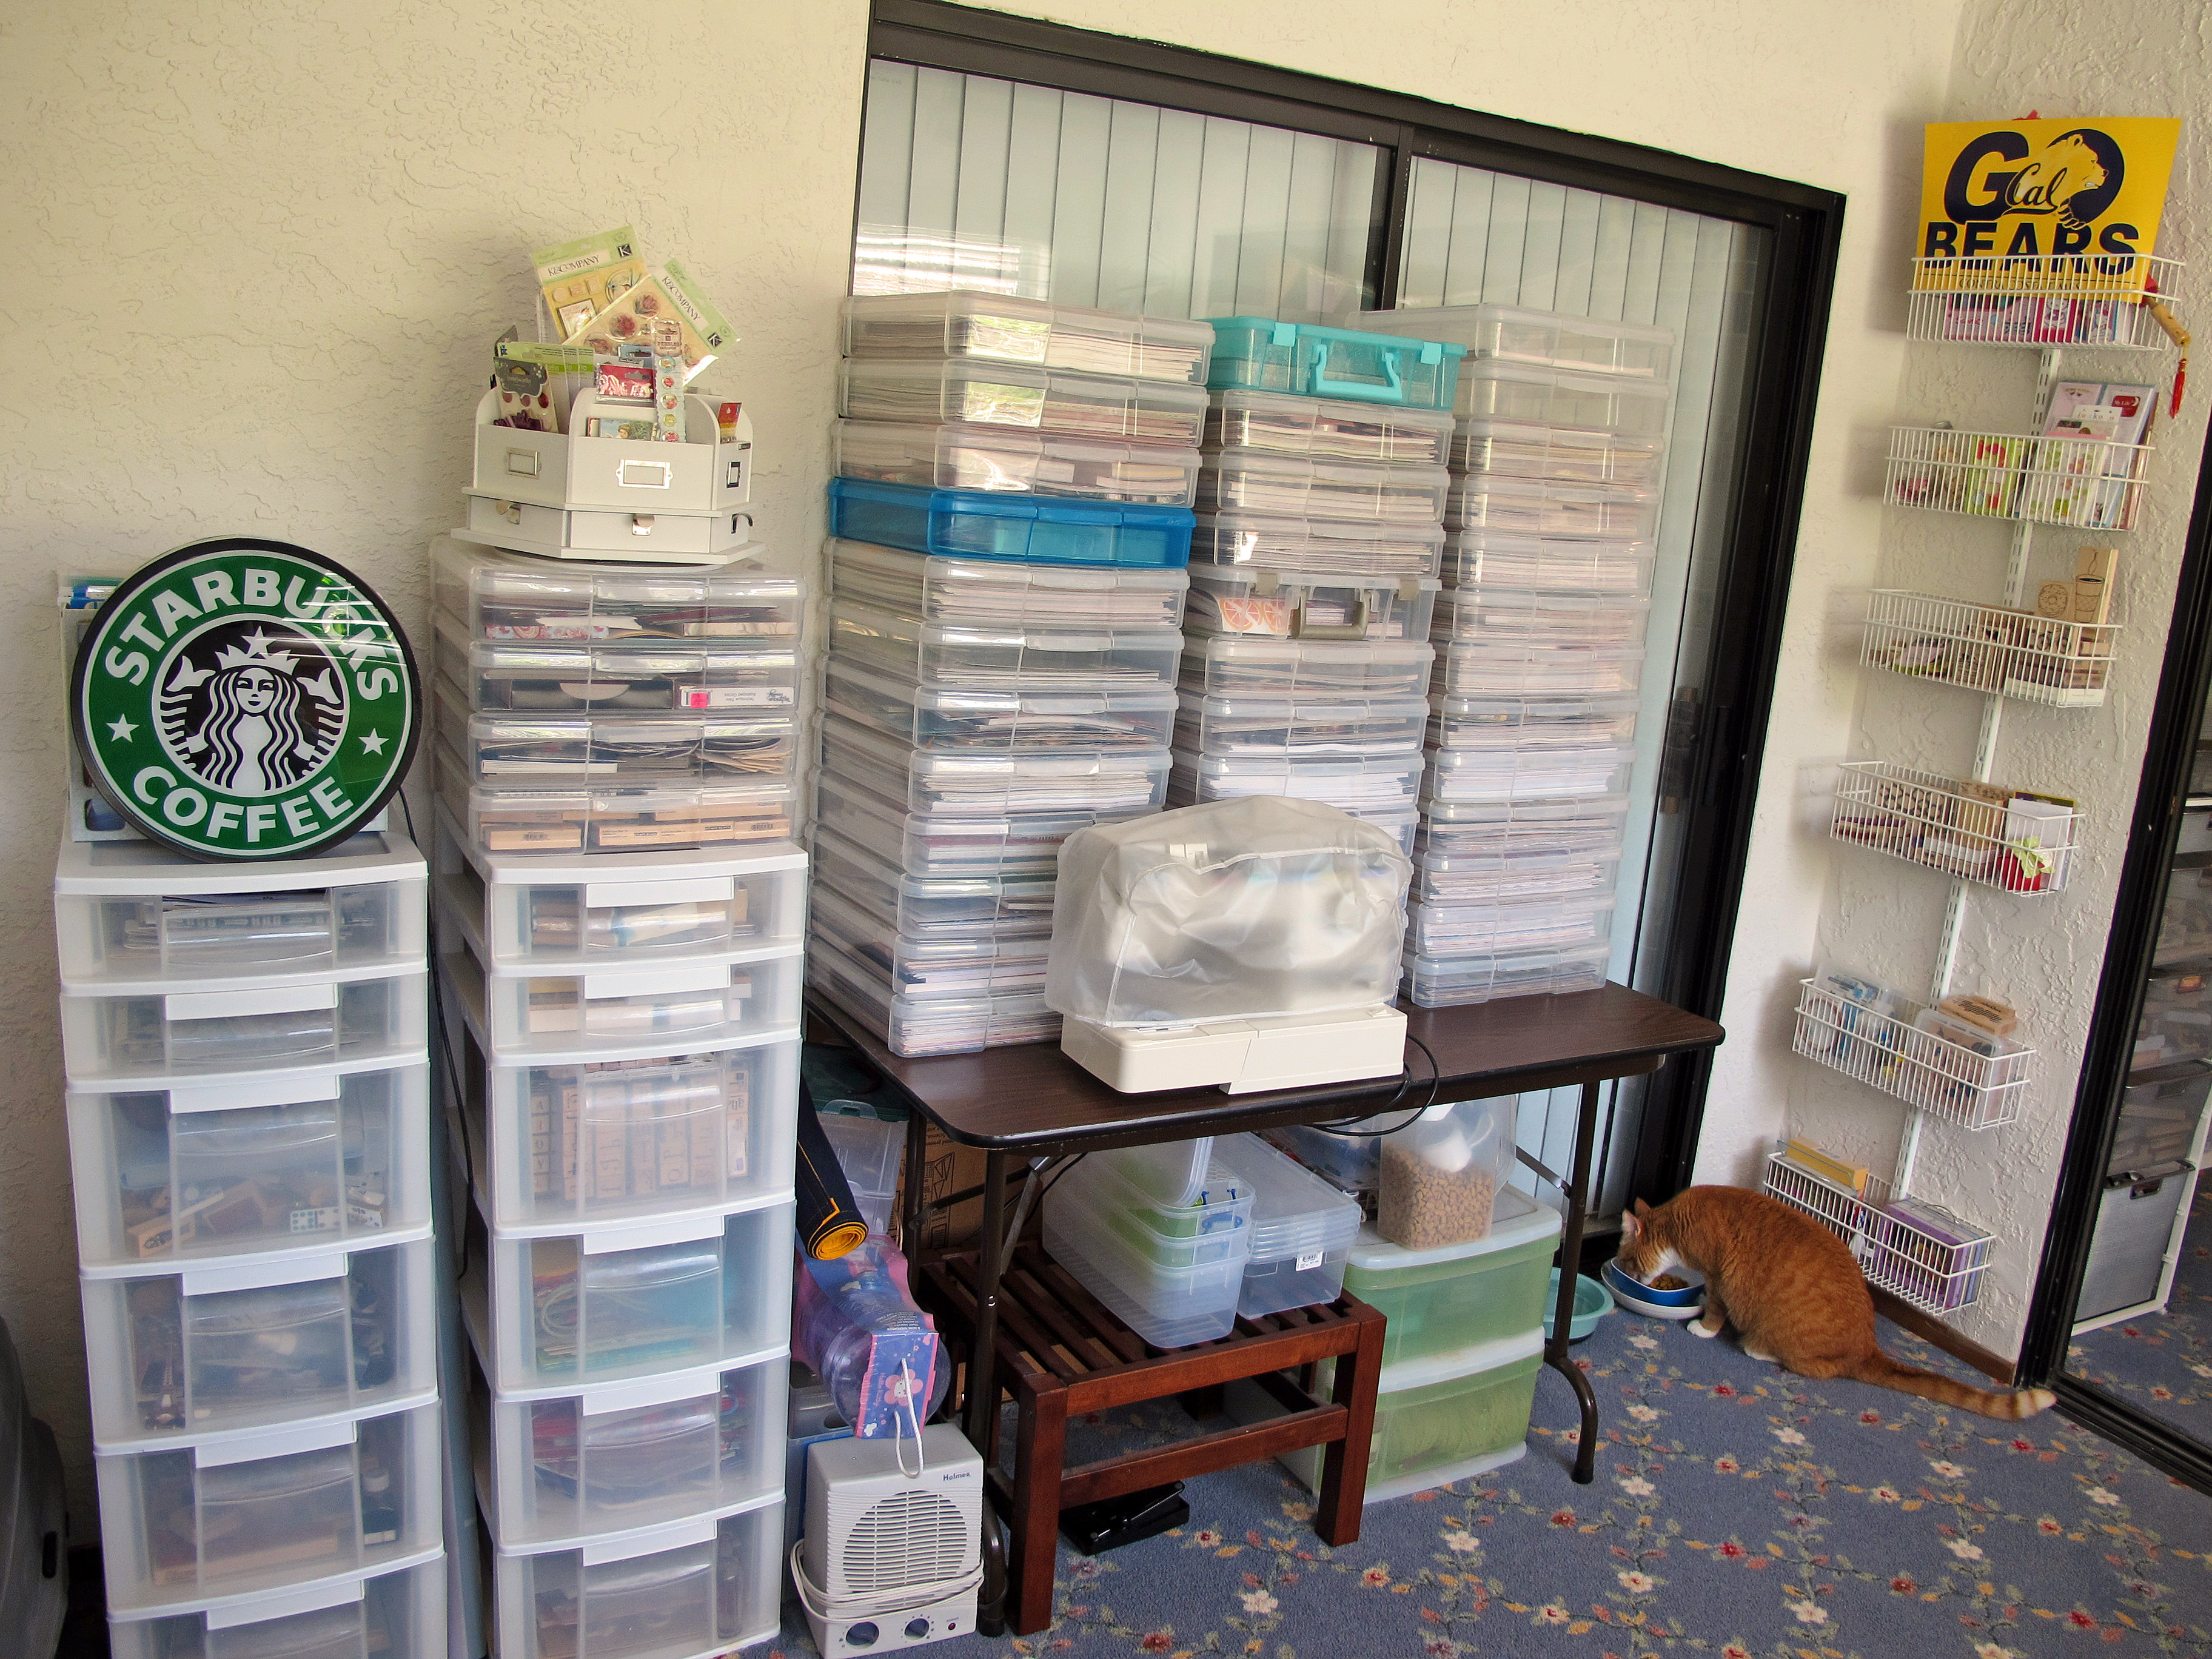
    My craft studio is actually two rooms combined into one big room. Again, this was like this when we moved in. Love that long counter and also there is a sink! The door leads out to the backyard. This was a porch and the former owners enclosed it to make their office larger. The opening is for a sliding glass door. On the right in the clear bins is all of my 12 x 12 paper stored by category. My friend JRR made the beautiful Welcome sign that hangs in the doorway!! Love that!!

    IMG_1626

    That's a LOT of paper!!

    P.S. Have I ever mentioned how much I LOVE the Container Store???

    IMG_1627

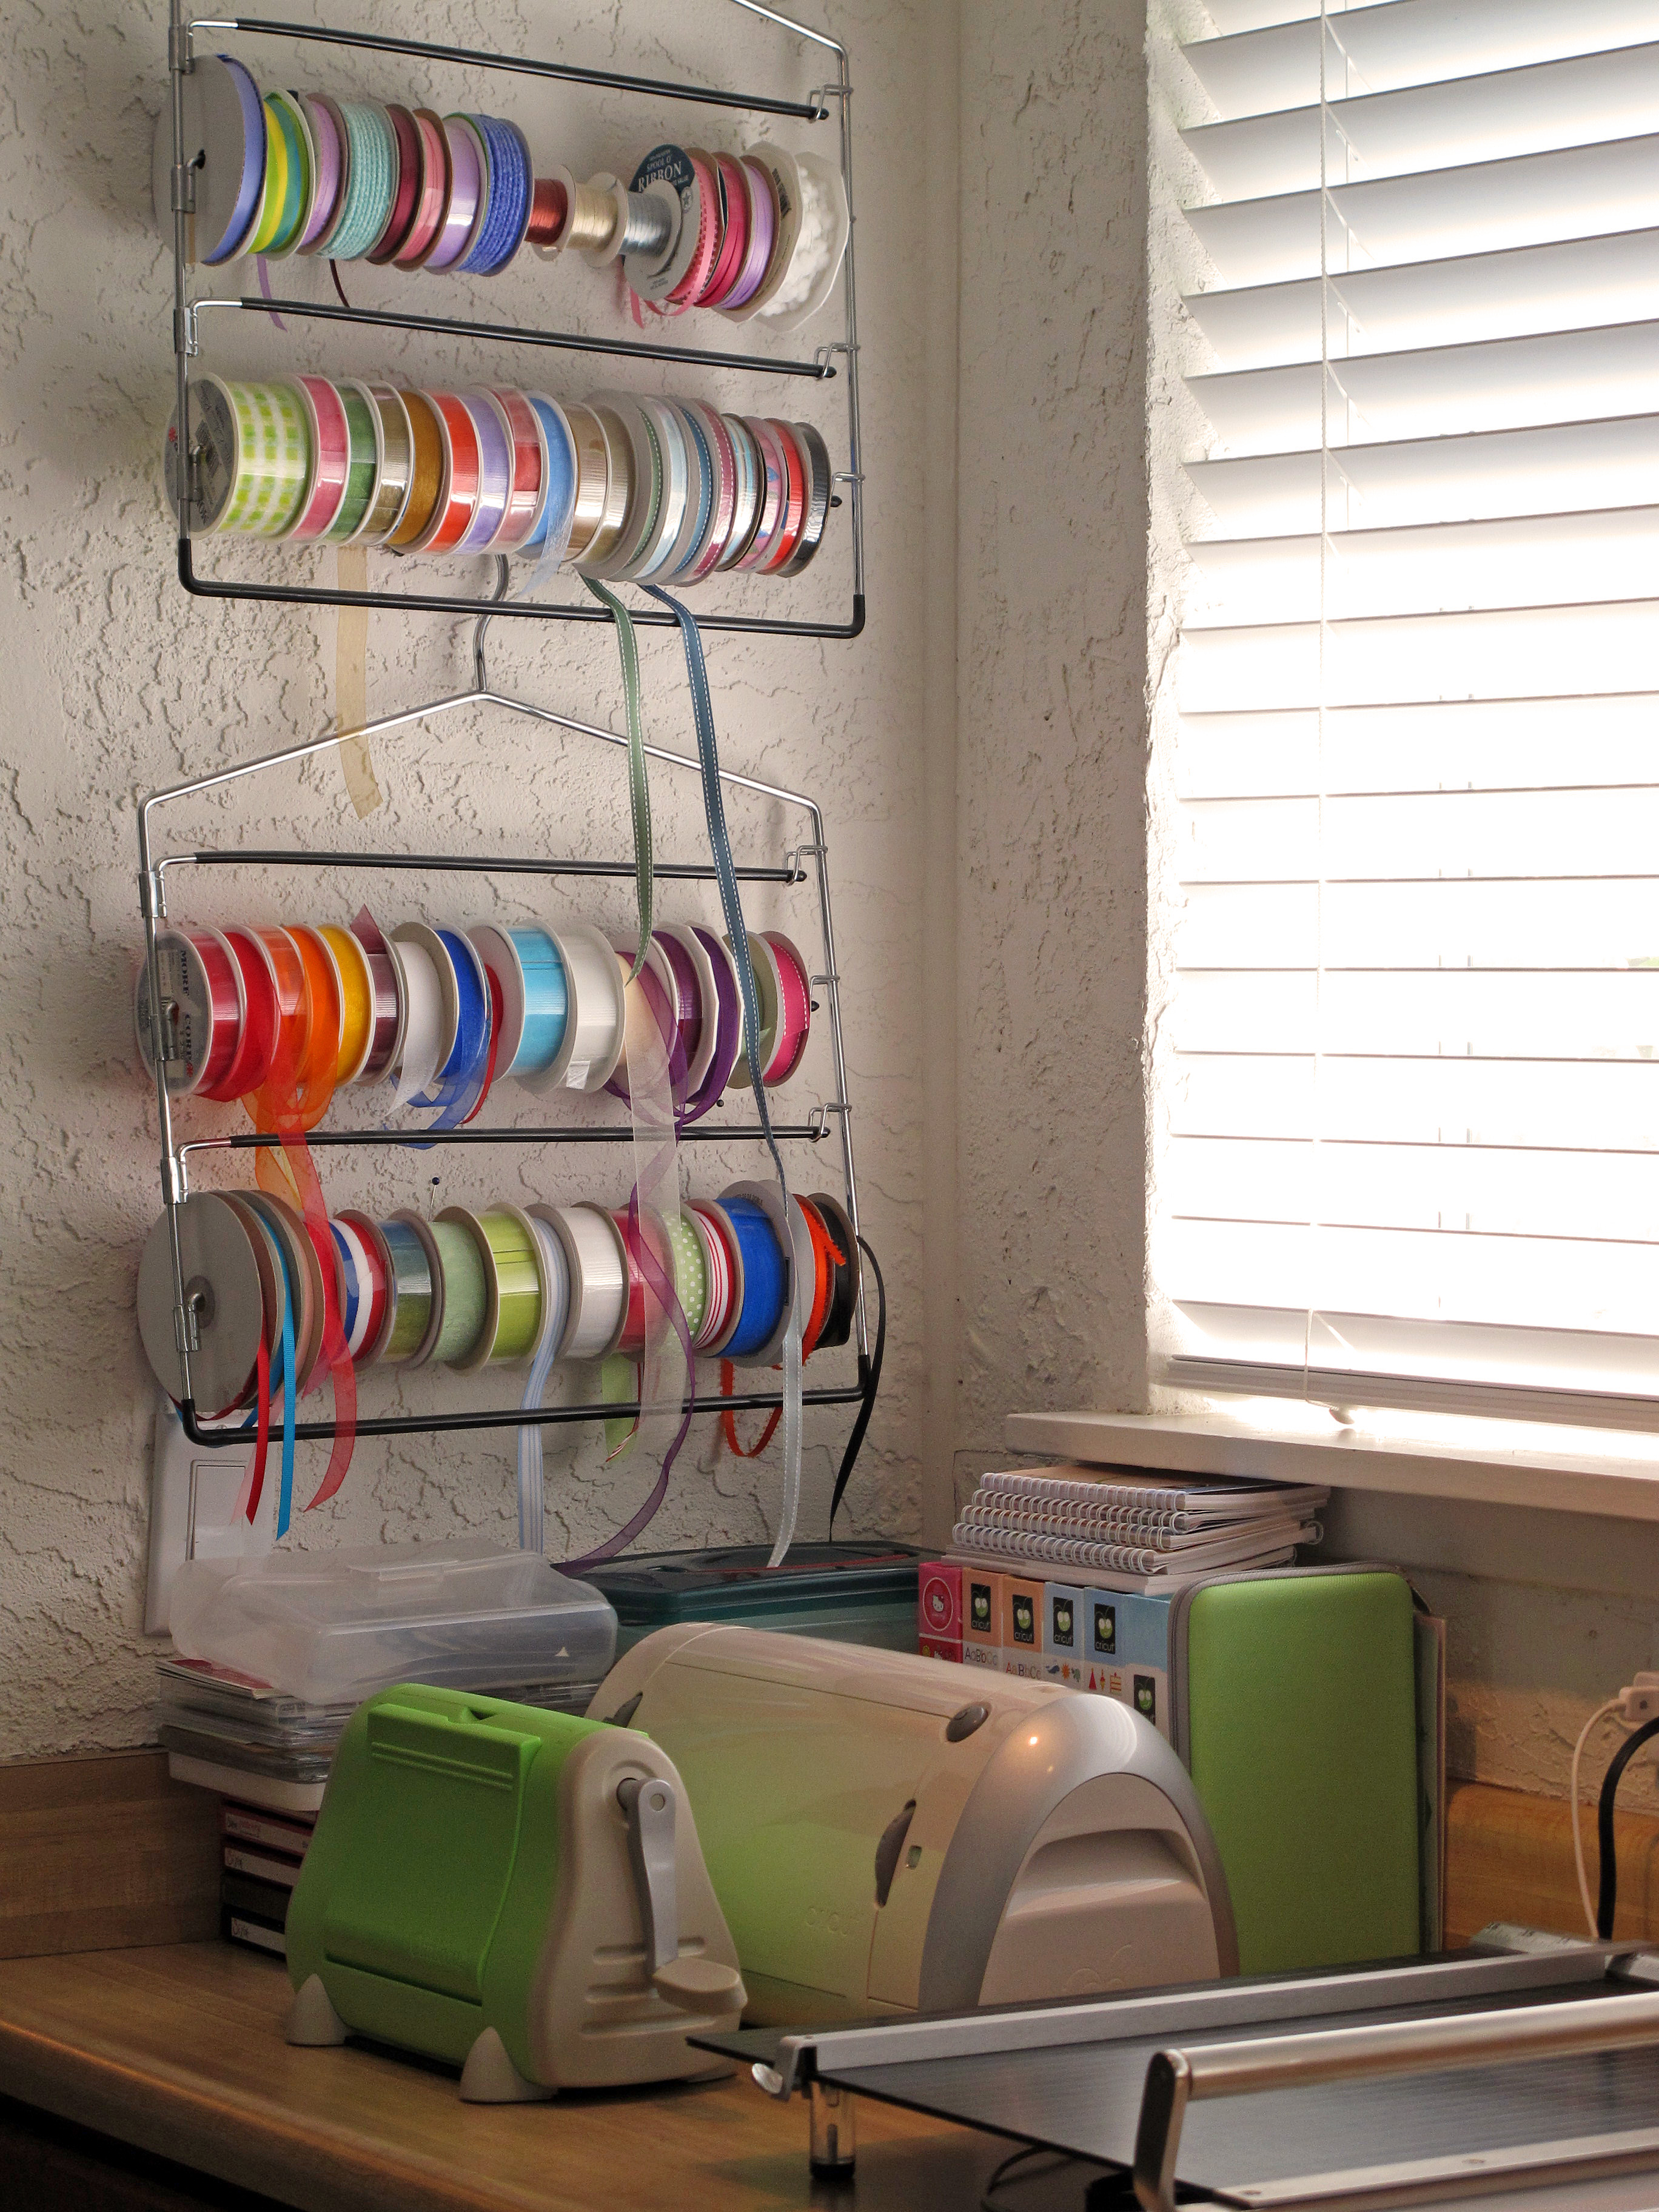
    This is my die cutting and paper cutting area. I have my Cricut and my Cuttlebug out where I can use them often. The dies and such are stored right there too. I love my giant steel edged paper cutter!

    IMG_1630

    When we moved into our house every room had shag carpet! EVEN THE KITCHEN! No, I'm not kidding! Cootie factor was high. Needless to say, we replaced all the carpet before we moved in. I picked out this patterned carpet for my craft studio to make it pretty and feminine. I didn't realize it at the time, but it also hides the dirt very well!

    IMG_1634

    Stampin' Up sets and photo storage:

    IMG_1637

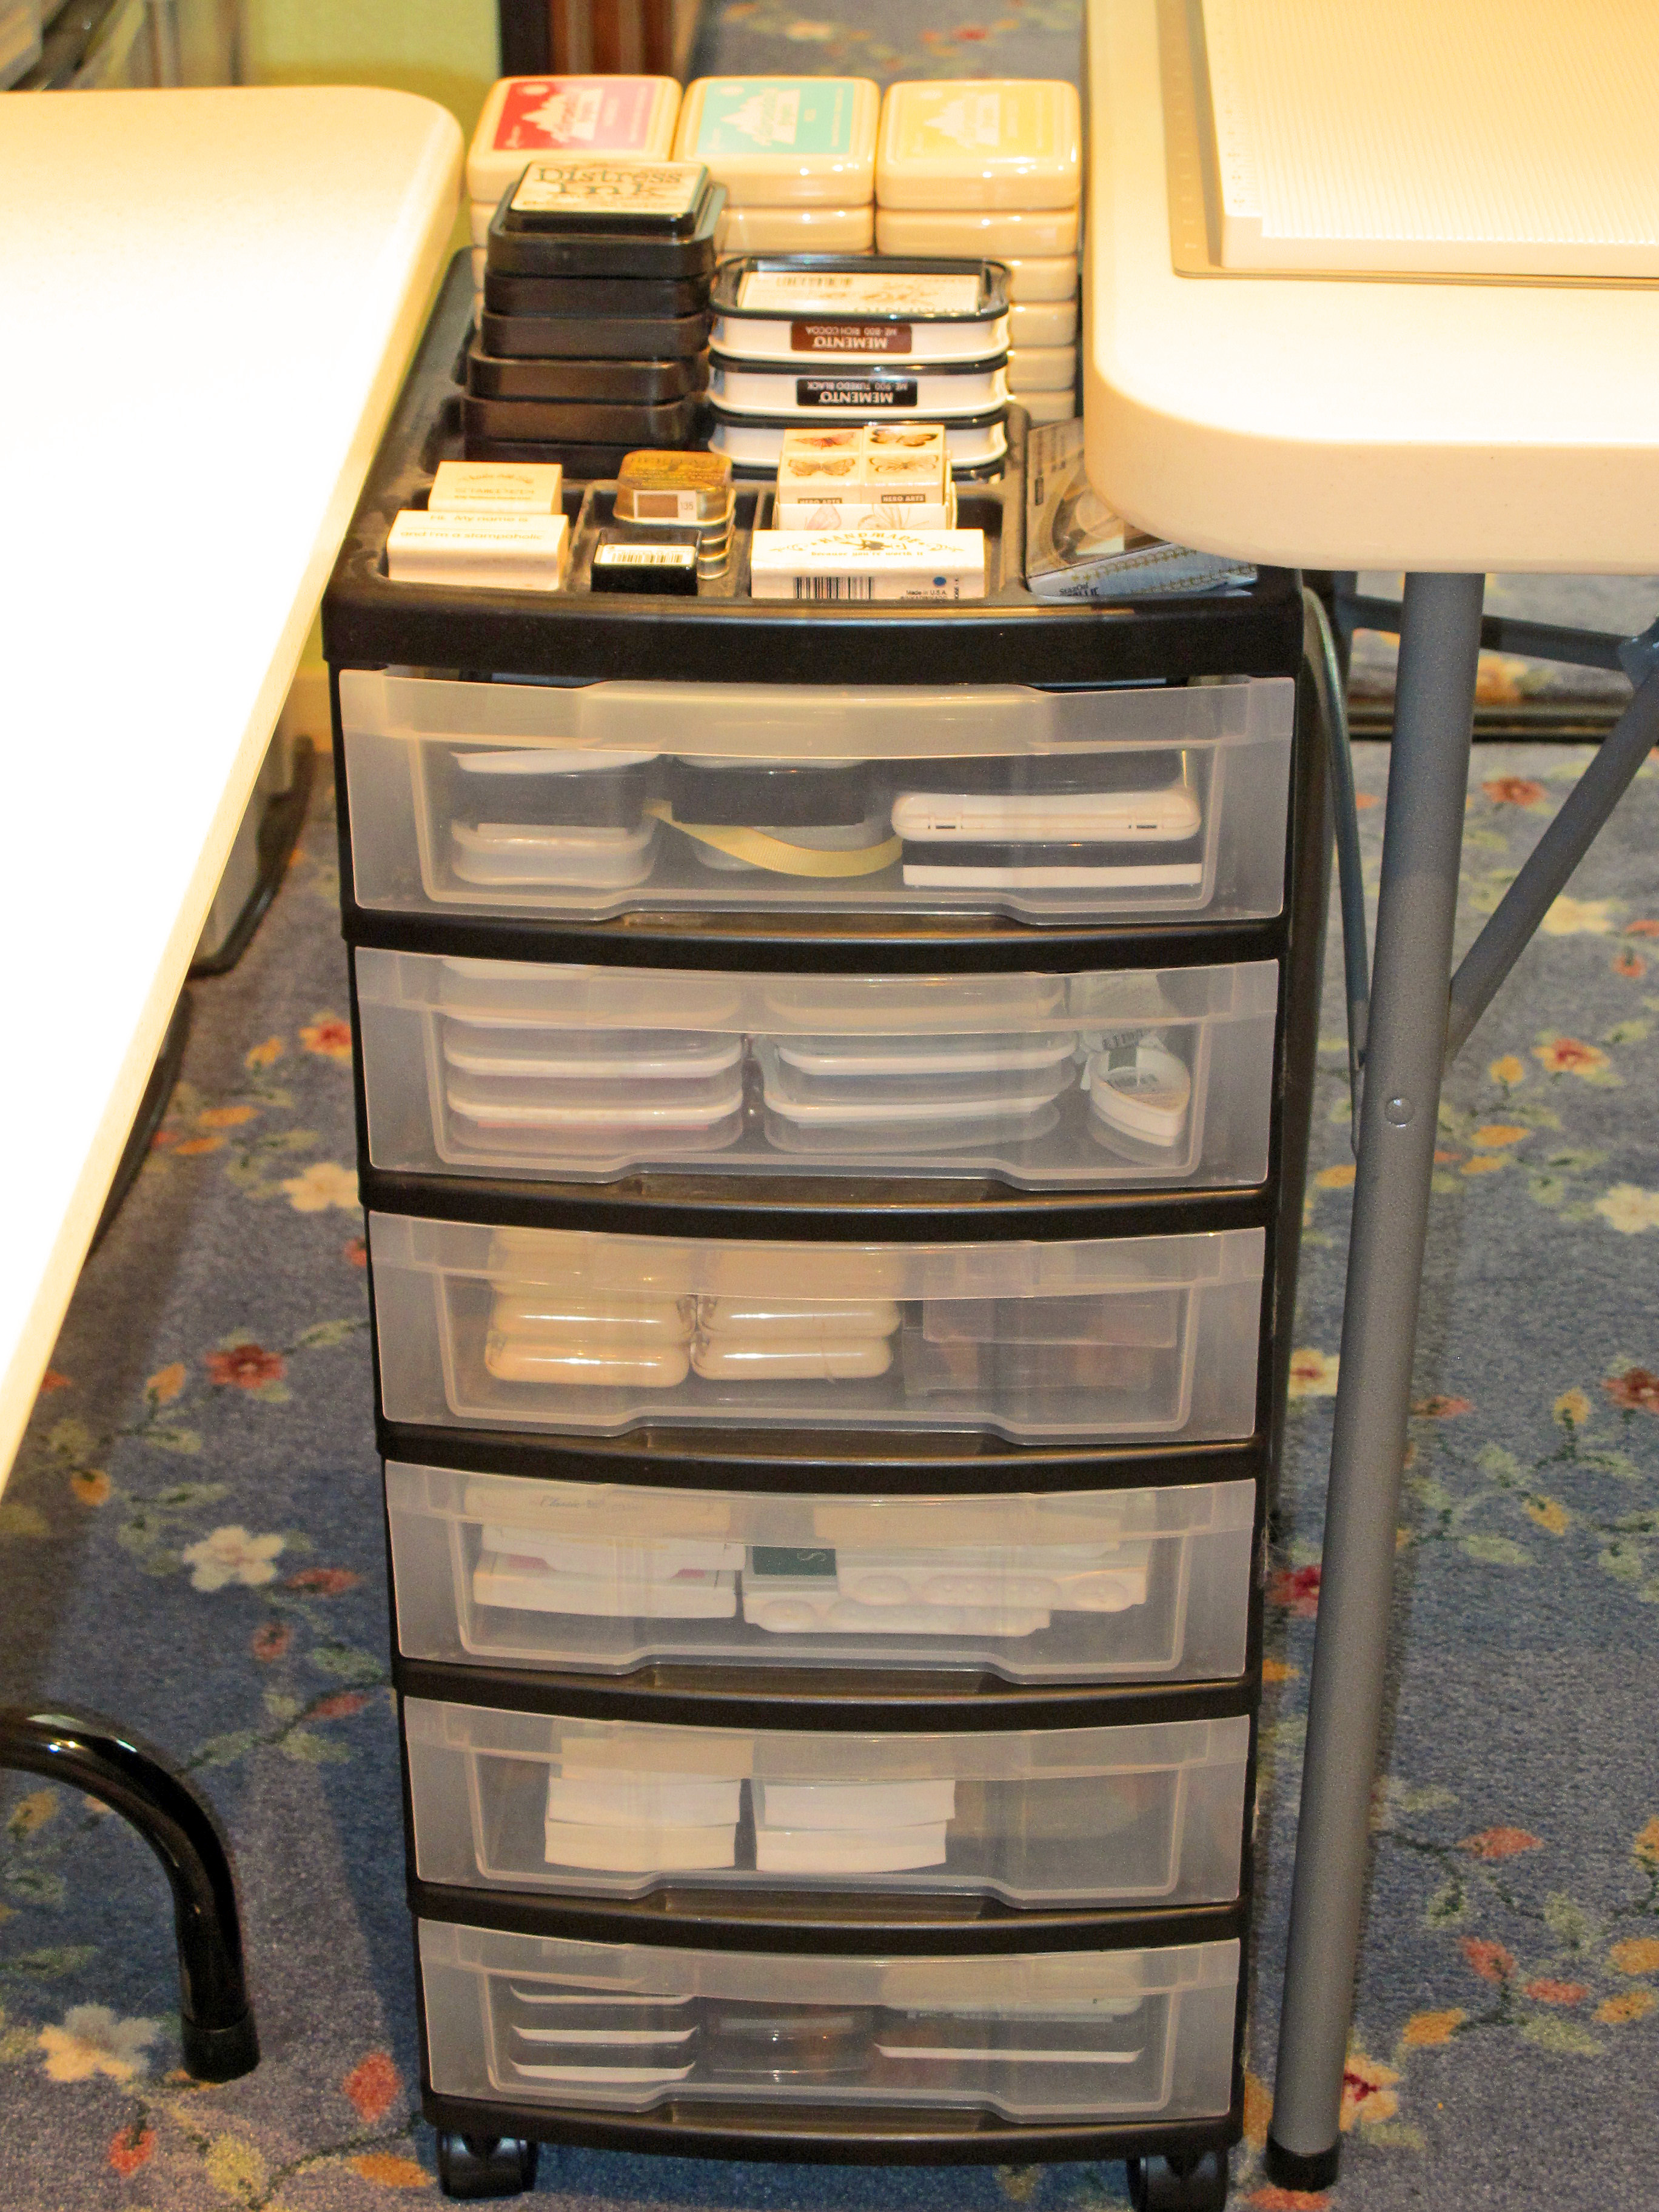
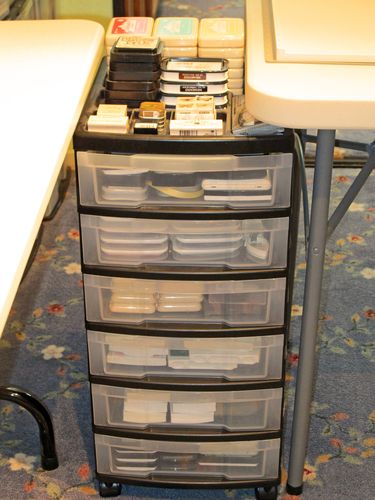
    I keep all of my ink together here. That way I can always find what I need. Each drawer has a different brand of ink. Top drawer is for Memento and Brilliance. Next drawer is for Versamagic, etc.. On the top are the ink pads I use all the time.
    IMG_1638 

    I hope you have enjoyed this tour of my craft studio! I spend a lot of time in here. In fact, if Mark isn't home I have been known to spend the entire day in here – lunch and all! There is a 1/2 bath right outside the door, so technically I don't have to leave! I just need a mini fridge and I'd be all set! I am so lucky to have such a great place to stamp. I remember back to when ALL of my stamping supplies fit into this little red toolbox I bought at Target. Those days are over!

    I would love to see what your stamping/crafting space looks like! If you leave a comment, link me back to a picture of your room!   

  • Random stuff on a sunny Saturday…

    Hi there! It's a beautiful sunny Saturday here at the ranch. Went stamping last night at Jilli's stamp group and made some super cute cards and had wonderful, necessary girl time (thank you Jilli!) Slept in really late this morning – darn allergies.

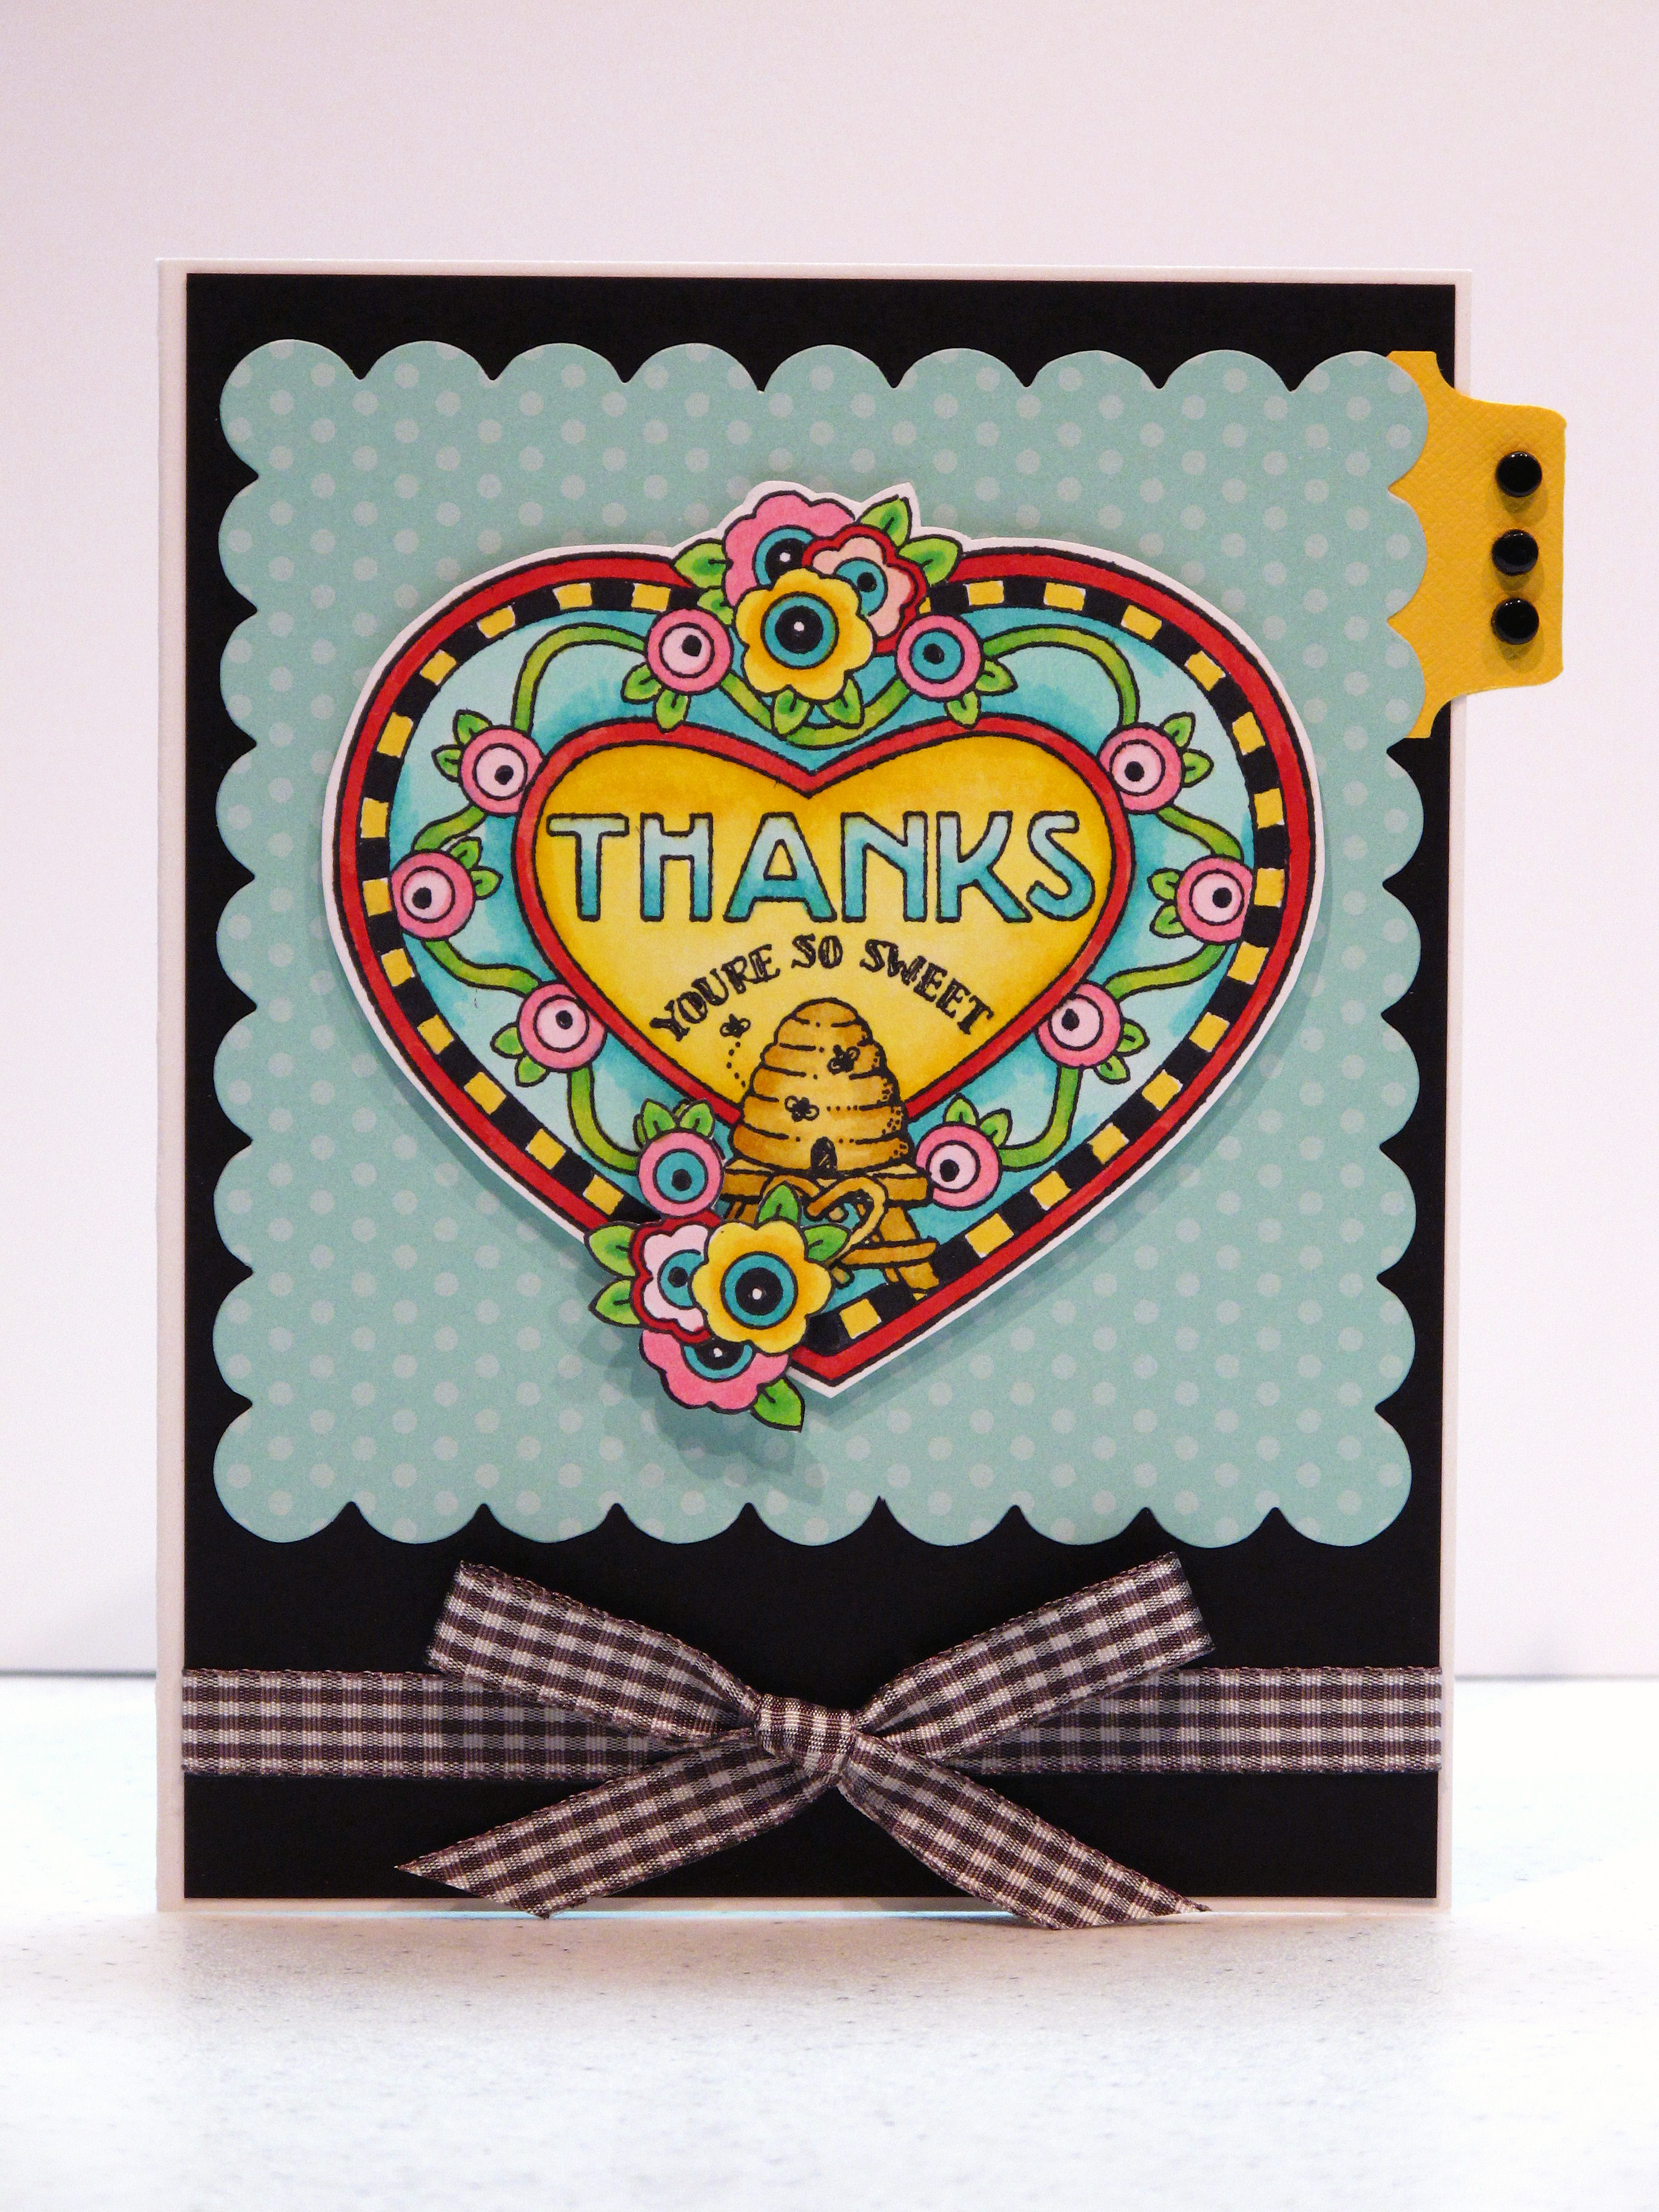
    I have a thank you card to share with you today – kind of a Mary Engelbreit feel to it. Hope you likey! the stamp is from Penny Black.

    IMG_1515 

    Here is a close up of the coloring/shading:

    IMG_1517


    From the side you can see that I popped up the entire image on foam tape. I colored a second set of the top flowers and put them on the bottom near the bee hive – I go through A LOT of foam tape in my stamp room!
    IMG_1519 

    My Copic color pallete for this project:

    IMG_1514


    This afternoon/evening we are heading out the the park for a big BBQ for my brother's 30th birthday party. I made a Mediterranean pasta salad to bring to share. It is yummmmy! I use cherry tomatoes, yellow bell pepper, cucumber and feta. The dressing is Bernsteins Cheese/Garlic Italian. I let the veggies soak by themselves in the dressing first so they get the flavor. That way the pasta doesn't get too soggy. The feta goes on at the end.

    Sunny saturday

    Some wise advice today from Buddy the Cat….He says if you only put HALF your body on the scale, you will only weigh HALF as much! Good advice! Hahahaha.

    IMG_1566 

     Best wishes to all for a fantastic weekend!

  • Whew – Finally…

    I finally made a card I like this weekend! This card is for Taylored Expressions Challenge #108. It is a sketch challenge. Perhaps my no mojo phase is over? We'll see what else happens. I do like this card. Probably because I am crazy for this new paper from My Mind's Eye – It's called Quite Contrary. Do you love these colors? Yummy.

    Here is my card entry for the challenge:

    IMG_1507


    IMG_1504


    IMG_1503 

    The sketch layout:

    TESC108

    Buddy is patiently waiting for someone to email him!

    IMG_1495

  • A hint of Summer…

    Hi everybody! Now I'm not a Summer person…I love all things Fall. However, right at this moment, as my eyes are watering and I have a constant urge to sneeze my brains out, I am ready for Summer to arrive with the Xtreme heat to kill off all that icky pollen. Sorry, just had to get that off my chest. However, today I have a card with a hint of Summer. I do love all the bright popsicle colors of Summer time.

    Remember this post about Friends Rain or Shine – with the umbrella image? Click here to see. My friend Reba (gurl!) saw that card and came up with a fun idea – why not color the umbrellas to look like beach umbrellas!? I never would have thought of that!! GREAT idea. So…you know I had to do it and then I had to give her the card!


    Summer umbrella 002


    Summer umbrella 010


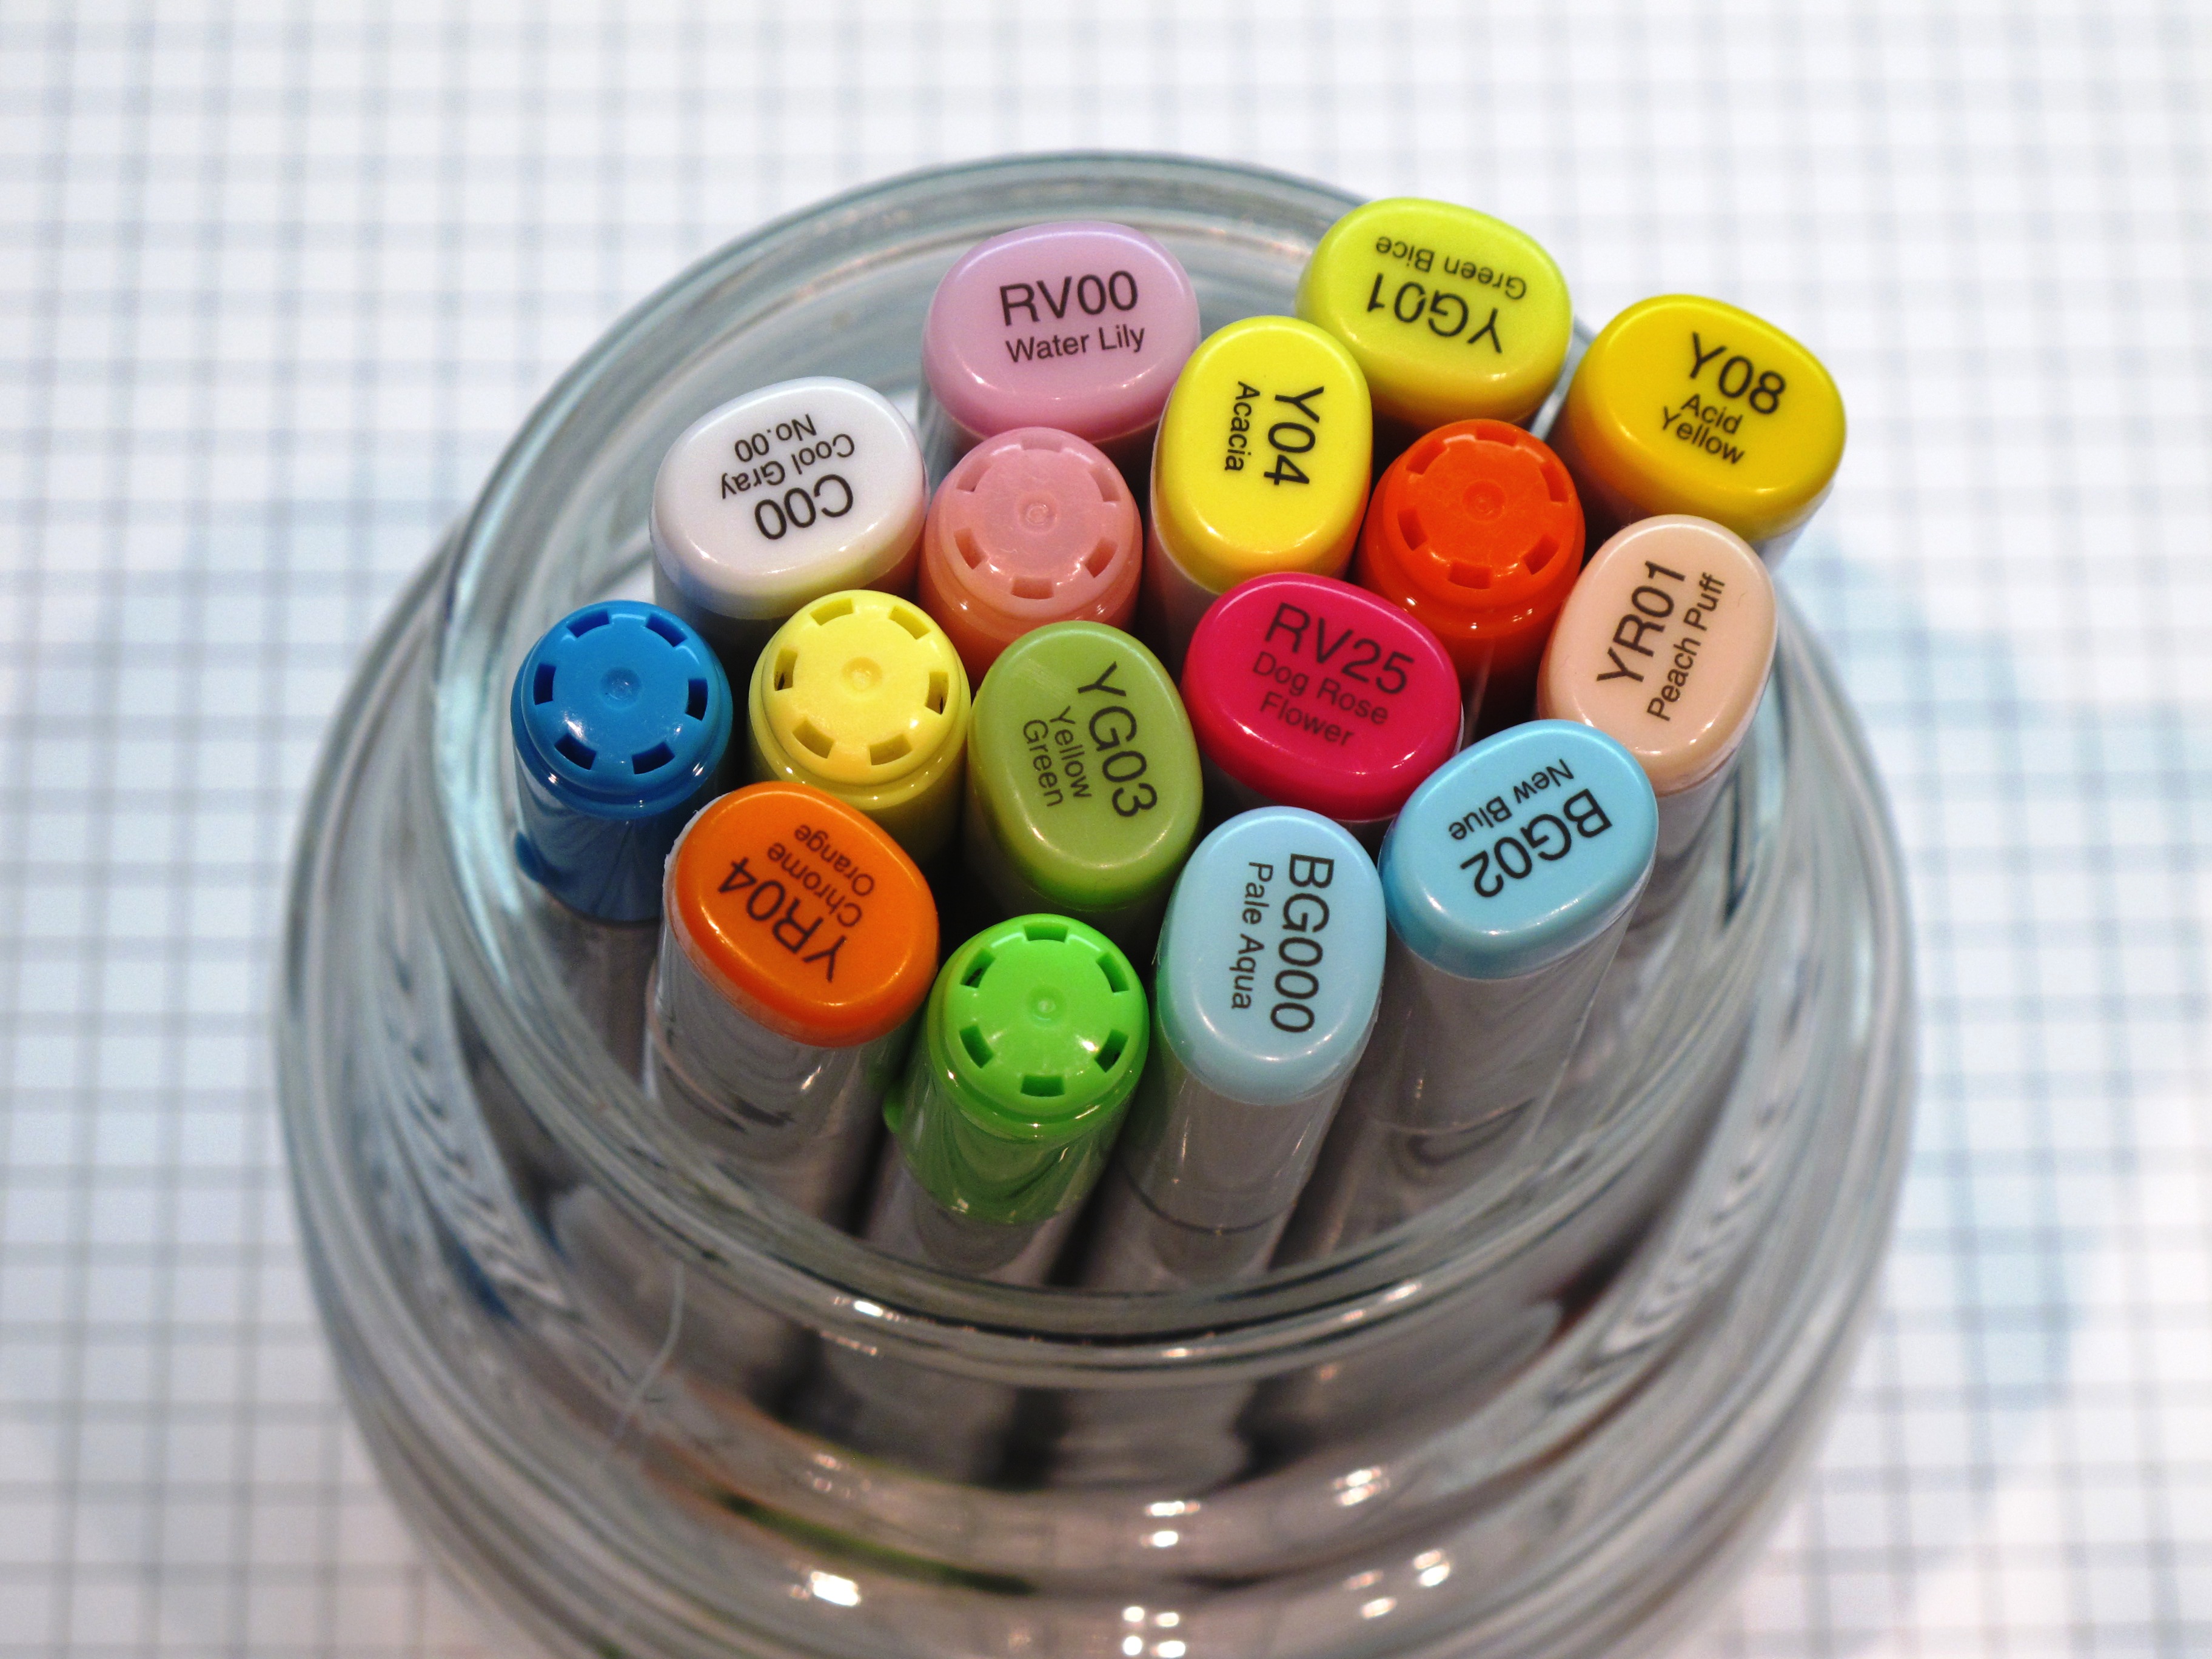
    My Copic Palette for the card – Three shades of each color for blending.

    Summer umbrella 001


    The Inside of the card. Don't you love that Fiskars wave punch??

    Summer umbrella 006

    Summer umbrella 007

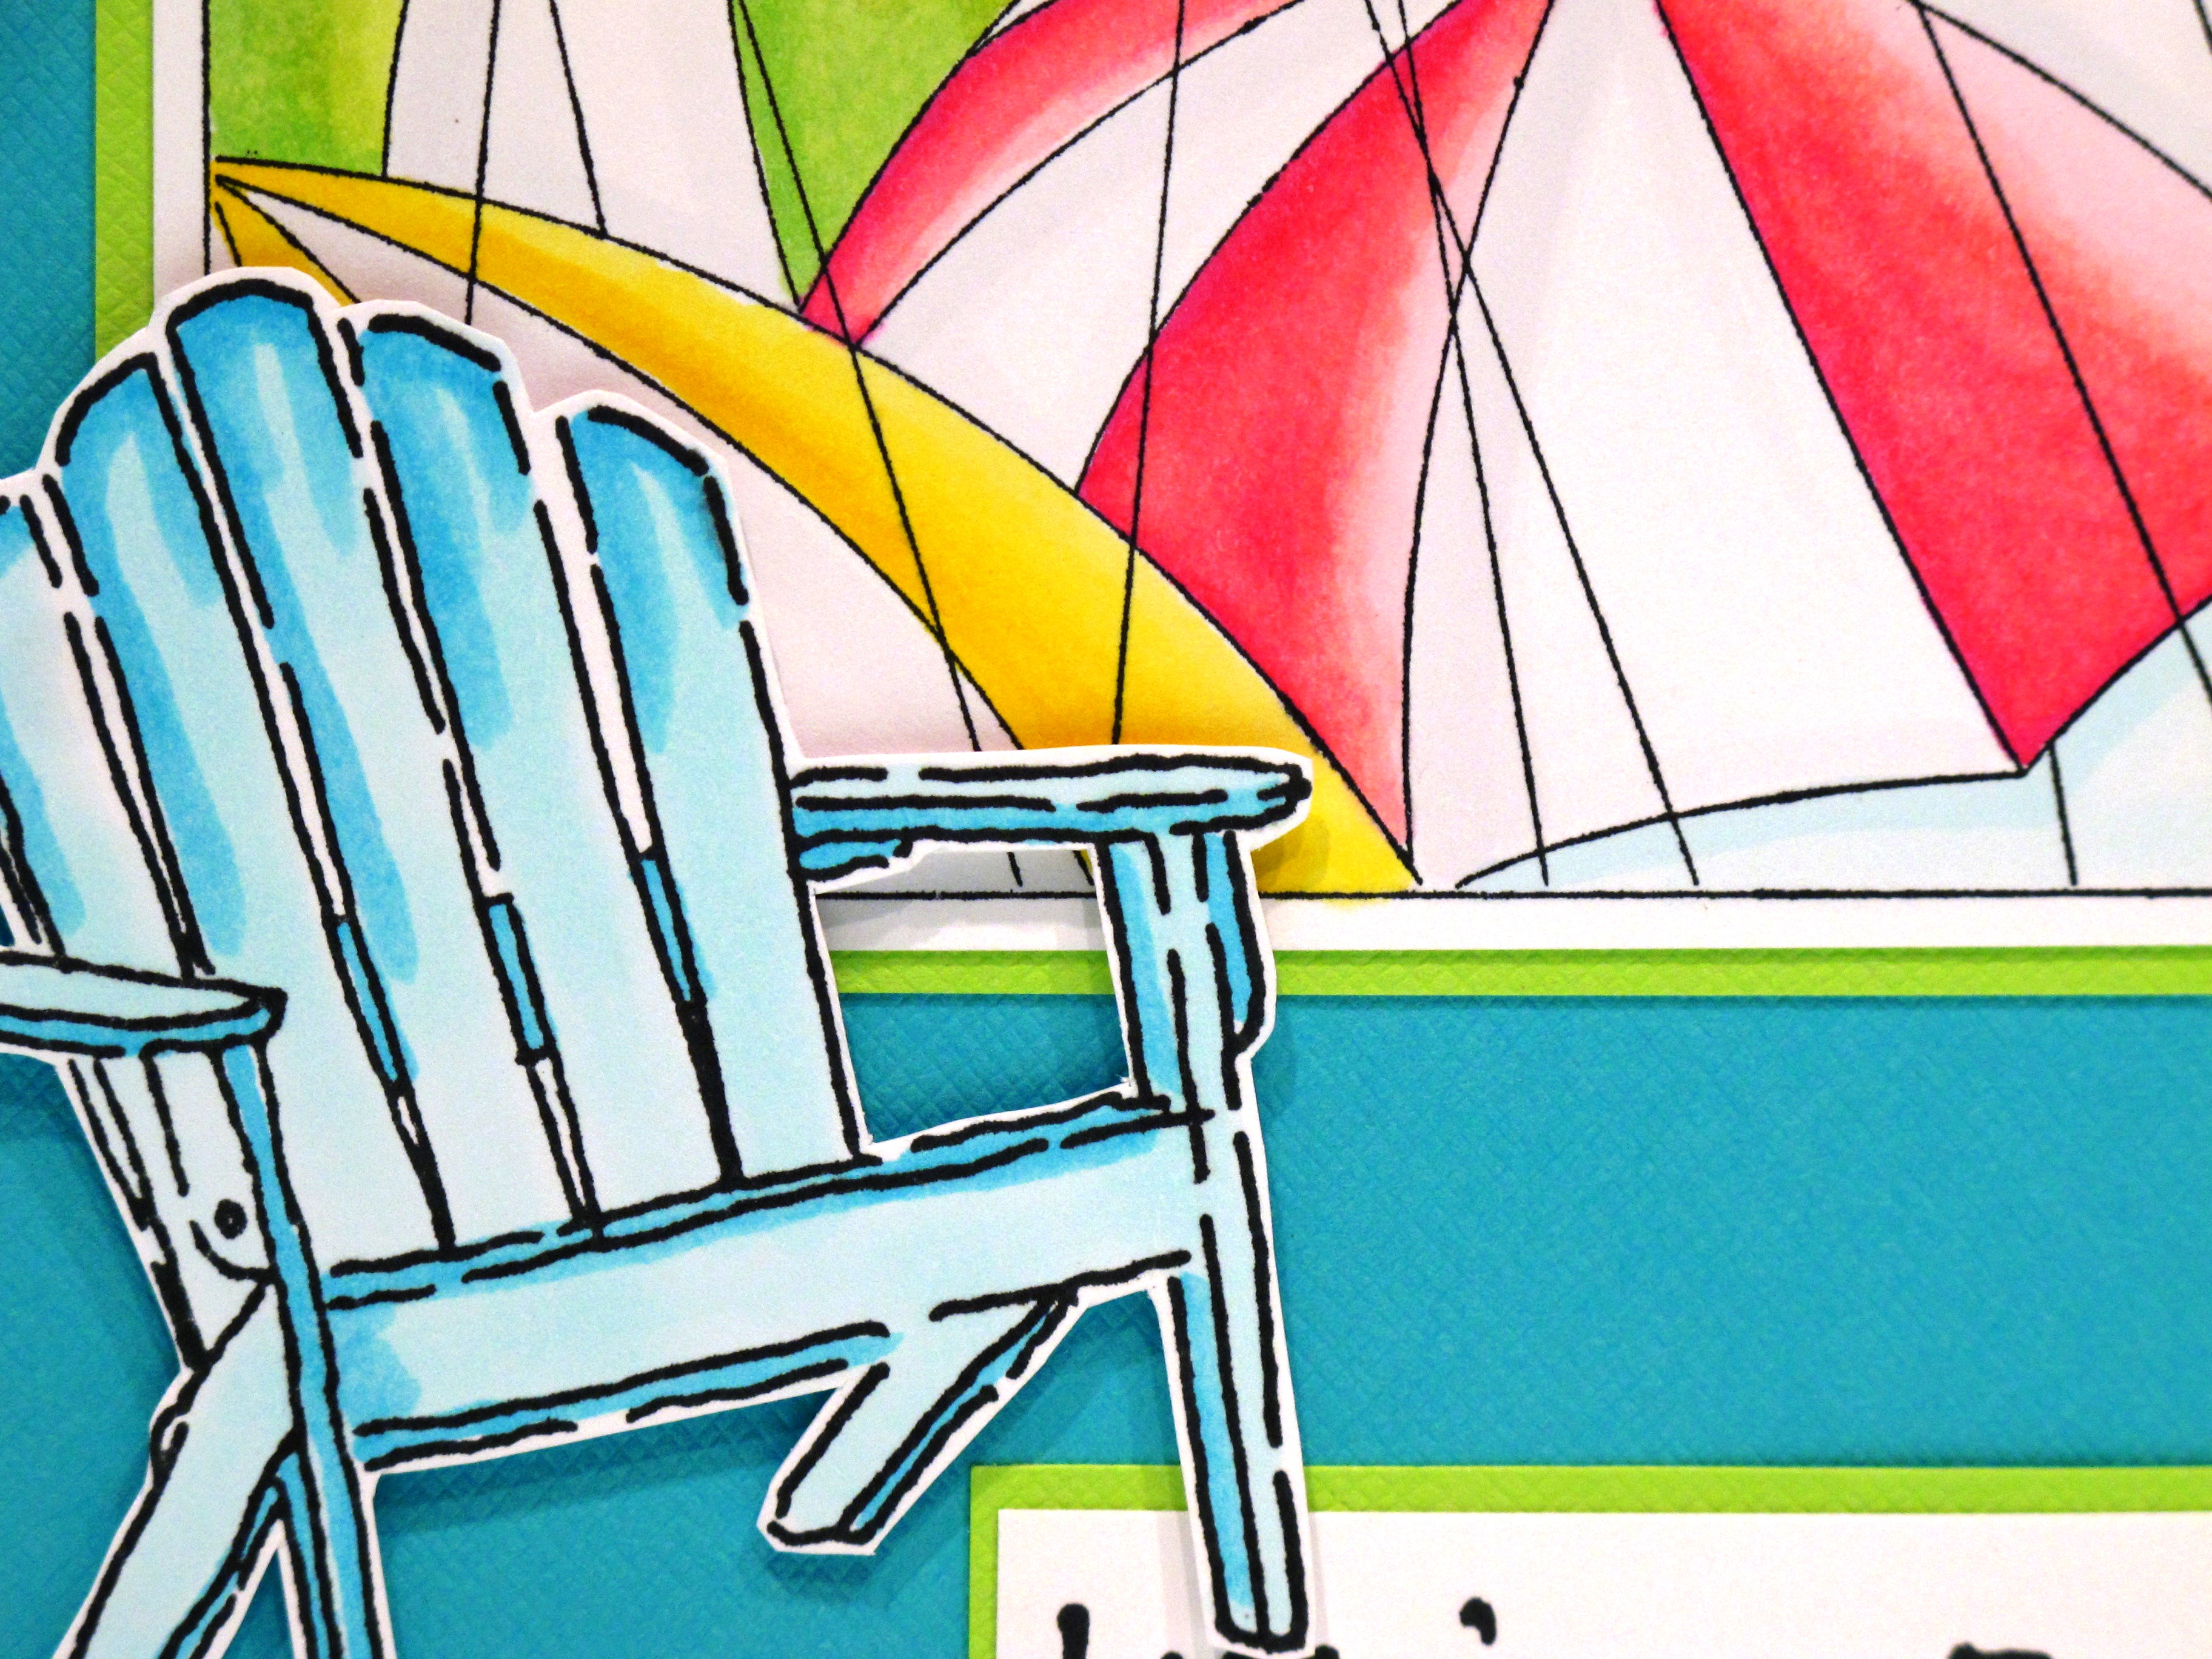
    The beach chair is from Annette Watkins (Printworks). I cut it out with an exacto knife and then mounted it to the card with some foam tape. The saying is also from Printworks.

    Summer umbrella 008


    Close up of the coloring/shading. Notice I put grey and blue in the "white" area to give it some definition. Start with your dark color first then go to the lighter colors.

    Summer umbrella 005

    Tonight at my stamp club meeting (shout out to the girls!!) I am doing a demo/discussion about Copic Markers! Yay! My fourth favorite thing in the world…after DH, Kitty, Iphone…then comes Copics!

    Summer umbrella 004


    This is my stamp room… My "Calgon take me away" happy place. On the side (behind me) where I'm taking the photo from is my computer/printer work station. To the left is my stamping table and tv.

    I think he looks guilty….what do you think??

    Summer umbrella 013

  • Greetings from California!

    Hi! I hope you had a wonderful Easter and a great weekend. It was pretty cold here on Easter Sunday…but luckily the rain held out for most of the day. We had a nice day at church and then breakfast out. The afternoon was spent cleaning up the old stampin' room.

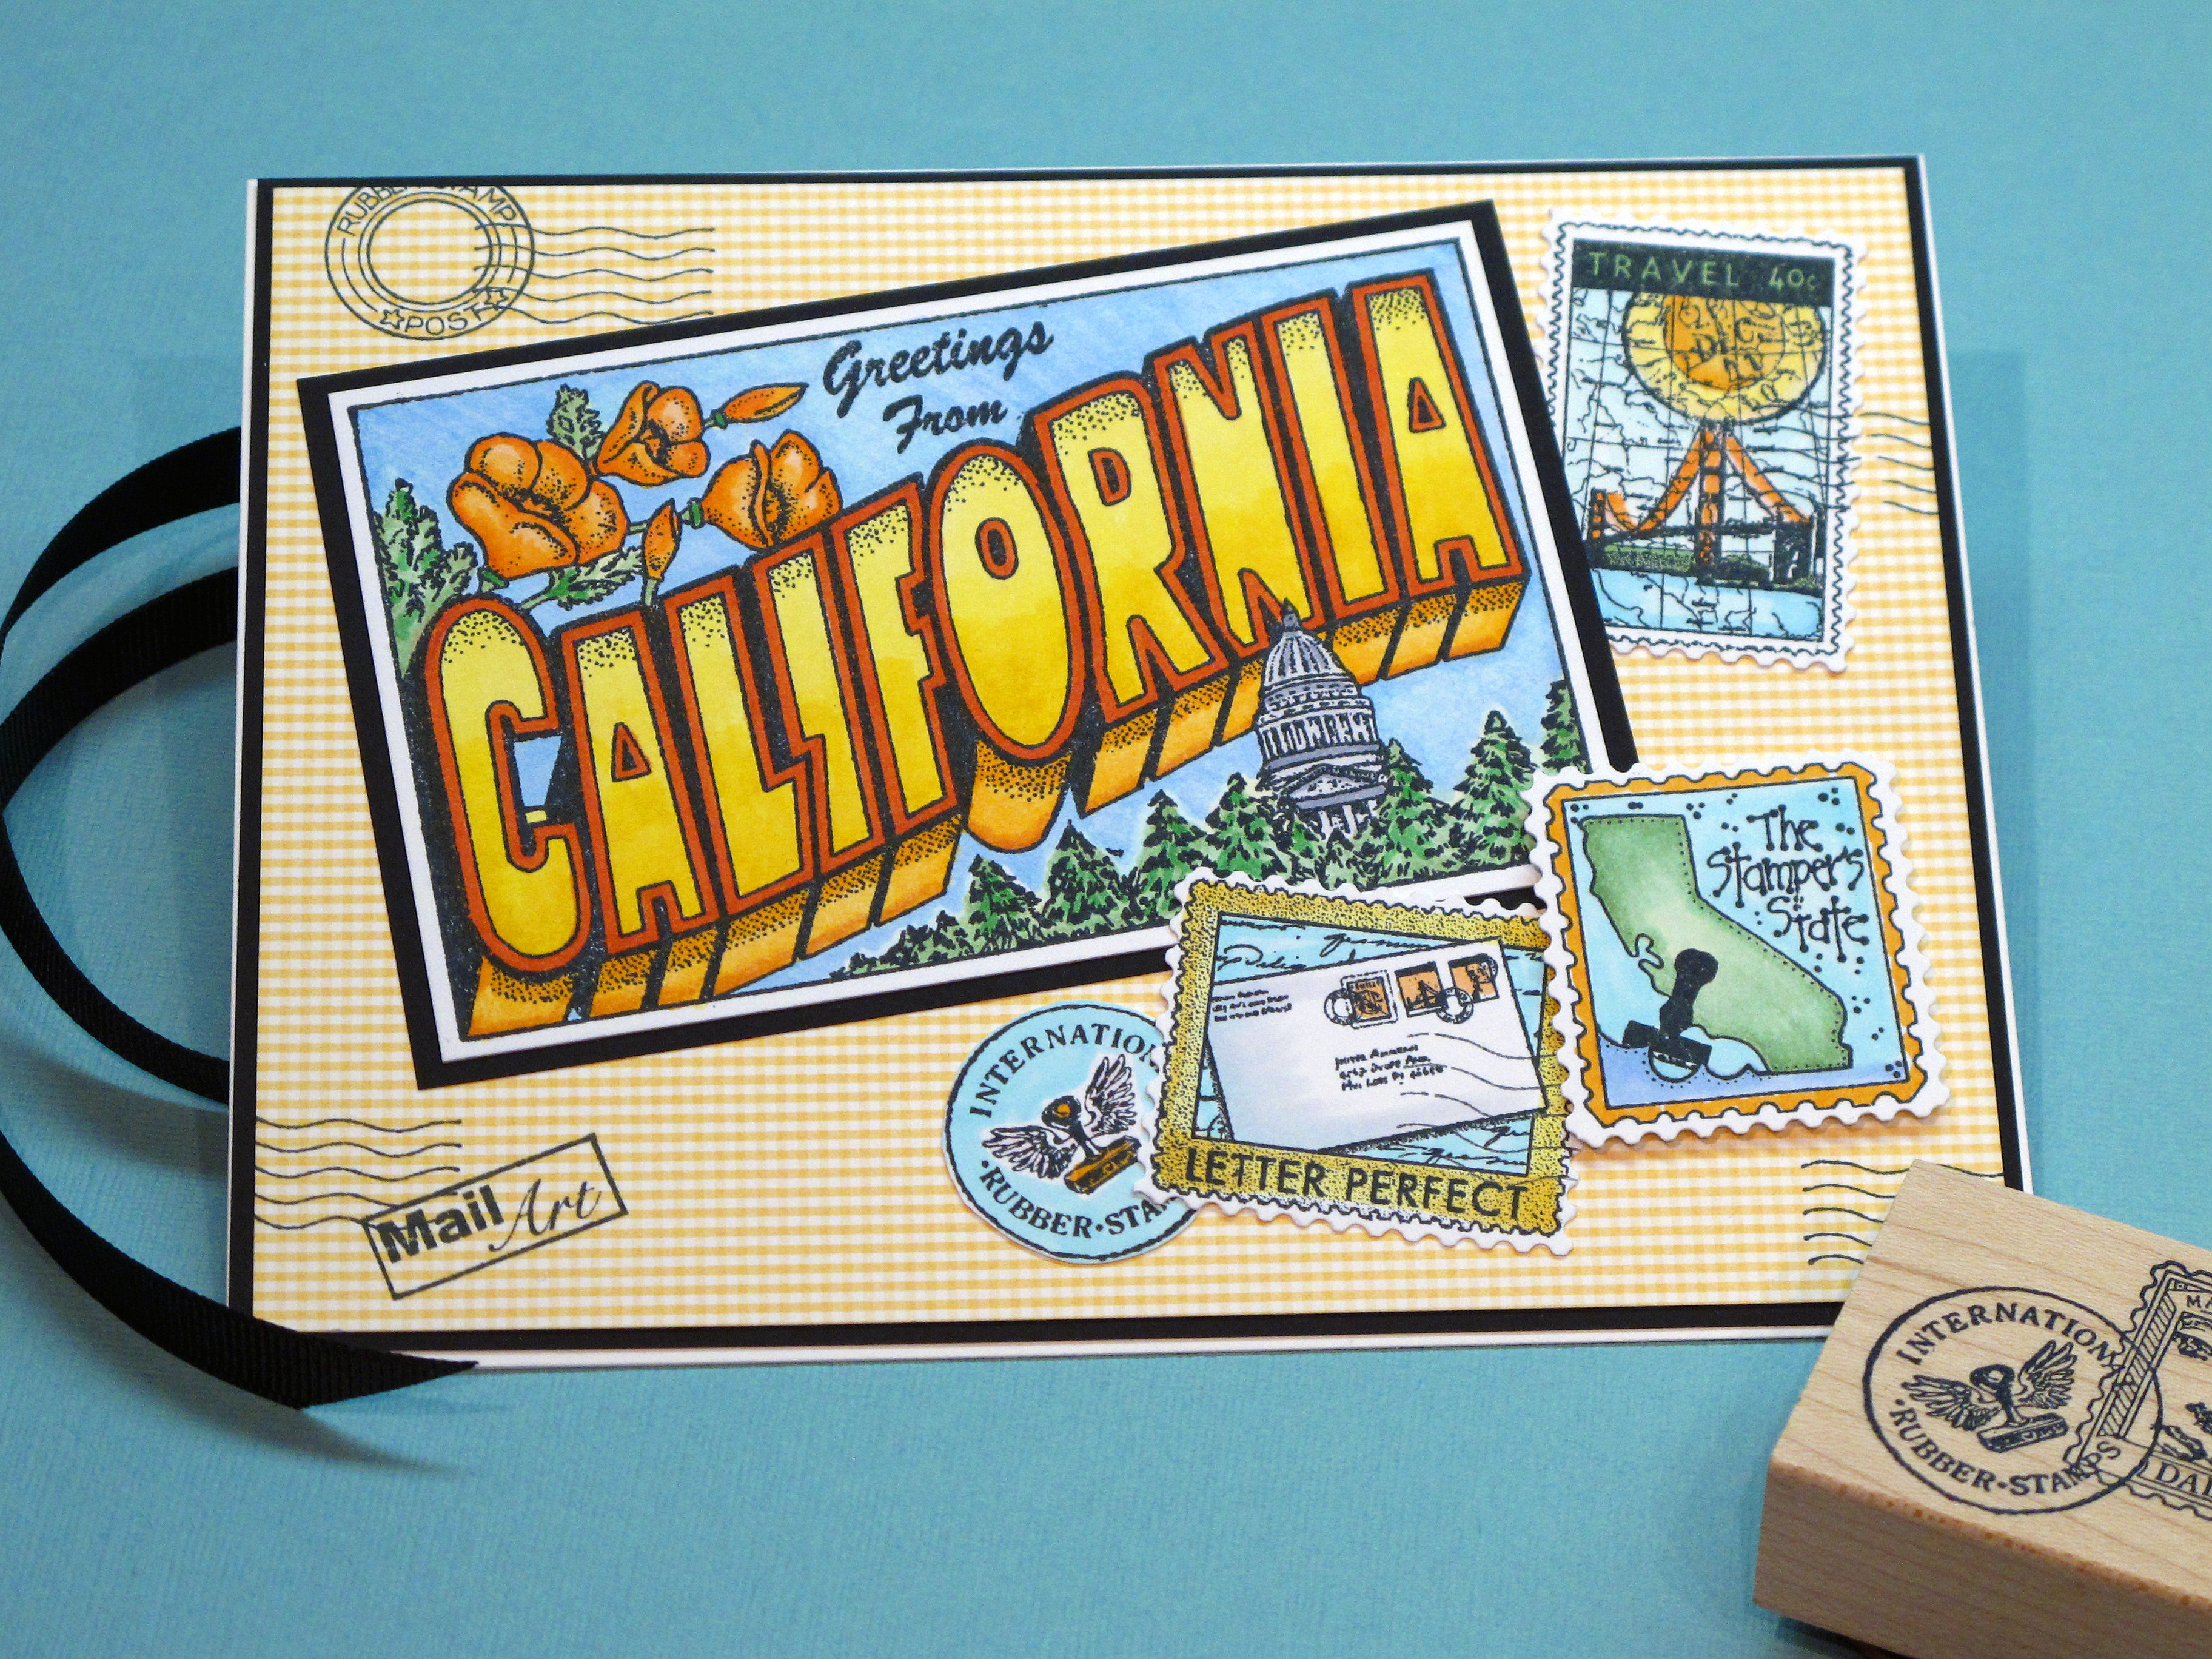
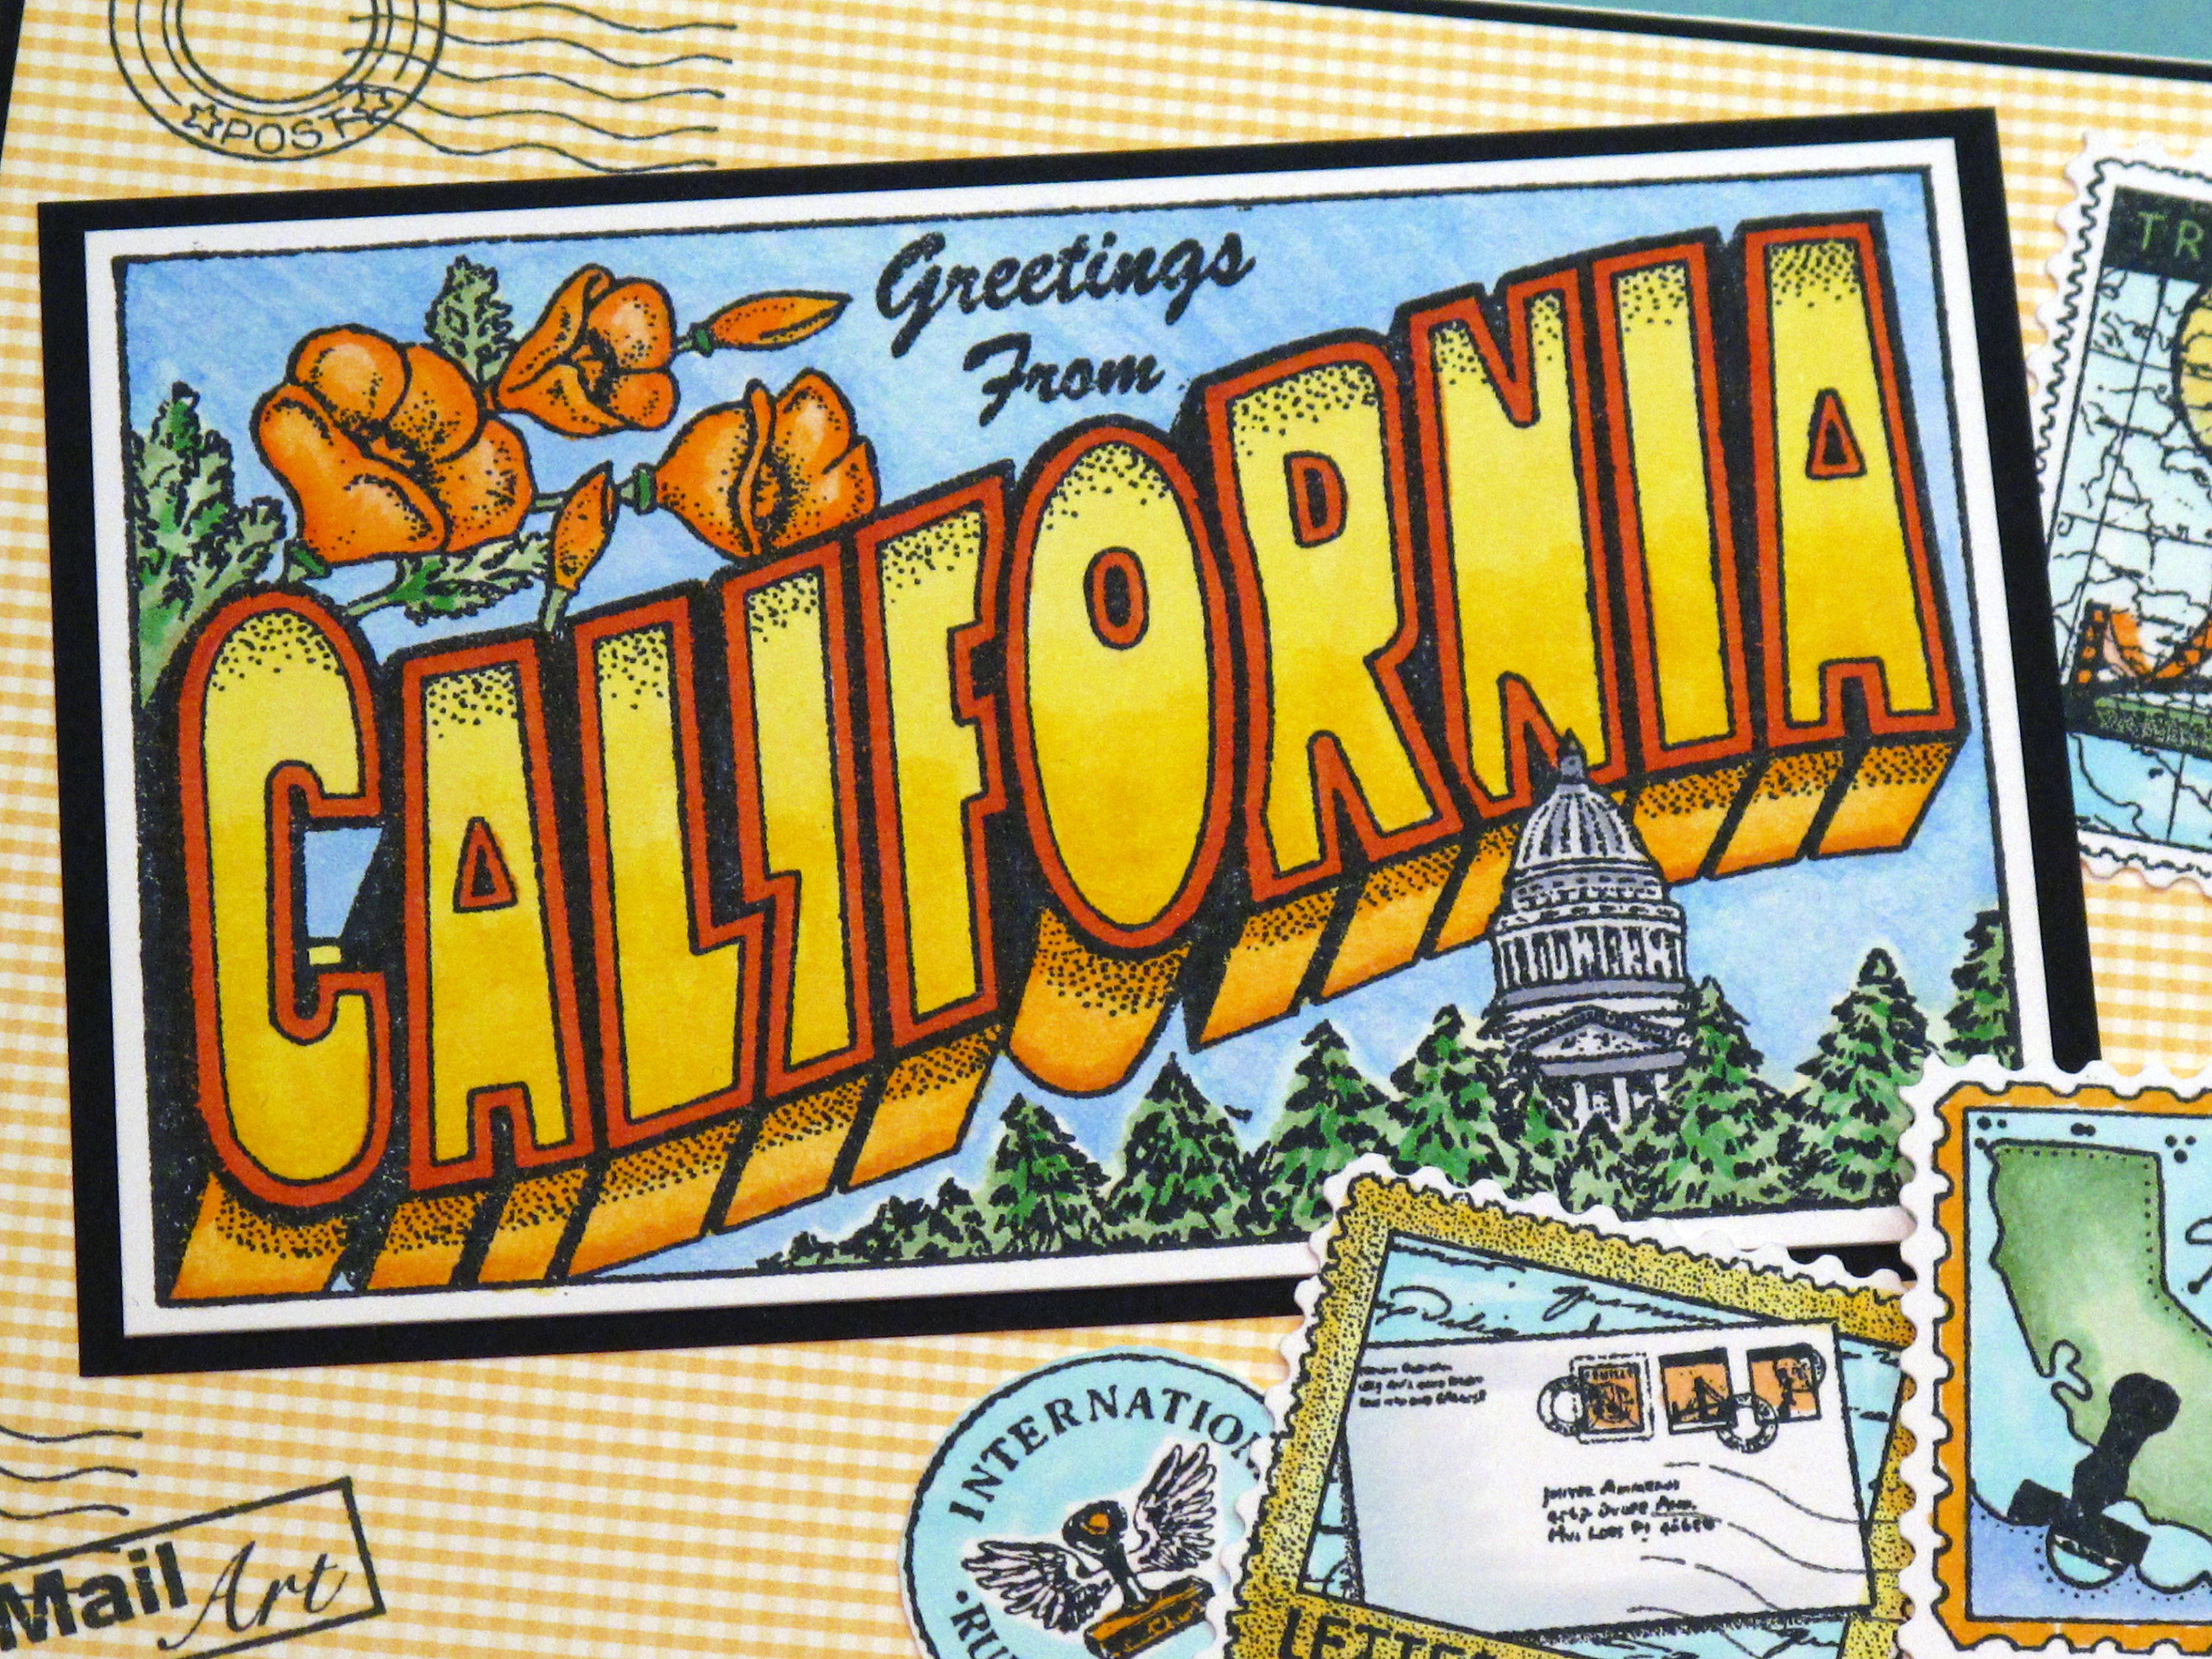
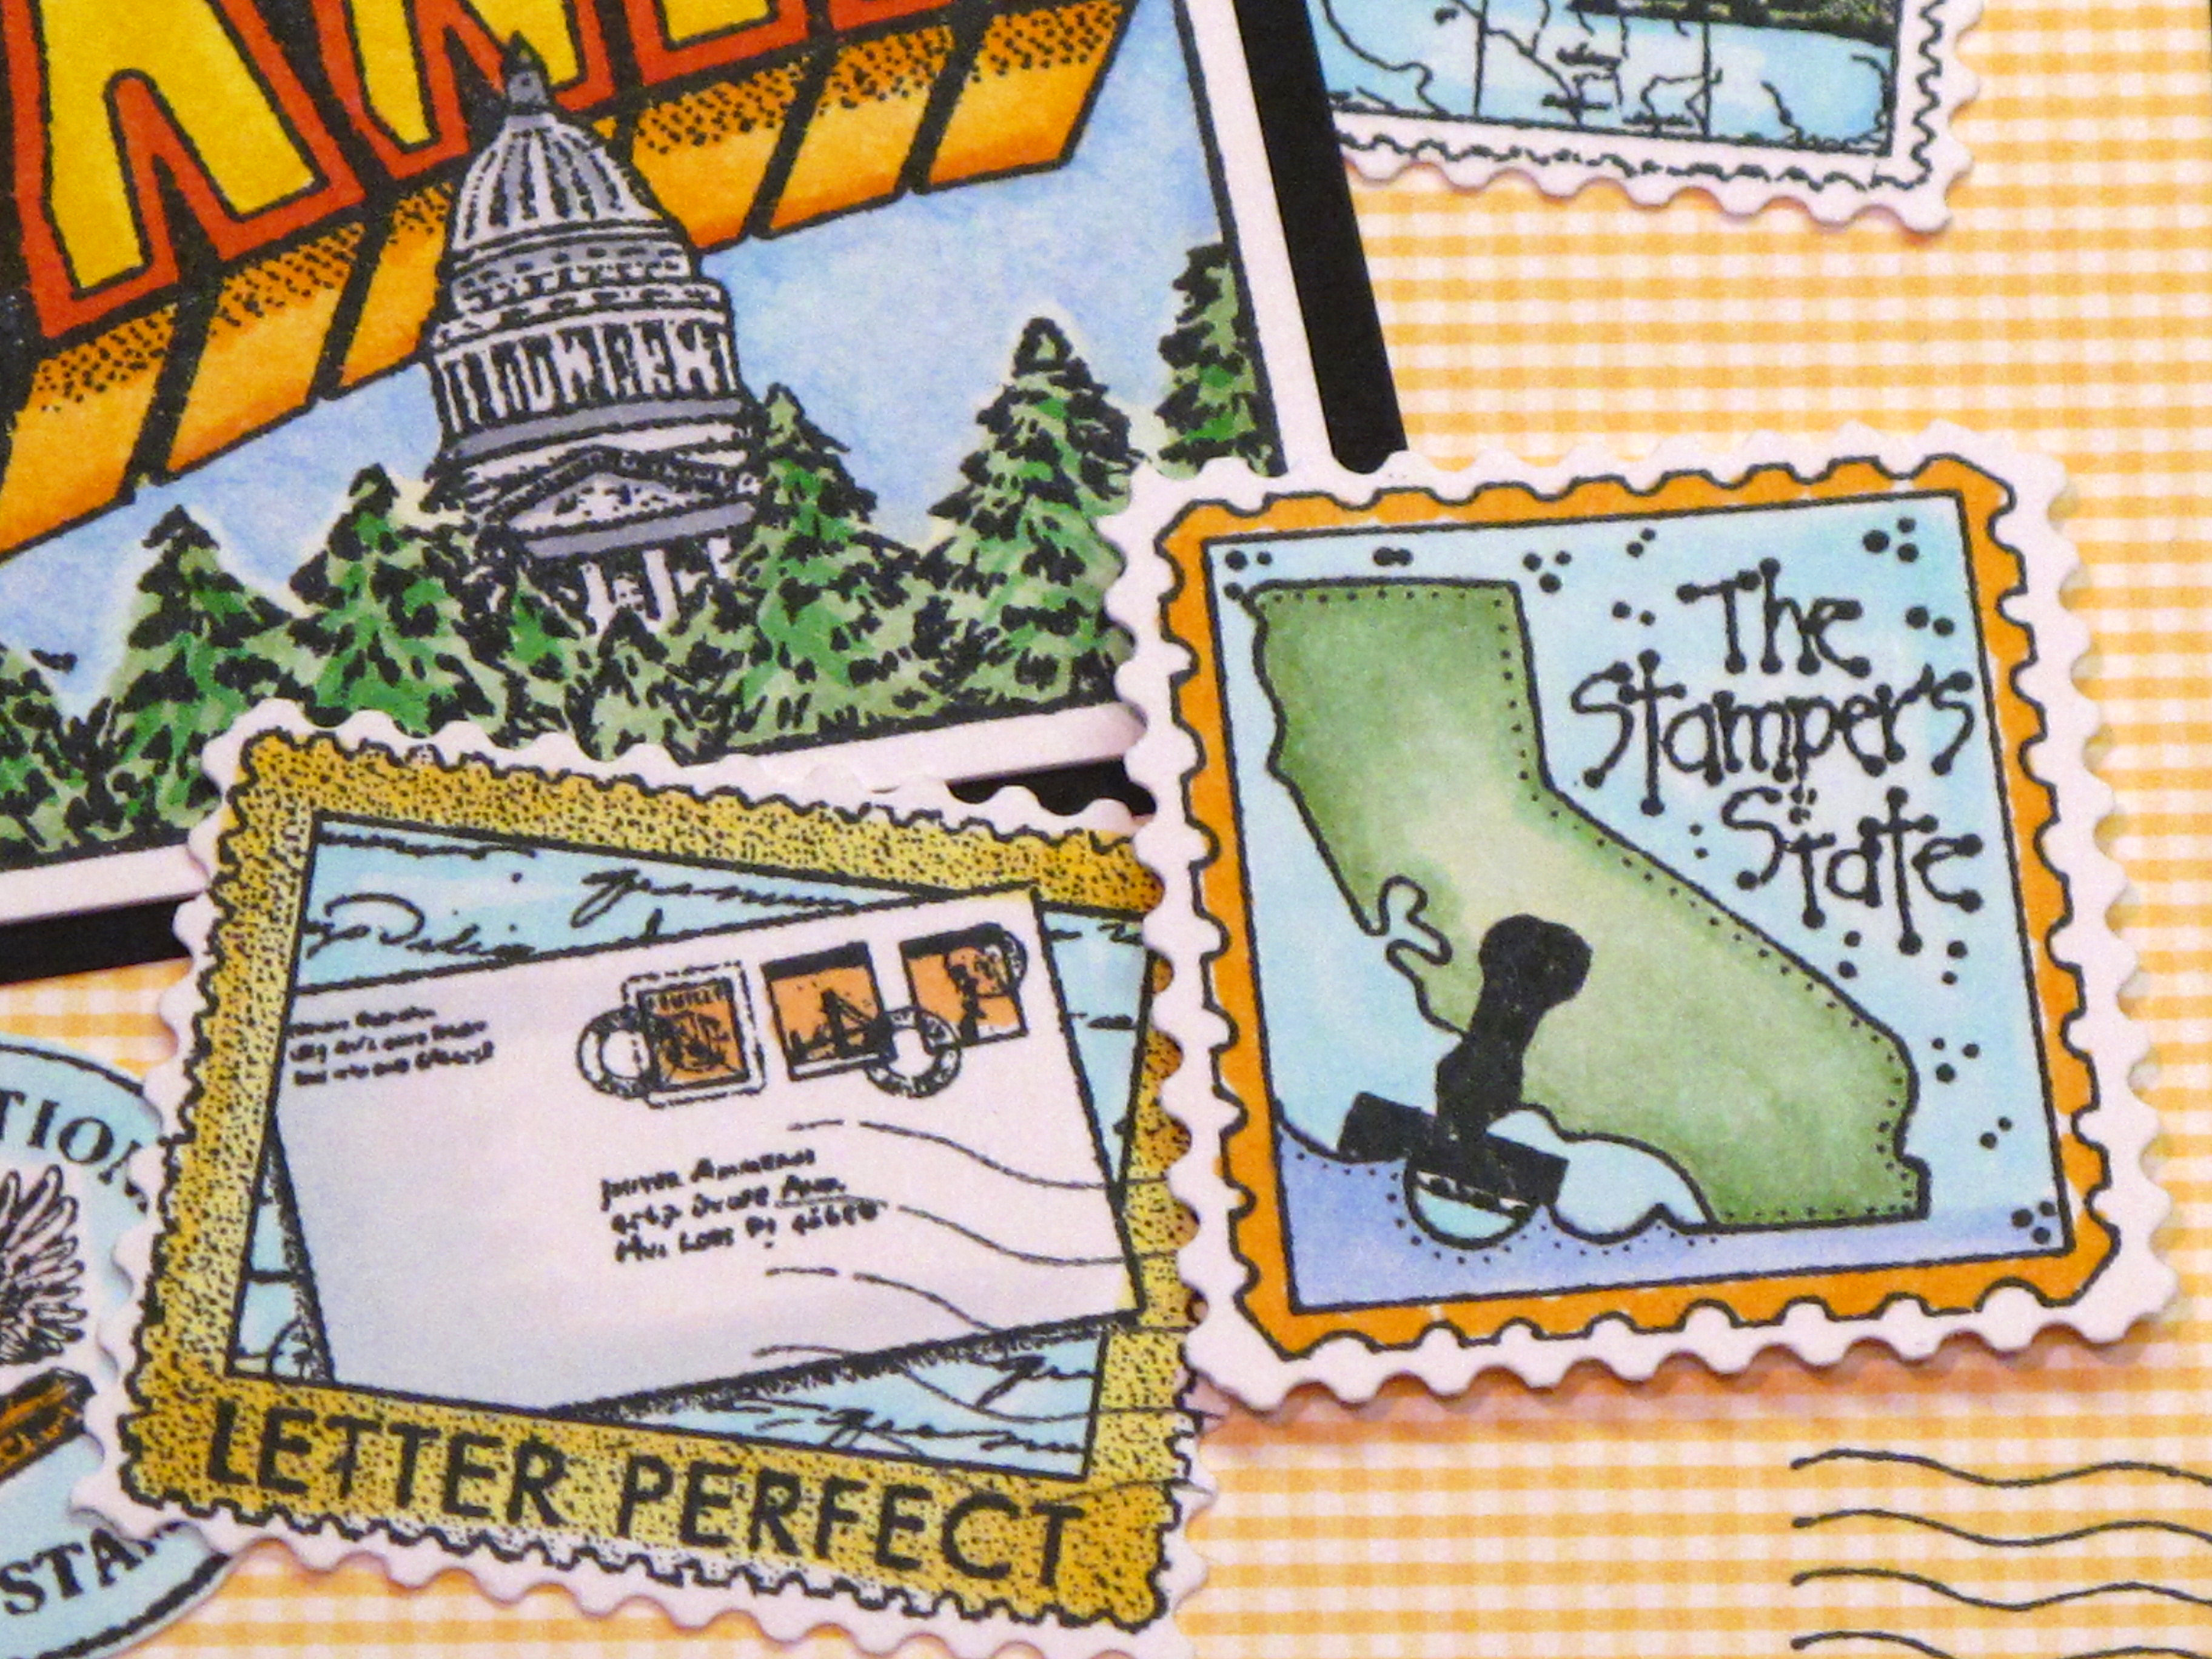
    I made this fun card to say "Greetings from California!" I started off with the main image and then I did some digging around and found all those old stamps of stamps! I had taken some pictures of our State Capitol a couple of weeks ago and I thought they would make a nice combo blog.  

    Here ya go…

    IMG_1377

    No matter how much 'ugliness' is going on inside there…the building is beautiful! Those clouds were to die for and that crisp blue sky…oh my.

    IMG_0615

    A close up of the focal image. I colored it with my Copics of course. This is a stamp from Carmen's Veranda – memba them? They used to be at all the stamp shows. Cool stuff.

    IMG_1378

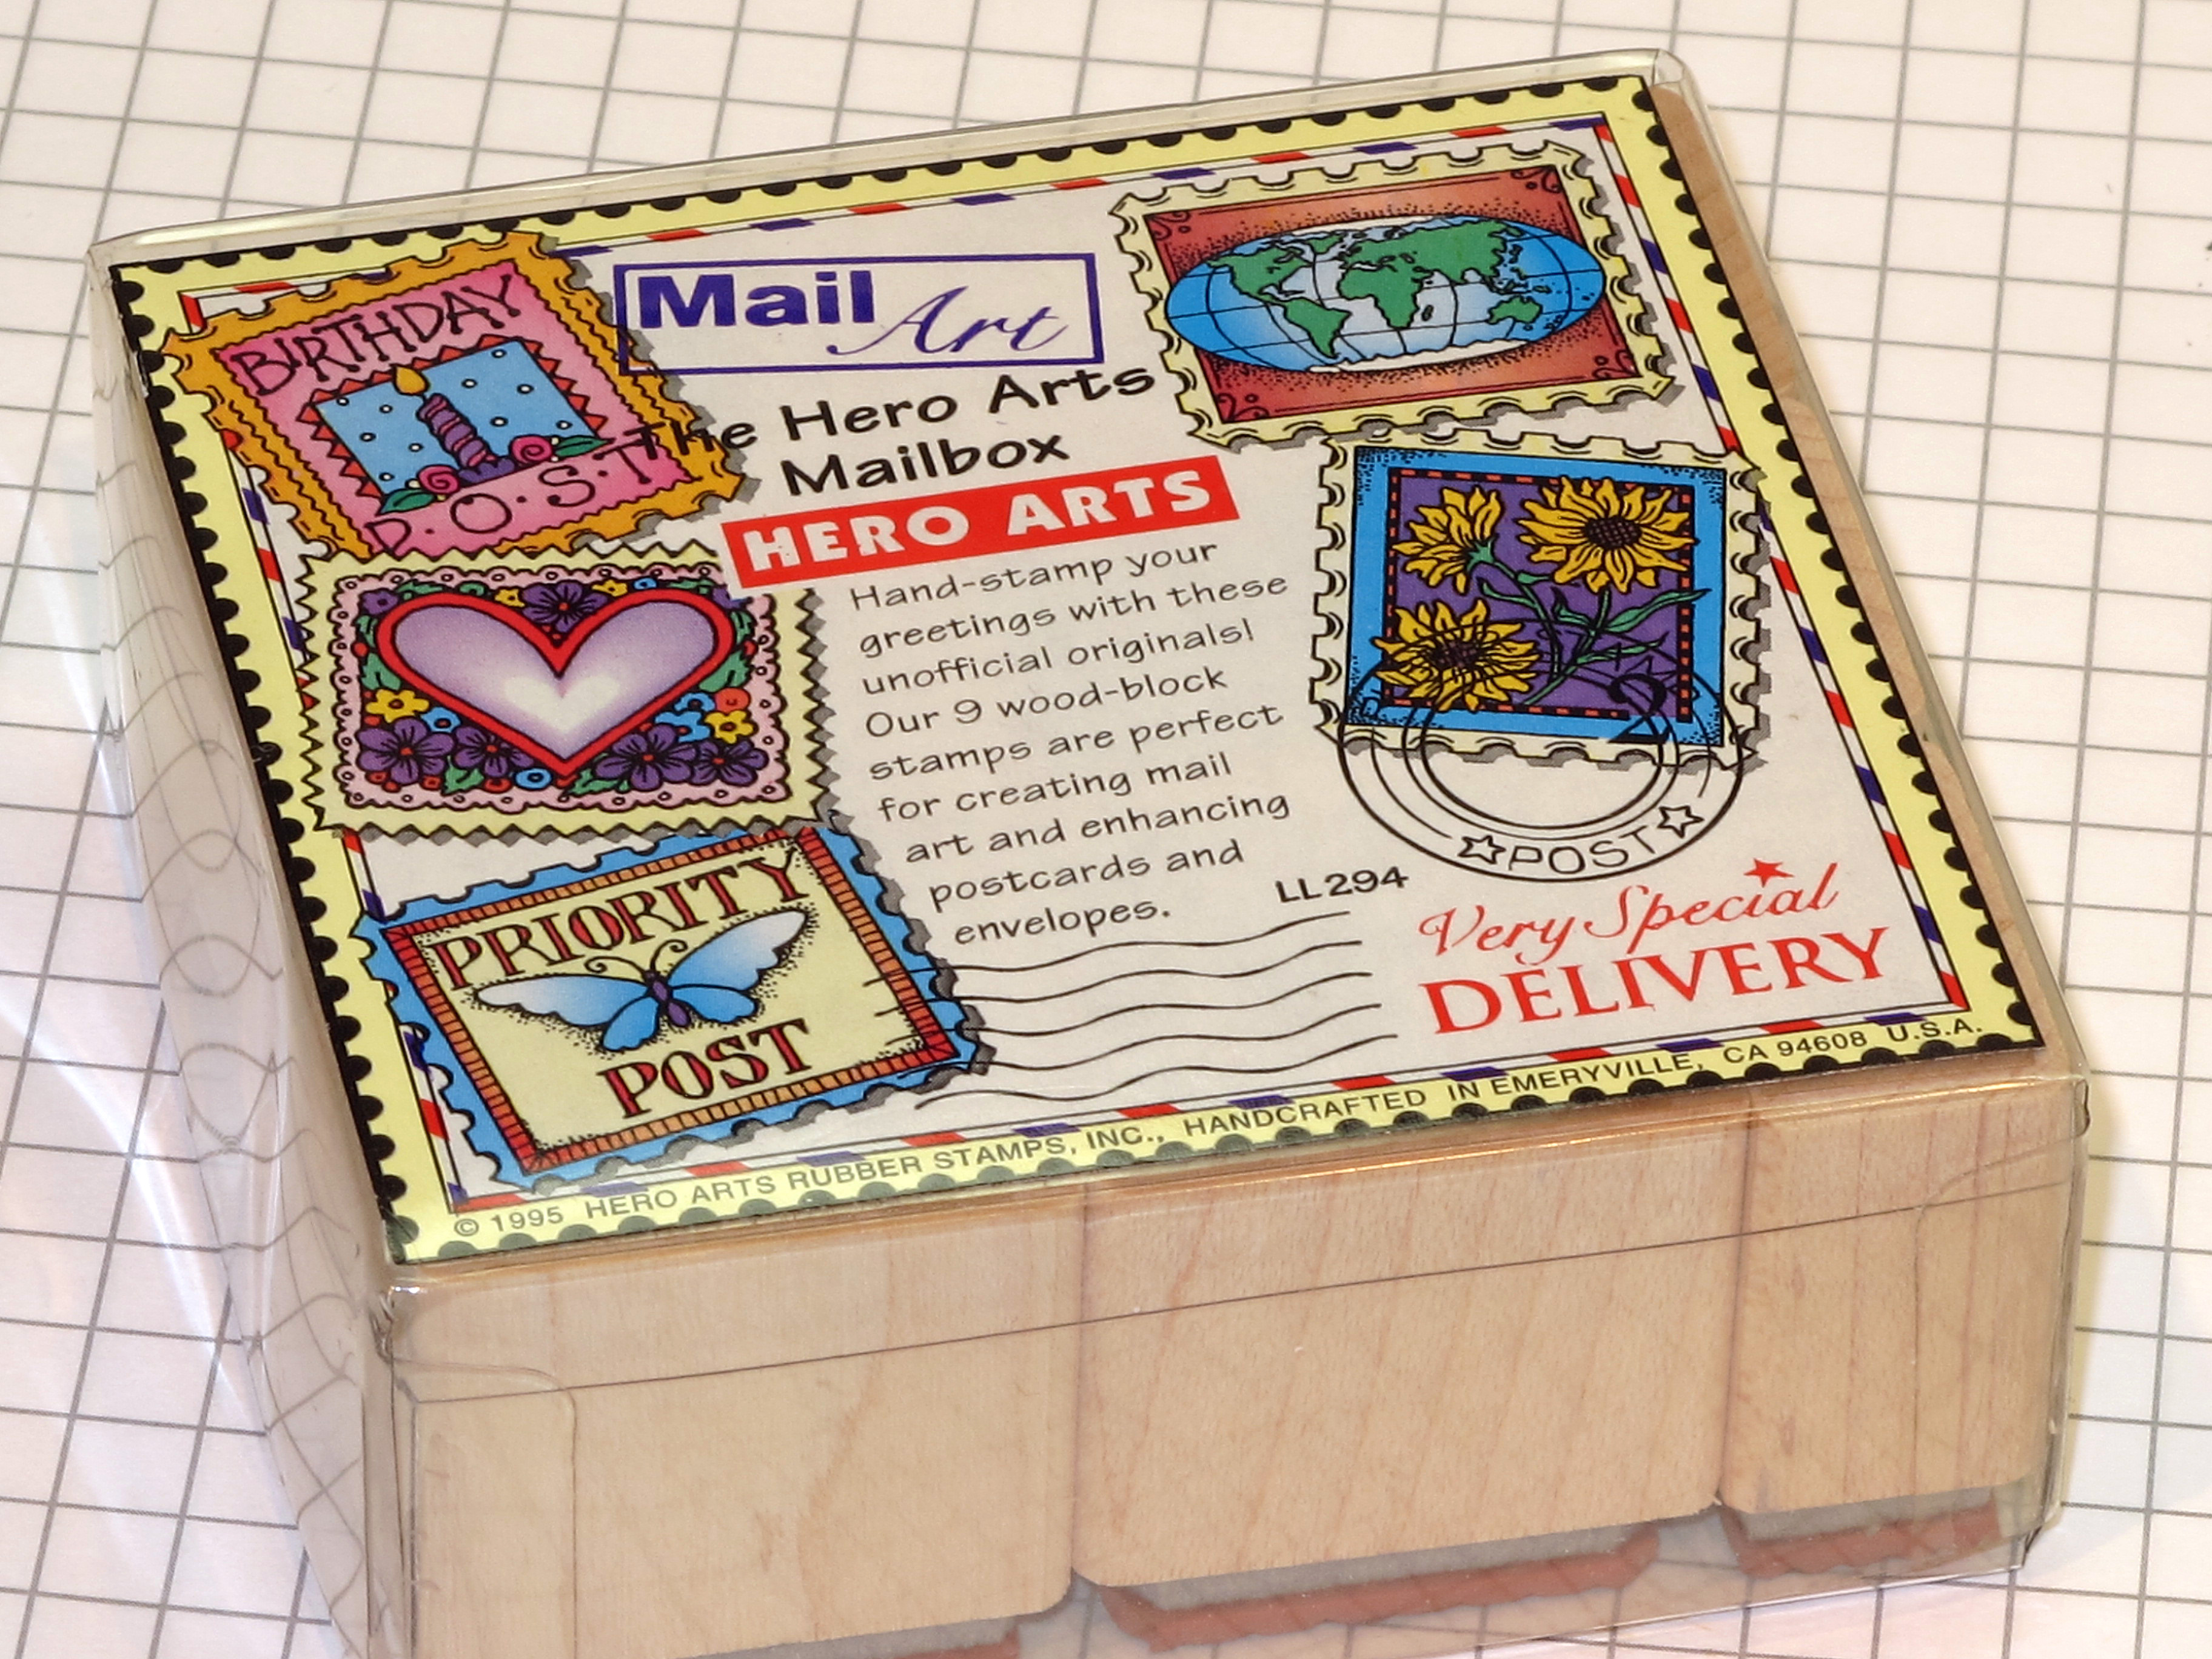
    I'm including the next two pictures to show that I went to the vault for this card! I remember buying this stamp set at this tiny little stamp store on Piedmont Avenue in Oakland – back in the day. Everyone had this set. I have loved Hero Arts for a long time. I hardly ever get rid of my stamps – each one is like an old friend, or a memory of something.

    IMG_1373  

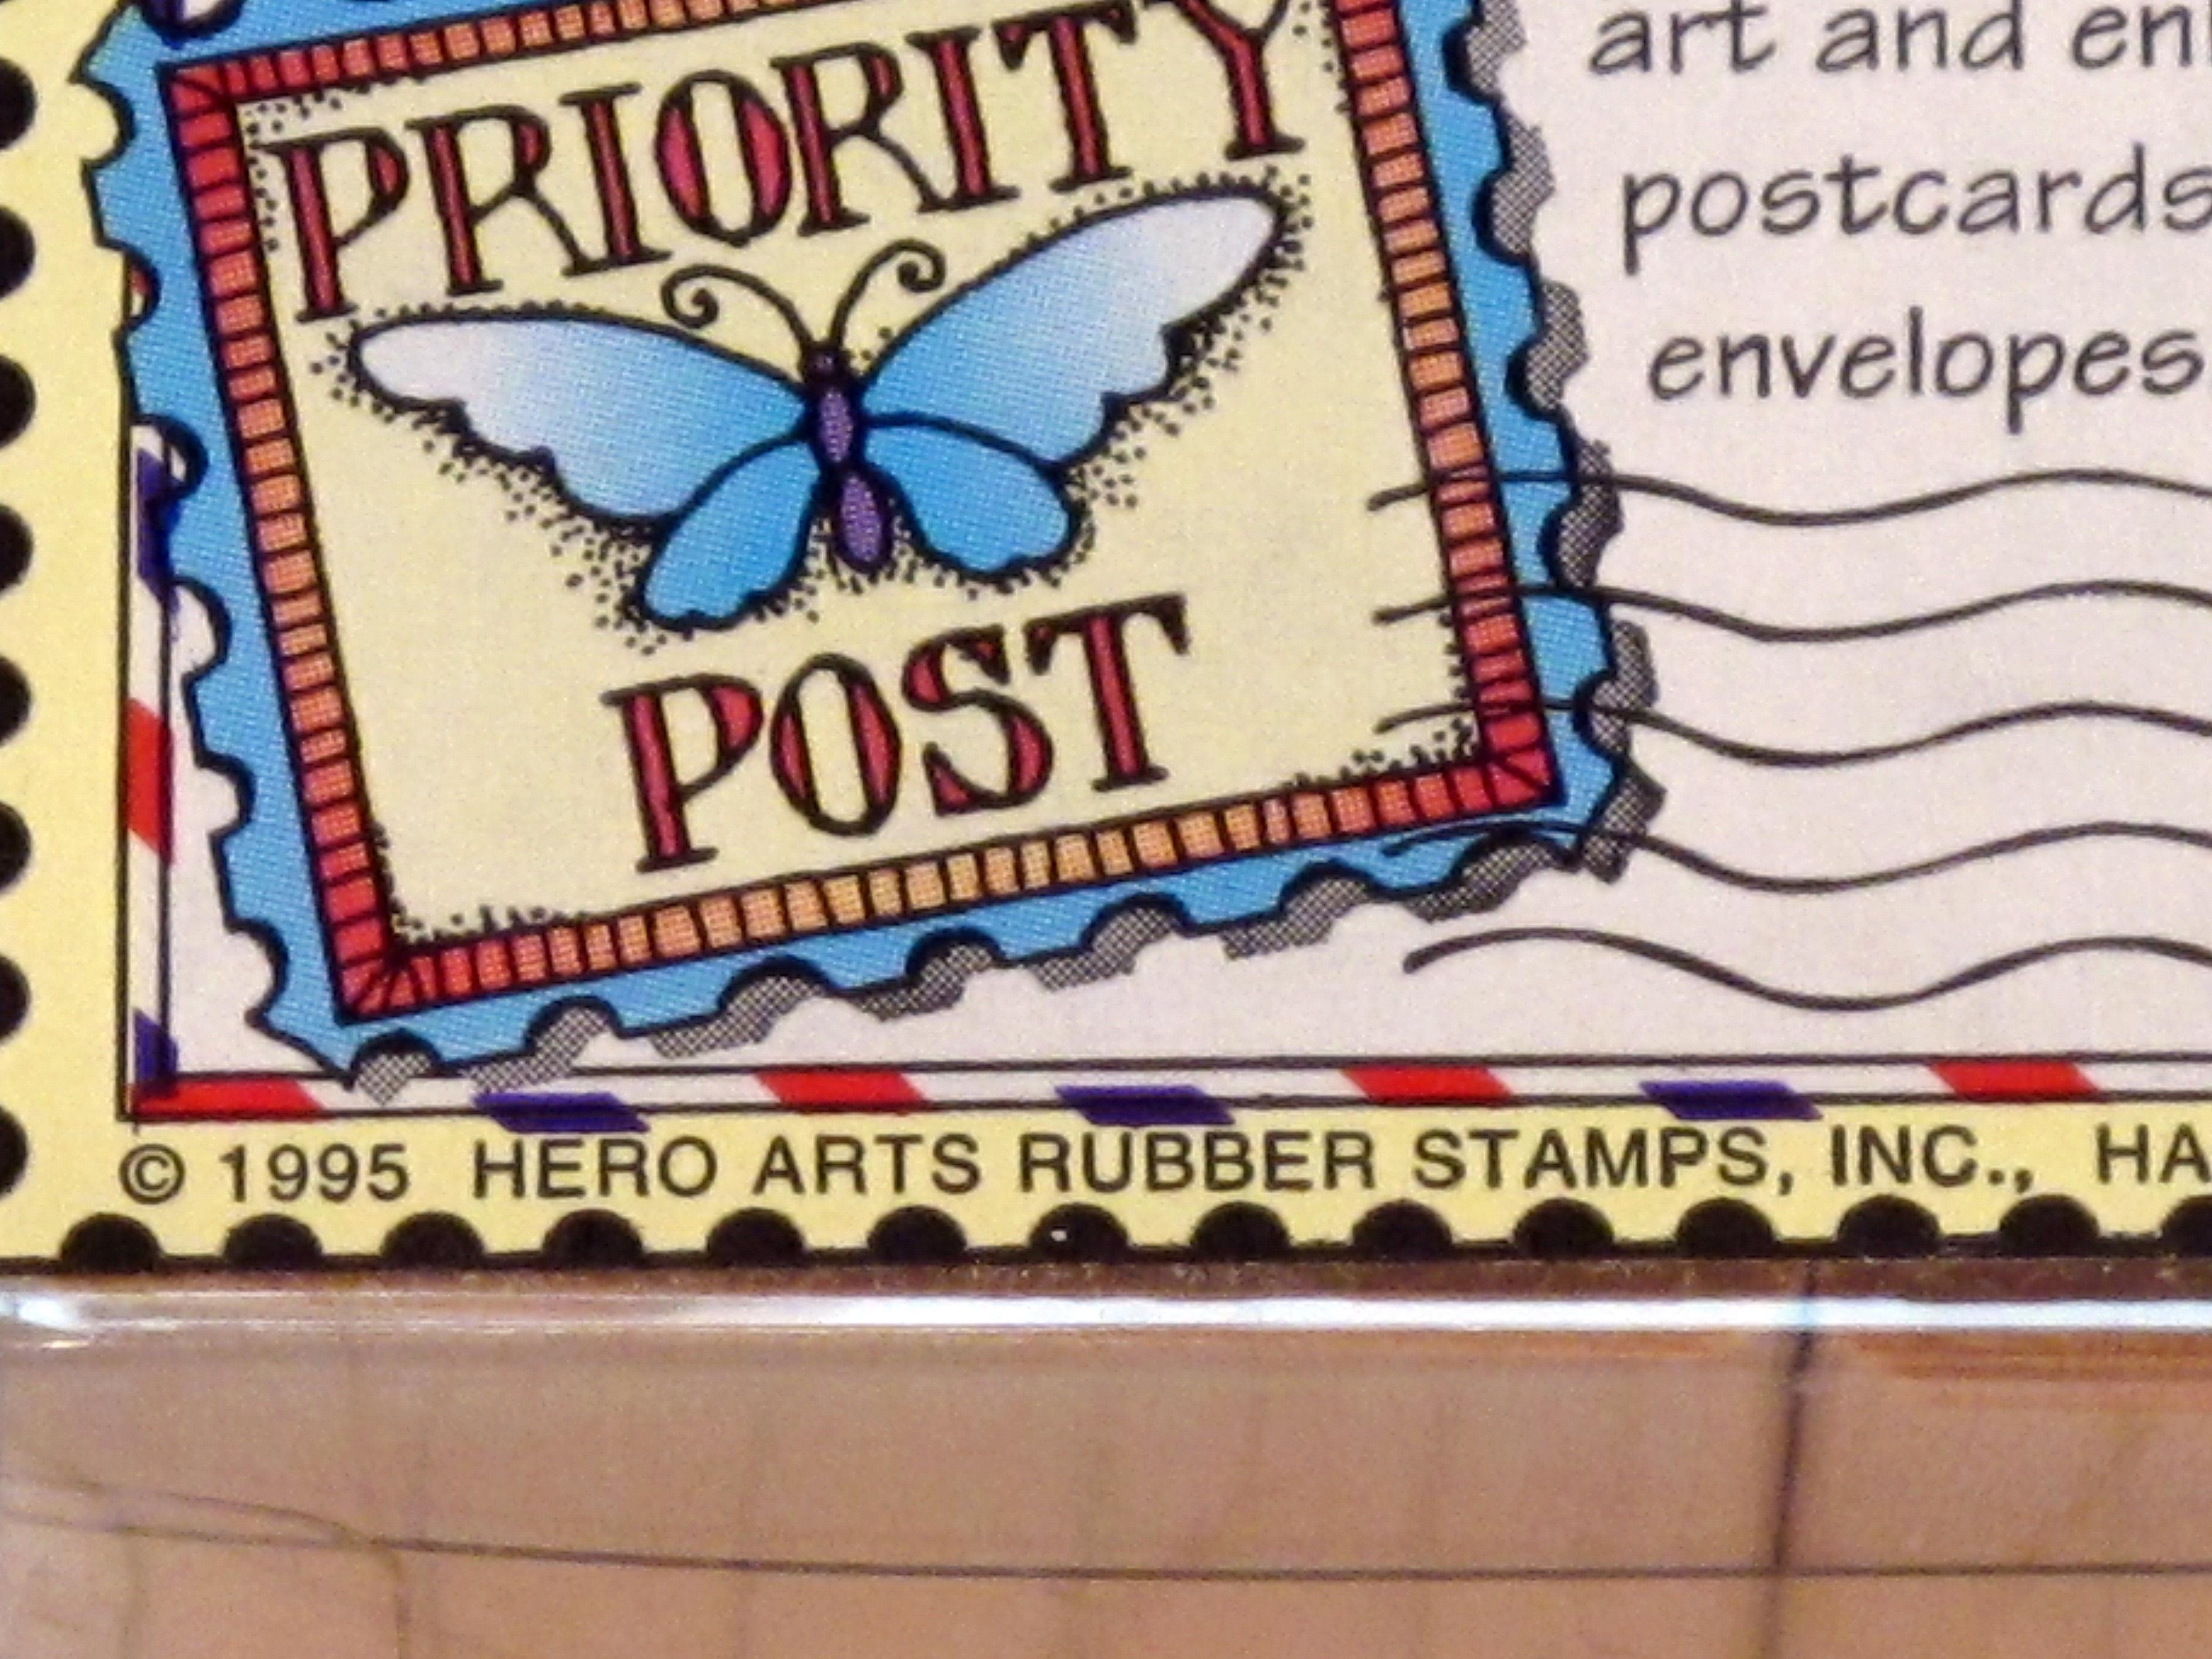
    Yes, I  bought this stamp set in 1995! EEK.

    IMG_1374

    I don't know where I got these two stamps!

    IMG_1380

    A few more shots of the Capitol. I work just a few blocks from here and sometimes I need to take it all in and go for a walk at lunchtime. It really is remarkable.

    IMG_0605


    IMG_0613


    IMG_0596

    Have a great week ahead everyone! Thanks for stopping by today! 

  • A new color/sketch challenge card…

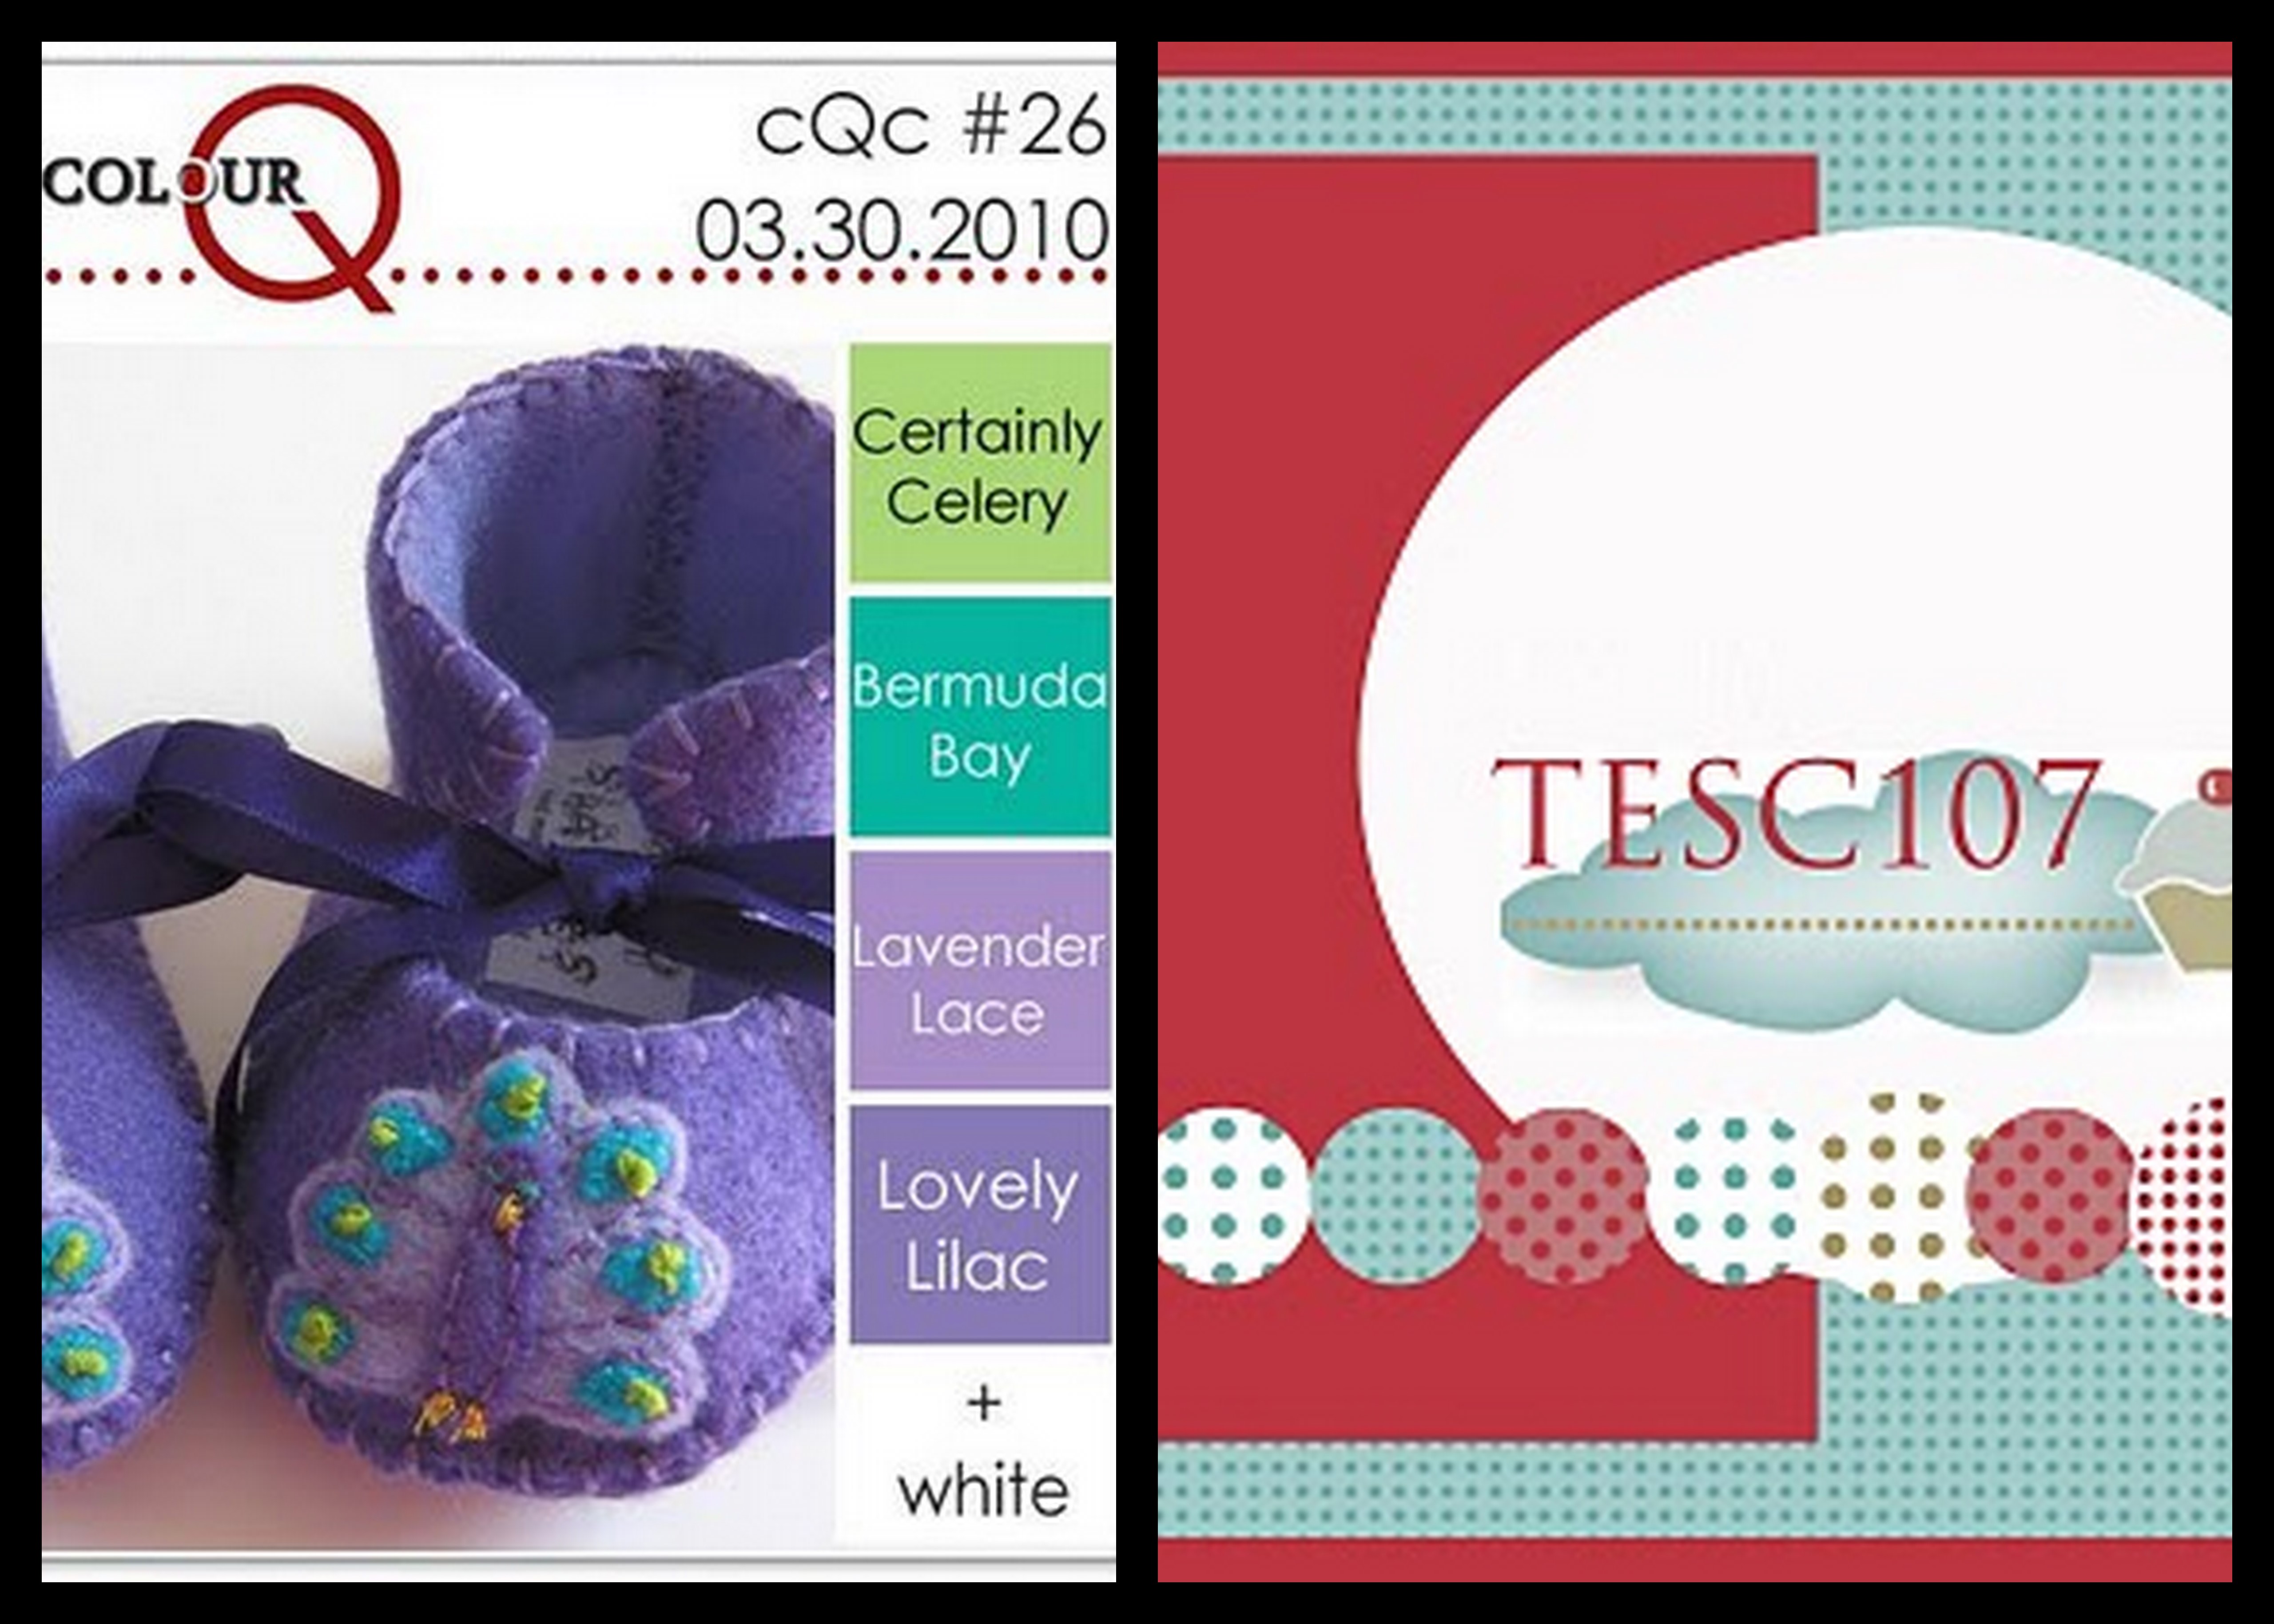
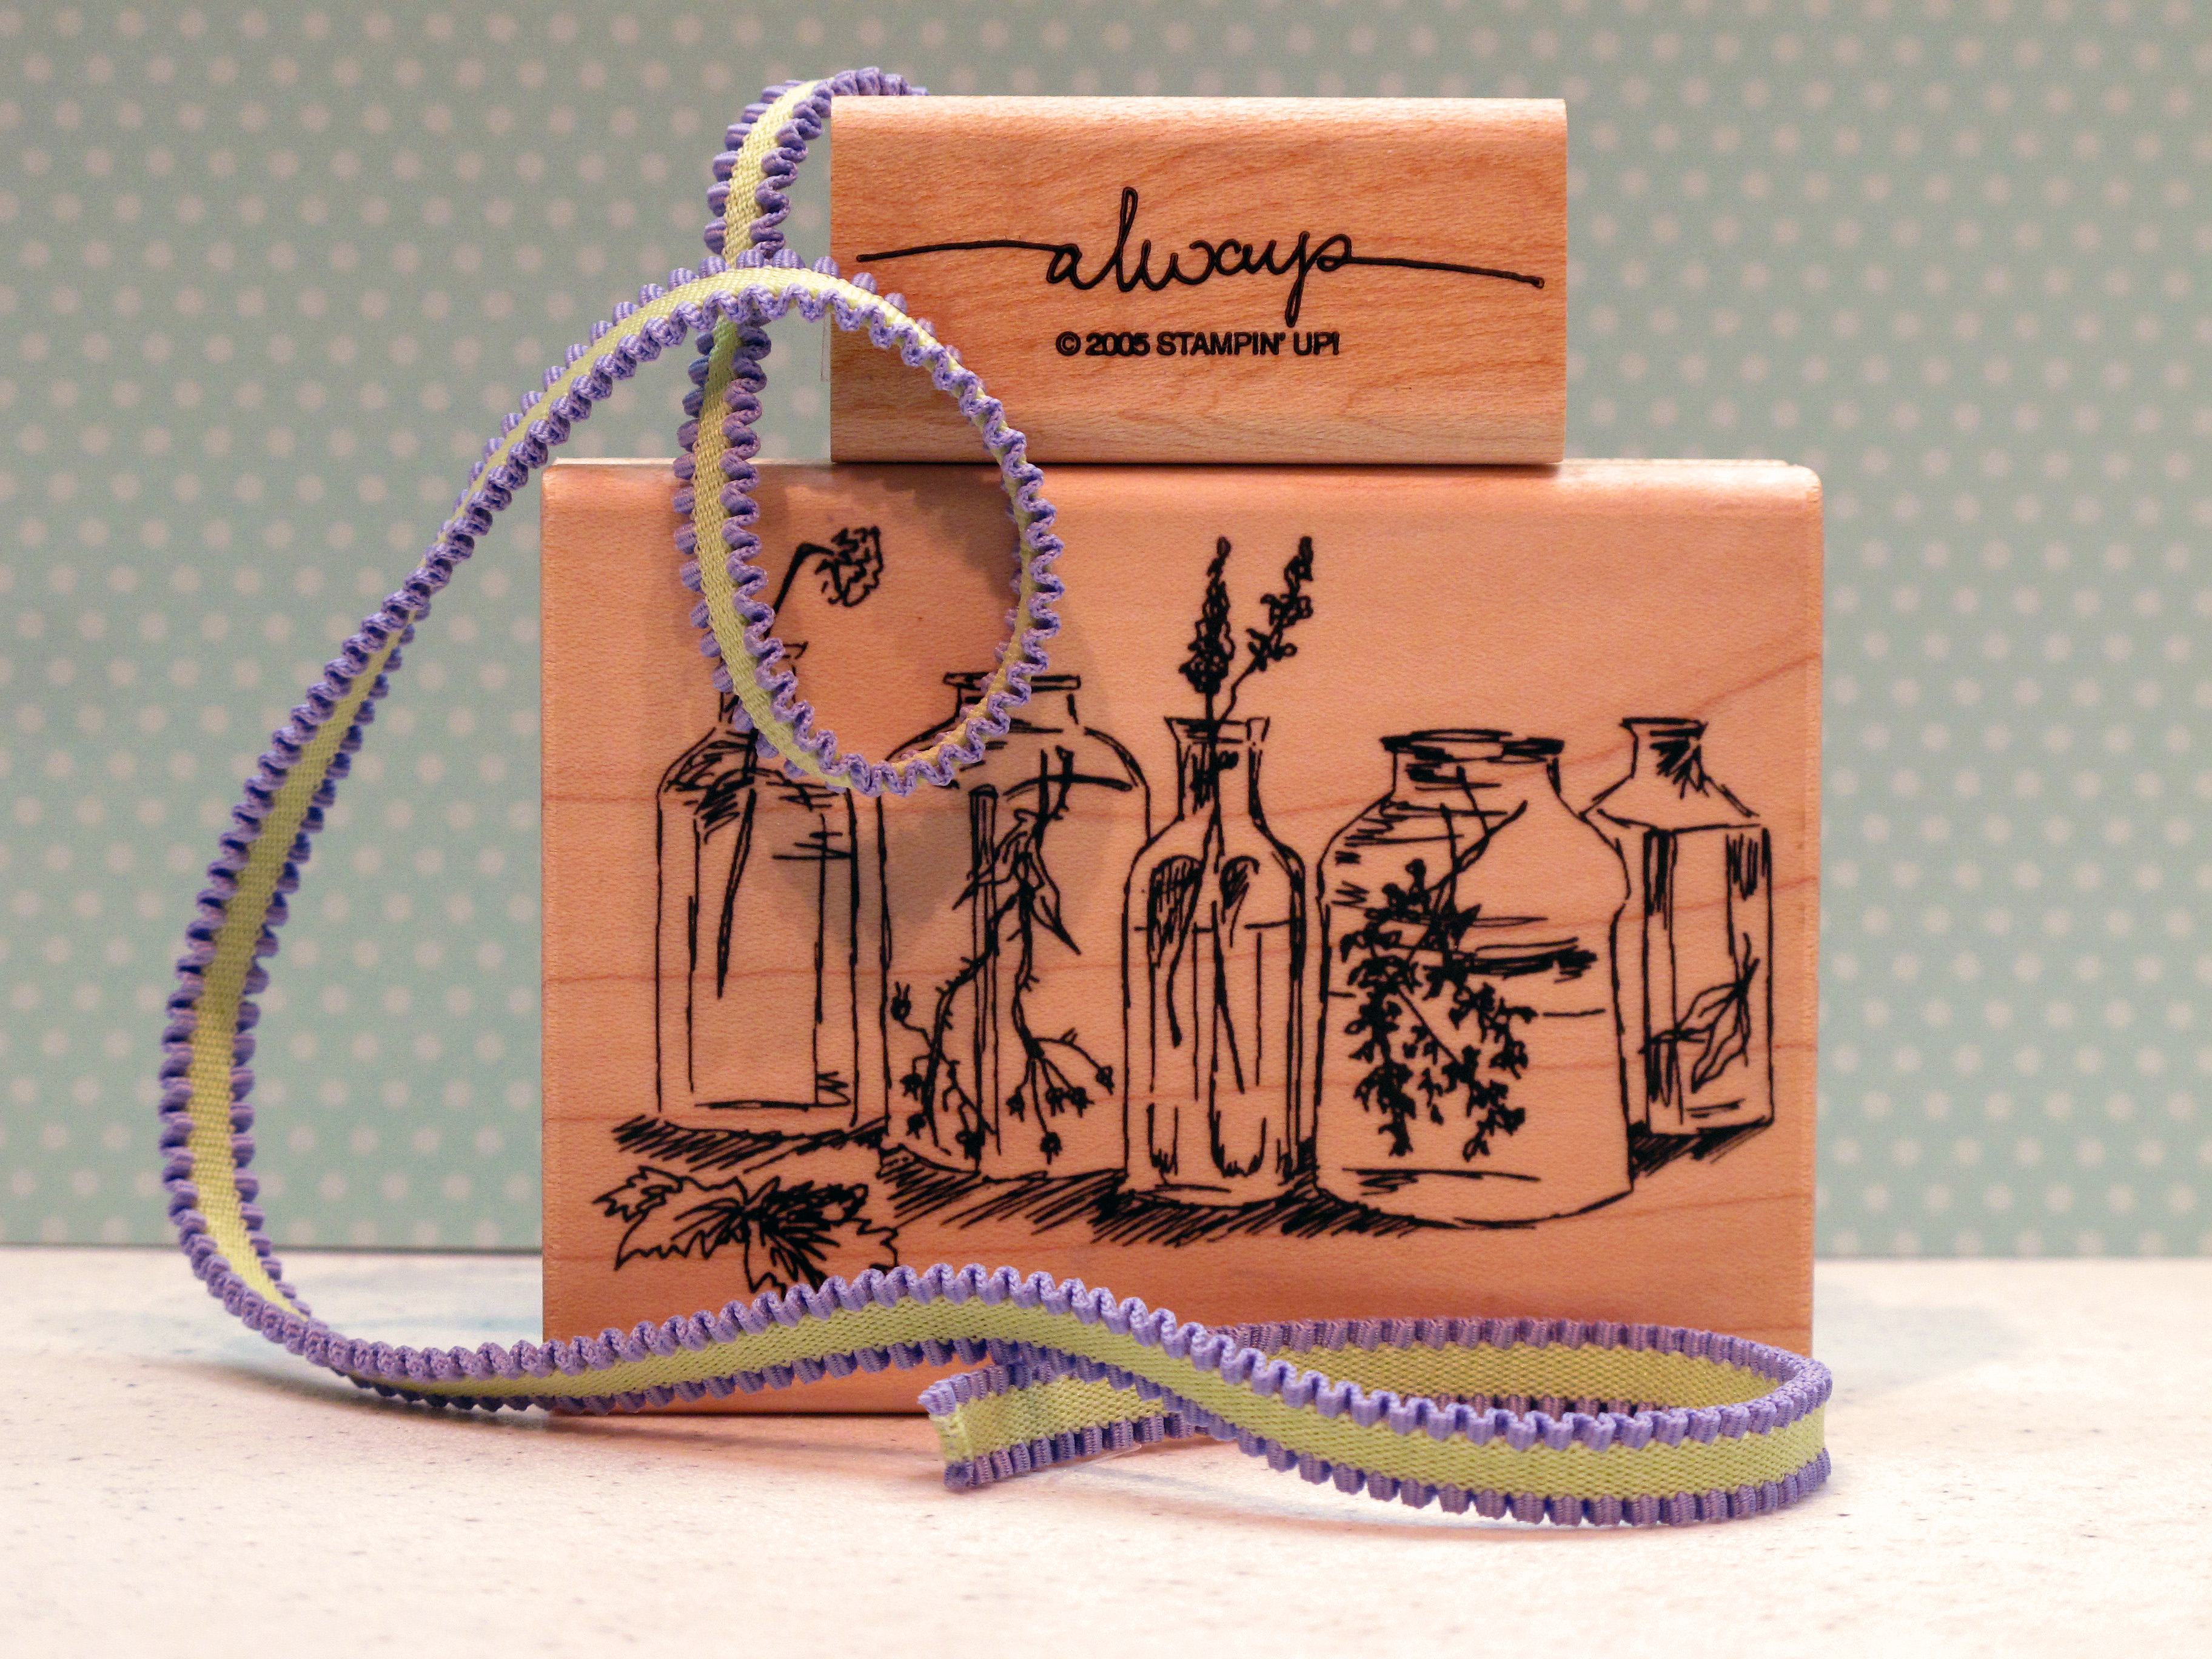
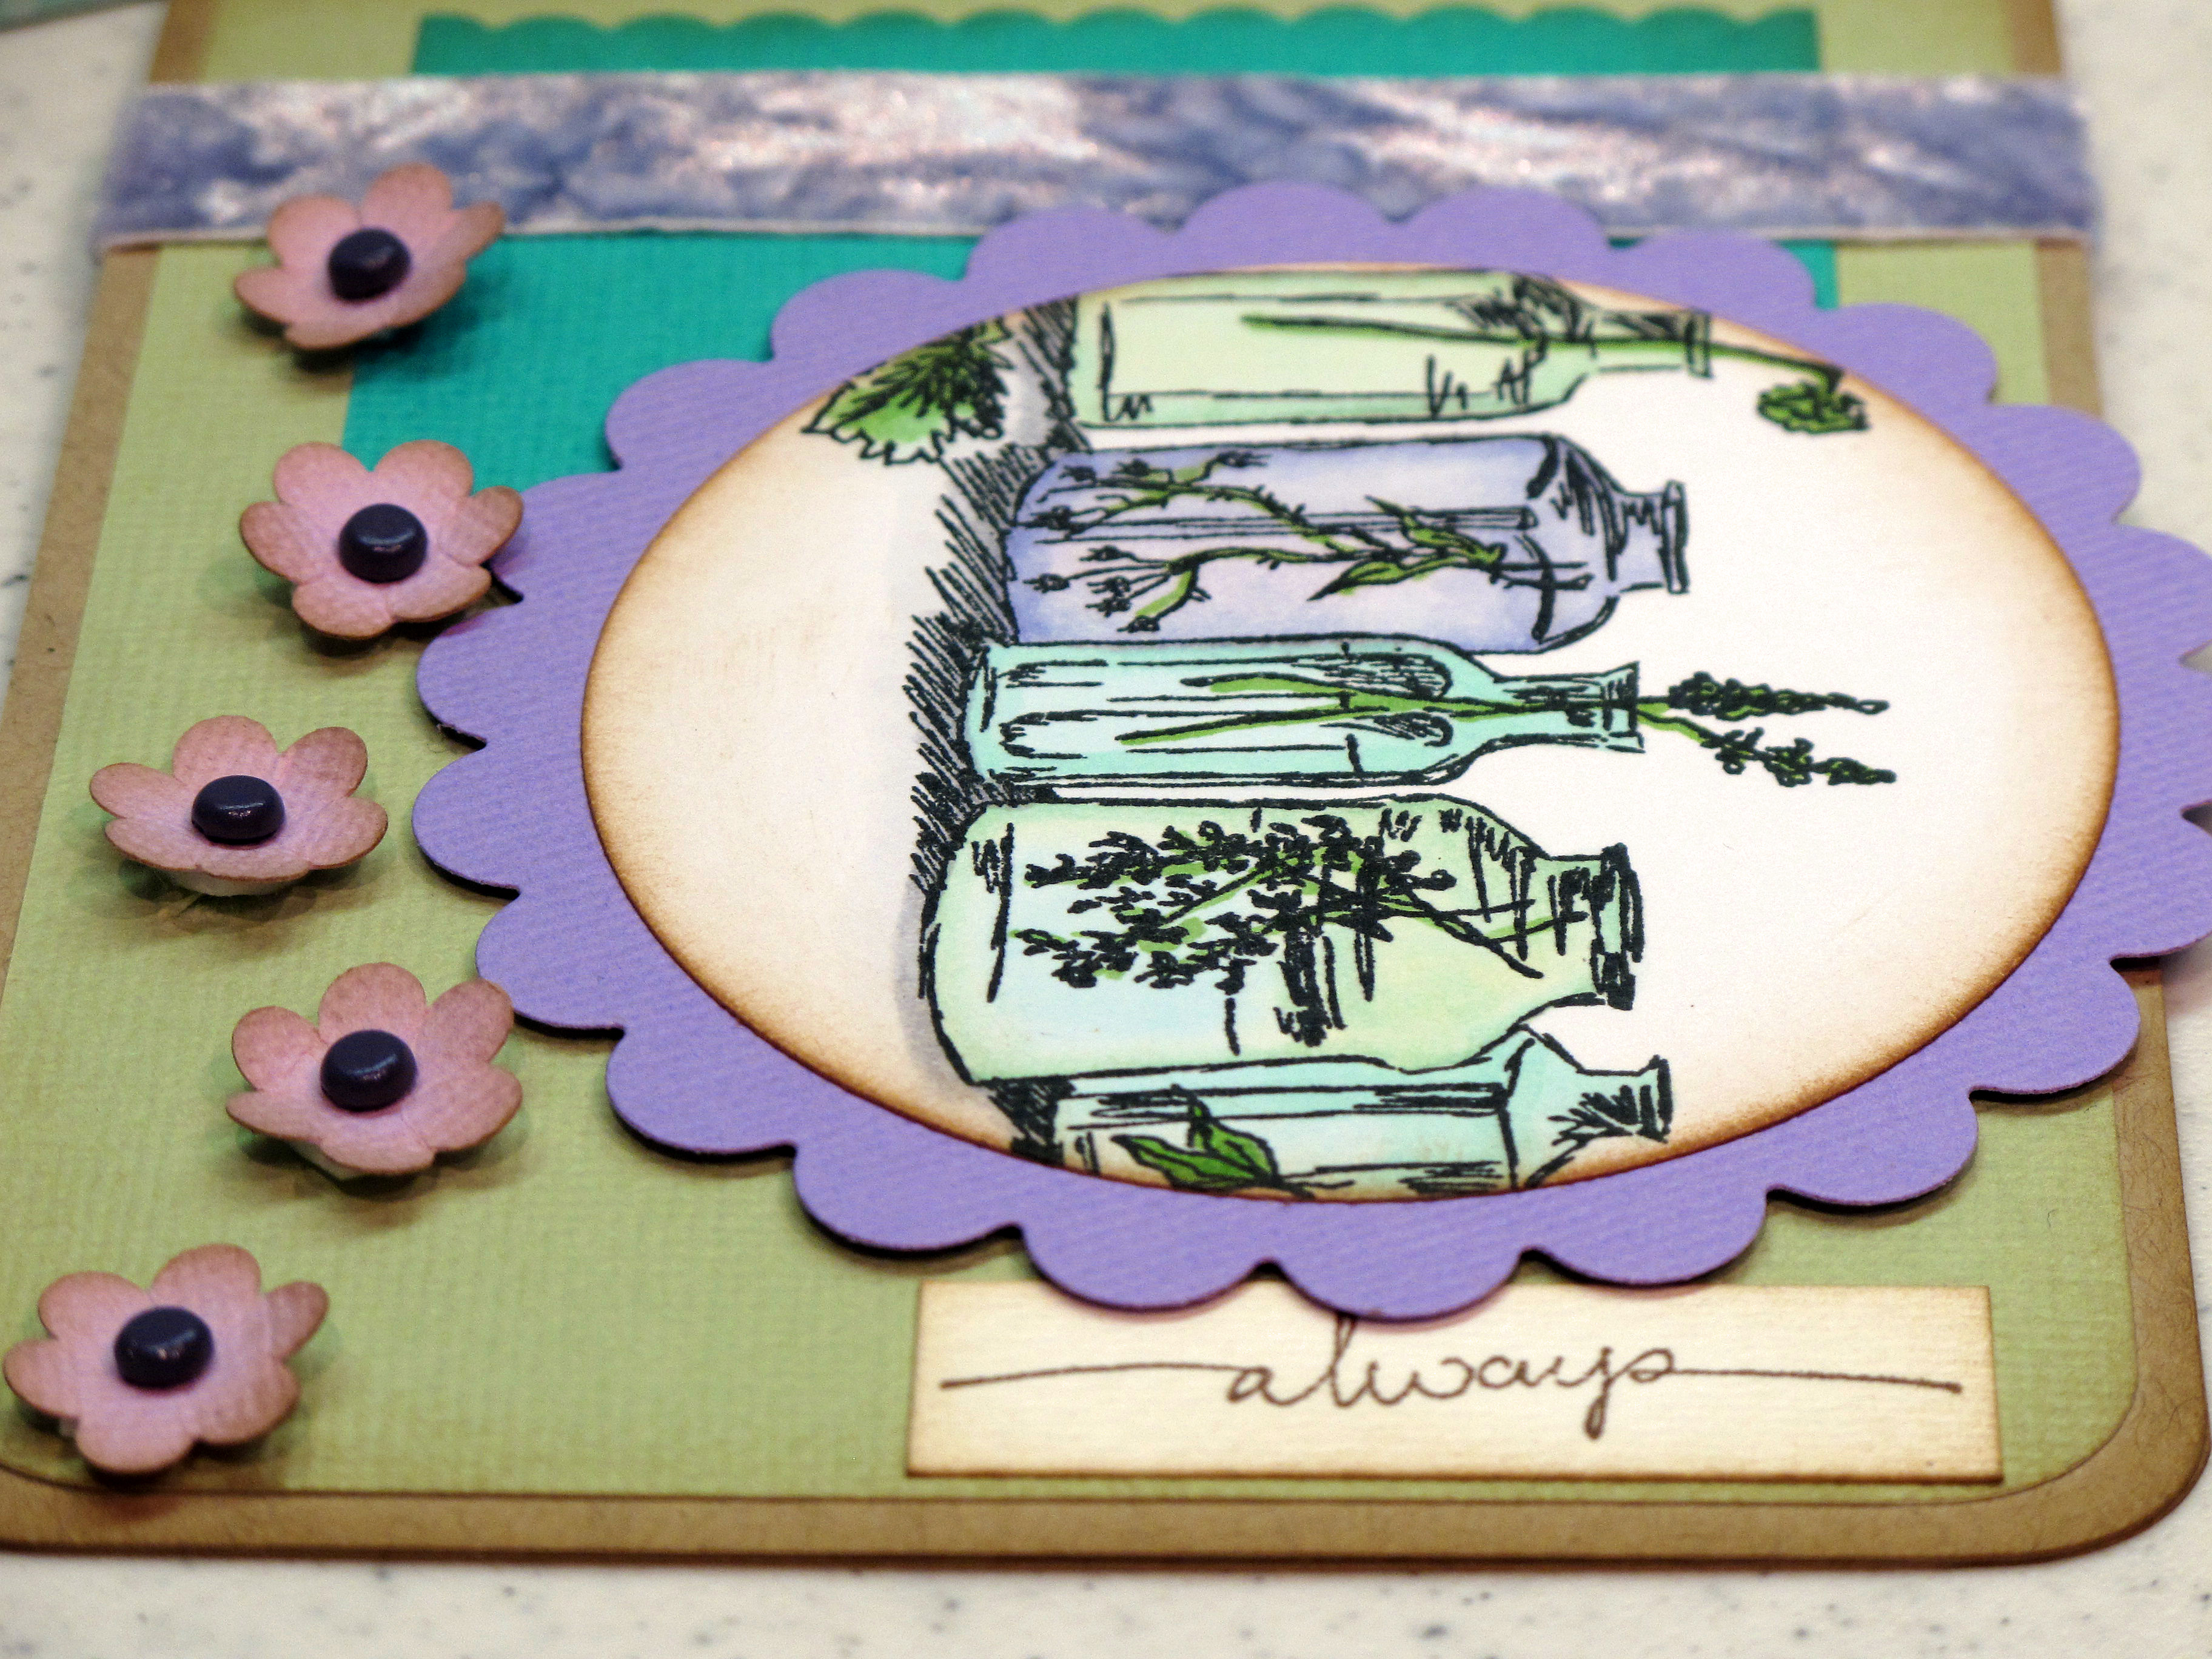
    Again, I managed to find two challenges that caught my eye. One is a color challenge from Color Q and the other is sketch challenge #107 from Taylored Expressions! When I first saw the colors, I thought – piece of cake! I love those colors. Well…several attempts later I realized it wasn't that easy. I rarely put that many strong colors together and it really did challenge me! Teal, Celery Green, Lavender and Lilac…gorgeous pallette.

    Without further ado…my card…

    IMG_1367

     
    Here are the two challenge images!
     

    Color q challenge

    A close up of the central image – colored with my very lightest Copic marker shades of green, blue green, blue violet and blue.  

    IMG_1361


    I handmade each of the little lavender flowers

    IMG_1350


    IMG_1351


    IMG_1365

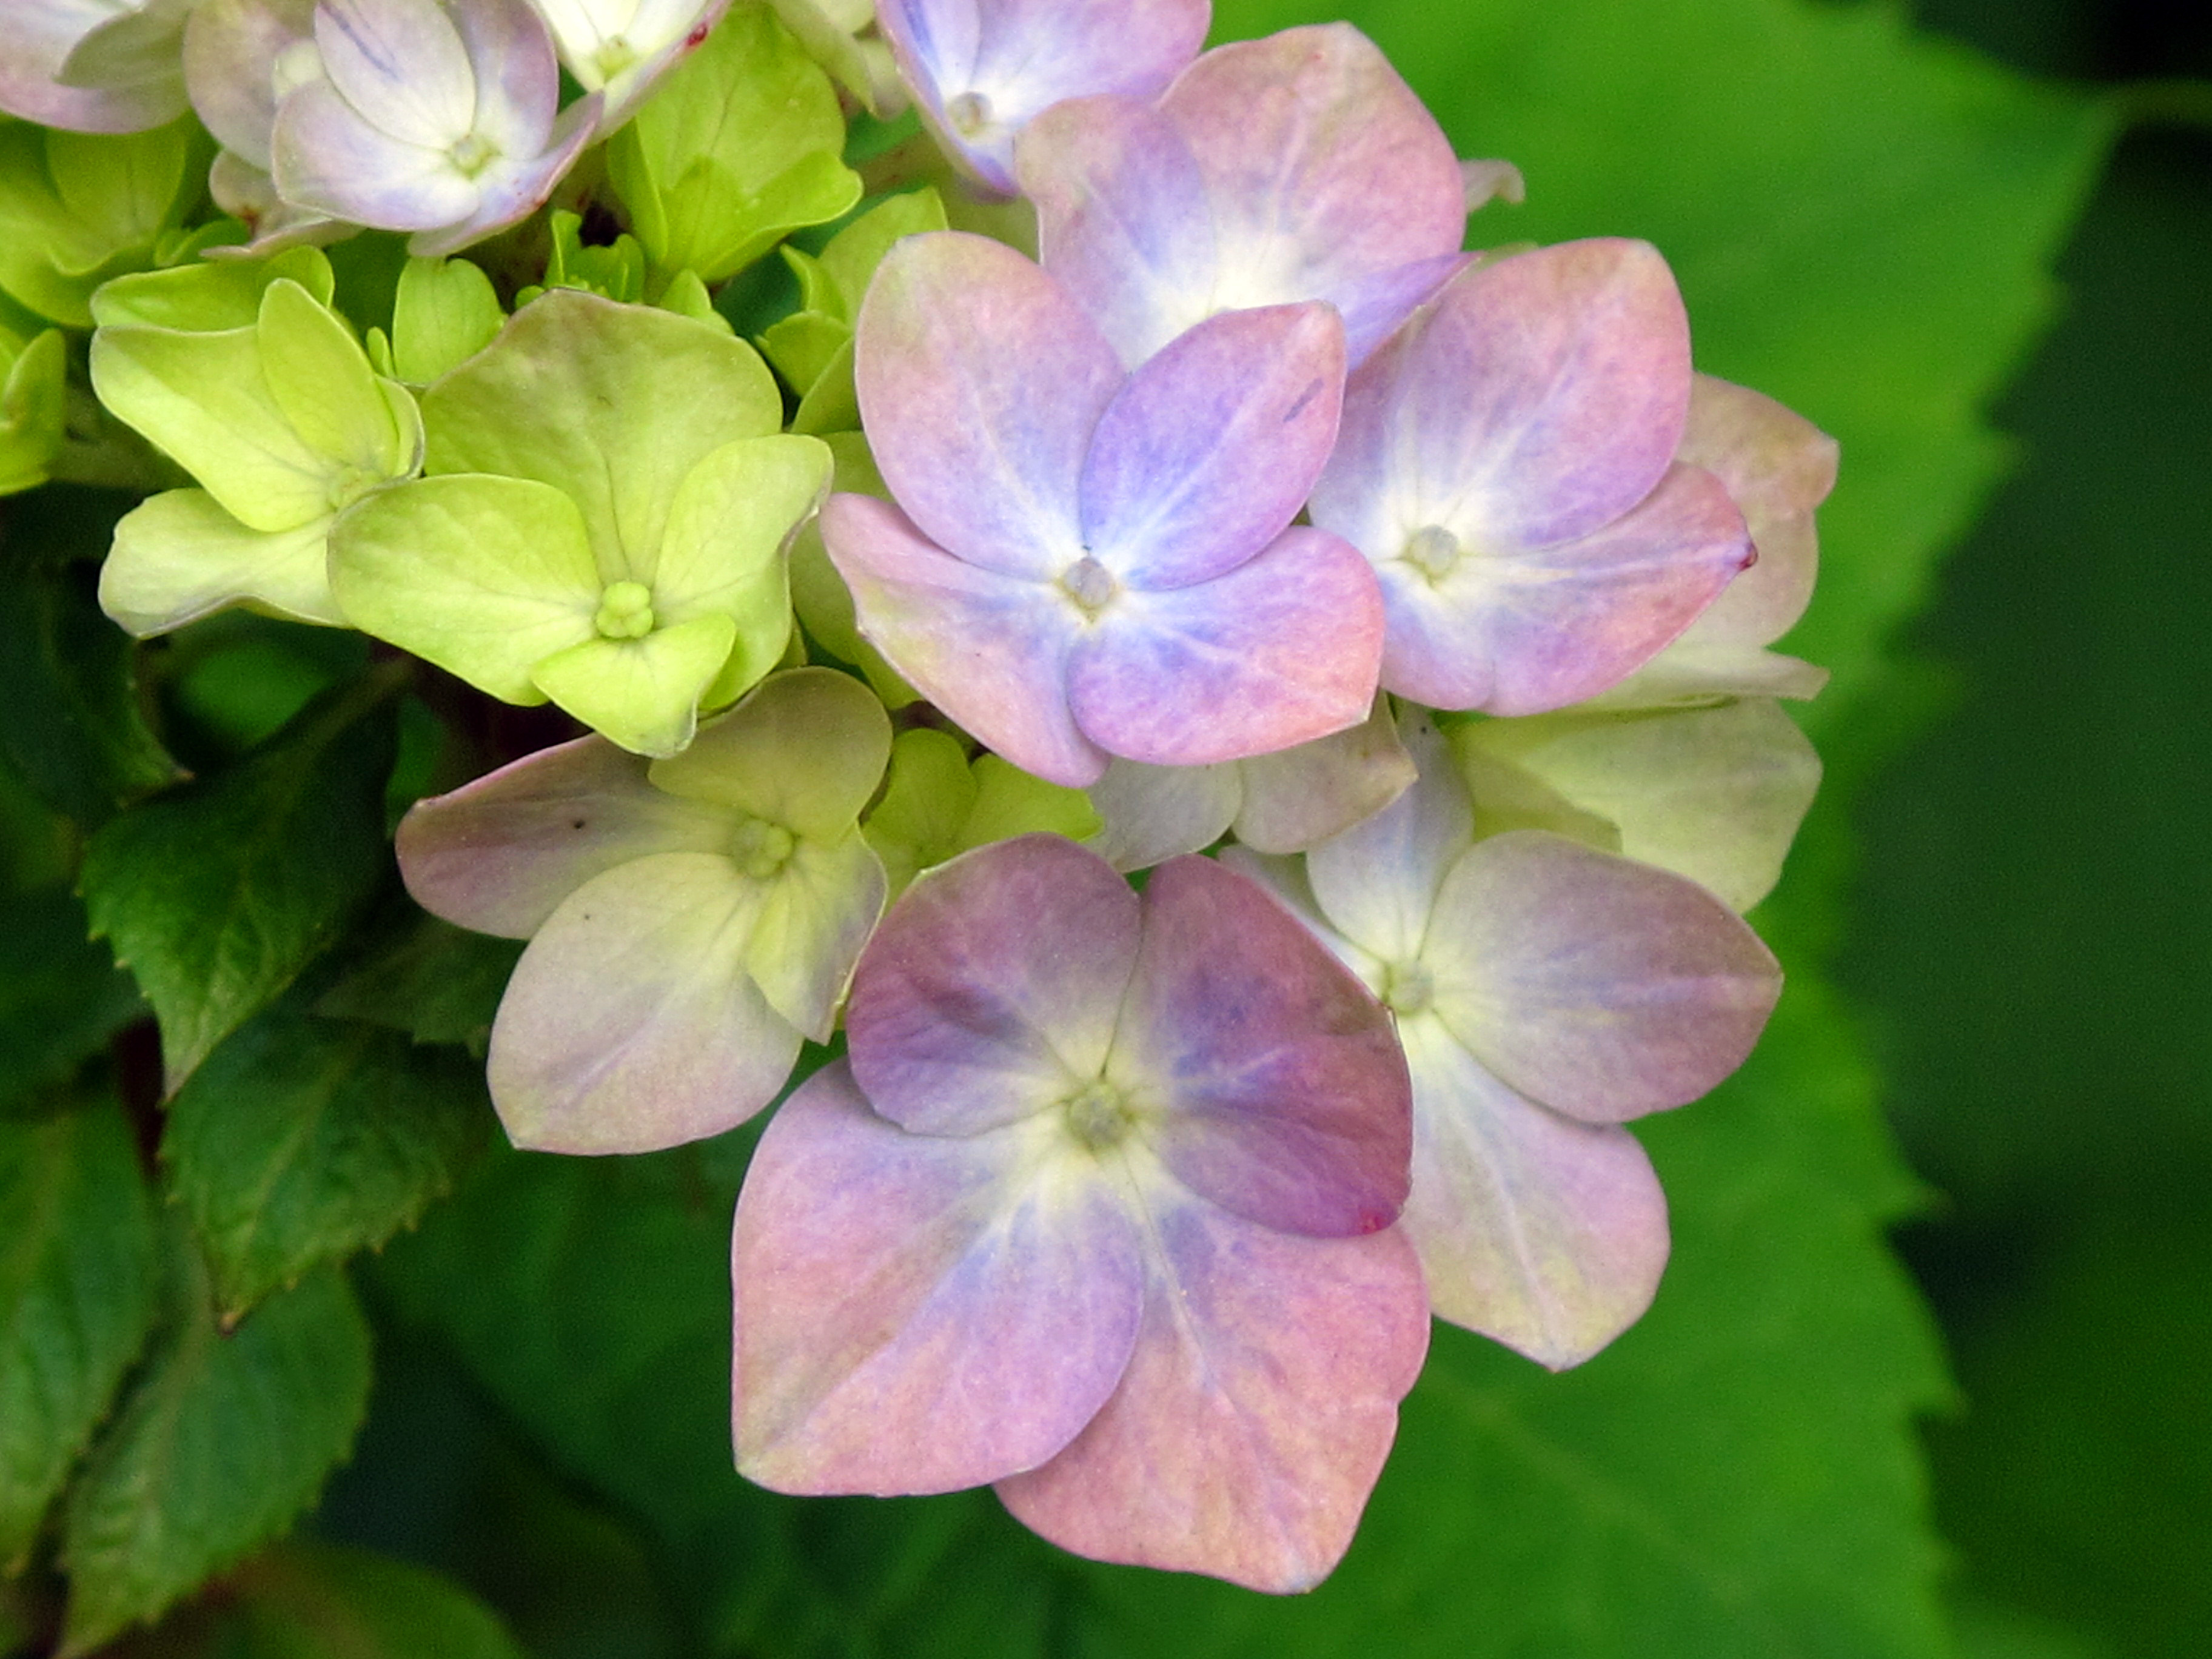
    I think the hydrangeas are a perfect match for the color challenge, right?? I can't wait to show you all pictures when they are in full bloom. Makes me happy. 

    IMG_1326
     

  • Stampin’ Friends!

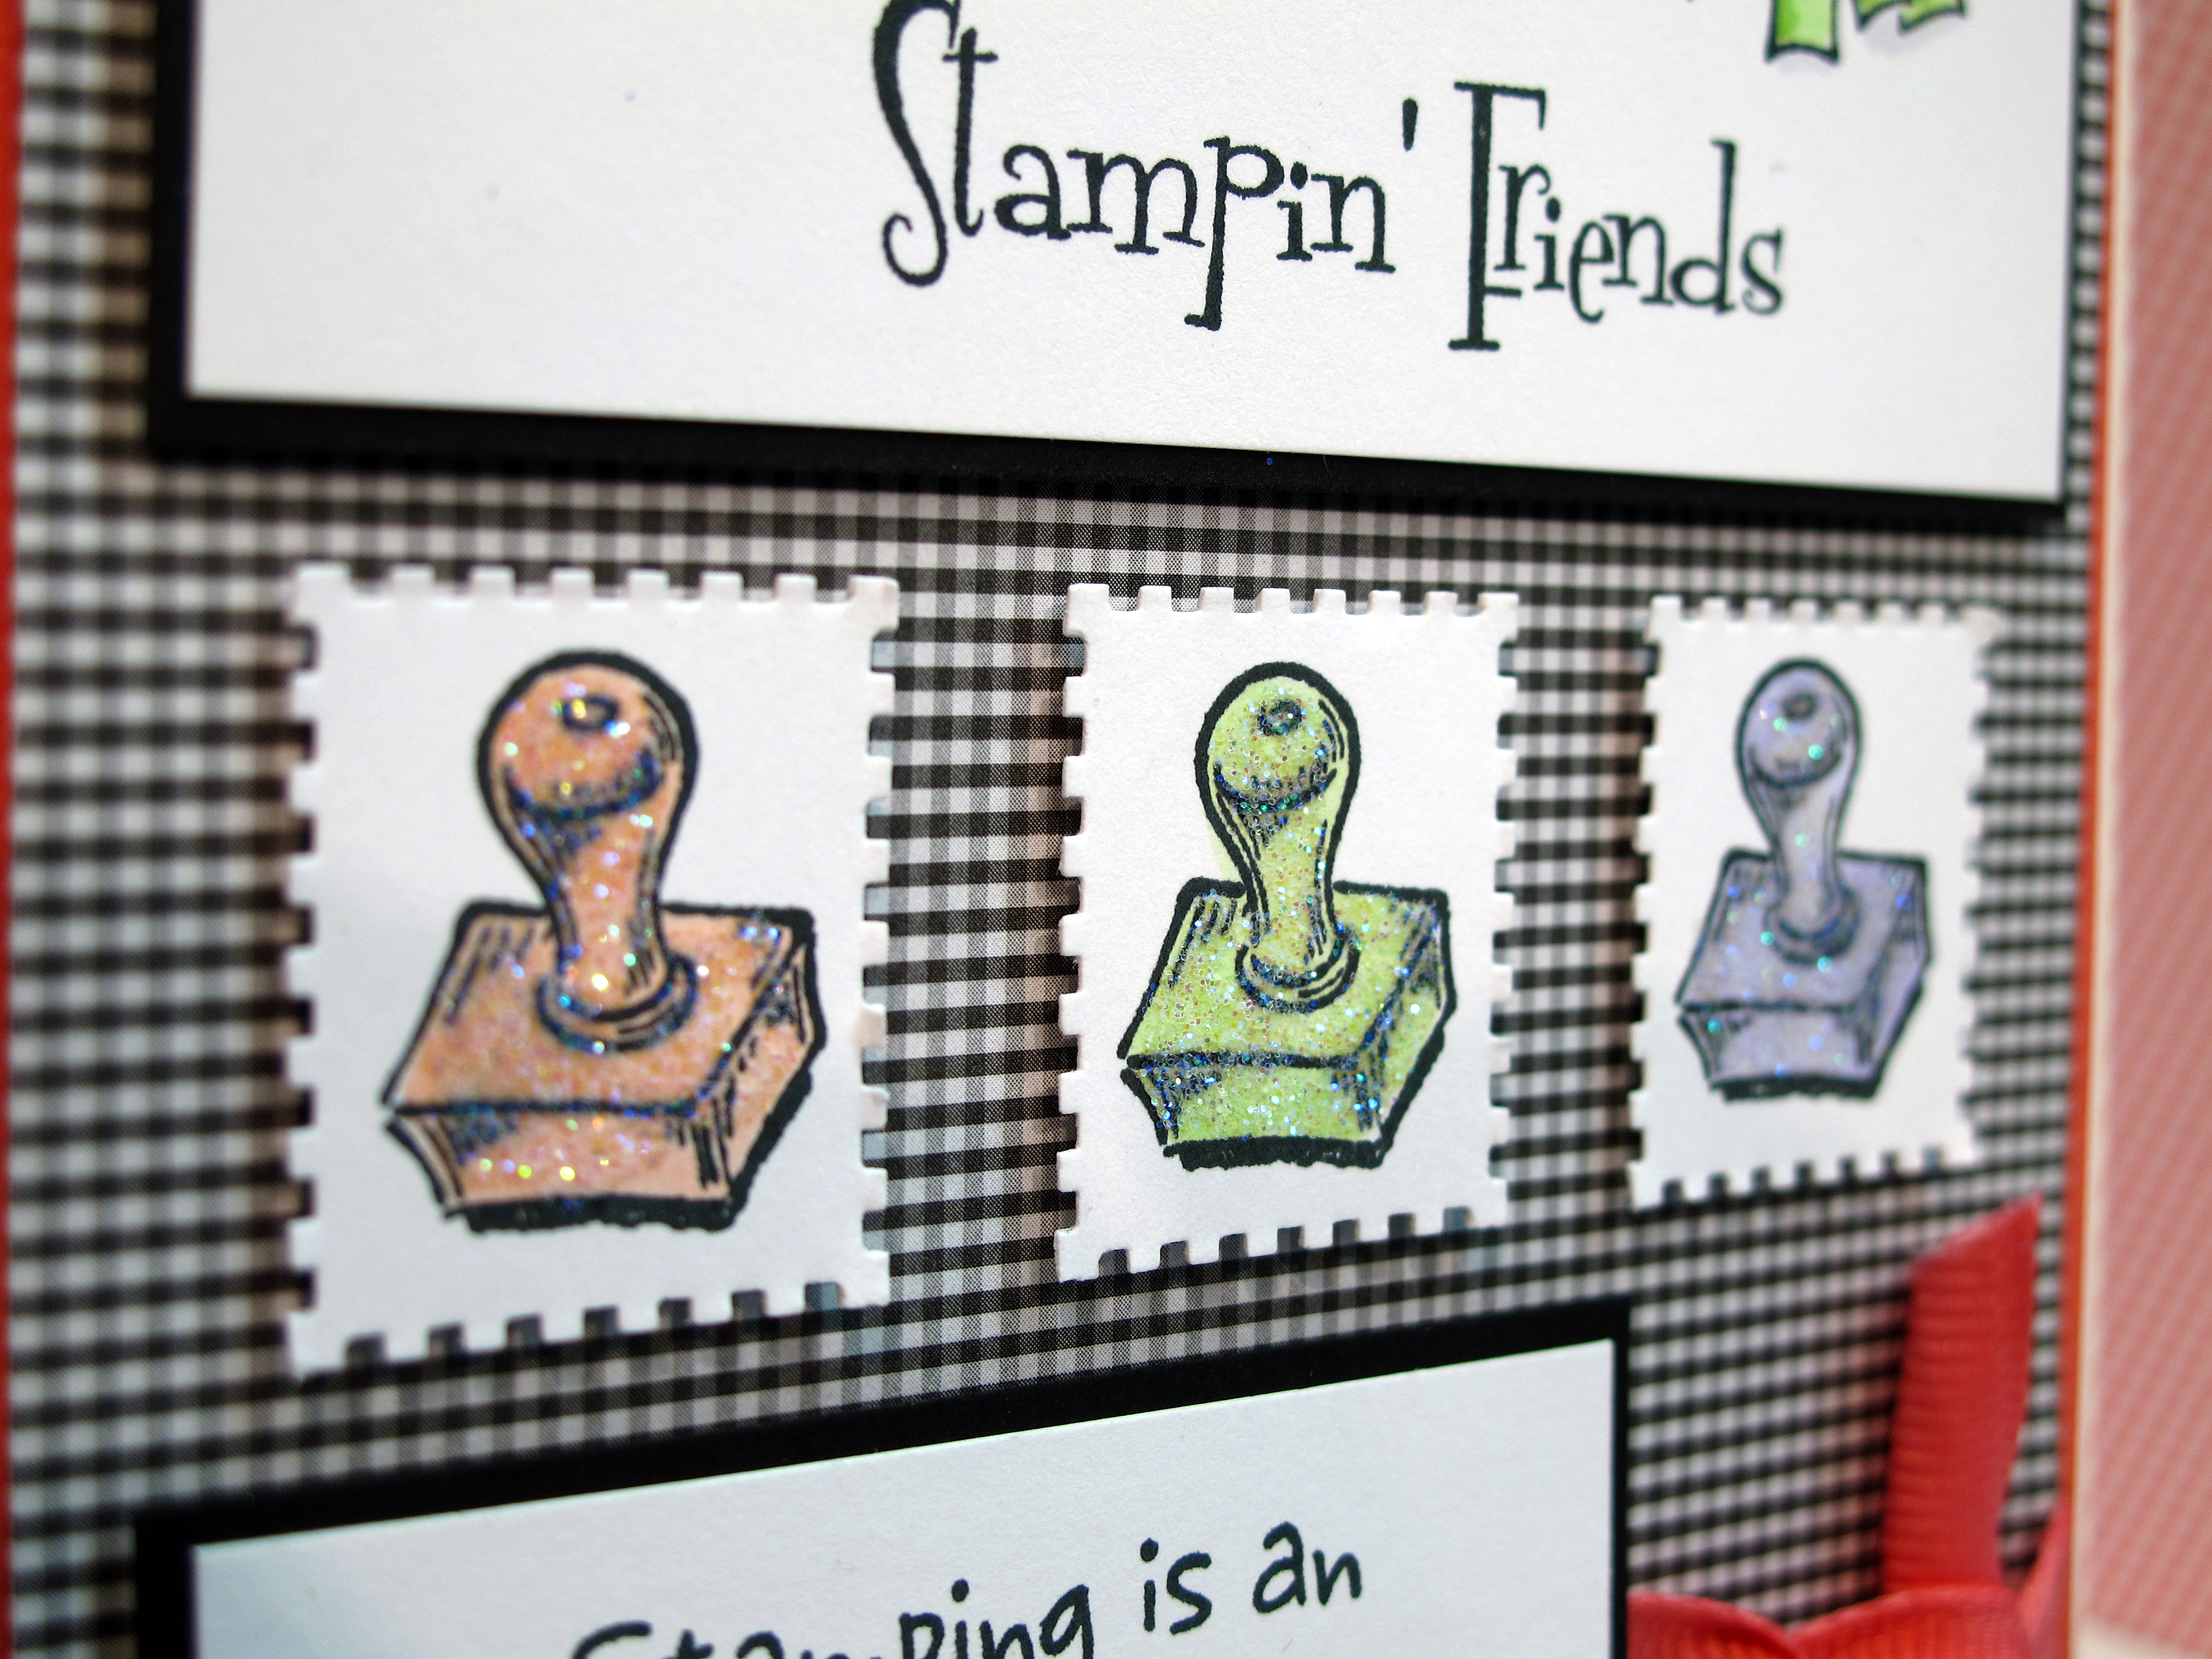
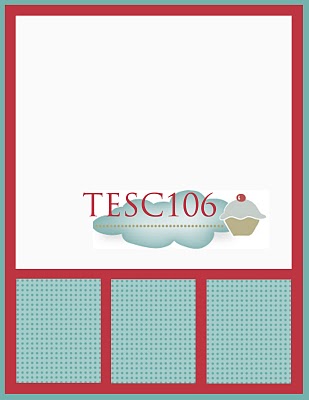
    Today's card was made for the Taylored Expressions sketch challenge #106. Click here to go to her blog.  I made a few attempts before I got an idea that I liked. I pulled out this super cute stamp from Denami with the stamping/scrapping girls. I tried and tried to find the right patterned paper and ended up with my old standby favorite of the mini checks! I wanted it to be feminine so I accented with a bright salmon pink and some glitter.

    IMG_1316


    IMG_1297

    This is the design/sketch for the challenge:

    TESC106


    IMG_1300


    IMG_1311

     Have a great day all my Stampin' Friends!! It's almost Friday!!

  • Easter Cards!

    IMG_1040 
    Hi everyone! Thought I would share Easter cards today! I hope you are all ready for a lovely Easter day with your families and friends. Our day is spent at Church and then usually a nice brunch or lunch out.

    Here are my Easter cards for this year:

    IMG_1042

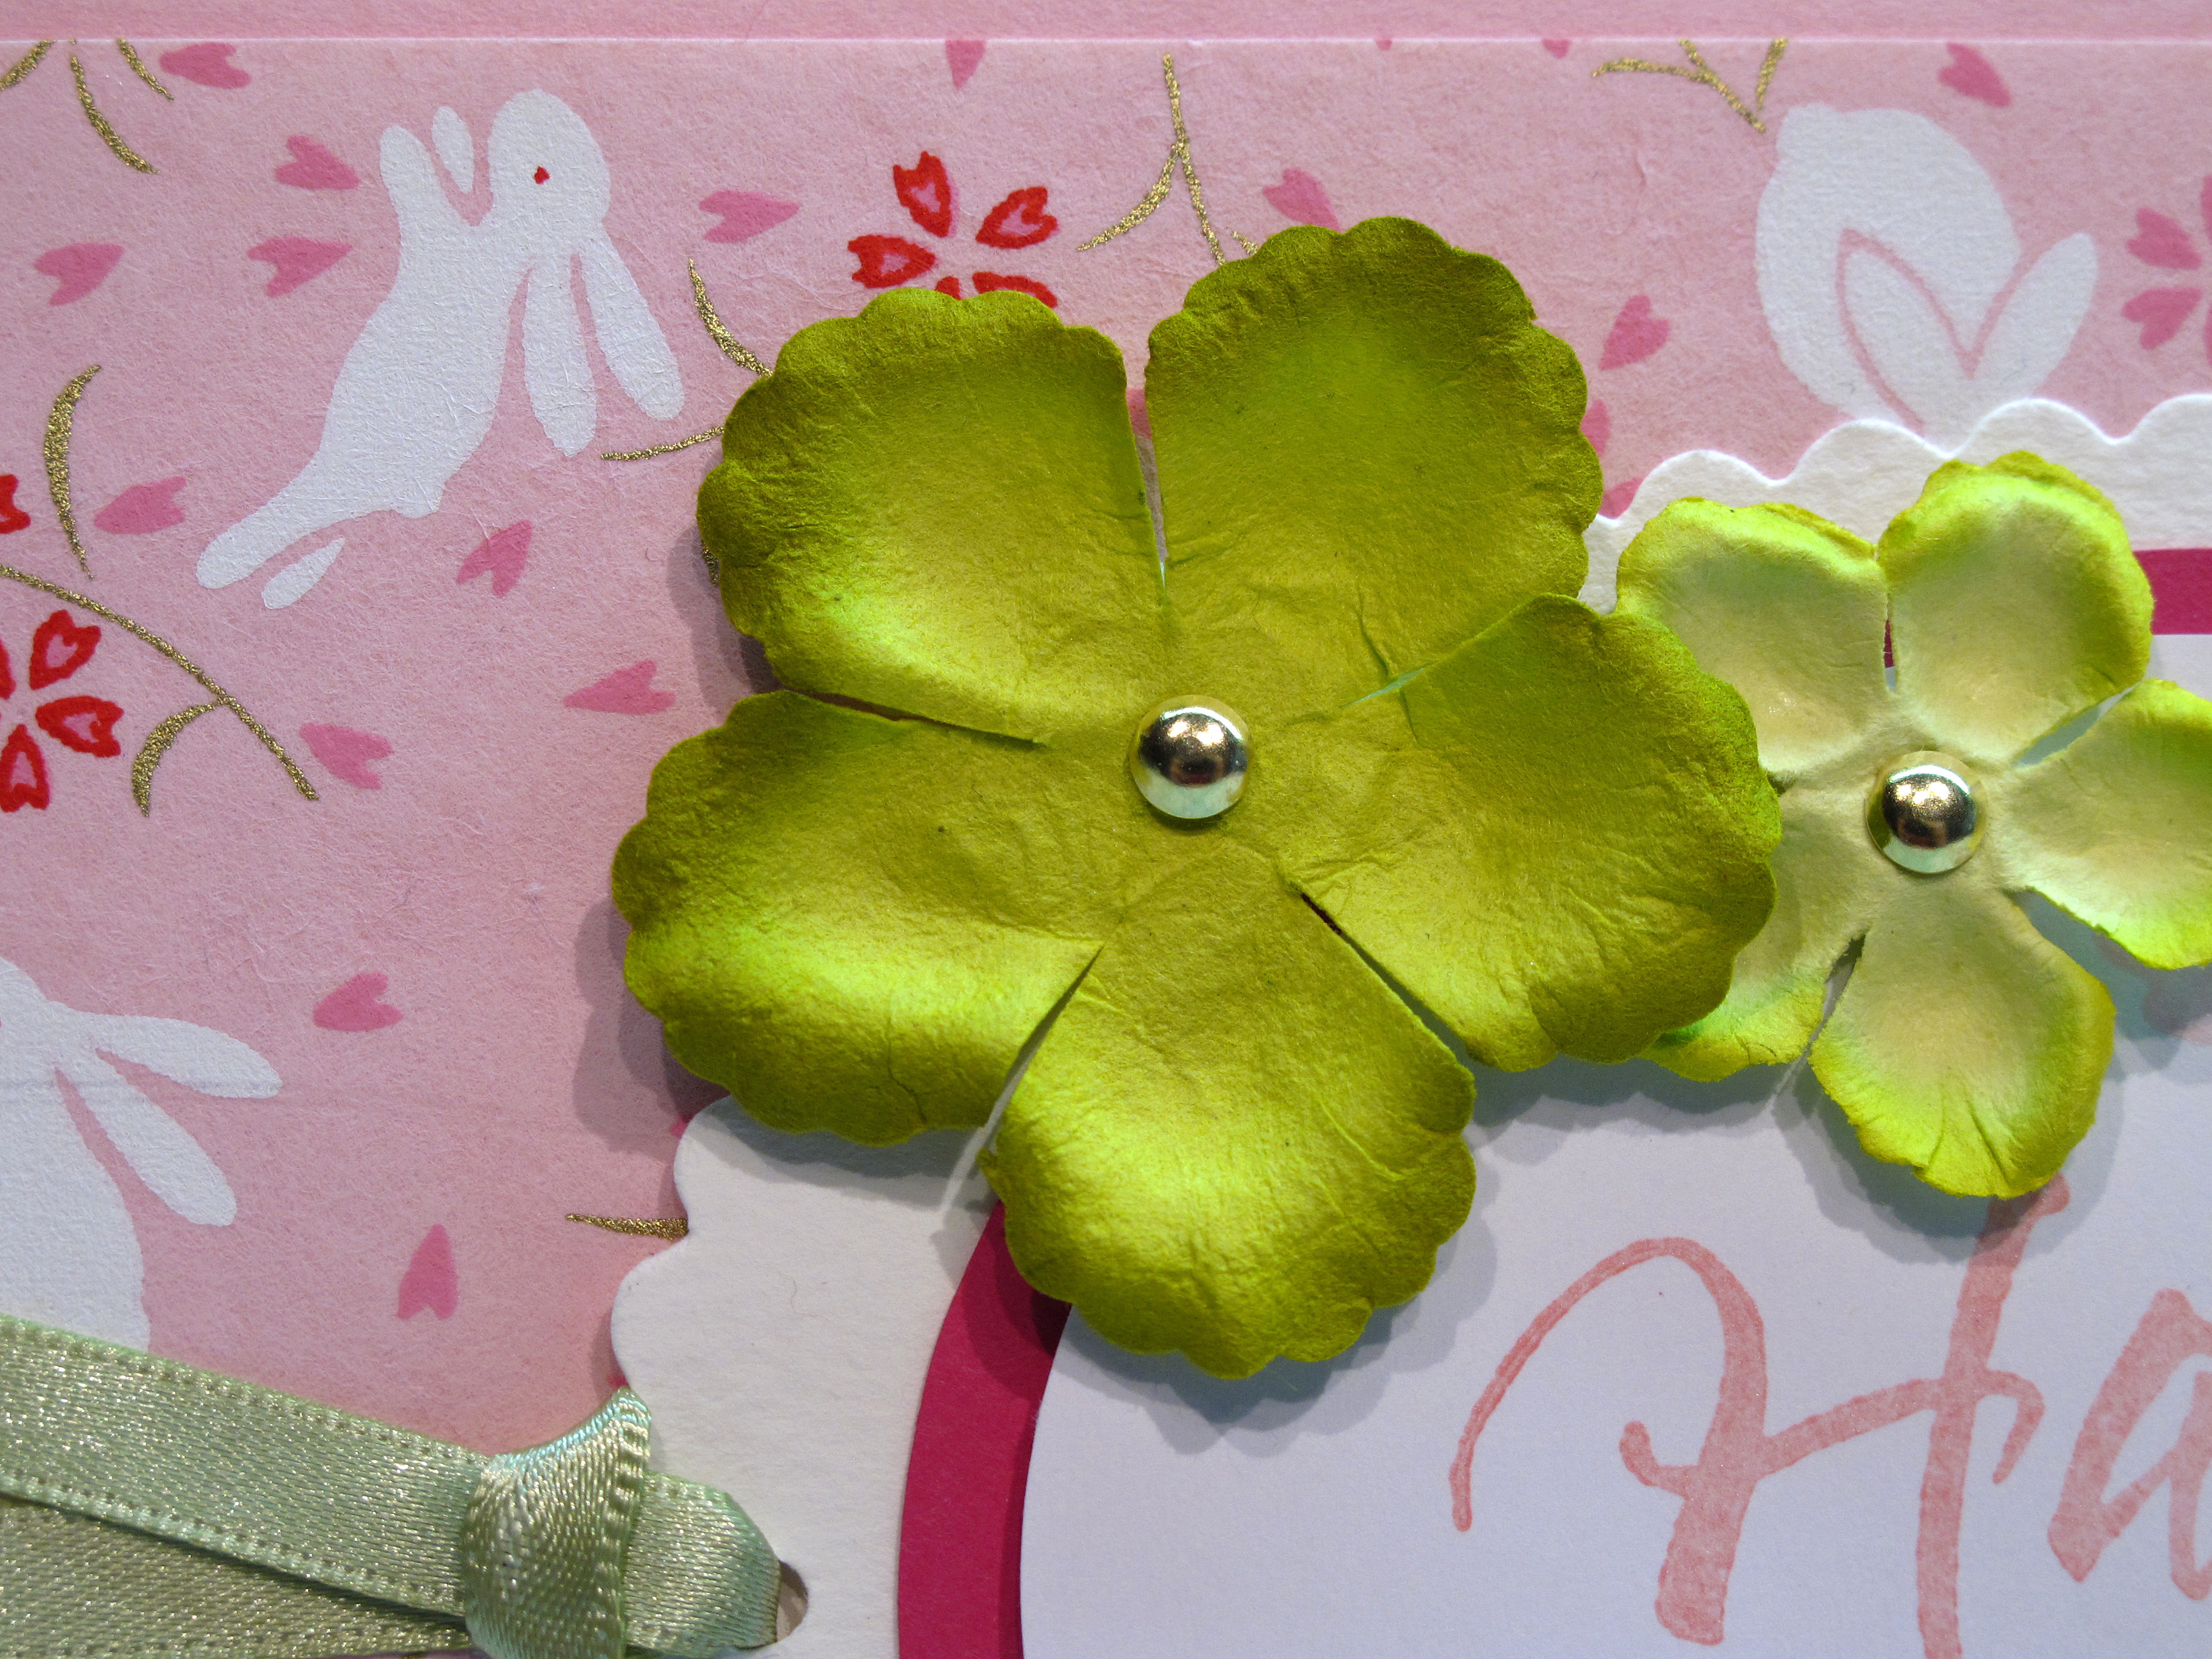
    A fairly simple design this time around. The beatiful background paper is a giant sheet of Japanese paper from Paper Source (love that store).  It was the inspiration piece…and so much prettier in person. I used Versamagic ink in Pink Grapefruit for the sentiment and butterflies. Some Prima flowers to complete the look. I love pink and green together…always!
     

    IMG_1033

     The inside of the card:

    IMG_1034
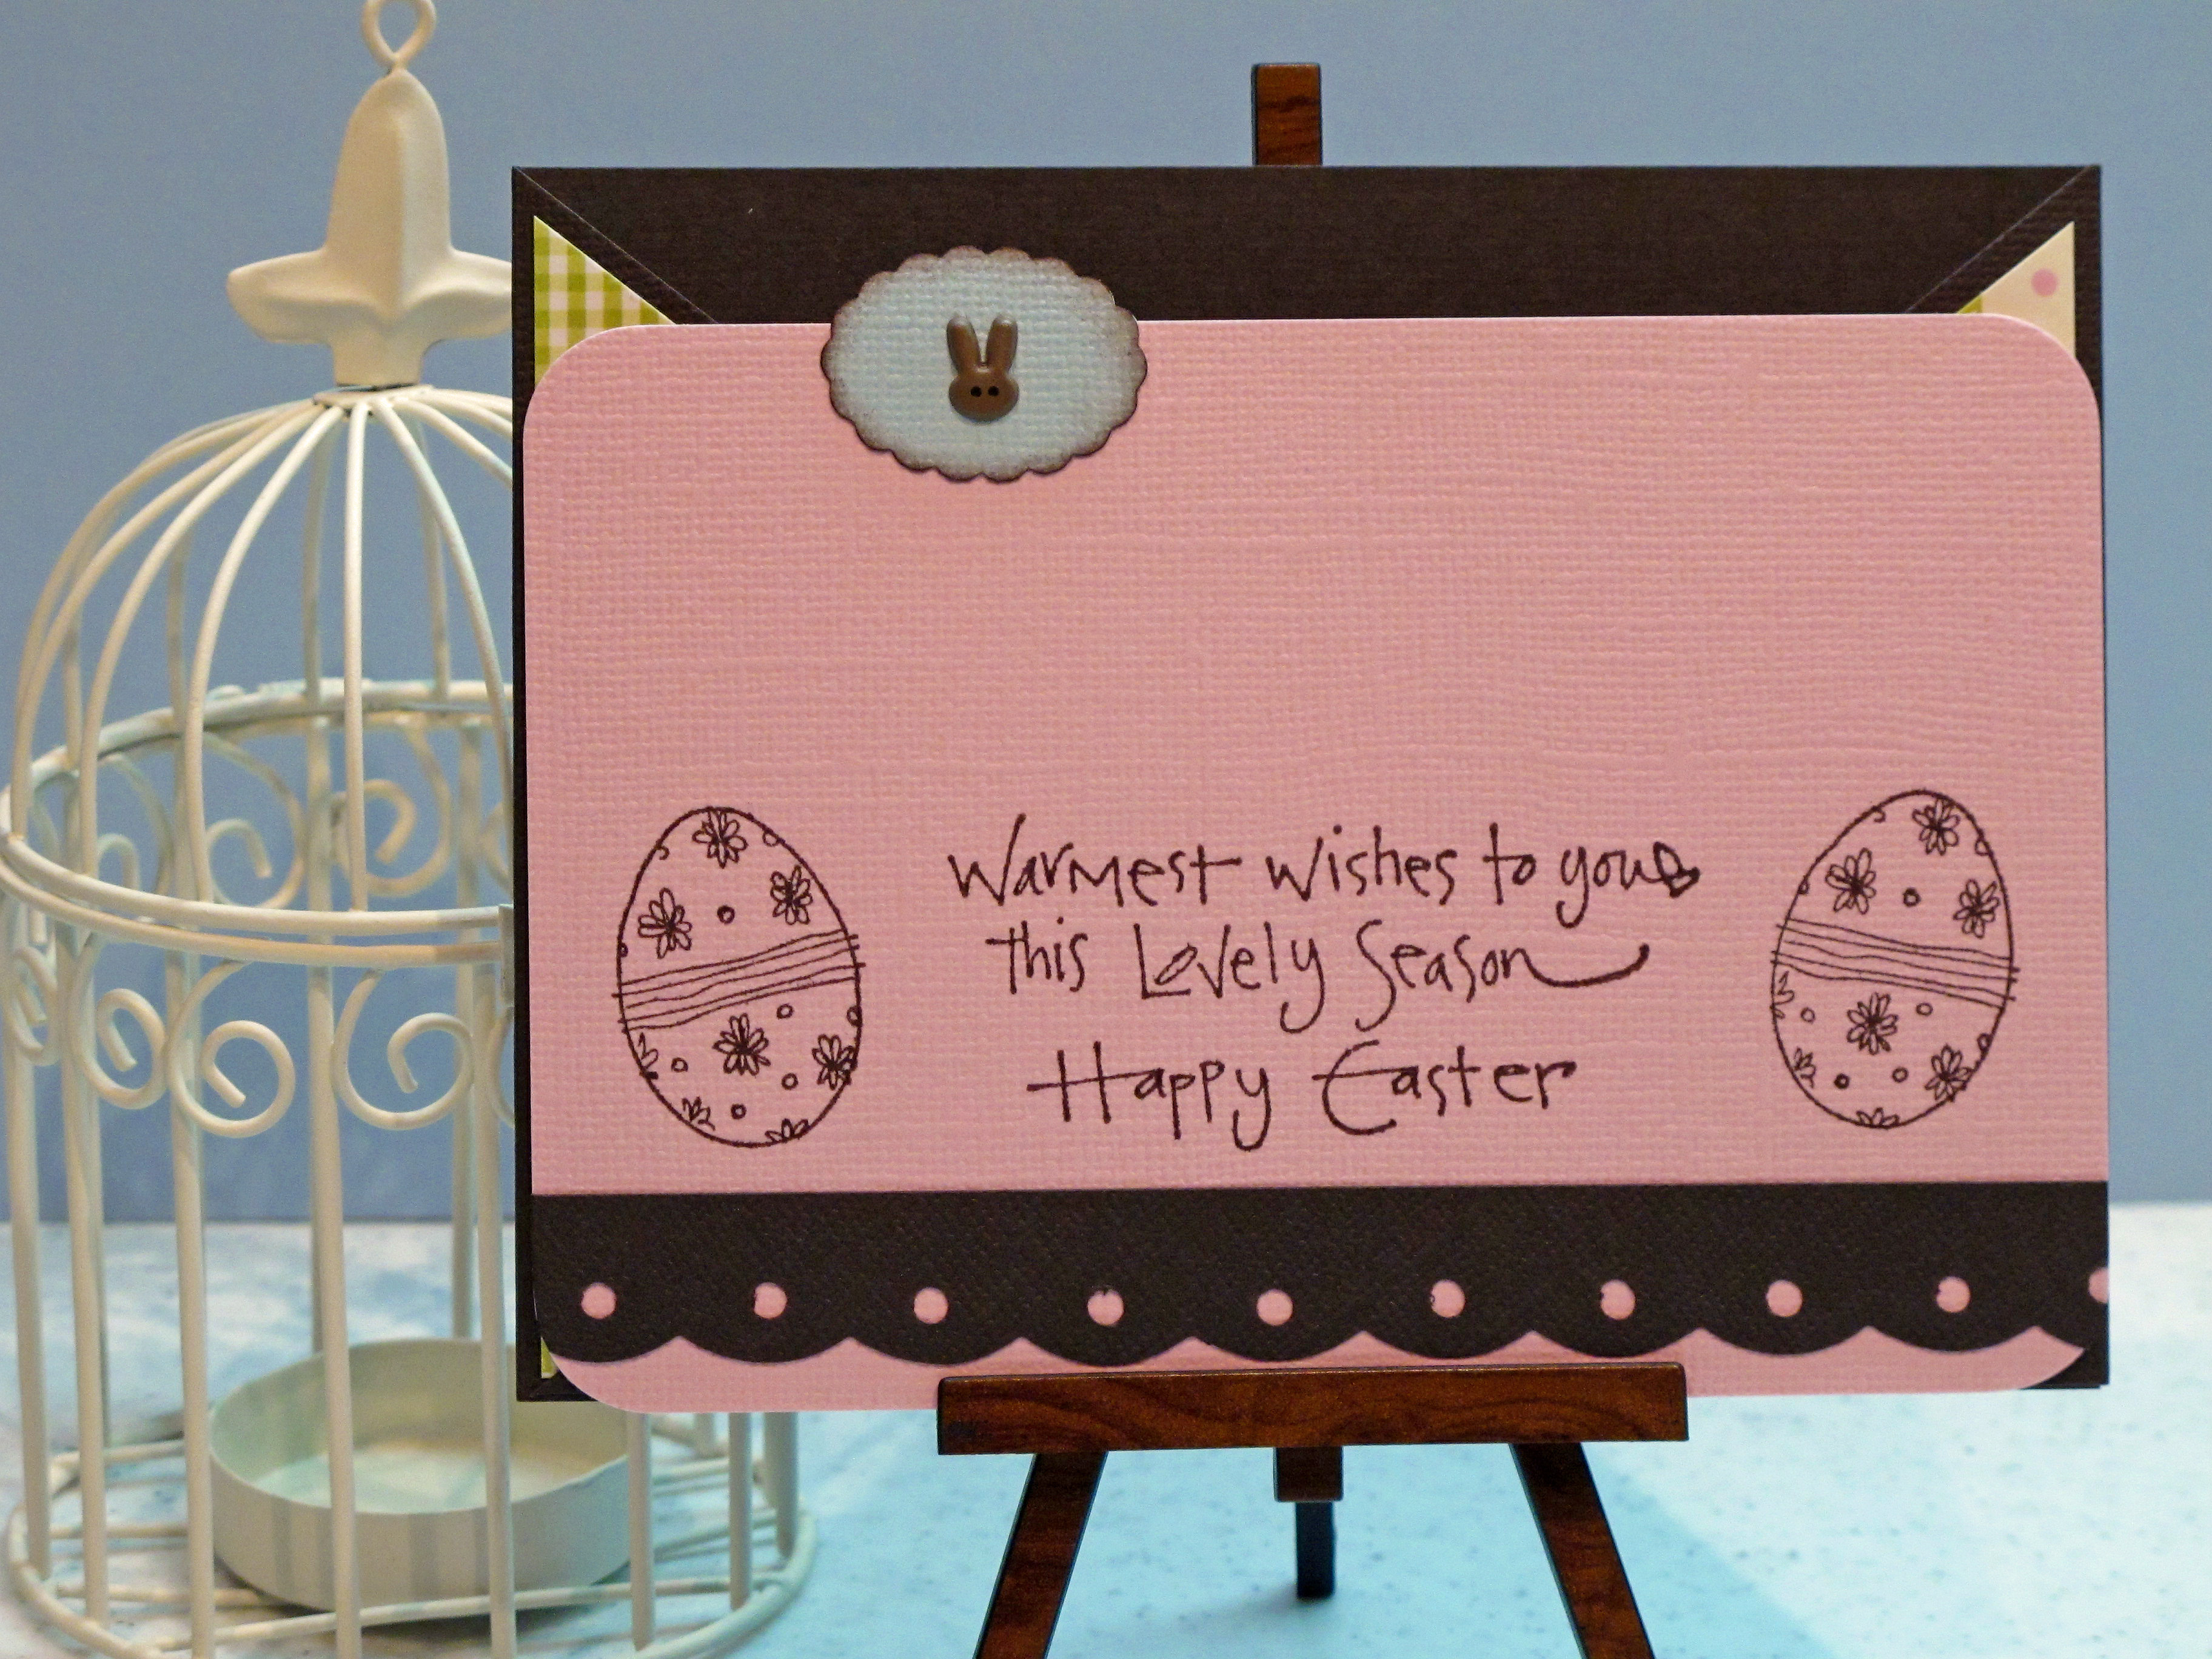
    The card below was my Easter card from a couple of years ago. I had saved one because I really liked how it came out. I was in a chocolate brown Bazzill paper phase back then. But I do like the brown offset by the pastels. Thought I would throw this card in today too.

    IMG_1046

    How cute are those bunny brads???

    IMG_1047

    IMG_1049

    Are your Easter baskets all ready??!!

     Images

  • This ‘n That for today…

    Hi There! Well….yesterday and today were quite exciting here on the old bloggy blog! My Top Crop pick from Taylored Expressions yesterday resulted in HUGE interwebs traffic for me. 277 Blog views to be exact! Wow! I don't even know what to say. I am humbled and super excited to welcome new visitors! Even one person checking in from the Netherlands! Hi Holly! Thanks for the comments – I really appreciate each and every one.

    Today I just have sort of a mish mash of this 'n that to share. Two cards and a couple of photos too. Let's see what we got.

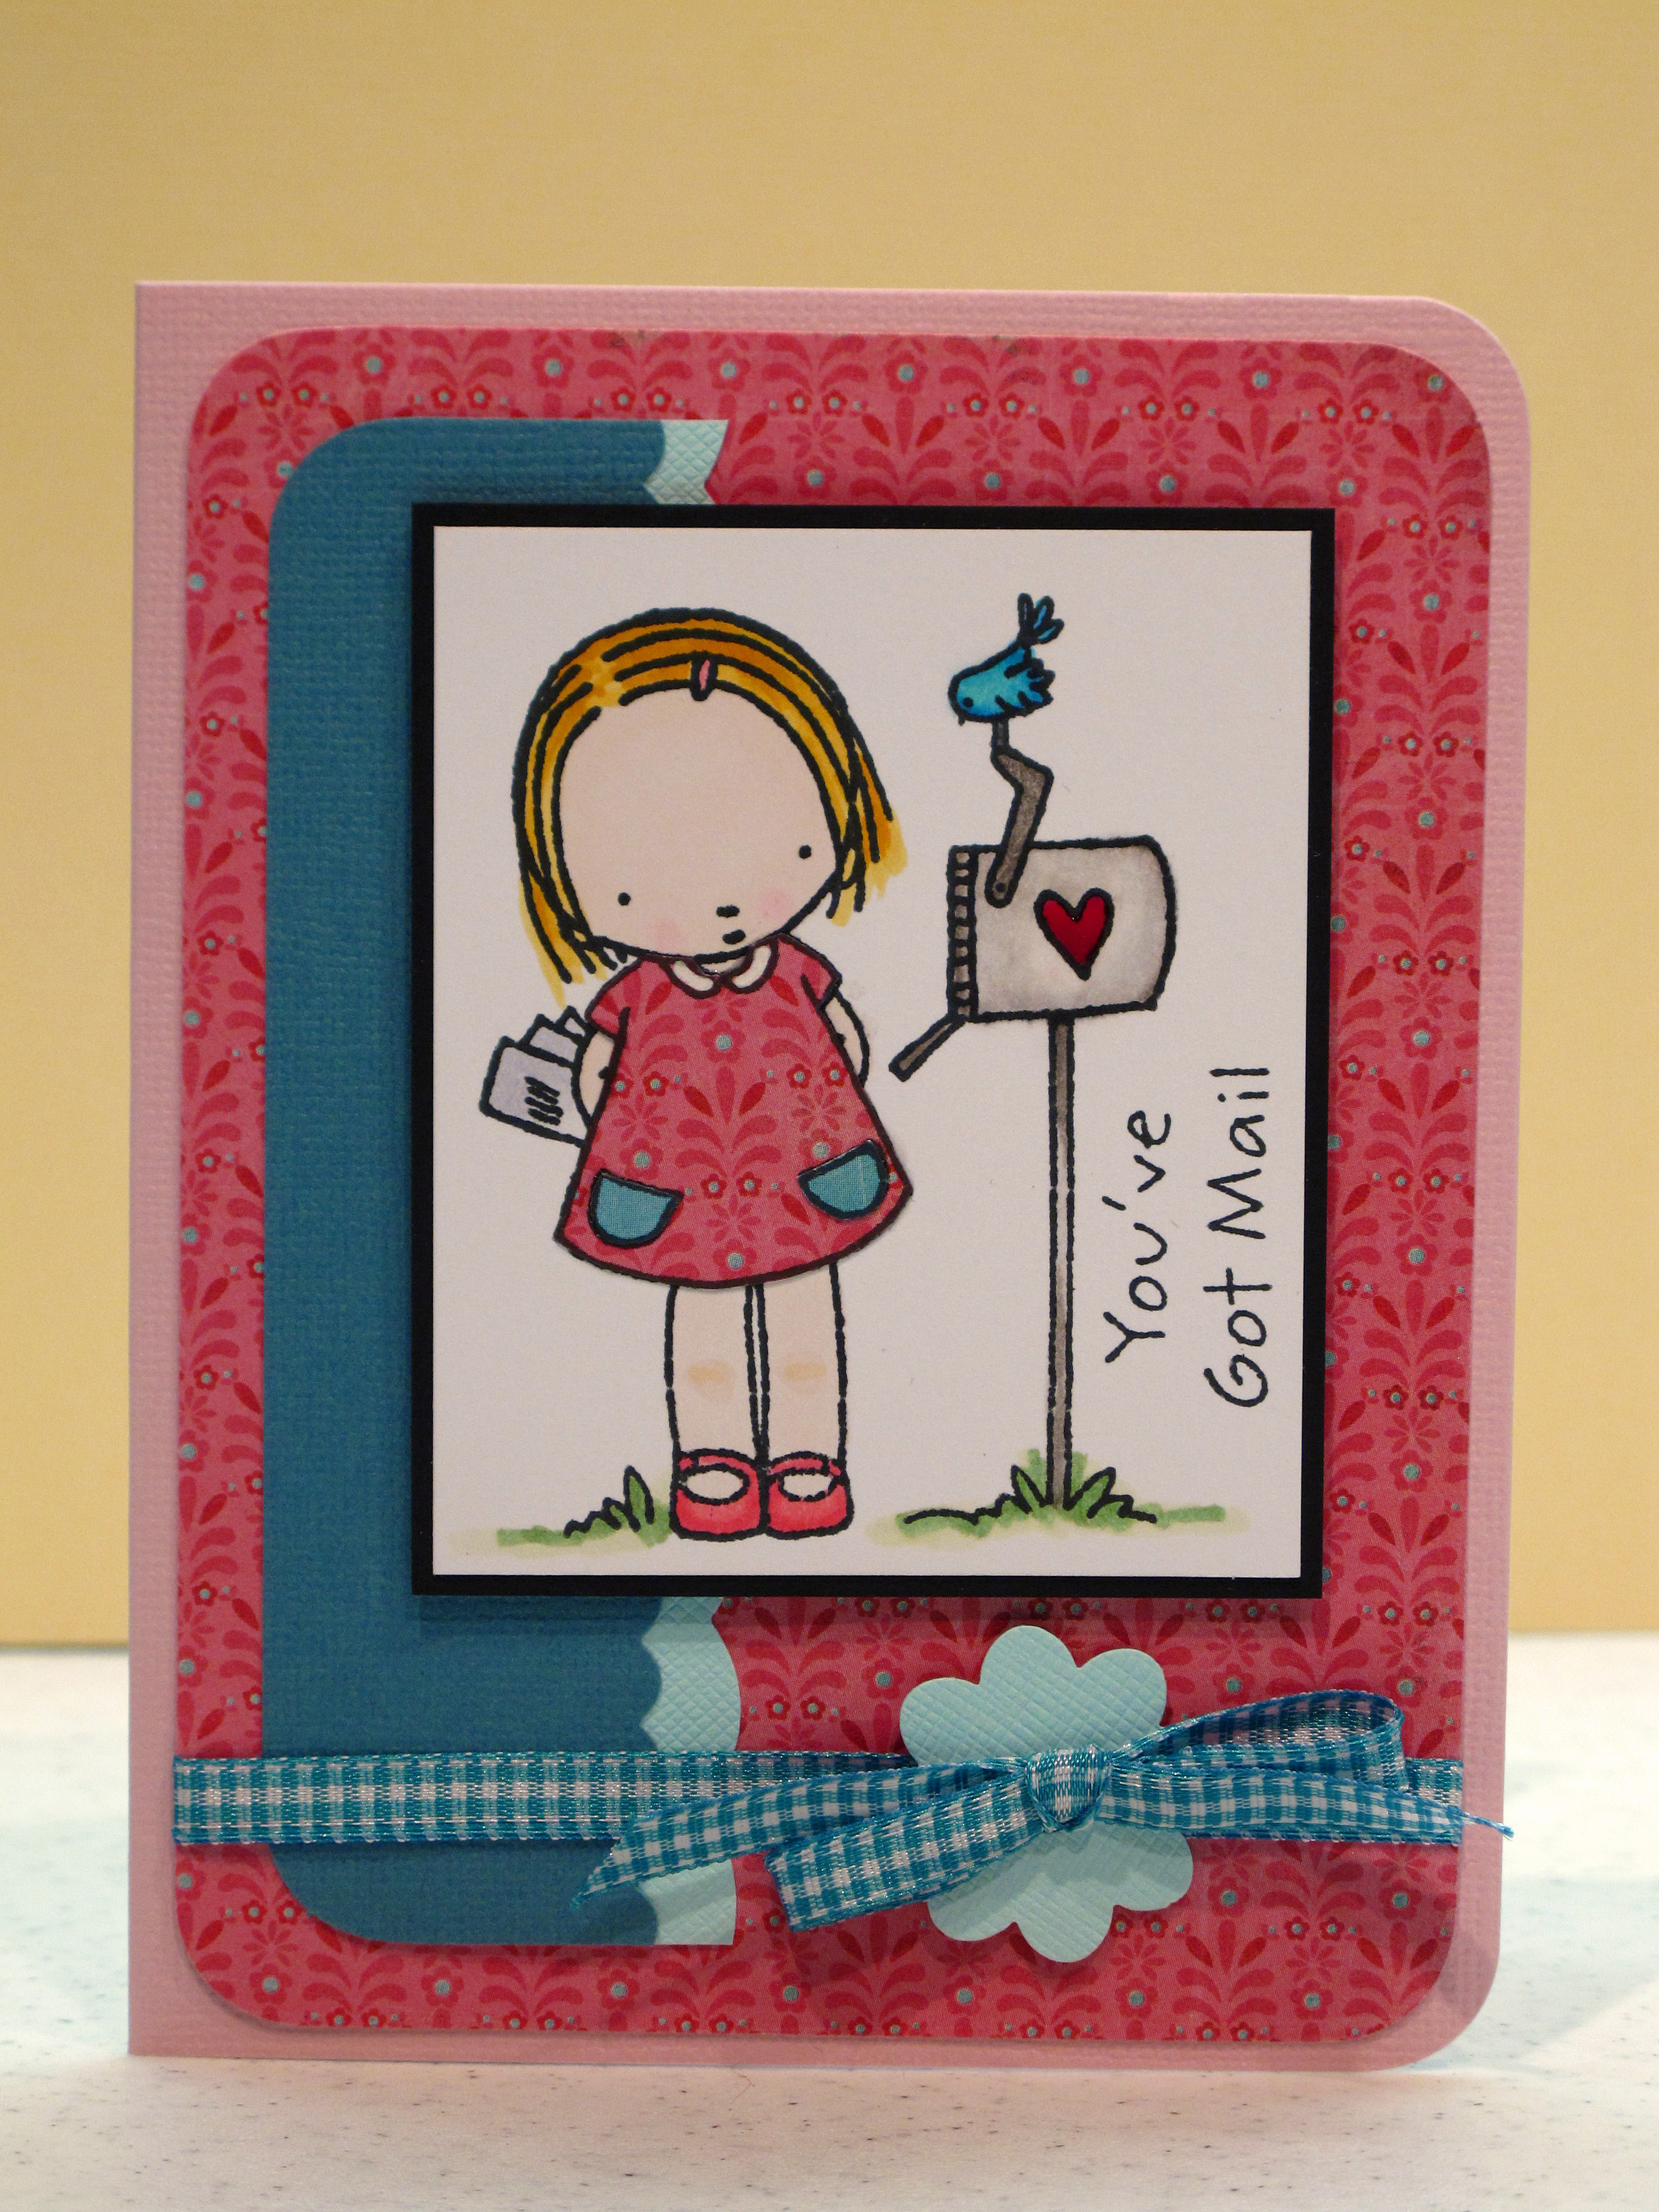
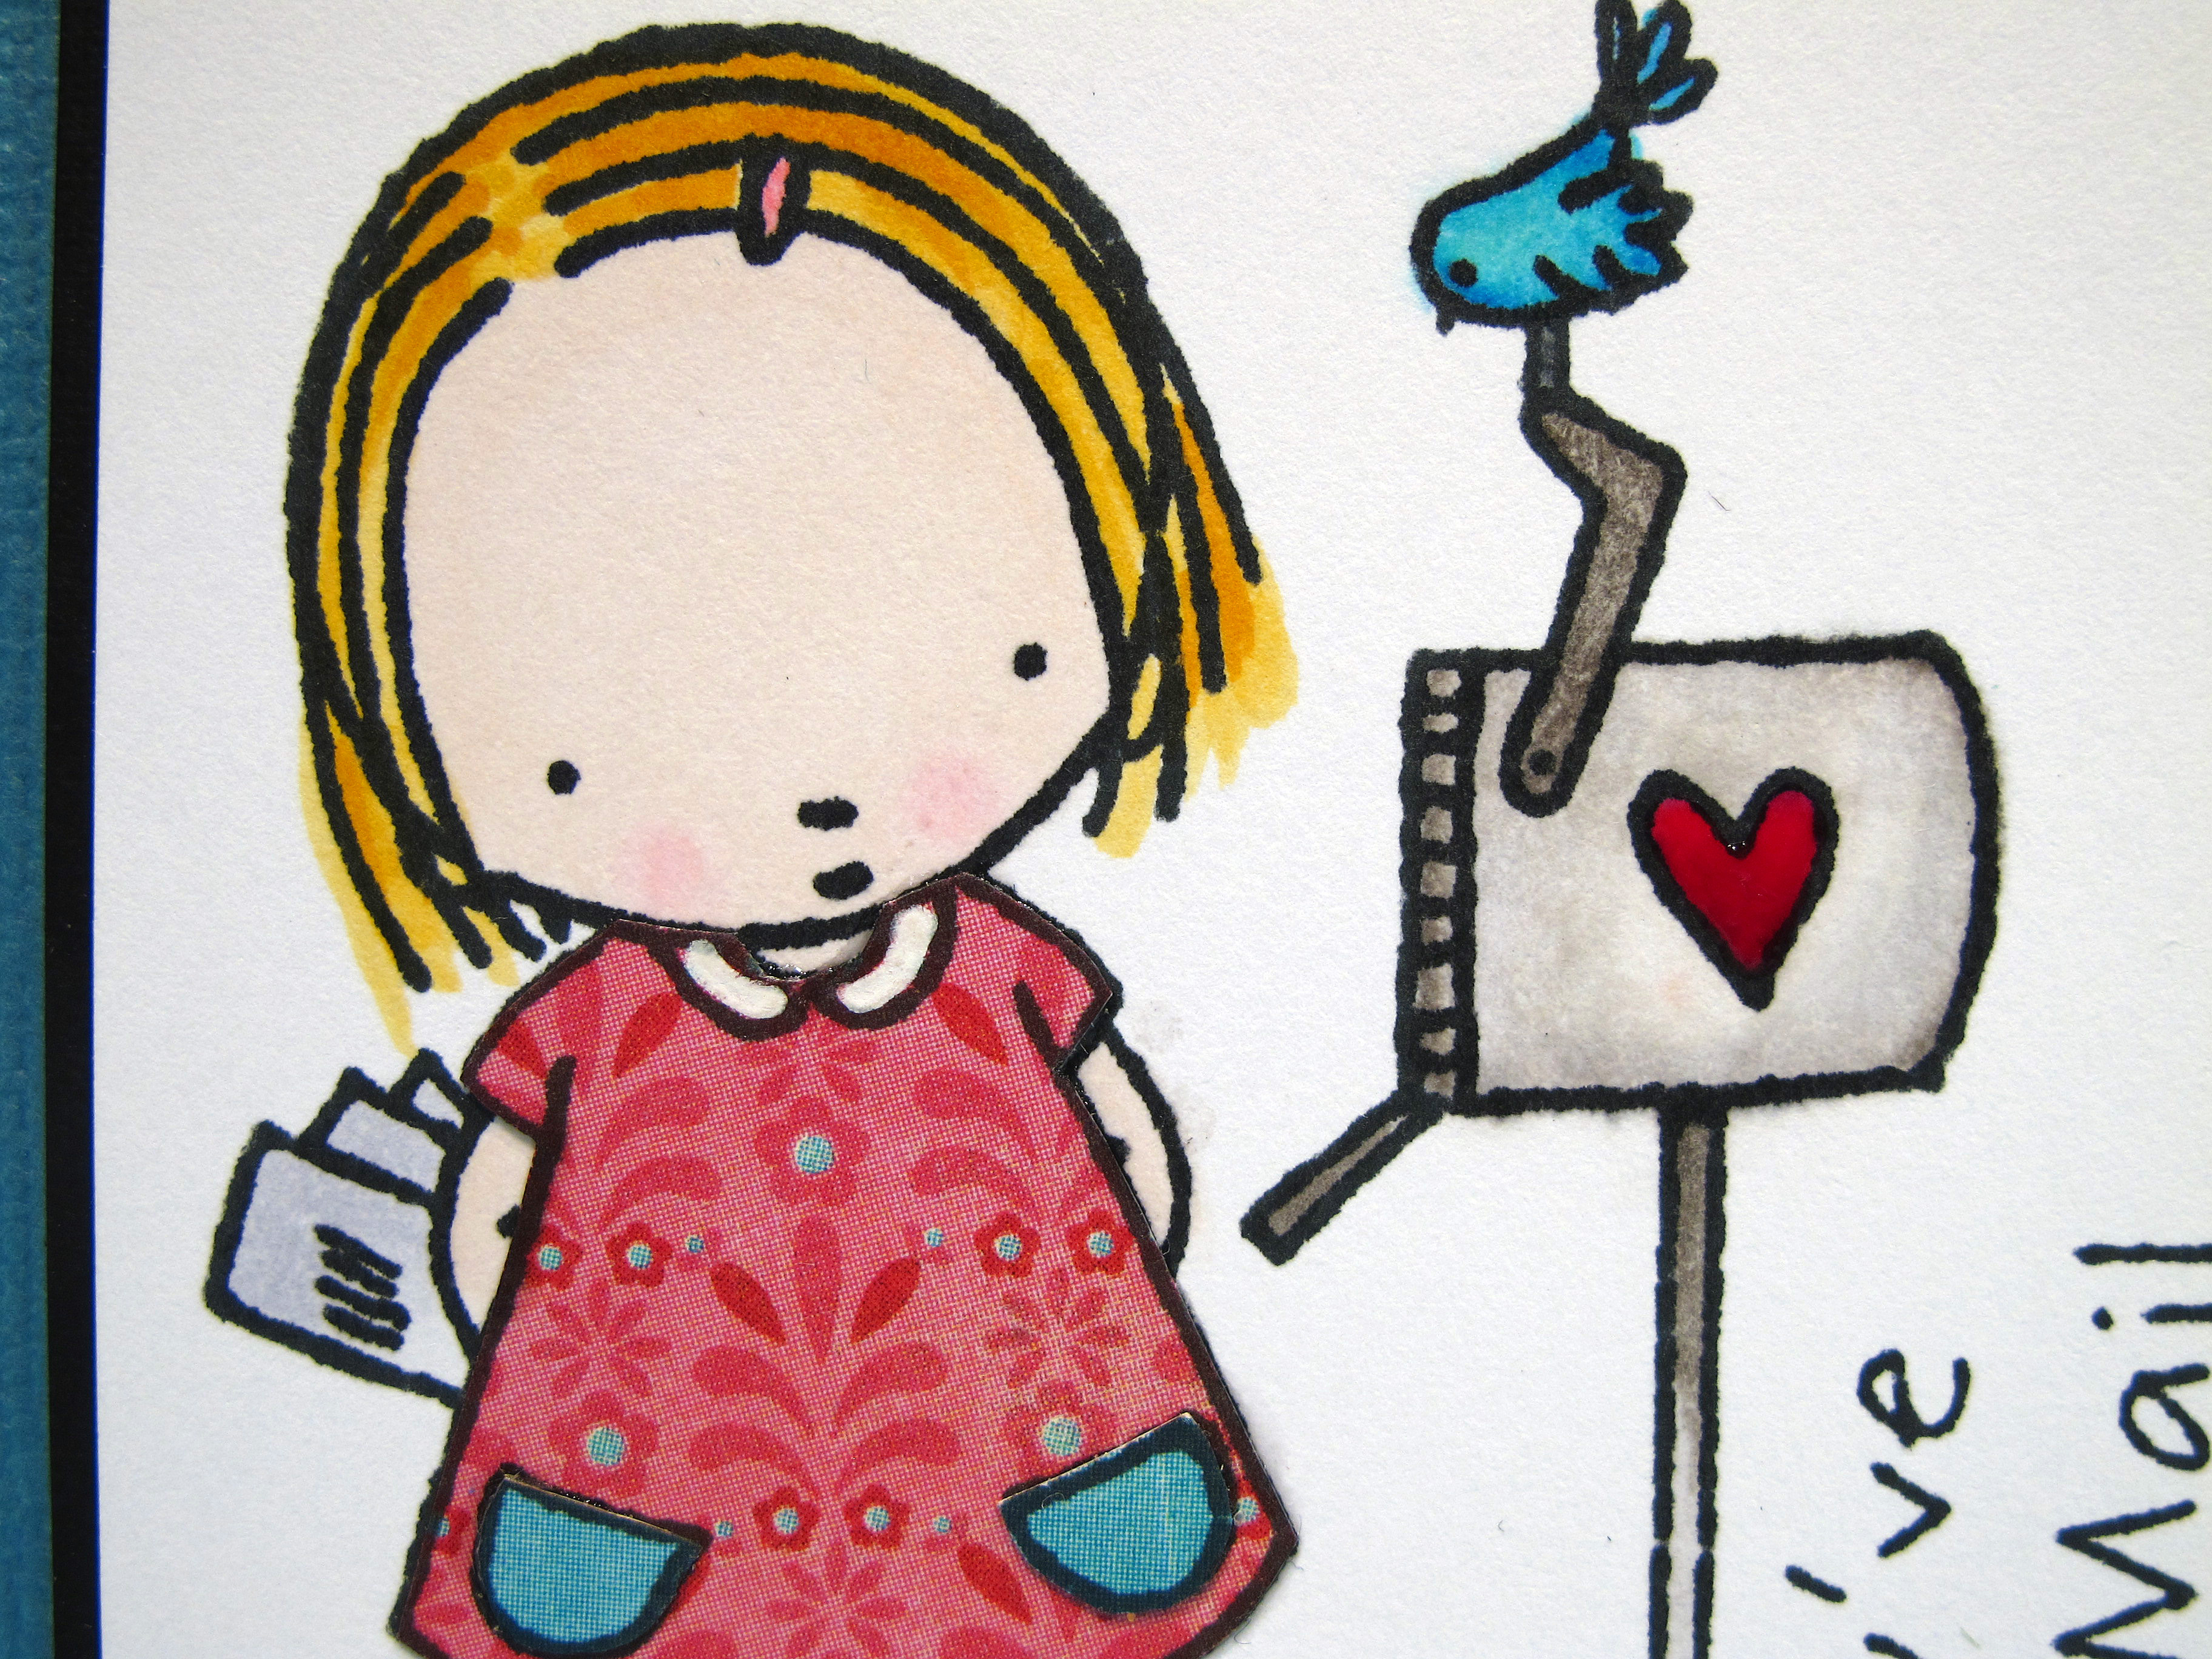
    This card was made from the Pure Innocence stamps from My Favorite Things. Is she not the absolute cutest thing? Her dress and pockets were paper pieced with some Basic Grey Paper. Her little collar was colored white with a gel pen. Copics were used to color the images.

    IMG_1284


    IMG_1285


    IMG_1286 
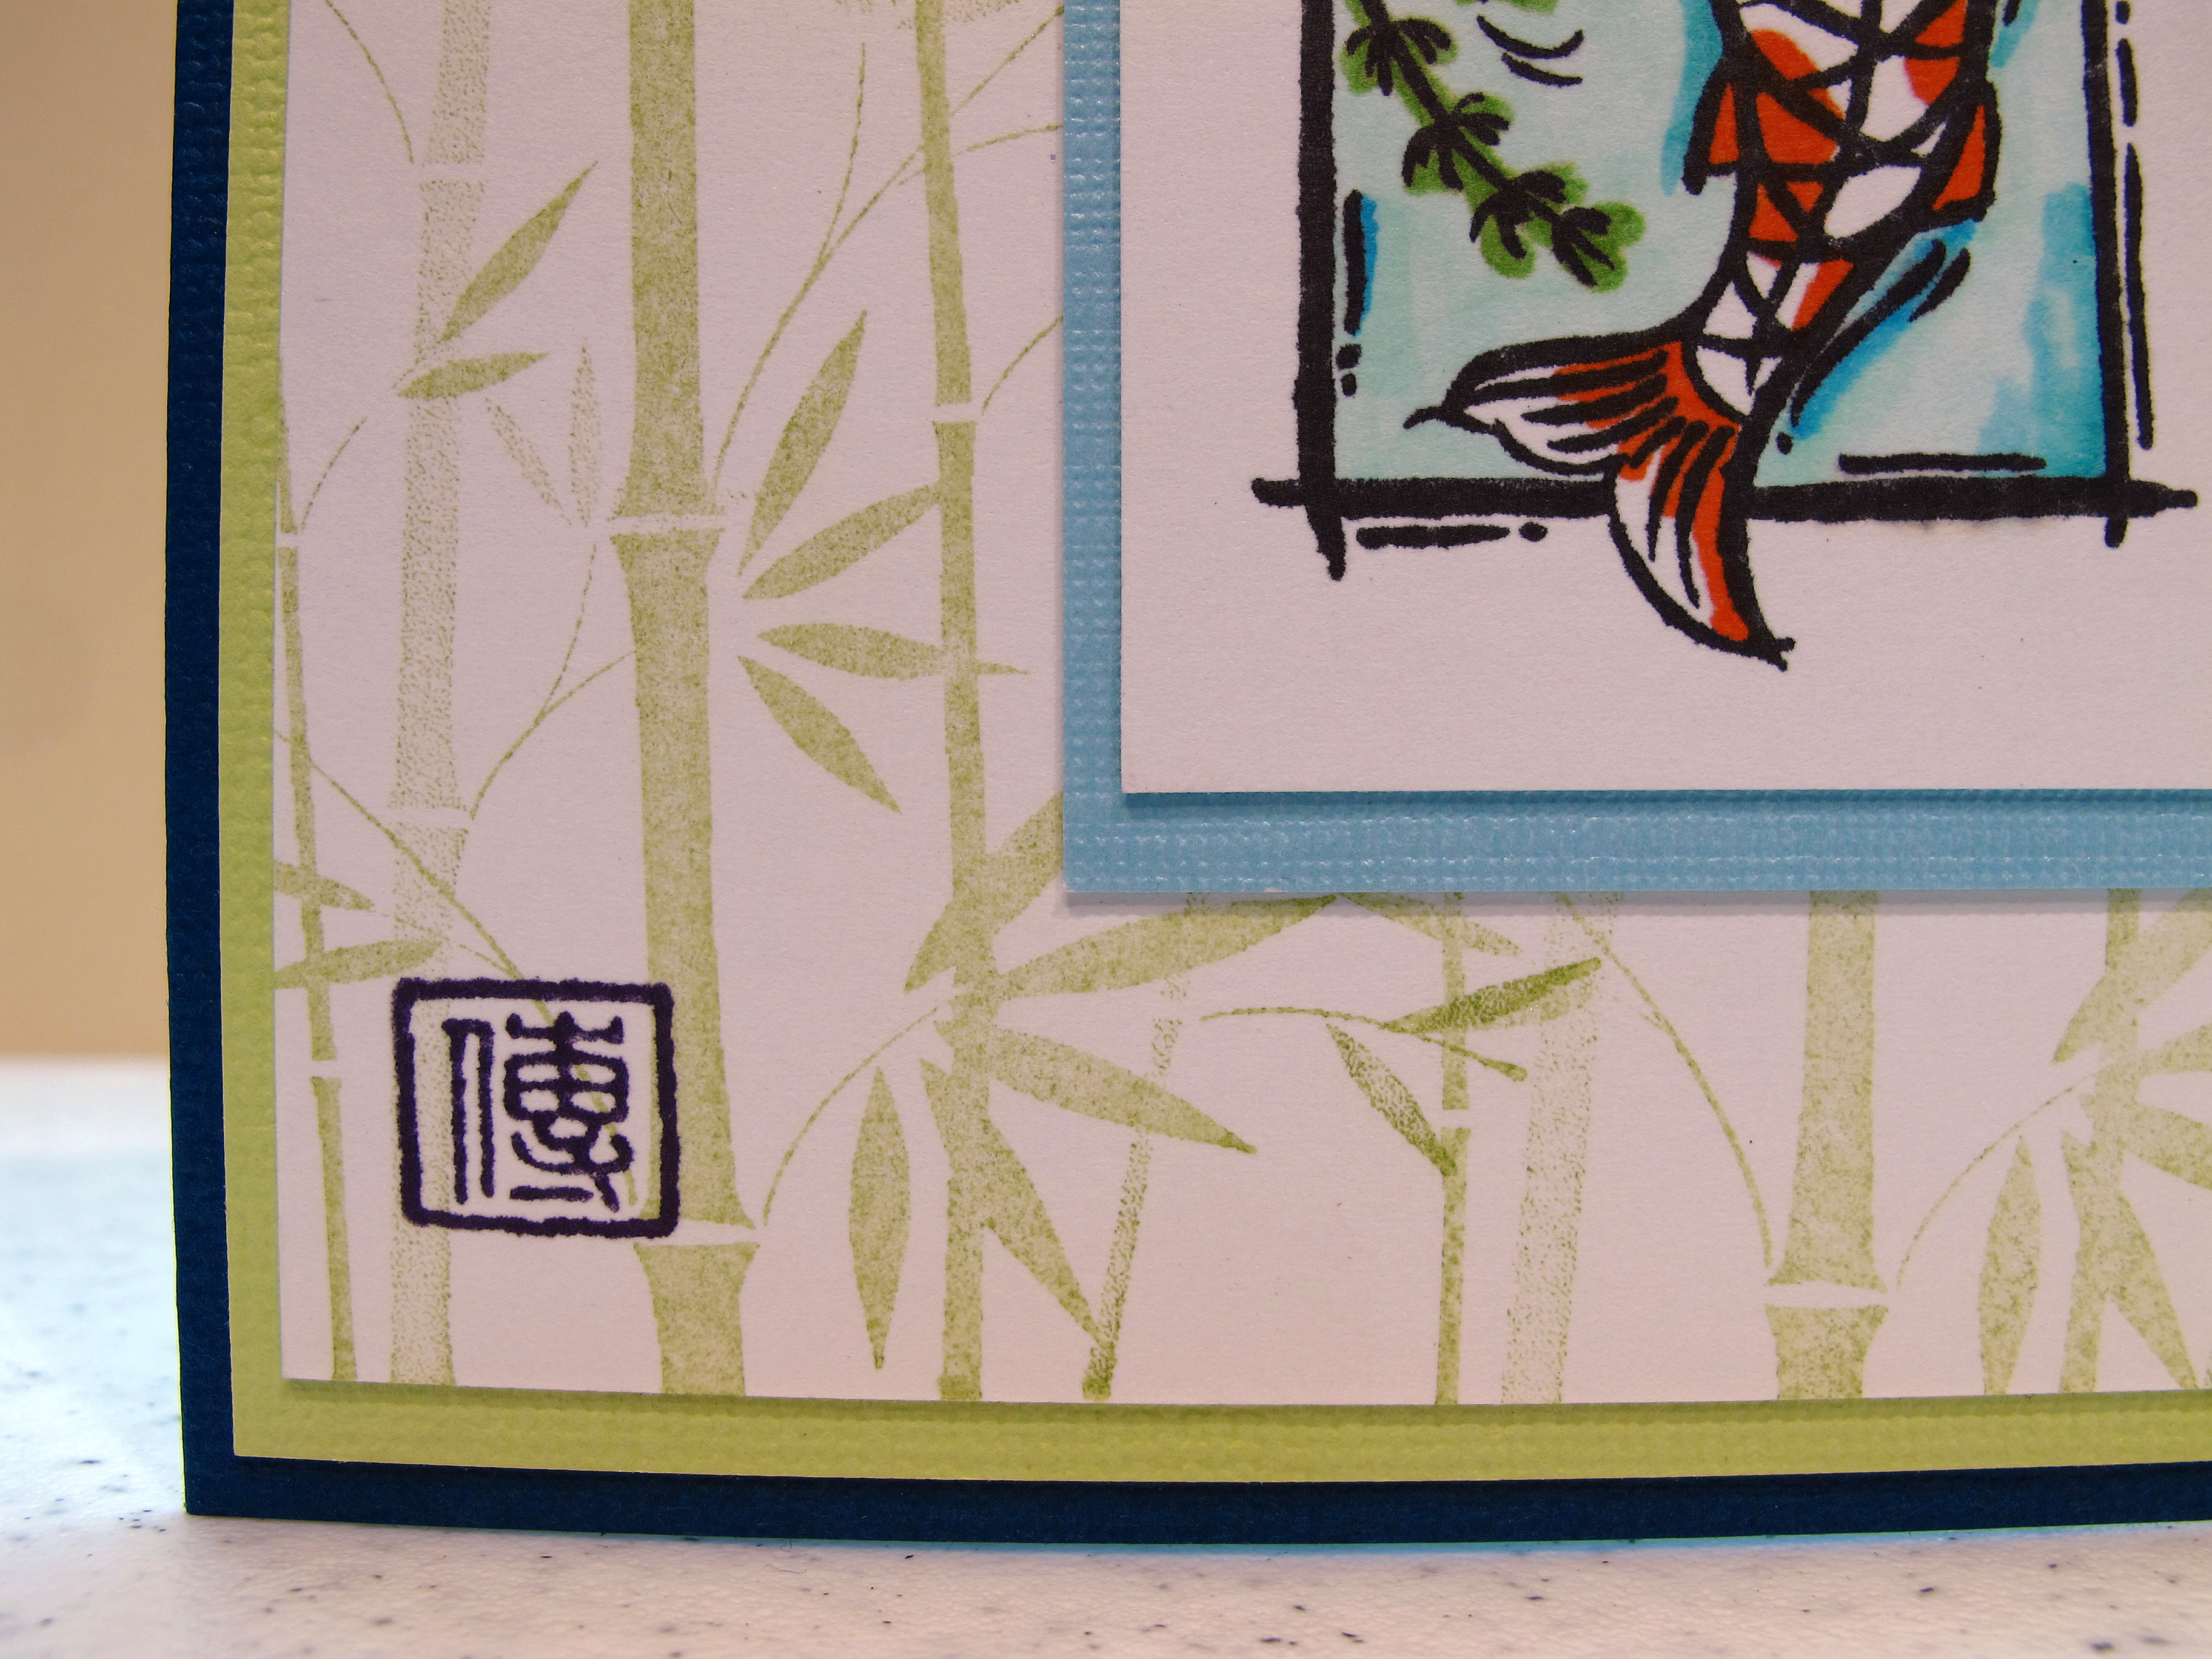
    This card is a simple Asian inspired card – again colored with the Copic markers. I colored the orange fish twice and then cut one out and popped it with some double sided foam tape. The water is 3-4 shades from the blue green color family. The background bamboo stamp is from Hero Arts. This would make a nice masculine card, perhaps.

    IMG_1288 

    IMG_1289

    IMG_1291 
    Hydrangea update! They are BLUE! If you've ever grown hydrangeas you know they can get a little weird if not given the right plant food. They will revert back to pink! It's always nice to see the first ones pop their heads out to show me their true colors!

    IMG_1258 

    Happiness…on a cold drizzly, grey day…ahhhhhhh…

    IMG_0908 

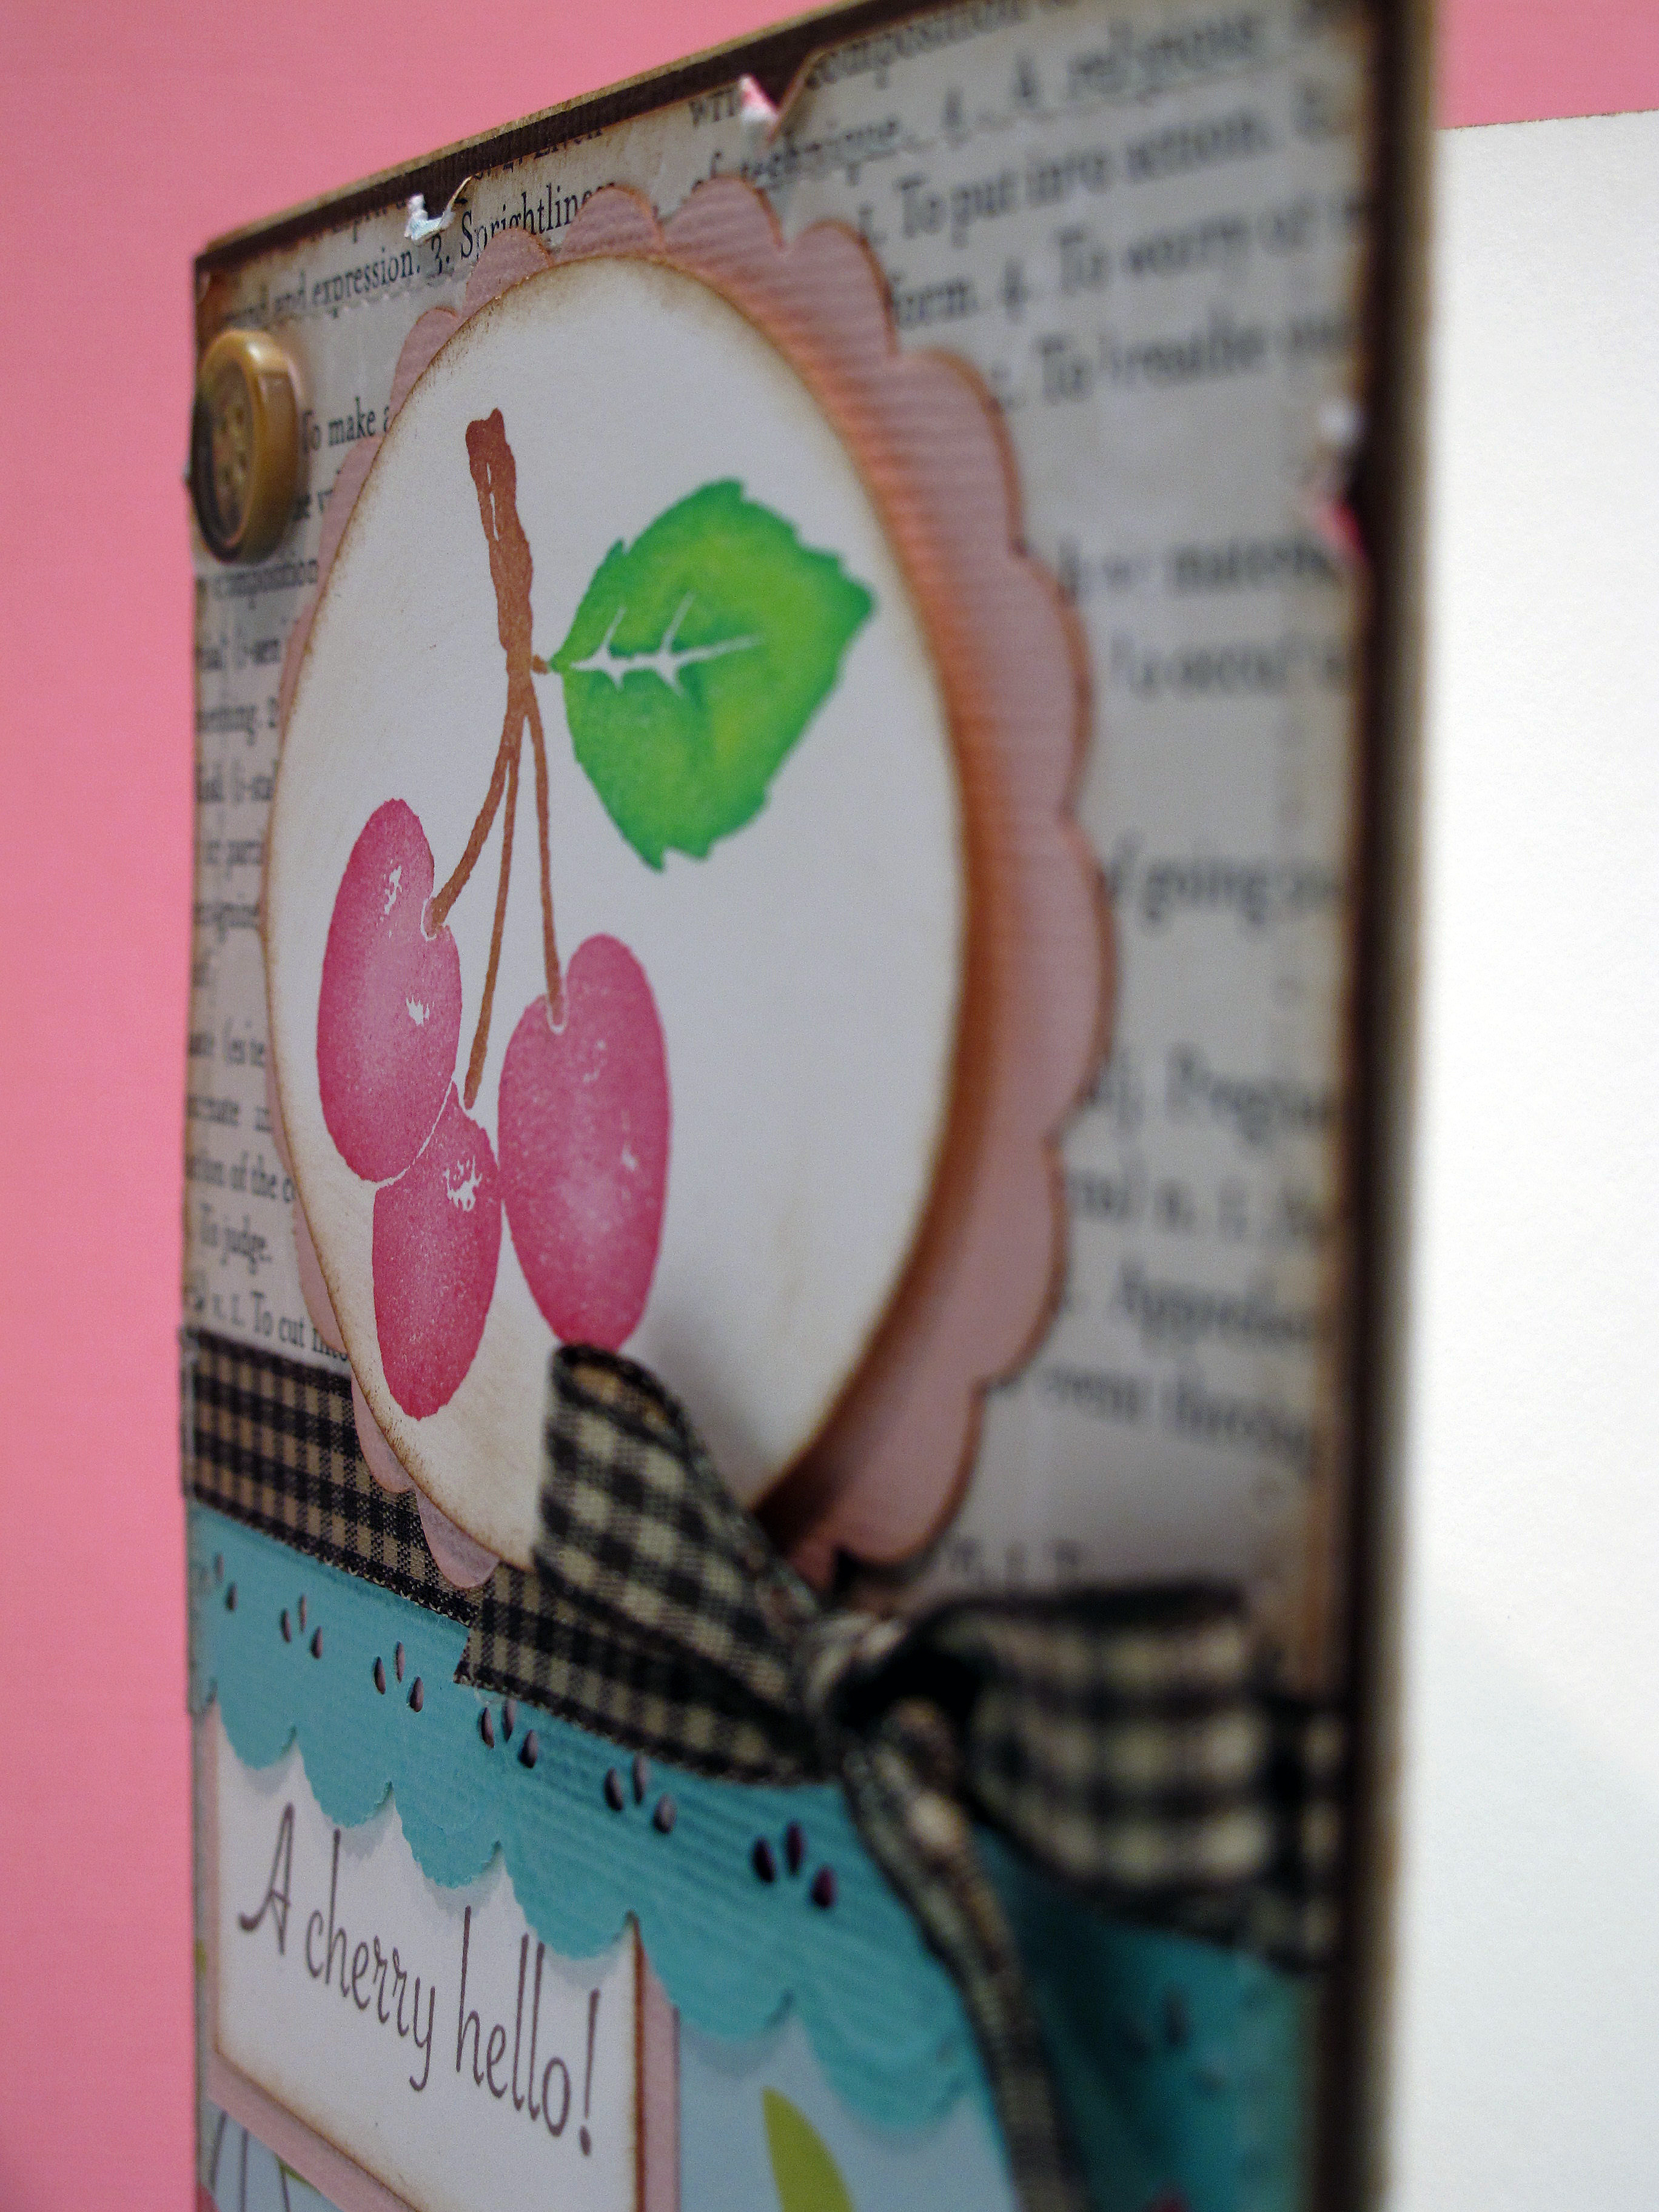
  • A Cherry Hello!

    Hi All! Hope you are having a super fabulous weekend! I went to a 50th birthday Disco party yesterday and it was really fun! The cake had a mirror ball on the top. Great music. A candy buffett! Awesome. I think the birthday 'girl' had a great time. I know I did! It kind of scared me that I still know all the words to those disco songs. Good times!

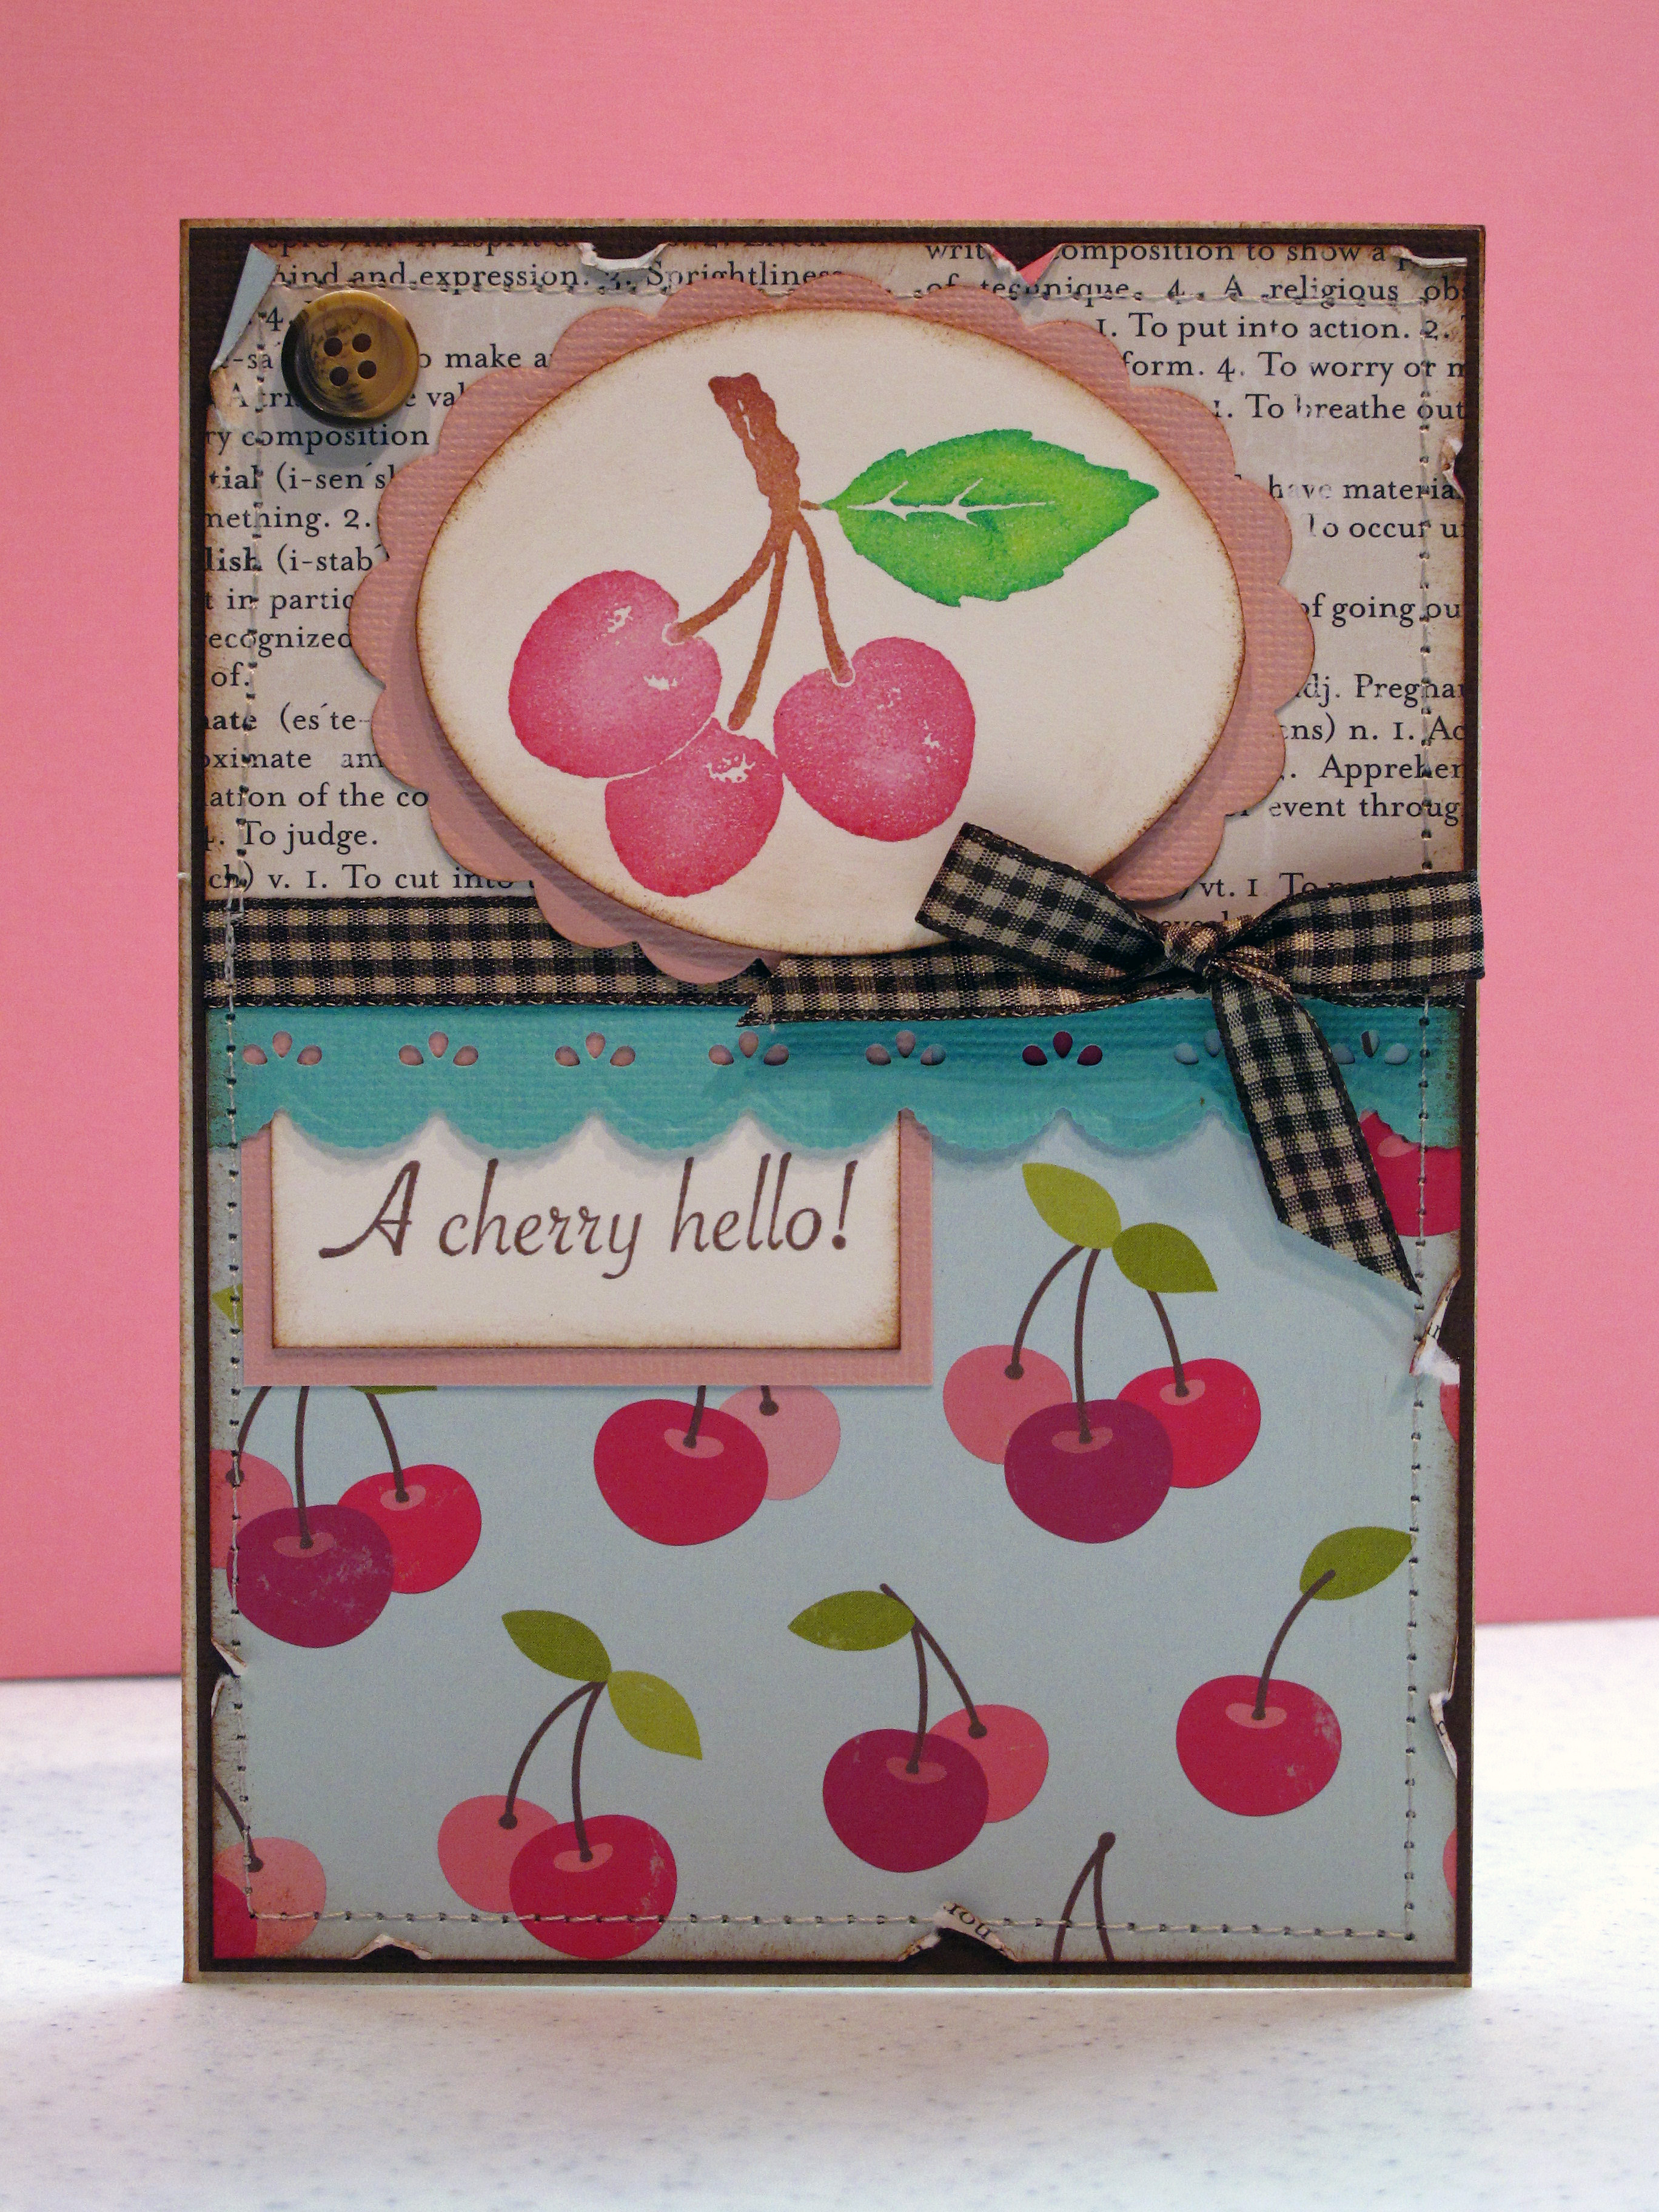
    My card for today is for two card challenges that I came across this week that called for stitching. I'm not that great with the paper + the sewing machine…but gave it my best shot. I really like this card – especially the colors. One challenge – Embellish Magazine – called for light pink, light aqua, kraft, and stitching. The other challenge – Shabby Tea Room – called for Spring theme and stitching.

    Here is my card:

    IMG_1190


    IMG_1192


    IMG_1193


     All that stuff for ONE card??

     IMG_1186


    This card feels so vintagey – so I decided to take a sepia picture of it too:

     IMG_1189

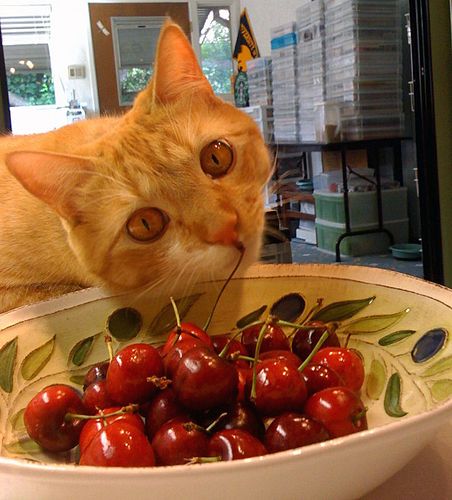
    Buddy Says…Life is just a bowl of cherries!

    Photo

  • Rain or Shine…you’re a friend of mine!

    I think it's important to honor the friends that weather life's storms with you. They are there through rain and sleet and wind and snow and dark of night. I am deeply blessed to have many such friends. Today I made a card with the simple sentiment – Friends, rain or shine.

    I have had this neat umbrella stamp for years but was never able to color it just the way my mind wanted it to be. So, I decided to give it a go with my Copics. All I can say is "WOW!" I think this might be the best coloring I've done to date! It came out exactly as I wanted. I really (REALLY) paid attention to the shading and blending and took my time. I hope you like it – and I hope the fact that I'm showing the process is helpful too. It's the beginning of a nice Spring weekend. Have a good one!

    The finished card:

    IMG_1179

    Deciding my pallette – see all the squiggles? Four shades of red on that bad boy!

    IMG_1171


    The red is done, moving on to the yellows…

    IMG_1172 

    Yes, I used ALL of those markers…plus a few more I think!

    IMG_1173

     
    The finished image:

    IMG_1176 

    This is what the back looks like – I think that's kinda pretty too:

    IMG_1177
    I chose this blue dotted paper to look like raindrops. I decided to keep it simple with the papers and just used primary colors and no real patterned paper. Okay, that was hard! I NEED patterned paper…but it didn't work in this situation. I might get over it. The sentiment was printed on the computer.

    IMG_1180
    If you are practicing your coloring – I want you to really look at this. See how all of the lighter parts are on the same side of every umbrella? That makes your eye believe that is the direction of the sun. This is very hard for me. I have been working on it though.

    IMG_1183 

    I feel like I need to play a Rihanna song in the background right now. Under my umbrella, ella, ella, ella…  Peace out chicadees!

  • Pretty Party Dress – A Tuesday Trigger Challenge

    Ya know how I love Moxie Fab Tuesday Trigger! It's that time again! This week the trigger photo is of a pretty cotton sundress for a little girl. It just happened to be with my favorite colors (aqua, lavender and green) and plaid! I'm mad about plaid! An idea came to me pretty quickly. Here is the trigger image first:

    Easterdress[1] 
    What came to my mind was a pretty preppy Spring party dress for a soiree out on the lawn…Close your eyes…can you imagine the twinkling white lights and the champagne? And the lanterns hanging from the trees and the jazzy ensemble… Oh yeah, wait, come on back to me. Come back! I said COME BACK! Whew.

    Okay, so here is my card-

    IMG_1168
    Behind the scenes of making the plaid skirt for the dress…Giant stamp from Hero Arts. Three favorite colors of Versamagic ink. I only used a tiny bit of green and then criss crossed the other two colors.

    IMG_1162
    Then I stamped the dress in black onto my plaid 'fabric' and cut it out. I stamped the dress again on my main paper and colored the bodice with my Copics – three shades. 

     IMG_1163
    When I attached the skirt part I put the upper part on with mono-adhesive and the lower part with double sided foam tape to look like the skirt had some movement. The argyle pattern is stamped on the lavender card stock with versamark ink (Judikins stamp). I glued on a pretty pink flower corsage and a polka dot bow…There ya have it!

    IMG_1167

    This would be a nice card for a special gal pal or even a bridal shower. So feminine and sweet!

    IMG_1166

    Here's what's going on out in the front yard with my babies…my giant Nikko Blue Hydrangeas…I can't wait for their giant periwinkle pom poms to come out to see me! Here is a good start. Nature at it's finest, don't ya think?

    IMG_1152 
       

  • Margaritas Anyone?

    I knew that would get your attention! Hahaha. It was really warm this weekend here in Sac-town and a refreshing margarita would have been very nice. Maybe next weekend… This card is my entry for Taylored Expressions sketch challenge #105. I was having low crafty mojo today. I went through all my clear stamps and found this cute margarita set from Unity, and thought it would be fun to color. I then found a 6×6 paper pad from Junkitz called 'Salsa!' I knew it was meant to be.

     Love these bright cheery colors – hope you do too.

    IMG_1119
    I used my Copic Markers to color everything and then used Judikins Diamond Glaze over the contents of the blender to make it look shiny and 3-dimensional. I also added a ribbon of glitter to the top.

    IMG_1121

    Who wouldn't love a hot pink blender like this???? 

    IMG_1123 

    My color pallete:

    IMG_1112
    Another view… Don't be afraid to make your own embellishments! I didn't have anything that I thought would work for the accent, so I made my own. Colored and cut out another part of the stamp set and popped it up with some double sided foam tape. Oh..and some glitter too.

    IMG_1125 

    Hope this made your Monday a bit brighter. Have a good week!

  • Since you asked…What are Copics?!

    Hi There and Happy Saturday to everyone! We are immersed in March Madness at our house since Cal is in the dance this year and we won our first round game! Woot woot! BUT….we have to play Duke tomorrow – the #1 seed in our bracket. I have a glimmer of hope – because this is the time when anything can happen! Right? Okay, enough basketball talk.

    Over the past few weeks I have had several people ask me "What's the dealio with the Copics?" I thought I would take some time today to give a brief run down on Copic Markers. First of all – I love my markers and would save them in case of fire or earthquake. I'm attached. For life. Using Copics has improved the quality of my work by leaps and bounds. I have been a stamper for 16 years and had always used colored pencils or watercolor pencils up until I discovered Copics. Now they are my weapon of choice.

    This is my personal stash – so far –

    IMG_1074

    Copic Markers are alcohol based art markers from Japan. The Manga Comic Book and Anime artists use them for their incredible images. Do a google image search for Manga and you can see some of the amazing work they do! With markers! More and more local art stores and stamp stores are starting to carry them. They average about $5.50 each. They come in three different shapes with different tips. I prefer the oval sketch markers which have a brush tip on one end and a highlighter type tip on the other end.

    Copic Markers come in 350 colors. Yes, I said 350. (gasp). That is the best part! This makes it possible to blend 5-6 different shades of the same color together to get those real-looking results. The markers are labeled with a color name but also with color numbers to allow you to select the same color family for blending.

    IMG_1075 

    I have a color chart that I use to help match patterned paper for my card projects. It's easier than trying to guess with my eye. I copied my chart onto the kind of paper I color with the most so that I know ahead of time what I will get. I then can hold the patterned paper up to the chart and see exactly what shade matches.

    IMG_1076
    When I color something, I use a minimum of three shades of the same color. A light, medium and dark shade. Copics also have a colorless blender pen which acts like an eraser of sorts in case you need to lift color off or if you make a mistake. It takes a lot of practice but I believe the results and the enjoyment are worth it!

    If you happen to live in Northern California and are interested – I am teaching Copic Marker classes at my home the weekend of May 1st and 2nd. Email me and let me know if you would like an informational flyer and I'll get one to you.

    So, I had to make a card today and I thought this cute hedgie image from Penny Black would be a good one to use to illustrate coloring tips.

    IMG_0984

    I used warm grey, cool grey, browns, and tans to make the hedgie 'fur' on top. Their faces and tummies are with a very very light red and some pink for their cheeks. The ladybugs are actually colored with two shades of red and a pink. The grass was not in the picture/stamp but I thought they needed to be grounded. I used three shades of green and drew it in. This is much easier than it sounds – really.

    IMG_0985

    Yeah, I bought the Martha Stewart Ladybug edger punch…..you know I did…. After the ladybugs were colored, I went back with a clear gel pen to make them shiny. Then, I went back over the dots with a black gel pen to make them pop!

    IMG_0986


    And this is how BTC (aka Buddy The Cat) spends his Saturday in the craft room. He has his own bed with a heating pad and a fleece from Old Navy. But he's not spoiled. Nah.

    IMG_1064
    I hope I have answered some of your questions today. If you have more, feel free to email me. Have a great weekend everyone!