Category: Papercrafting

  • HIYA!

    Hey! Hope everyone had a great Labor Day weekend! I know I did! The hubs and I took a little getaway "bay-cation" to the South Bay. Had us some fun! We went to a concert and shopping and out to dinner with a friend and sleeping in…my idea of perfection! It was hard to come home and back to reality at 5:15am today when the alarm went off.

    Found a great new Scrapbook store in San Jose that I had never been to before – Scrapbook Island. Awesomeness. And a return trip to Cranberry Hill Mercantile in Sunnyvale…more awesomeness. I got a new handbag and a necklace at the mall. I was on cloud nine.

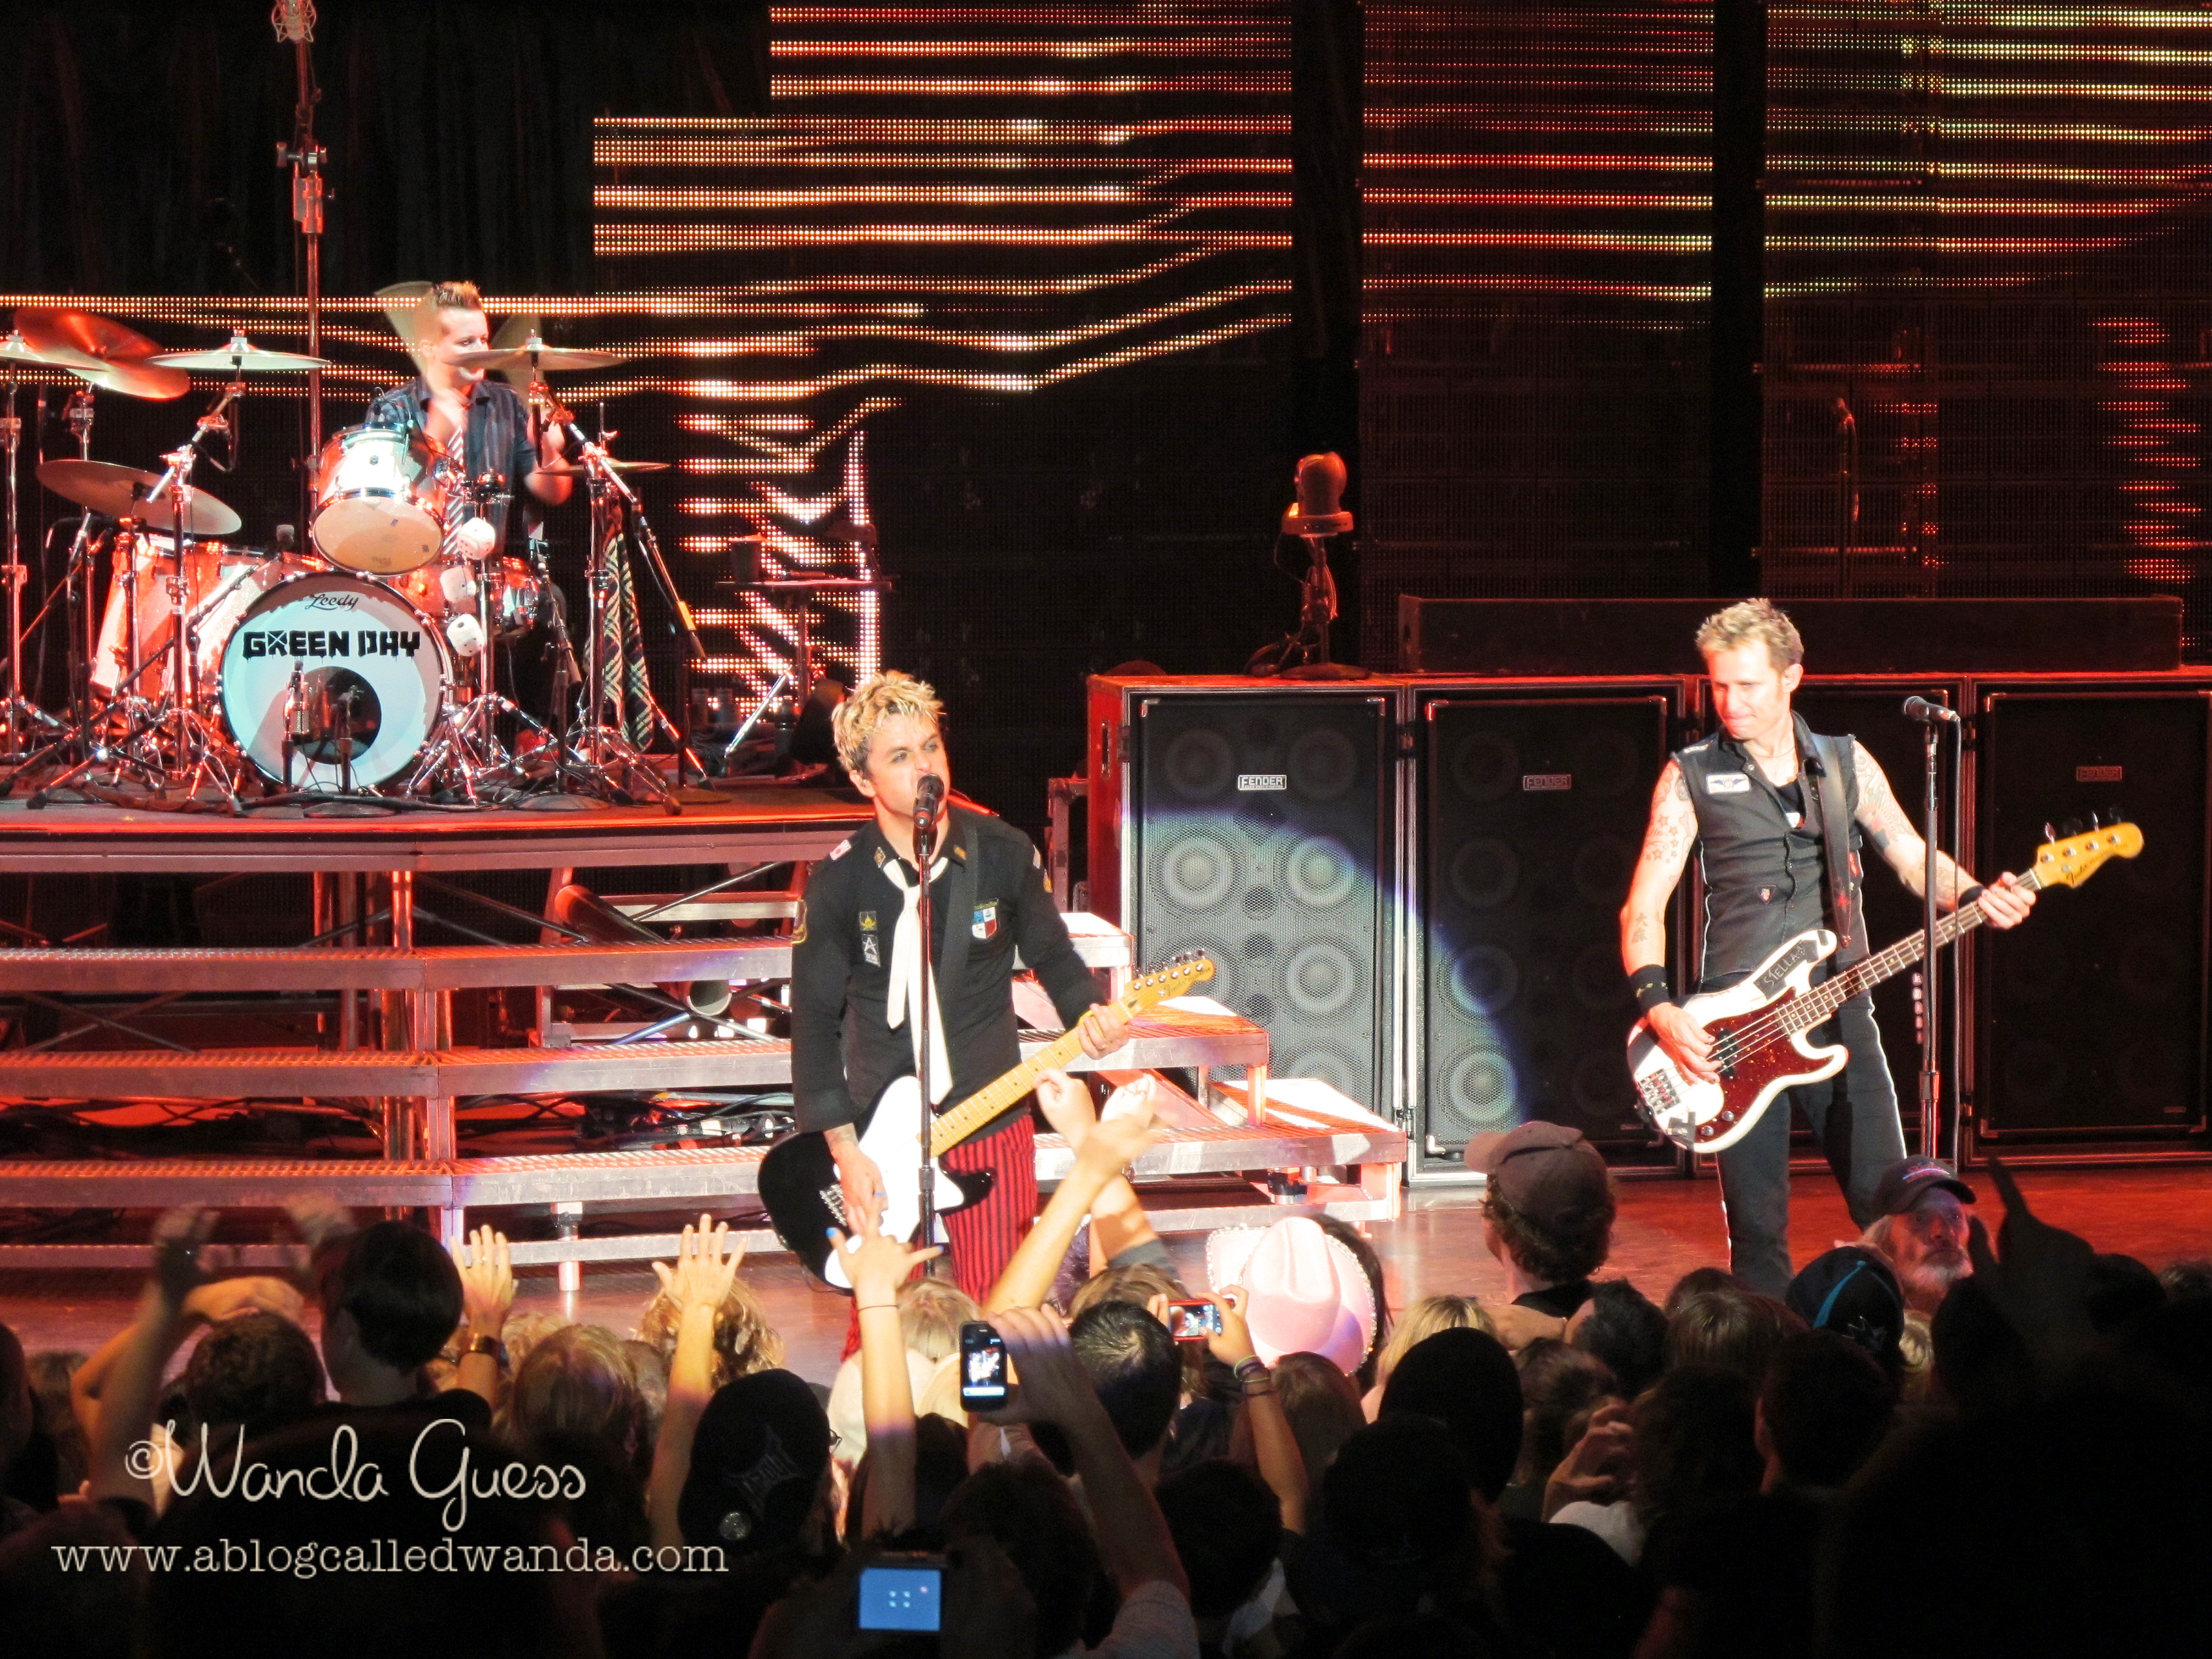
    The best part was going to the Green Day concert at Shoreline with hubs. We had a fabulous time, the show was great, the weather was perfect, and I even got to drink a margarita out of a guitar glass. Heehee. What more could a girl want?

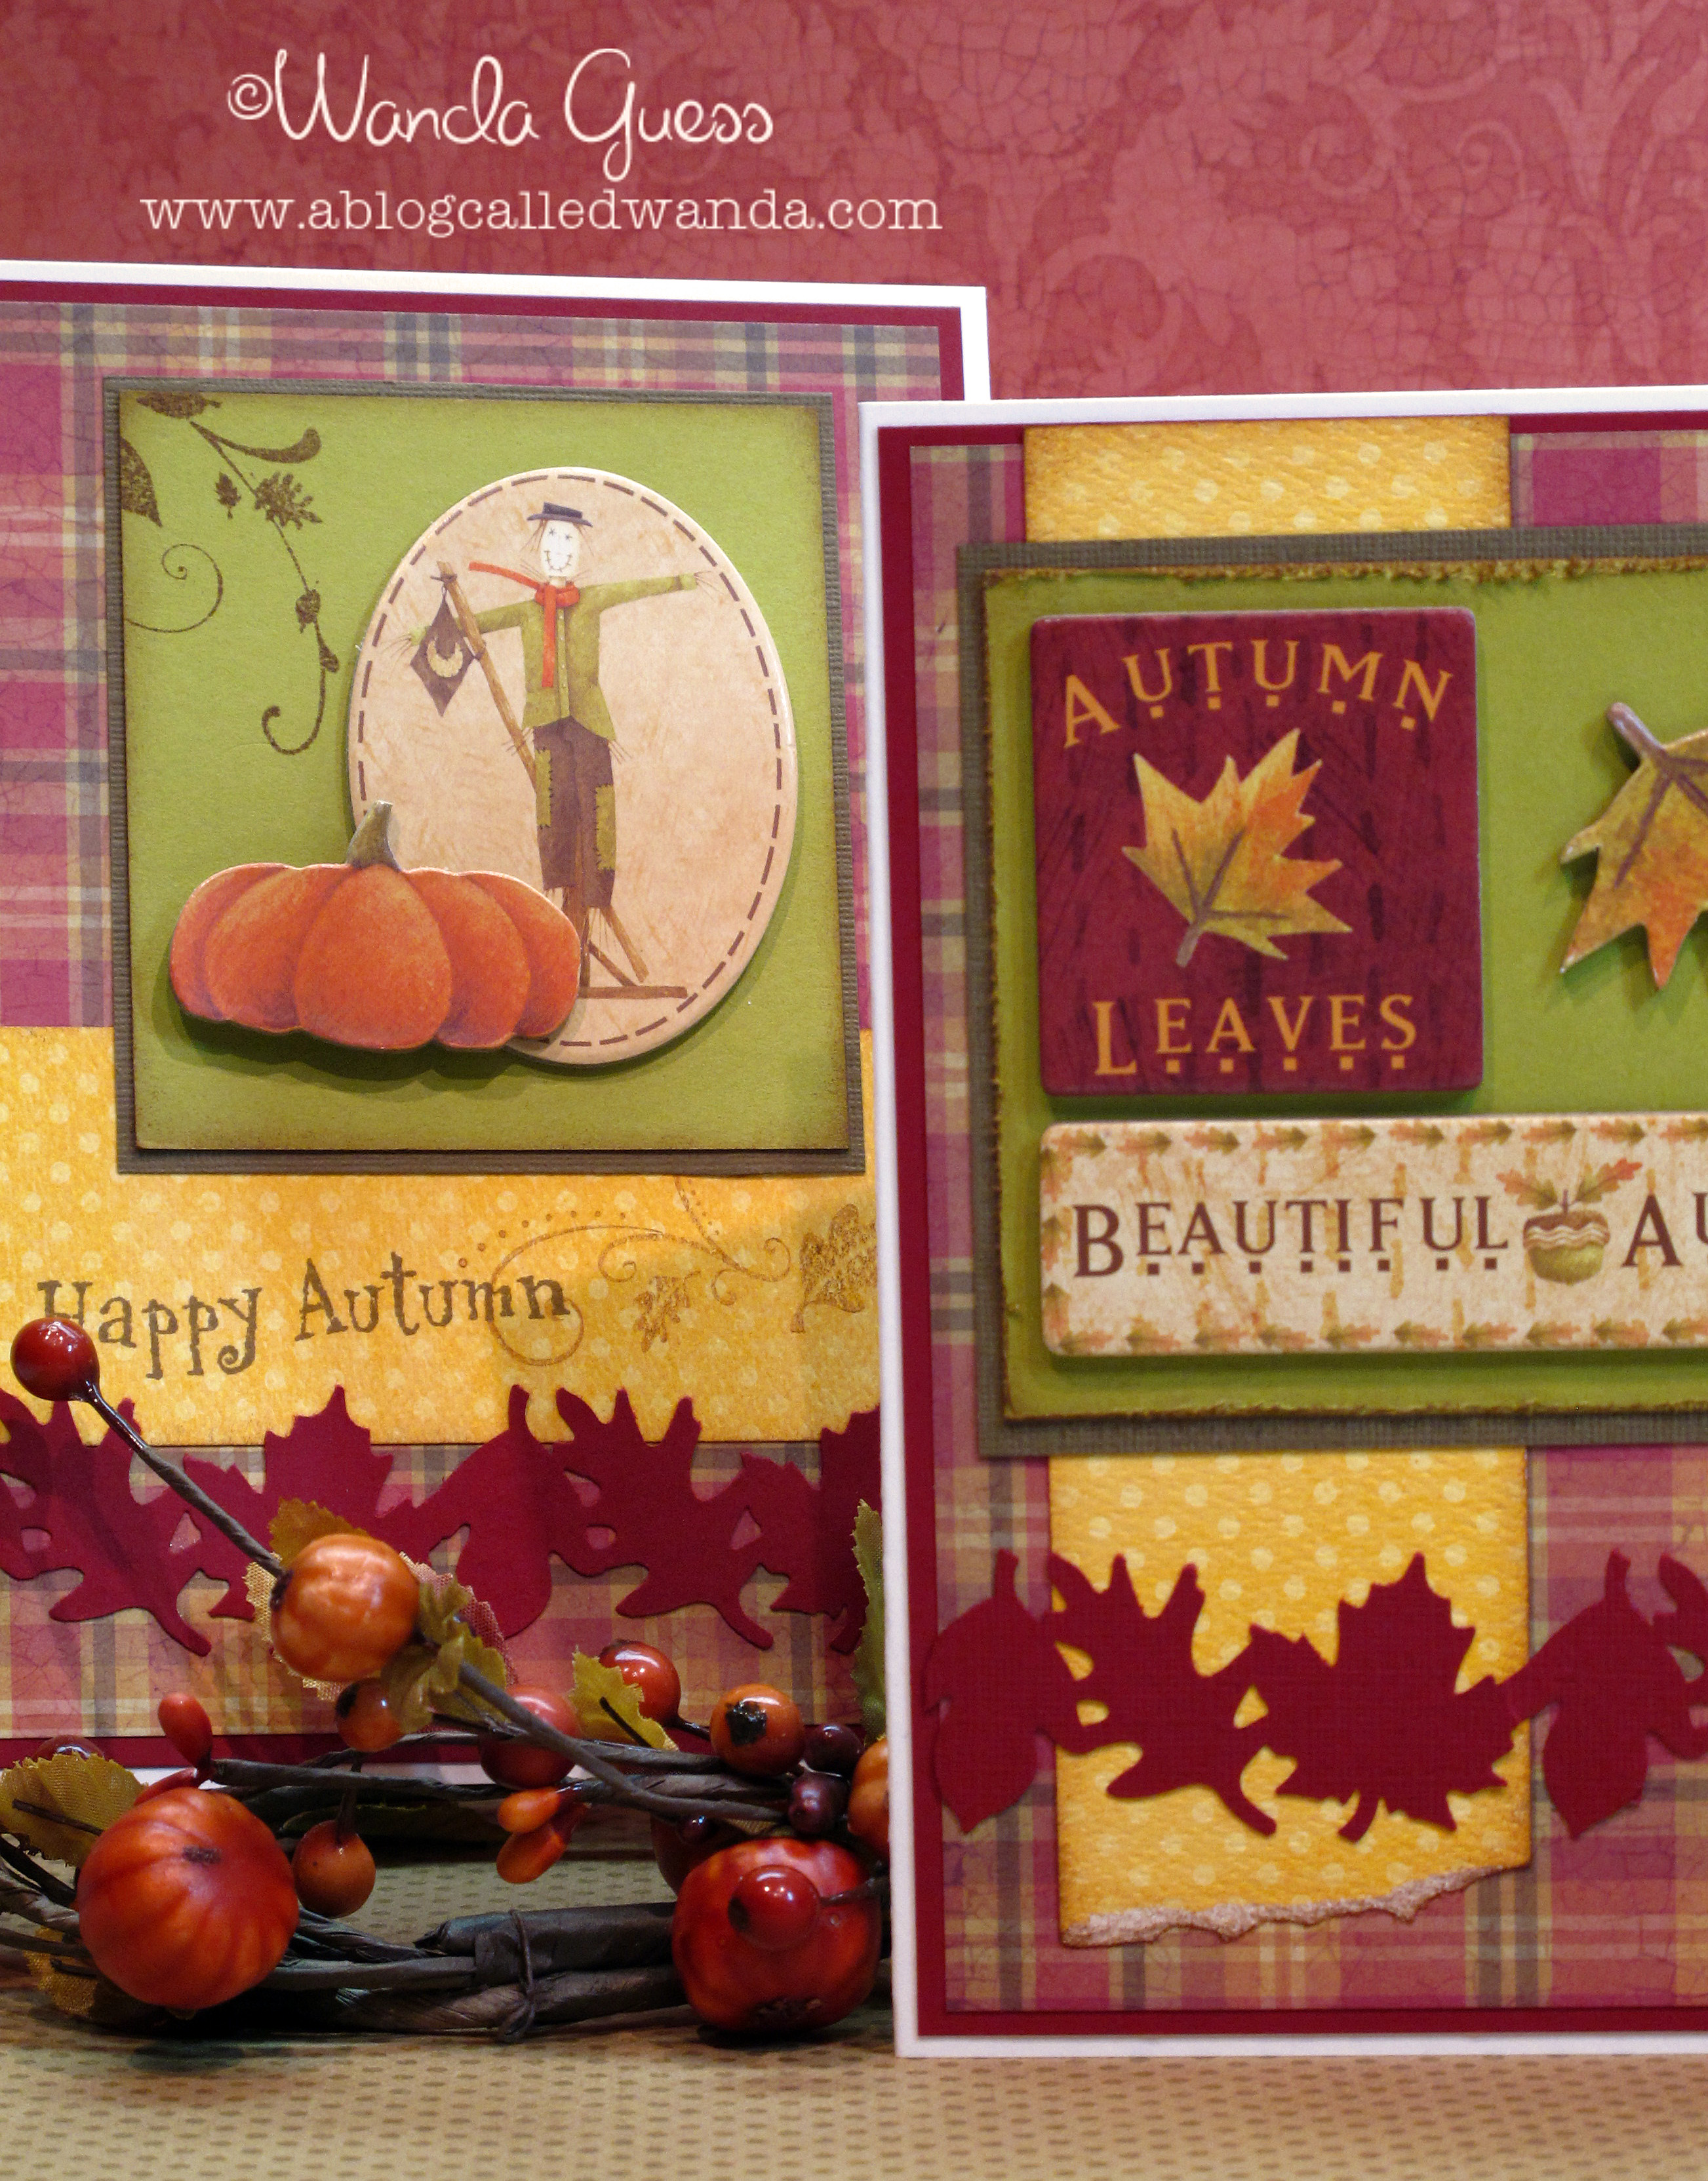
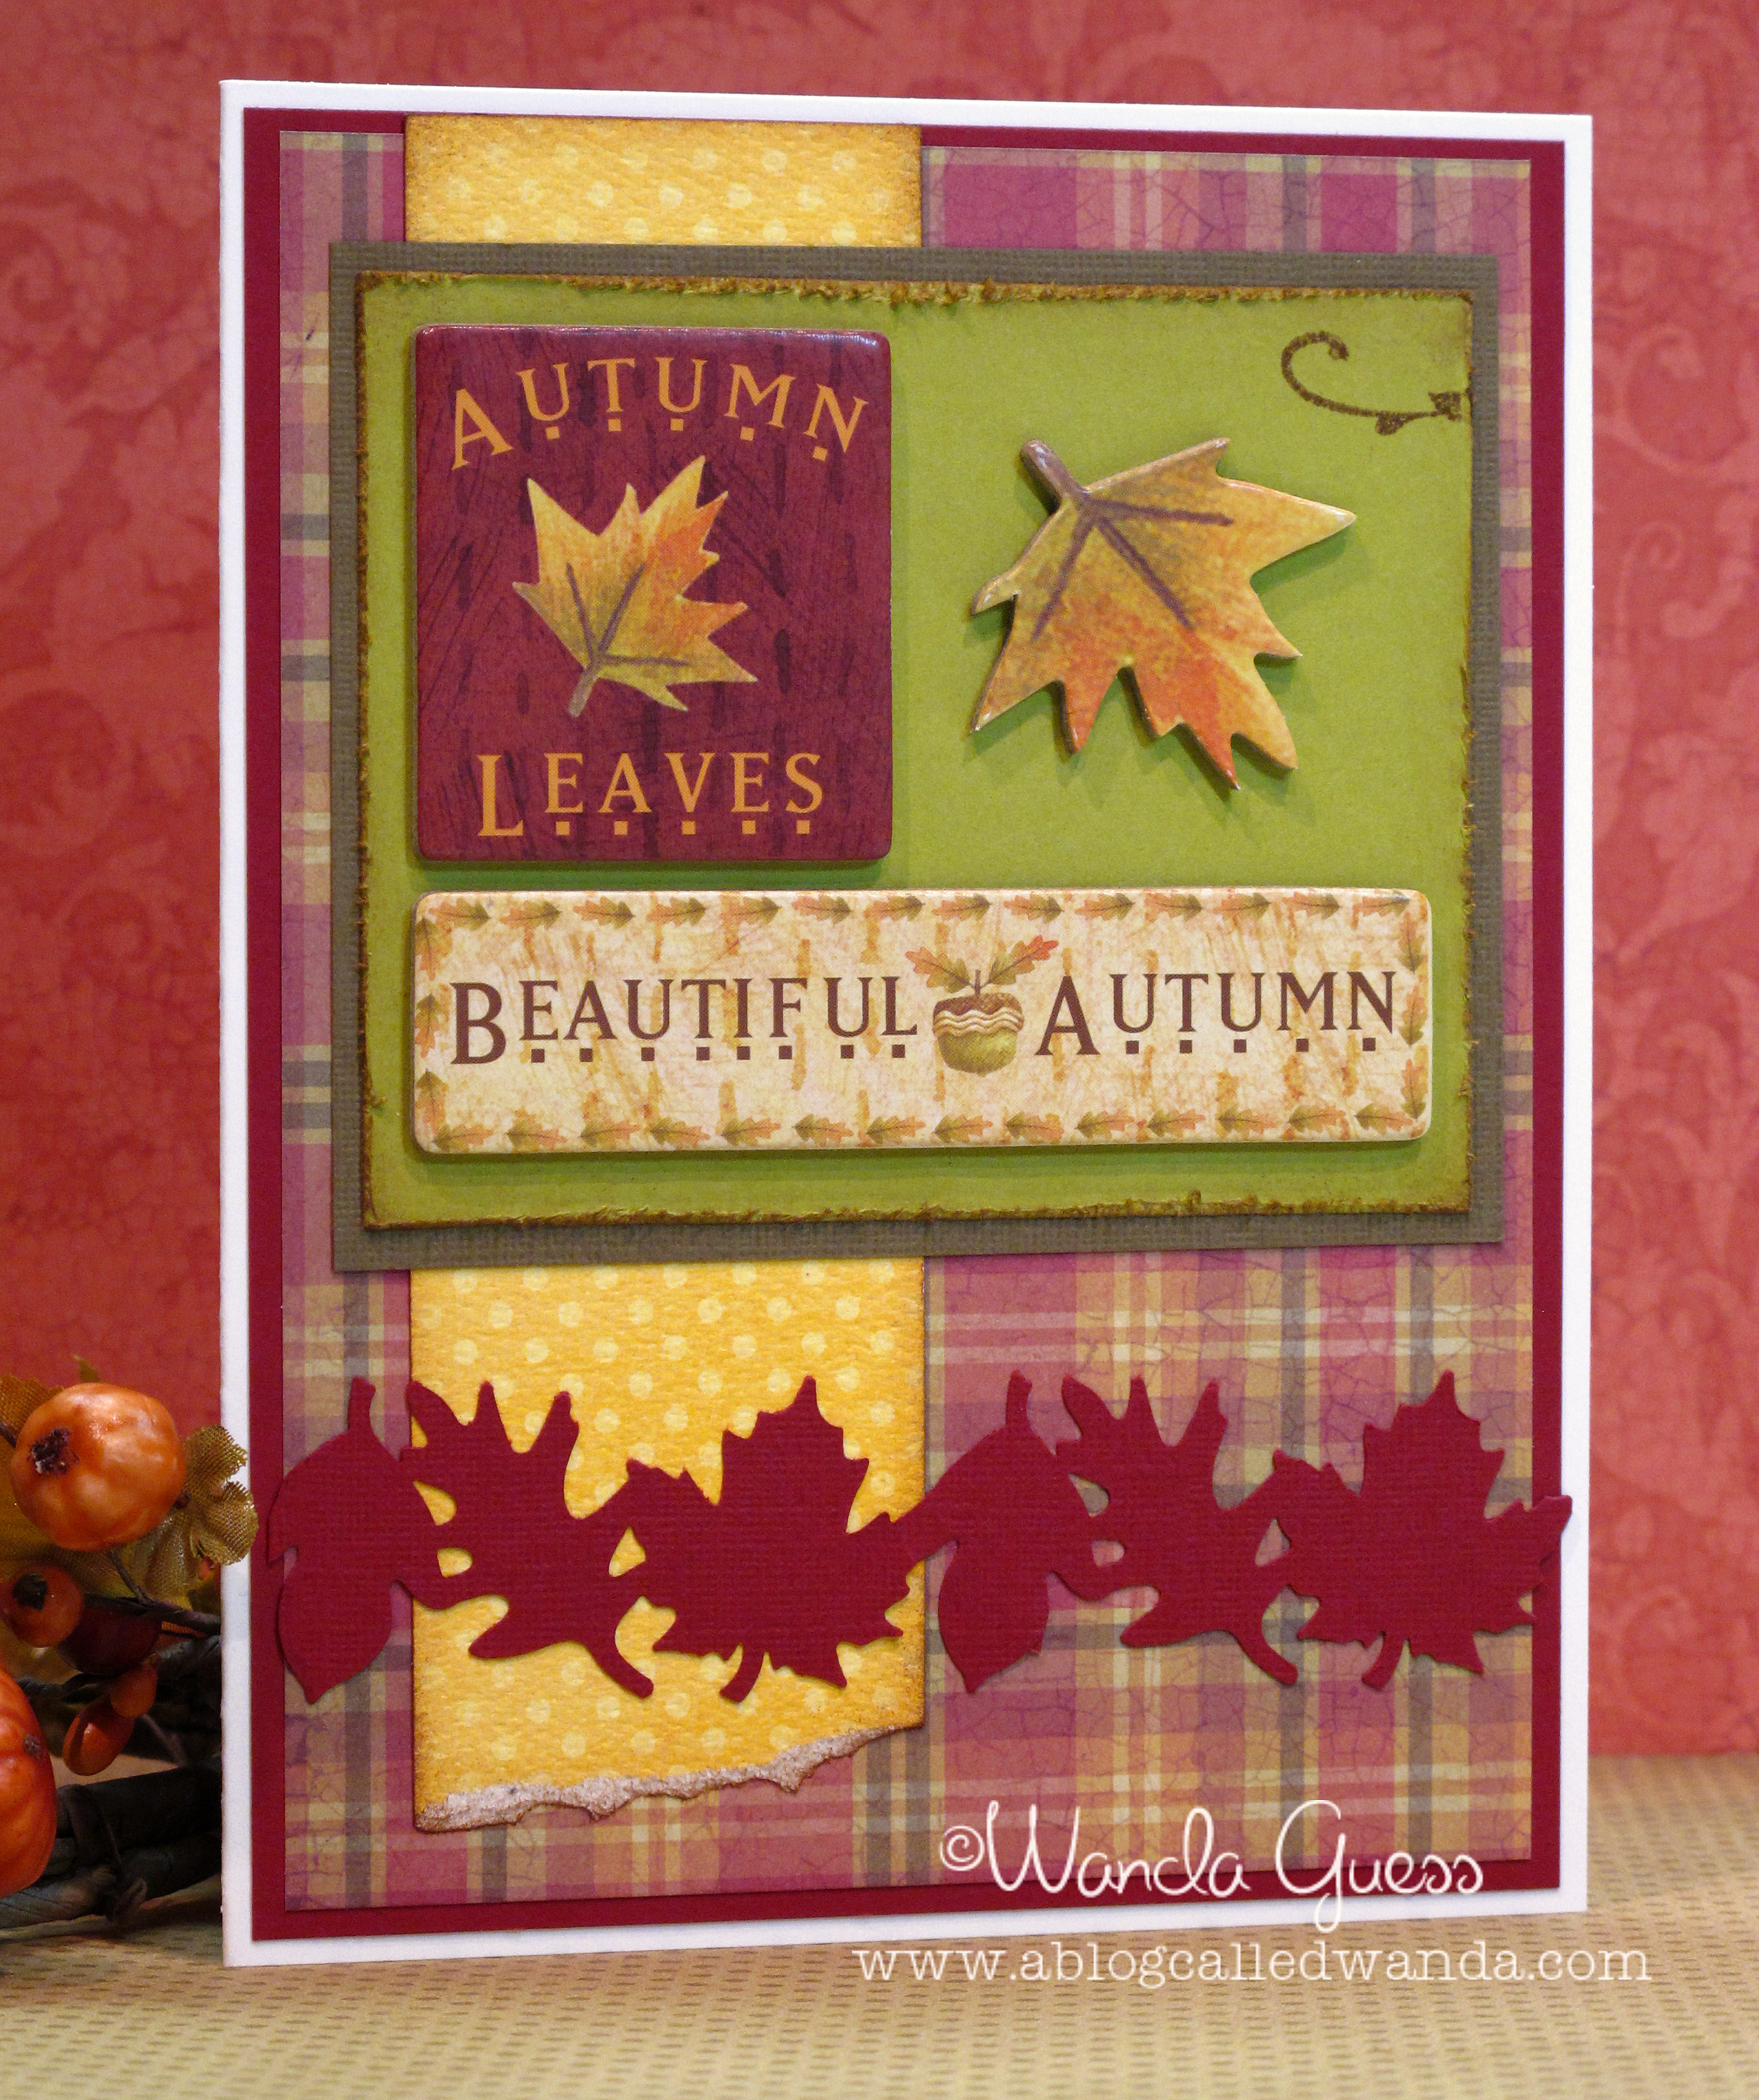
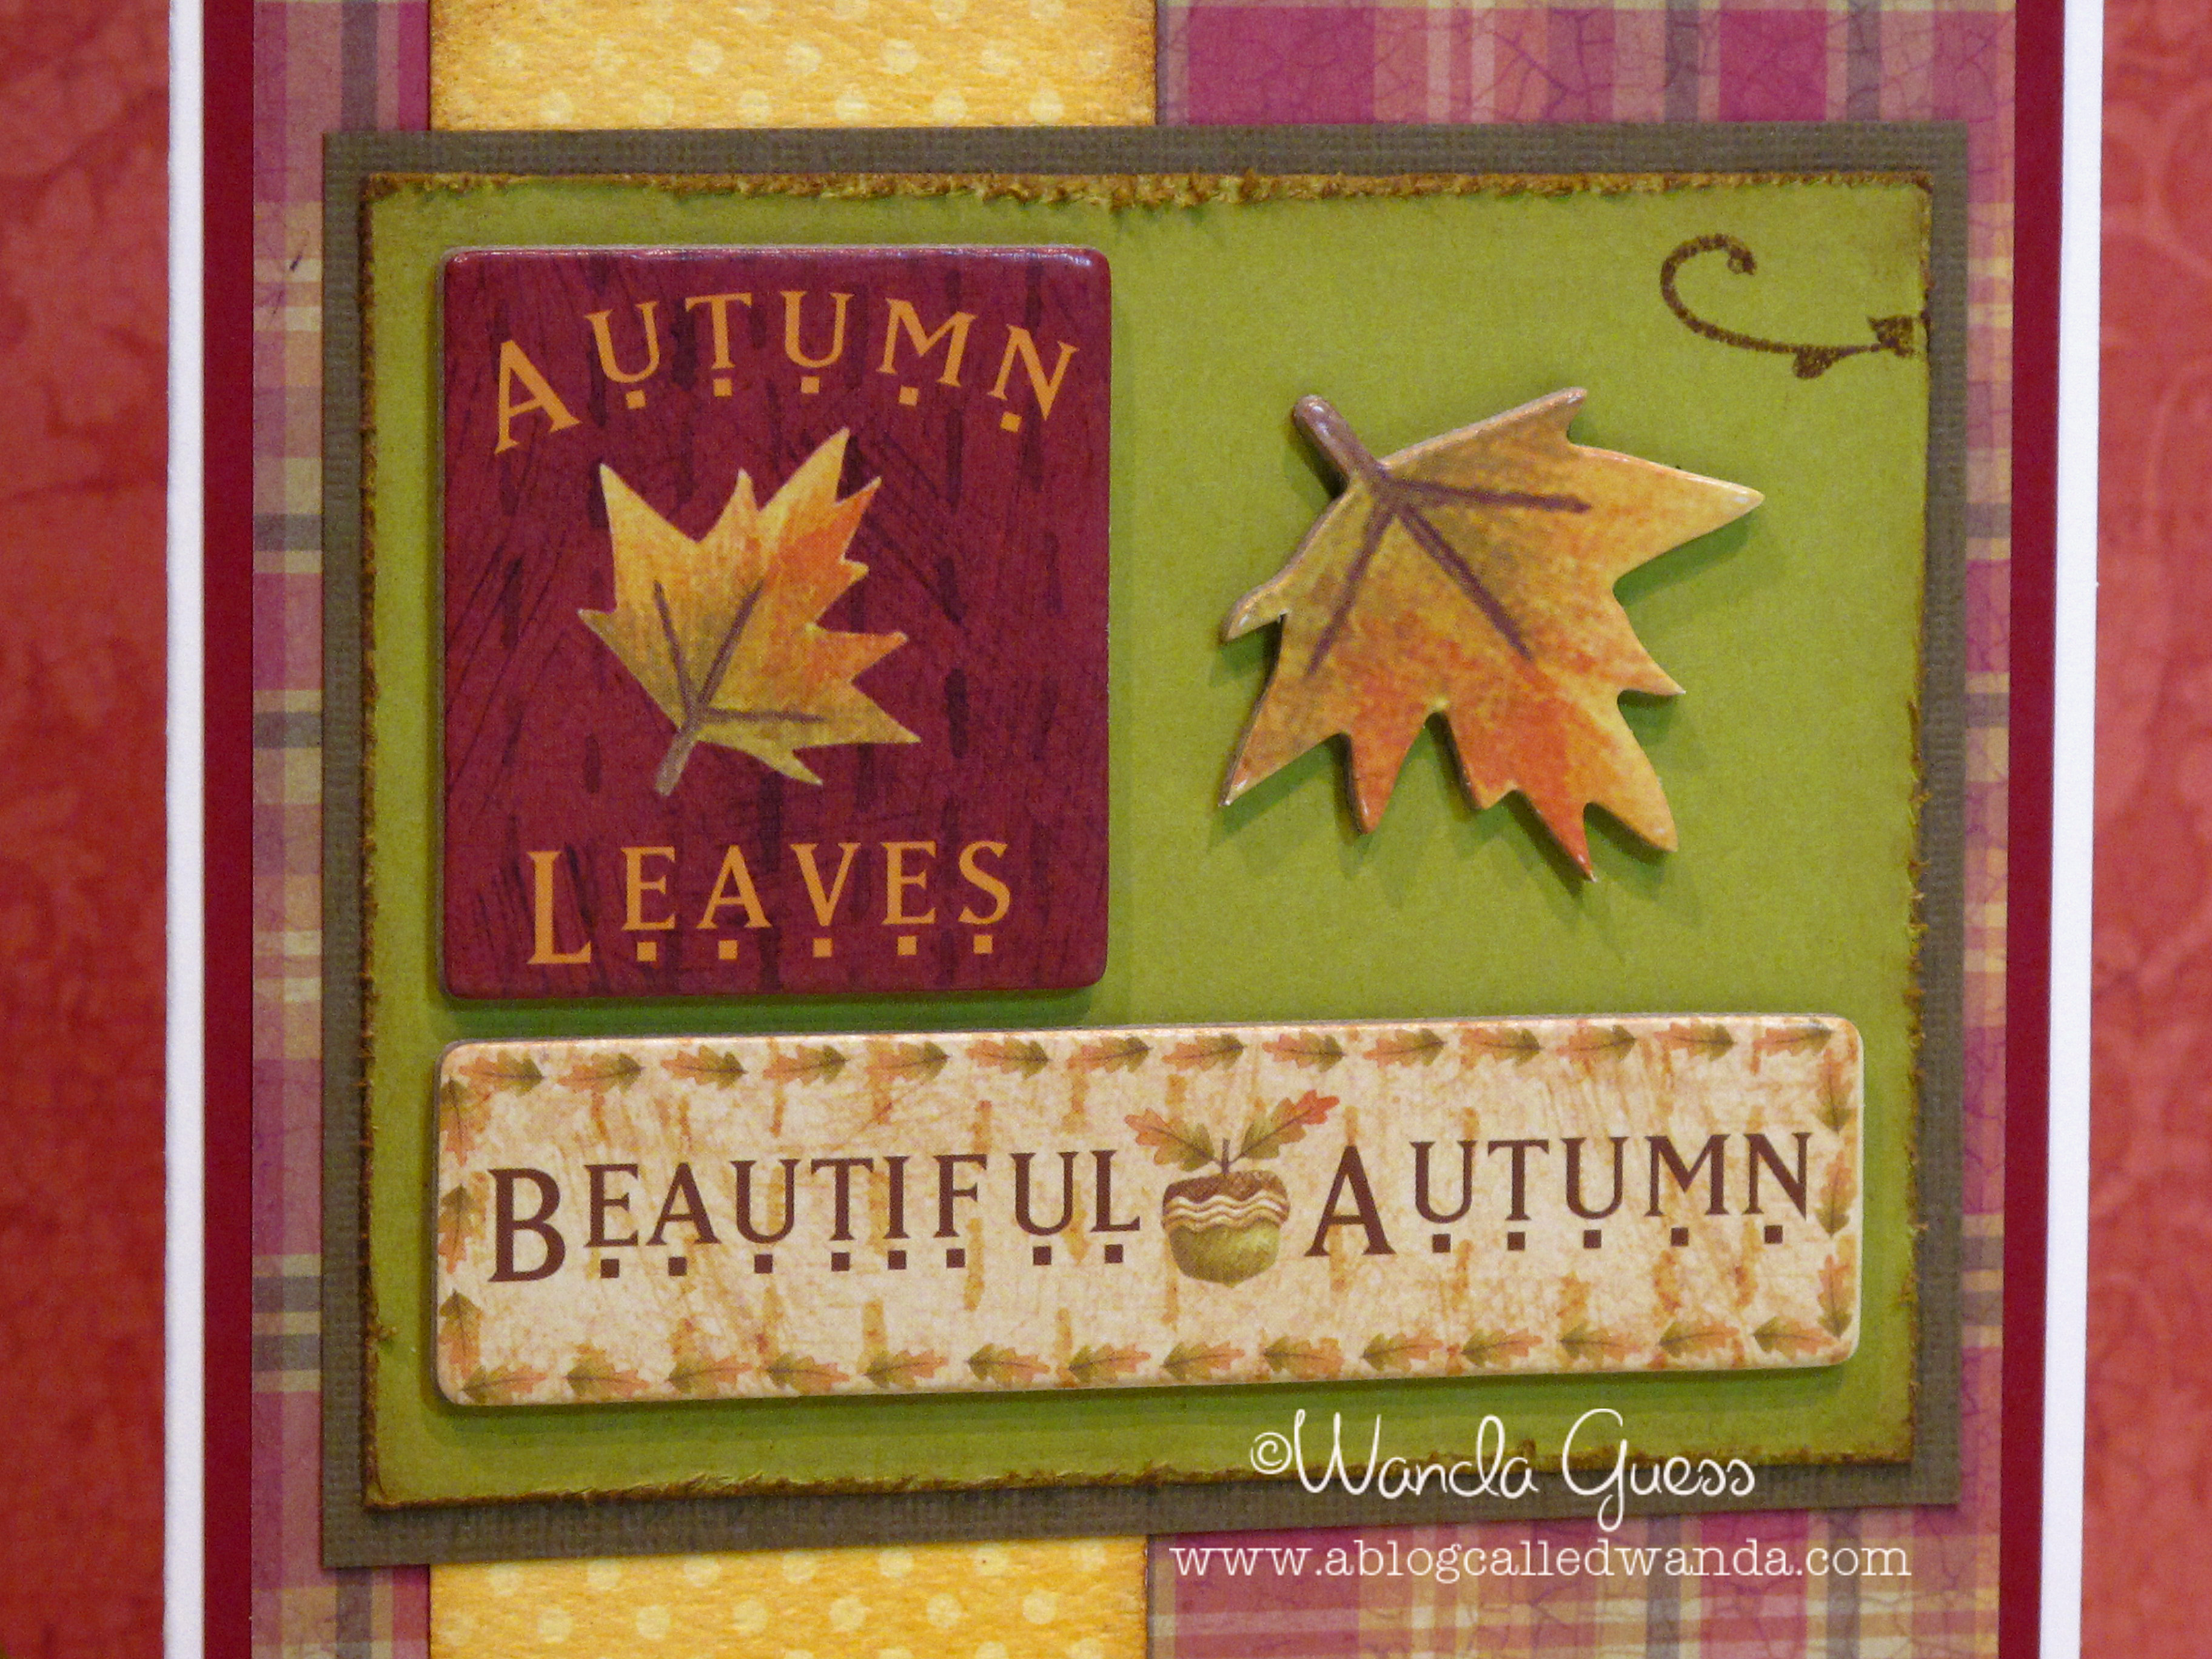
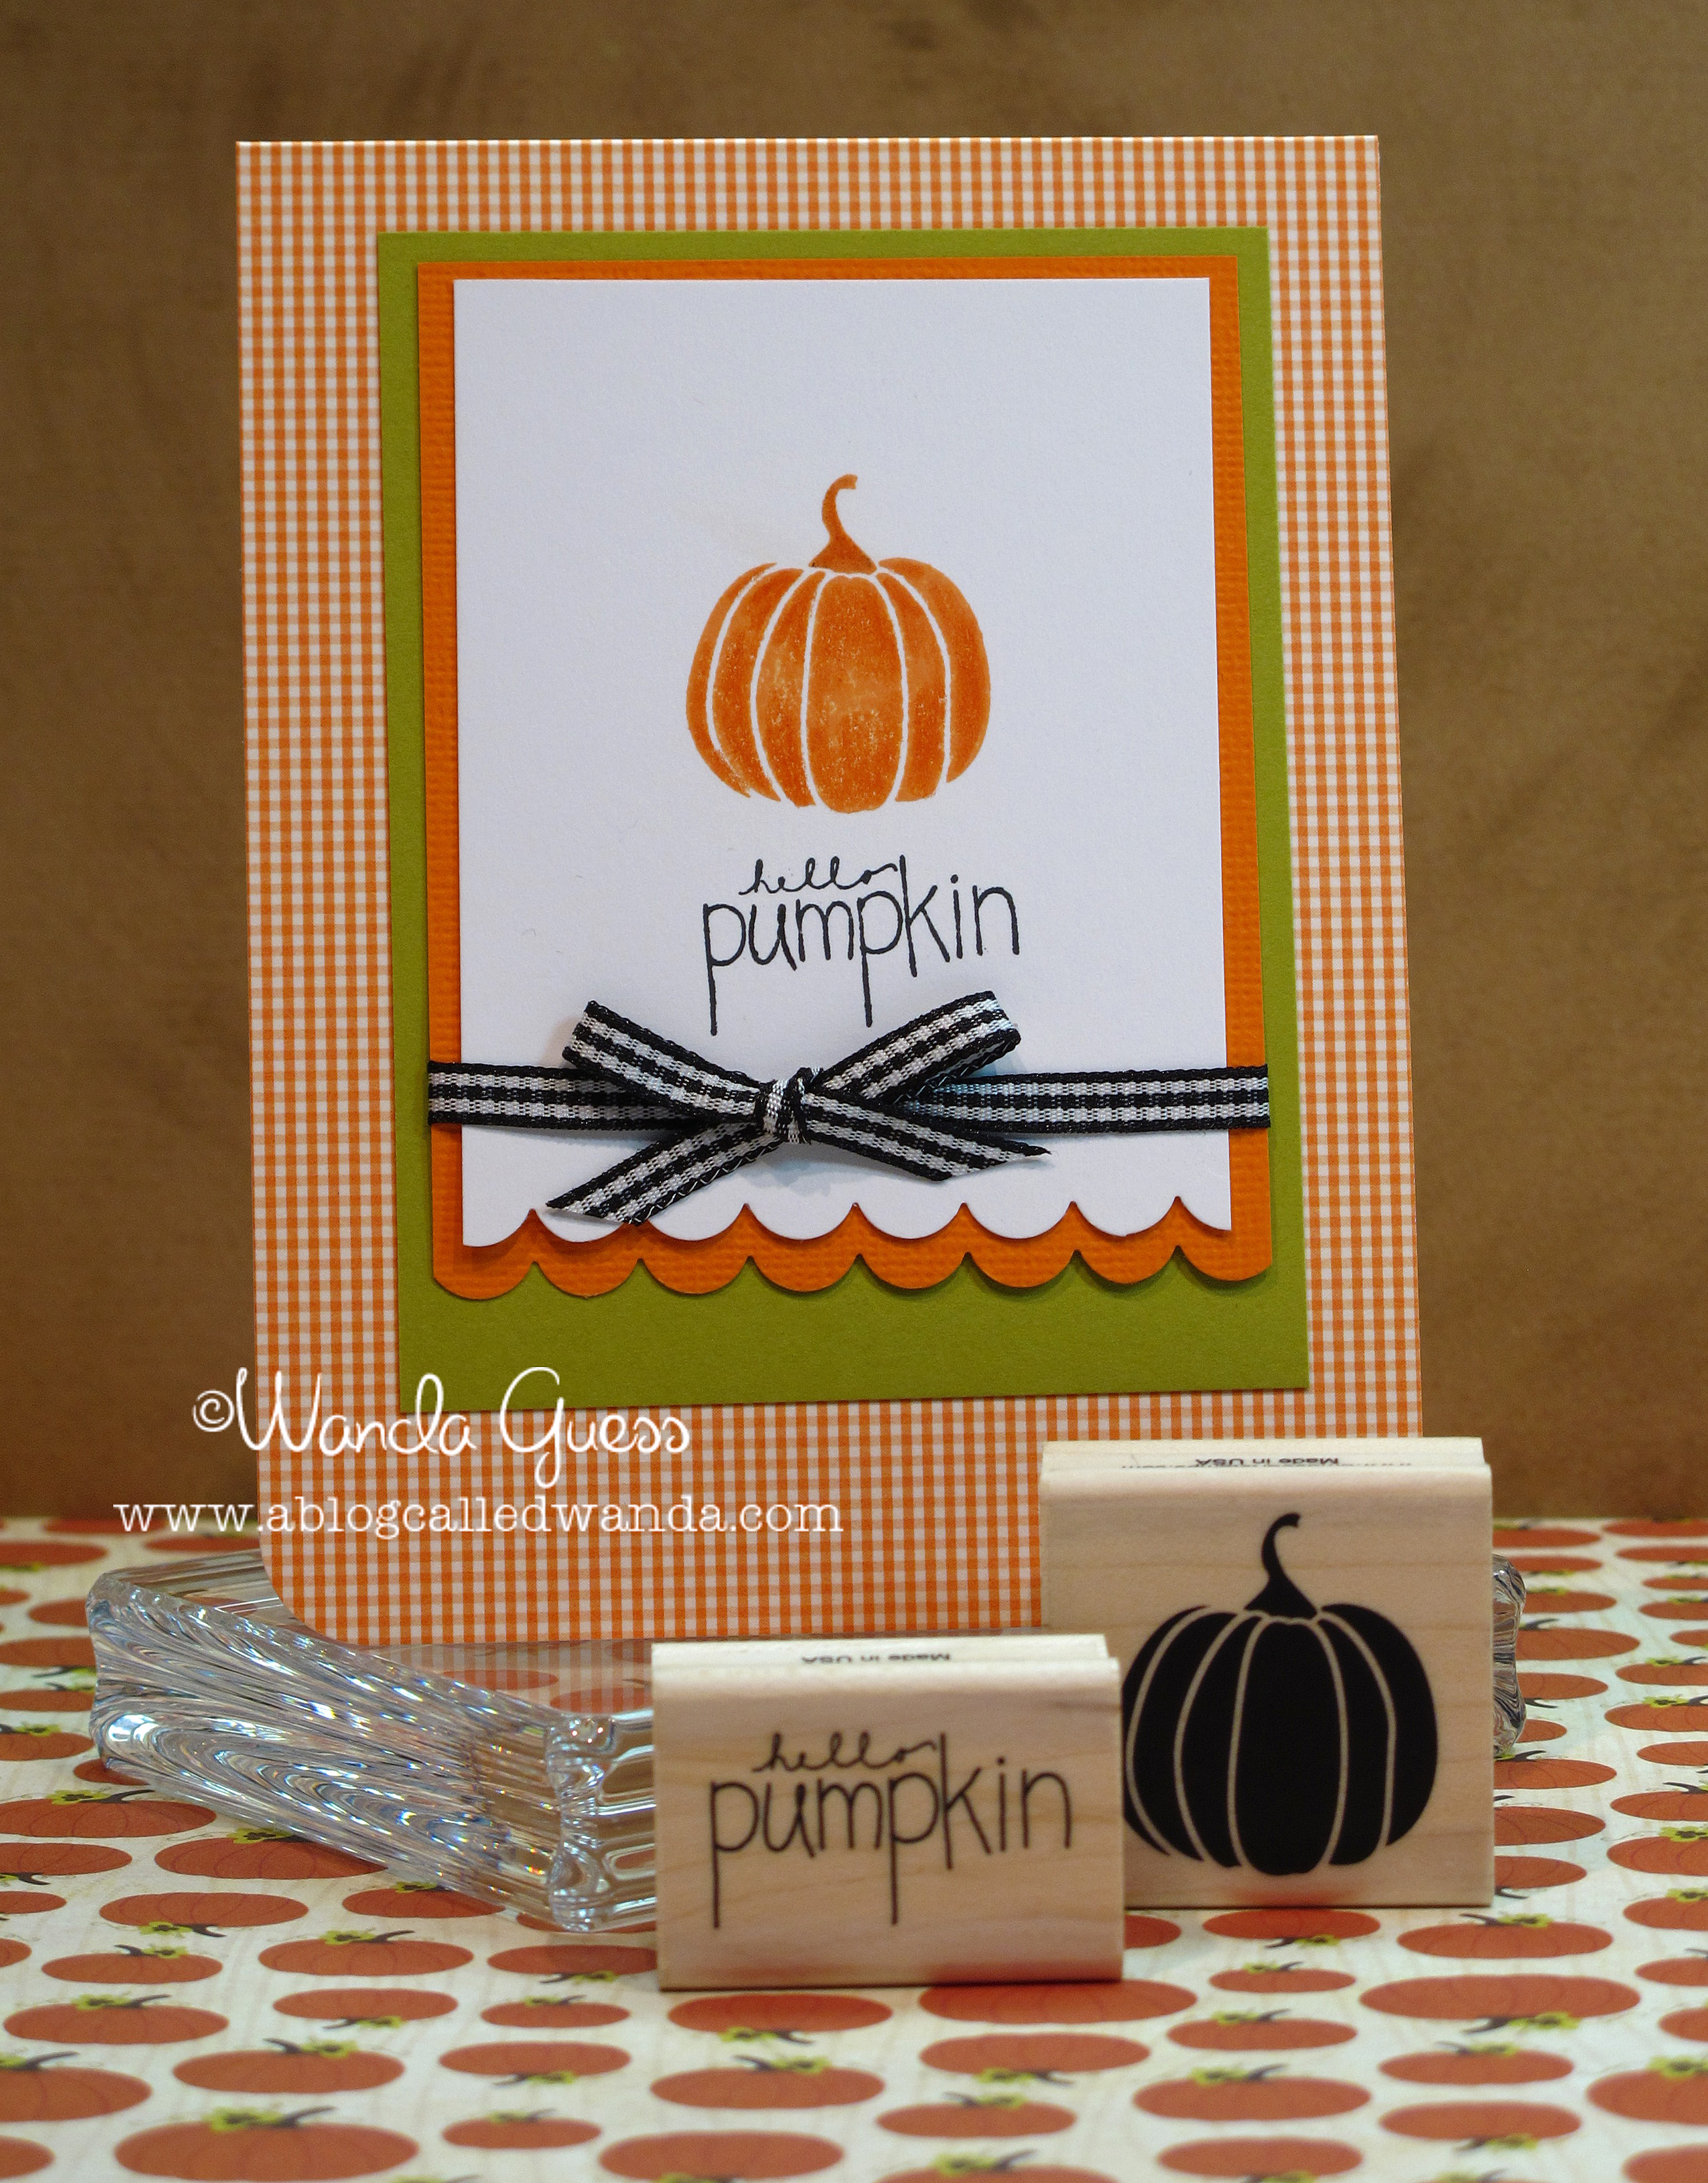
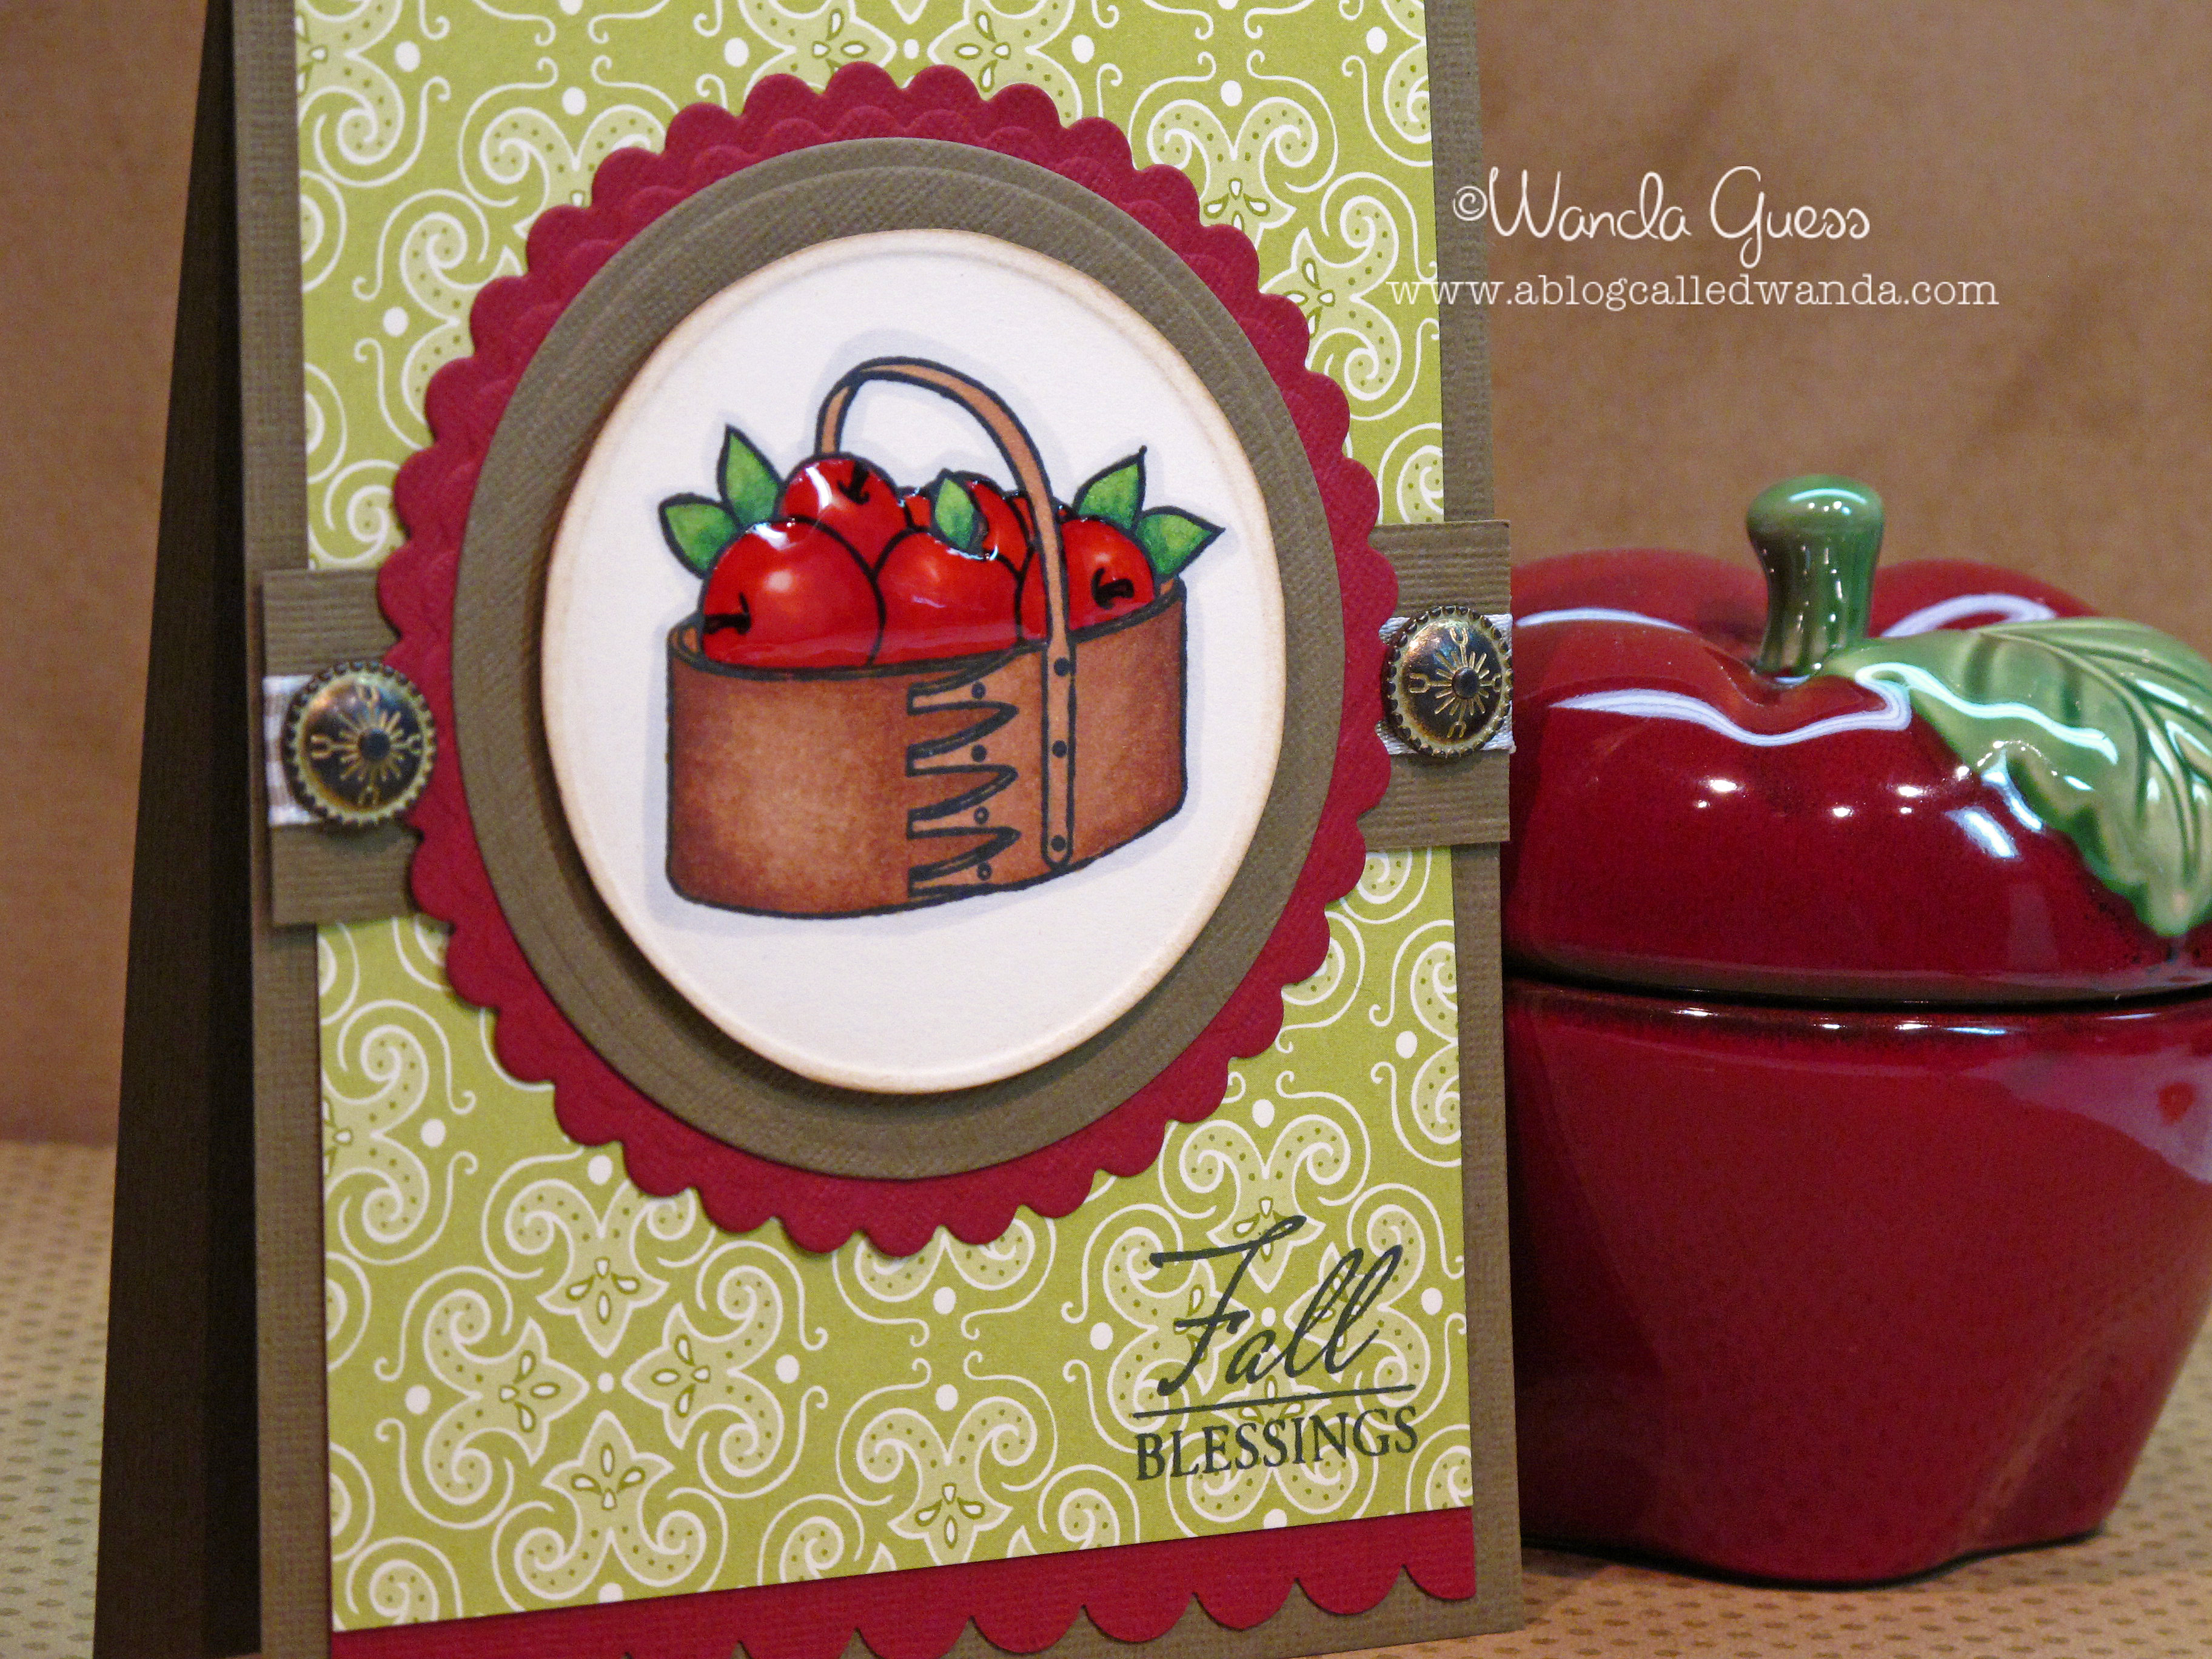
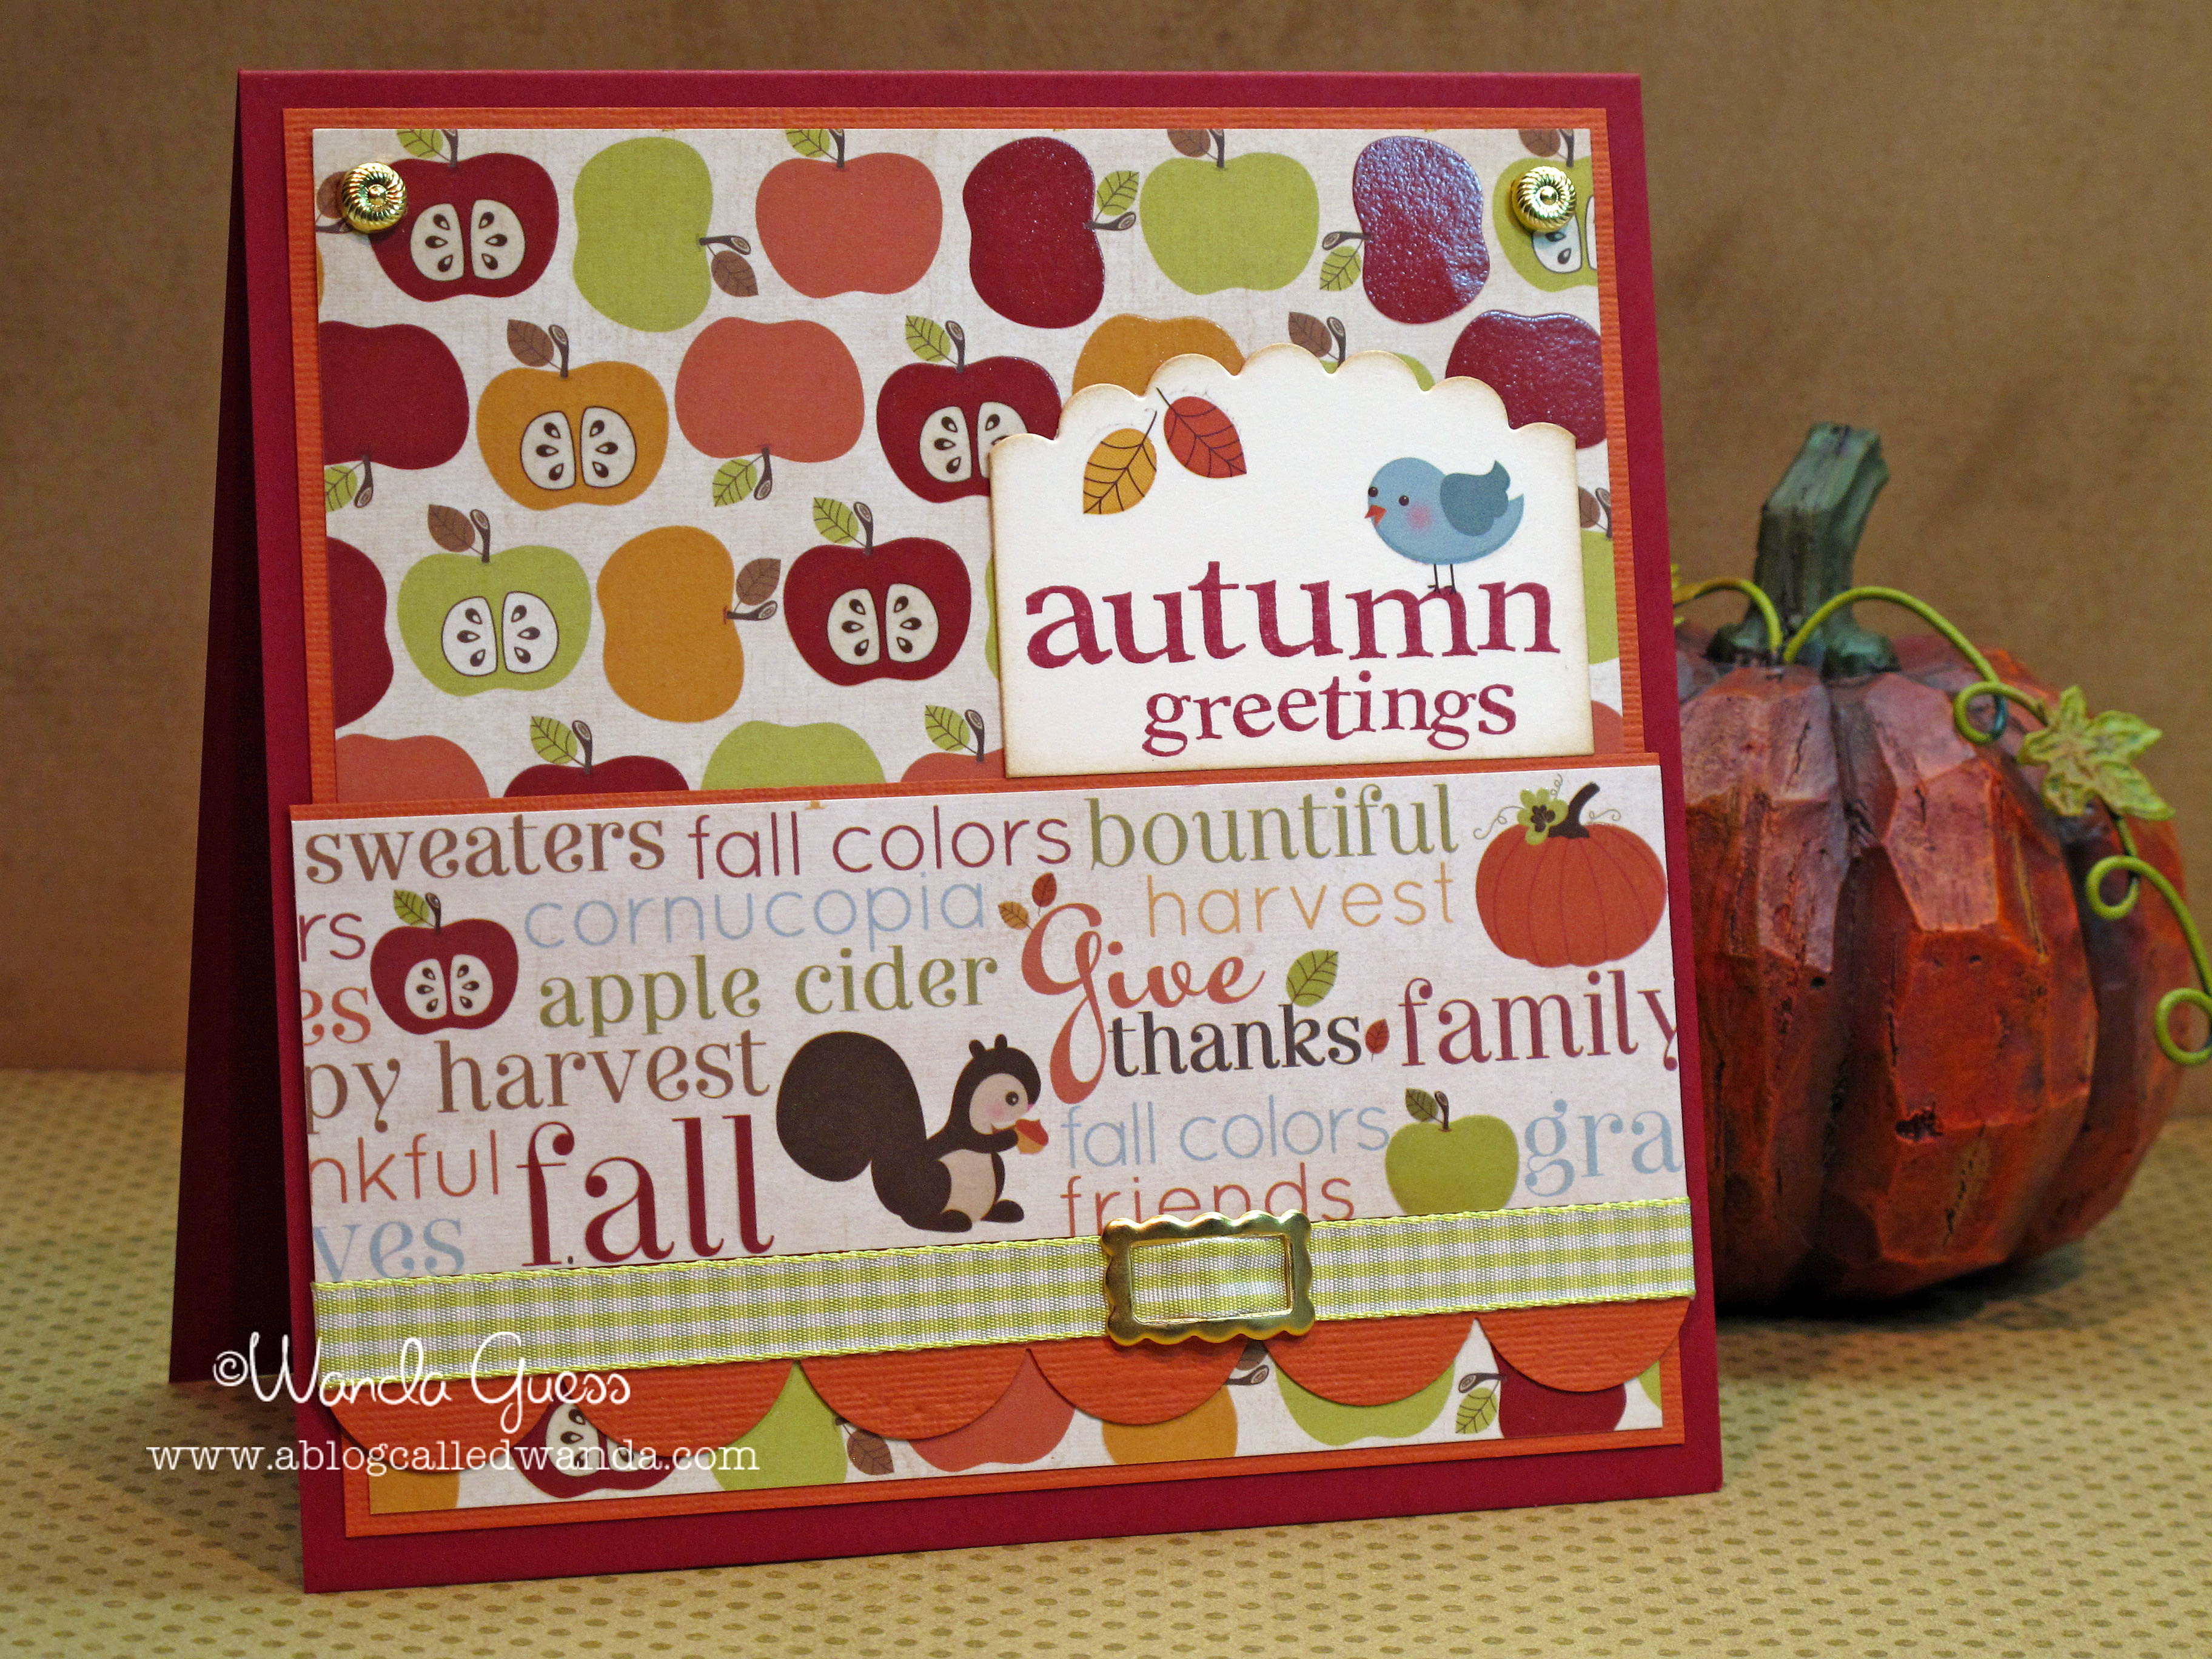
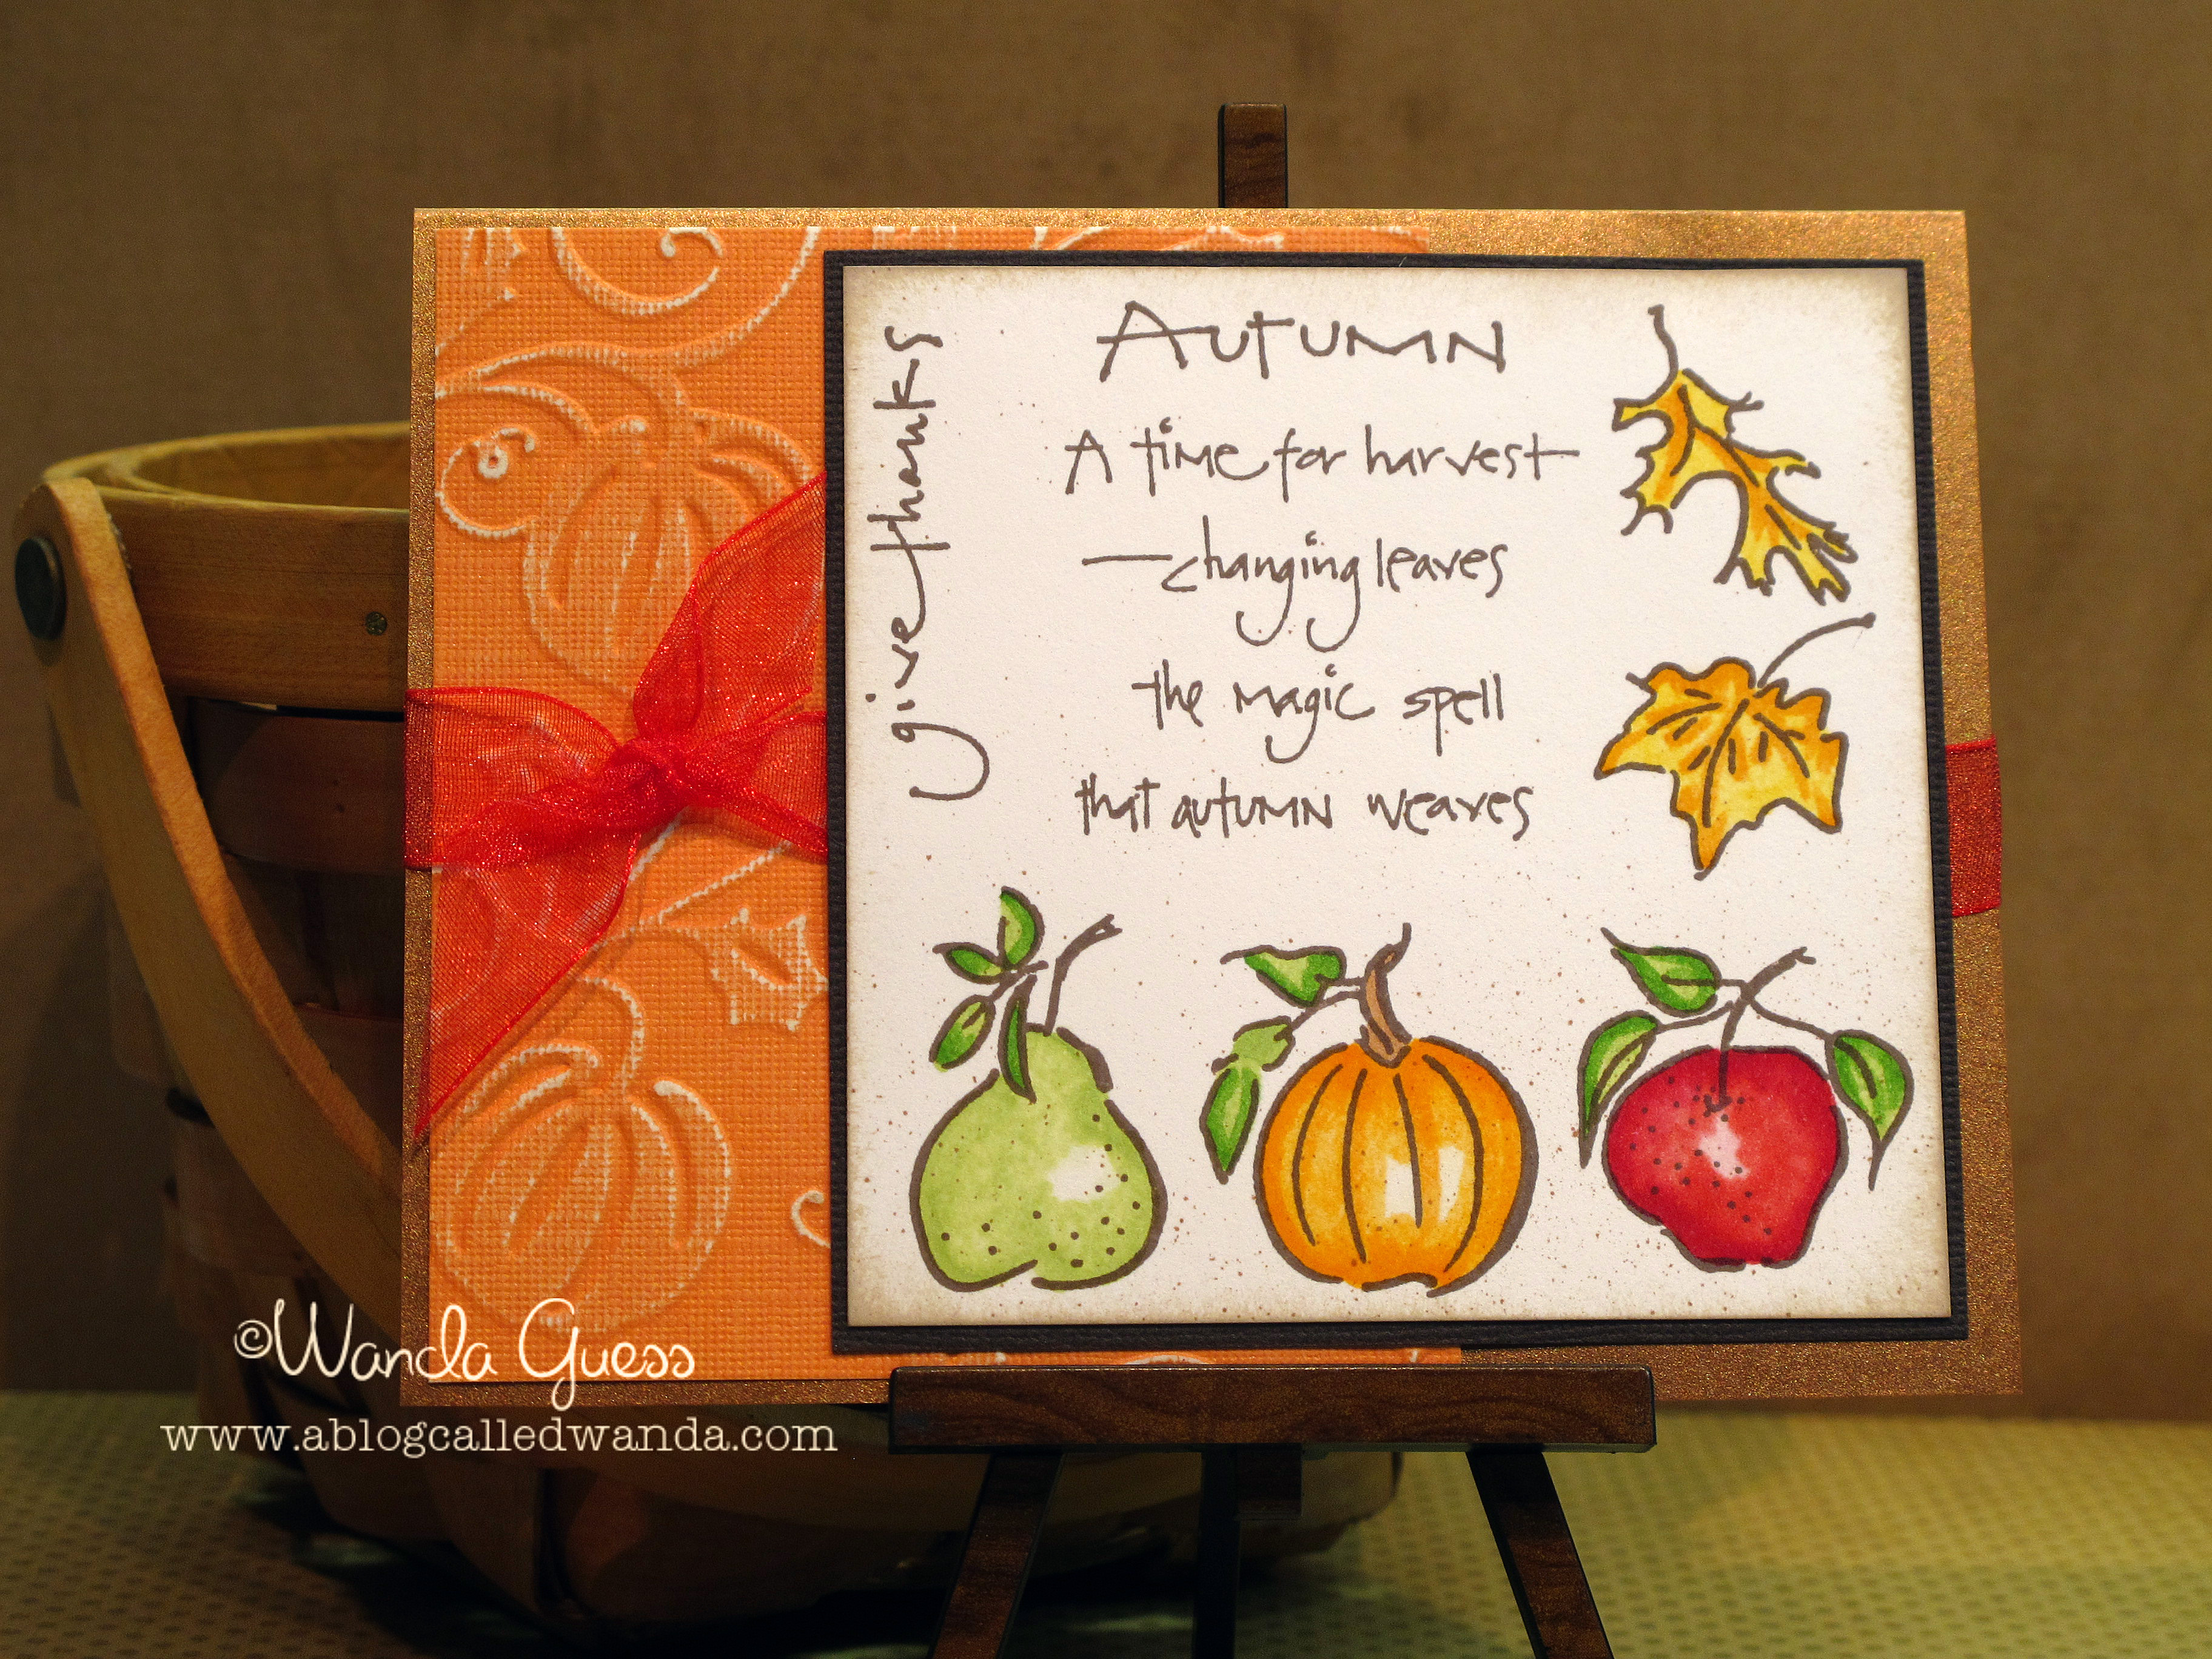
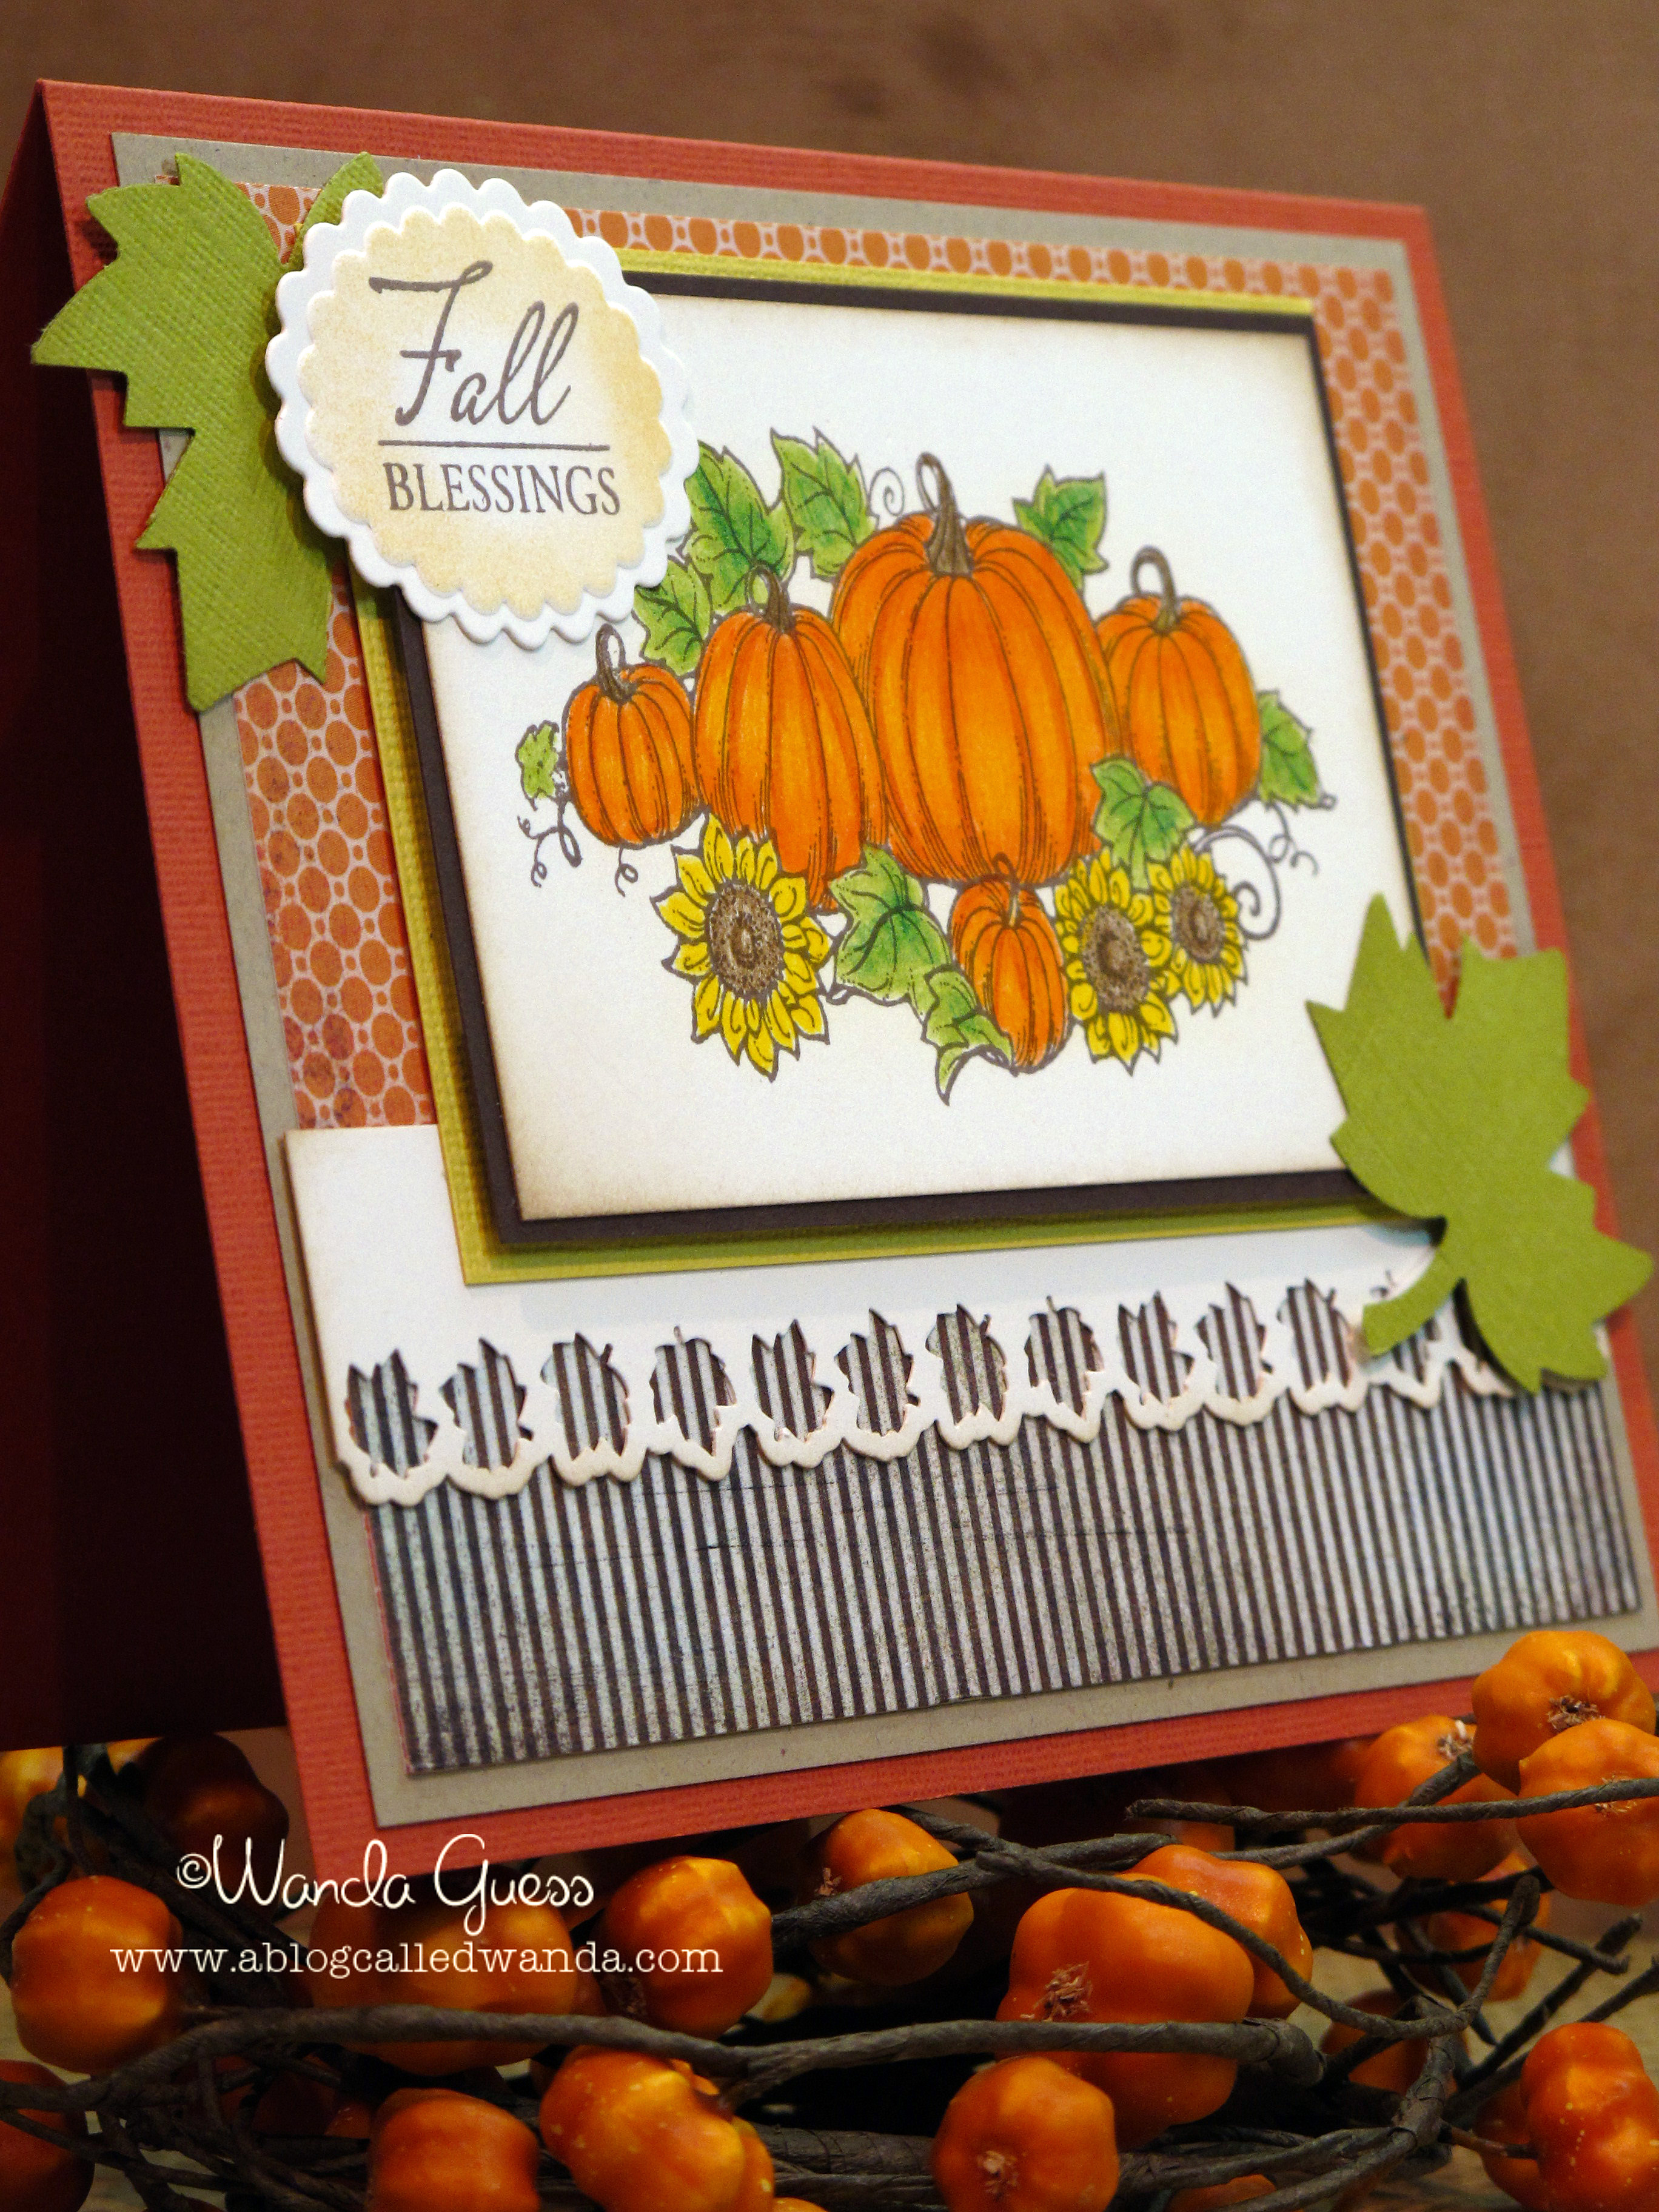
    Here's a Fall card I made last year and saved. I finally photographed it and would like to share it today. Also, you can meet Mr. Chipmunk! A recent acquisition…pretty funny!

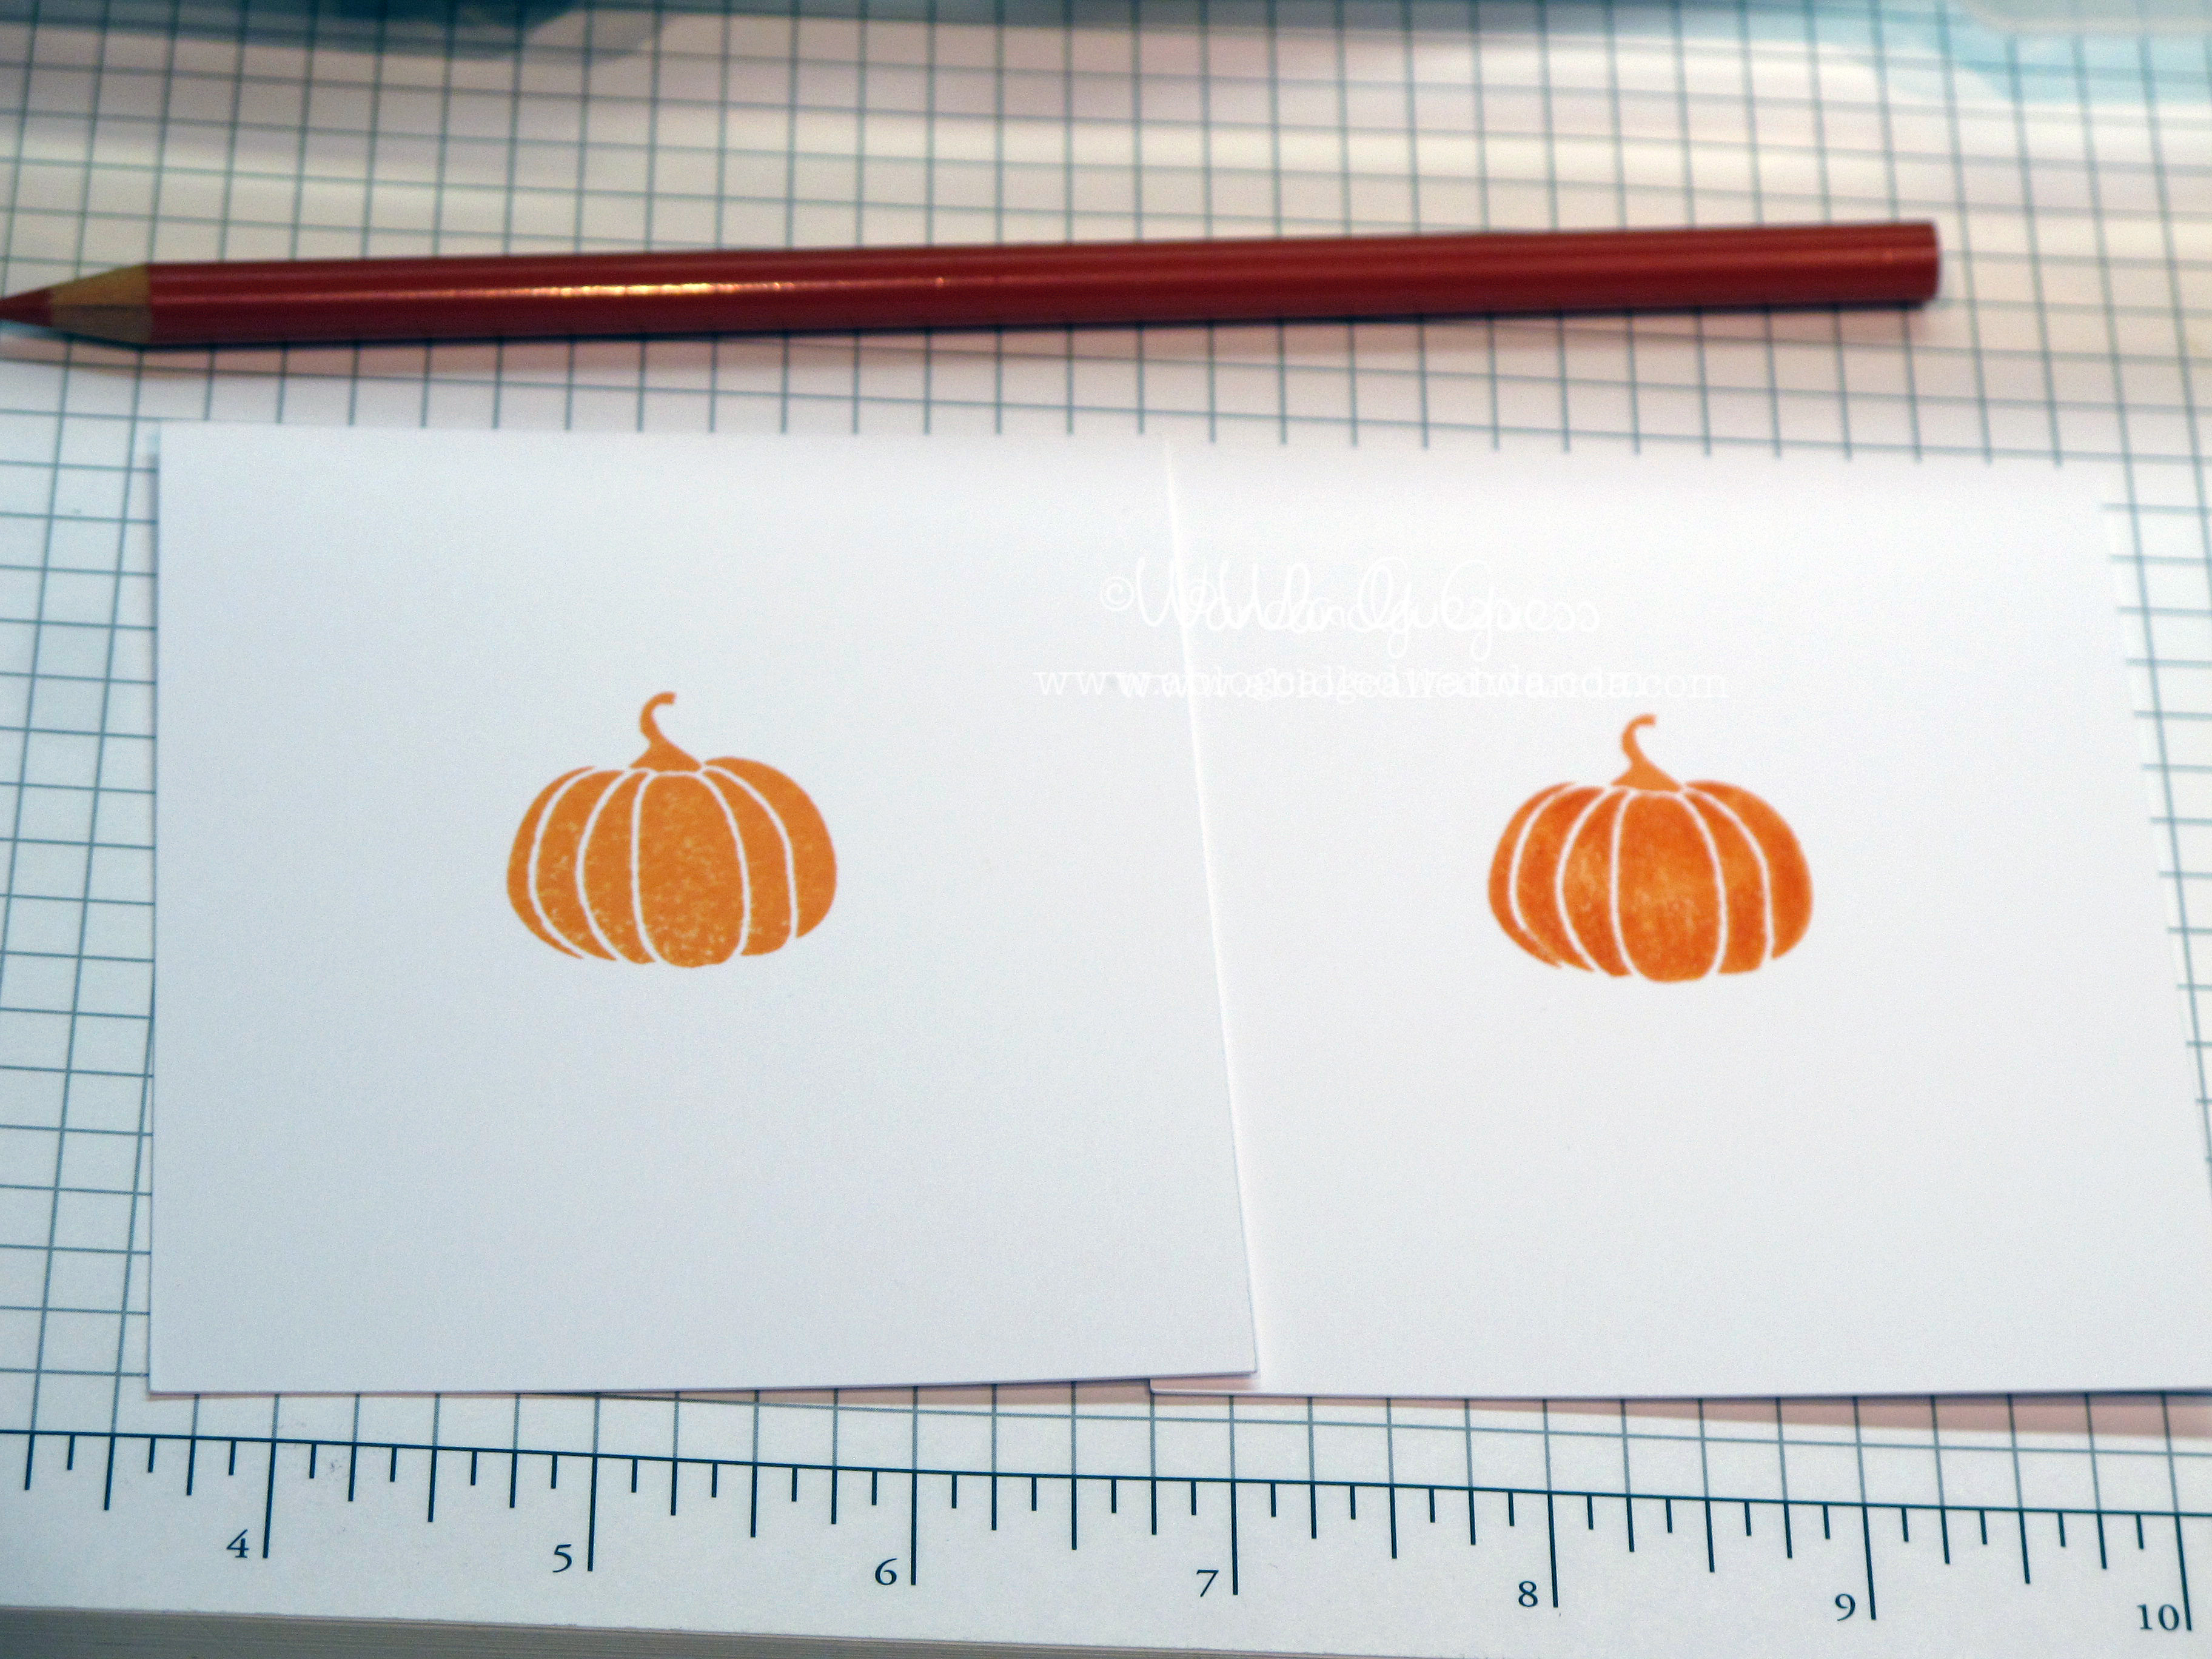
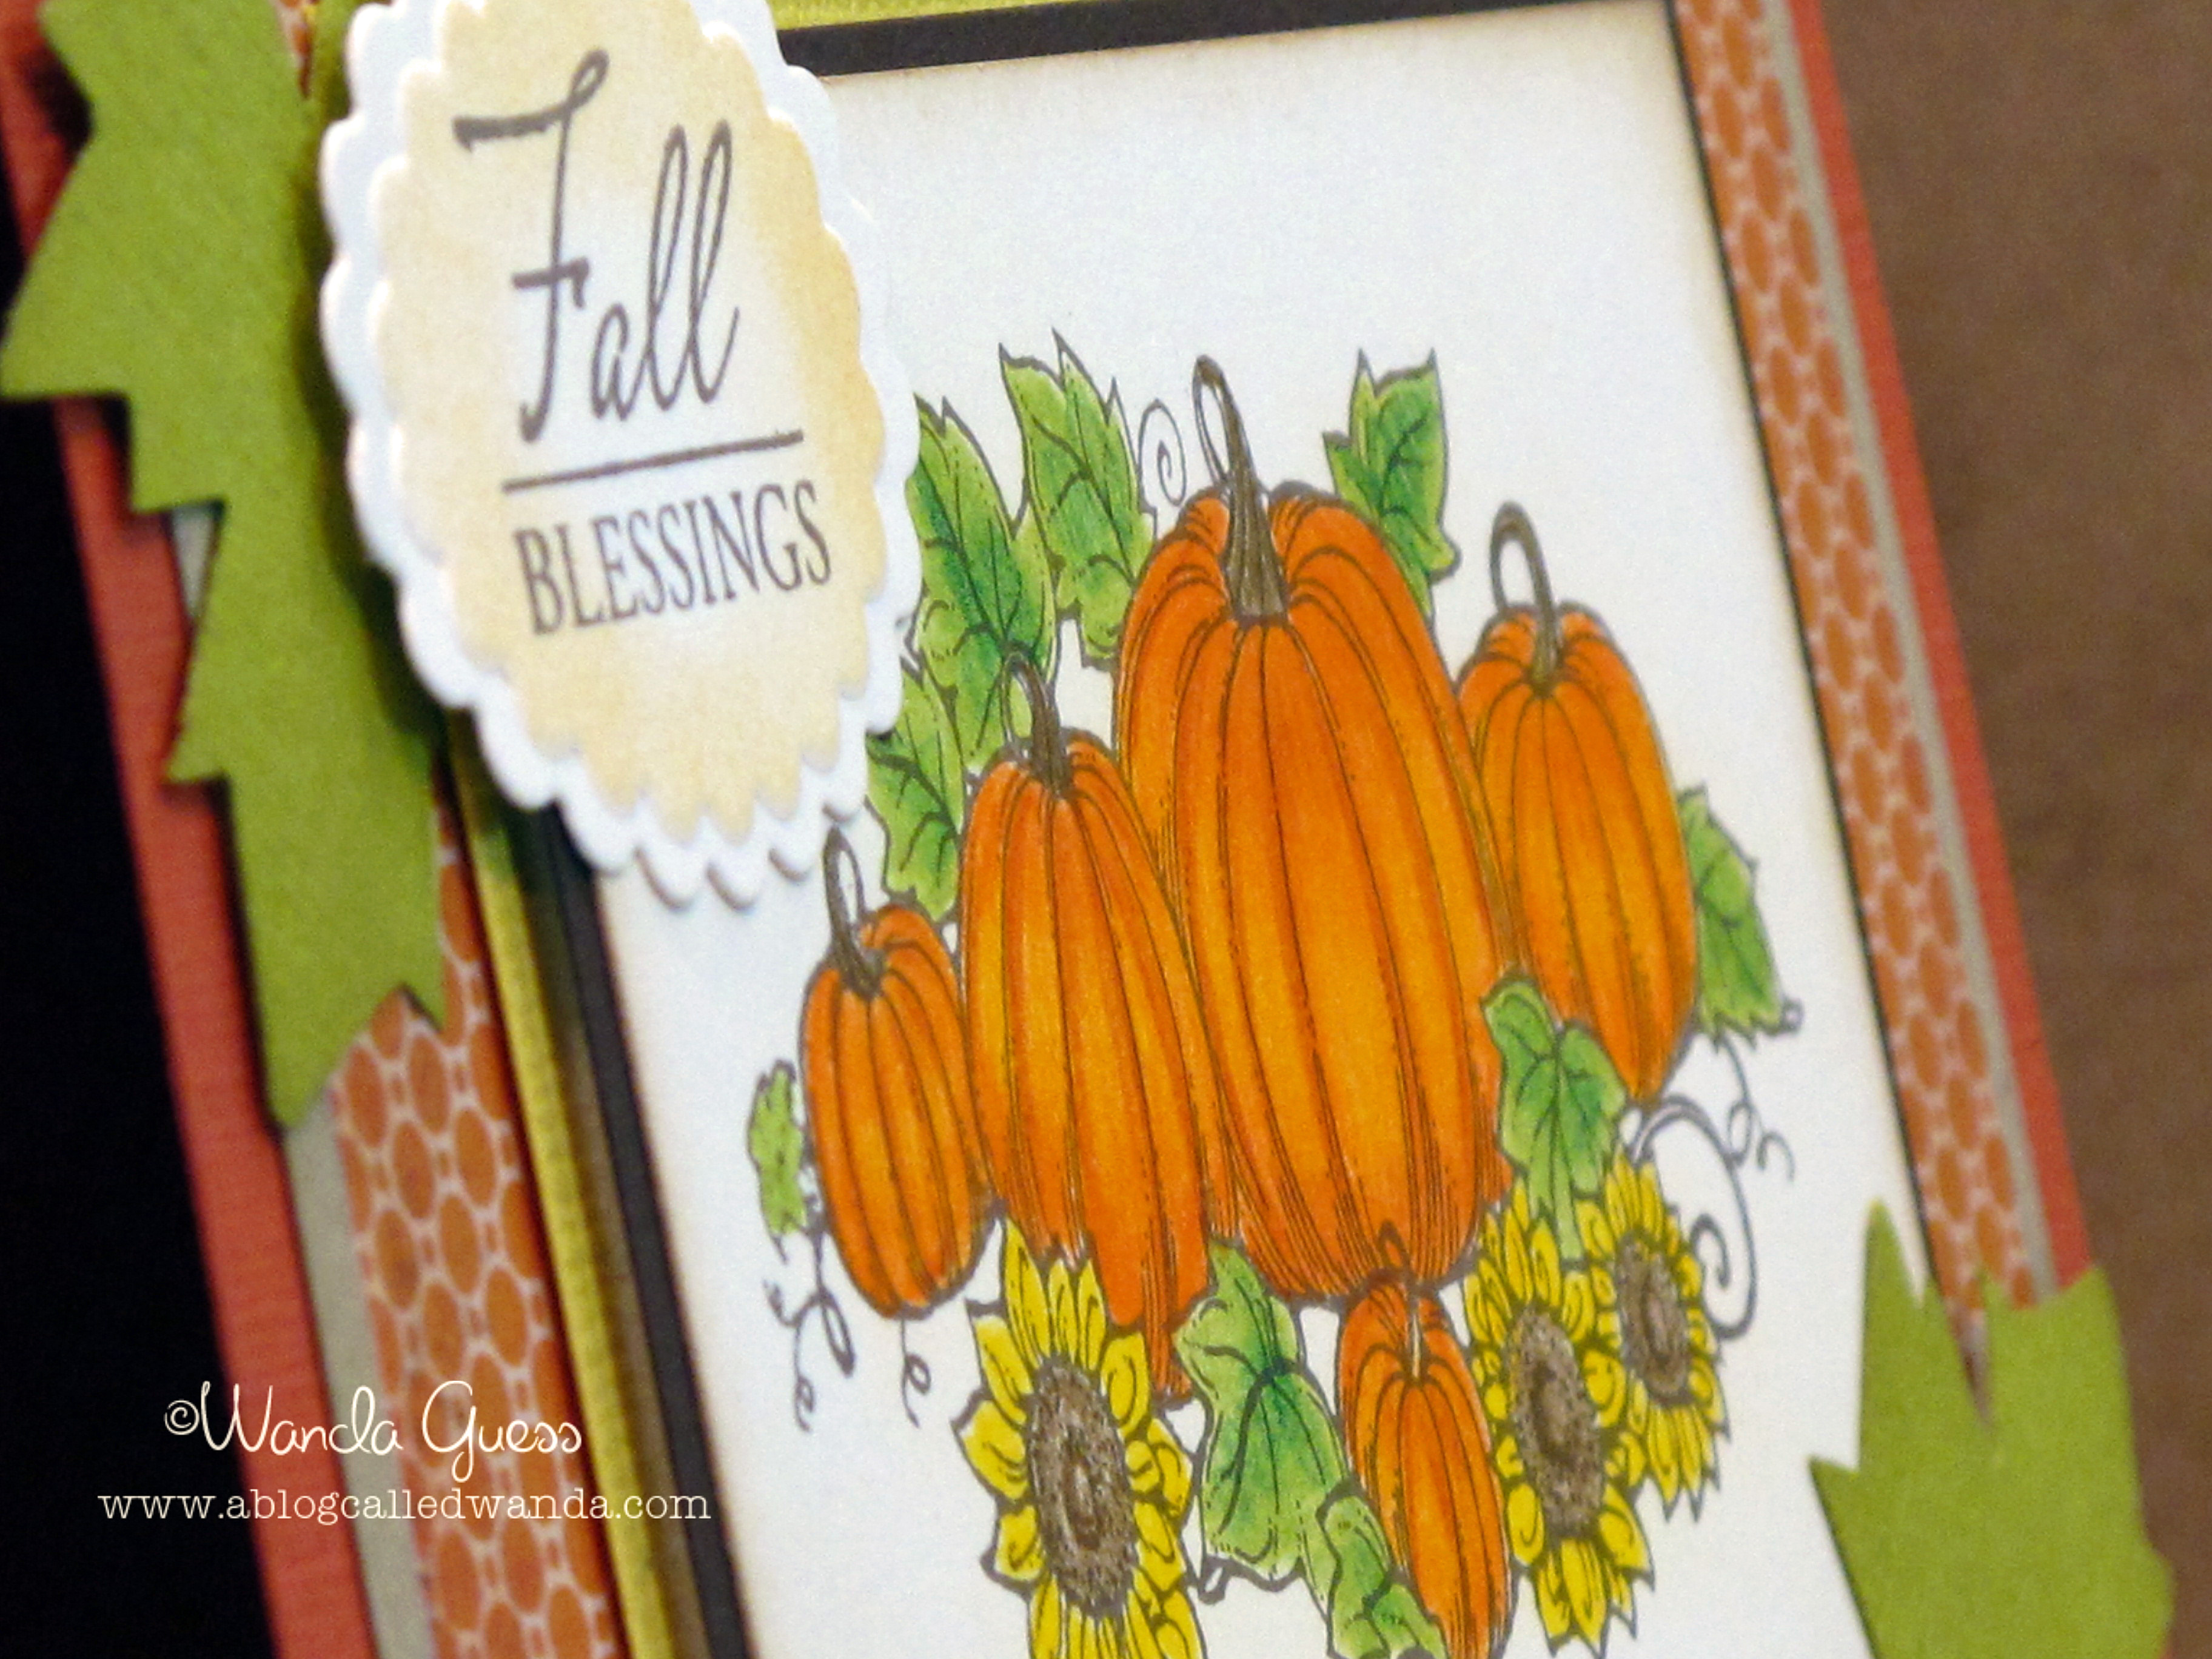
    The background was embossed with my Cuttlebug on orange paper with a white core. I then took a sanding block and barely sanded the pumpkin images. The stamp is all one large stamp from Printworks that I got a few years ago.

    IMG_2909


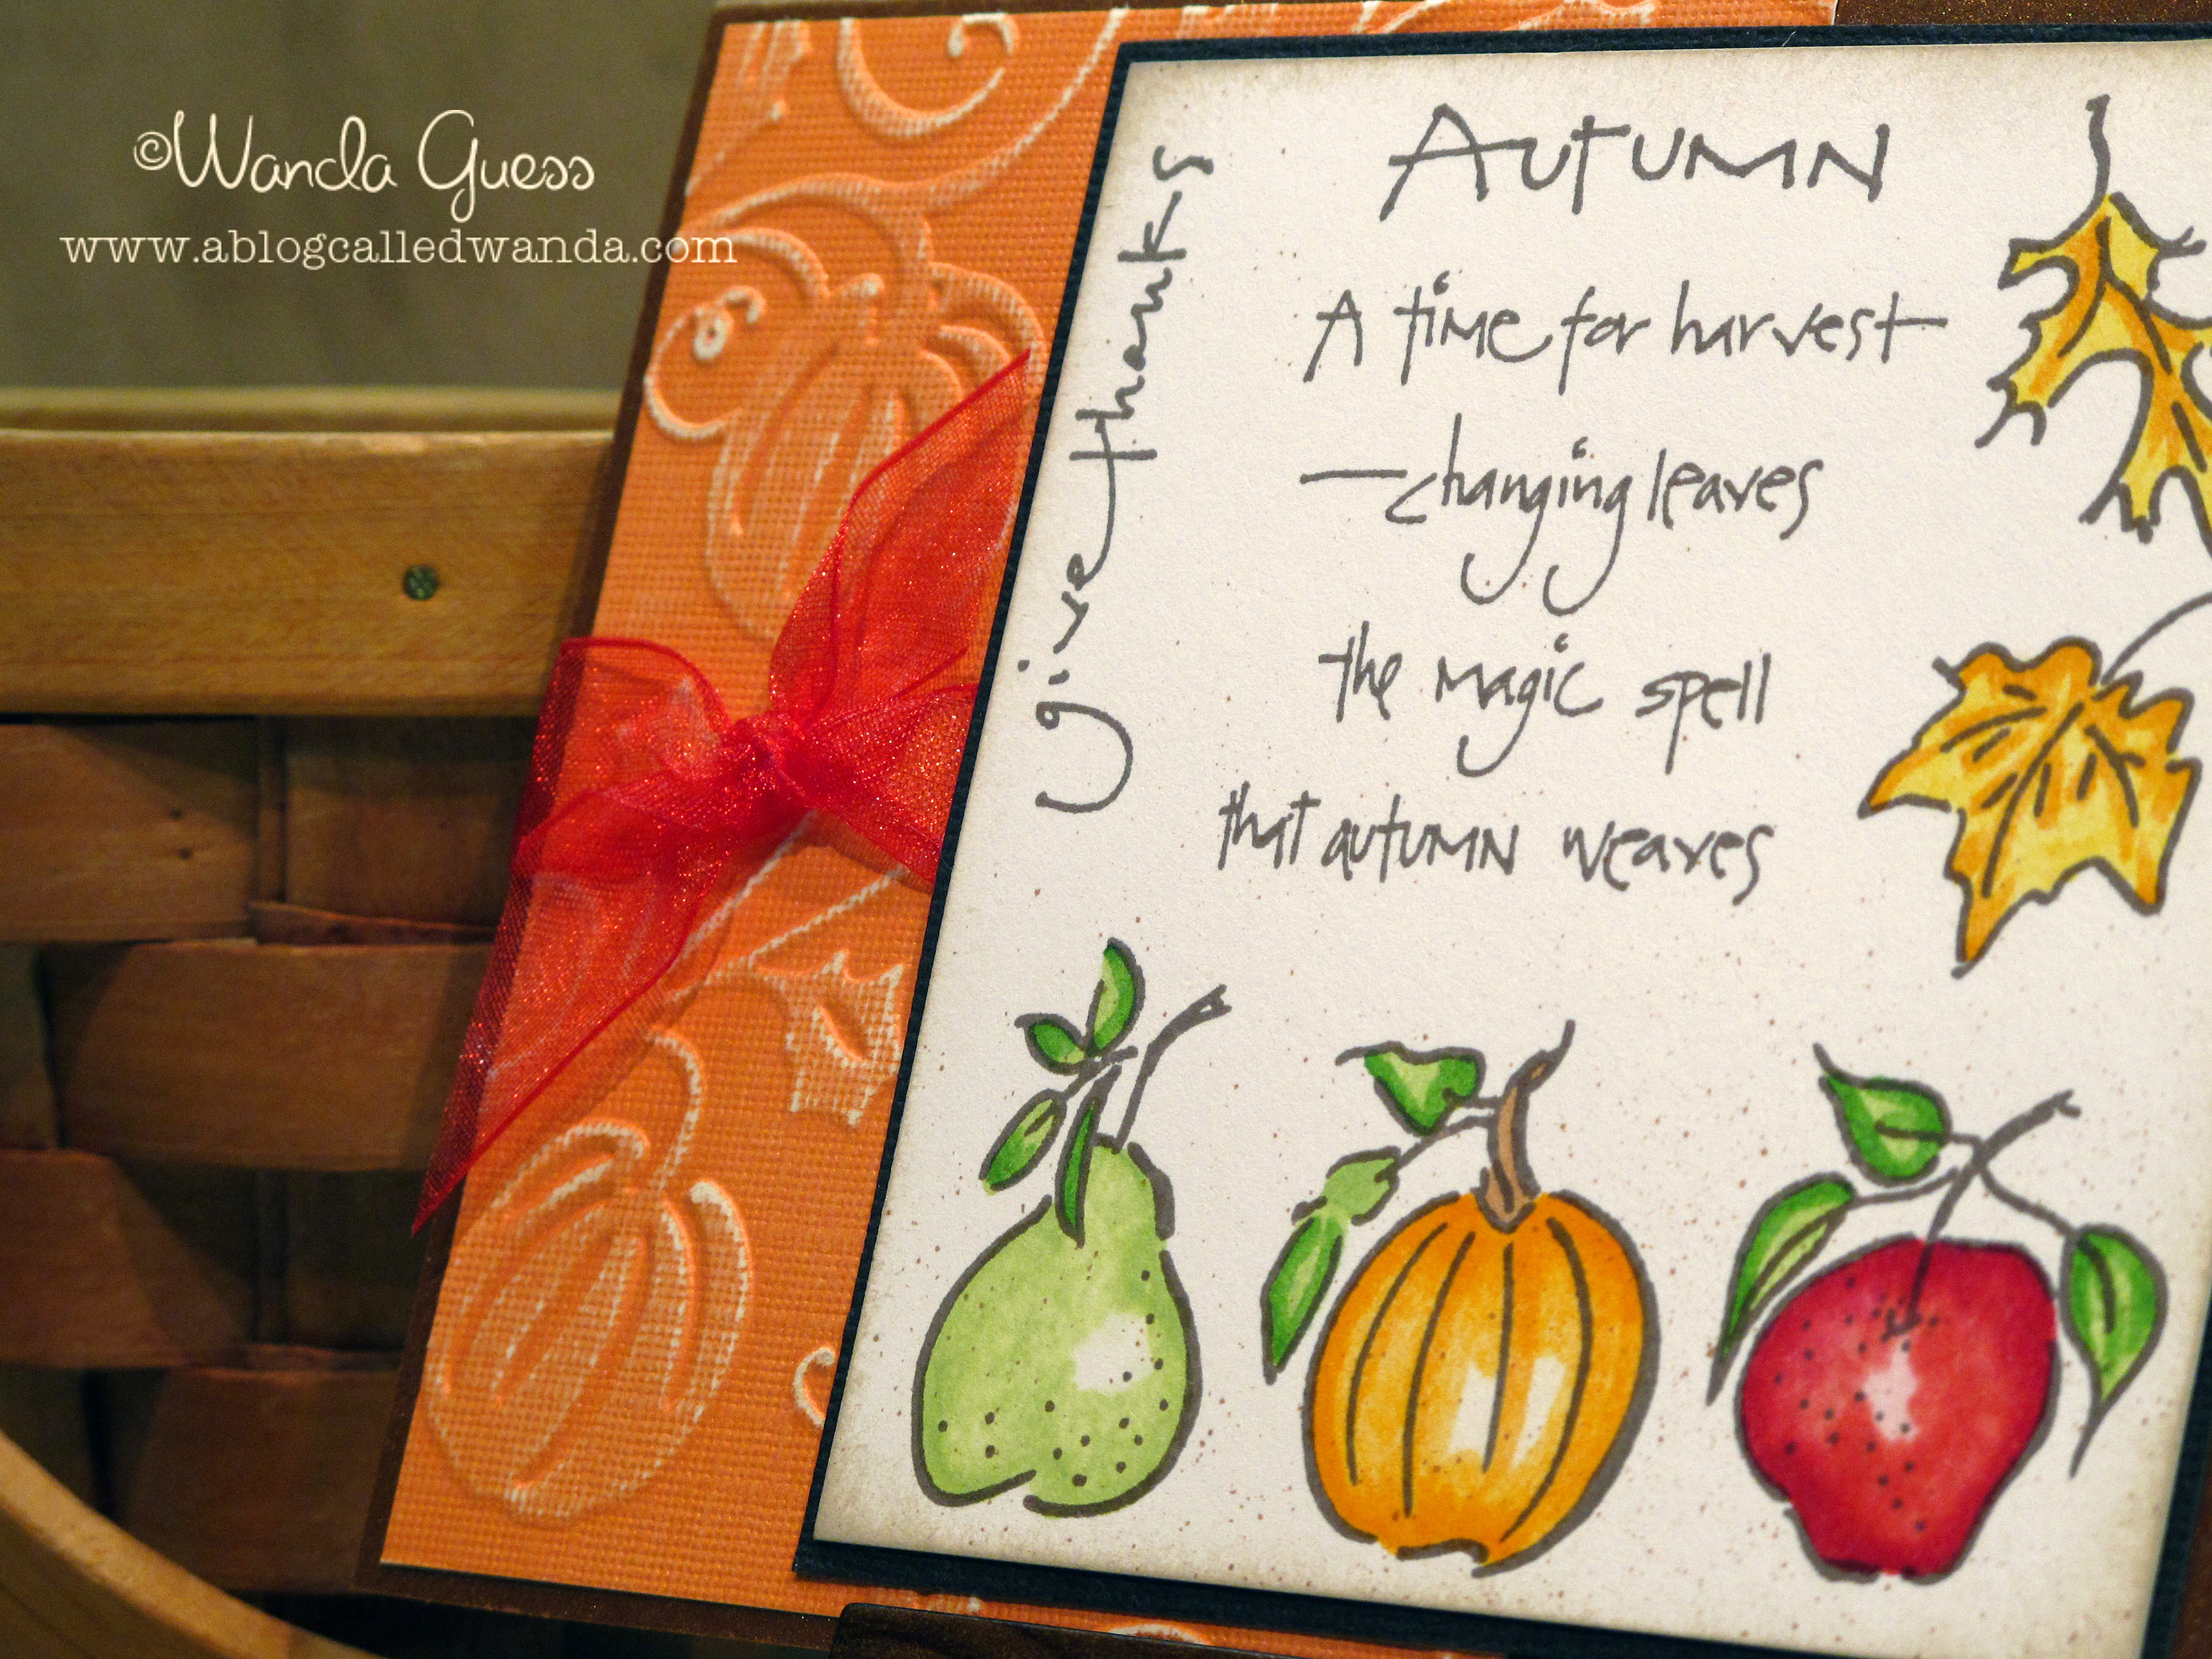
    I colored this with my Copics…and I can see that I would color it differently now, one year later, after practicing more with my pens. I think it feels kind of rustic, though, and that's okay.  You can barely see it, but I added some brown speckles at the end with my blo-pen.

    IMG_2910


    Mr. Chipmunk! He makes me smile! Does anyone else crack up at those Carmax commercials with the chipmunk and the funny music? Or is it just me? Don't answer that.

    IMG_2973


    The band! I took 125 pictures, but I will spare you. Here's a good one of the three main dudes…

    IMG_3055

  • Nuts About YOU!

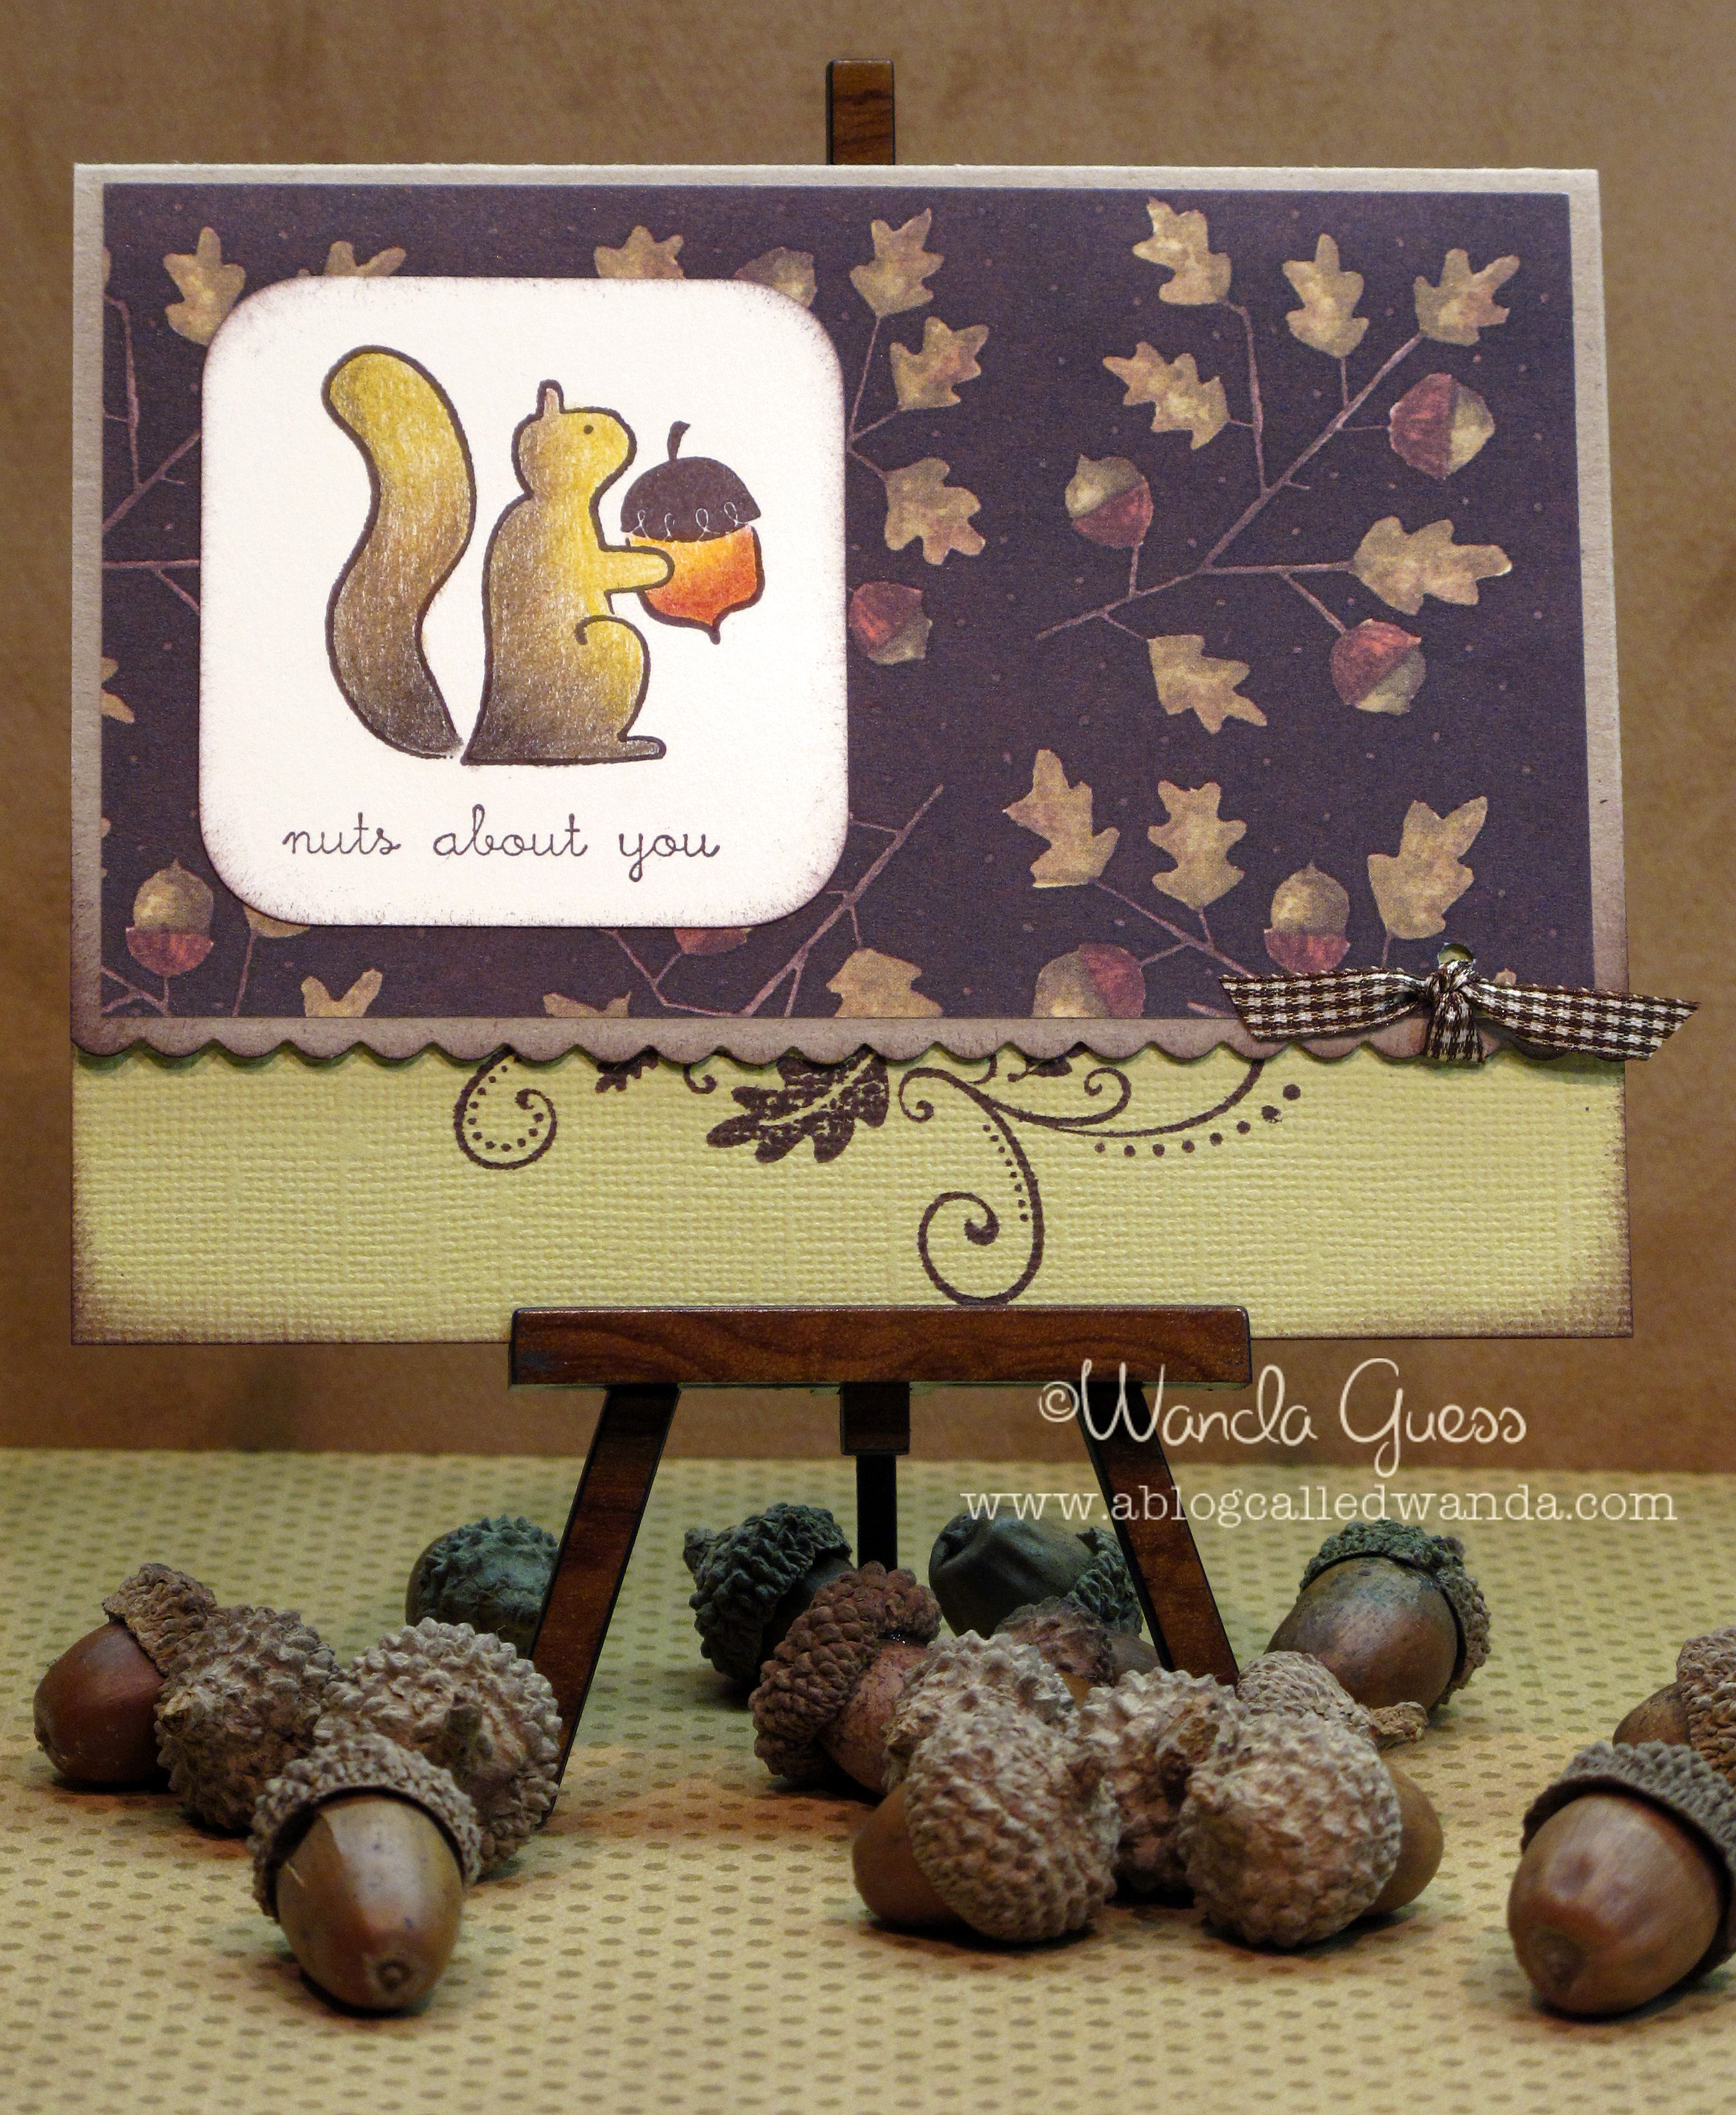
    I'm nuts about you! Love this cute stamp and sentiment from Memory Box! Isn't that little squirrel funny? I love him! He's perfect for Fall! I don't know where I got this patterned paper from, but I think it is Debbie Mumm from way back.


    IMG_2971

    I colored the image with my Prismacolor pencils and I didn't blend the colors completely so it would (maybe?) look like he was furry. I used about five shades of brown and gold and sienna to color it. Just left the rest of the card kind of simple.

     
    IMG_2972
     
     How is your weekend going? Thanks for stopping by!

  • Jumping into Fall!

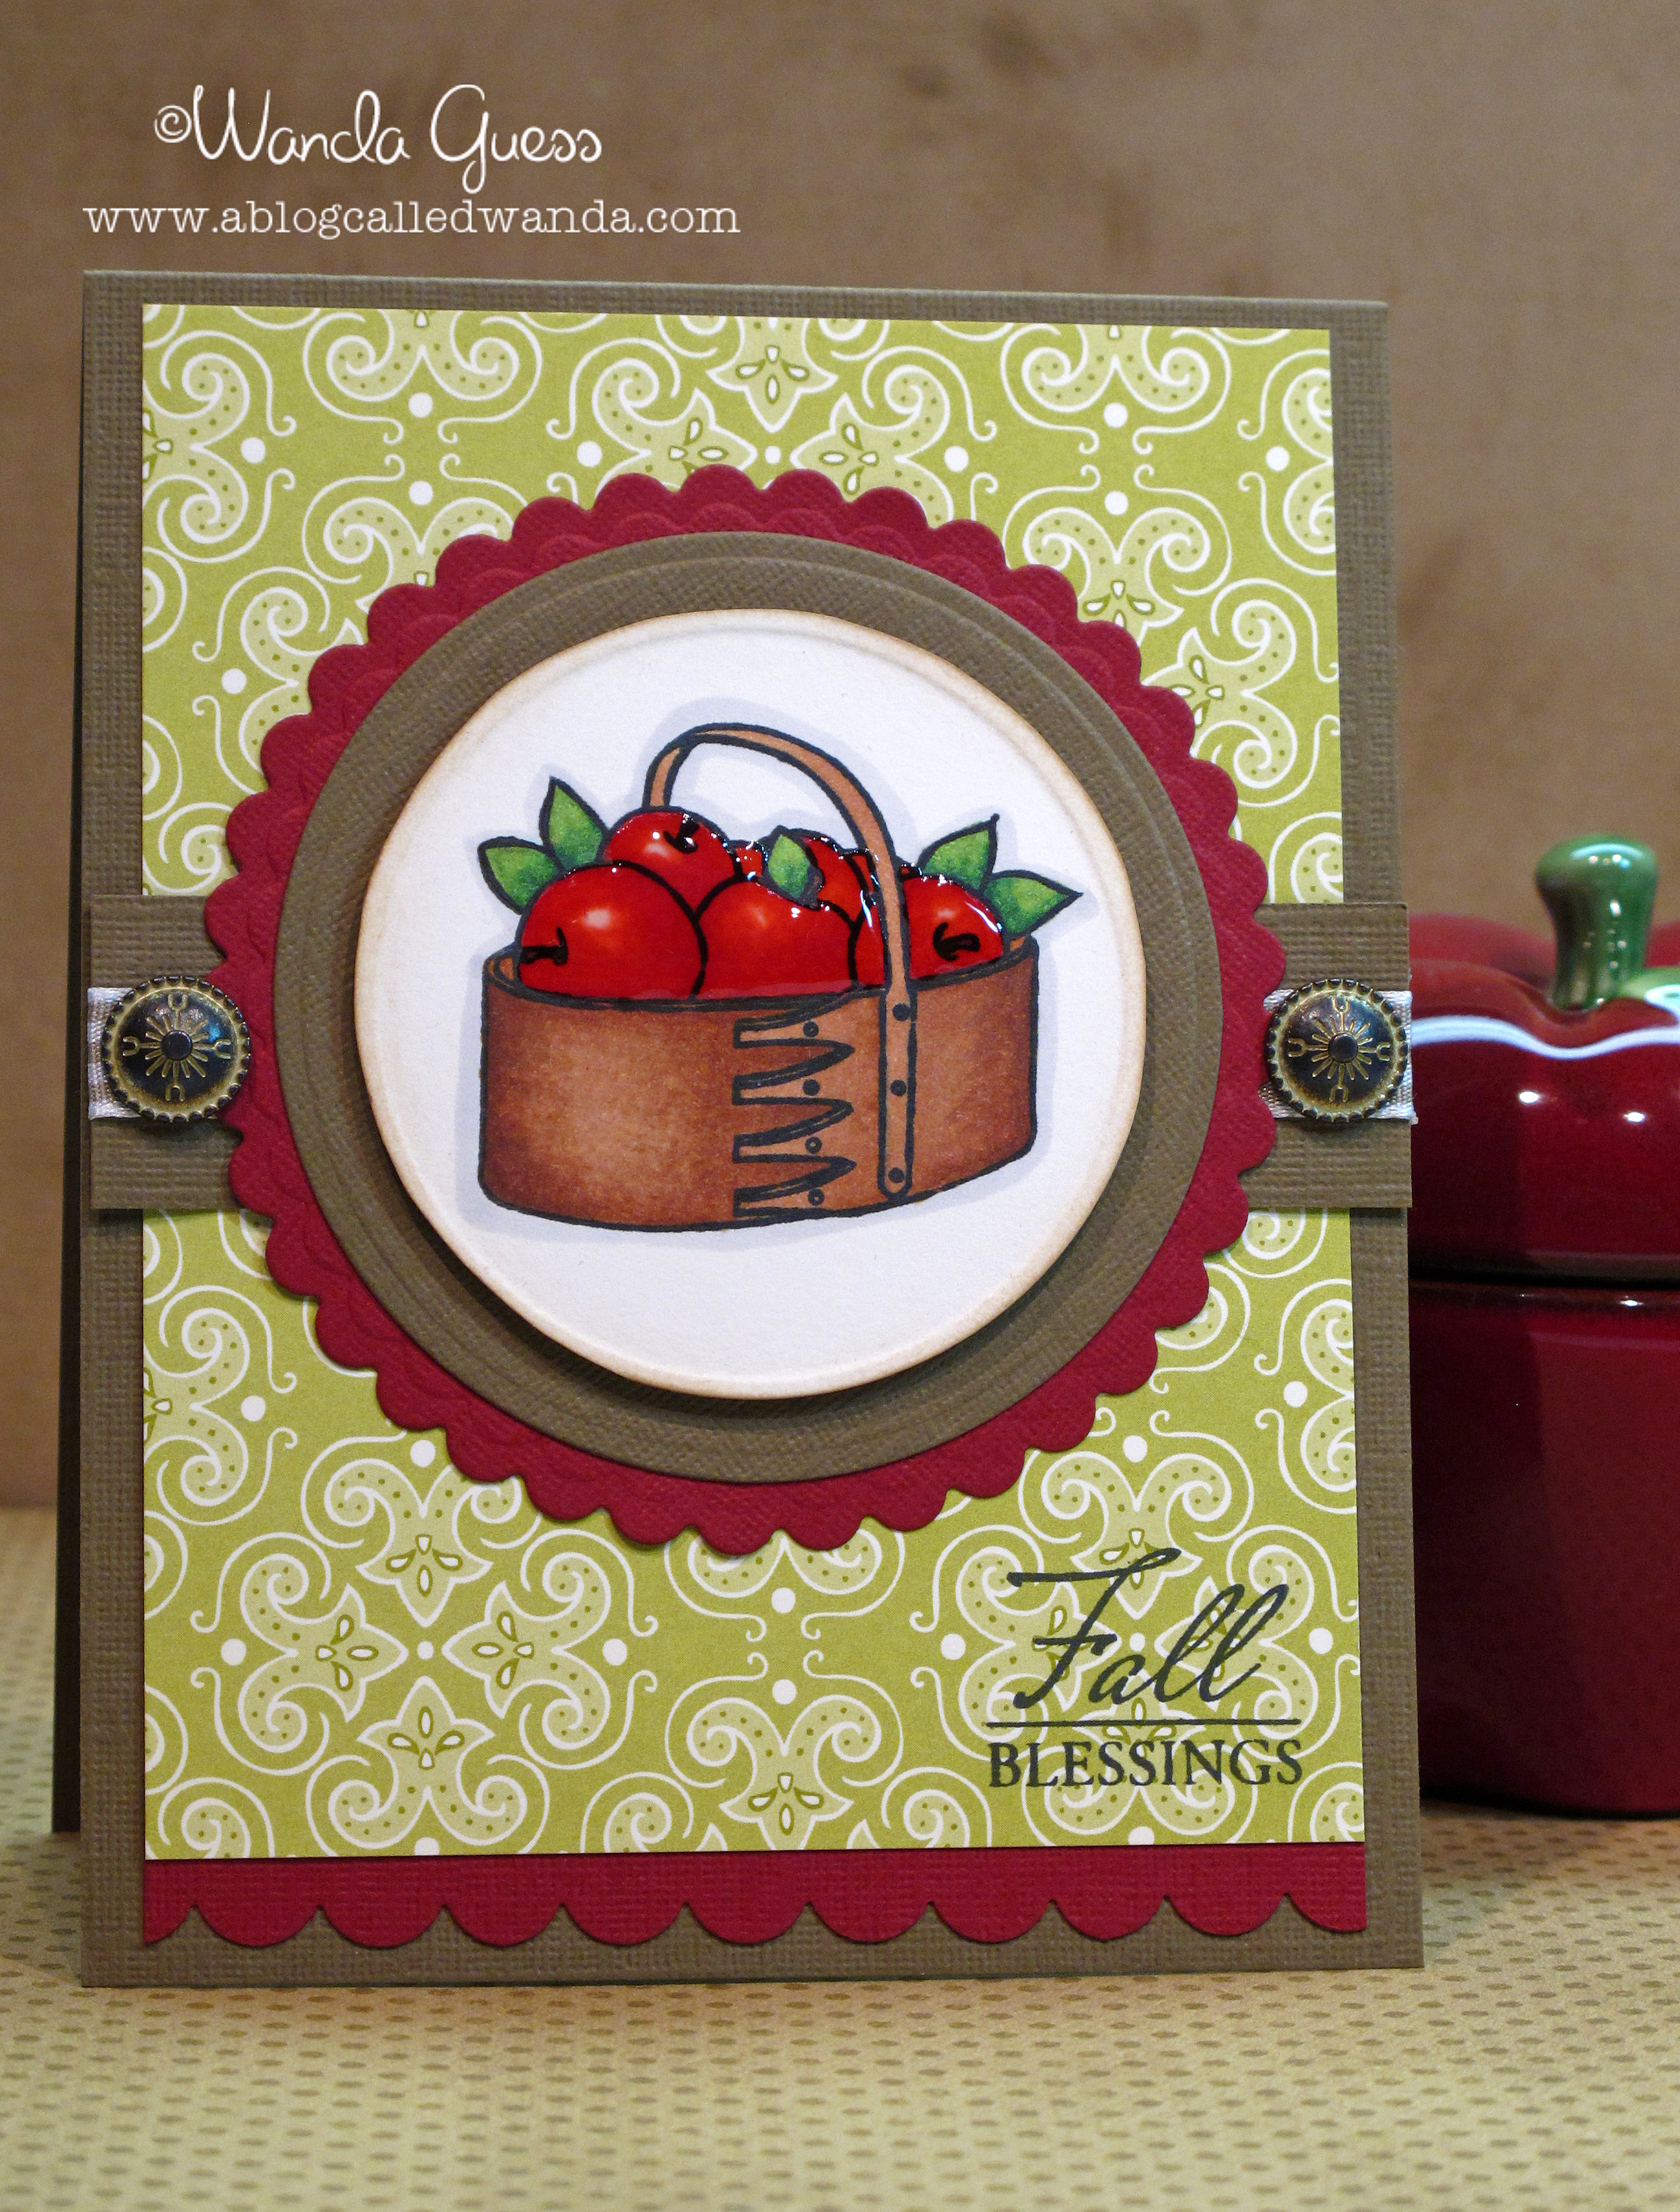
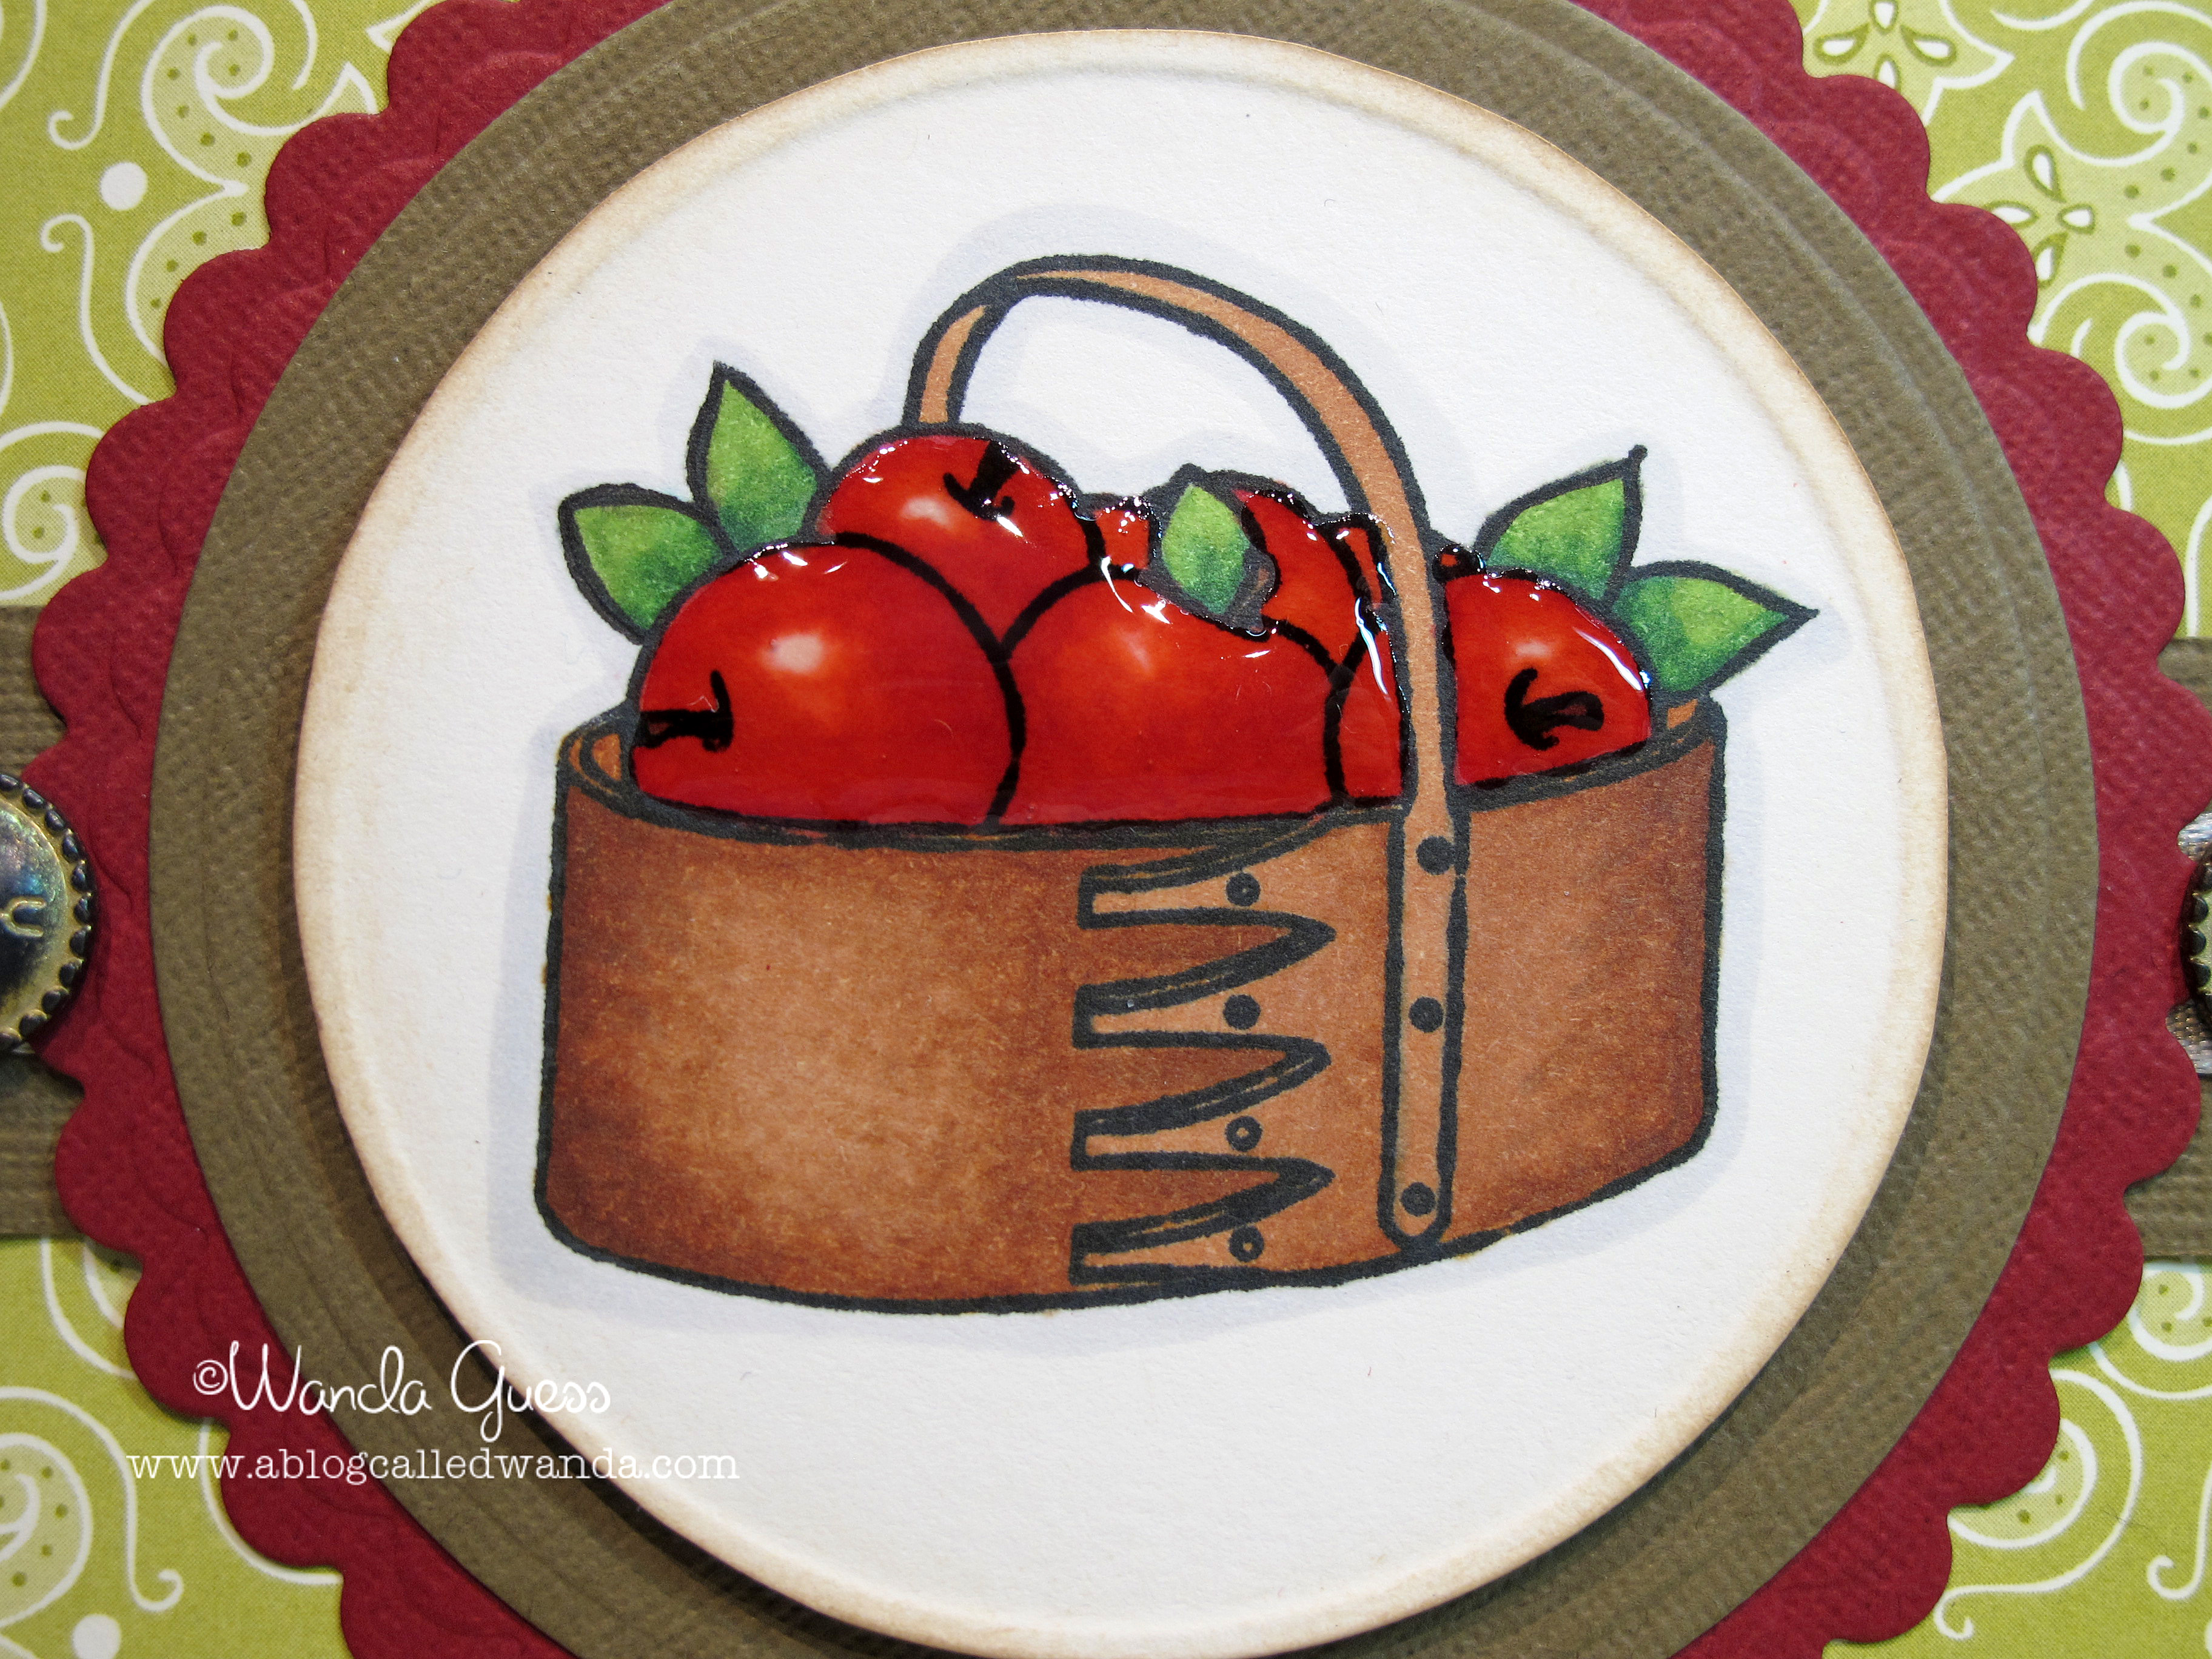
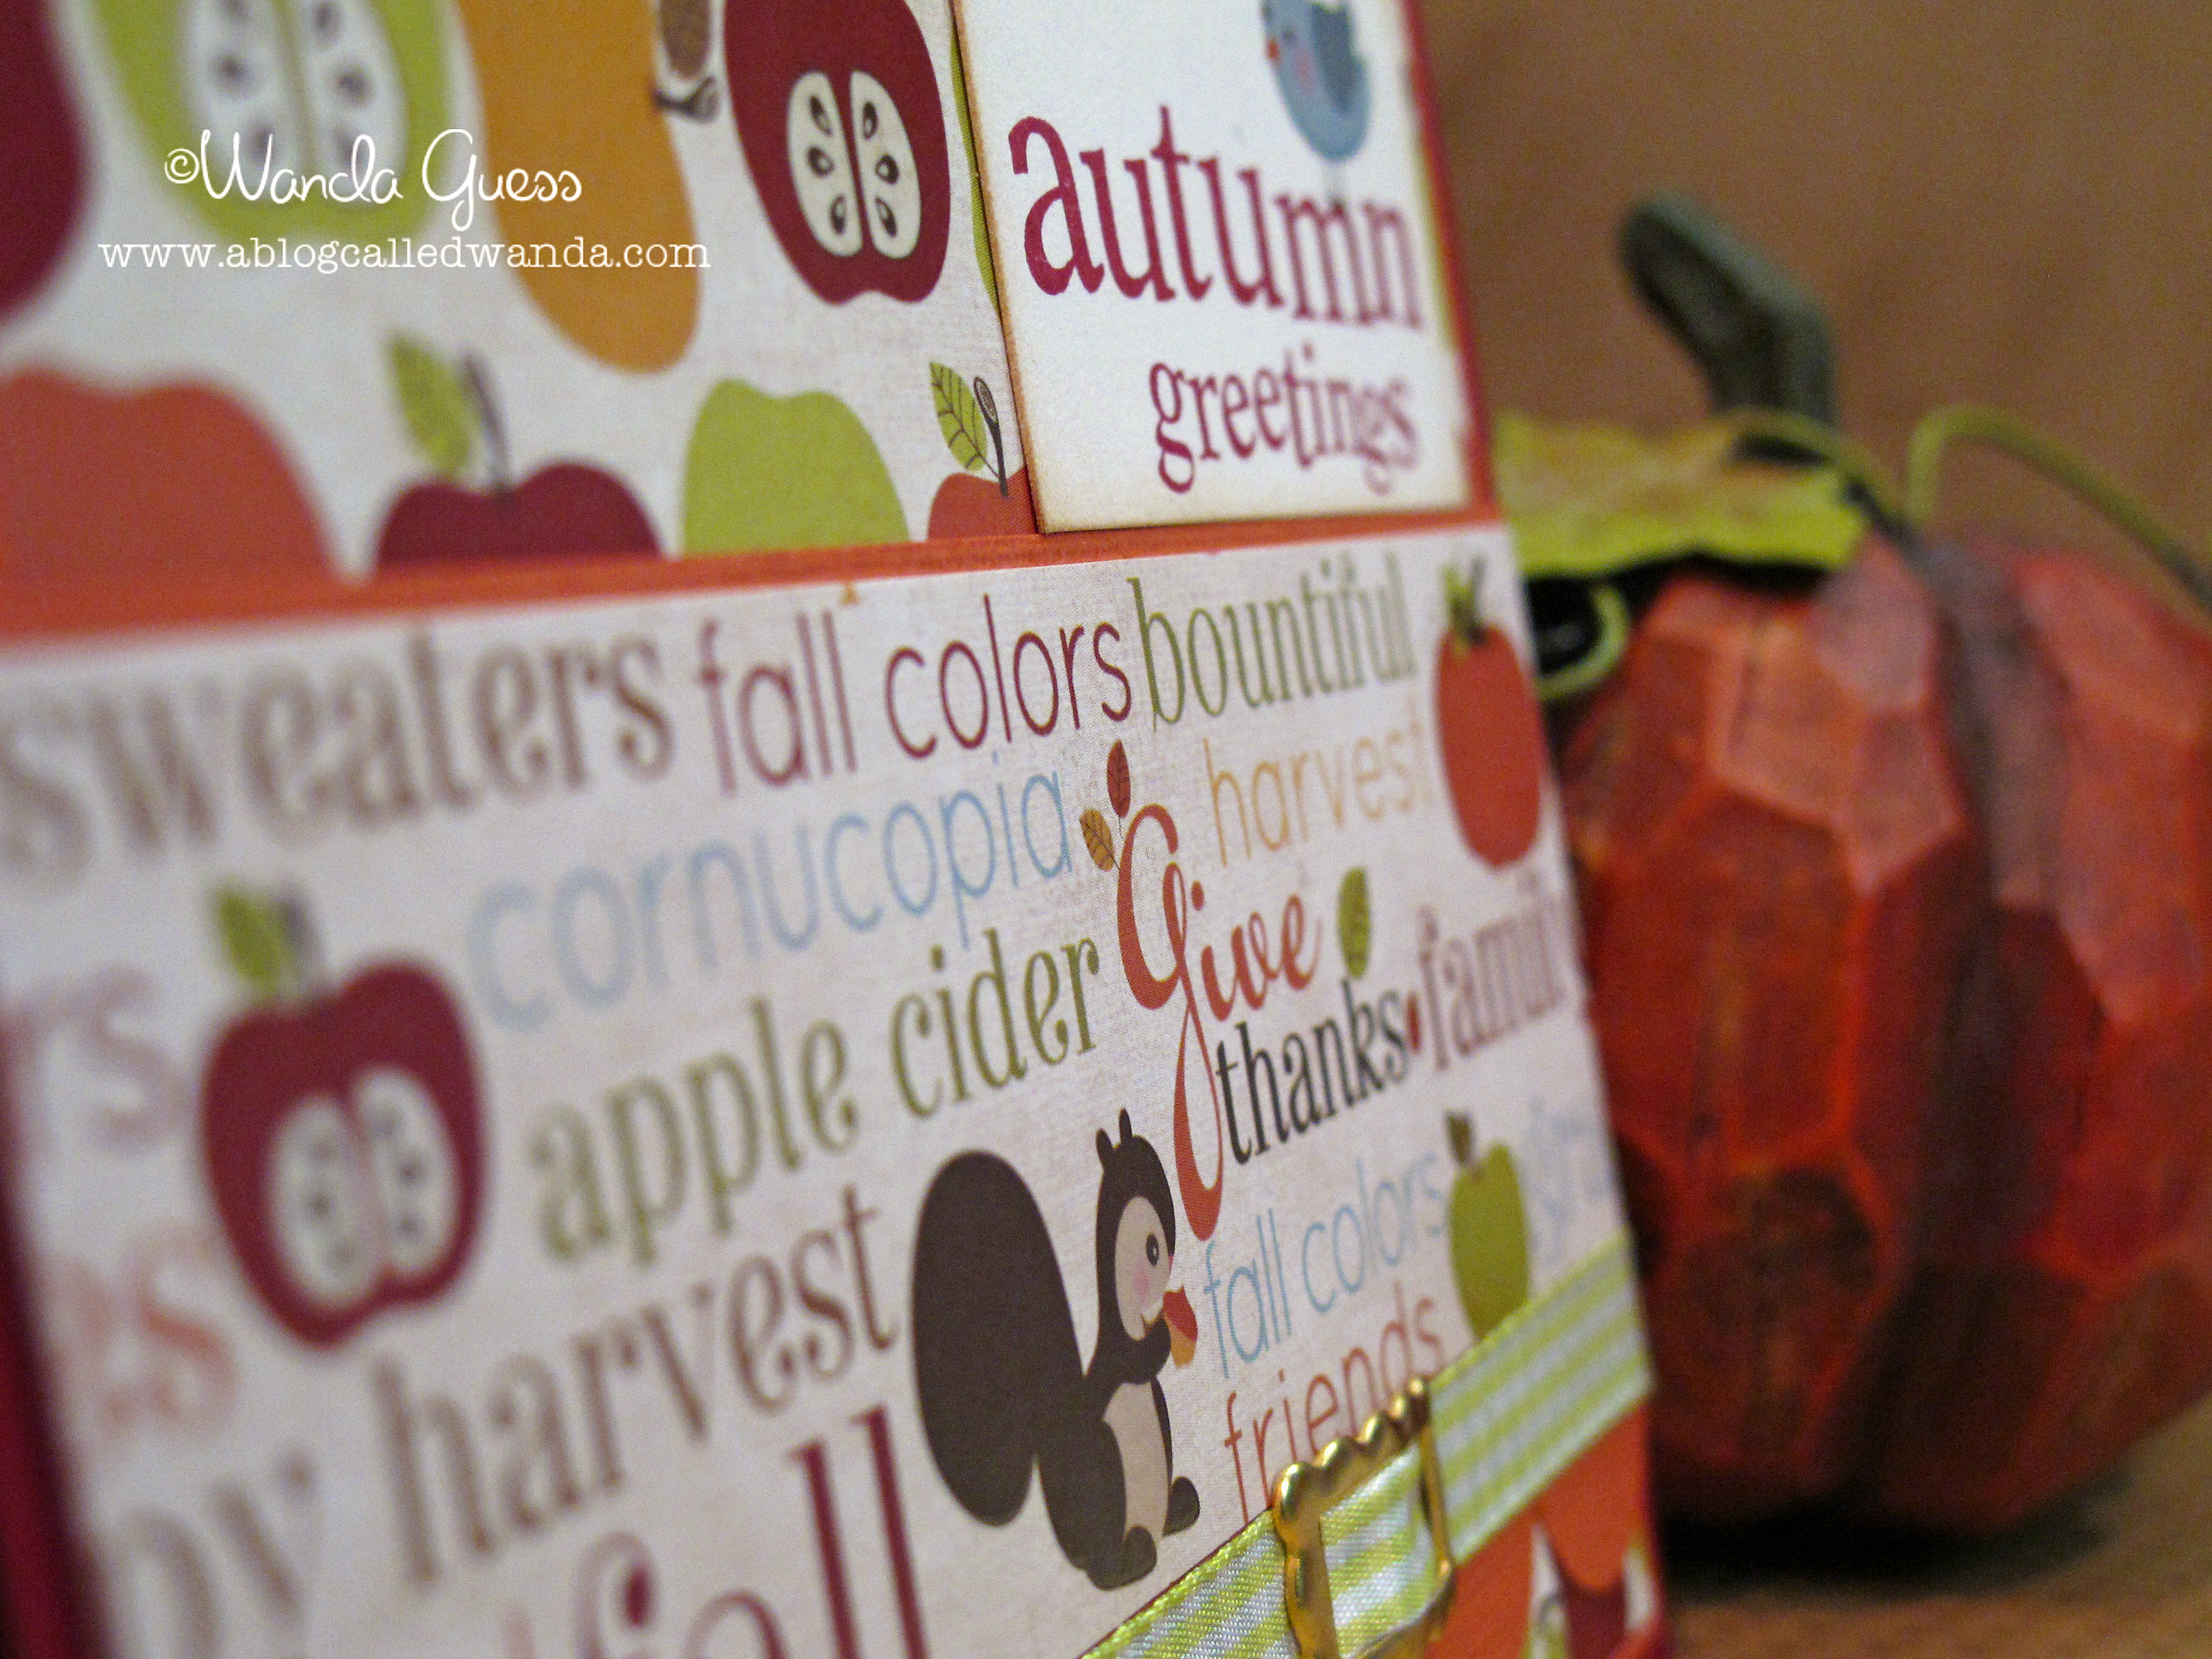
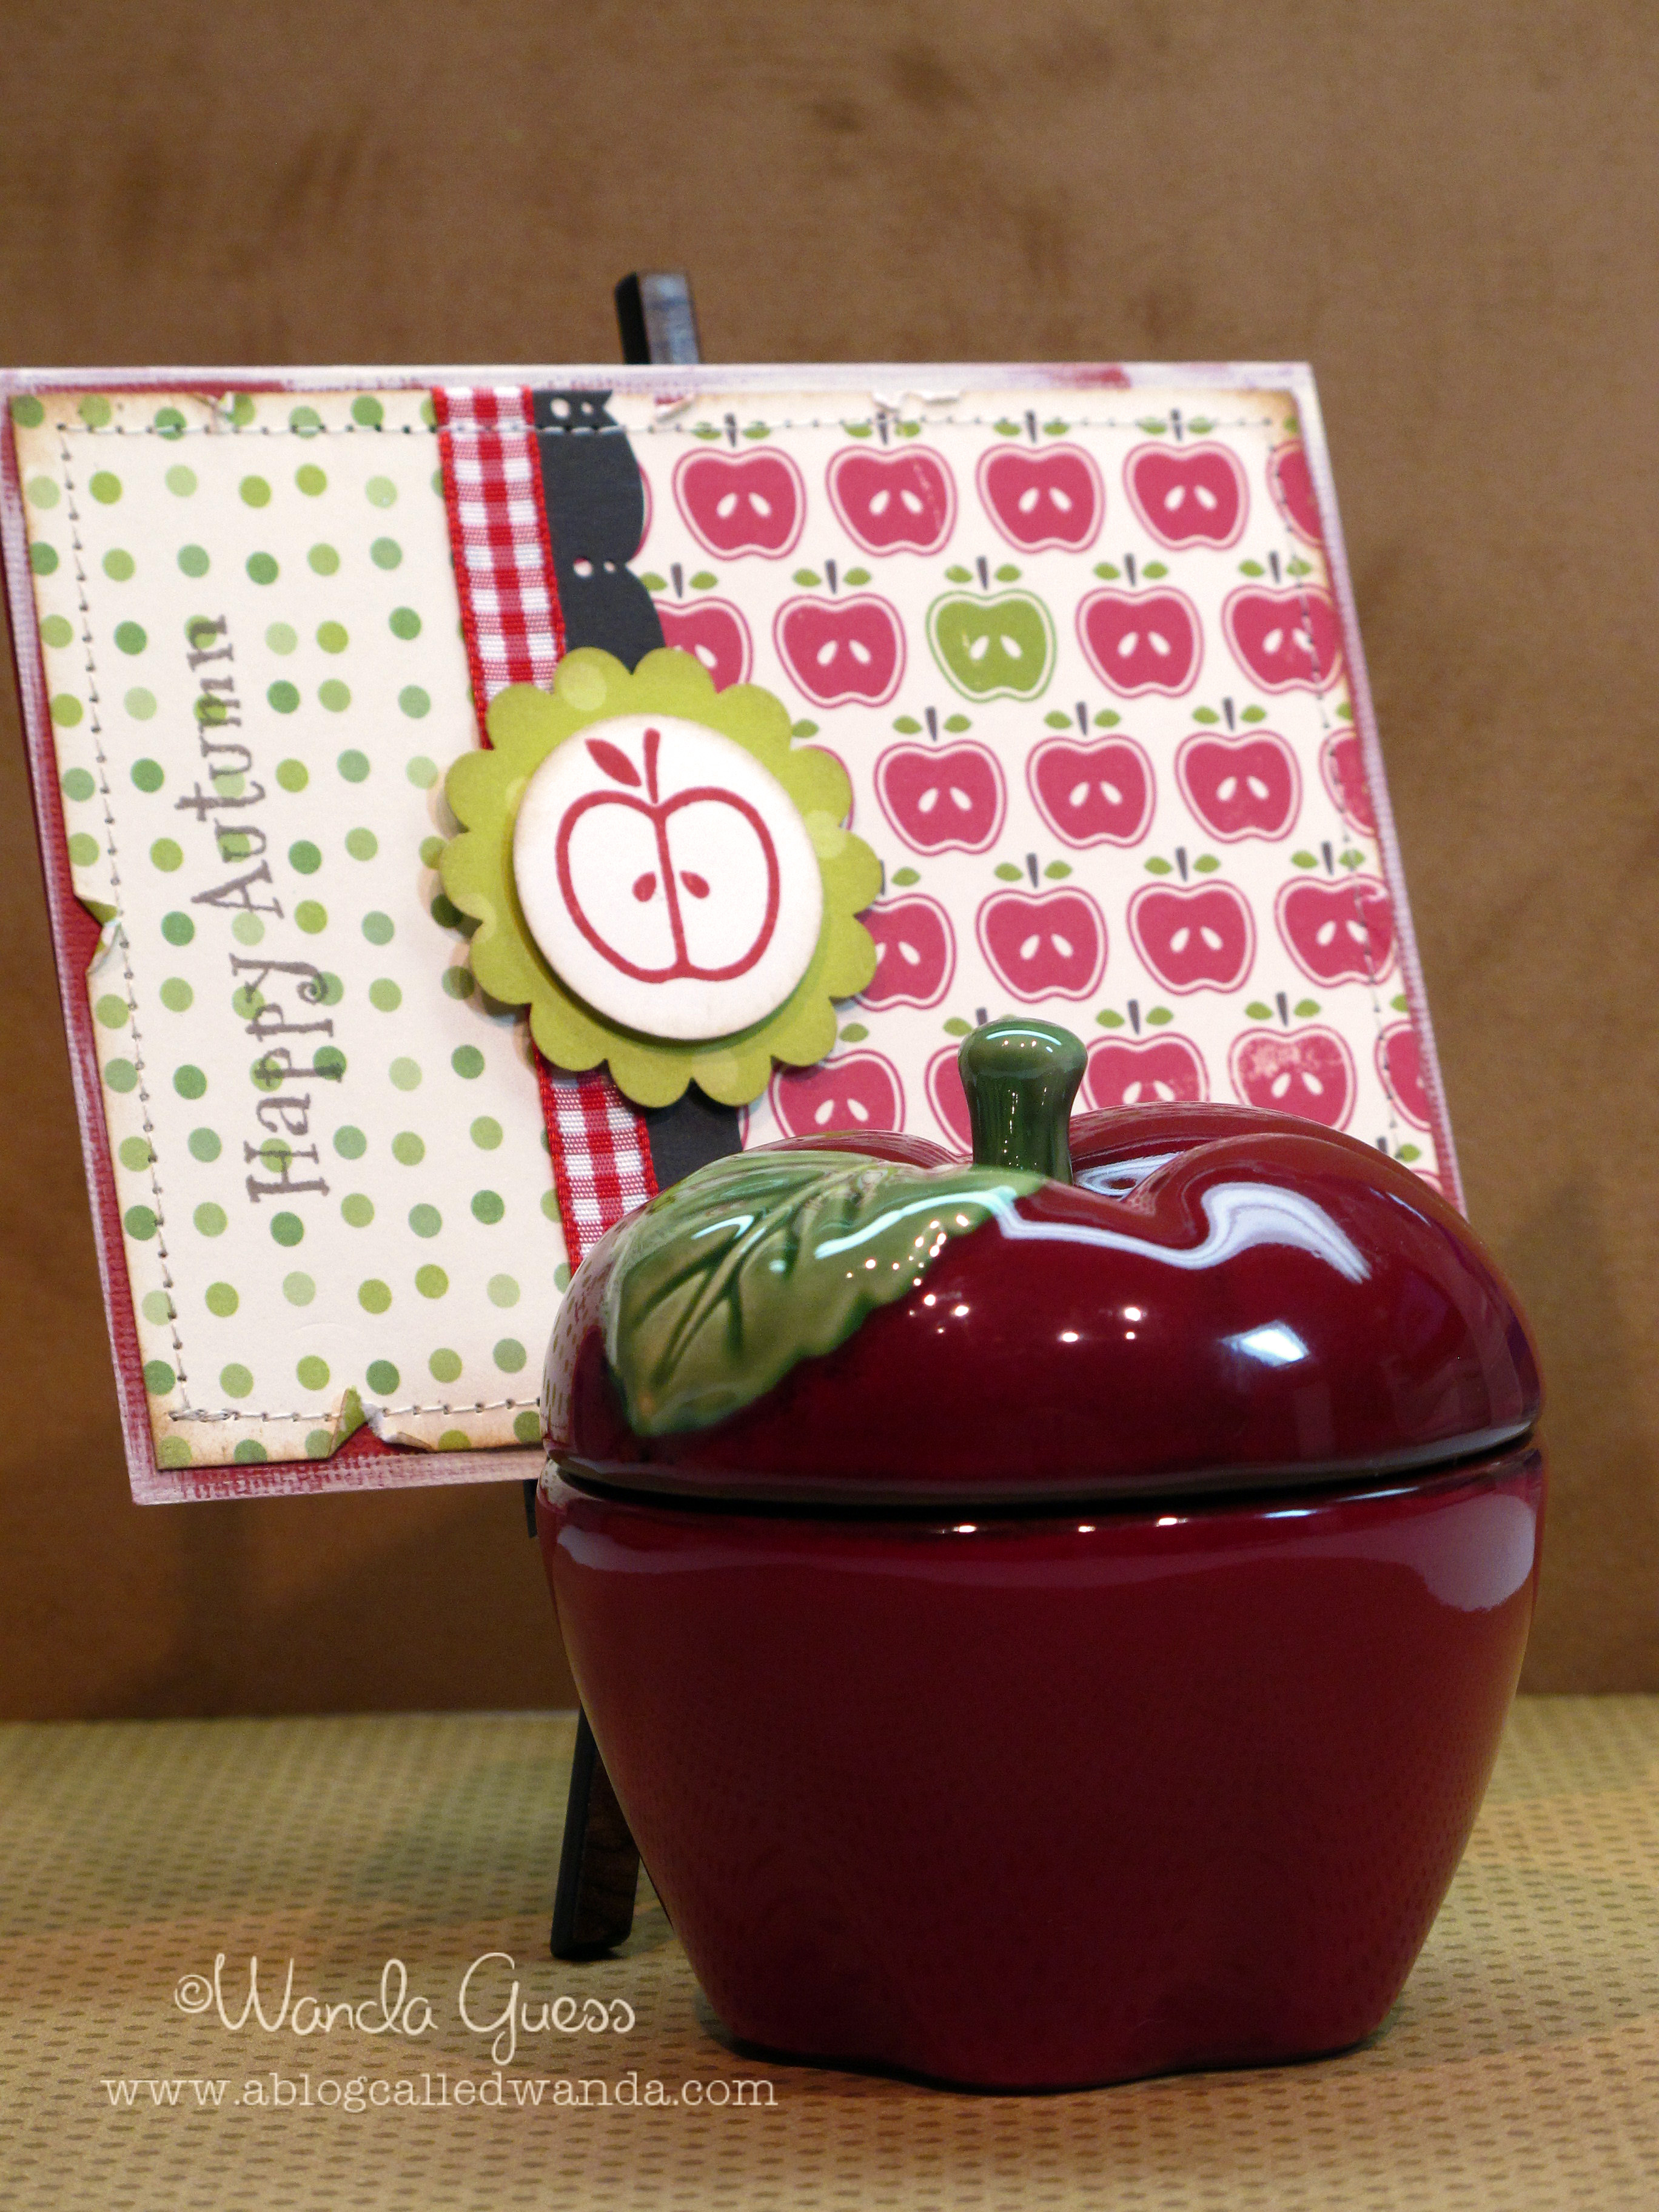
    I'm ready to go with my Fall projects! This card for today is one of my favorite cards! It incorporates a lot of techniques and I just really like the feel of it. I adore this patterned paper combination! We have a fun place to visit near our house called Apple Hill, and that's what this card reminds me of.


    A


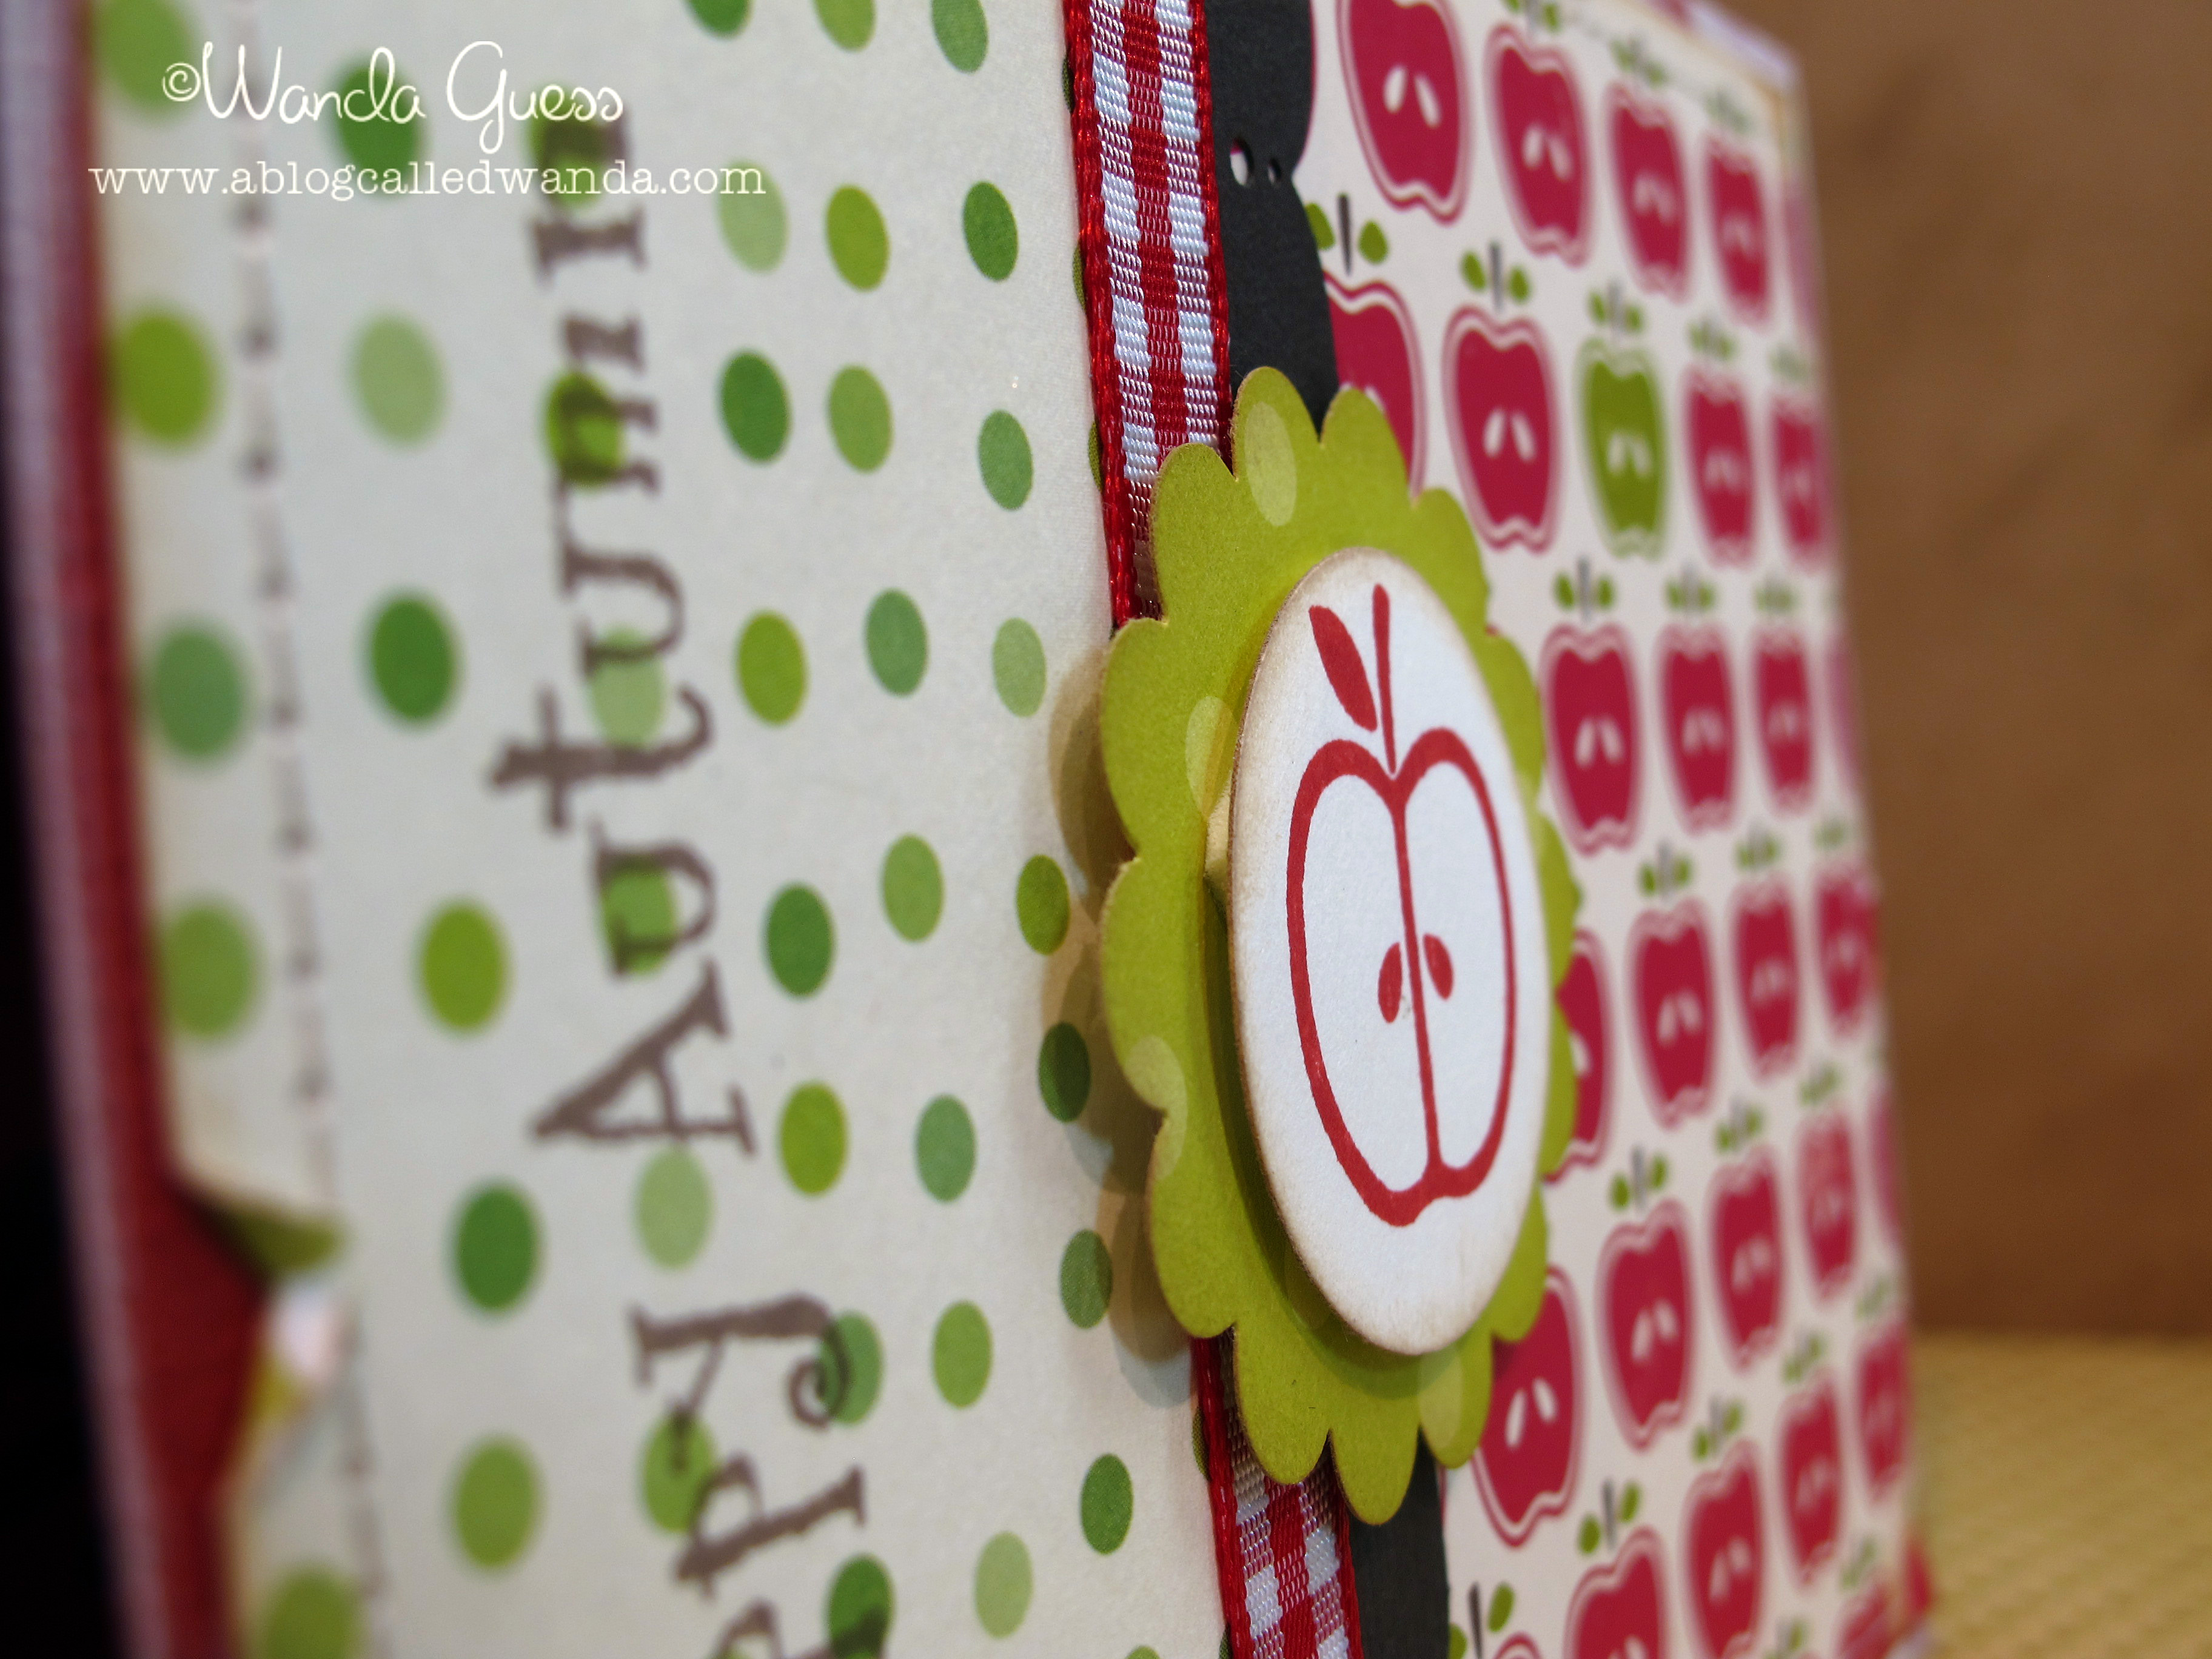
    I started with a red card base and then smudged white craft/acrylic paint around the edges to make it kinda shabby chic. I sewed the patterned paper panels onto the main red card…and then tore some of the paper to make it look weathered and worn. I used ribbon without a bow, to make a border.


    B 
     

    This is a pretty new candle I just got at Bath and Body Works…mmmmm…
     
    C


    D
     

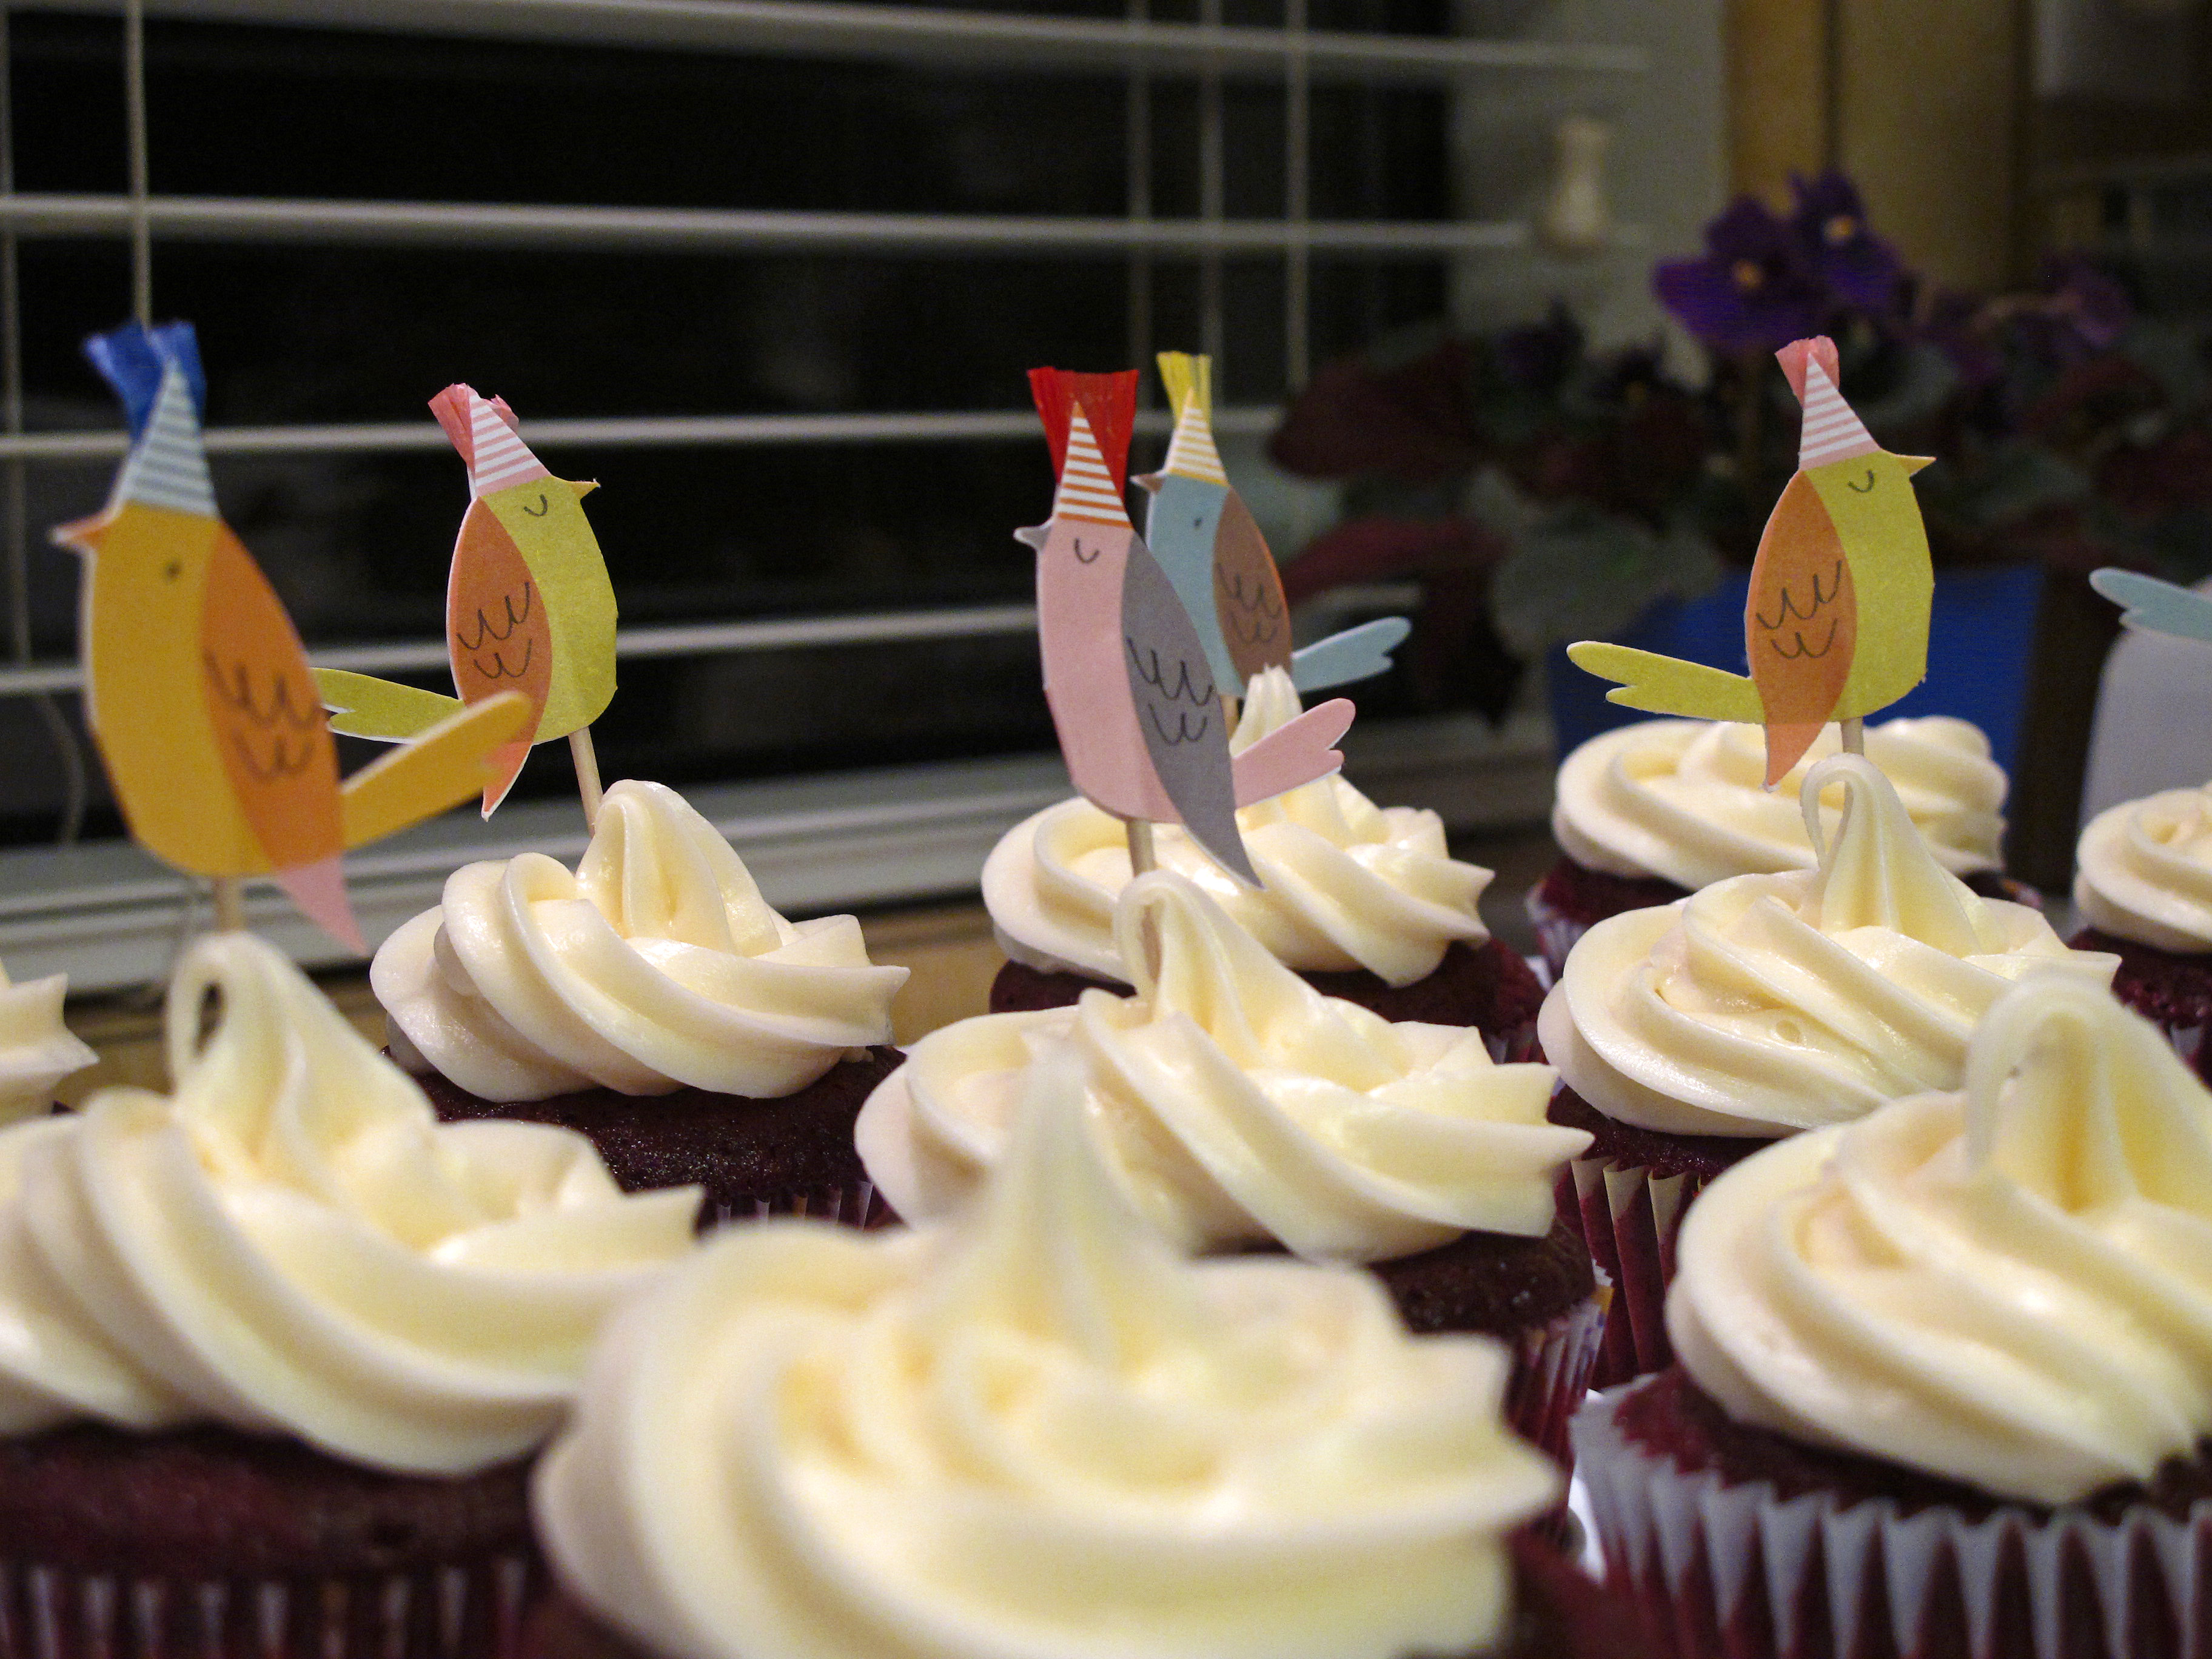
    This week I made red velvet cupcakes to bring to work for my friend Lisa's birthday. I had never made them before! They turned out pretty tasty. I also used cream cheese frosting…which is always yummy. I am trying to perfect my frosting technique. Sometimes it works, sometimes it doesn't…

    E


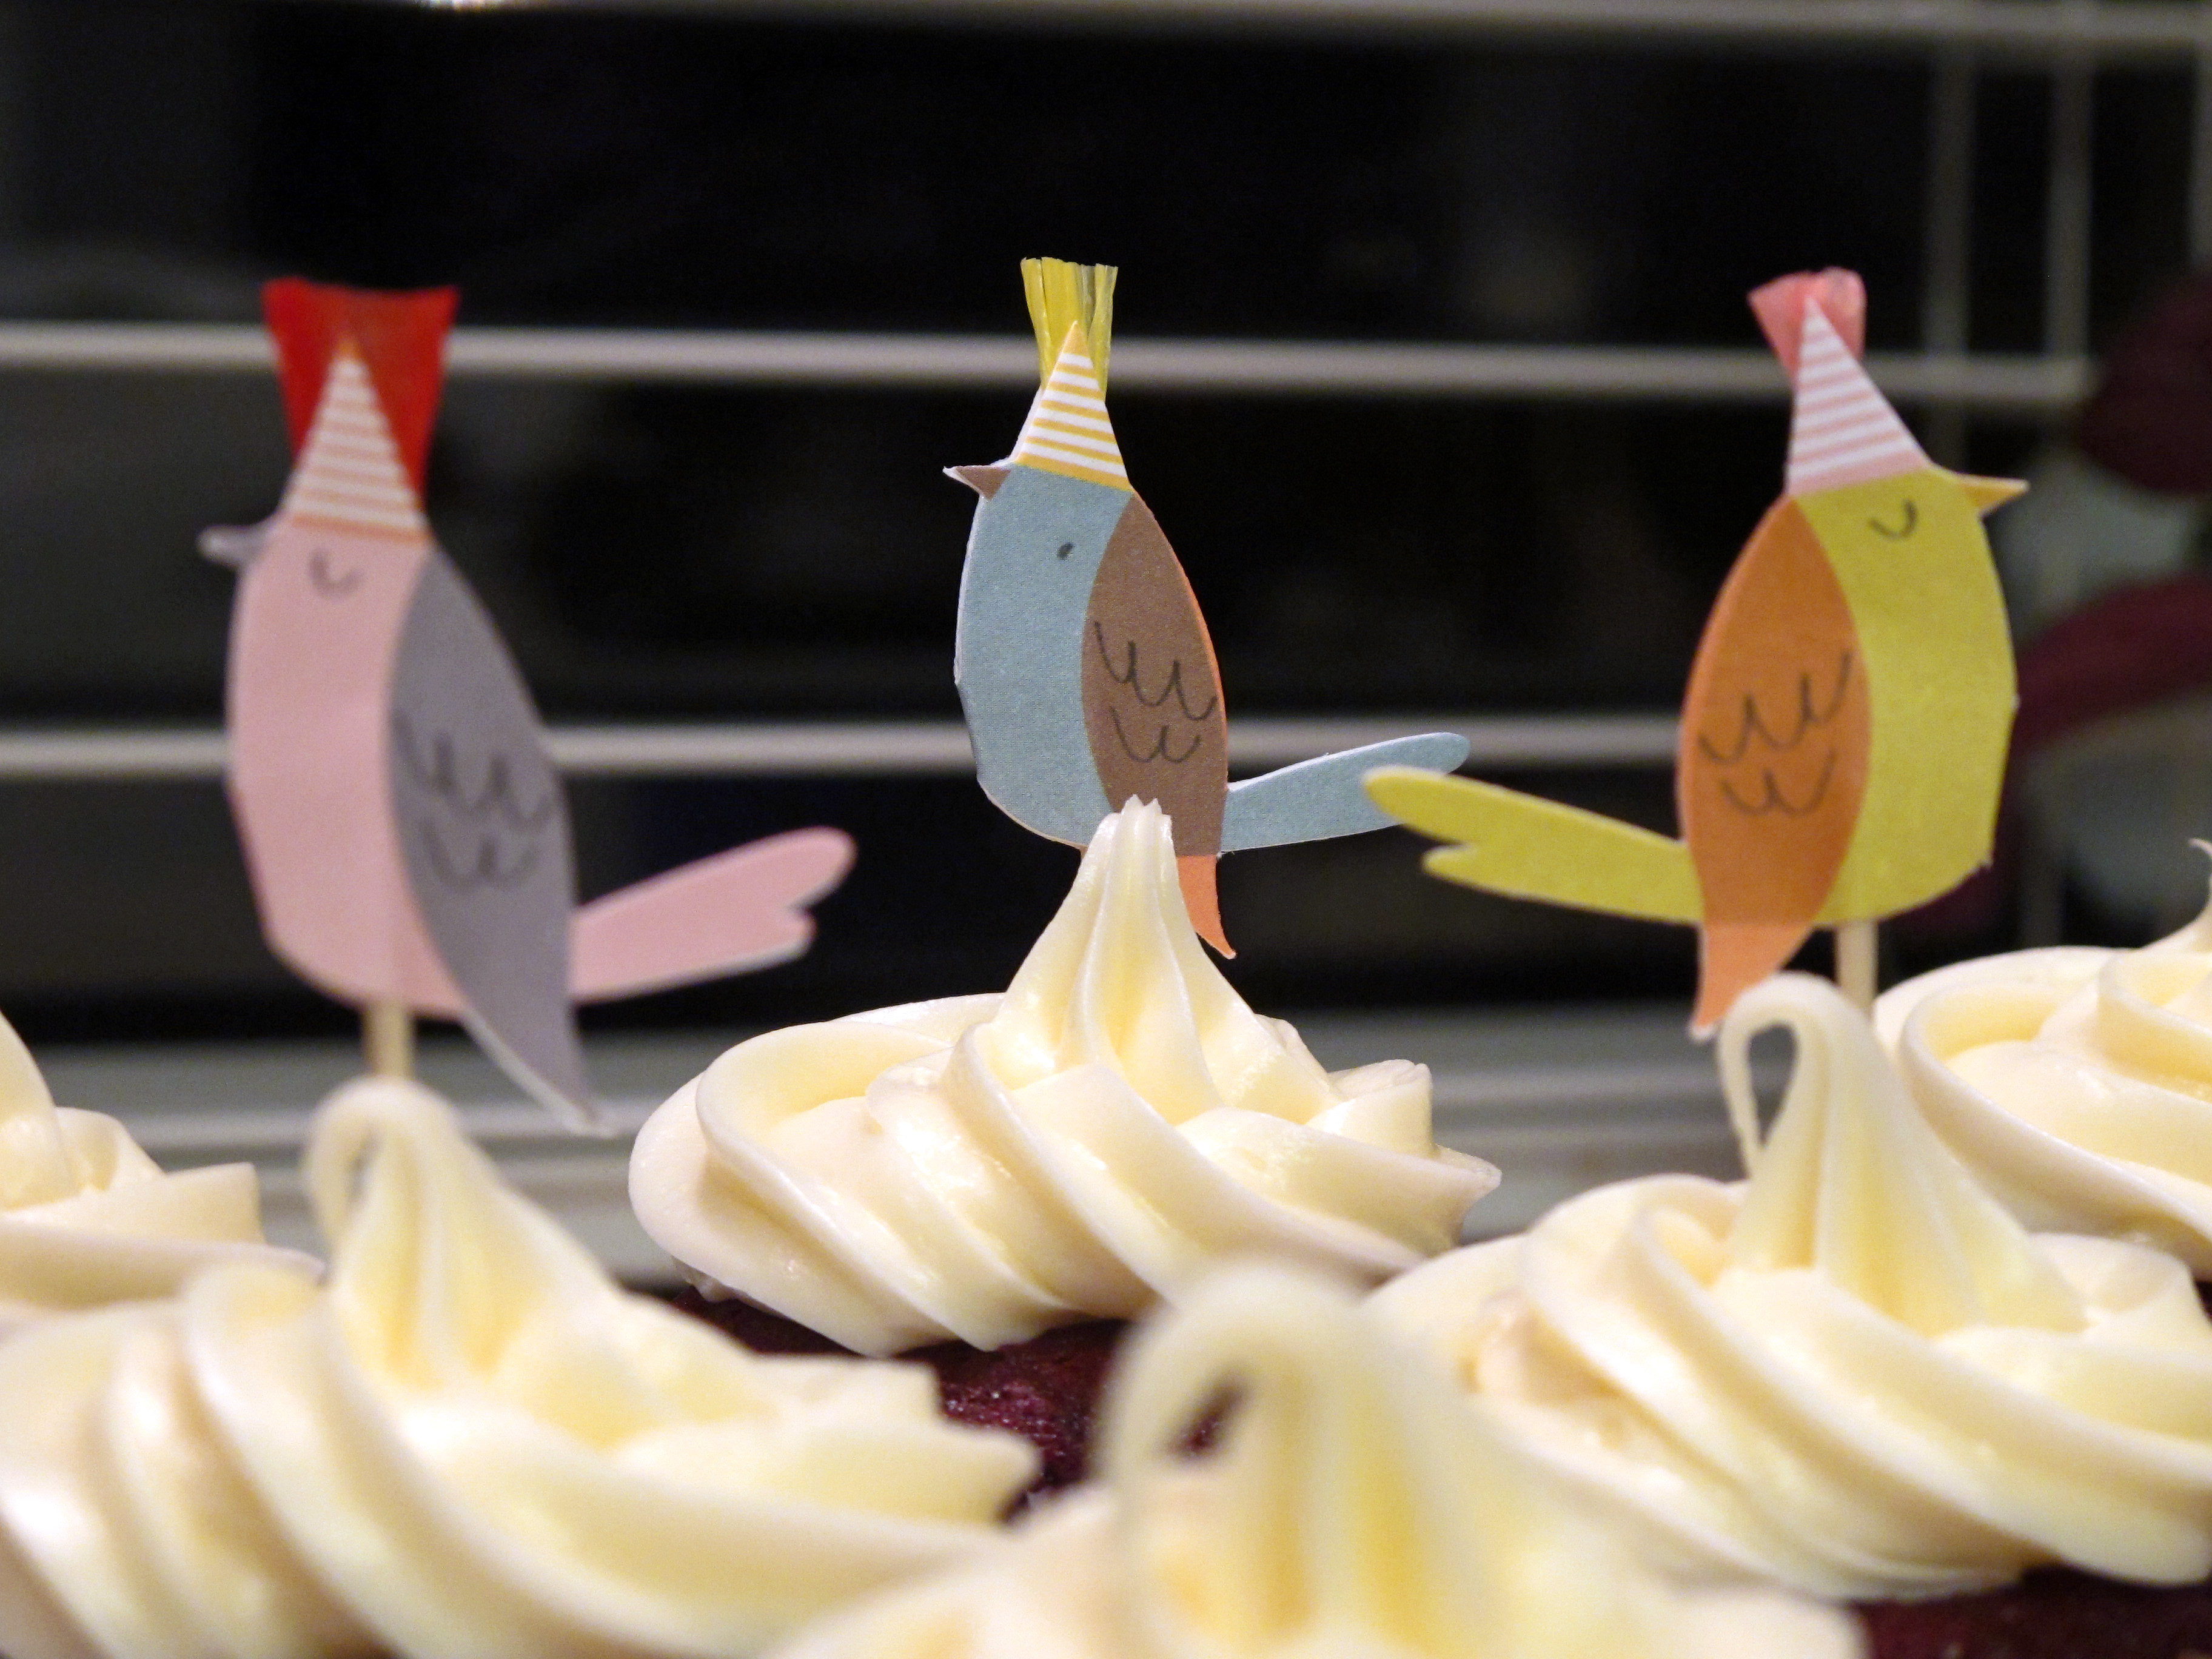
    These cute little party birdies came in a package with some cupcake liners and I got them at my friend's store Paper Garden! They are made by Mara Mi. So funny!
     

    IMG_2959


    IMG_2963 
    It's Labor Day weekend! WooHooo! Three day weekend lays ahead for us all. We are going to the big Green Day concert tomorrow night in the bay area. CANNOT wait! This is our favorite band and this will be the third time we've seen them in a year. Always a fantastic show. Tomorrow also starts COLLEGE FOOTBALL season! YAY! GO BEARS!

    I hope you all have a great weekend with your friends and families. Stamp On!


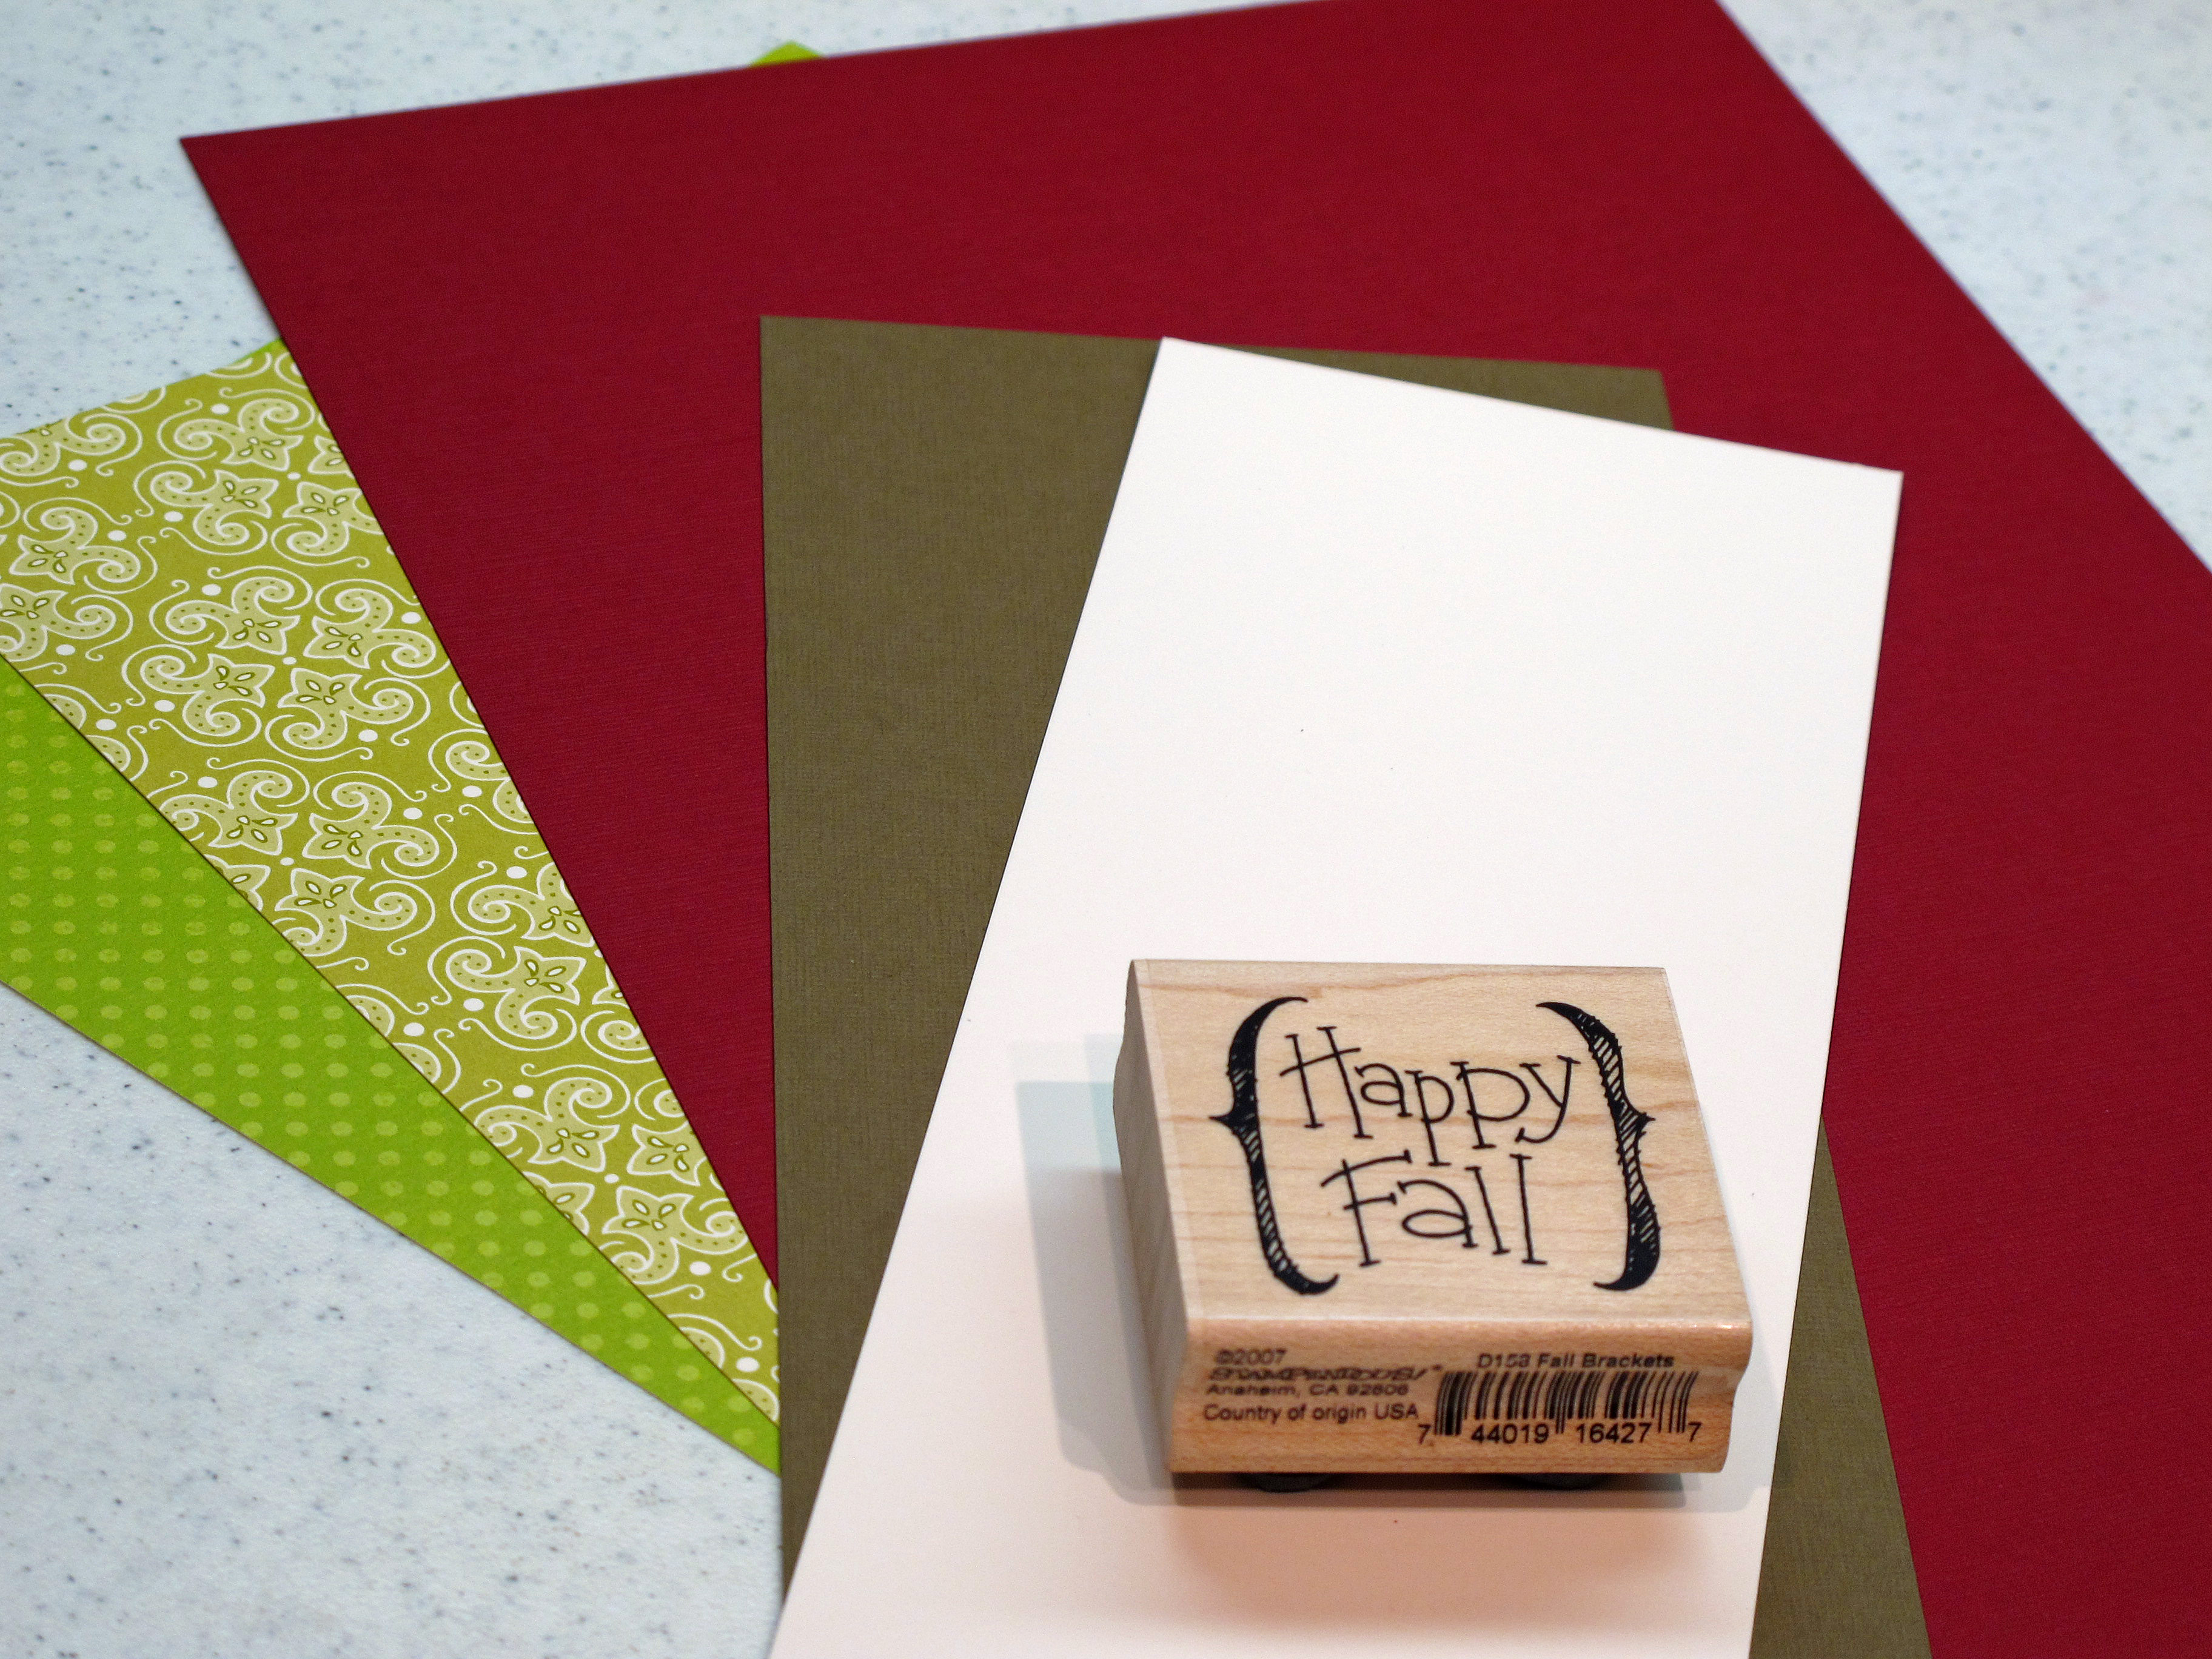
  • Happy Fall! Taylored Expressions #126 Challenge Card…

    Yay! So, Fall officially starts in a few weeks…but at my house…it officially starts today – September 1st! I have always been a Fall person. I love everything about it. Cool weather, cute sweaters, college football, craft fairs, fog, new binders, apple cider, beautiful leaves, harvesty scented candles, Thanksgiving, my birthday, our wedding anniversary, Halloween…shall I go on??? ACK!   Bring.It.On.

    I put up a new blog banner today for the season. In the past, my blog banners have all been digital images I've taken. This new one is from a photograph made using film (gasp! remember film?). I scanned it into my printer on very high resolution and it came out fine. I was worried it wouldn't look right since it didn't start out as a digi image. It's a picture I took on our honeymoon. The hubs loves Fall too…so we were married October 3rd, 2001 and our honeymoon was spent in Boston, Cape Cod, Martha's Vineyard, Nantucket, Vermont, New Hampshire, Maine and New York. We got married on Cape Cod – in Chatham – in a pretty little gazebo right by the water. Our honeymoon was the most wonderful trip ever. We took 28 rolls of film! Then we had to wait for them all to be developed! It killed me! The best thing about digital photography is the instant gratification part. Don't you agree?

    Thanks for listening to my story…I'm sure I'll be rambling on more and more about how much I love Fall. Especially once football starts. That's a whole different story…

    My card for today is my entry into the Taylored Expressions Challenge #126! Yes…I do have a card for today! haha.


    IMG_2901


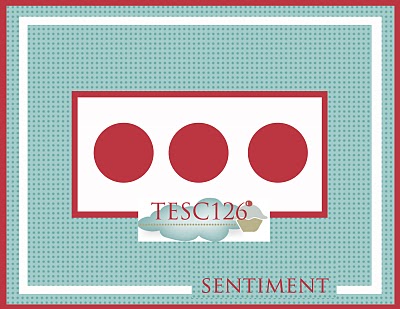
    Here is the sketch image from Taylor:
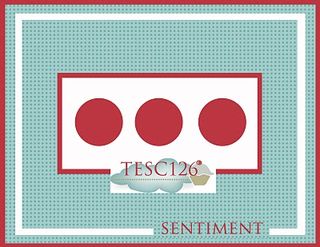
     

    TESC126


    I was going to use flowers, or hot air balloons, and all sorts of things for my card…but then I recalled a photograph I had taken last Thursday night and it was instant inspiration! Instead of bright and colorful, I went sort of moody and monochromatic for this challenge. I really like how it came out. It would make a nice masculine card, I think.

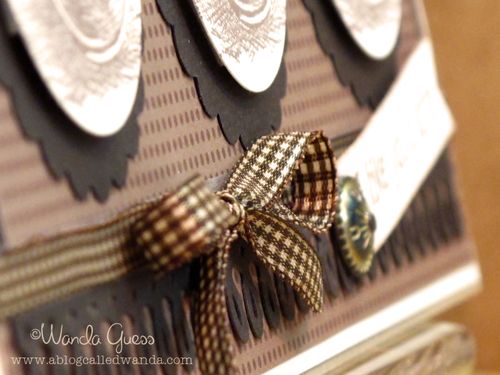
    IMG_2902


    IMG_2903


    Here is my inspiration photo – a lovely cappuccino I had at dinner Thursday night. I went out with my bestie JP to Cafe Bernardo. For the Sac-town crowd – it's at the corner of 15th and R. The food is delish and fresh and healthy and the atmosphere is casually elegant.

    V


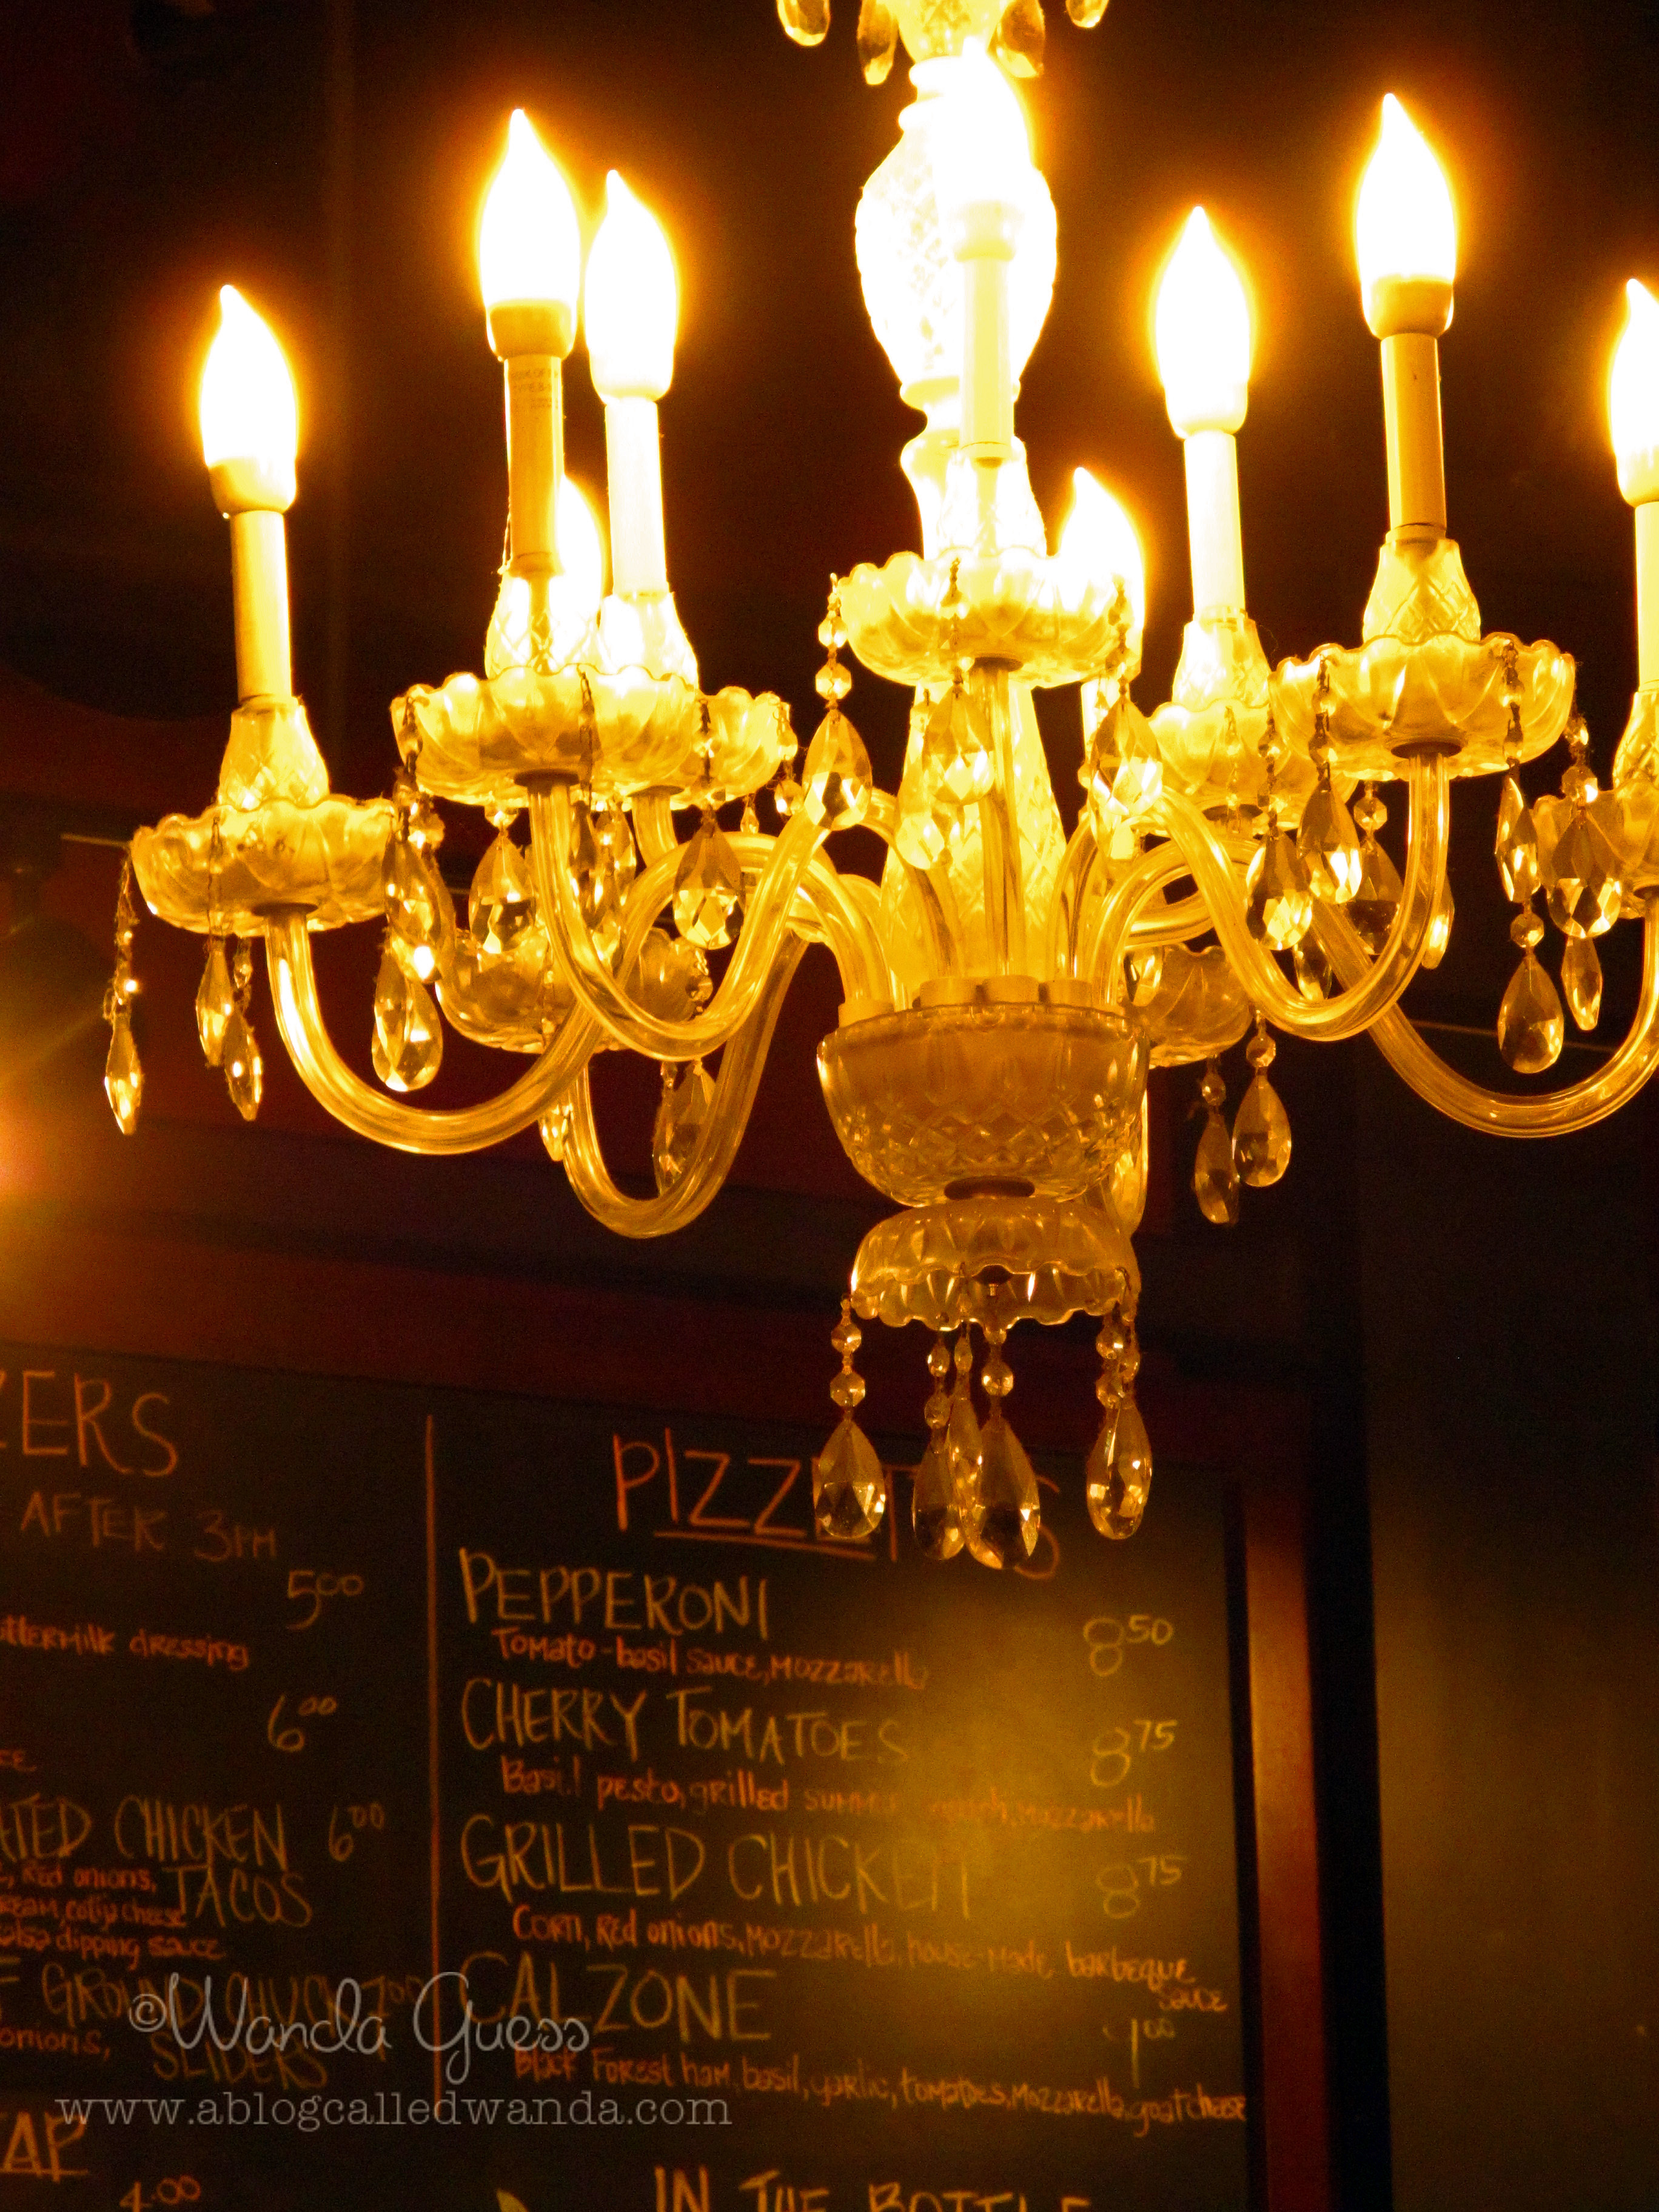
    This is another photo I took at the restaurant Thursday night! I have been dying to share it with you and I feel like it really fit the mood/tone of today's post. The ceiling in the restaurant is painted all black and then there are different types and sizes of chandeliers hanging all over. LOVE IT!

    W
    Are you as excited as I am about the change of season? What is your favorite tradition? Have a wonderful day all!

  • Surfer Girls!

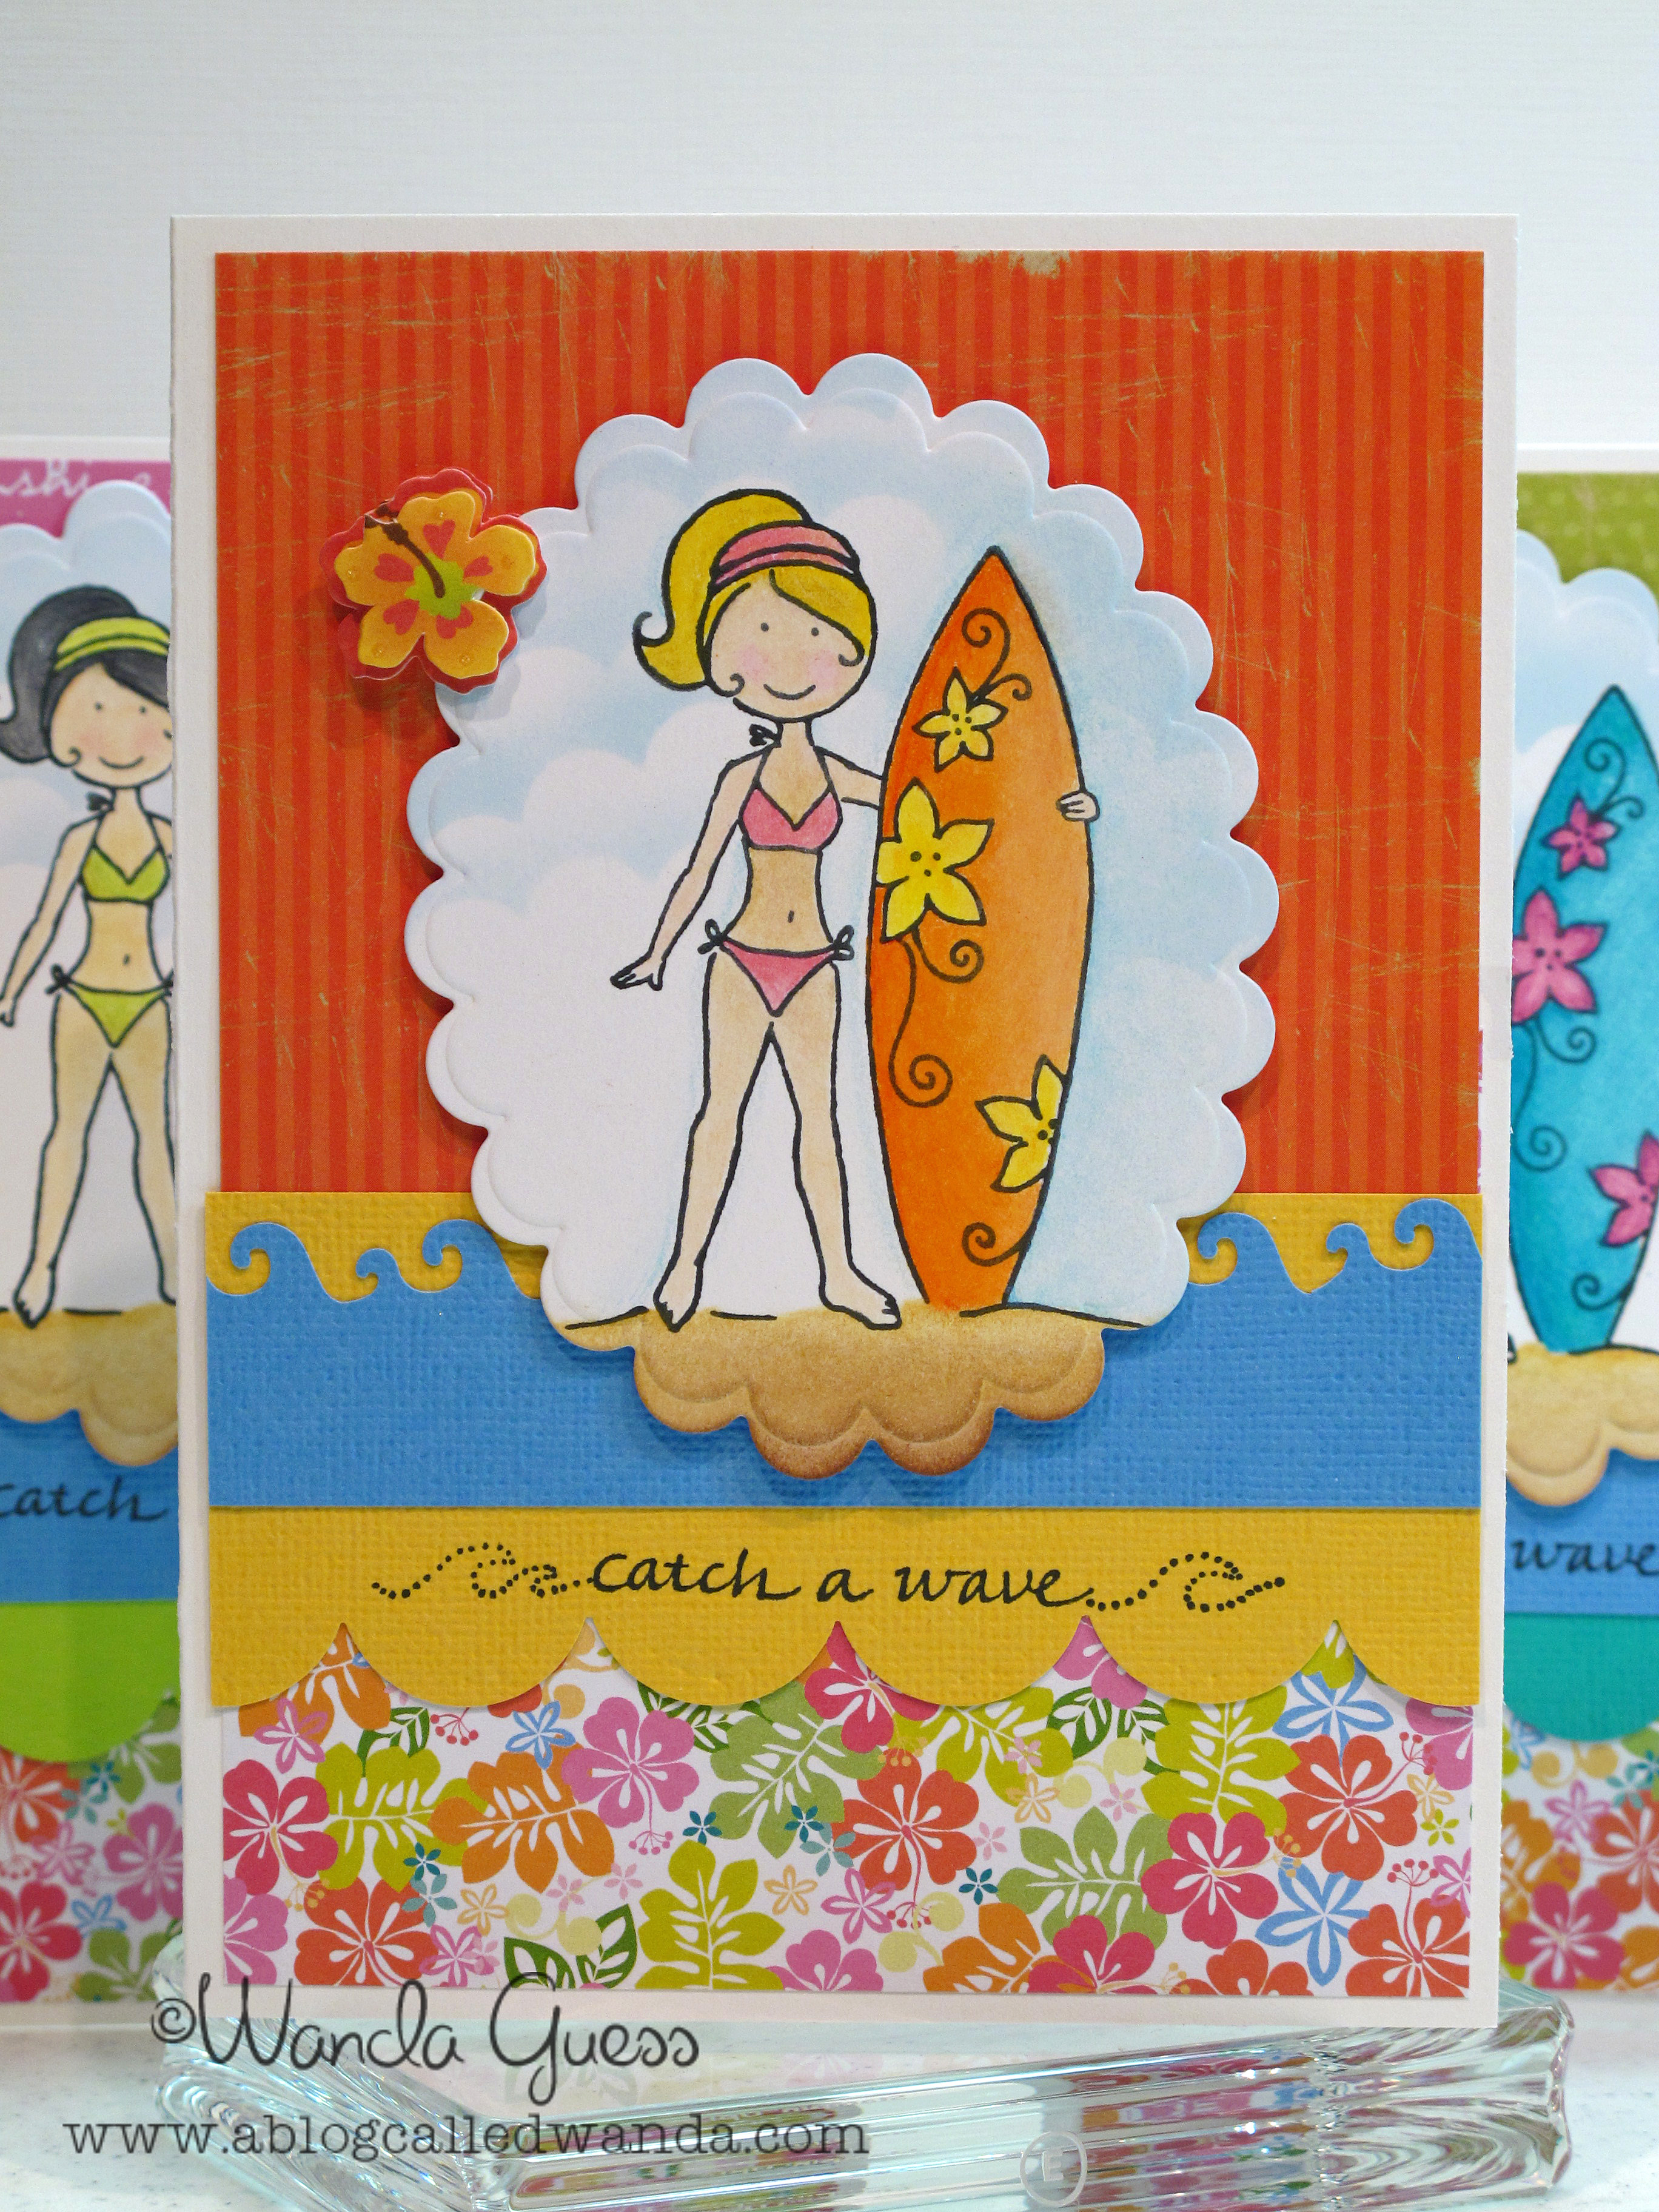
    Okay, kids, this is it! The last post of Summmmmmer! I probably won't have time to post tomorrow and then Wednesday we're switching the old bloggy blog over to Fall. I made these cute cards last week and am finally getting around to posting them. it all started when dear, sweet Teadub gave me this uber cute surfer girl stamp from Elzybels! Then…three hours of coloring…then some FUN tropical paper…and here they are…surfer girl beauties!


    A


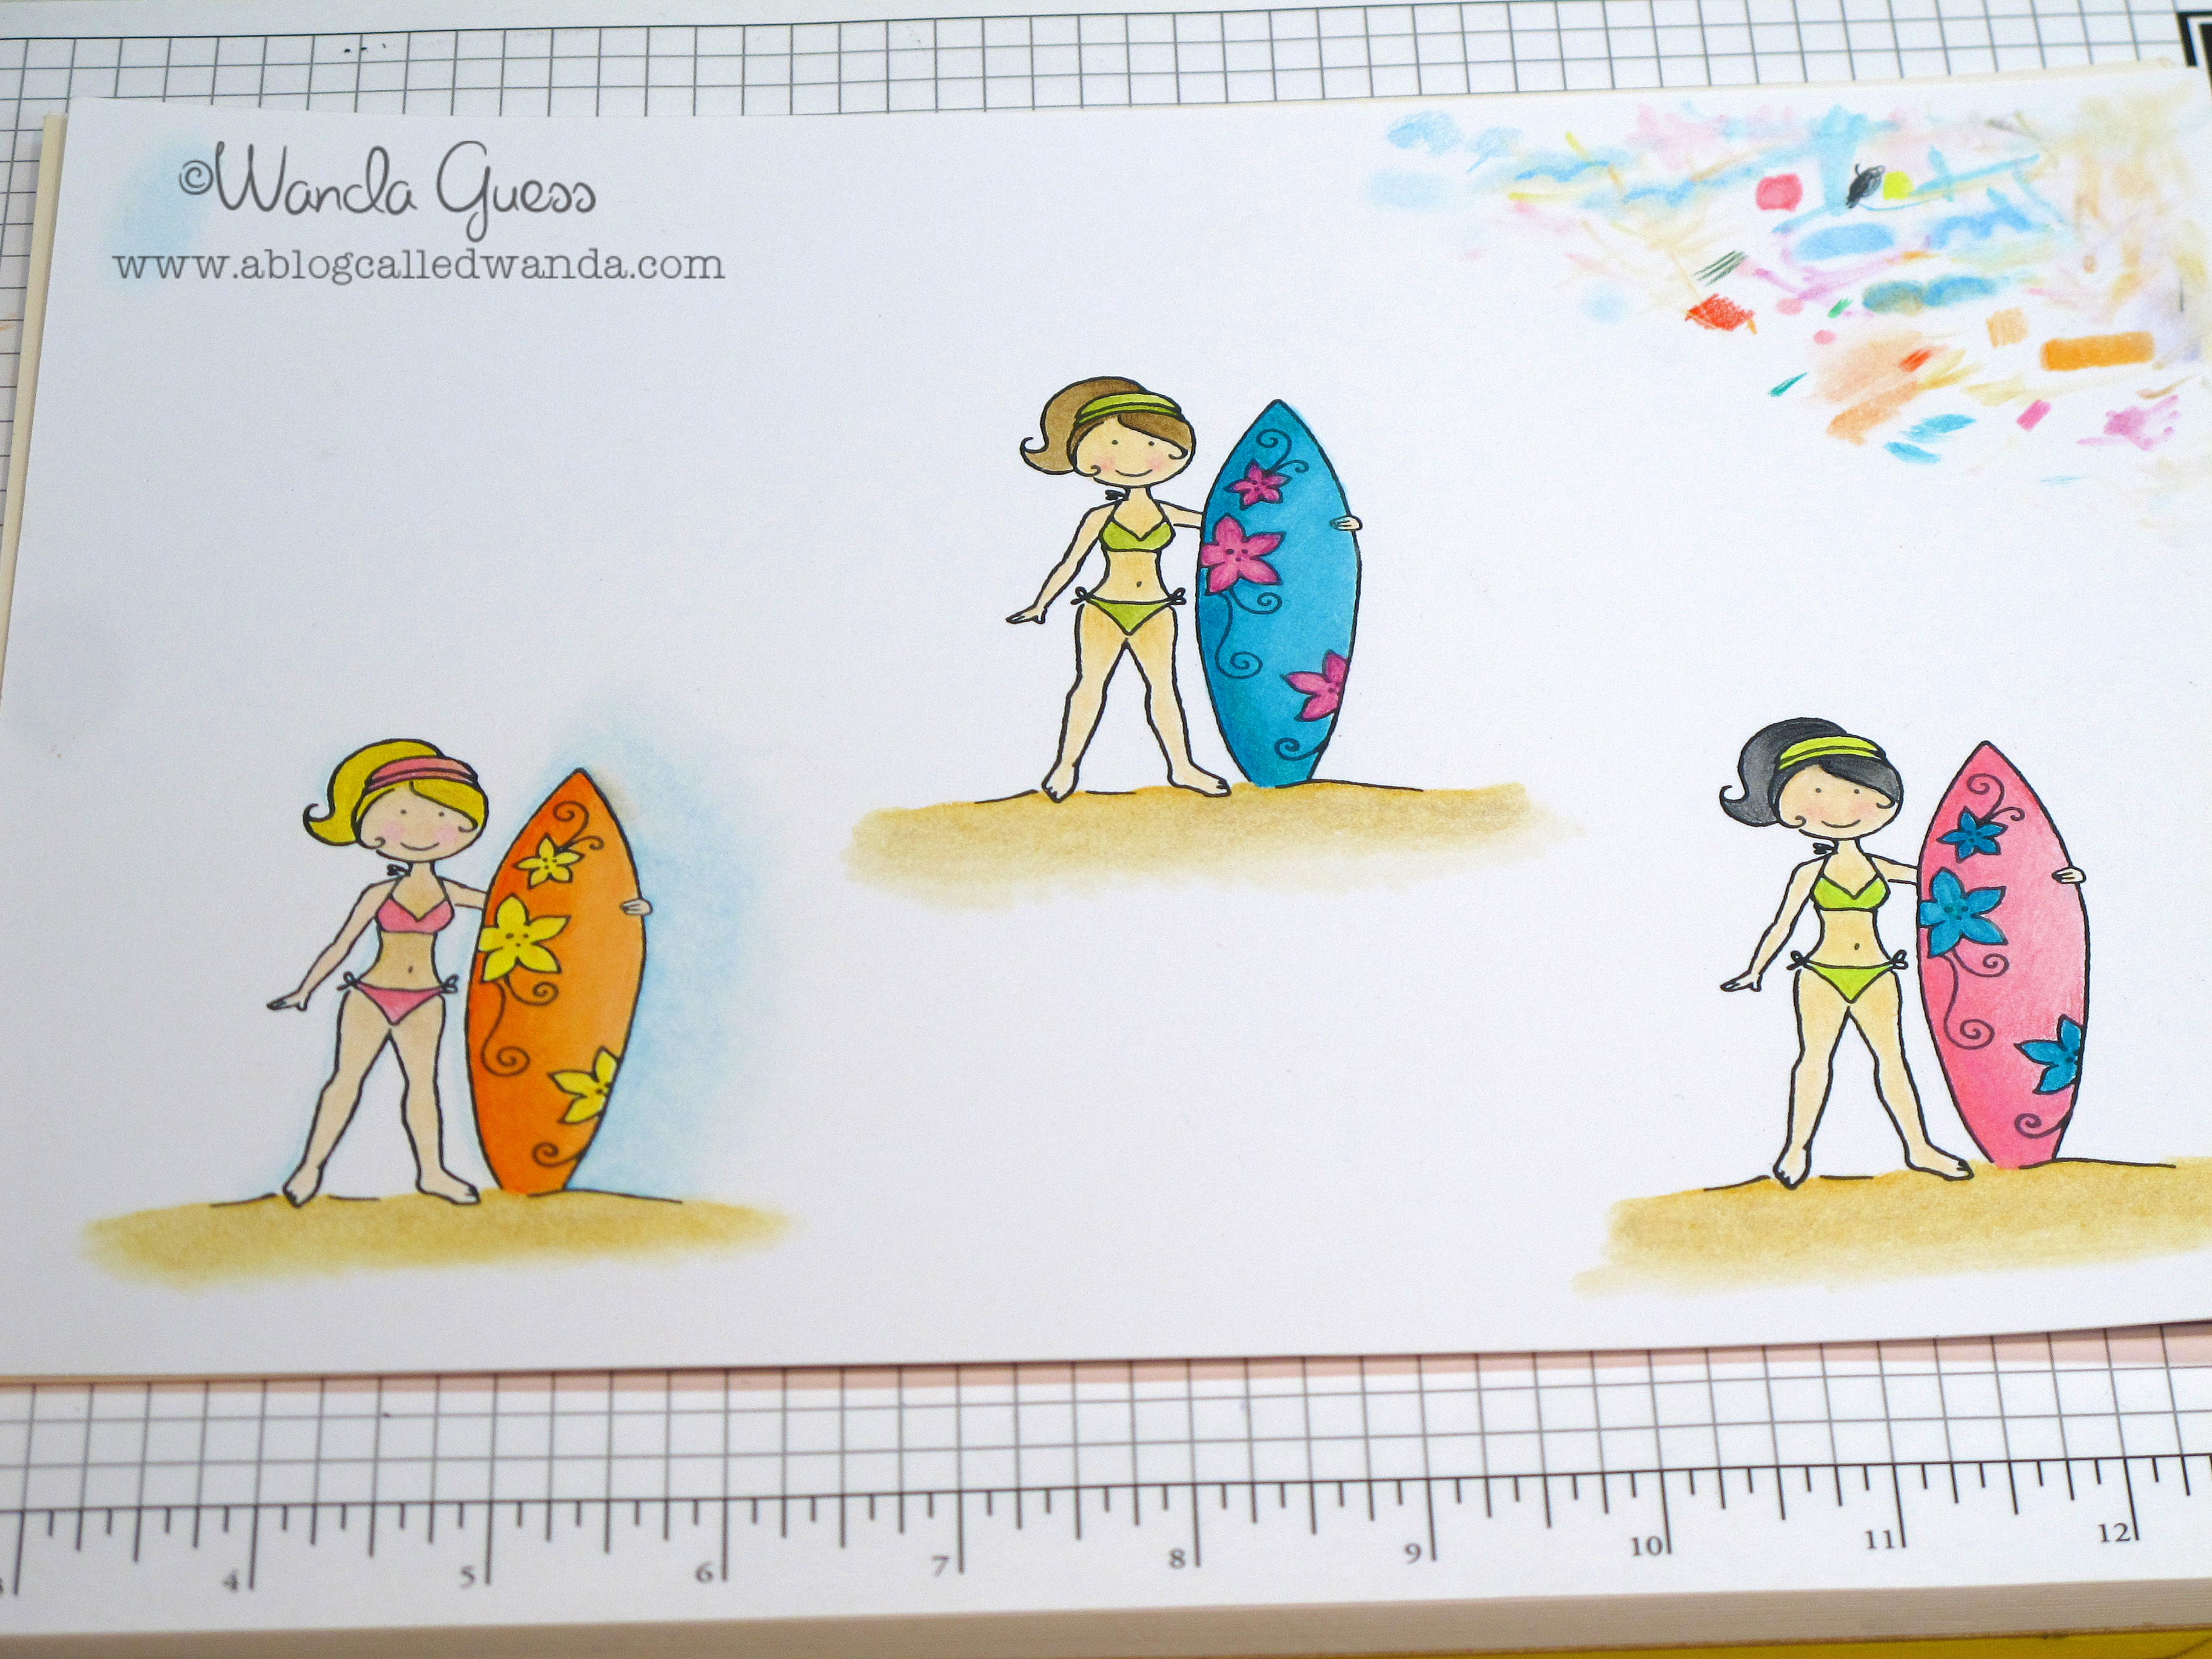
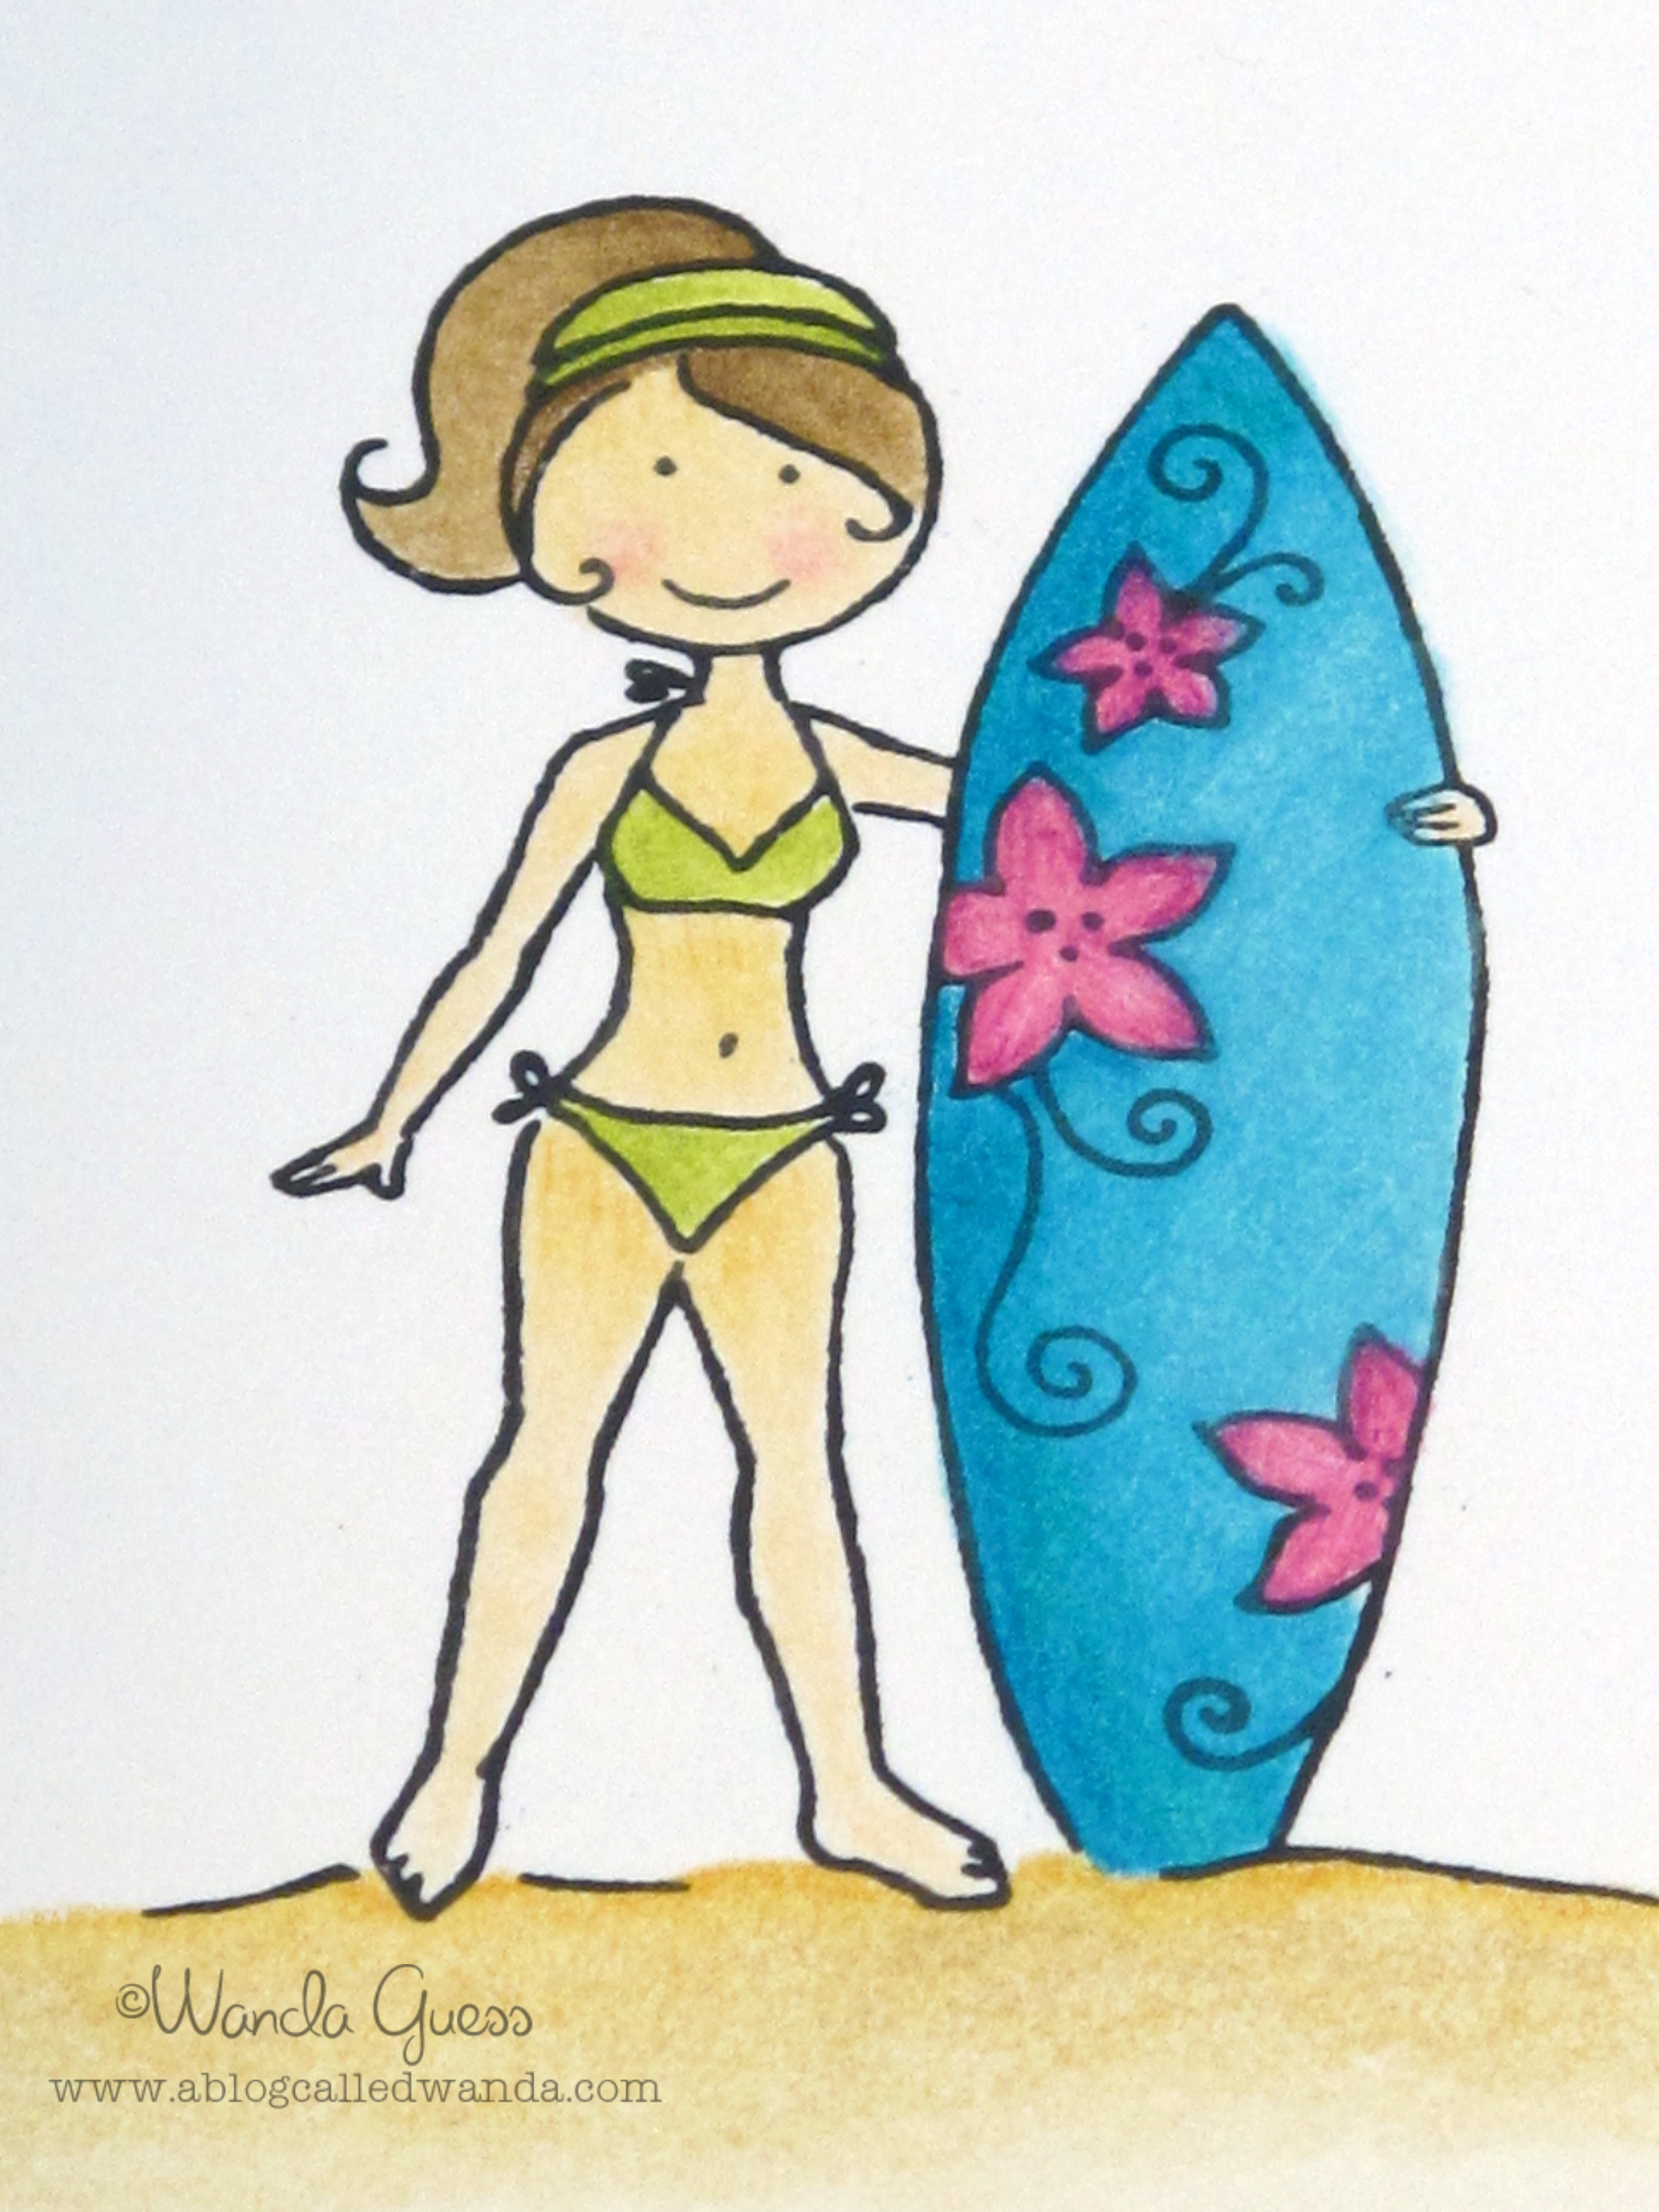
    Here is my coloring process. Remember I just took the colored pencils class with Dave B from Memory Box? Well, I was all excited to try out my new techniques! These are all colored with my Prismacolor pencils. I used a bit of gamsol and some q-tip thingees to slightly soften the color after application. I never would have imagined you could achieve this effect with pencils! They are so vivid in person. It just takes time and patience, and layering of color.

    IMG_2731


    I made one with blond hair, one with brunette hair and one with black hair! I used basically the same color pallette for all three, just mixed the colors around.

    IMG_2733


    In this picture you can see I was coloring the sand at the bottom of the image, after cutting it into a scallop oval. If you look at my mat…you'll see the outline of brown with the "bumps." This gave me the idea for the clouds!

    IMG_2736


    I masked the surfer girls and then cut out another scallop oval. Then I carefully stenciled on the clouds with light blue ink and an small sponge! I think it adds a nice touch! These were my final paper choices for each girl. The patterned papers and the neat flower embellies are from an old paper pack I got at Target. Remember when Target used to have cool scrapbooking stuff?

    IMG_2739


    The completed cards! I added some cool waves using my Fiskars edger punch, some pretty scallops,  and a cute saying from Amuse stamps:

    IMG_2751


    IMG_2752


    IMG_2753


    IMG_2757

    Hope your Summer was a great one! Thank you for blogging with me this season… Please join me again on Wednesday night for some Fall fun, a new blog banner and a card for Taylored Expressions' Challenge!

  • The last few blogs of Summer…

    Greetings and Salutations! I am already anticipating my favorite season…FALL! I got out the Halloween stamps this week and started the old wheels turning towards new color schemes and new ideas. But, I have a few cards left to post for Summer time!

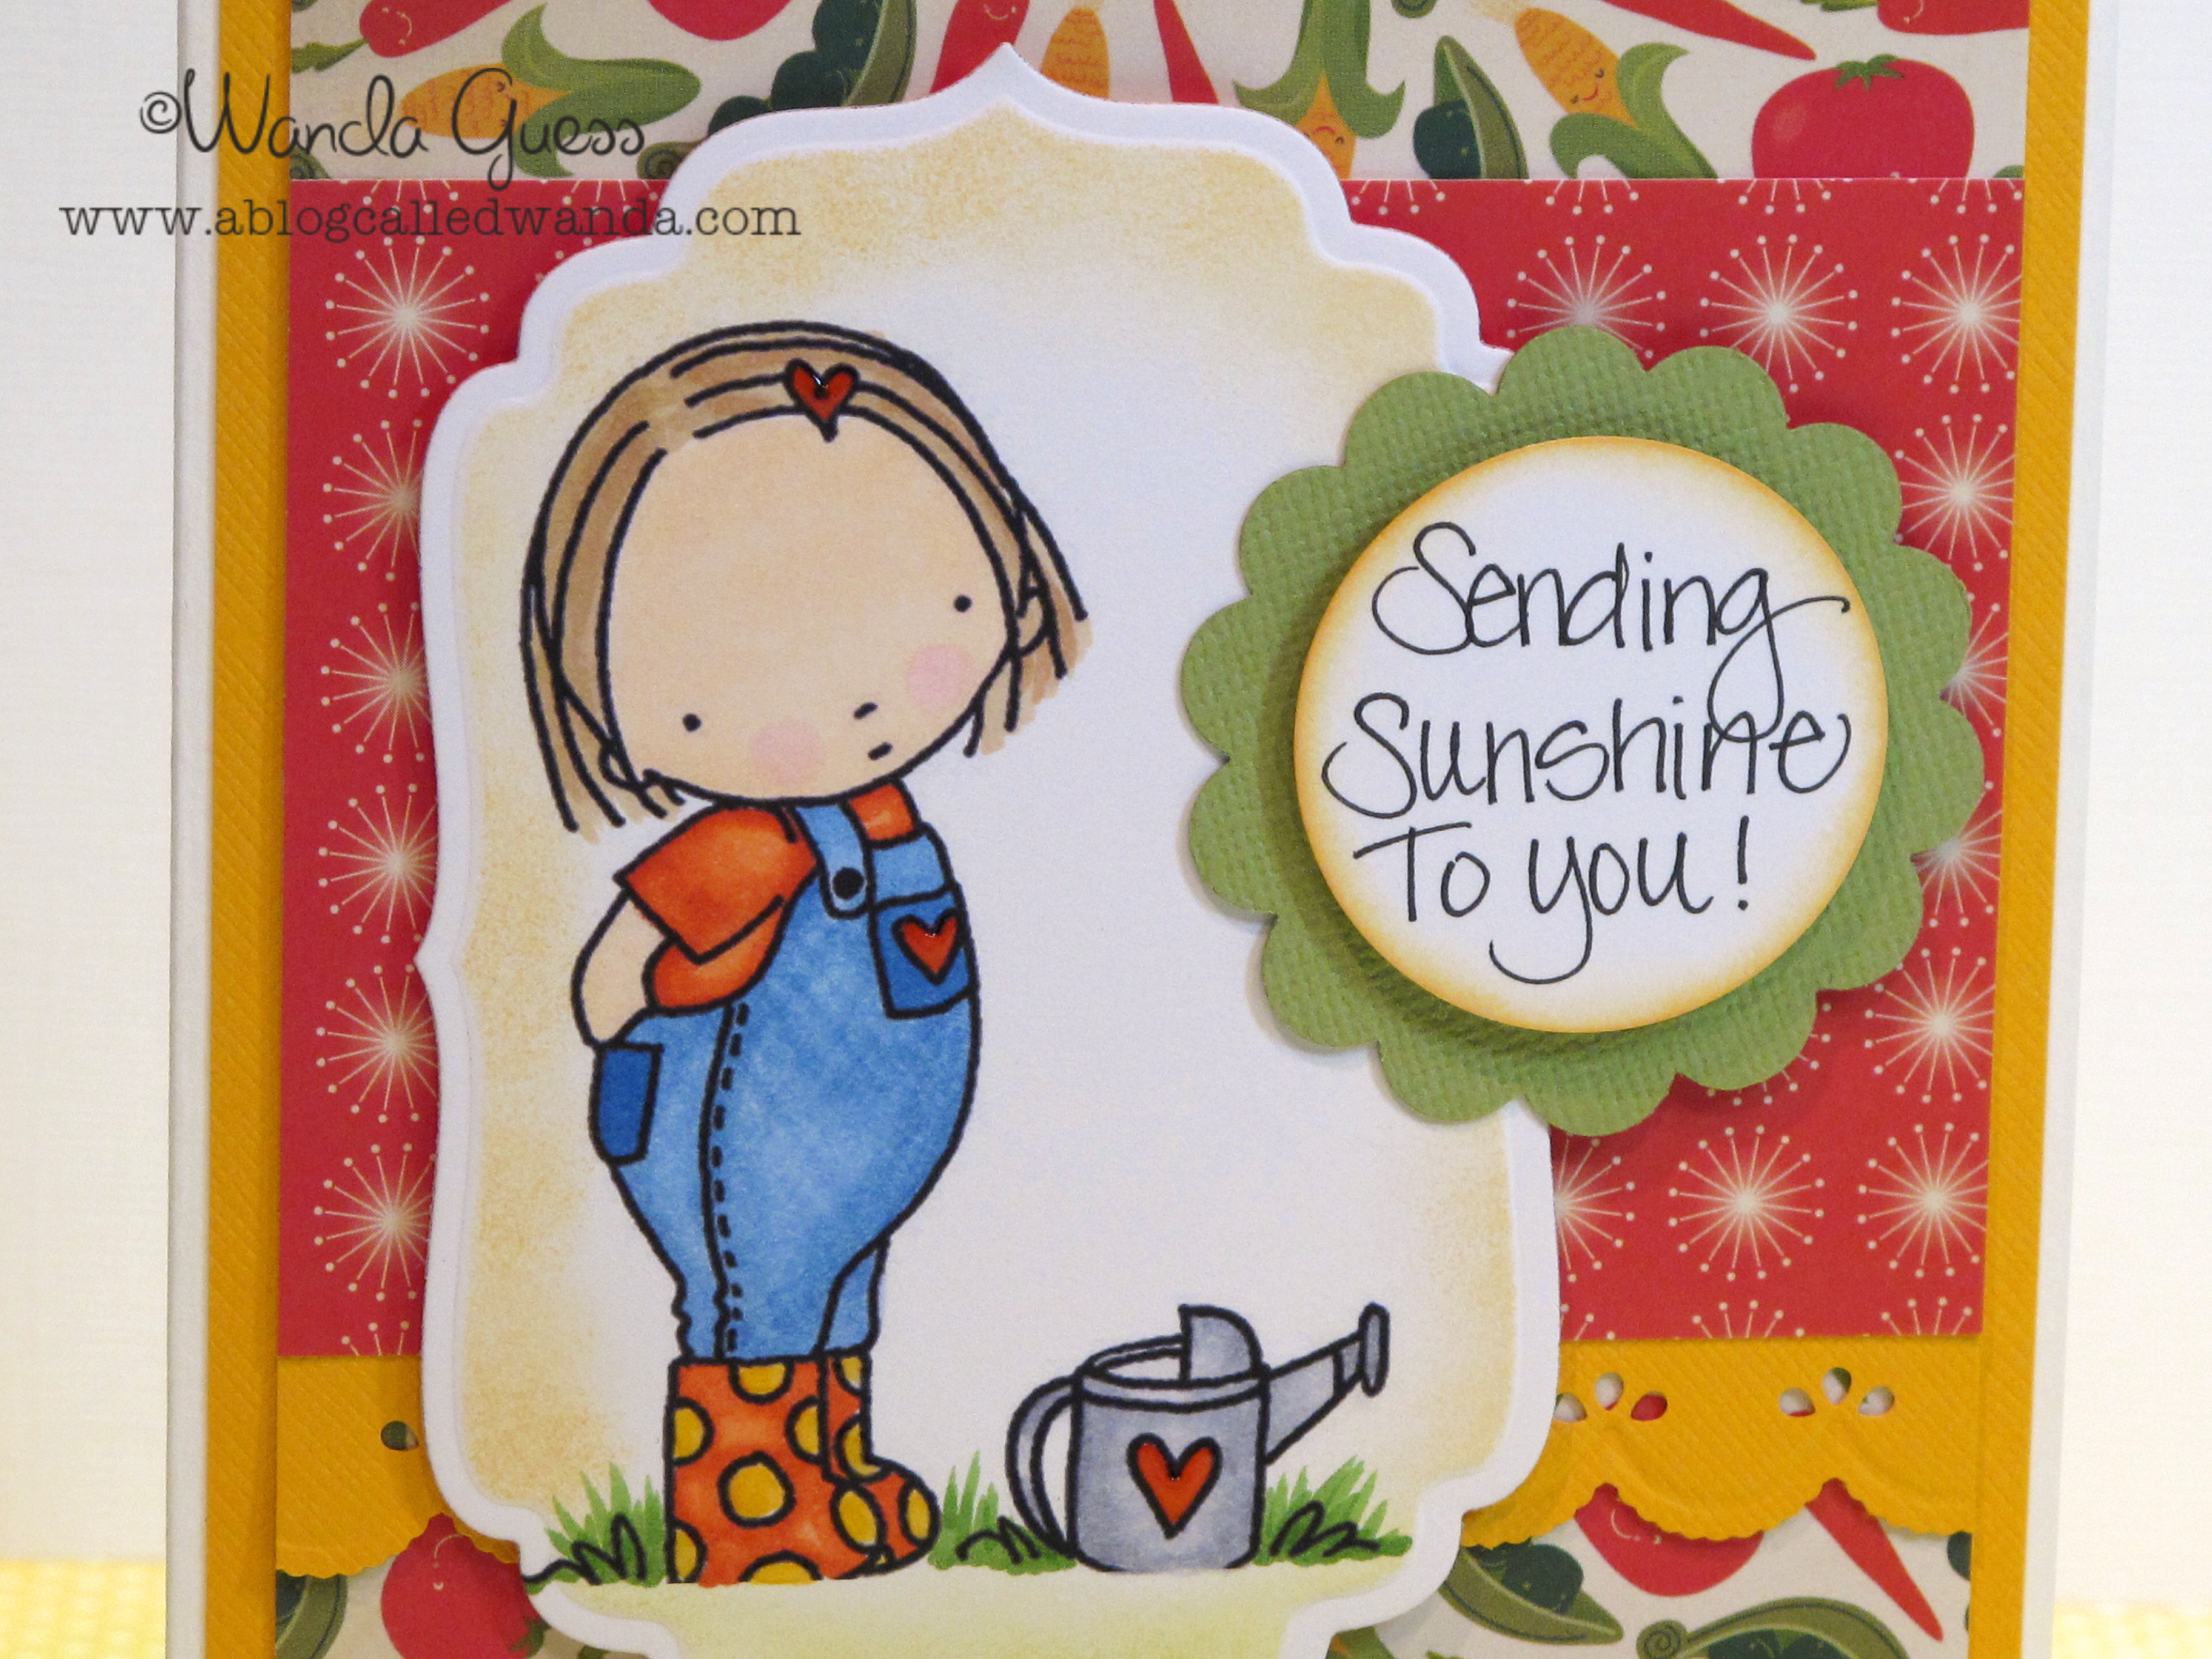
    This card for today is all about Summer gardening… I am really in love with these Pure Innocence images lately. They are so fun to color and you can change the entire feel of the project just be using different papers and embellies. (you may remember I recently posted this image in pinks and greens)This card has made it's way all the way to the Netherlands to my sweet pen pal Holly! So now I can post it!


    IMG_2643

    I have no idea where I got this cute little watering can embellie! It's been in my stash for a long time and I thought it was perfect for this card! For the bow, to add a little thickness, I put an extra snippet of ribbon under the knot. Can you see the little faces on the veggies? ACK!

    IMG_2644


    The image was colored with my Copics in colors to match the patterned paper (which is from Cosmo Cricket). I could not find a sentiment that fit on the front in the circle so I handwrote one! I don't usually do that but I think it adds a nice personal touch. I used my Nestabilities for the cut out.

    IMG_2645 


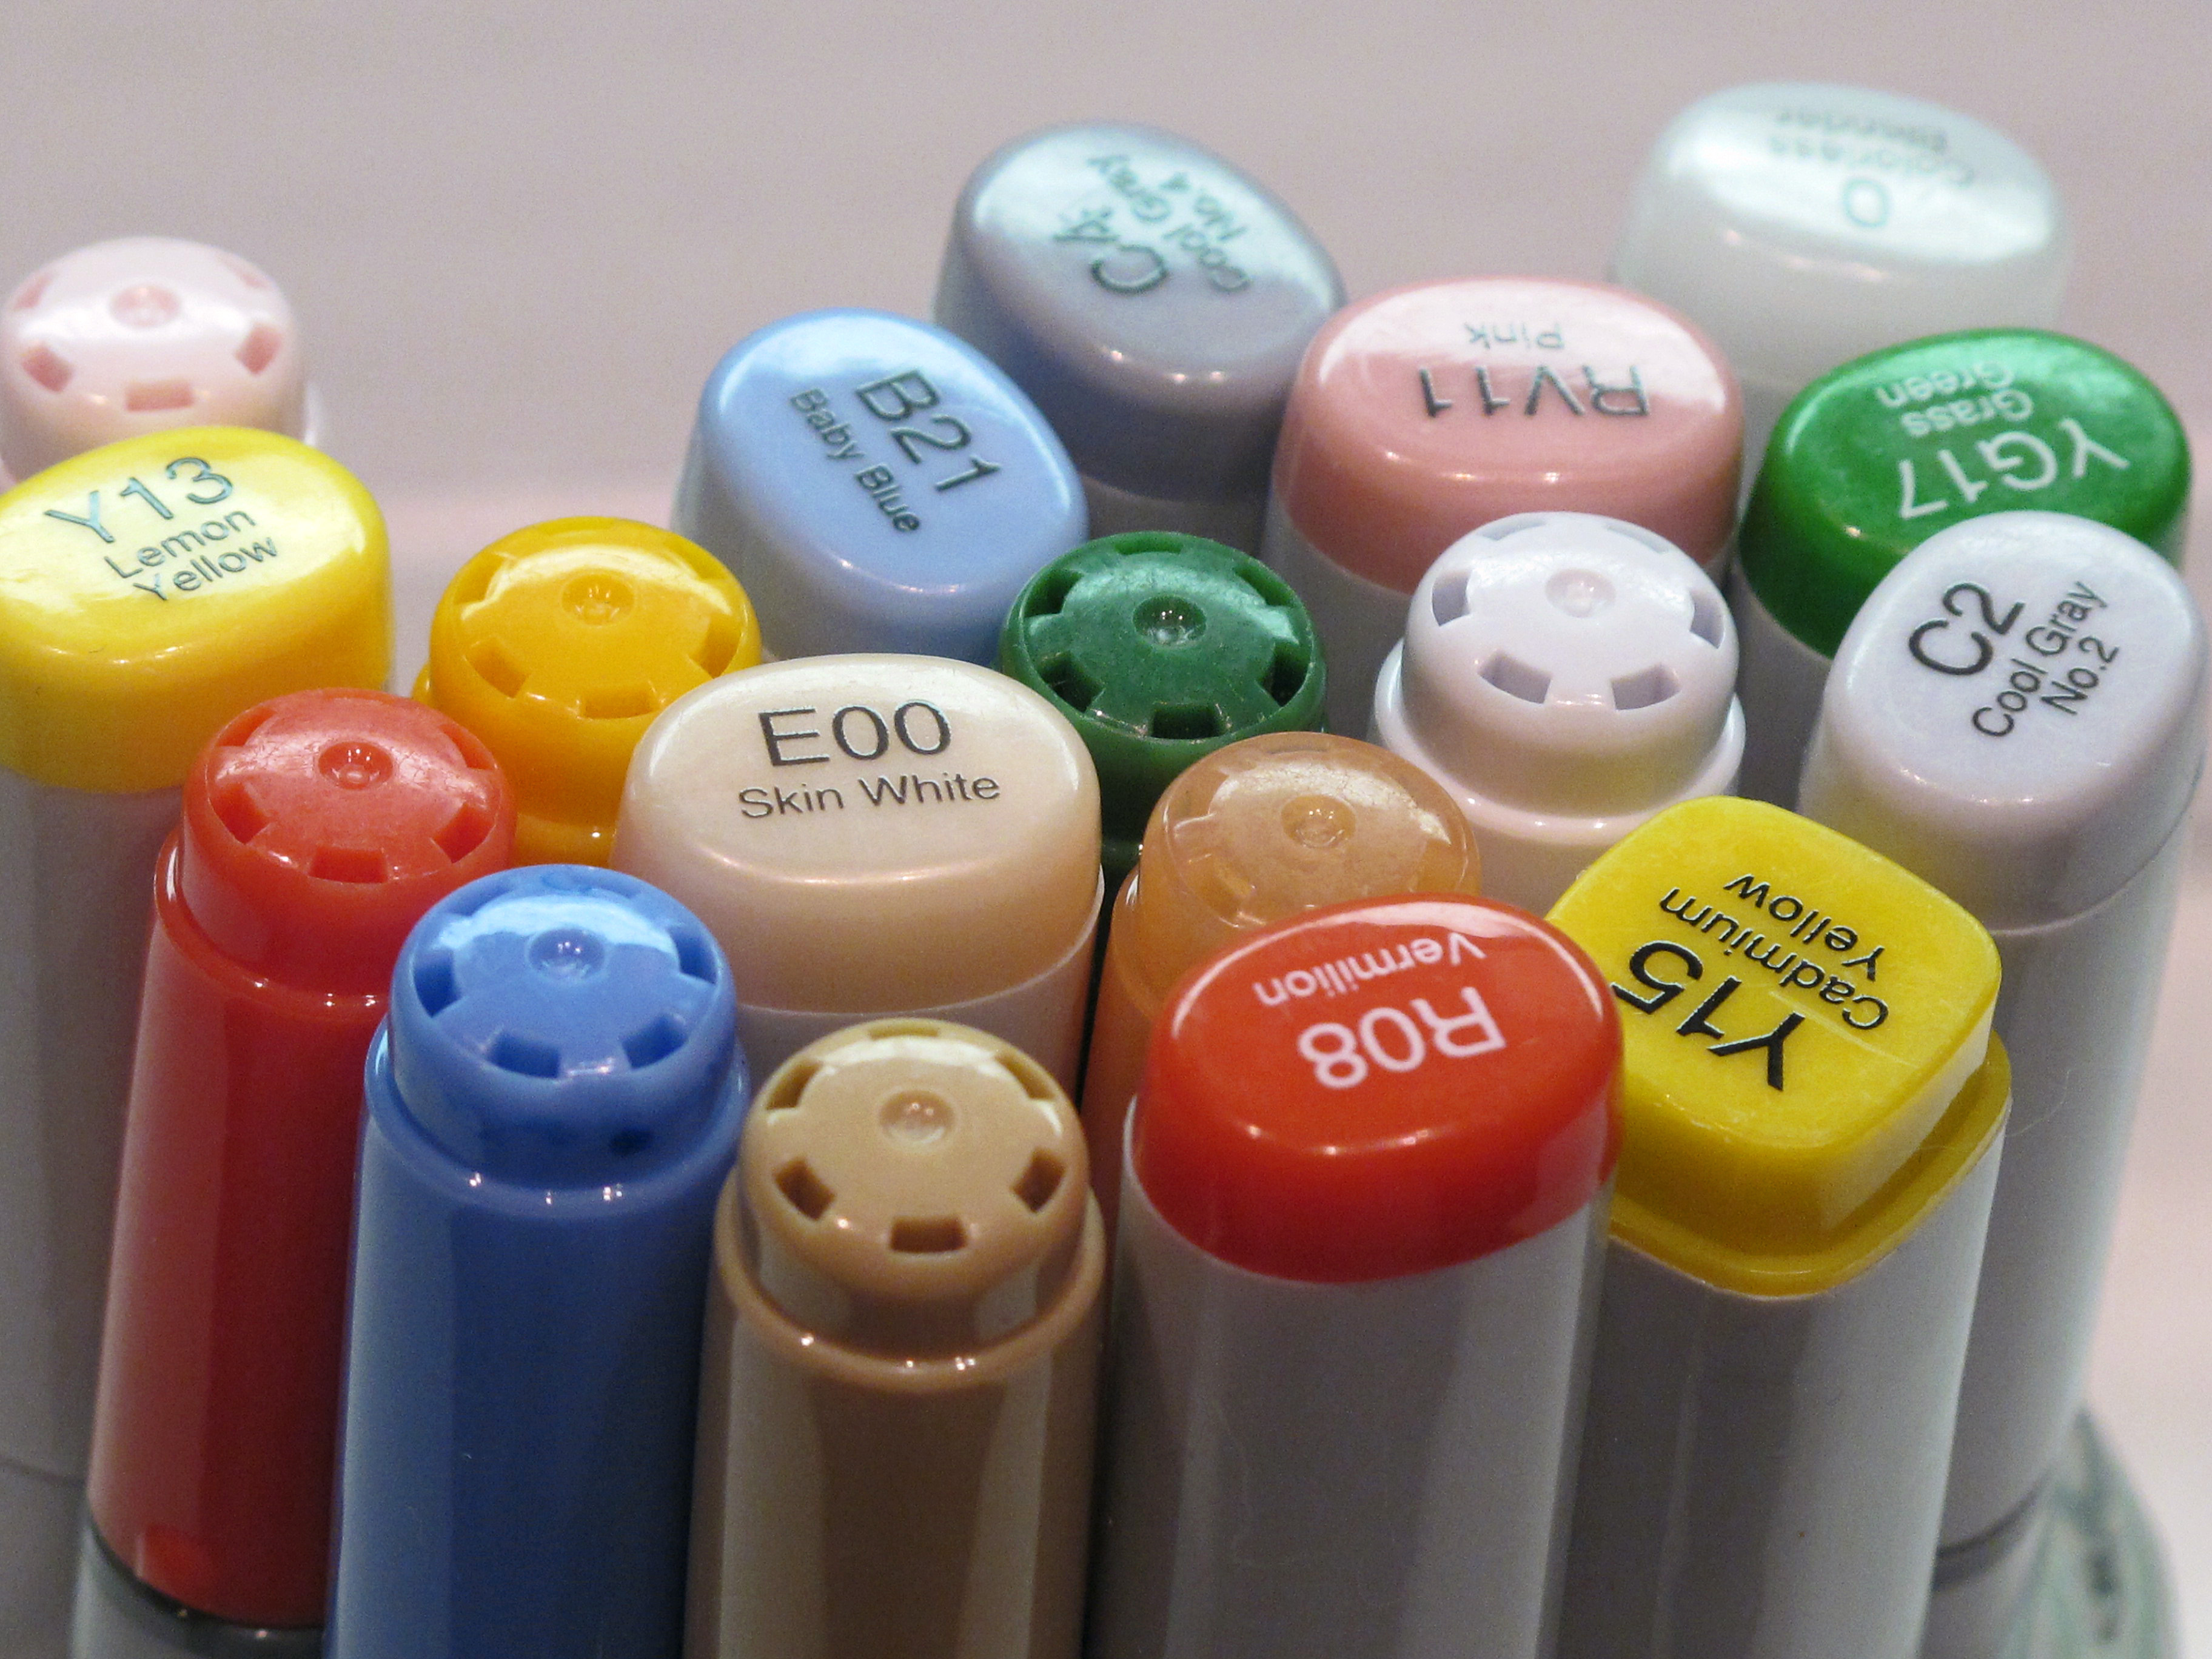
    My Copic color pallette:

    IMG_2639


    Here is the inside of the card:

    IMG_2647


    The message is true…I wish you all a day filled with good things!


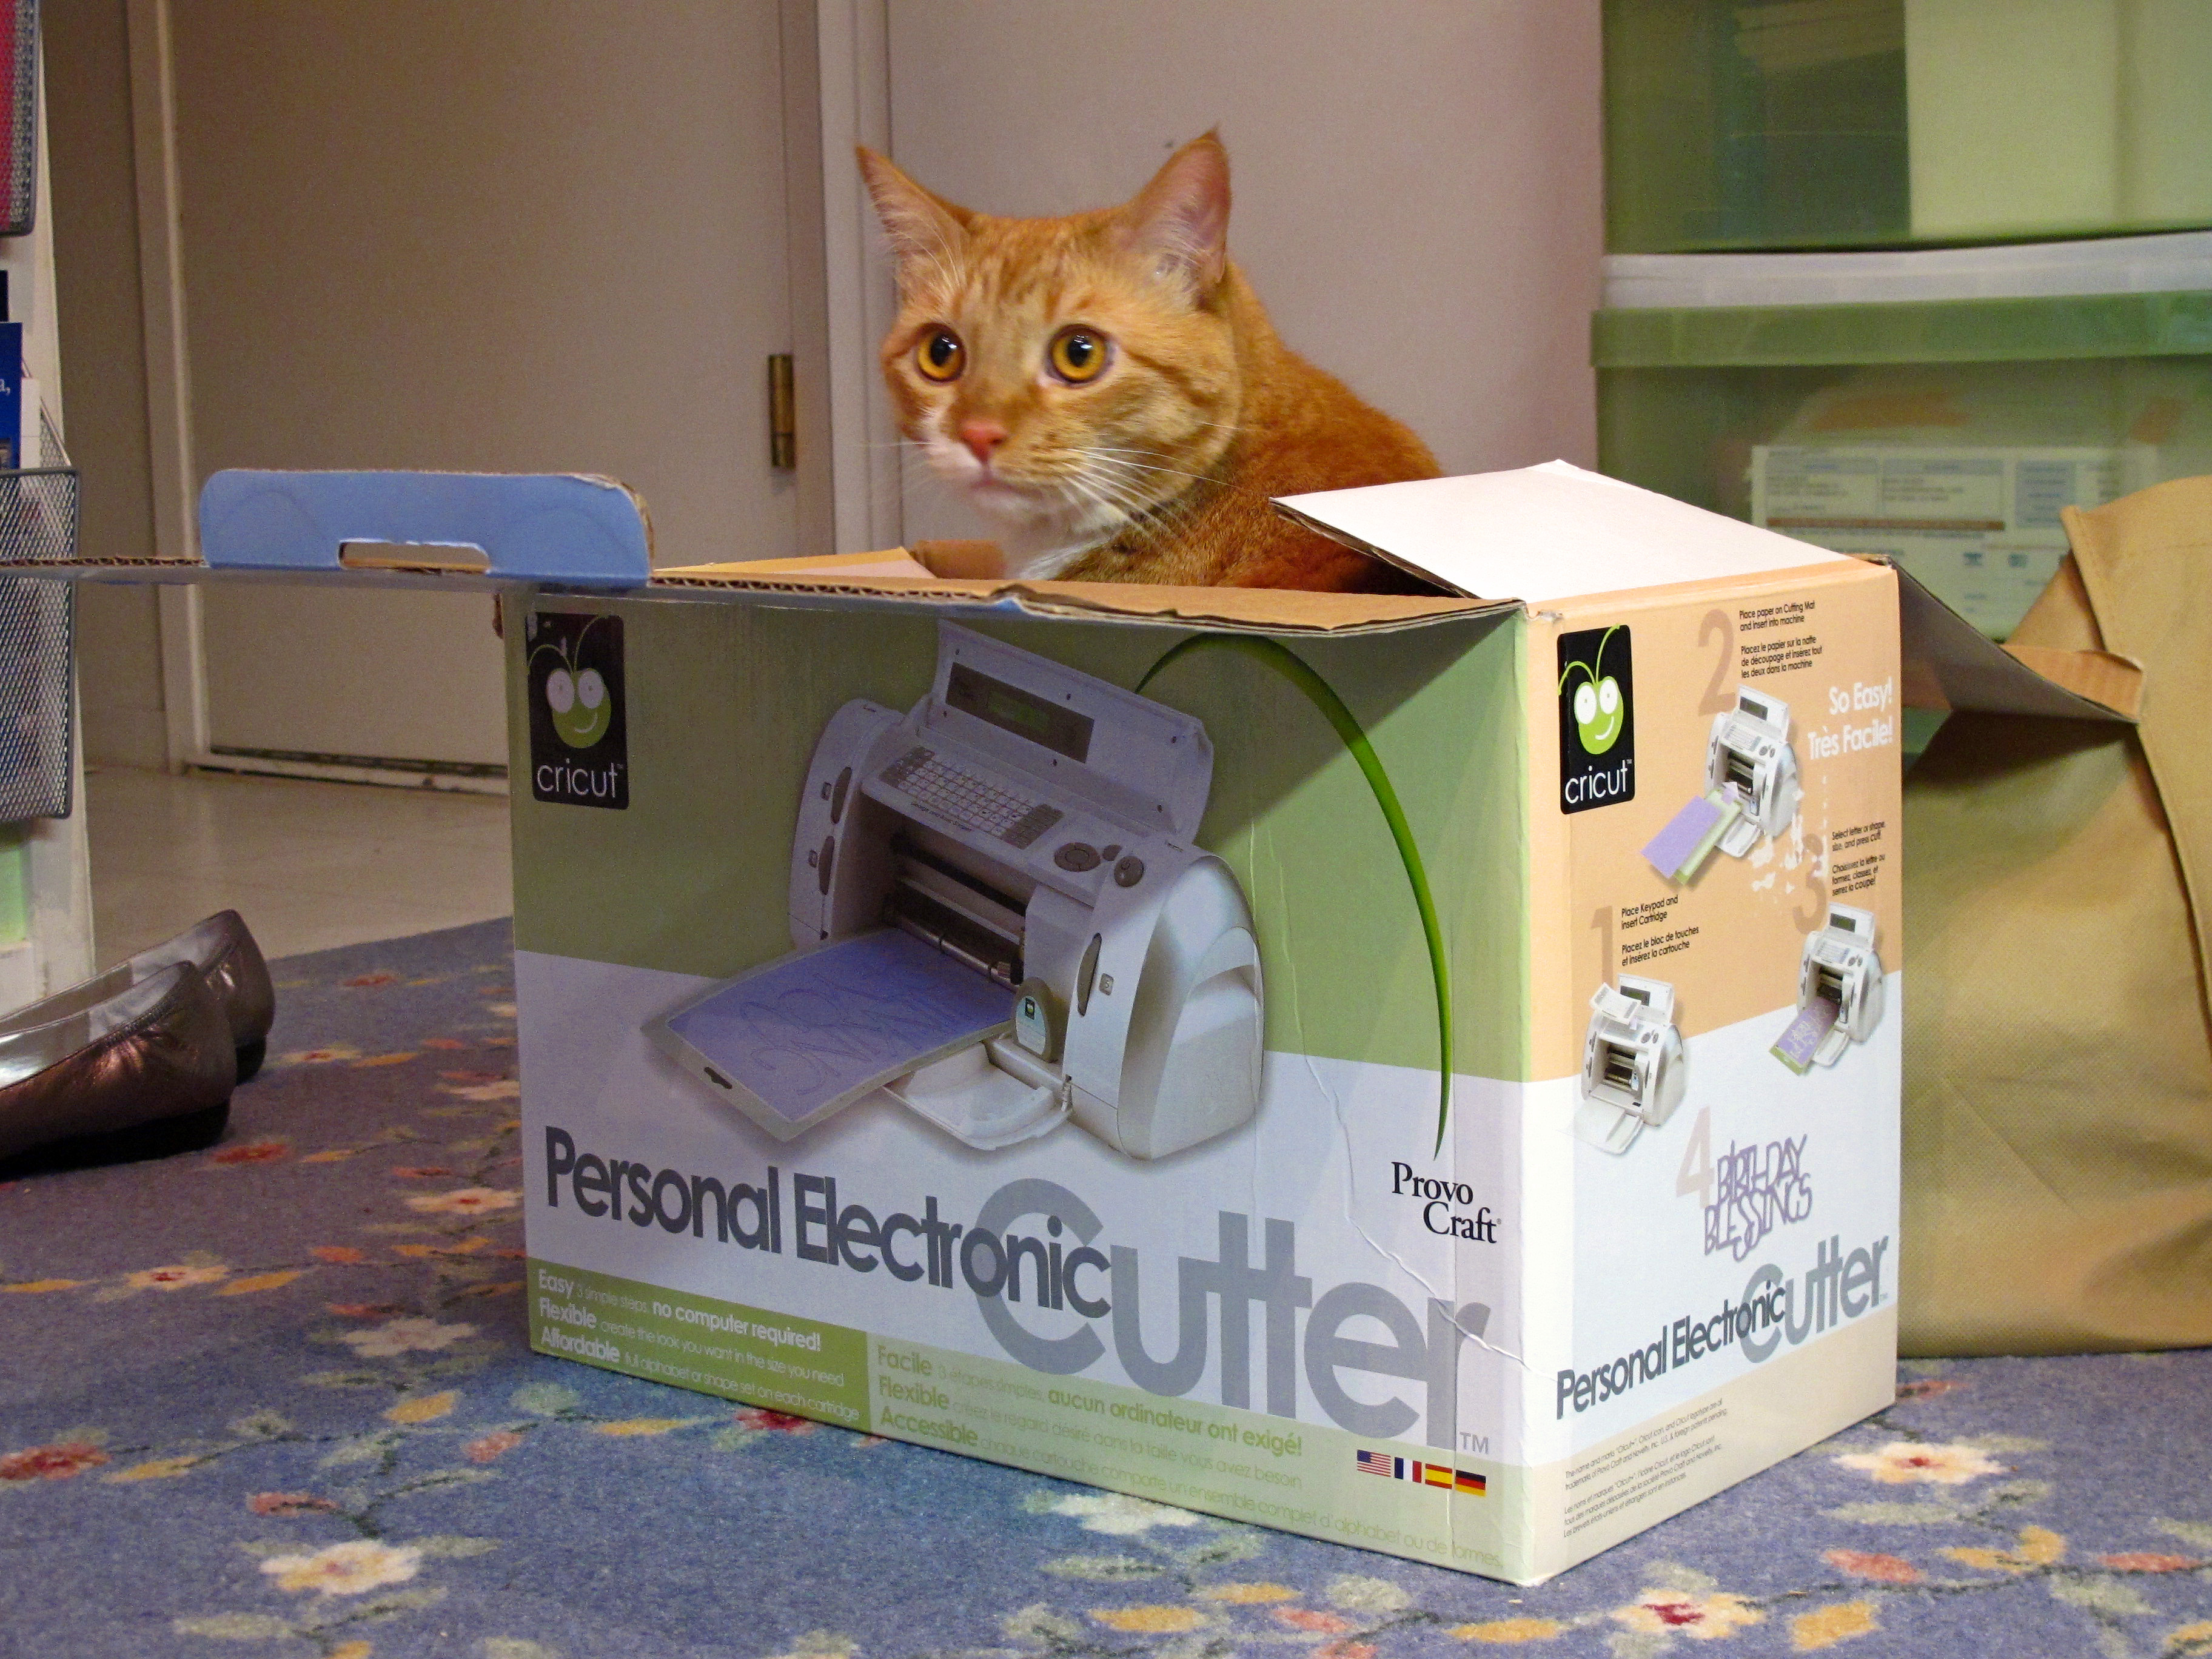
    Like a box filled with cat!

    IMG_2893
    Am I in trouble?


    IMG_2894

  • Red, Yellow, and Turquoise…Two challenges in one!

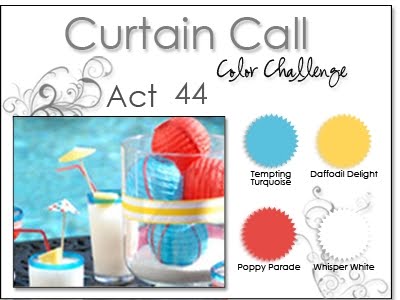
    Hey! How's it going for you this week? It's hotter than you-know-what in Sac-town and we're in the dark trying to stay cool tonight! As I was surfing around earlier in the week looking for some fun challenges I came across not one, but two…using the exact same color scheme! Must be something in the air! I love these colors together and will definitely use them again. 

    I started with one card, and then I made another one…and then I made another one! Three cards in all today – with the same colors. Very different designs but I sure had fun.

    The two challenges are from WPlus9 Design Studio and Stacey's Stamping Stage Curtain Call. Click on the links to check out their cool blogs! Better yet…enter your own card and play along!

    Color_cue7 
      
    Curtain call 44 corrected


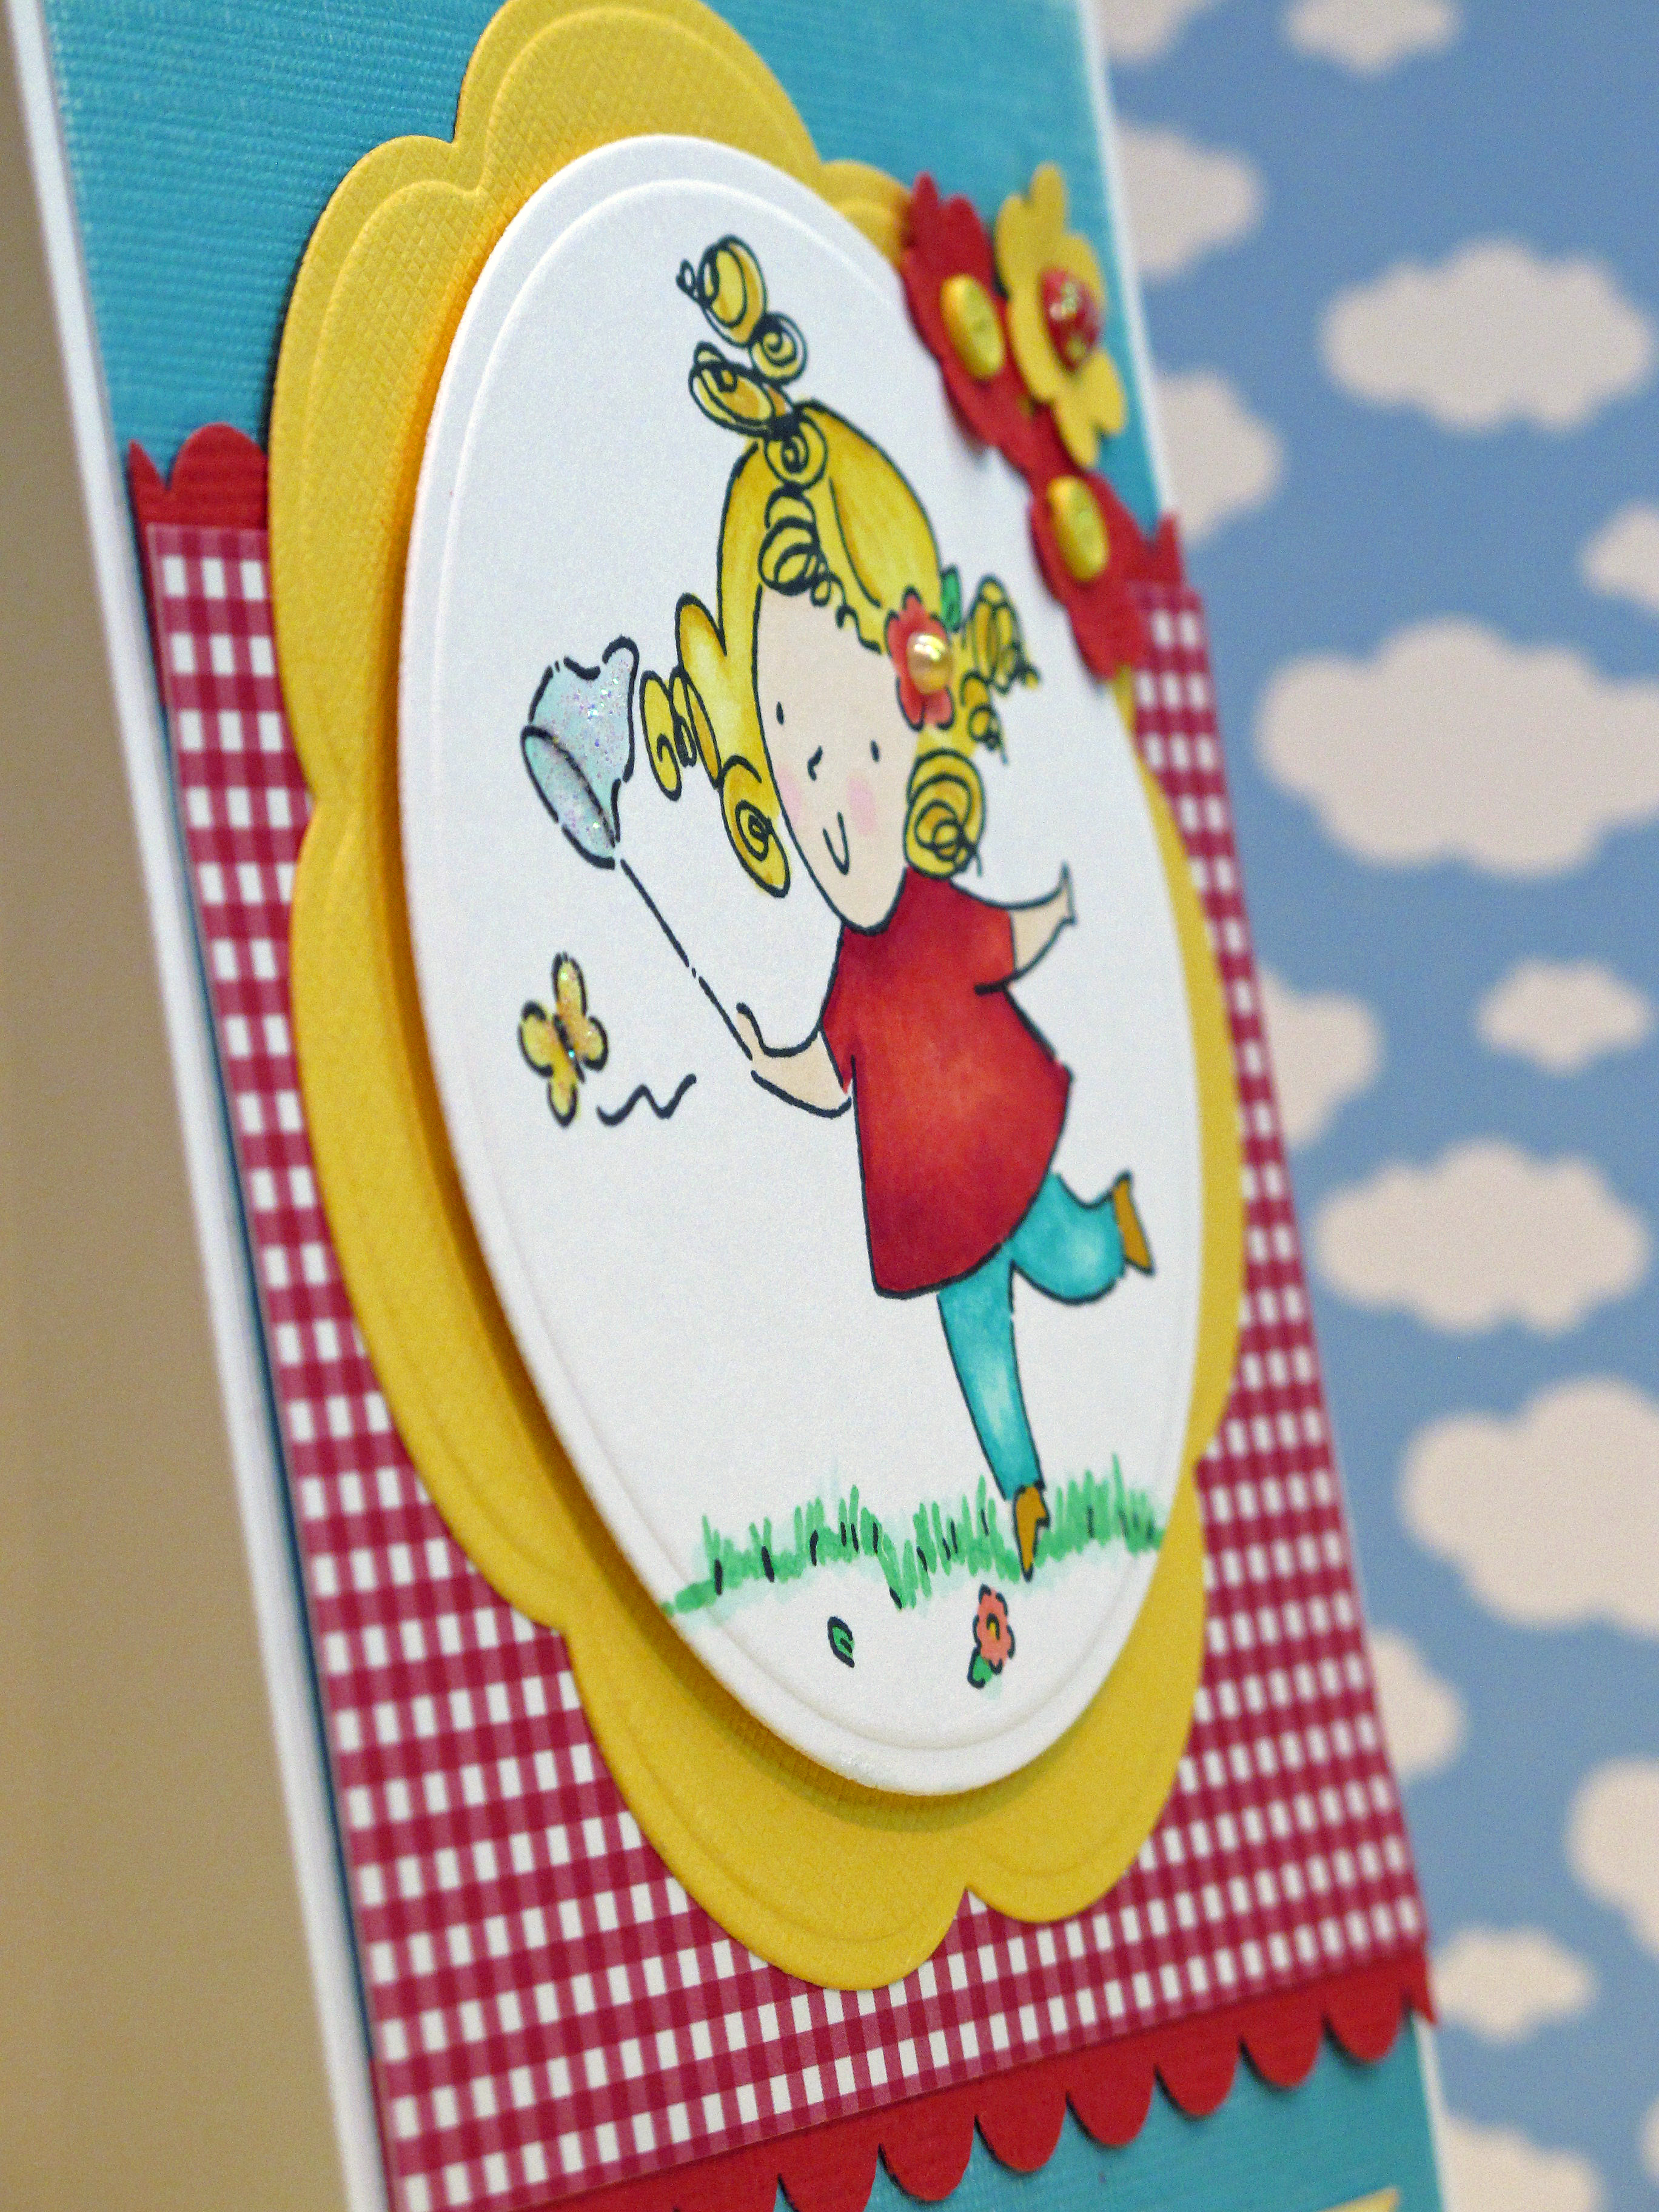
    I think this card was my favorite of the bunch! The stamp is just too cute. The saying is actually part of the stamp image but I cut it off the bottom of the paper and used it as a separate element. I made the red/yellow flowers from a tiny punch and some brads.Can you see that tiny pearl in her hair? That is a white pearl that I colored yellow with a Copic marker to make it match! Y19 to be exact! I put some glitter on the butterfly and the net and the brad centers.

    IMG_2872


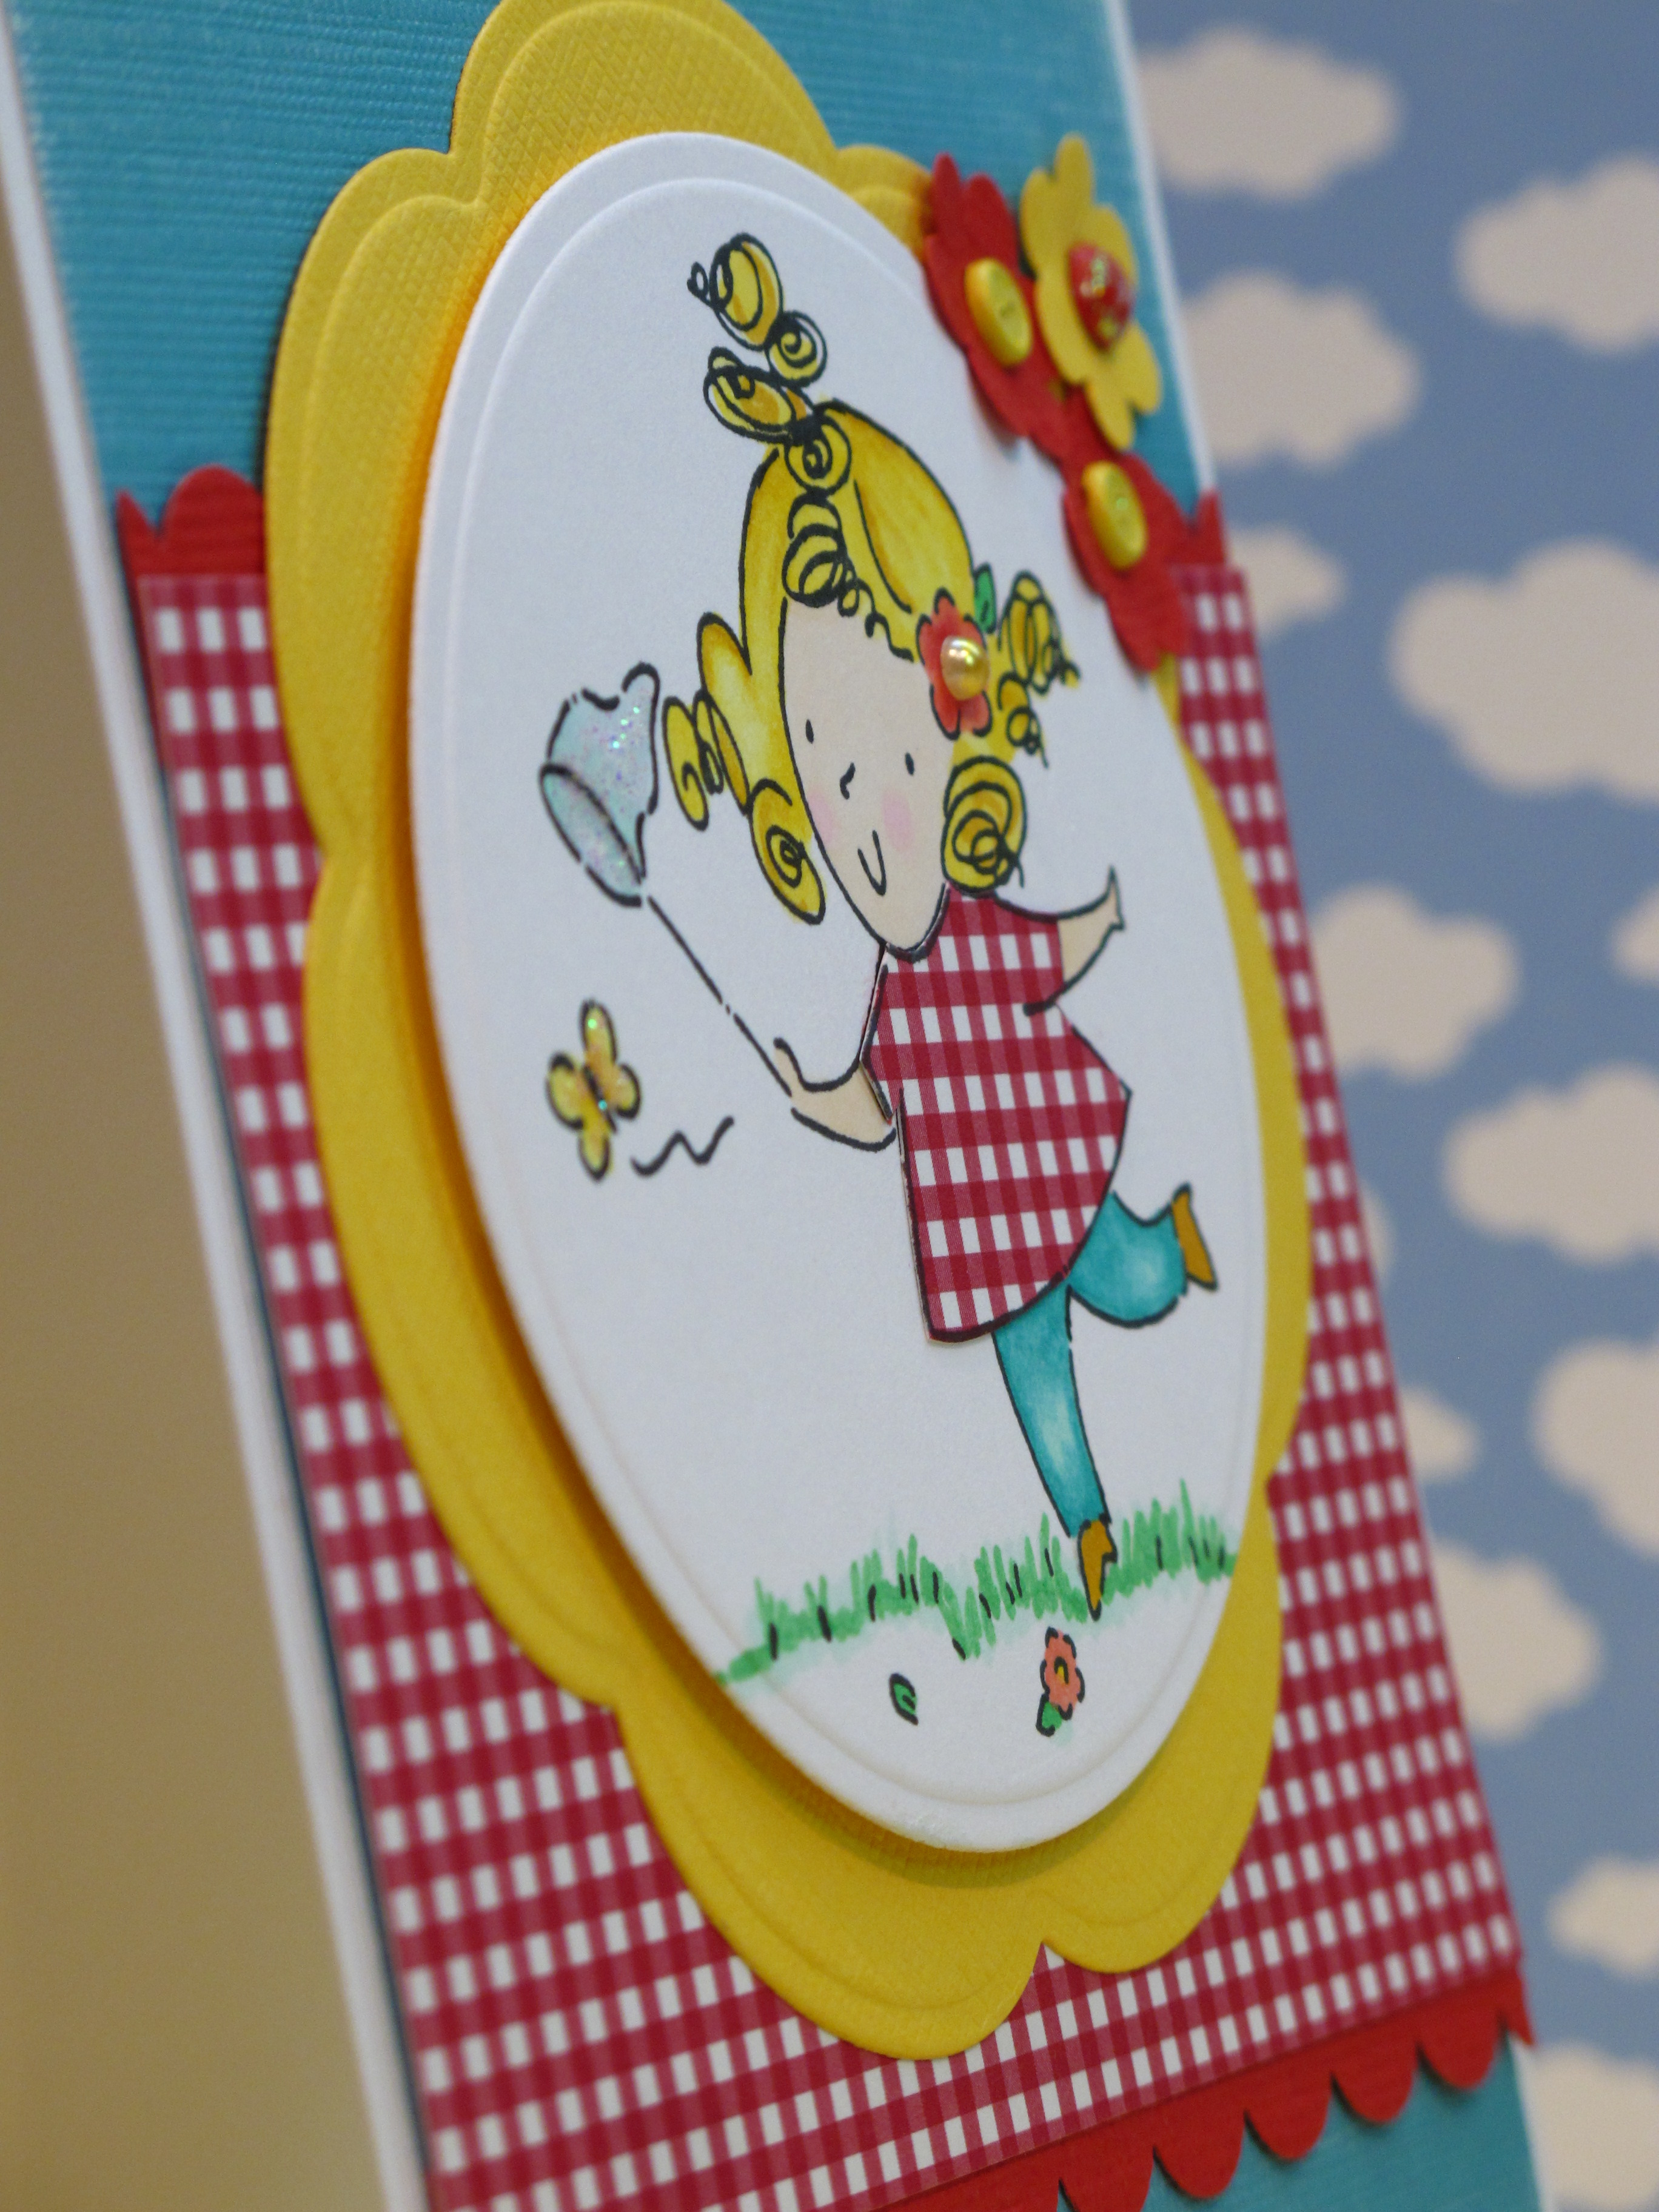
    After I finished the card…I started thinking…what if her shirt was gingham? So I paper pieced a cute little shirt for her!   Renee…if you're reading this…it reminds me of your cute red and white shirt!

    IMG_2875


    IMG_2876


    Here is a close up of my coloring and shading. I wanted her pants to look faded on the knees so I used a lighter color. The hair is three/four different shades and the top is R27 with a little R22.

    IMG_2871


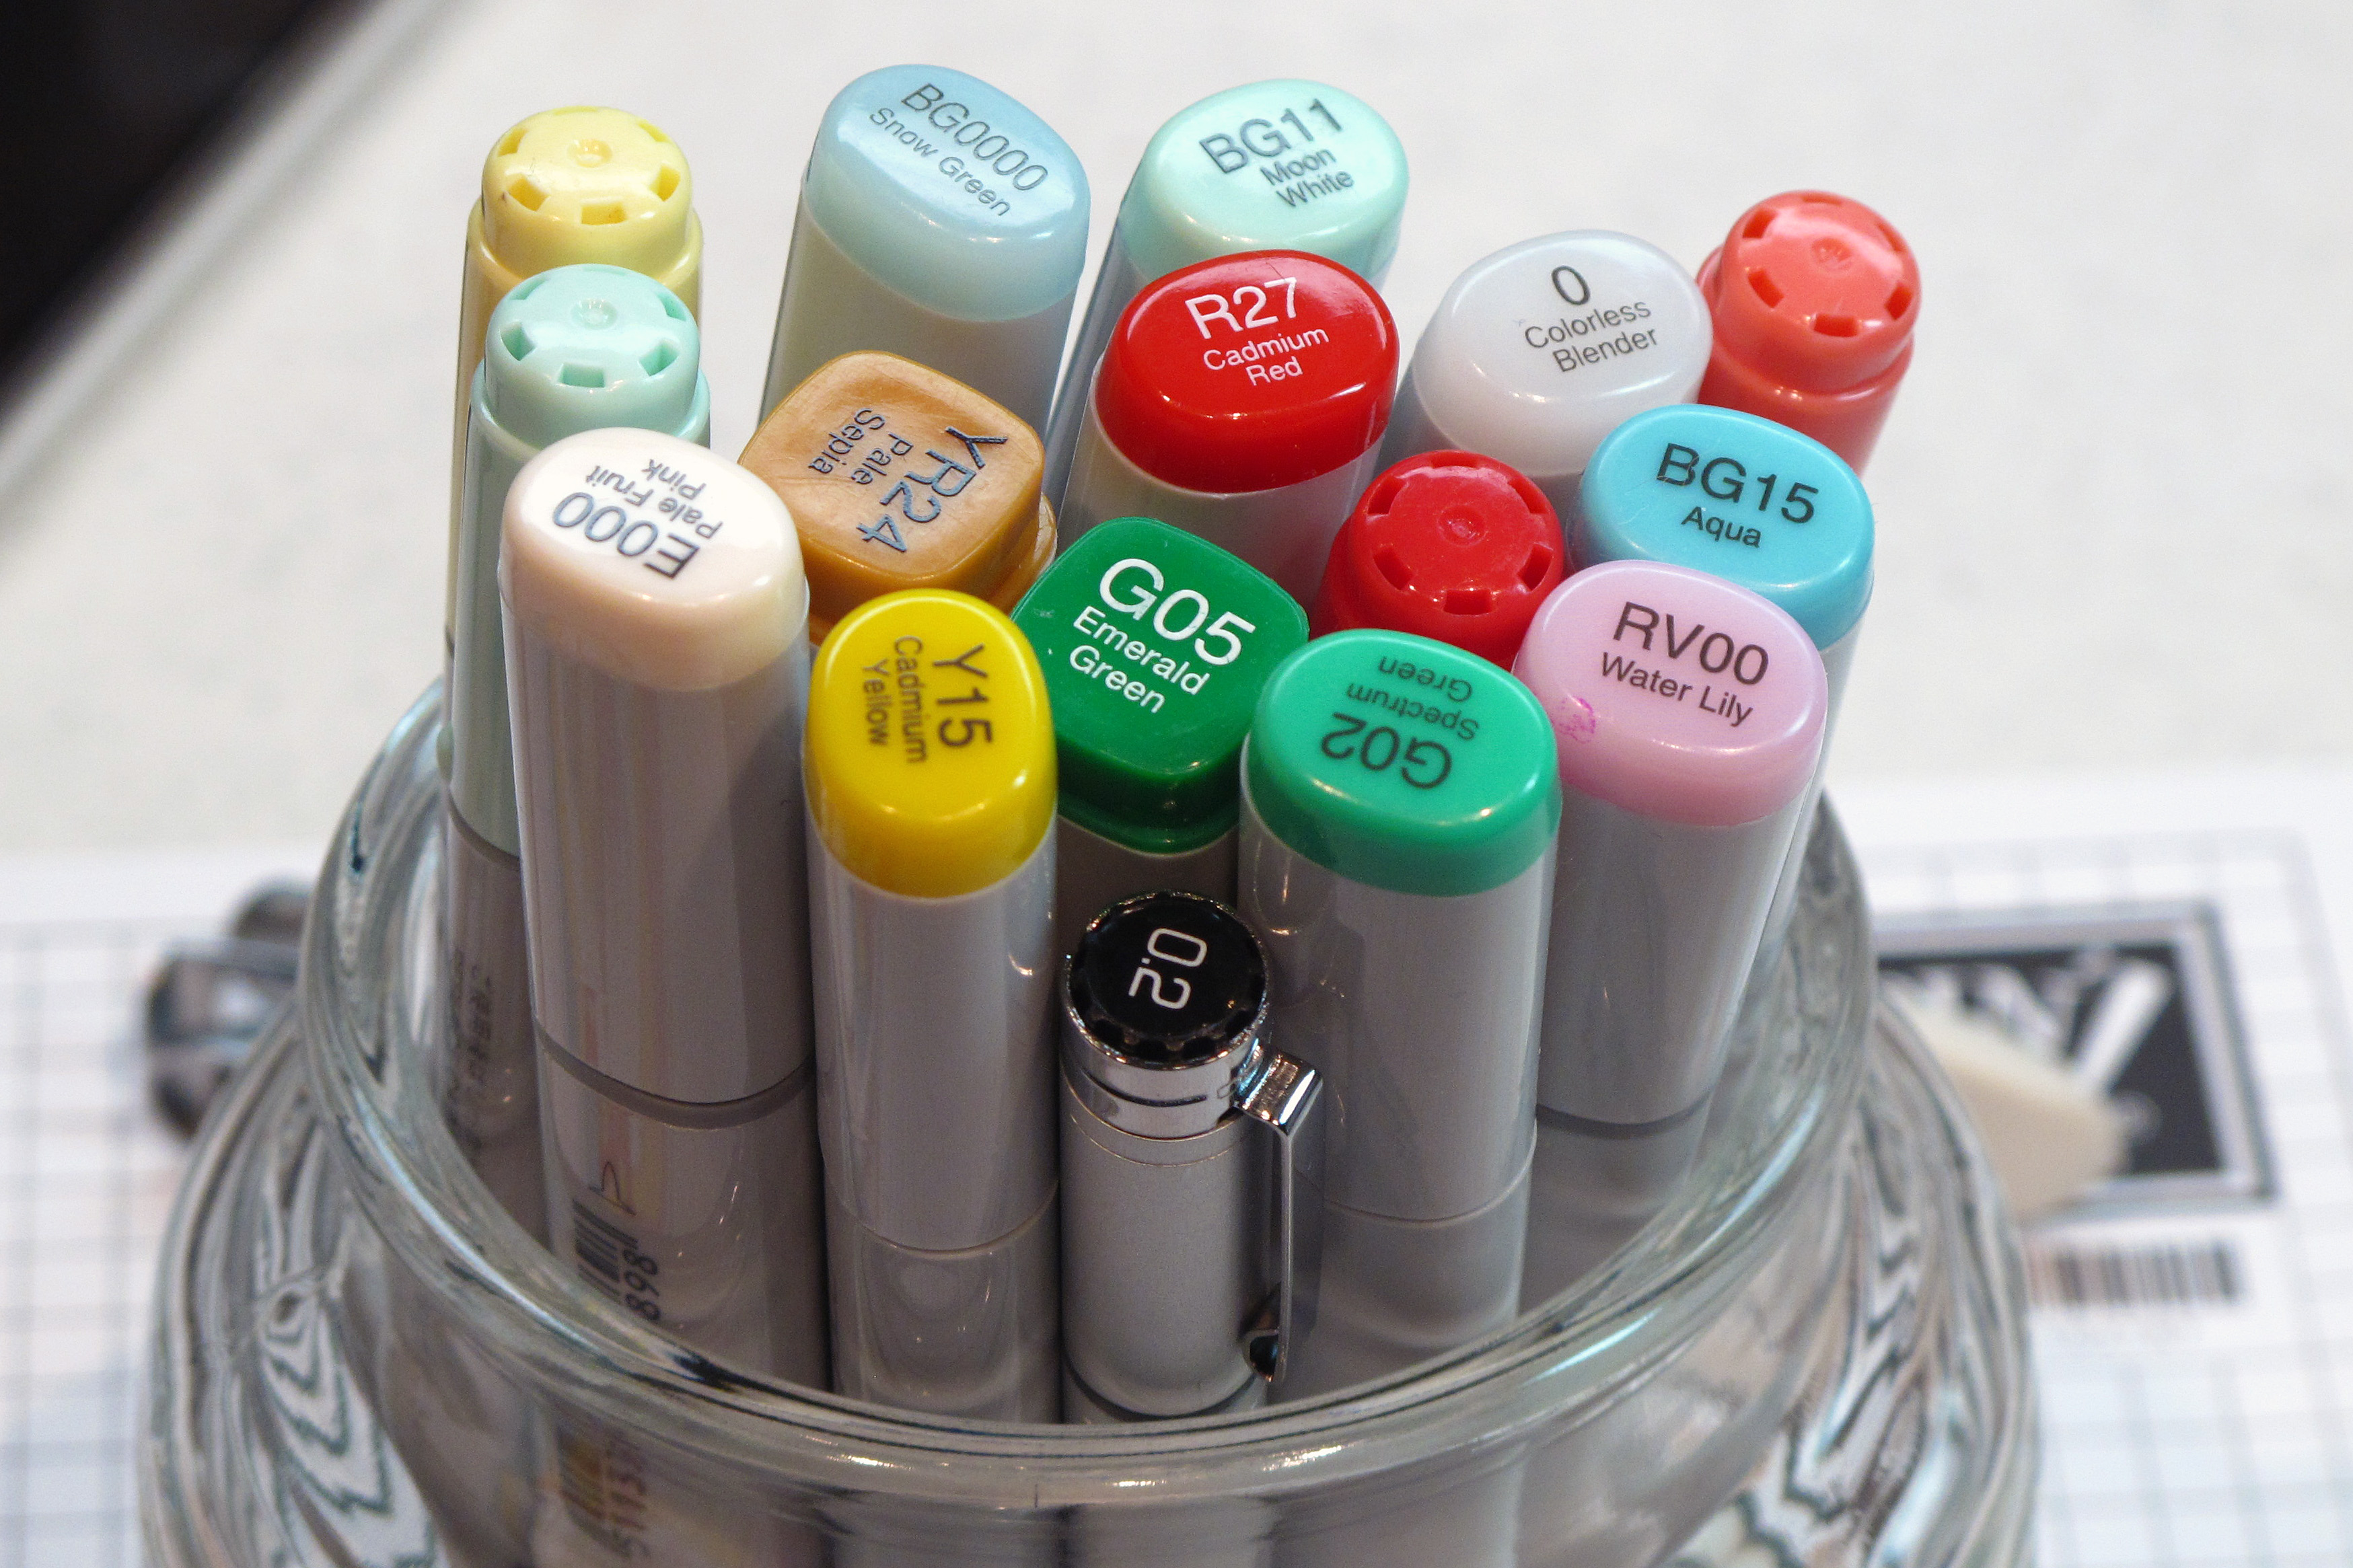
    Here is my color pallette of Copics:


    IMG_2857


    IMG_2862


    This was my first card for the challenges…Lots of red and just a bit of turquoise. Don't you love that birdie paper? There is no stamping on this card…all paper, stickers and rub-ons!

    IMG_2868


    IMG_2869


    Did you notice the pretty paper lanterns in the Curtain Call inspiration image? That is what inspired this version of the challenge! This card also has no stamping! The lanterns are from K & Company. The rub-ons with an Asian flair are from Basic Grey.

    IMG_2864


    So very pretty!


    IMG_2866

    Last night on the way home from work I stopped at Michael's…and there it was…the Martha Stewart 2010 Halloween collection! ACK! EEK! So dang fun! Gotta love Martha at Halloween. Girlfriend goes all out for this fun day! There are red, shiny, glittery blood stickers…and cool stamp sets and fun glitter colors. TOO much!  I AM READY for Fall!
  • Embellish Magazine’s quirky, cutesy style + color challenge!
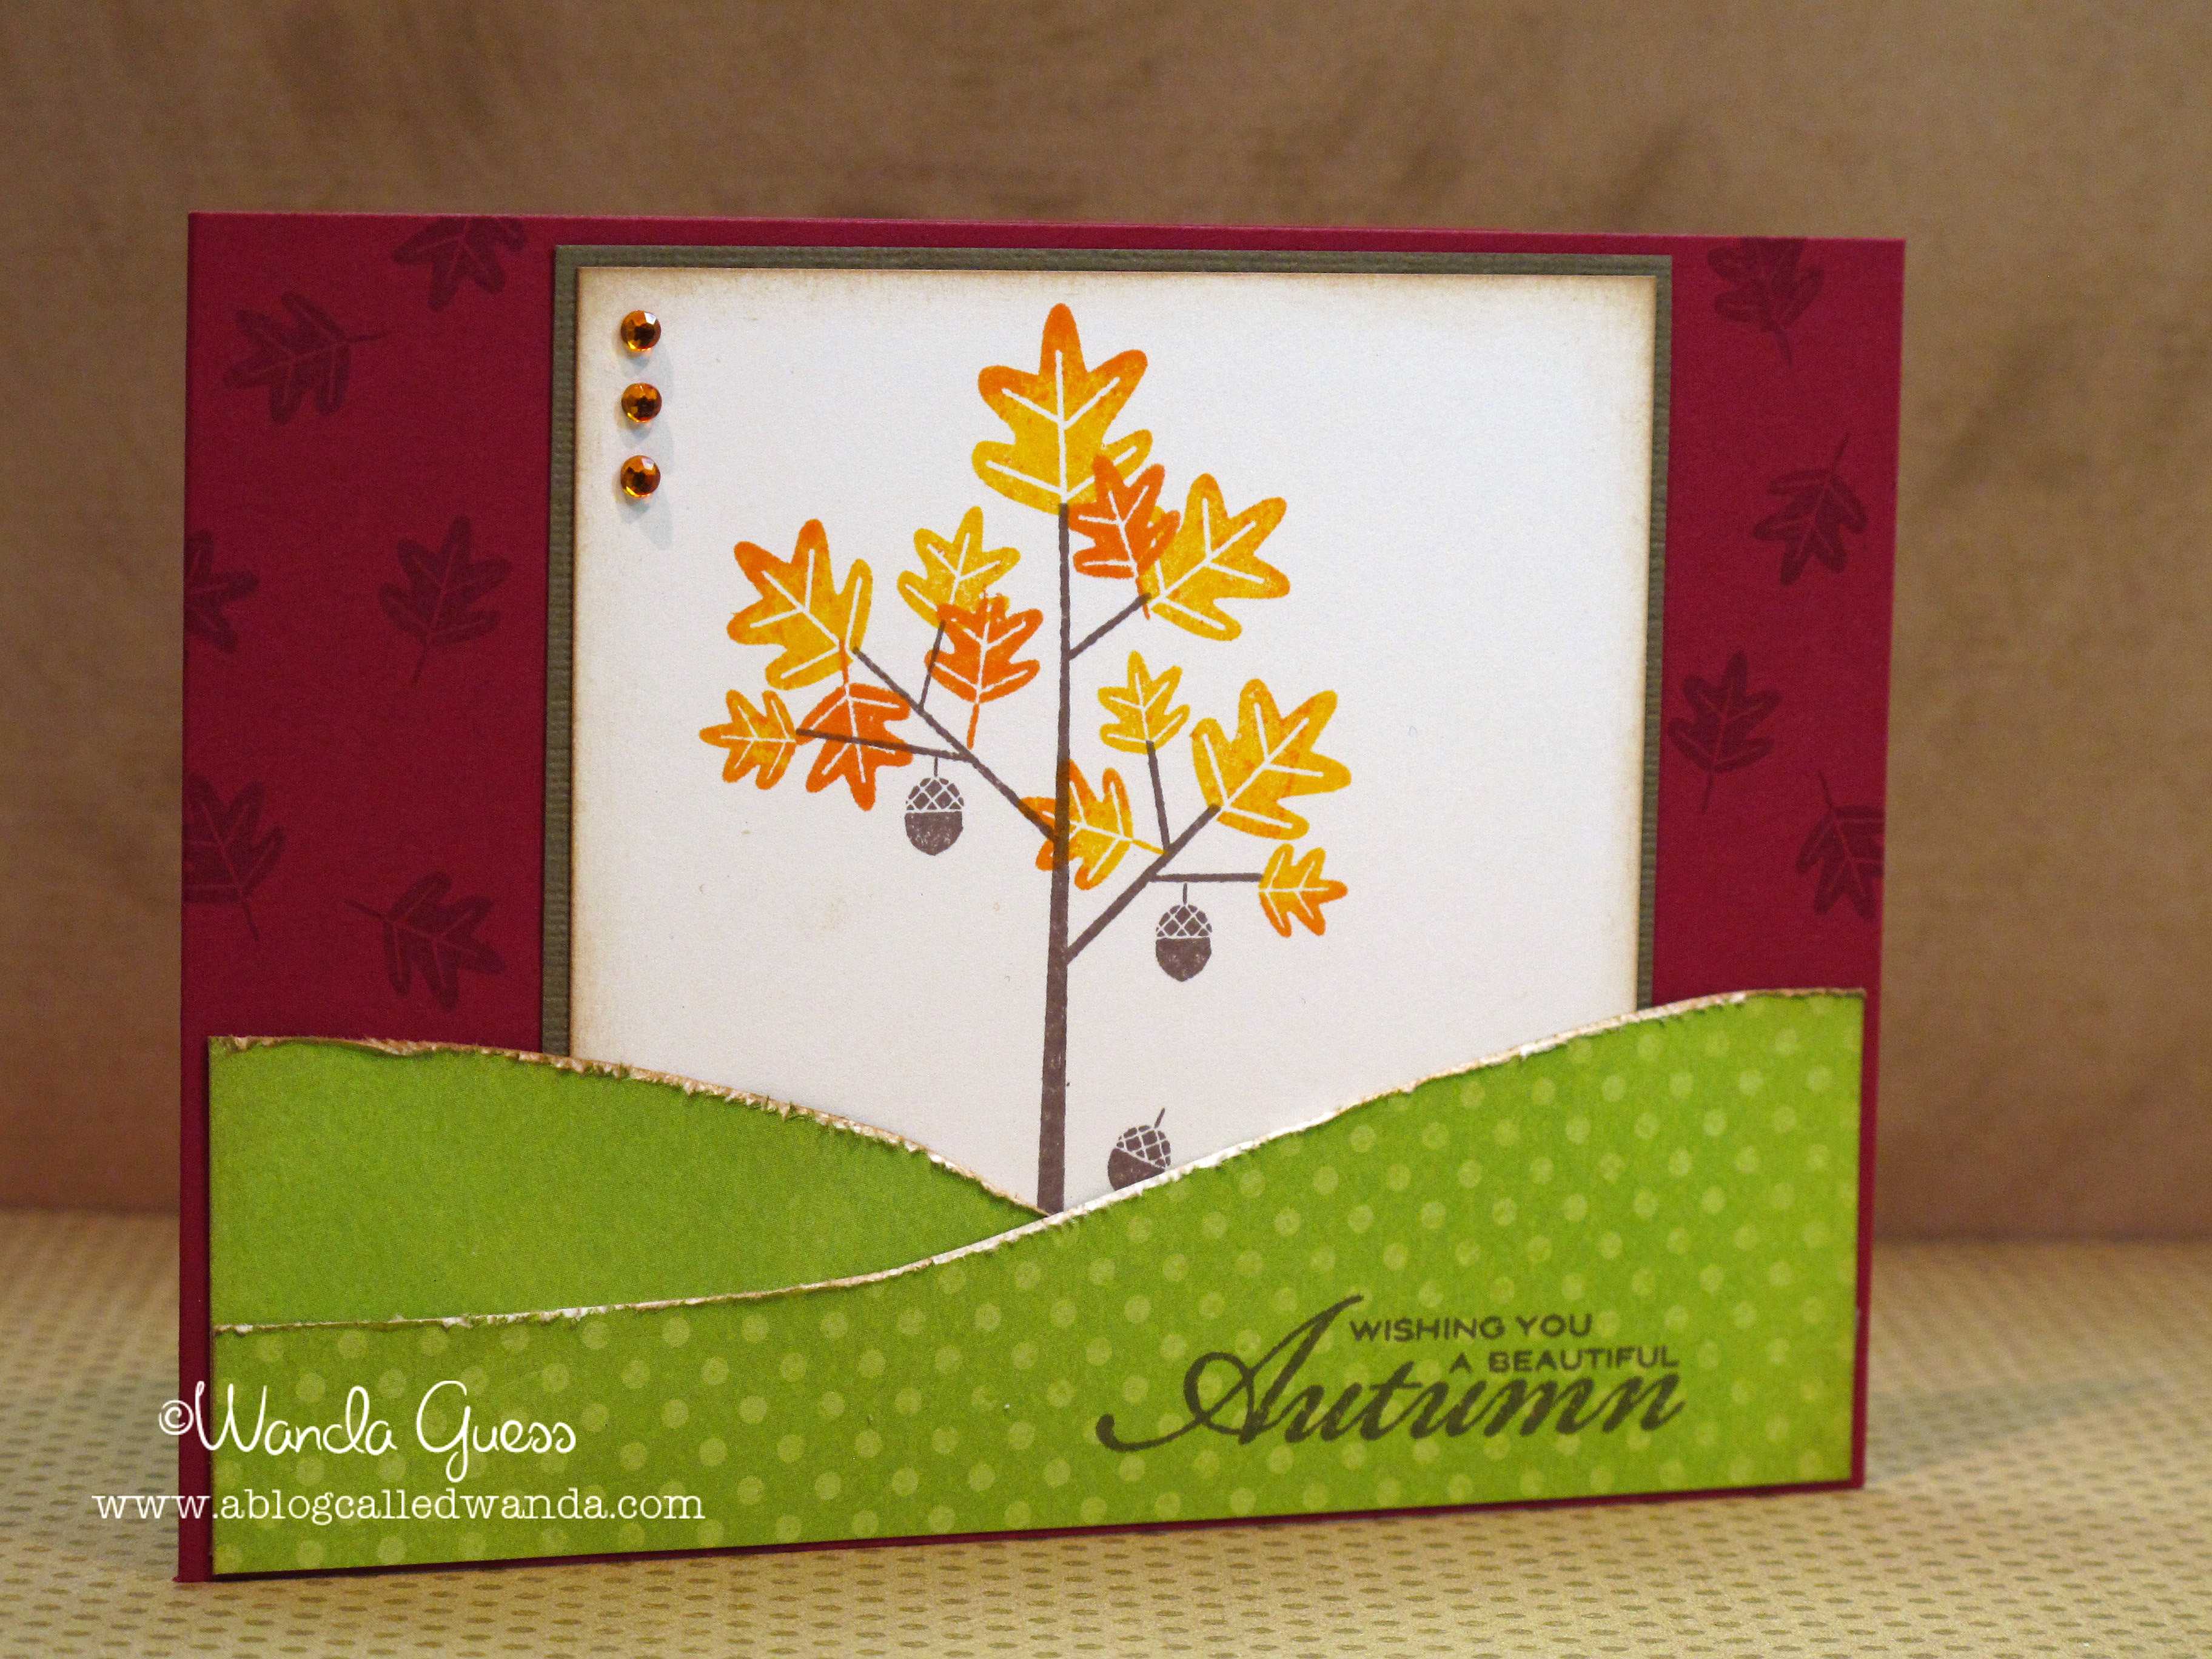
    Hi gang! Today's card is the last of my challenge cards that I've made in the past week! It has been really fun to create based on some great inspiration images. This last one is supah cute! The challenge is from Embellishmagazine.com and combines a color challenge (cream, peach, seafoam and kraft) with a style challenge (quirky, cutesy, and clean). Dang!

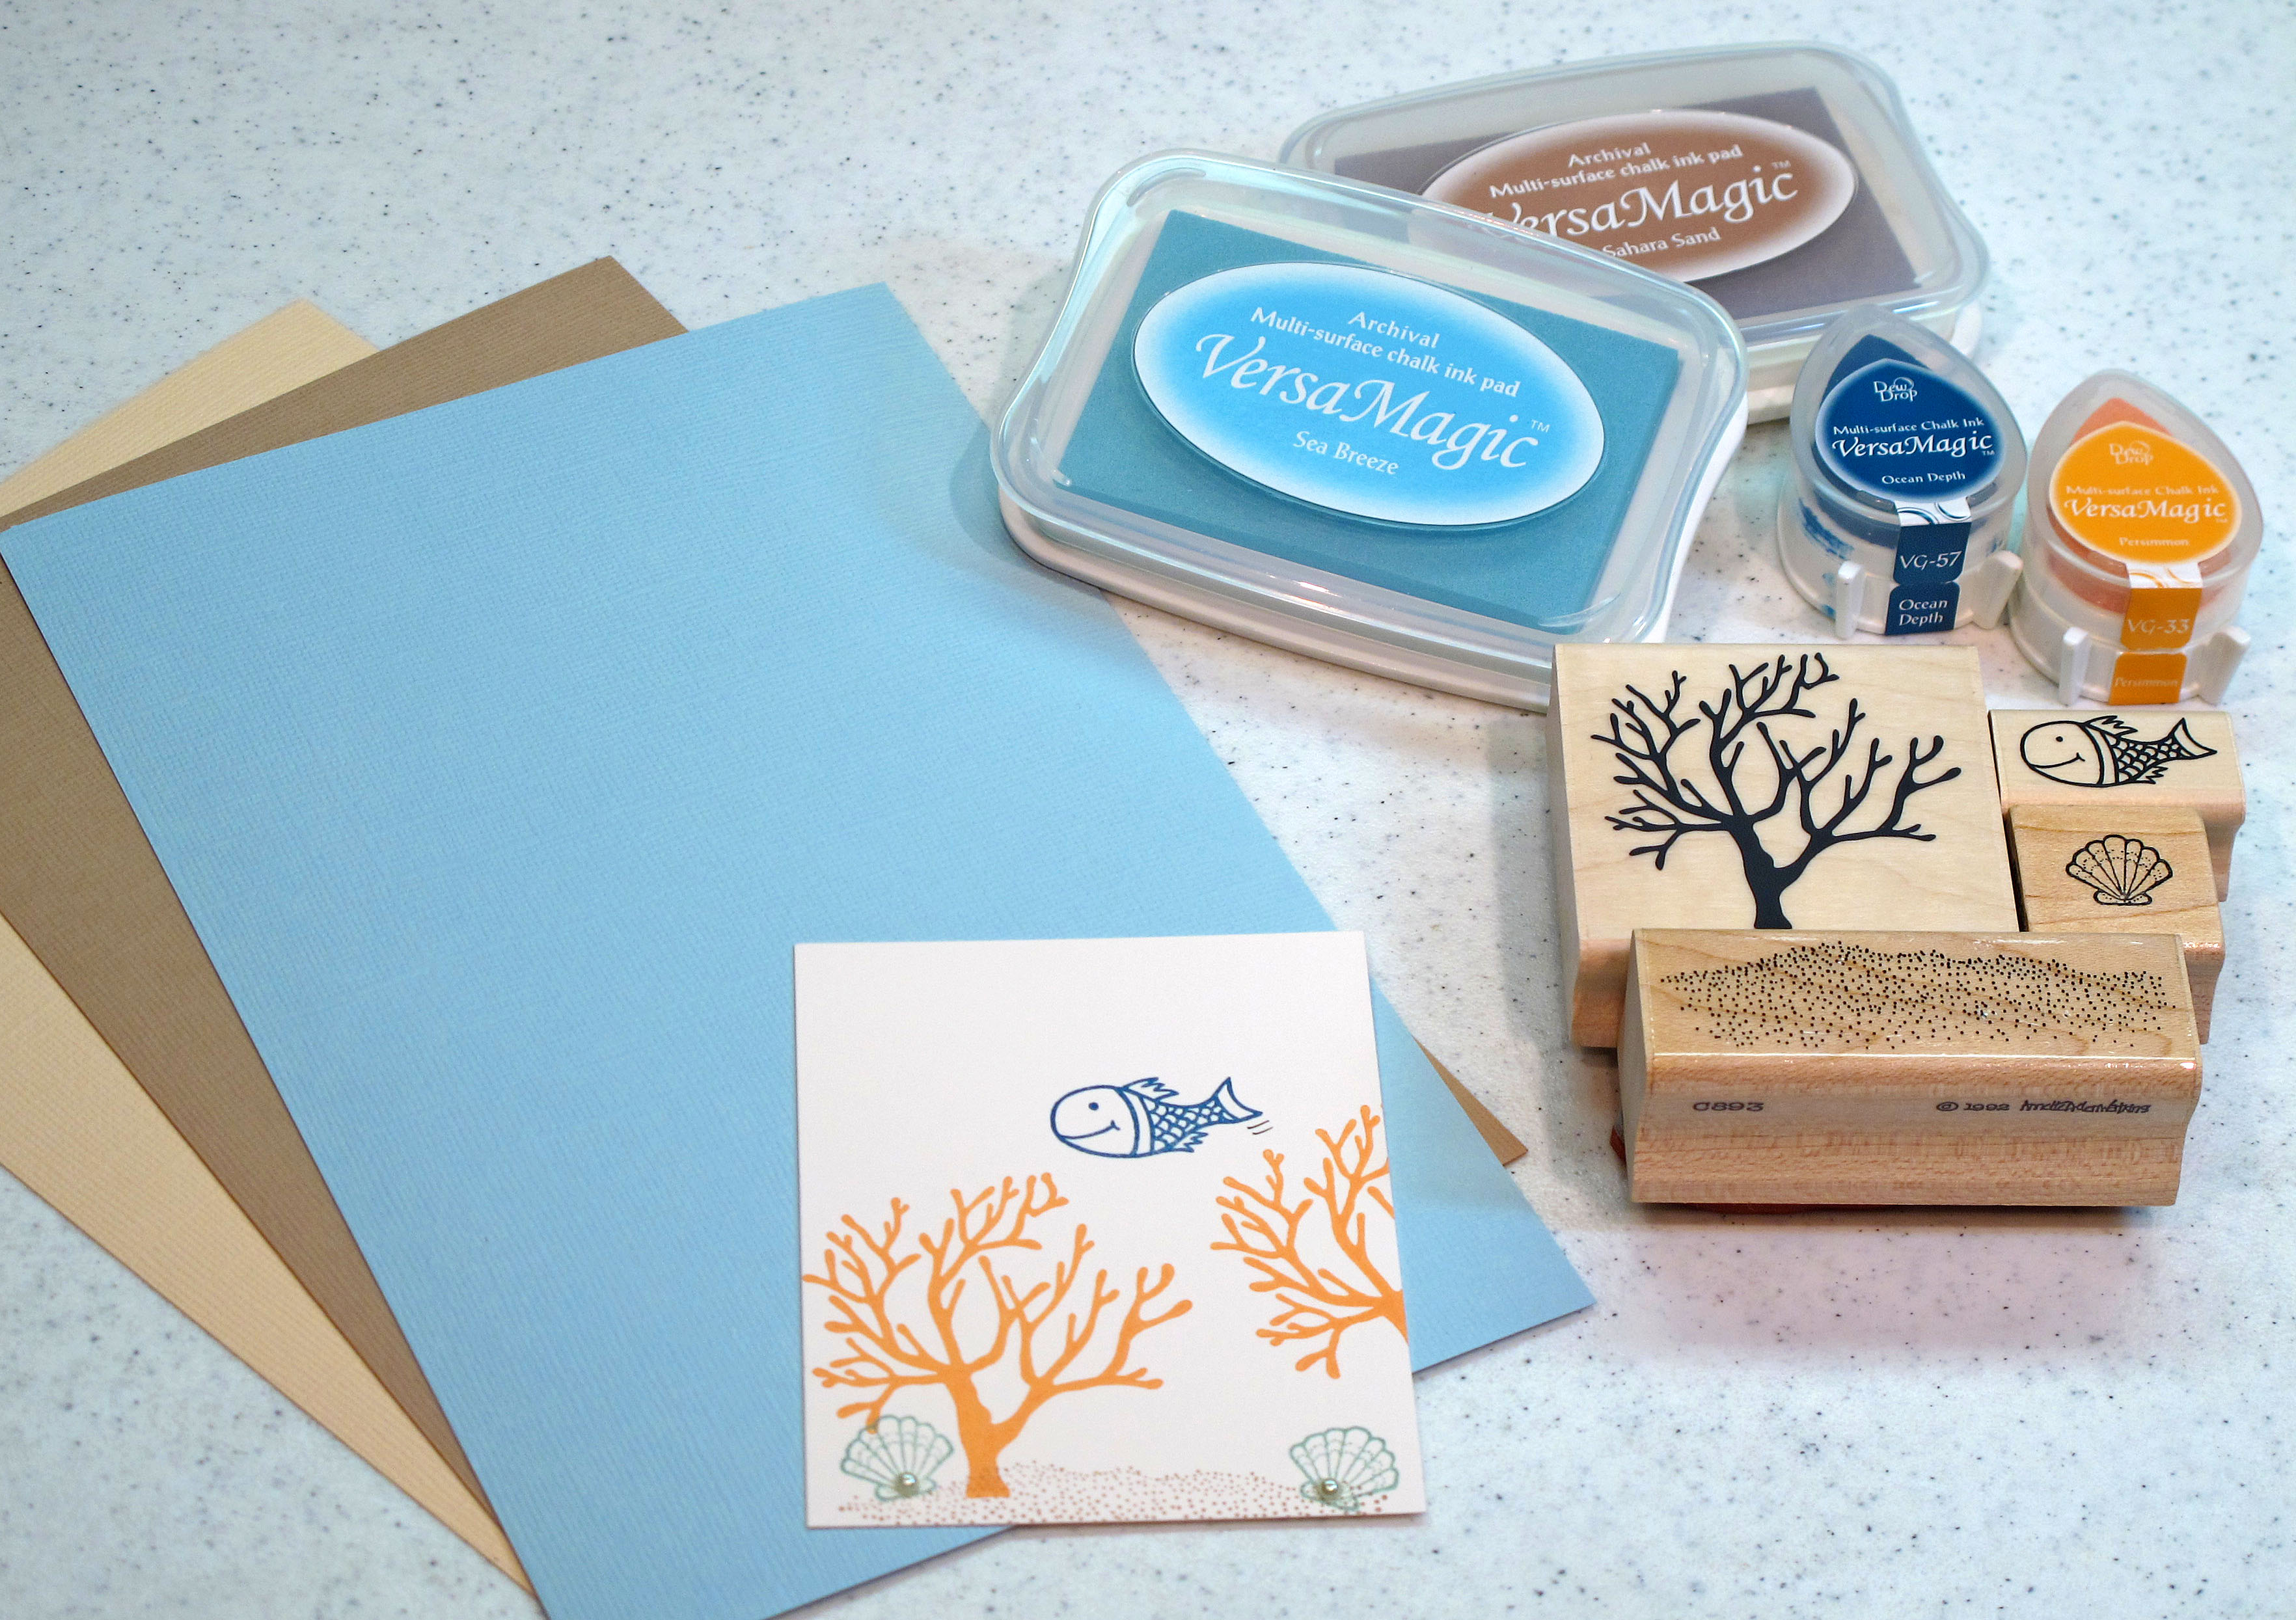
    I tried and tried to think of an idea first…but nothing came to me. So, I went into my paper stash and pulled out a sheet of paper in each of those four colors and let them speak to me… Know what they said? OCEAN! Then you know what they said? AMUSE OCEAN! Yay! An idea was born…

    Here is my quirky-cutesy-clean-kraft-cream-peach-seafoam creation! FUN!


    A


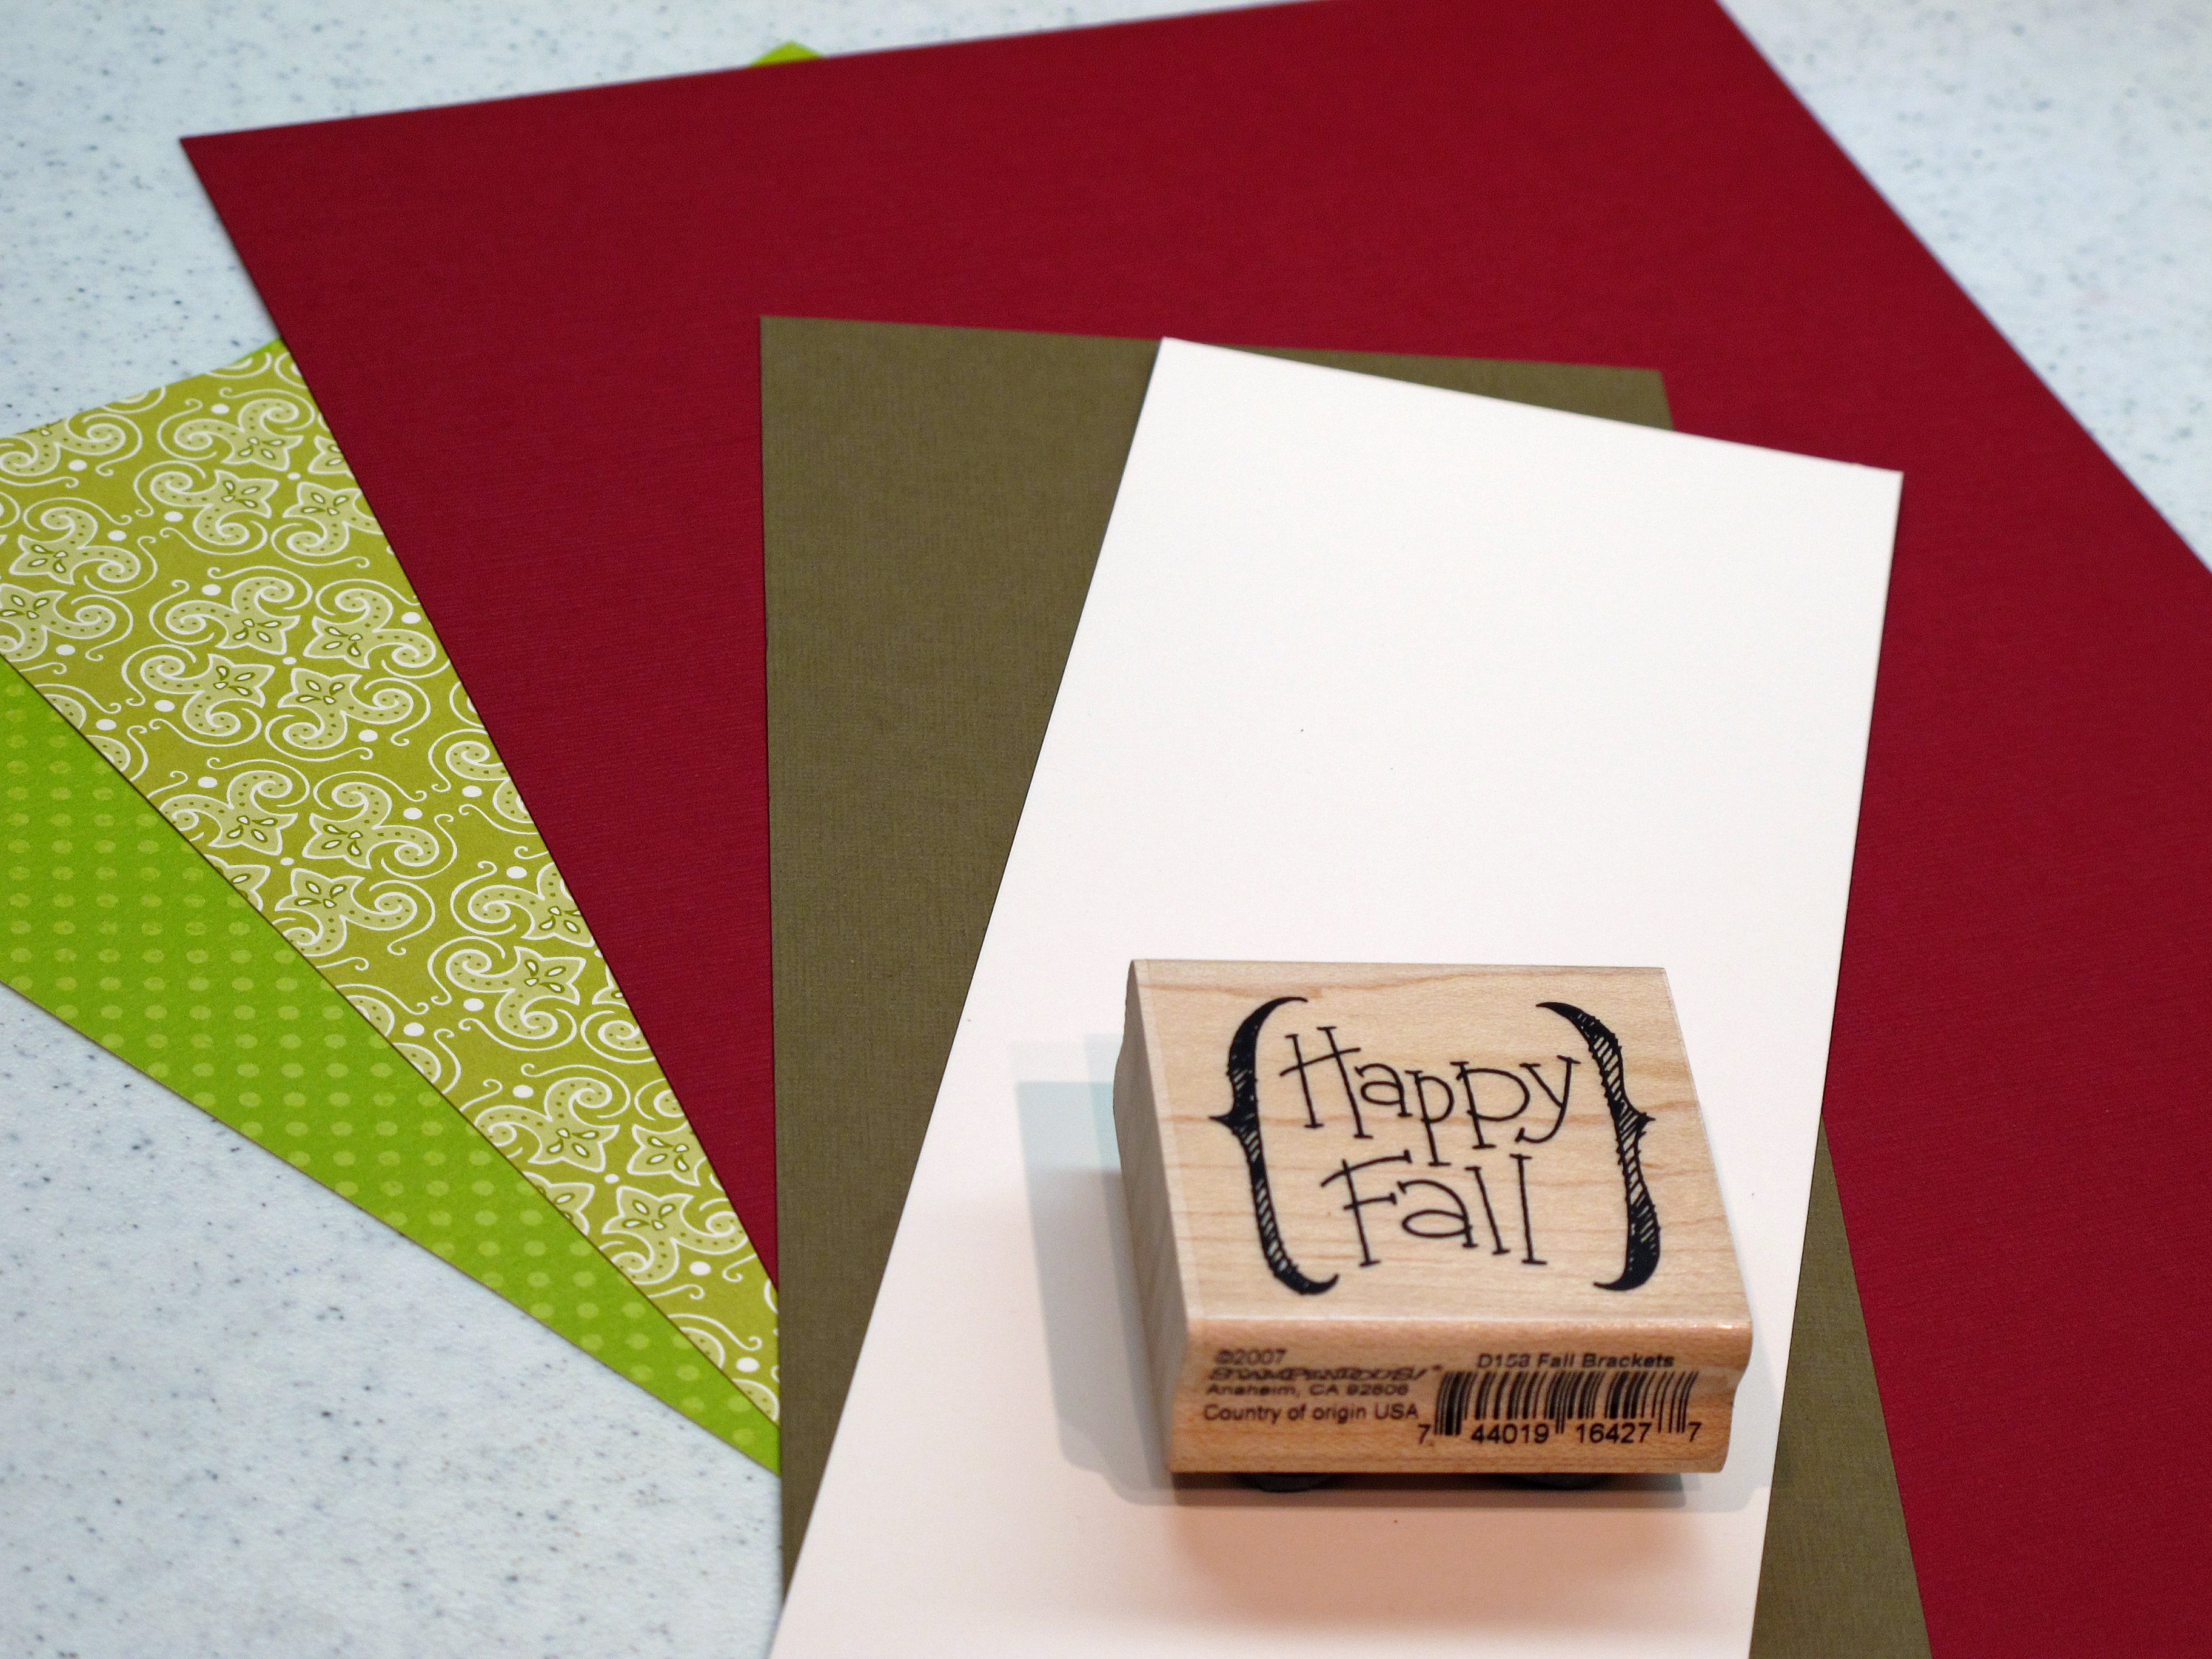
    The supply list…

    IMG_2766


    The inspiration image:

    Embellish_Challenge


    IMG_2770


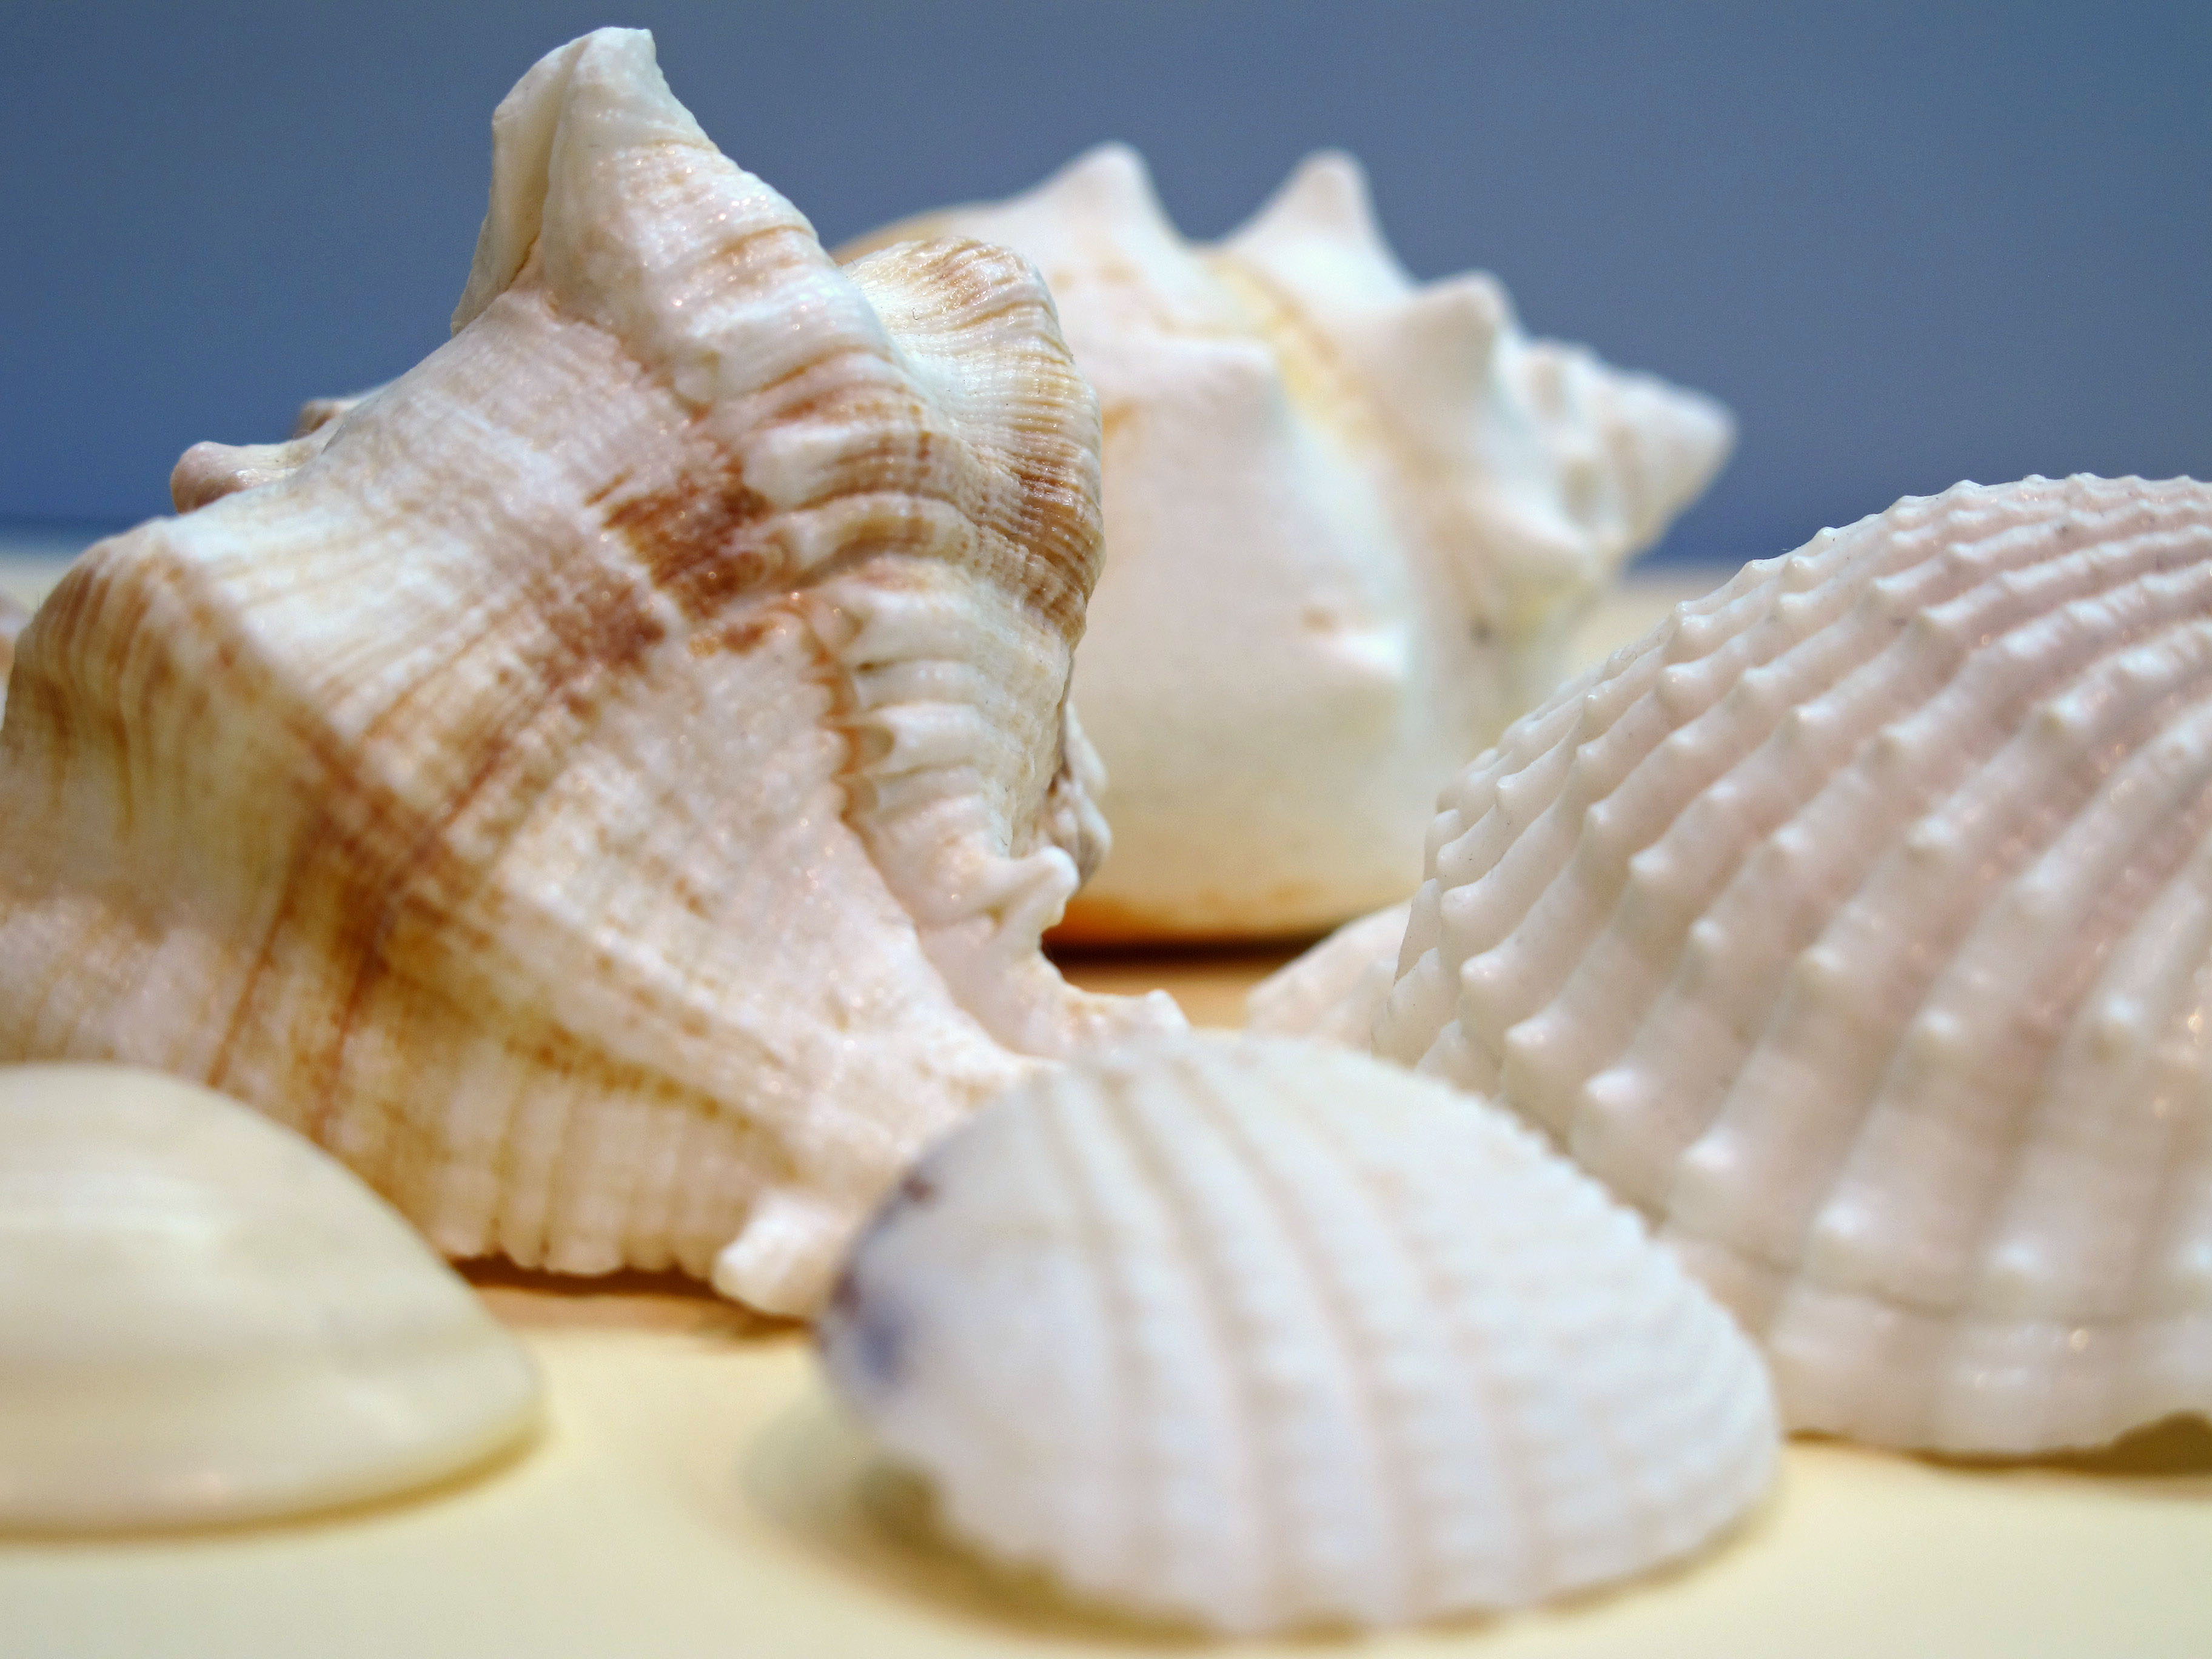
    This one is just cuz I like to take pictures of stuff…


    IMG_2773  

  • Shabby Tea Room #23 – Delicate Roses…

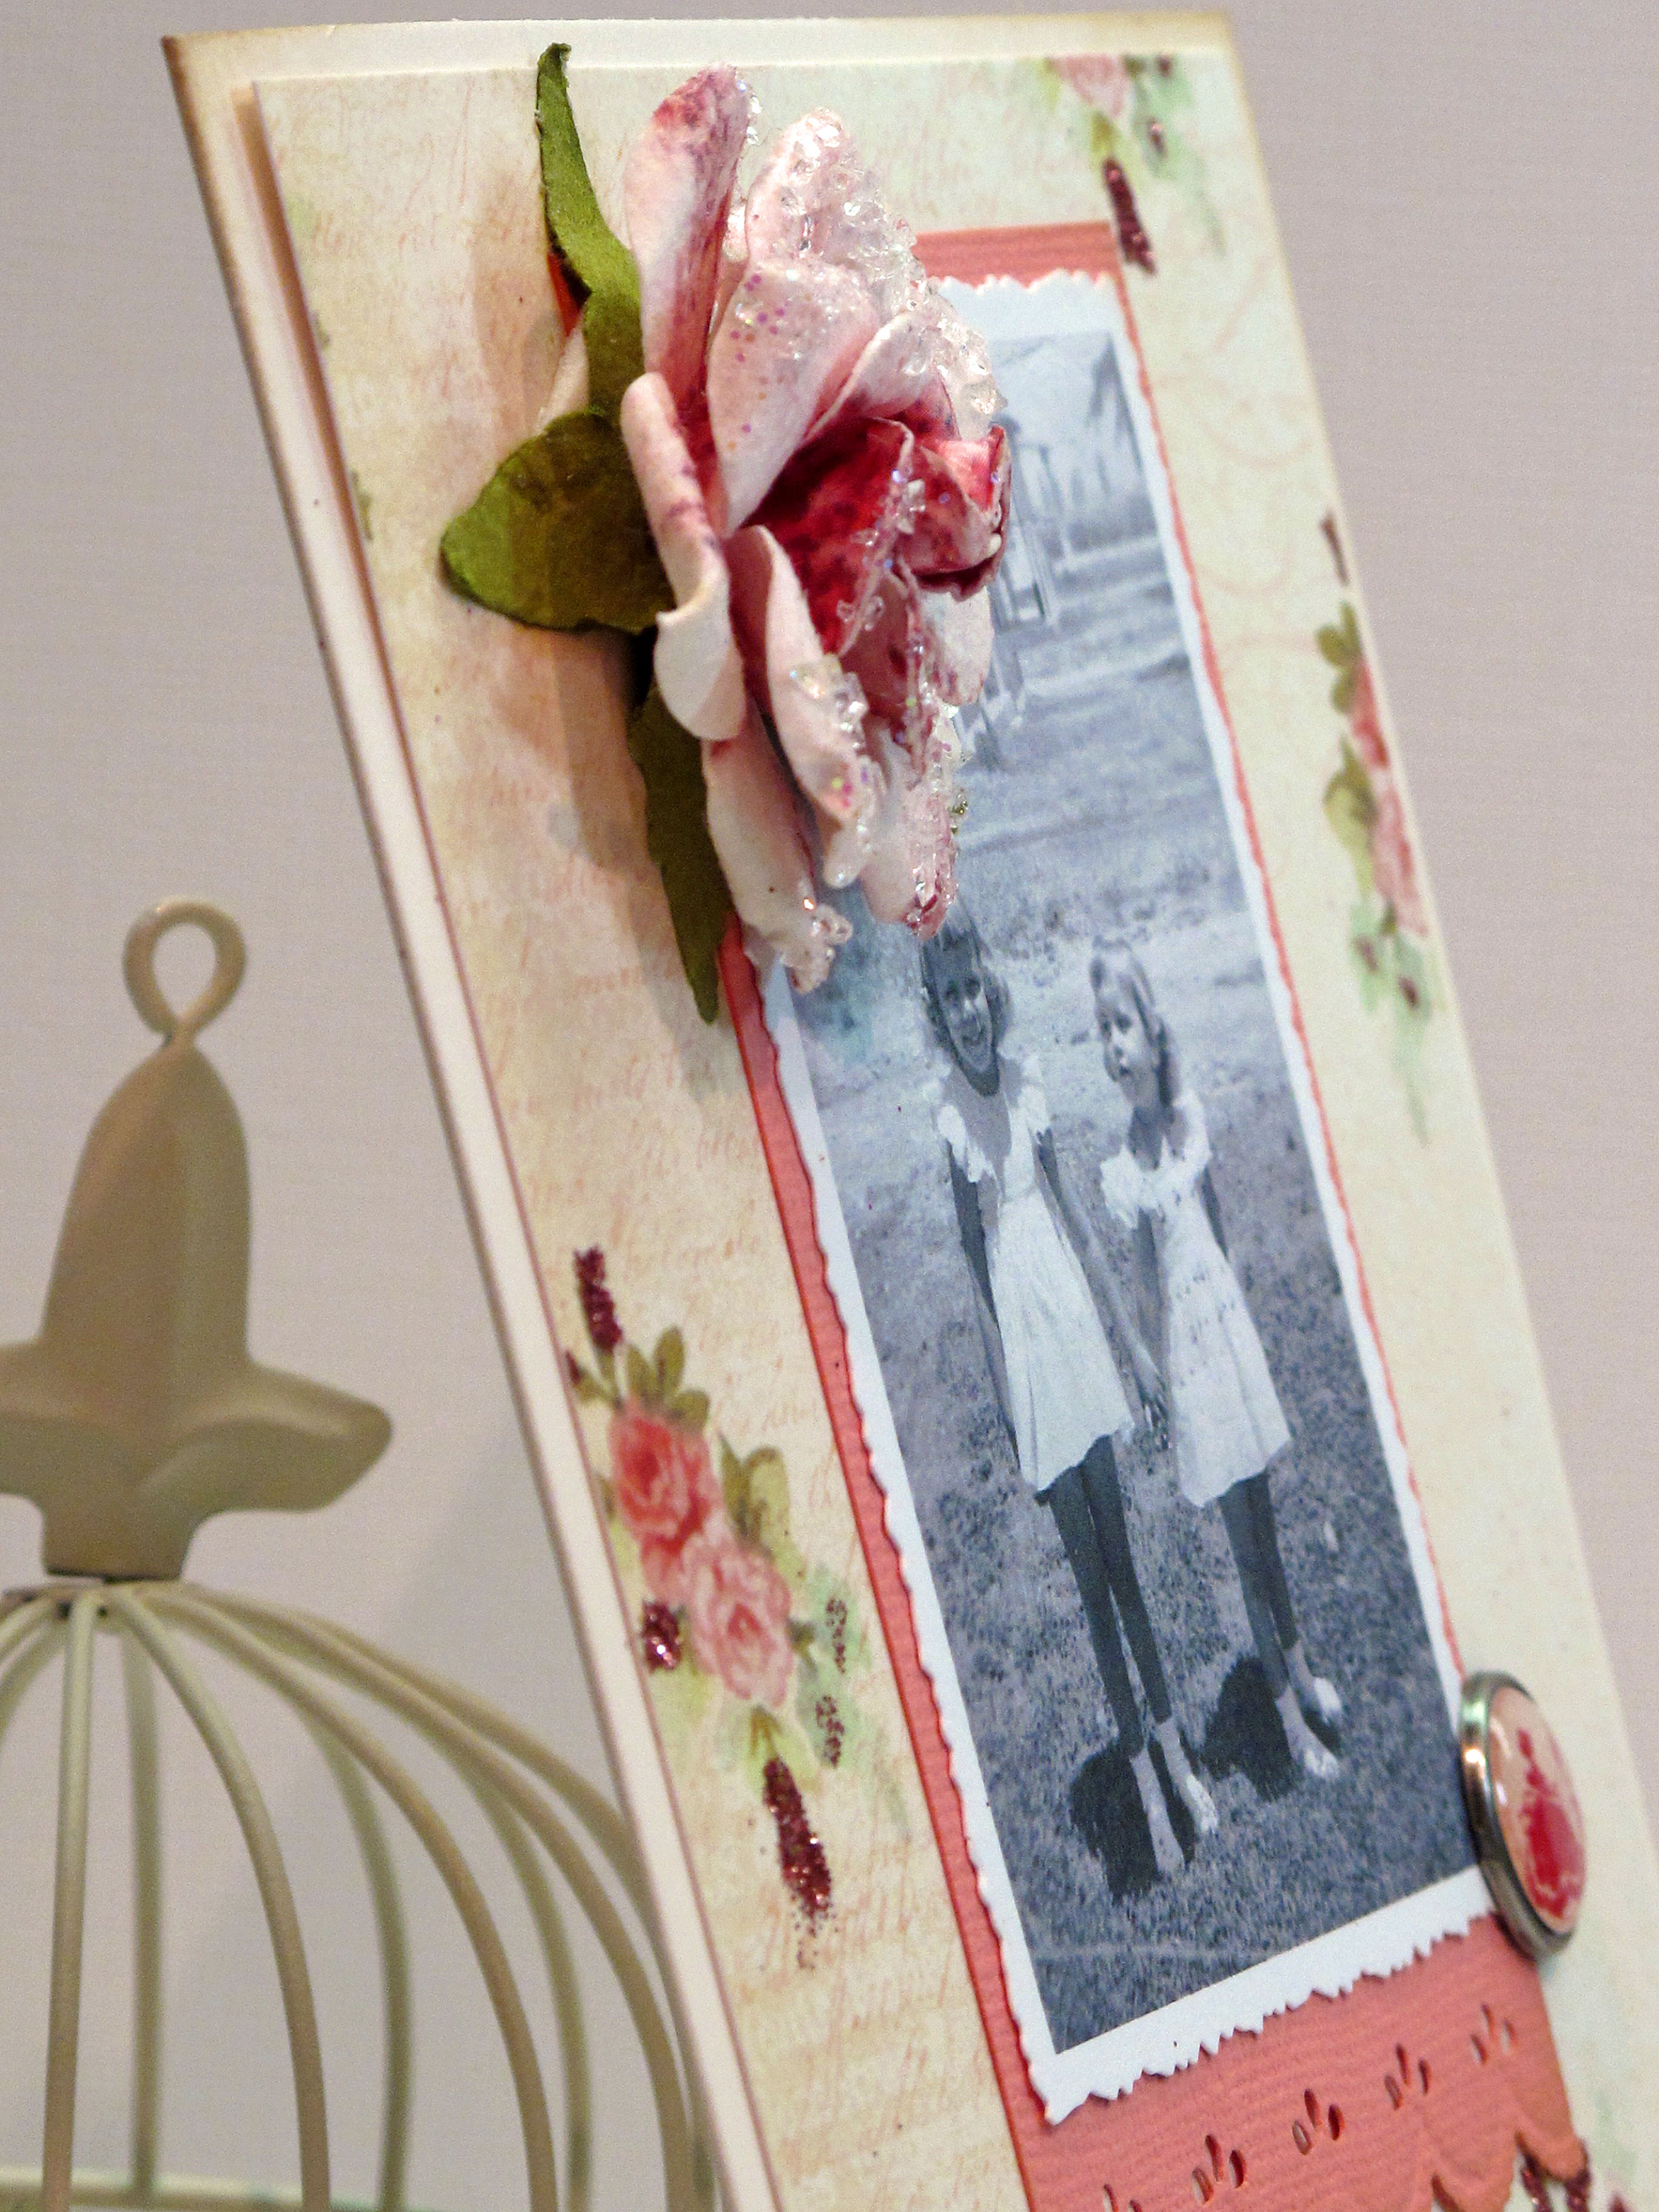
    Continuing in my quest to complete TONS of challenges this week…today's card is for the fab-you-lus Shabby Tea Room Blog! This blog really brings out the shabby chic girl in me. My card for this challenge is also a custom card order for a gal at work. The super cute picture is of her and her sister when they were little. I scanned it into the computer and then printed it out on PTI cardstock. This is a fun way to personalize your cards.

    Click here for the Shabby Tea Room Blog! This week's image is beatiful roses. I knew just exactly what paper to use. I had recently gotten some new My Mind's Eye paper that is super old fashioned and extra glittery. The glitter is the old fashioned kind, too. YUUUMMMMYYY.


    Here is my card:

    A

    Here is the pretty inspiration image. I could have done 10 cards based on this image! I was thinking chandeliers, dresses, white Melissa Frances doo dads, egads. LOVE IT.

    B


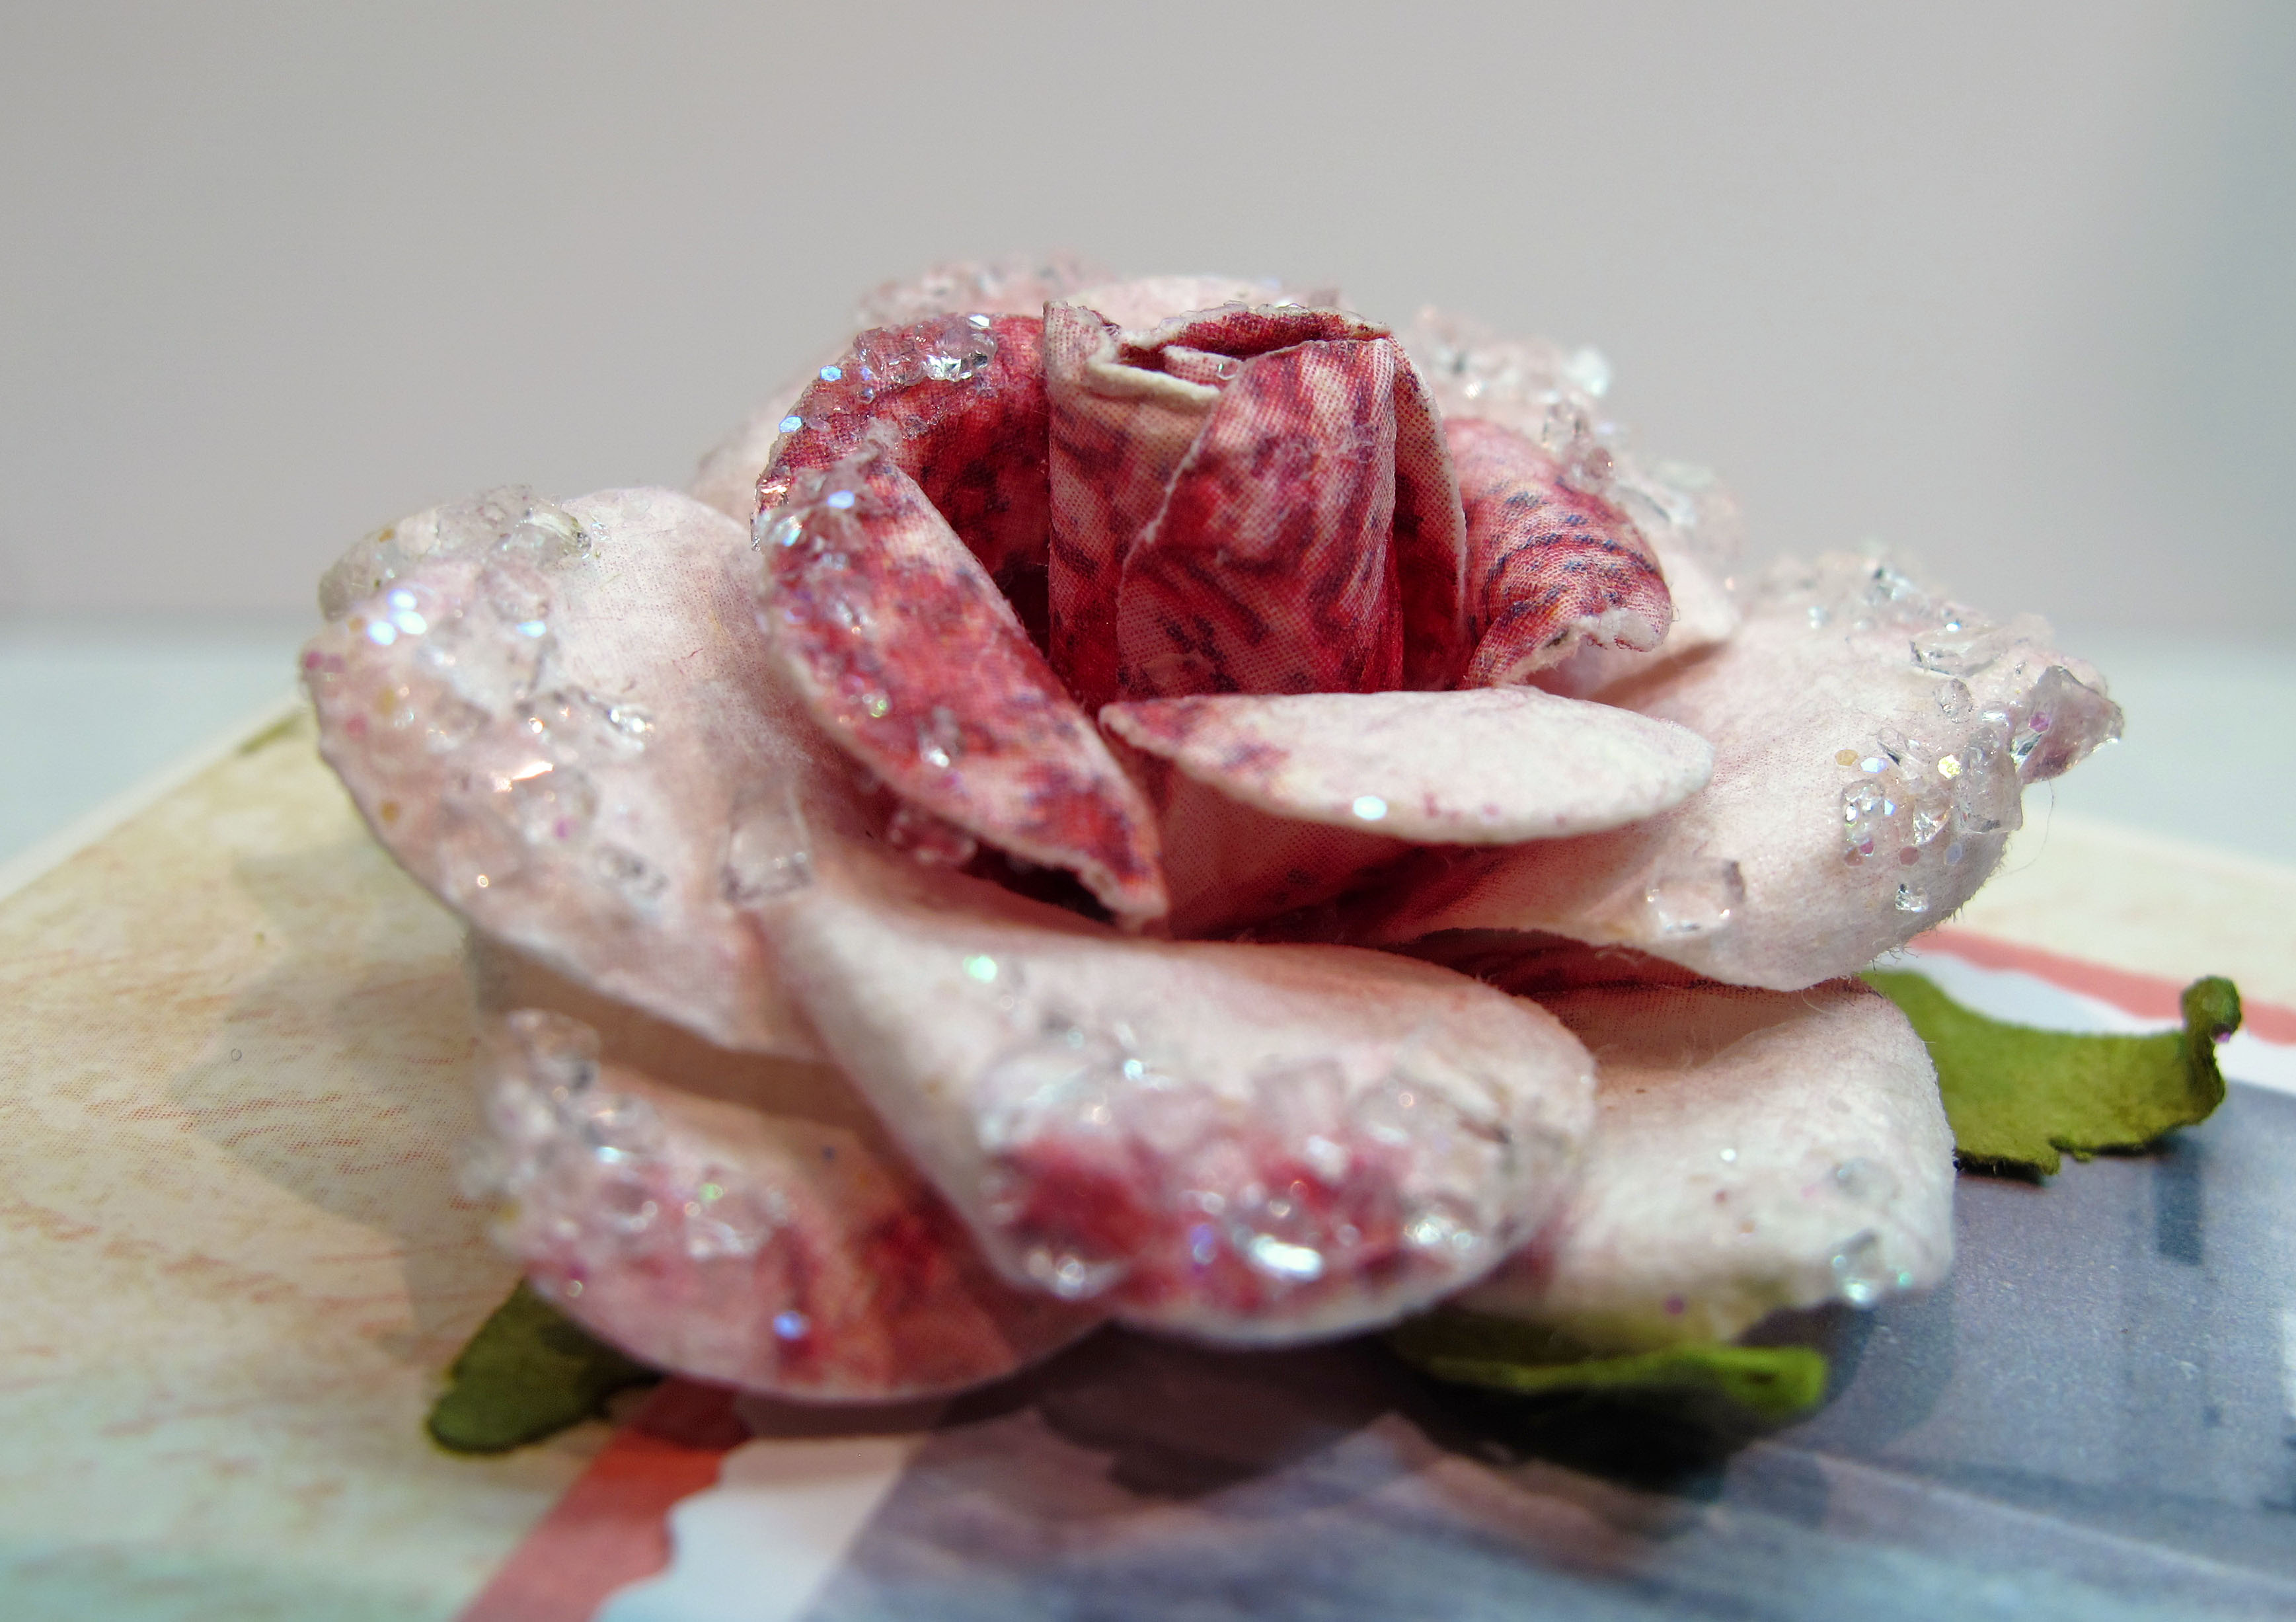
    I'm not sure why it isn't photographing correctly…the pink paper is a very pretty shade of salmon/pink/rose. It's coming out darker that it is in person. The rose is from Prima flowers. It's so beautiful and the perfect match to the paper.

    IMG_2744


    The sentiment was printed on the computer. I do that a lot. I am sort of a font junkie too. I think I have over 500 fonts on my laptop. That way I can always find the right one!

    IMG_2745


    Stop and smell the roses!

    IMG_2748

  • Hey! Perk Up! Stacey’s Stamping Stage – Curtain Call #43 – Challenge Card!

    Whew…there are so many great challenges out there this week! I have been trying to make a card every night and staying up way too late in the process. I am a tired stamper. One more day and then it's the weekend. I think I'll make it. I just couldn't resist any of the challenges! Tonight's card is for Stacey's Stamping Stage – Curtain Call #43.Check out her blog here!

    Isn't this color combination gorgeous??? I love love love Kiwi Kiss! Especially the textured cardstock…I cannot believe they did away with that color! Okay, I digressed. This is so lovely…

    Curtain Call Template 43


    Here is my finished card!

    IMG_2775


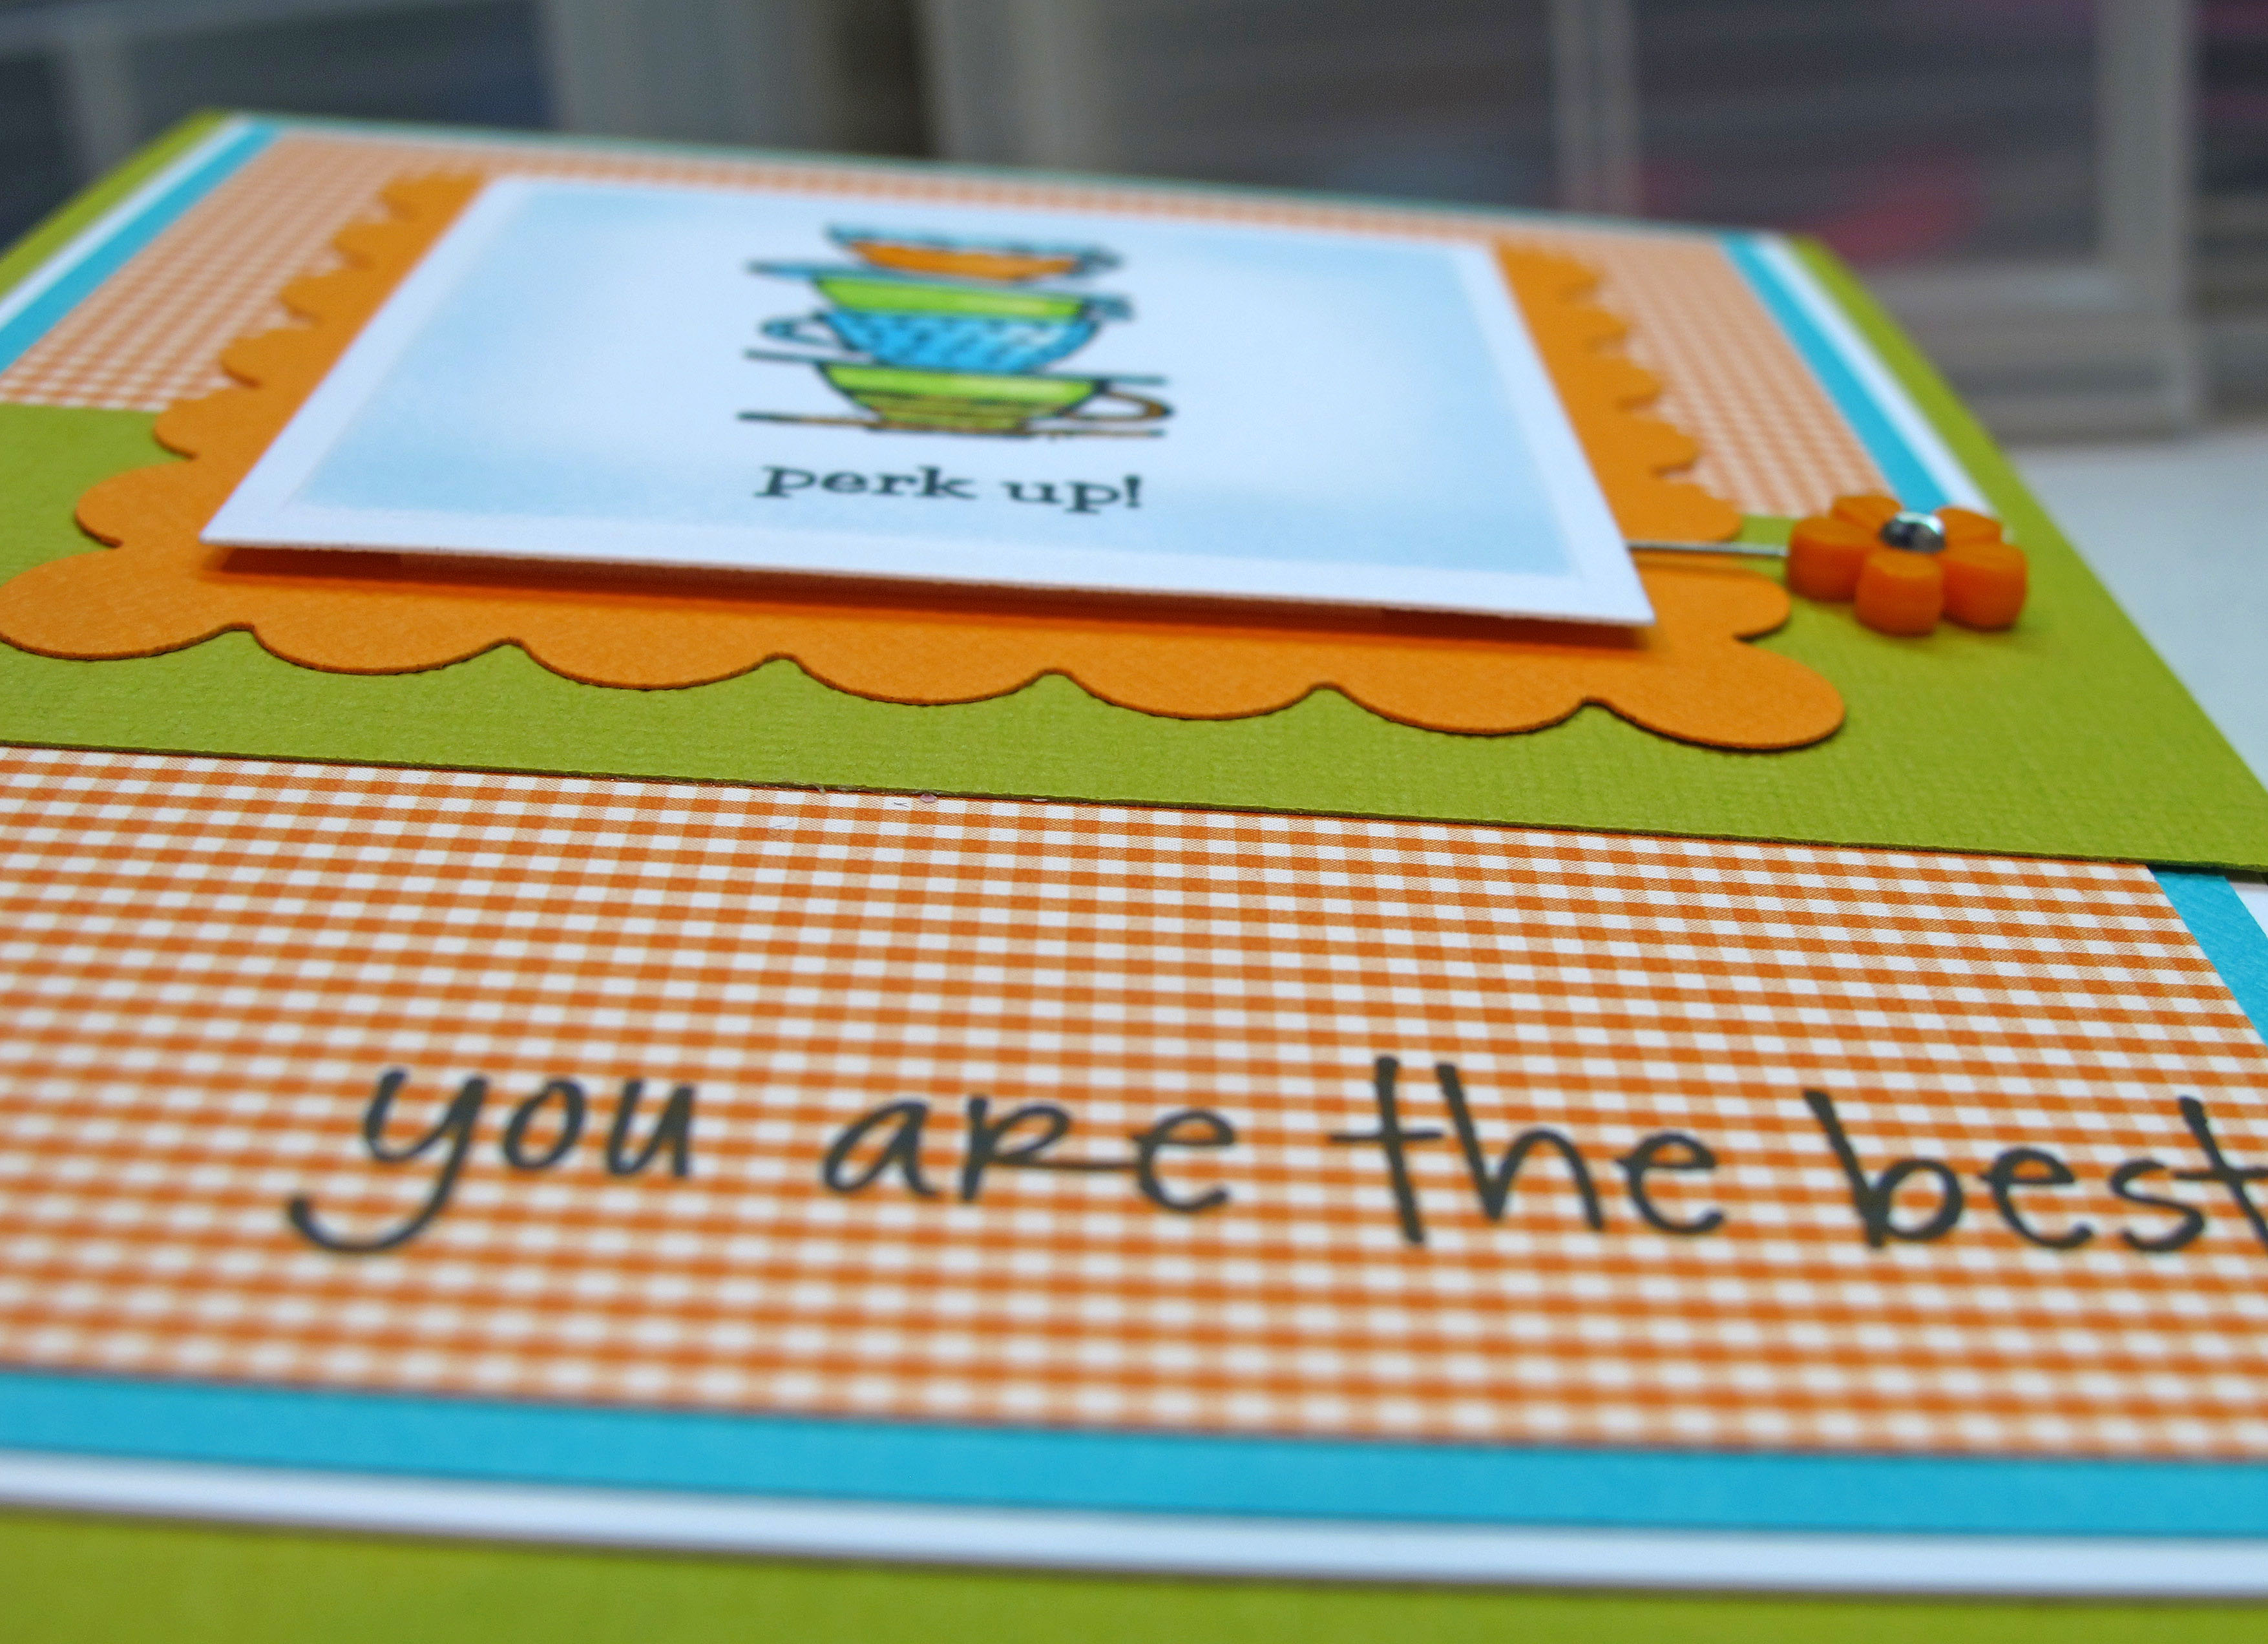
    Colored the sweet coffee cup image with my Copics! Shaded around the edge with some light blue ink. The pretty flower is just a doo dad I had hanging around and it matched perfectly.

    IMG_2776


    My supplies: Stampin Up coffee set, Copic Markers, sentiment from Hero Arts, Nestabilities and cardstock from Stampin' Up and Bazzill.

    IMG_2774


    IMG_2777


    IMG_2778 

    Perk Up – it's the weekend!

  • TESC #124 Challenge card! Cherry-o!

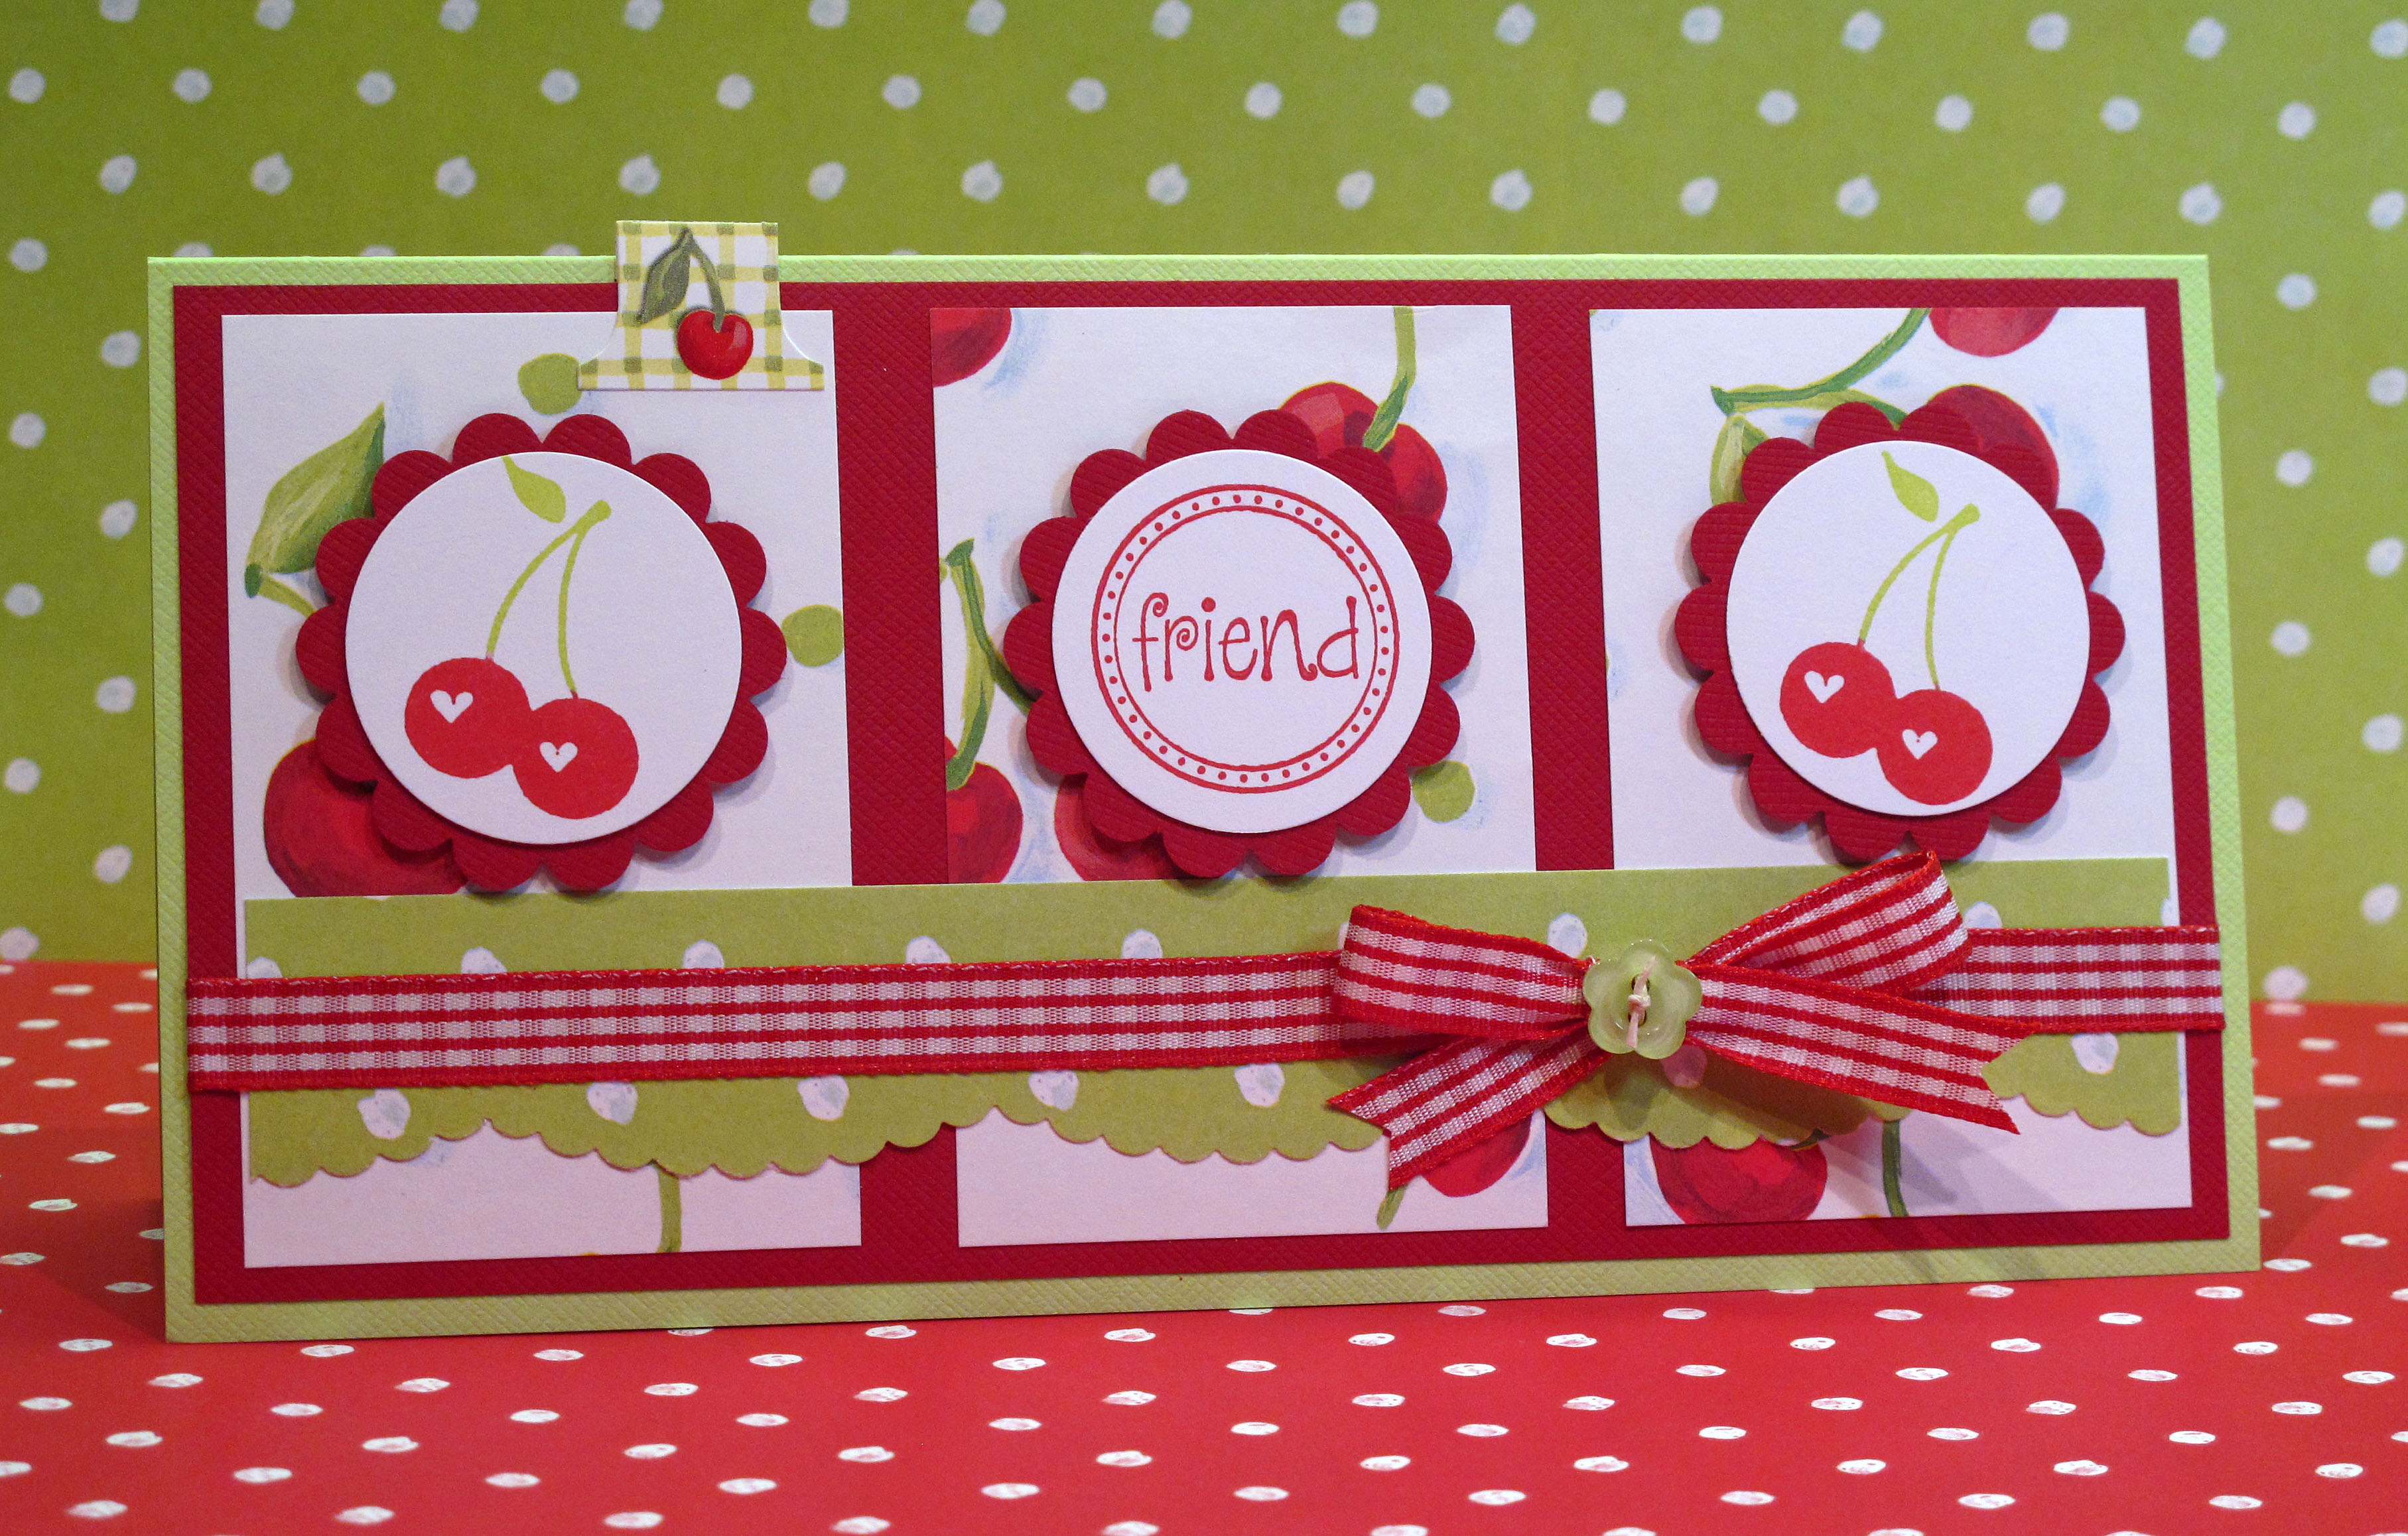
    Hi friends in blog land! Cherry-o! Yes, I know it's supposed to be Cheerio…but my card today has cherries! It's my latest entry into Taylored Expression Blog. As you are well aware…I LOVE her challenges! I hope you are all having a good week. I'm really busy at work and trying to steal some crafty time too. 


    IMG_2762

    The sketchy sketch:

    TESC124(2)


    IMG_2763


    IMG_2765


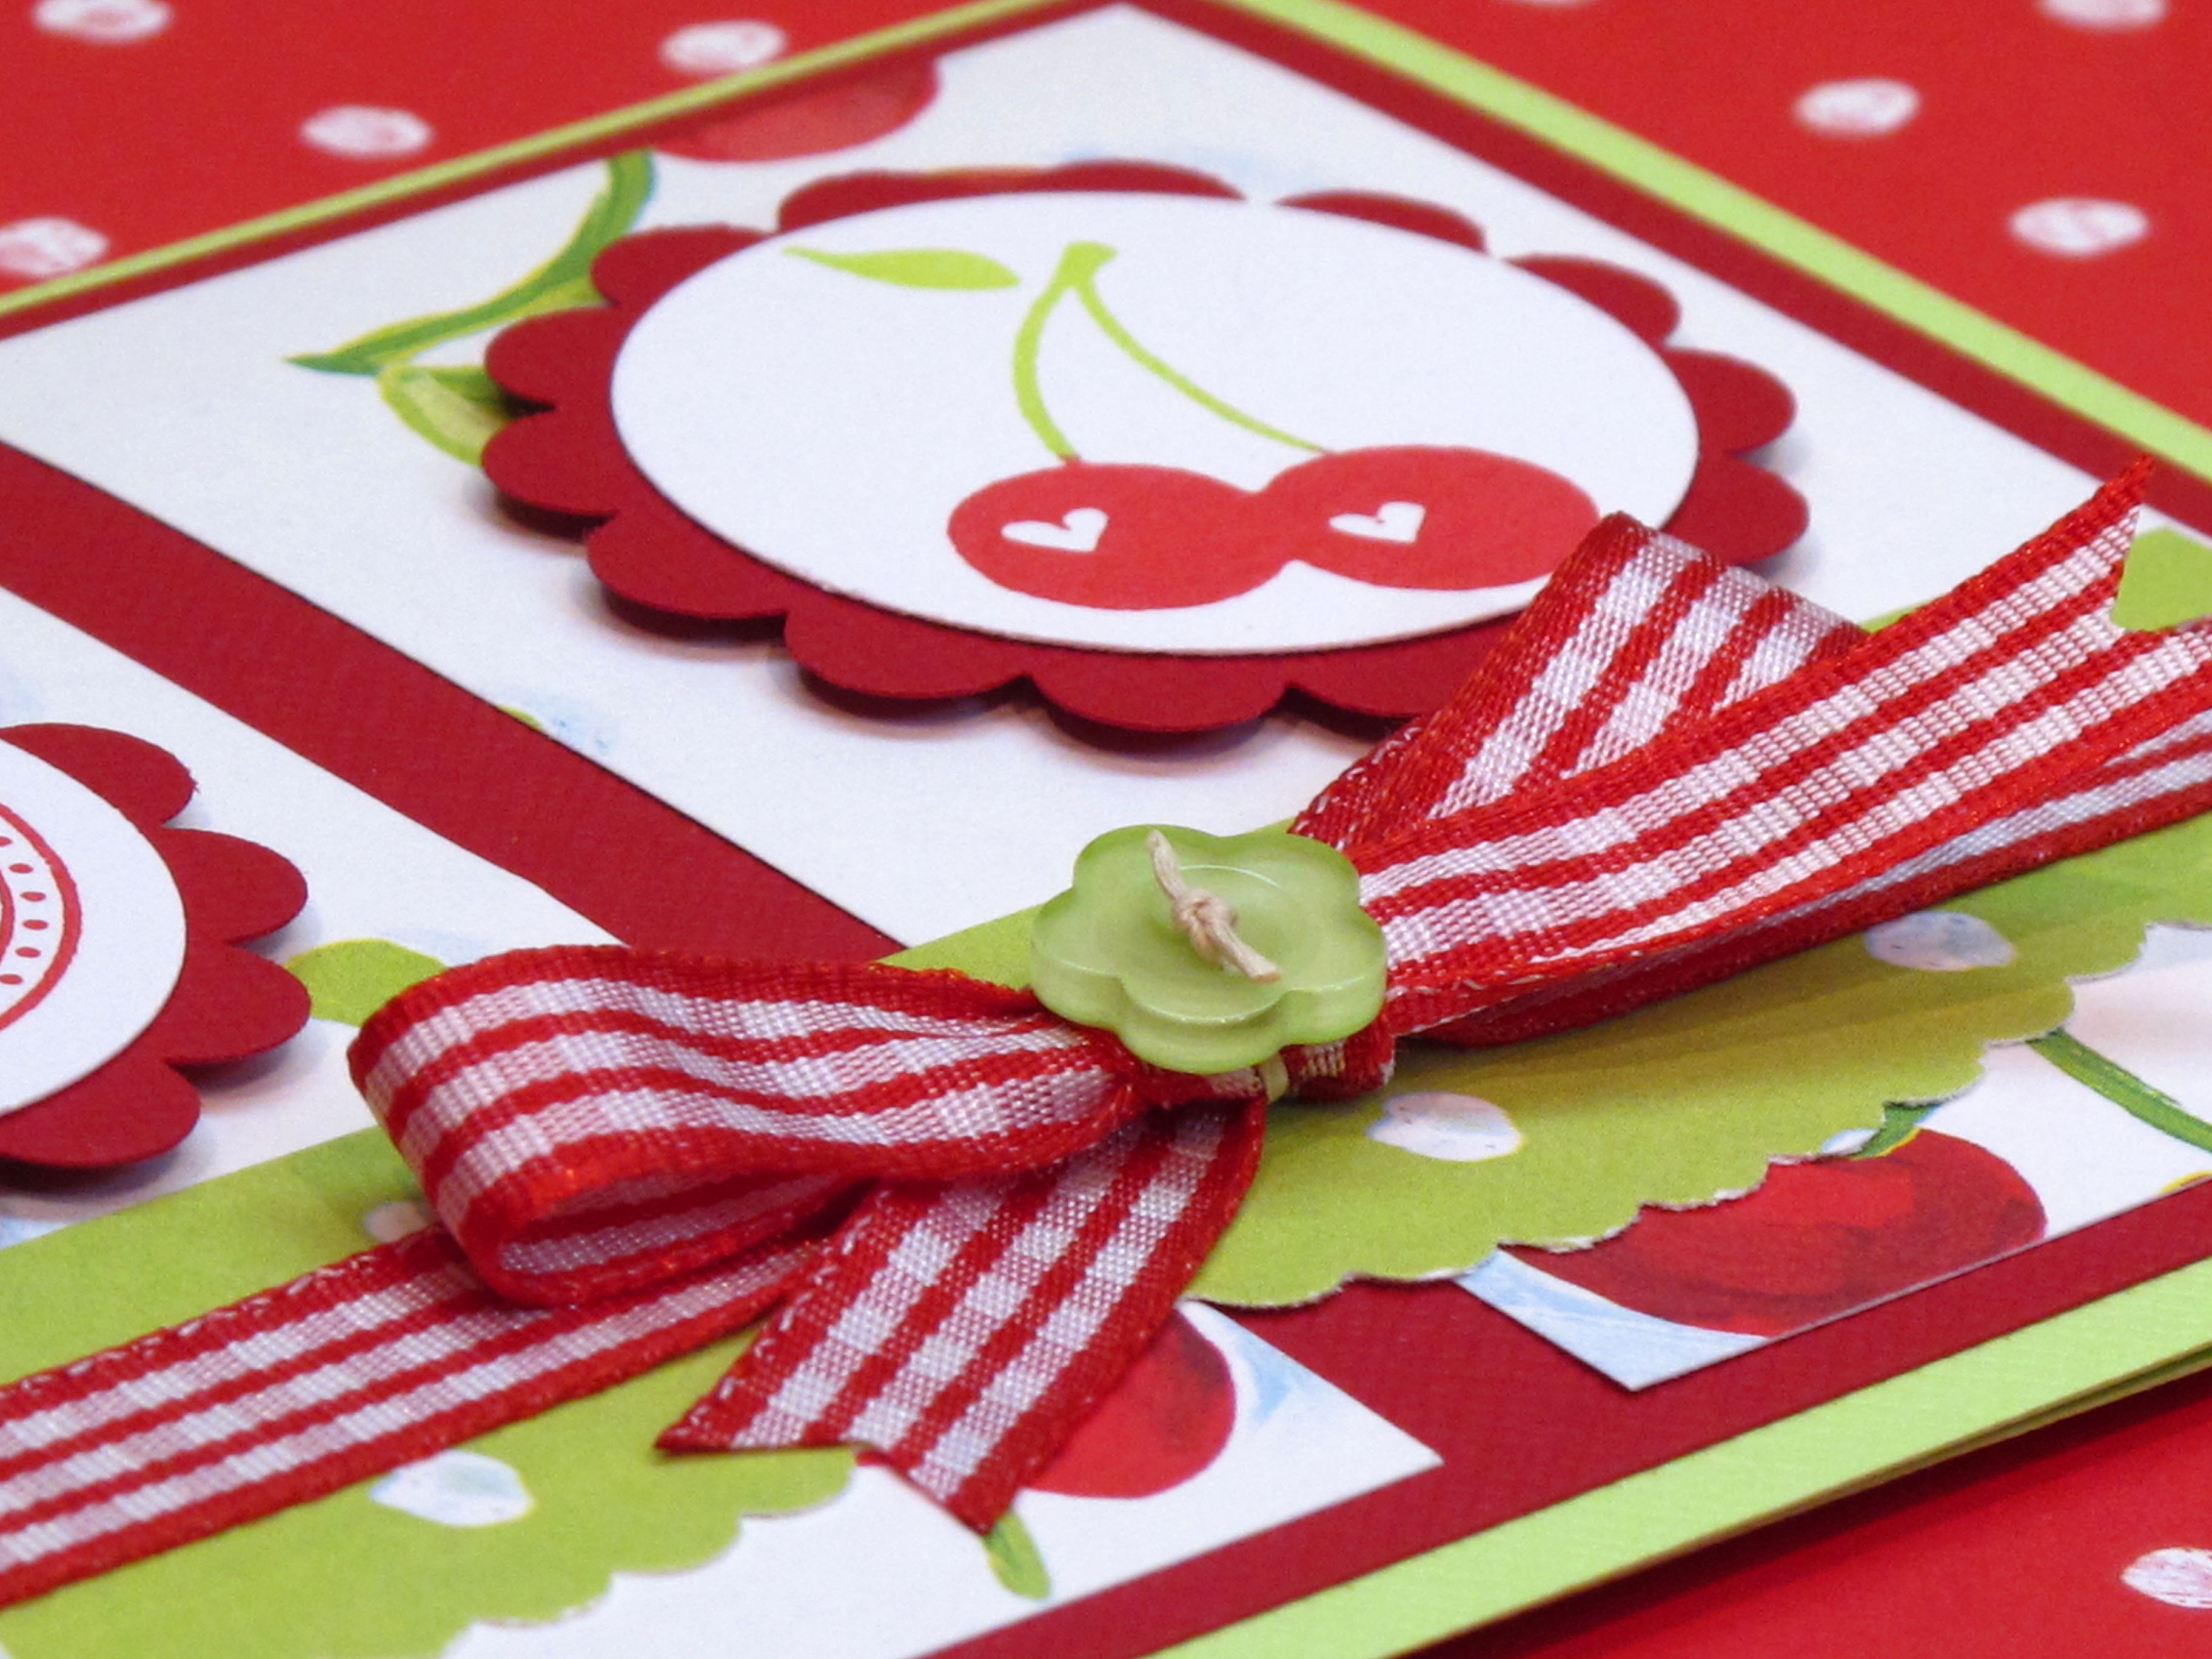
    I love those cute cherries!!!

    IMG_2764


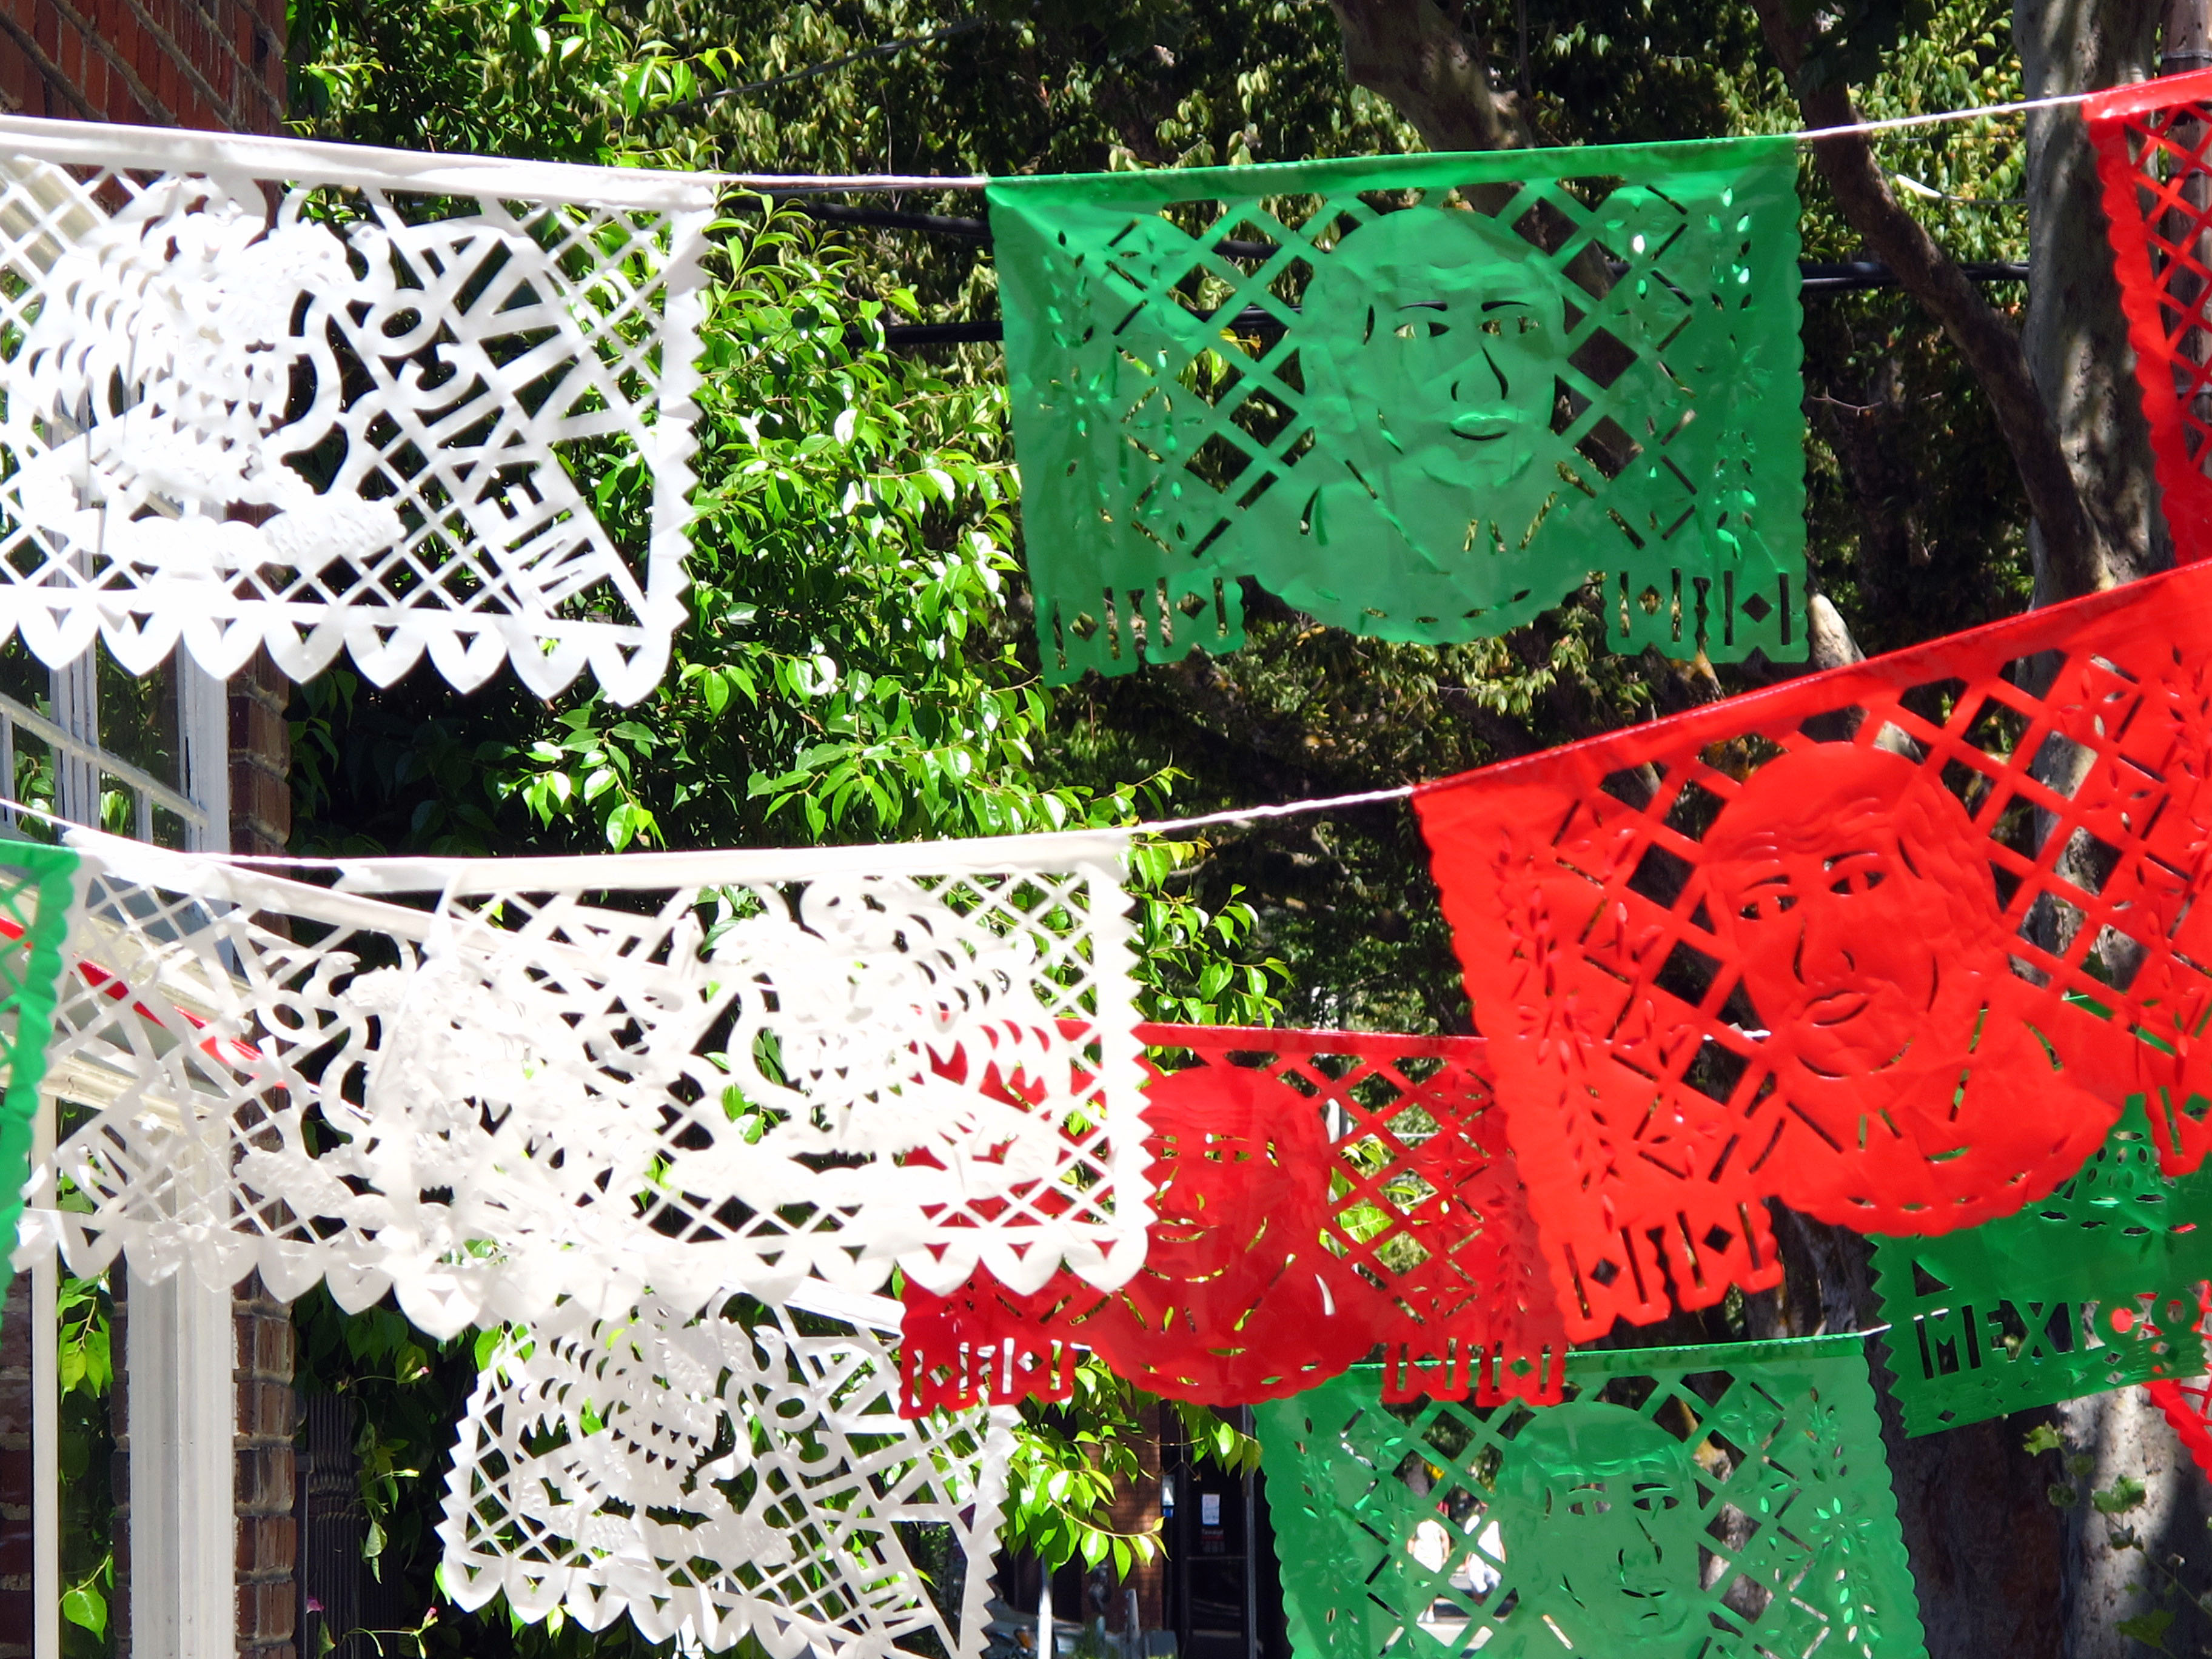
    Yesterday at lunch I went for a walk around town and bought a magazine and took some pictures. I loved these brightly colored pretty flags hanging outside blowing in the breeze. This photo was my color inspiration for today's card!

    IMG_2760

  • A day with Dave Brethauer from Memory Box!

    Wow! What a fantabulous day today was! Teadub came to visit and we took a colored pencil techniques class from Dave Brethauer – the owner of Memory Box stamps! The class was at Paper Garden and it was a really good time. Saw lots of friends and generally had a perfect time. After class Teadub and I went for Thai food and coconut ice cream….yeah baby! I have lots and lots to share today so hang in there with me…

    Class with dave blog 
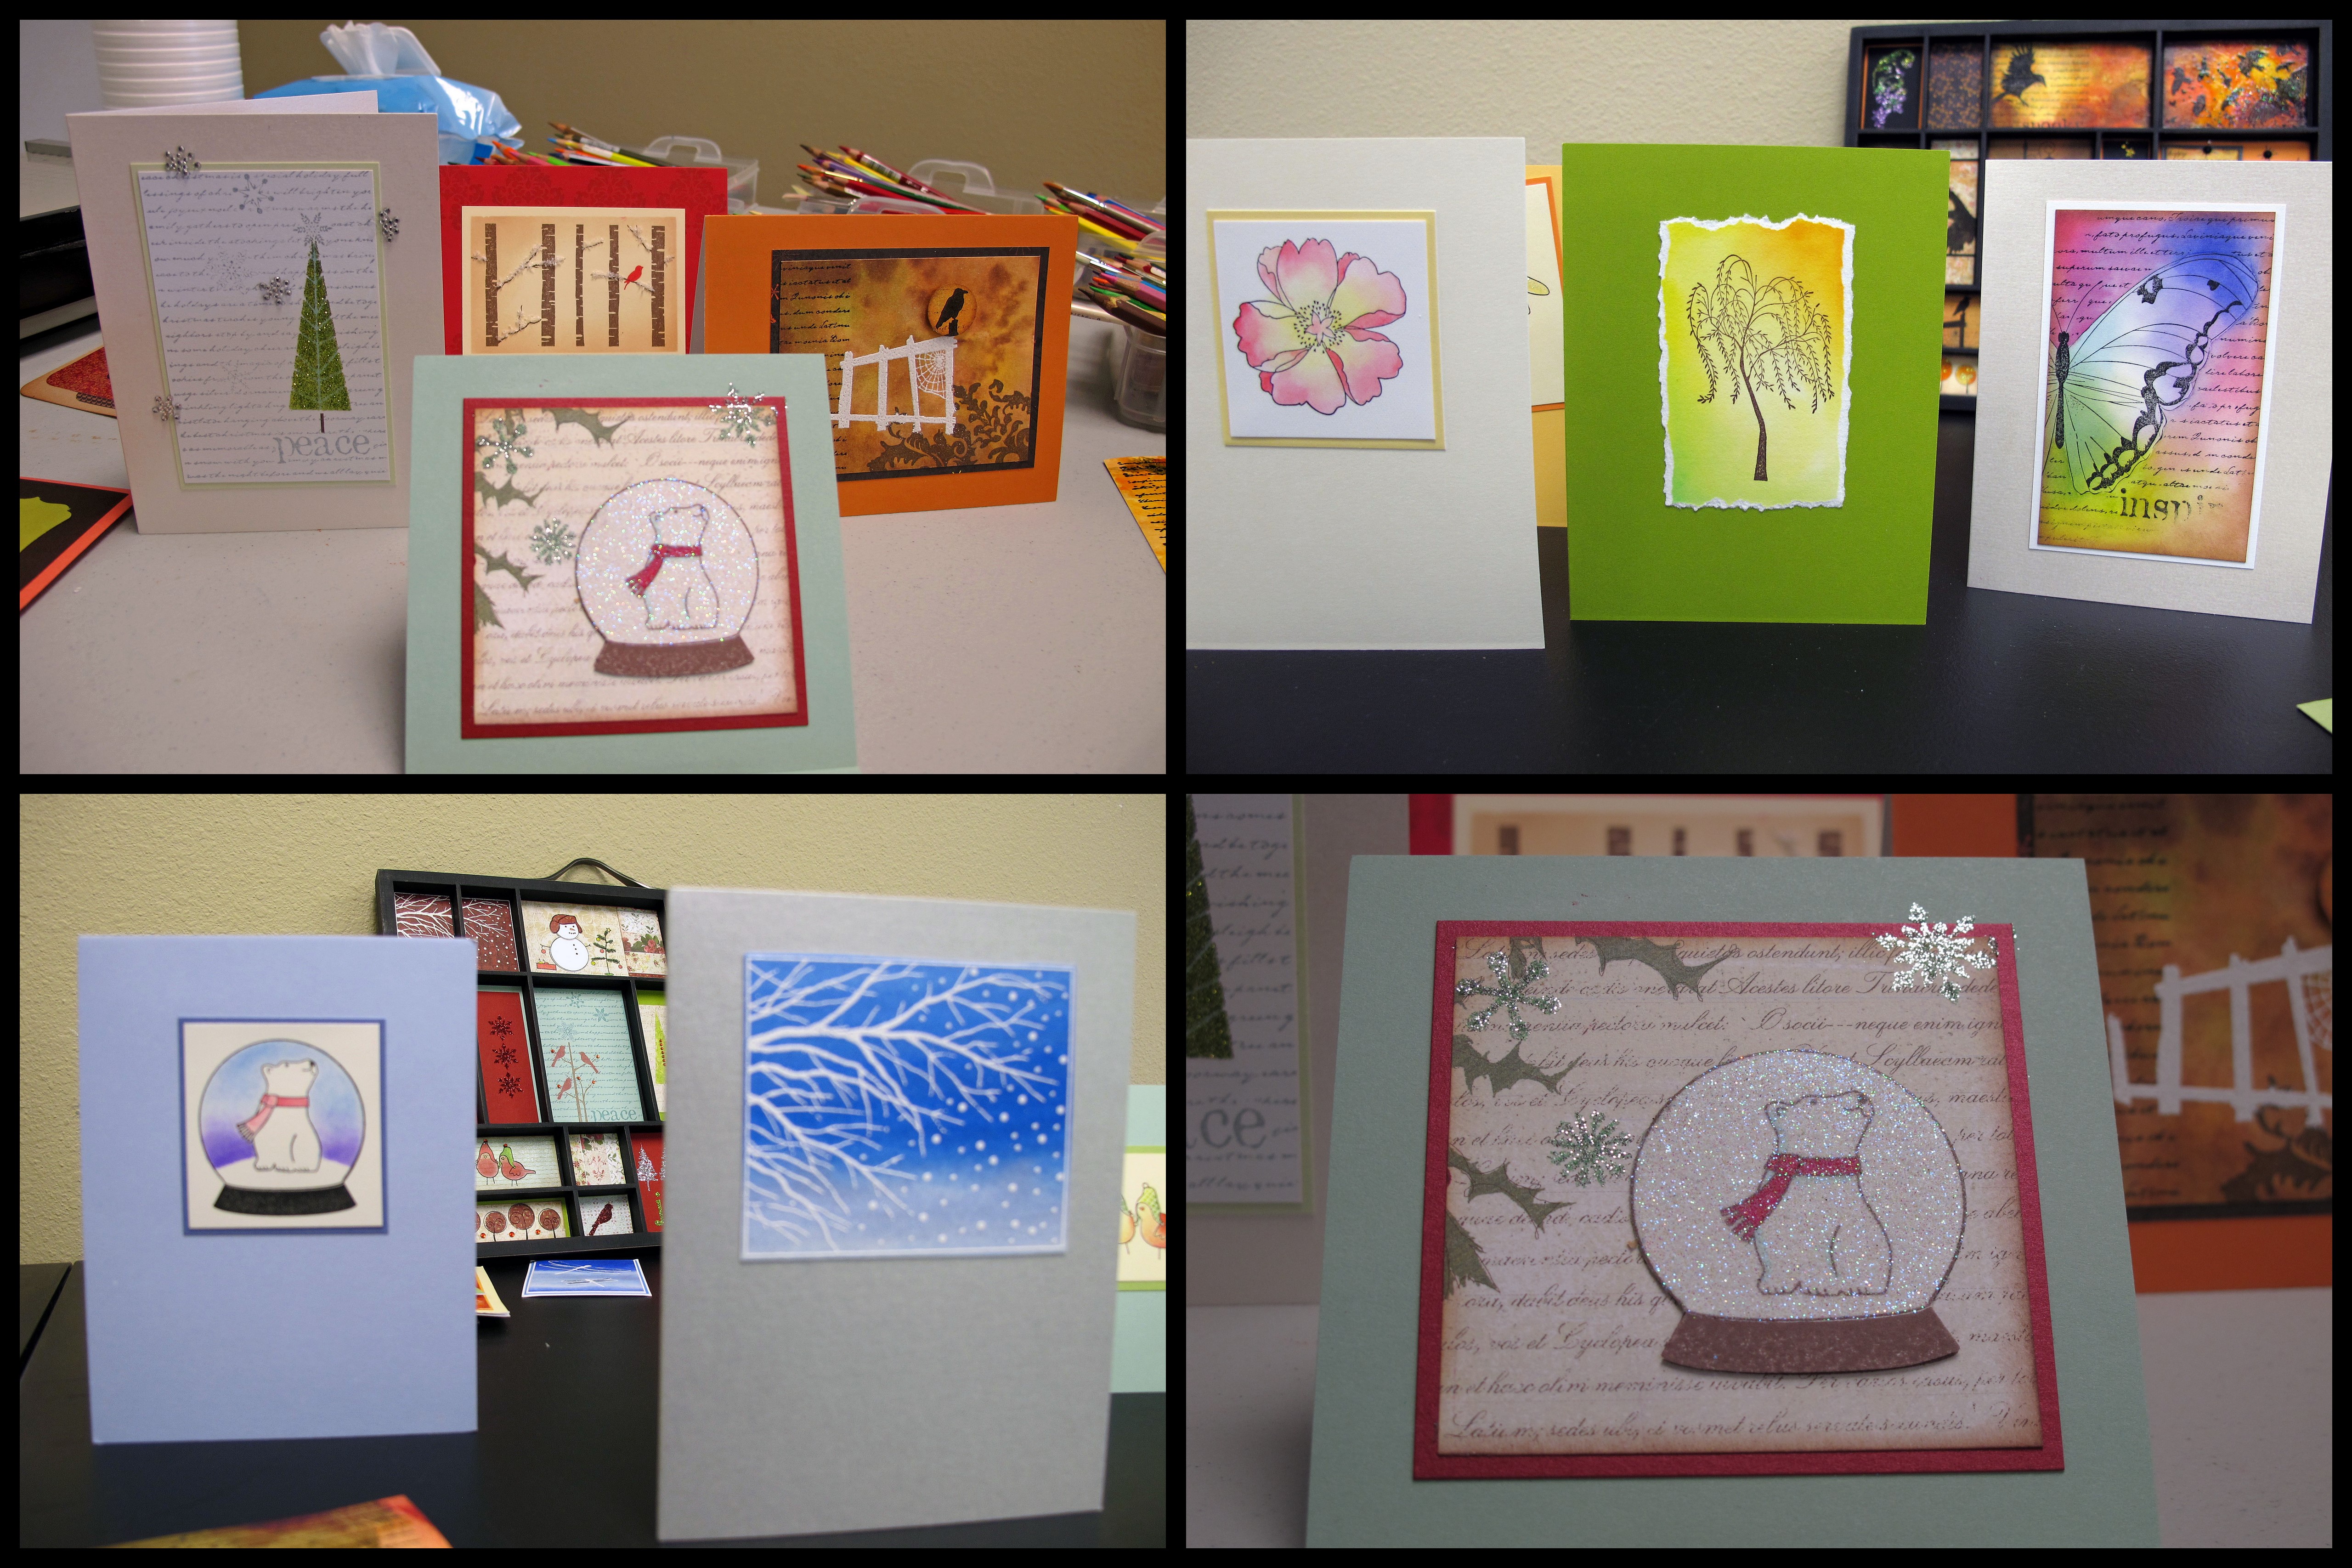
    These are some of Dave's samples from all of his classes. He is a master of colored pencils and watercoloring. He has published card and coloring technique books that I have loved for years. His style is clean and crisp and vivid – really great! He is a very patient teacher. When he comes back to Sac-town next time I really recommend his classes!

    Class with dave blog1


    IMG_2694


    These are my finished projects from class today!

    IMG_2701


    If you can believe it this little red birdie is actually colored with ochre, brown, cream, light brown…and then red! We learned how to layer color upon color to give it depth and pop!

    IMG_2702


    IMG_2703

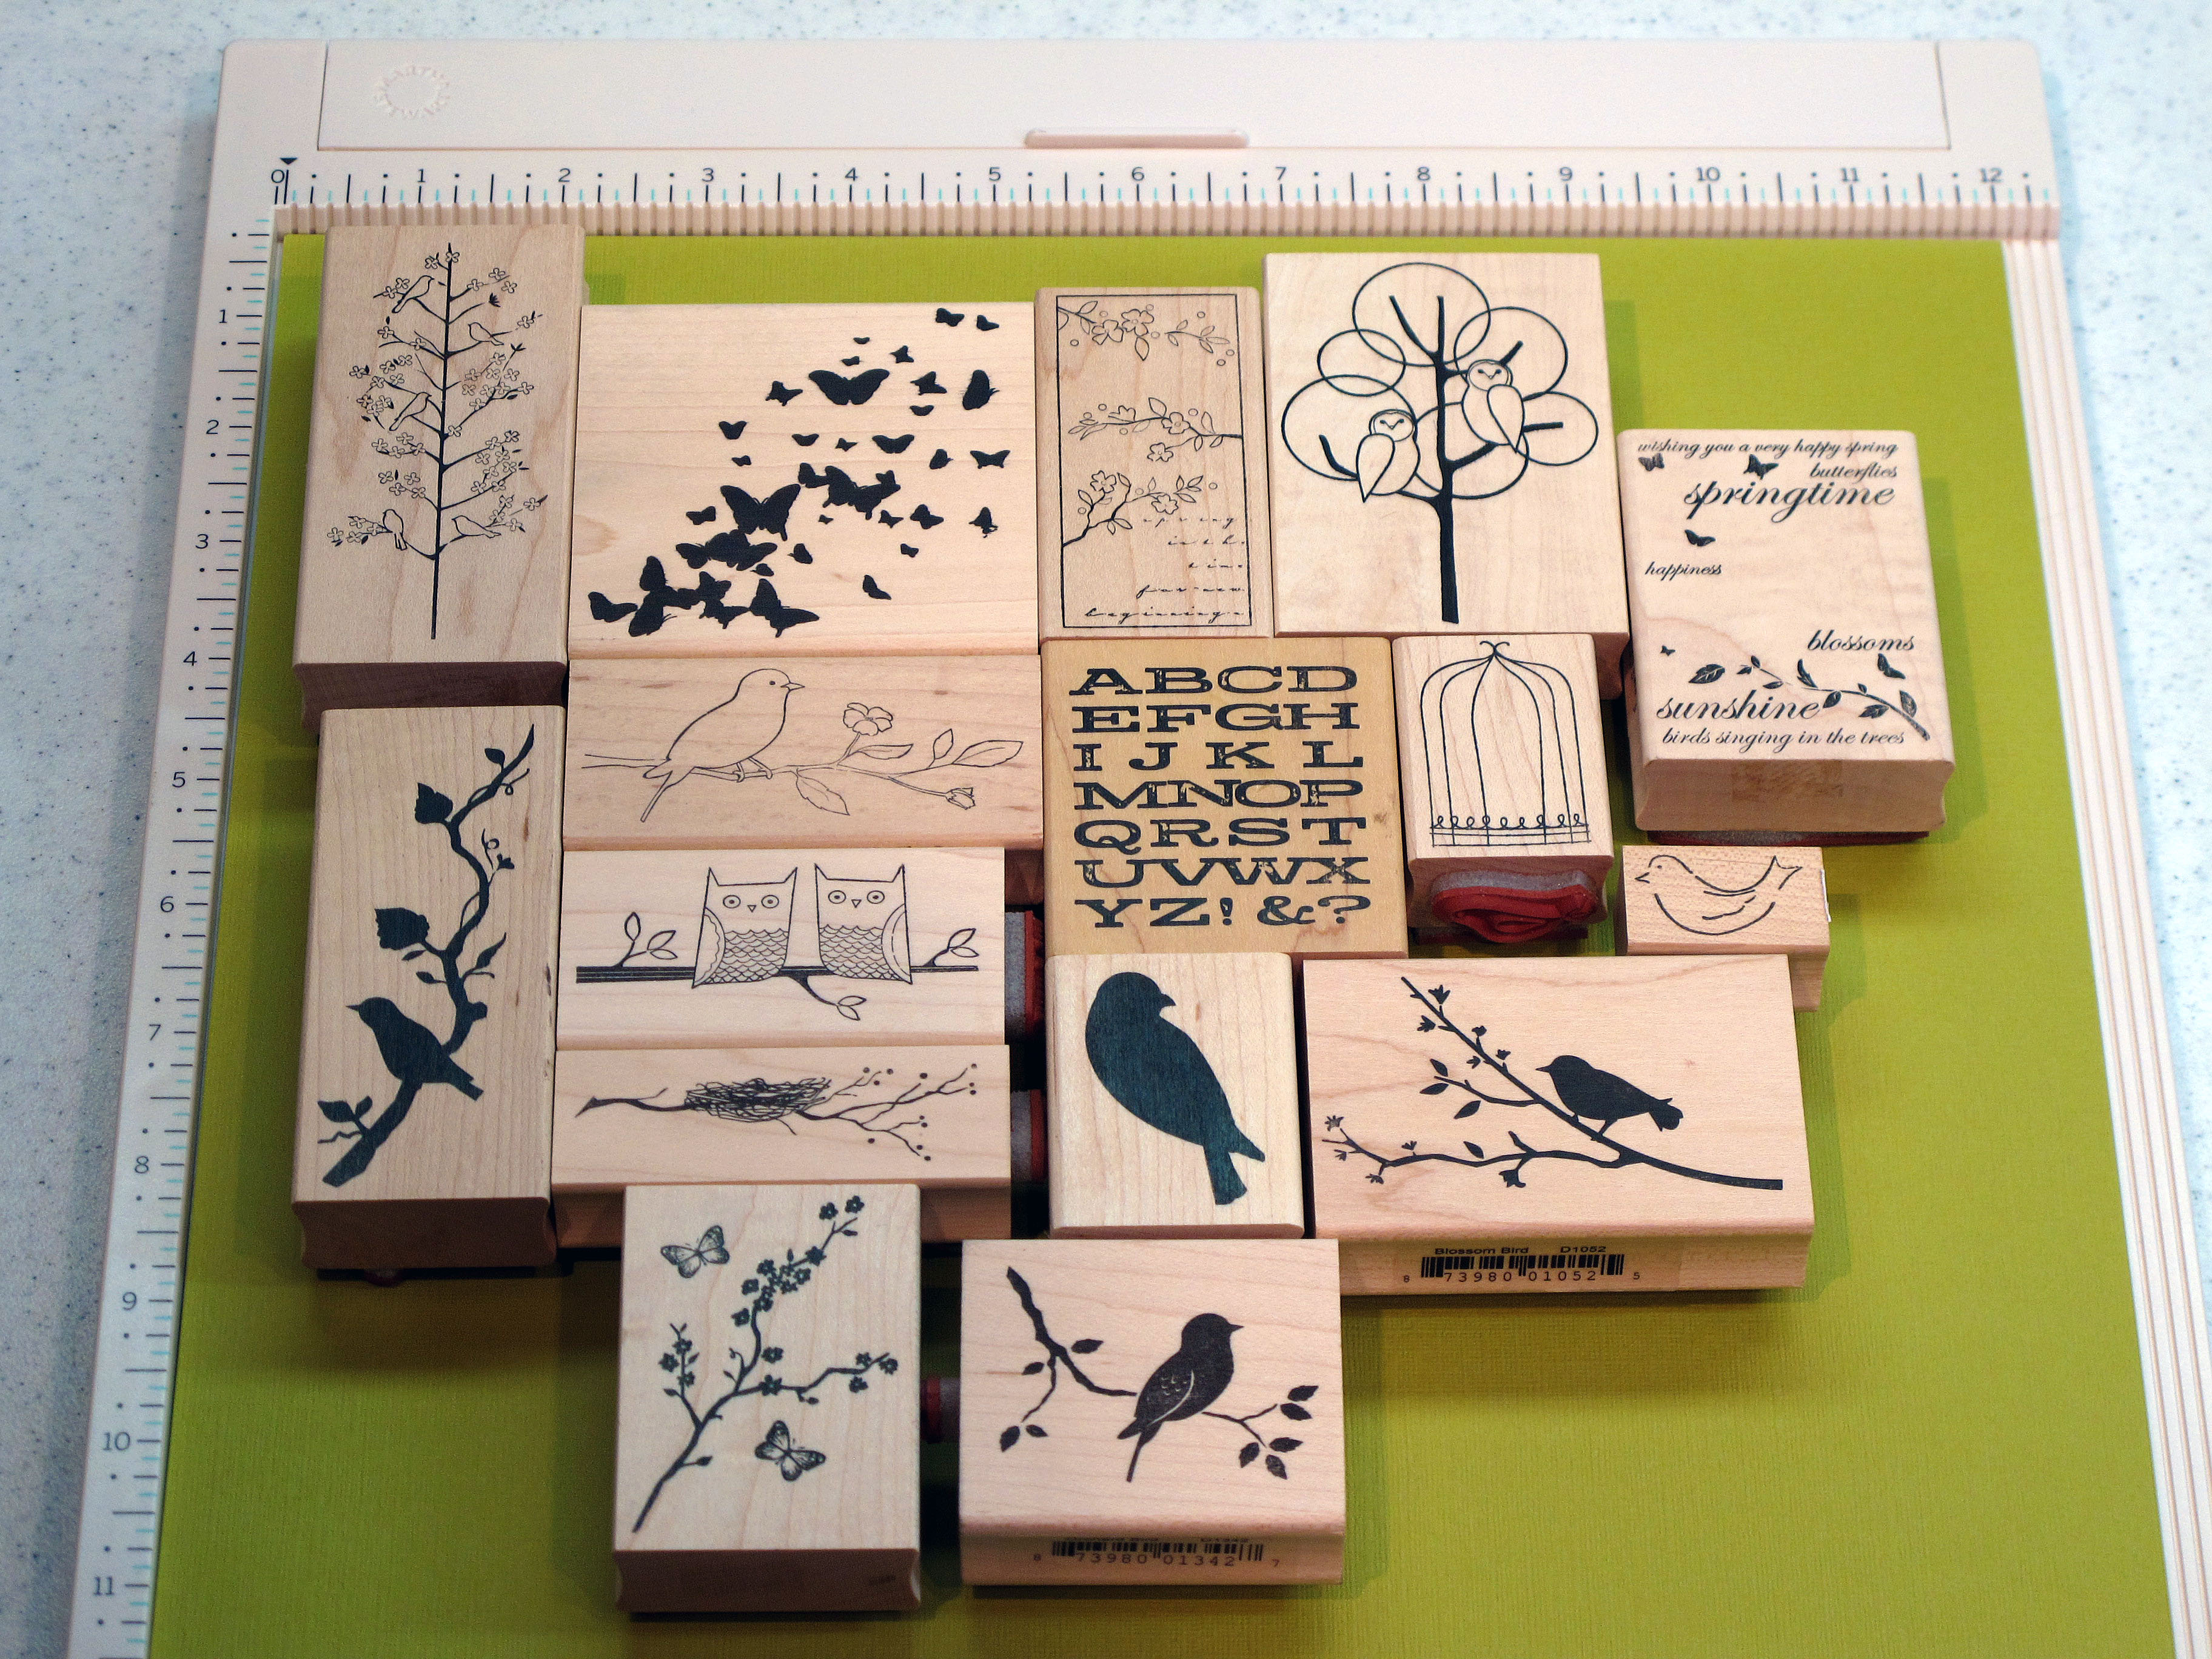
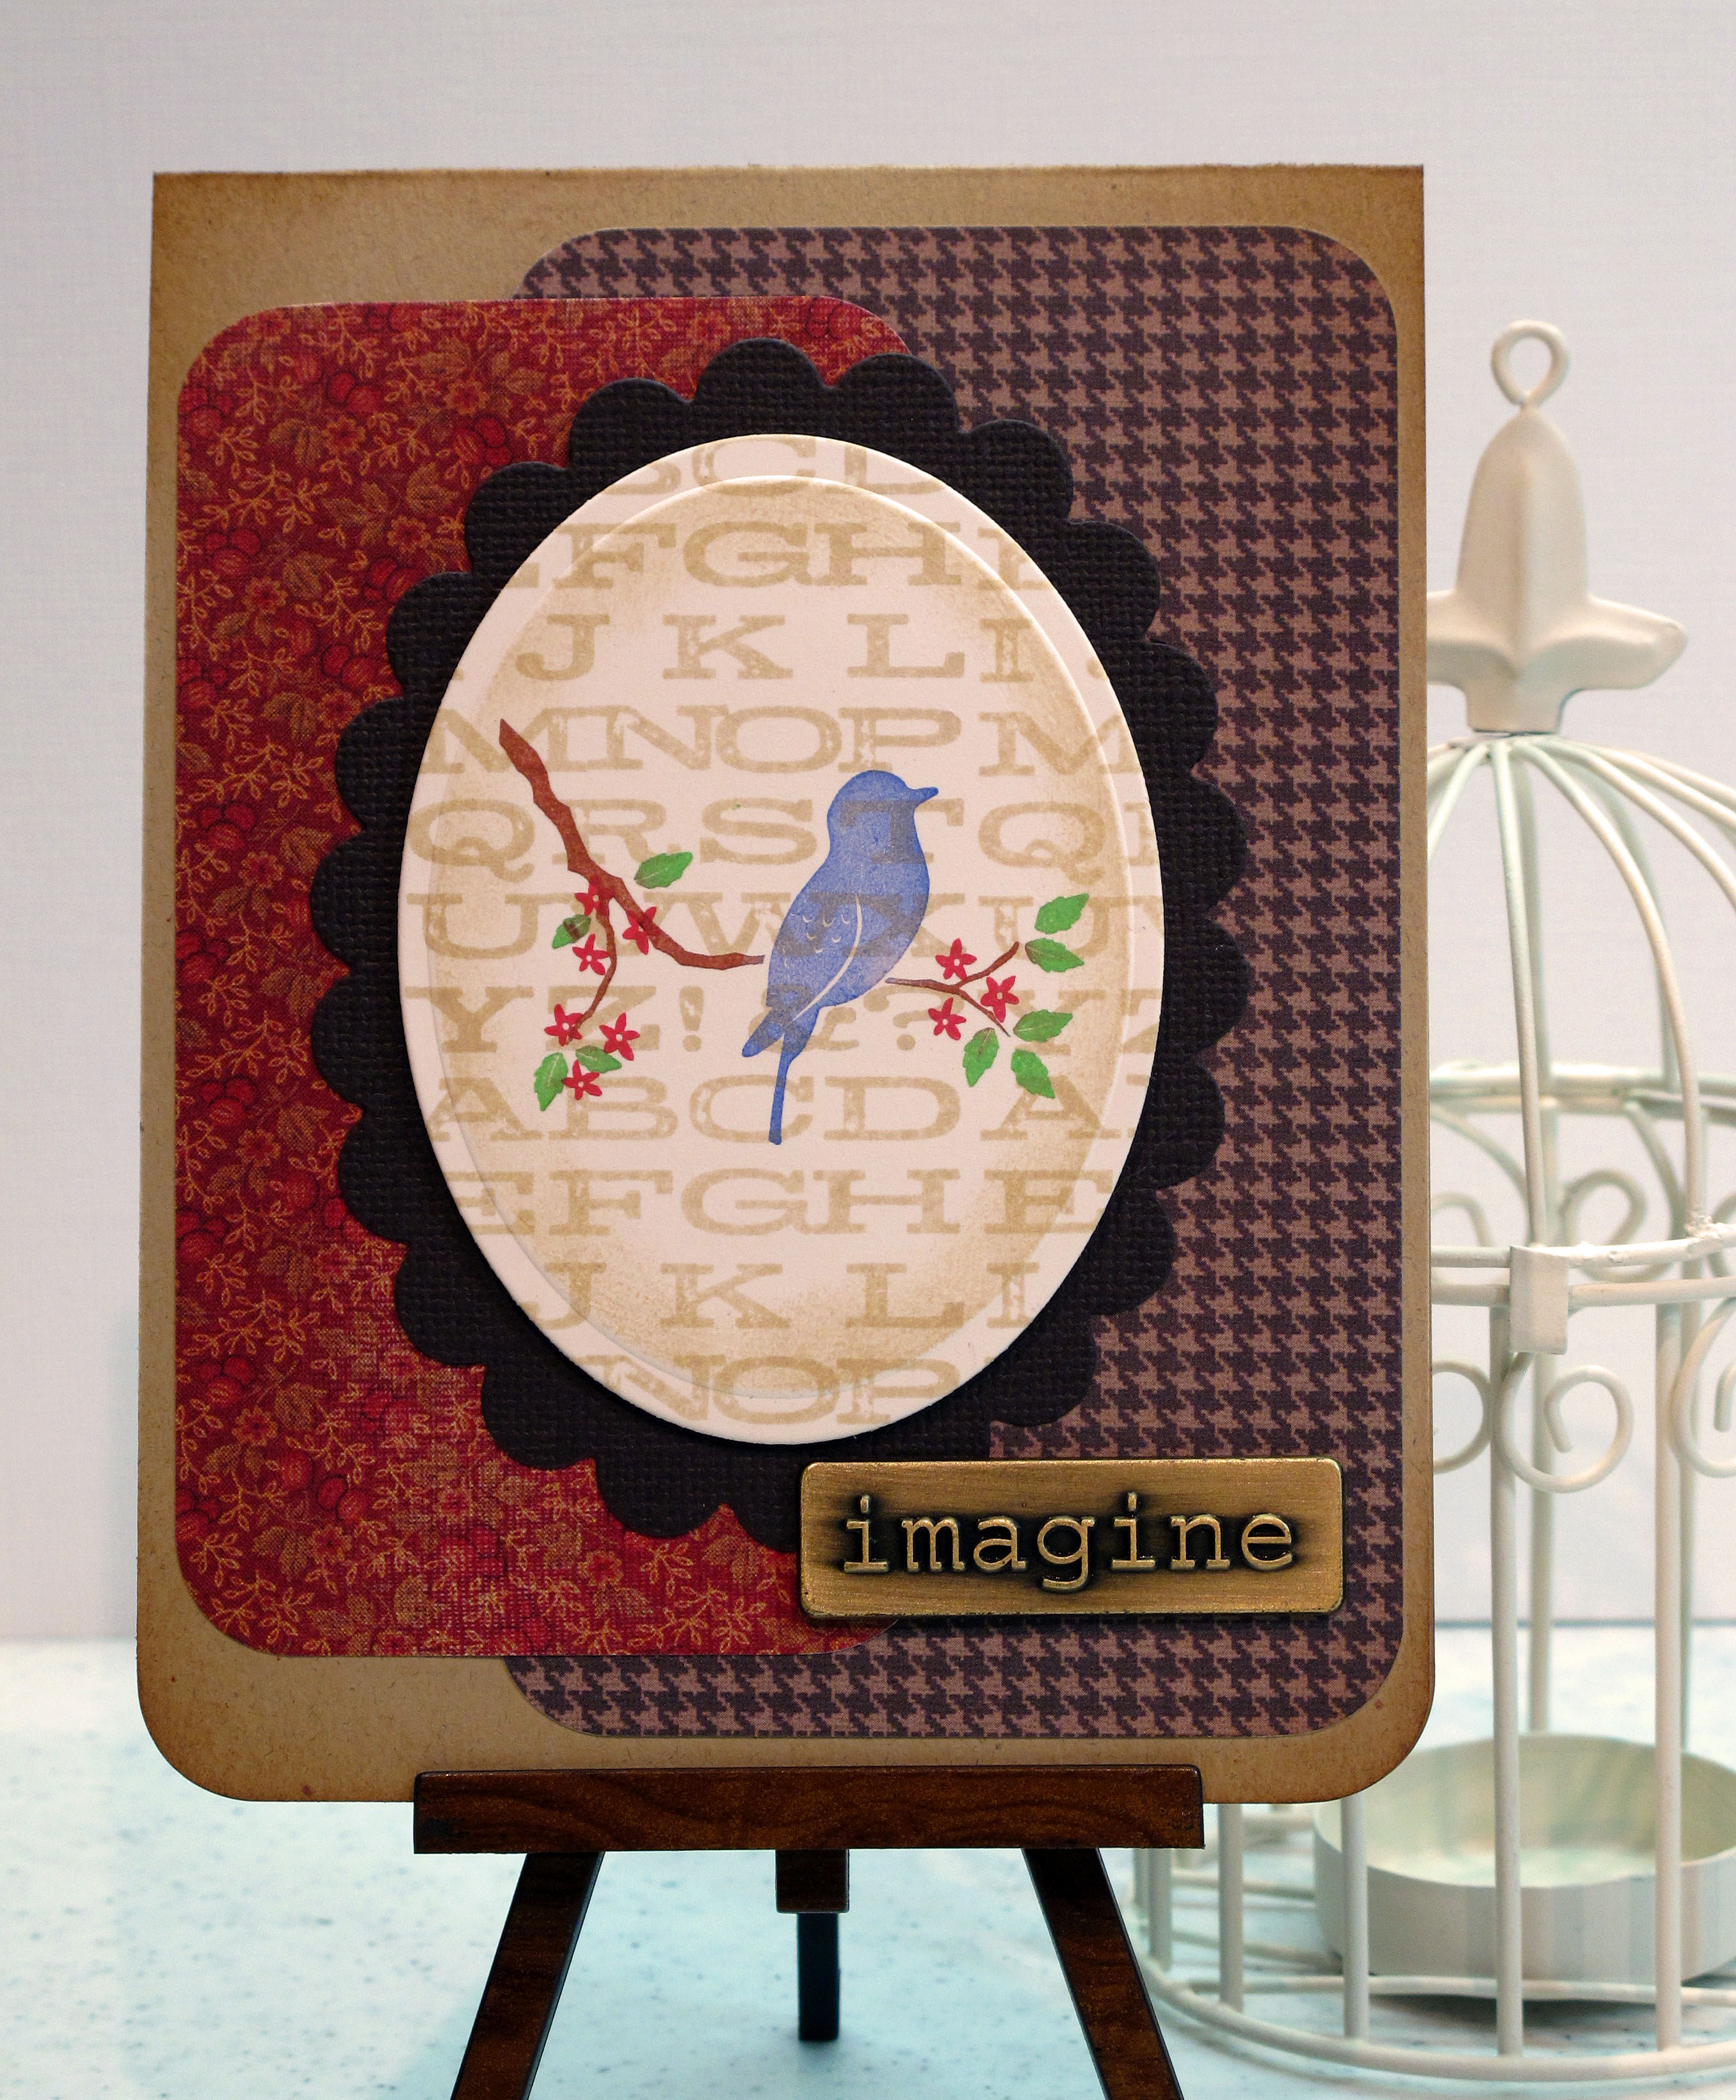
    I wanted to make Dave, Teadub and Steph some Memory Box cards to hand out today at class. I got out ALL my Memory Box stash to be inspired…Do you think I like birds?? Heehee. Aren't the images great?

    IMG_2663

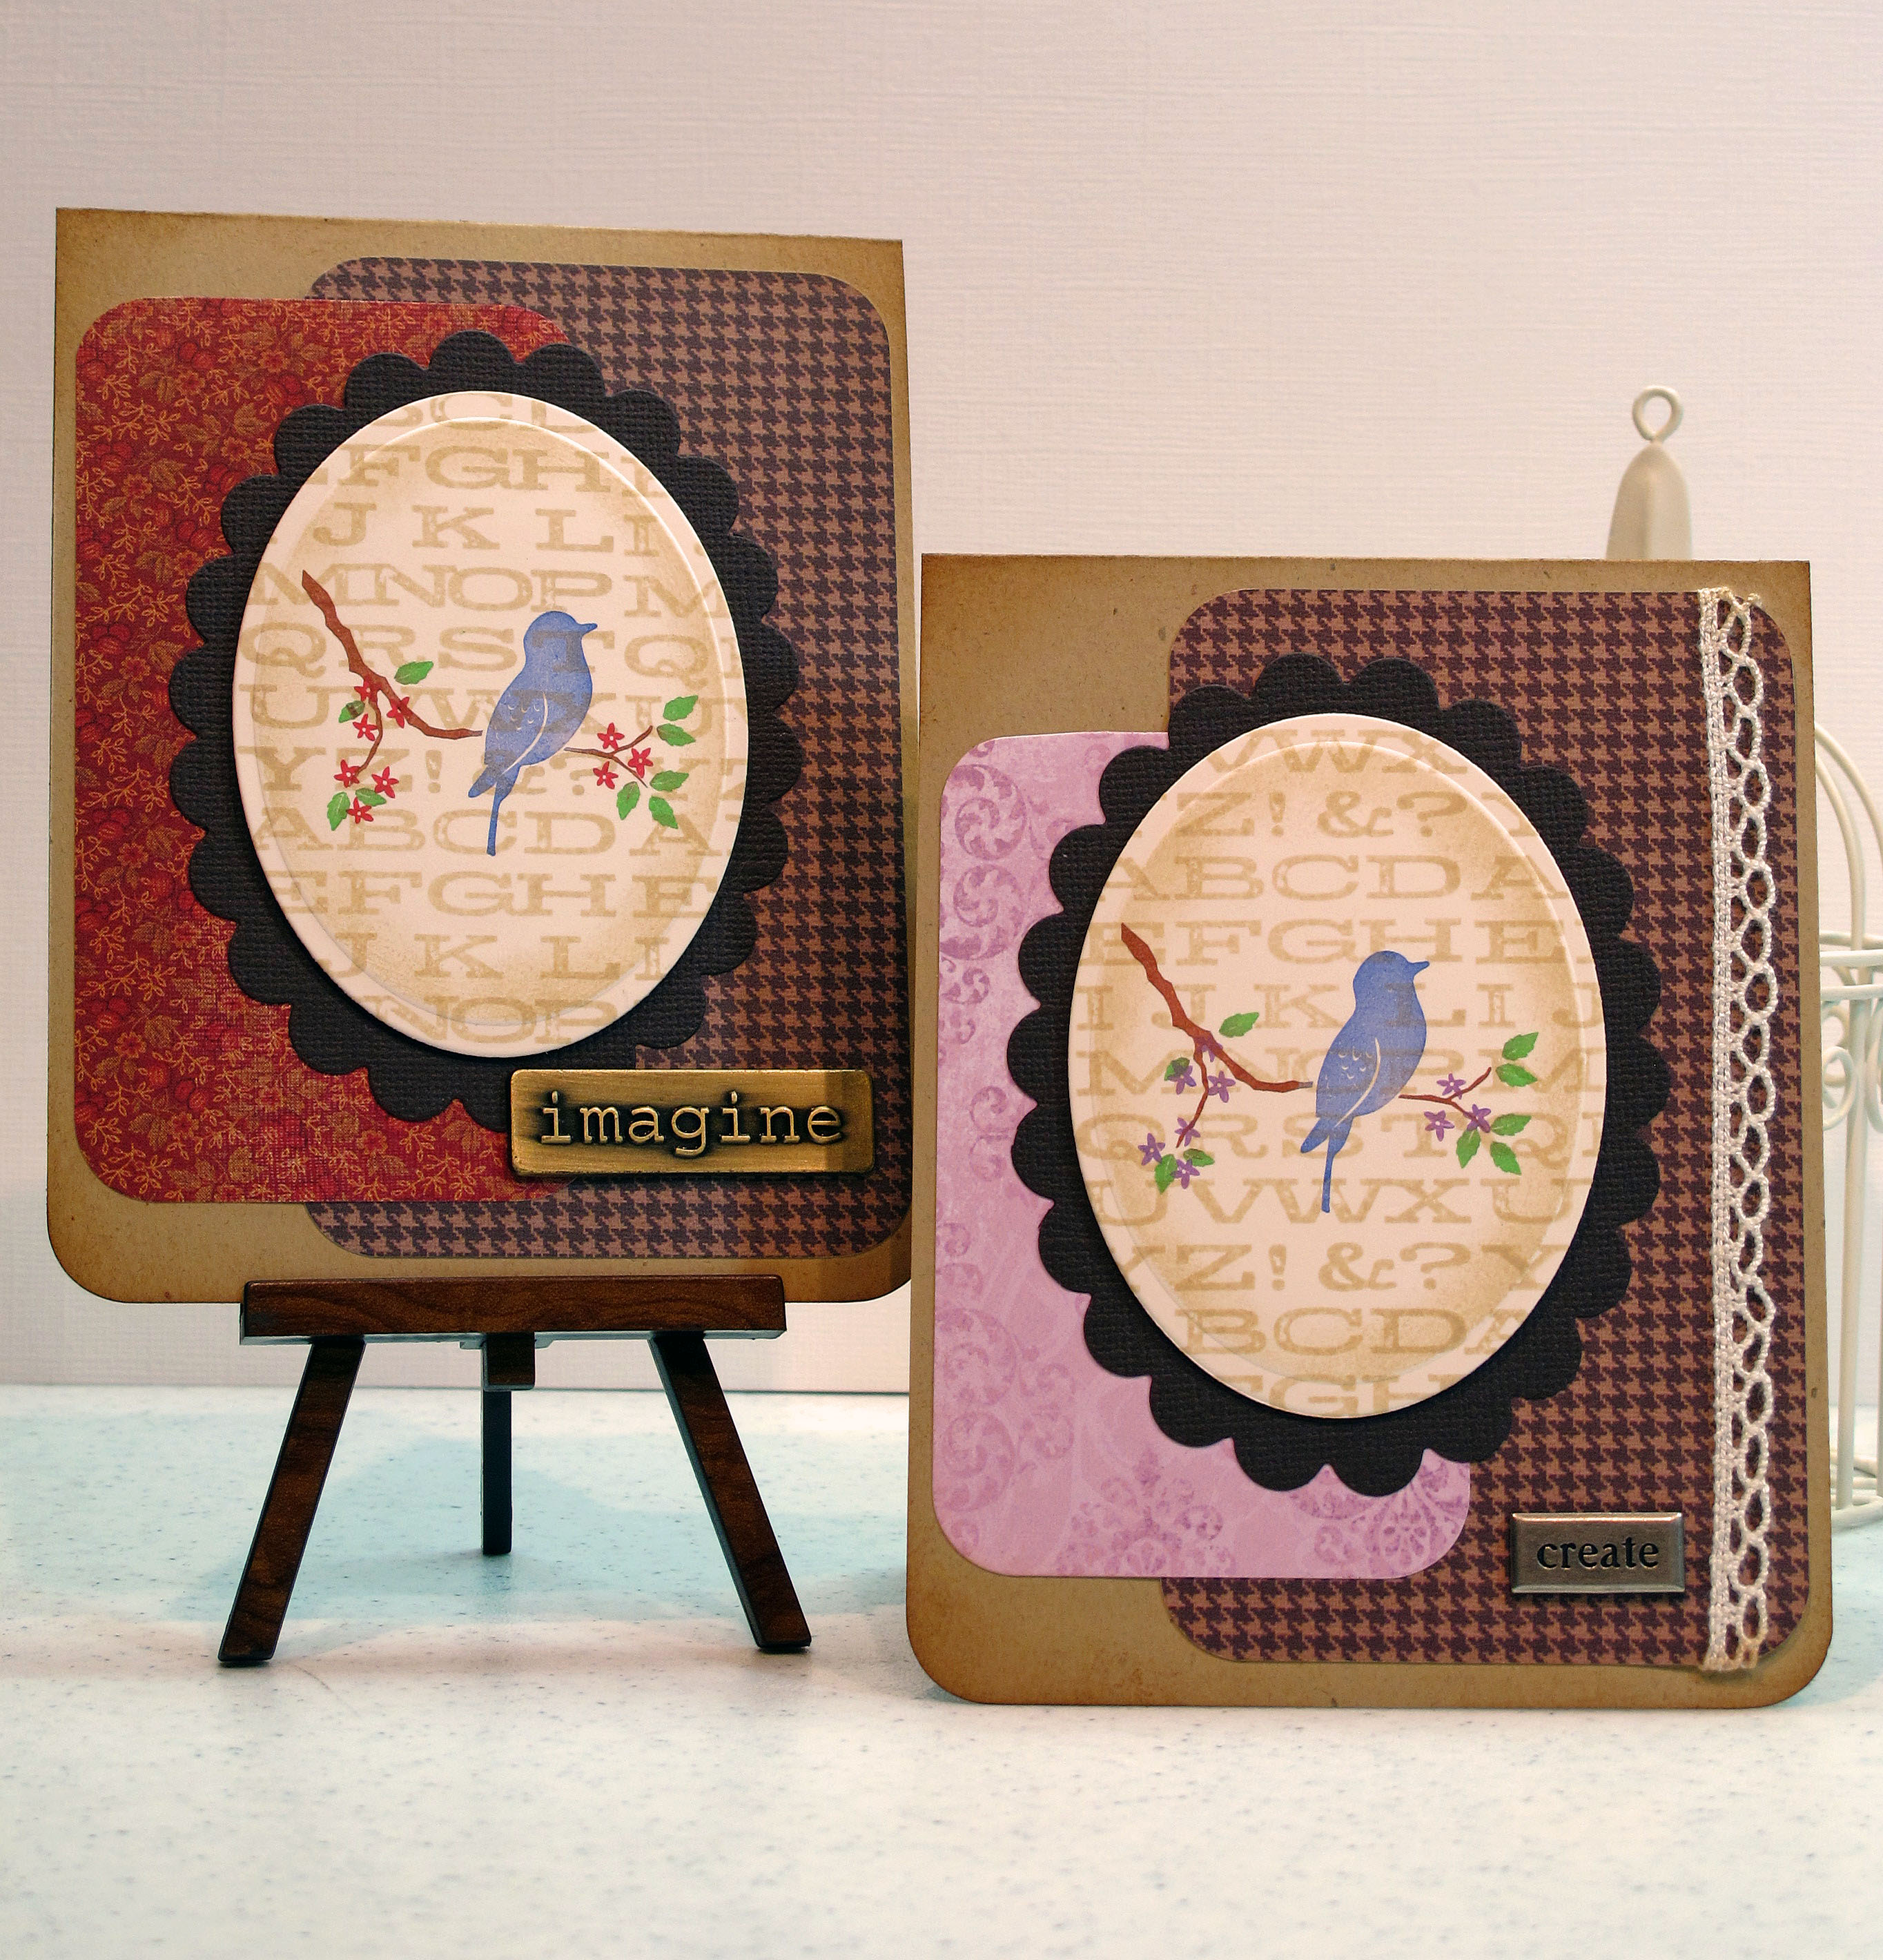
    Here are my finished cards for today:

    IMG_2676 
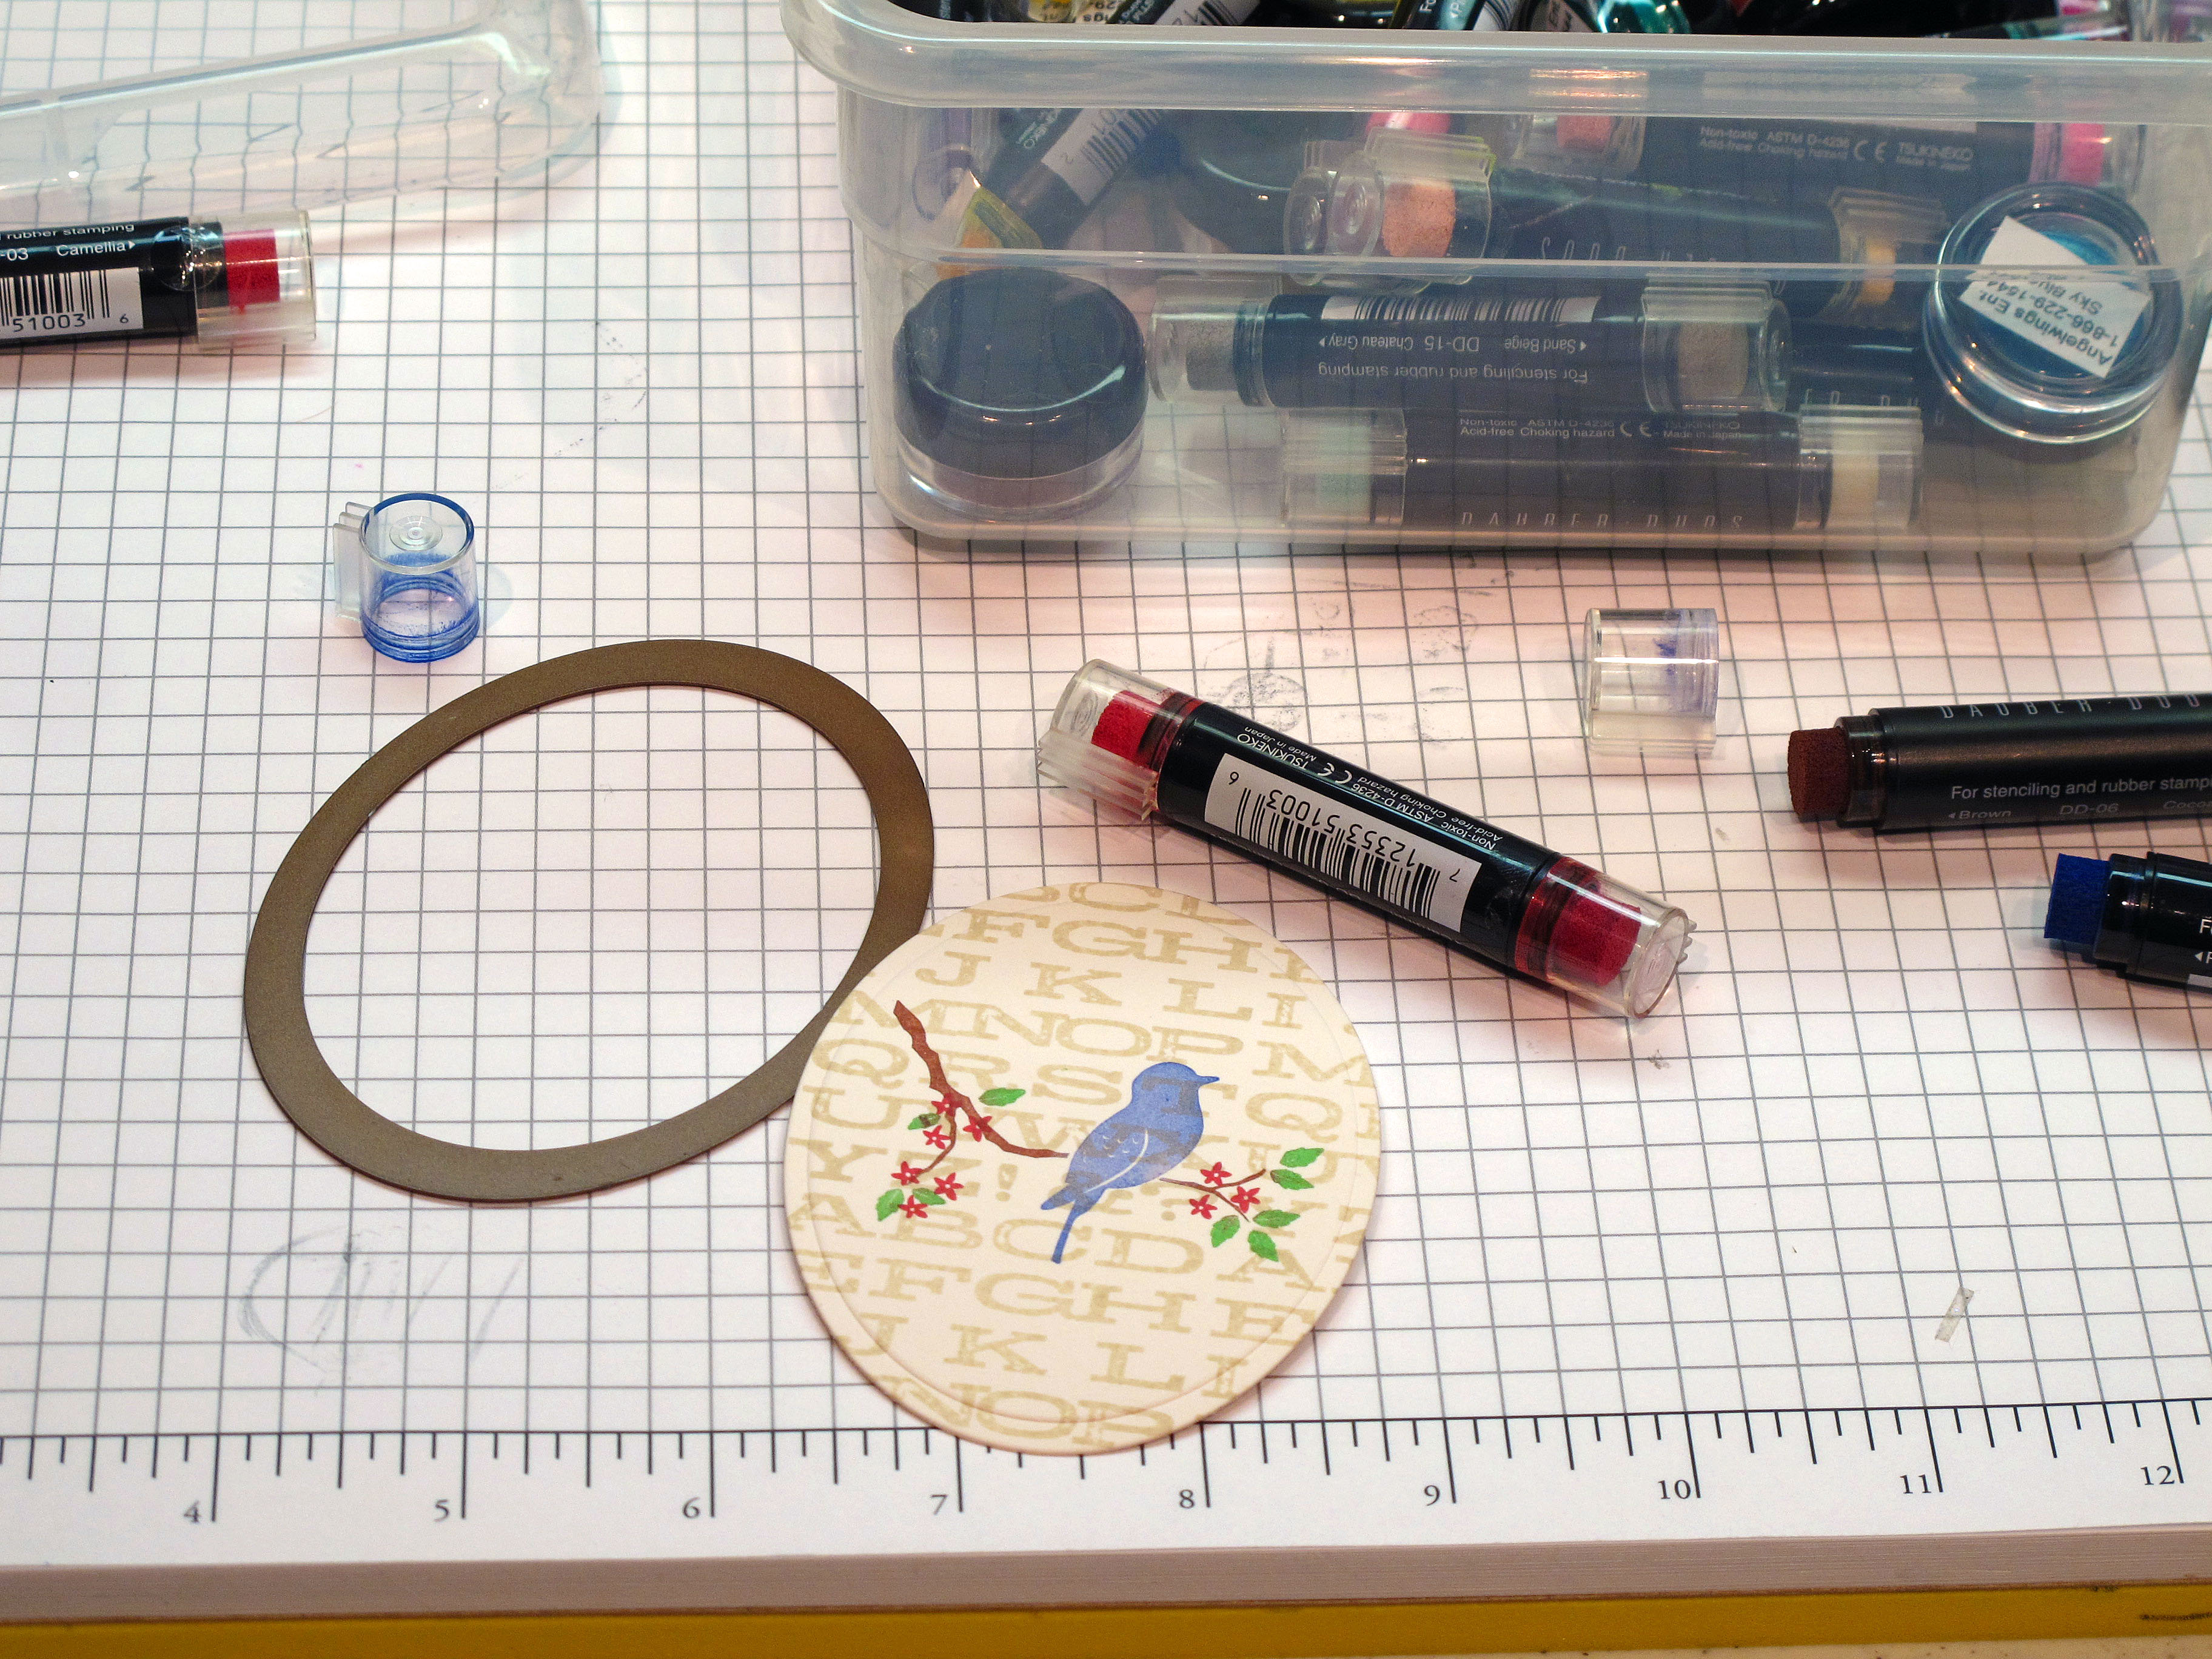
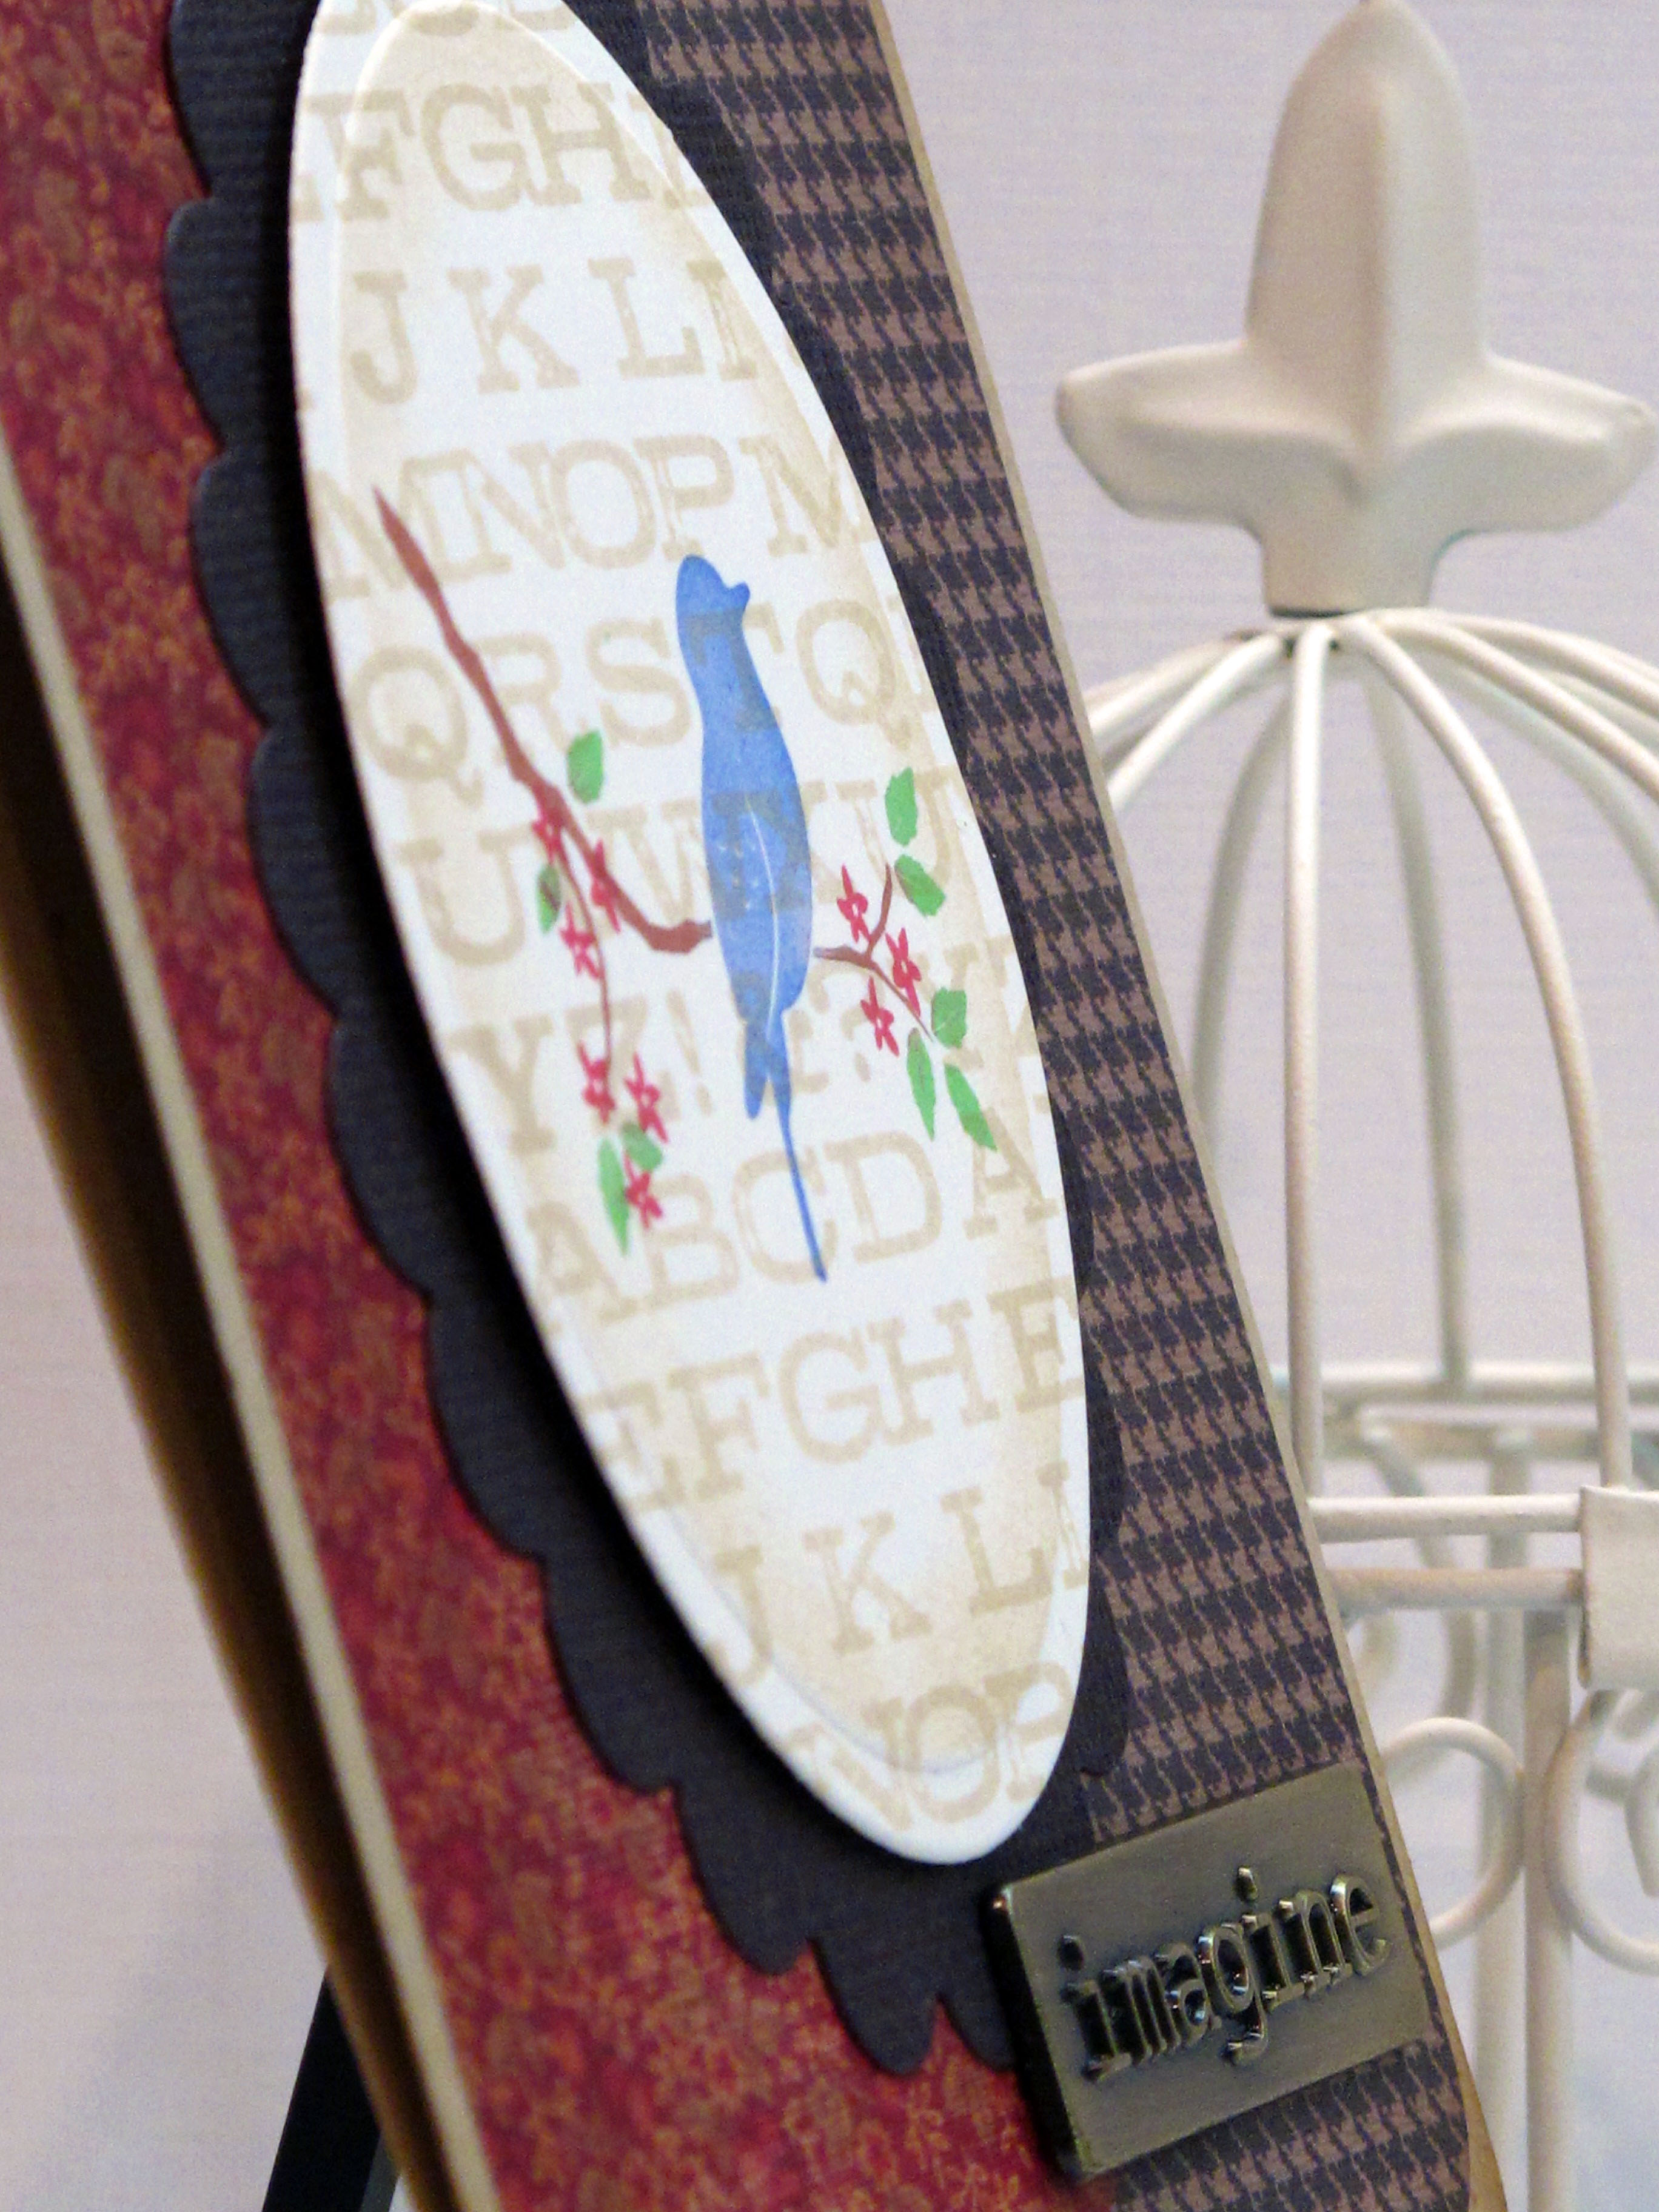
    I first started by stamping the alphabet image over and over again on cream cardstock to make my own background paper. Haven't used the old stamp-a-majig in a LONG time! It's perfect…don't know why I don't use it more often.

    IMG_2661

    I stamped the bird image using my tiny ink spots right onto the alphabet background. Then I cute the oval out with my nestabilities…

    IMG_2662

    IMG_2677

    IMG_2678

    IMG_2679

    And, of course, the inside!

    IMG_2681
    I hope you have enjoyed my post and I hope you're inspired. I haven't used my colored pencils in a long time and I was re-energized to get them out! Get out some old supplies and see what happens…

  • TESC #123 Challenge Card!

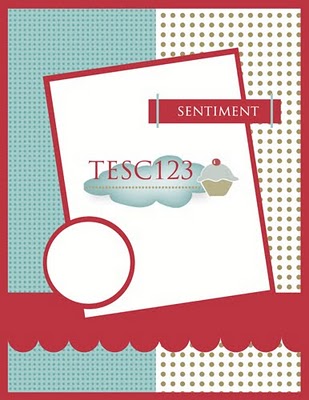
    Hi peeps! Dang, just got in under the deadline this week forTaylored Expressions #123 Challenge! Again, I love the sketch Taylor dreamed up. I had colored this image earlier in the week and voila! It came together tonight. Please send some blog love my way and let me know what you think!

    IMG_2666

    The sketch image:

    TESC123

    Layers of Pink, blue and green to match the image:

    IMG_2667

    My Copic color palette for the card:

    IMG_2640

    For denim I always use B21 and B23 and then crosshatch with my colorless blender to make it look faded. For metal I used cool greys. For the face I used E00 and then some pink for the cheeks. The t-shirt and wellies are R21 and R20 together. Two shades of green for the grass blades. The image is a Pure Innocence Girl from My Favorite Things stamps…and the sentiment is from Denami stamps!

    IMG_2670

    Some pretty ribbon and a Martha Stewart flower…

    IMG_2672

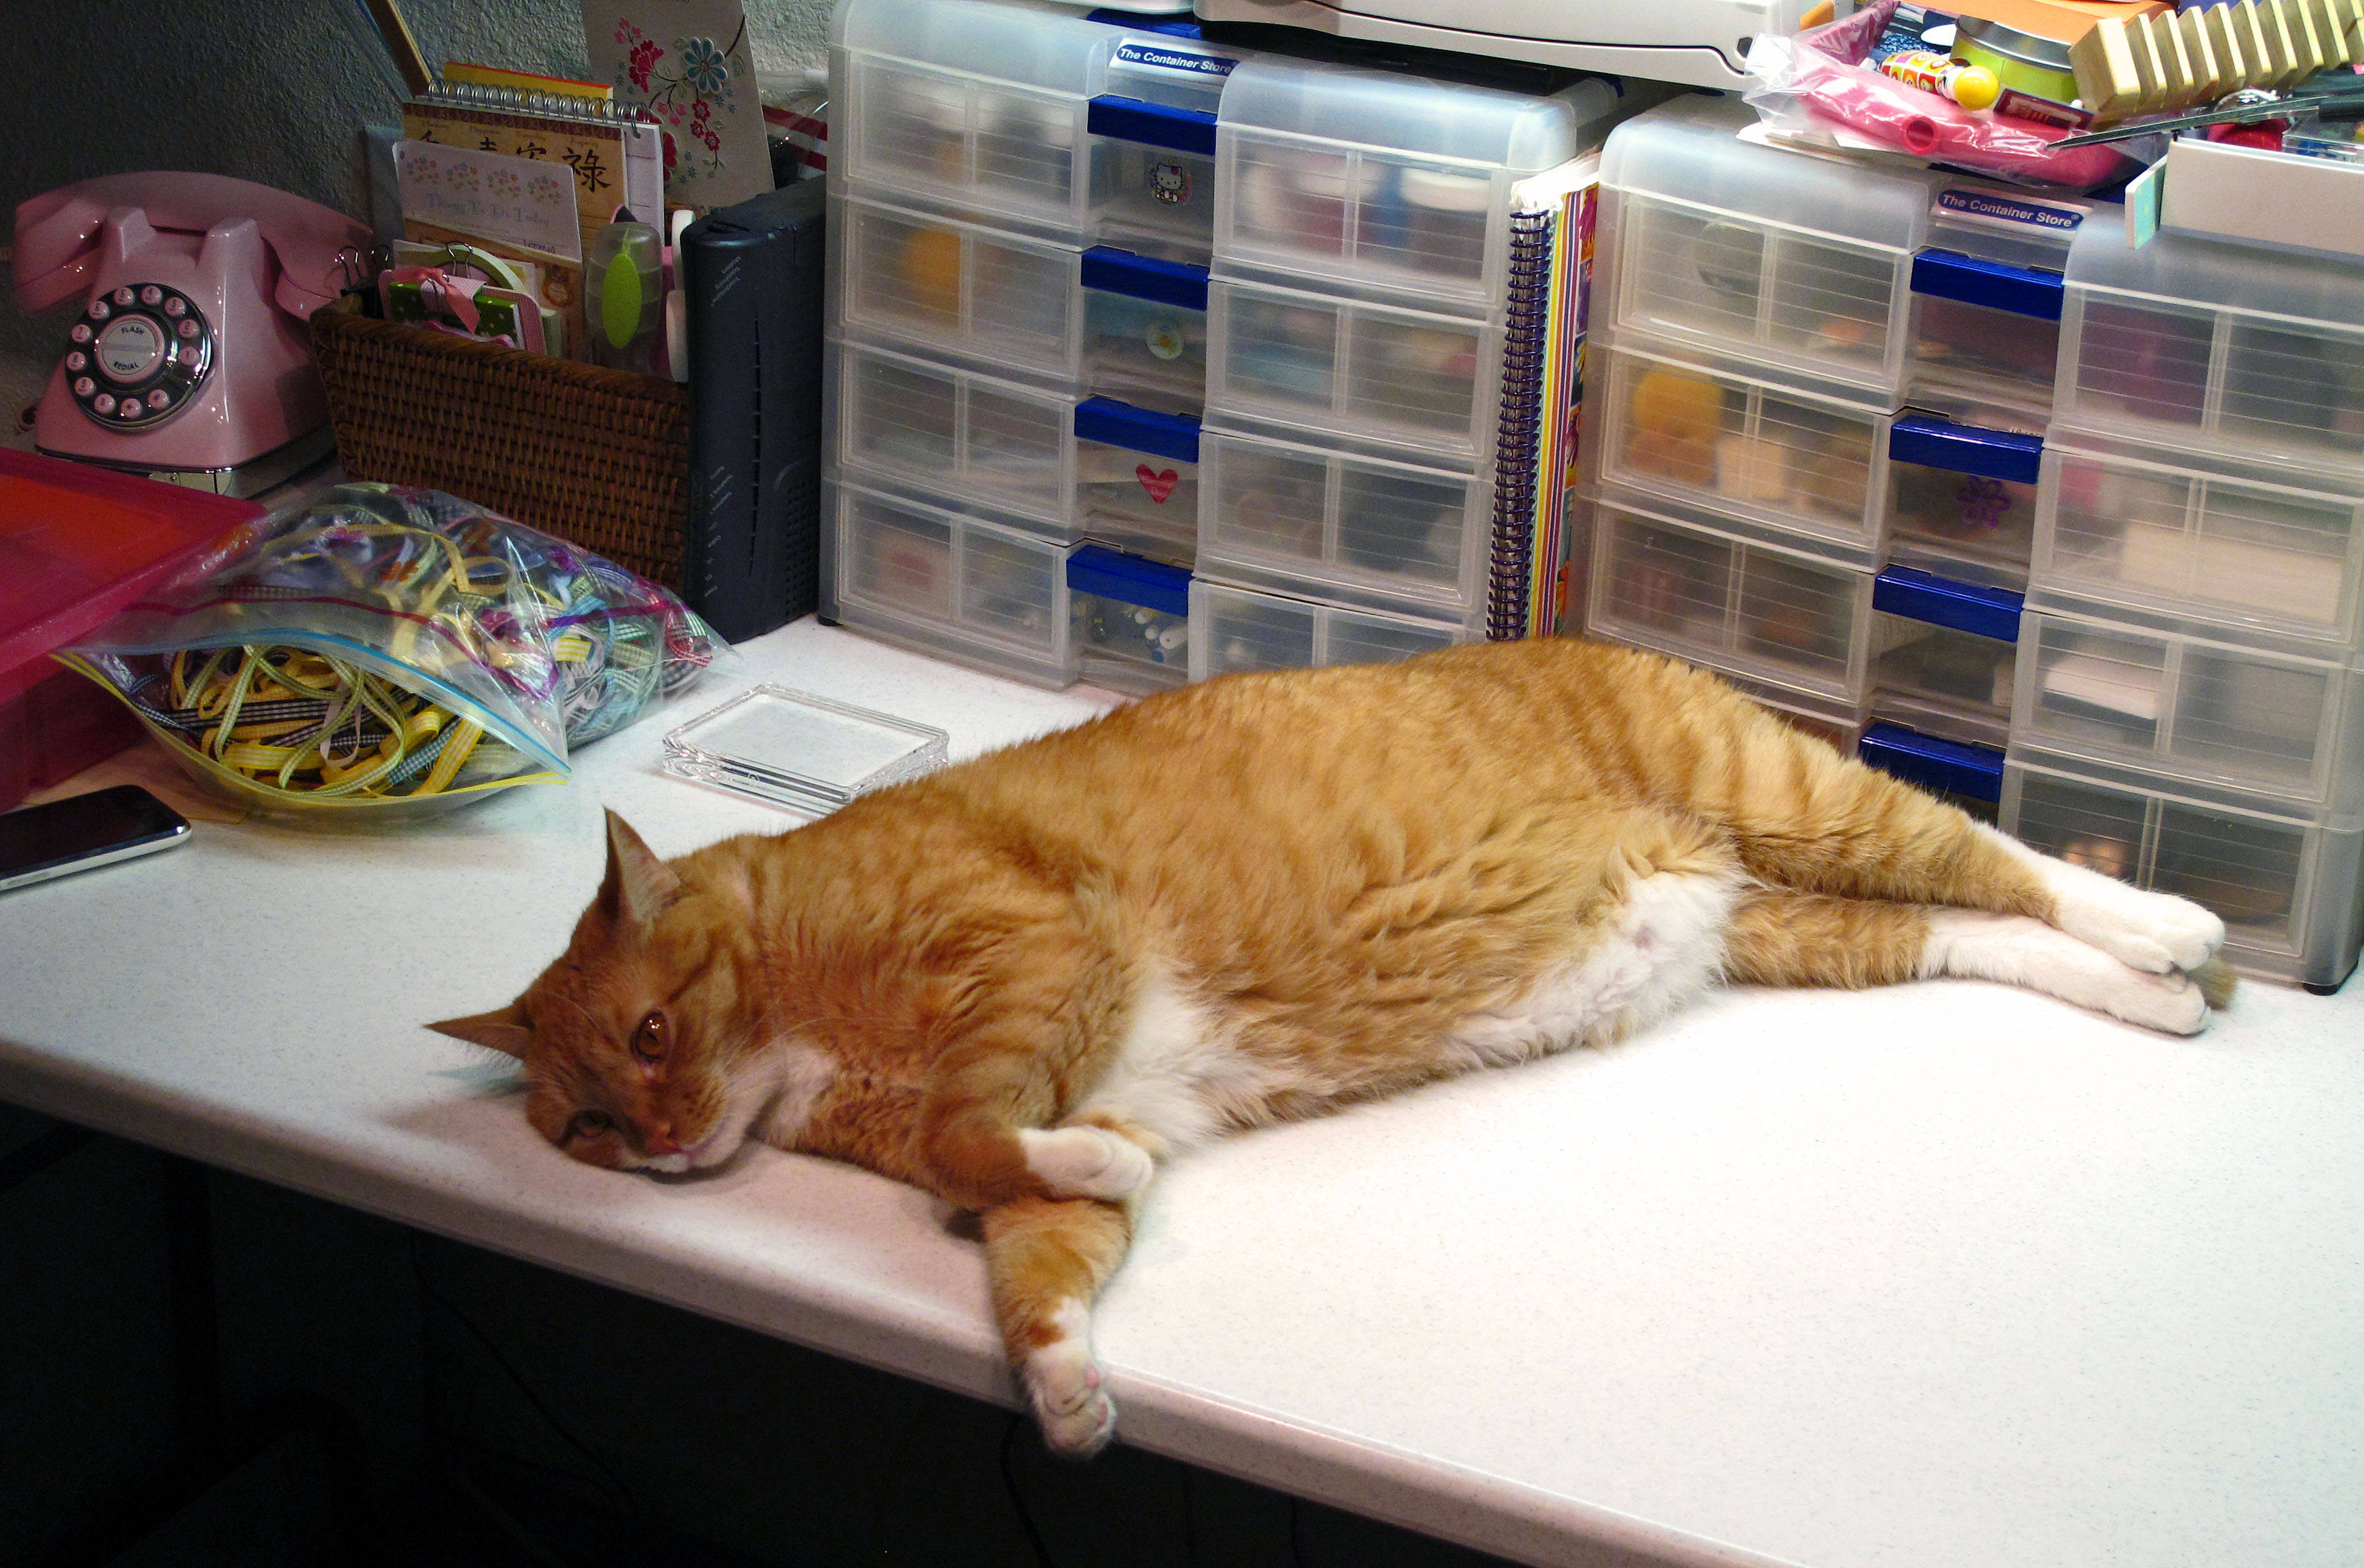
    And here is my trusty stamp room sidekick. Now I ask you…is this a stamping table…or a cat massage table? I think Buddy has the right idea…stretch out…relax…it's almost Friday! Have a great weekend everybody!

    IMG_2675

  • I’m in love with Papertrey Ink Clouds…

    Seriously, I can't stand it… I am IN LOVE with the Papertrey Ink cloud dies and cream felt. ACK. I am posting two cards today made with the little beauties, and I could probably have made ten more cards without even thinking about it. The felt is unbelievably high quality and I cut the dies with my Cuttlebug machine and they come out perfect every time. Click here to go to the PTI website to see the dies. The clouds match the little stamps in the Up Up and Away stamp set. Seriously…no seriously…I cannot stand it.

    Card #1 was made with a pretty rainbow bling I had tucked away in the bling drawer. It came like that…no I did not put alllll those blings into a rainbow! I used my Nestabilities to cut a white circle and then a royal blue scallop circle. Keeping it simple and bright.

    IMG_2525


    Some of the clouds are mounted onto foam tape to pop them off the page. The yellow paper is by Bazzill for Doodlebug Designs. Has a nice texture.

    IMG_2529


    IMG_2532


    The sentiment is also from Papertrey Ink…isn't it perfect?

    IMG_2533


    Card #2 was made with this cute little mouse stamp from Stampin' Up. A-DORABLE. I used shades of blue and blue violet and again kept the layout simple. A pretty border at the bottom and my favorite checked paper keep it cheery.

    IMG_2498


    IMG_2499


    This sentiment is from the same Papertrey Ink stamp set…

    IMG_2501

    I hope these clouds and cards have uplifted you today! Have a wonderful week!

  • Happy Birthday to Teadub!

    Today is my friend Teadub's birthday! I made her some goodies and sent them her way earlier in the week…but now I can post them! Now…Ms. Teadub is allll about pink! So her card and prezzies needed to be pink and girlie and sparkly.

    Here is the matching card and gift tin:

    IMG_2487

    I decorated the tin with patterned paper and then some rub-ons and some stamped letters. Oh…and don't forget the bling! Pink and brown is the way to go. Before and after… One of my favorite projects for prezzies is to take these short Pepperidge Farm tins and decorate them specifically for the person. (Oh and it doesn't hurt that I have to eat the treats first!). They can hold a gift card, a little jewelry prezzy, some candy, or STAMPS!

    IMG_2496

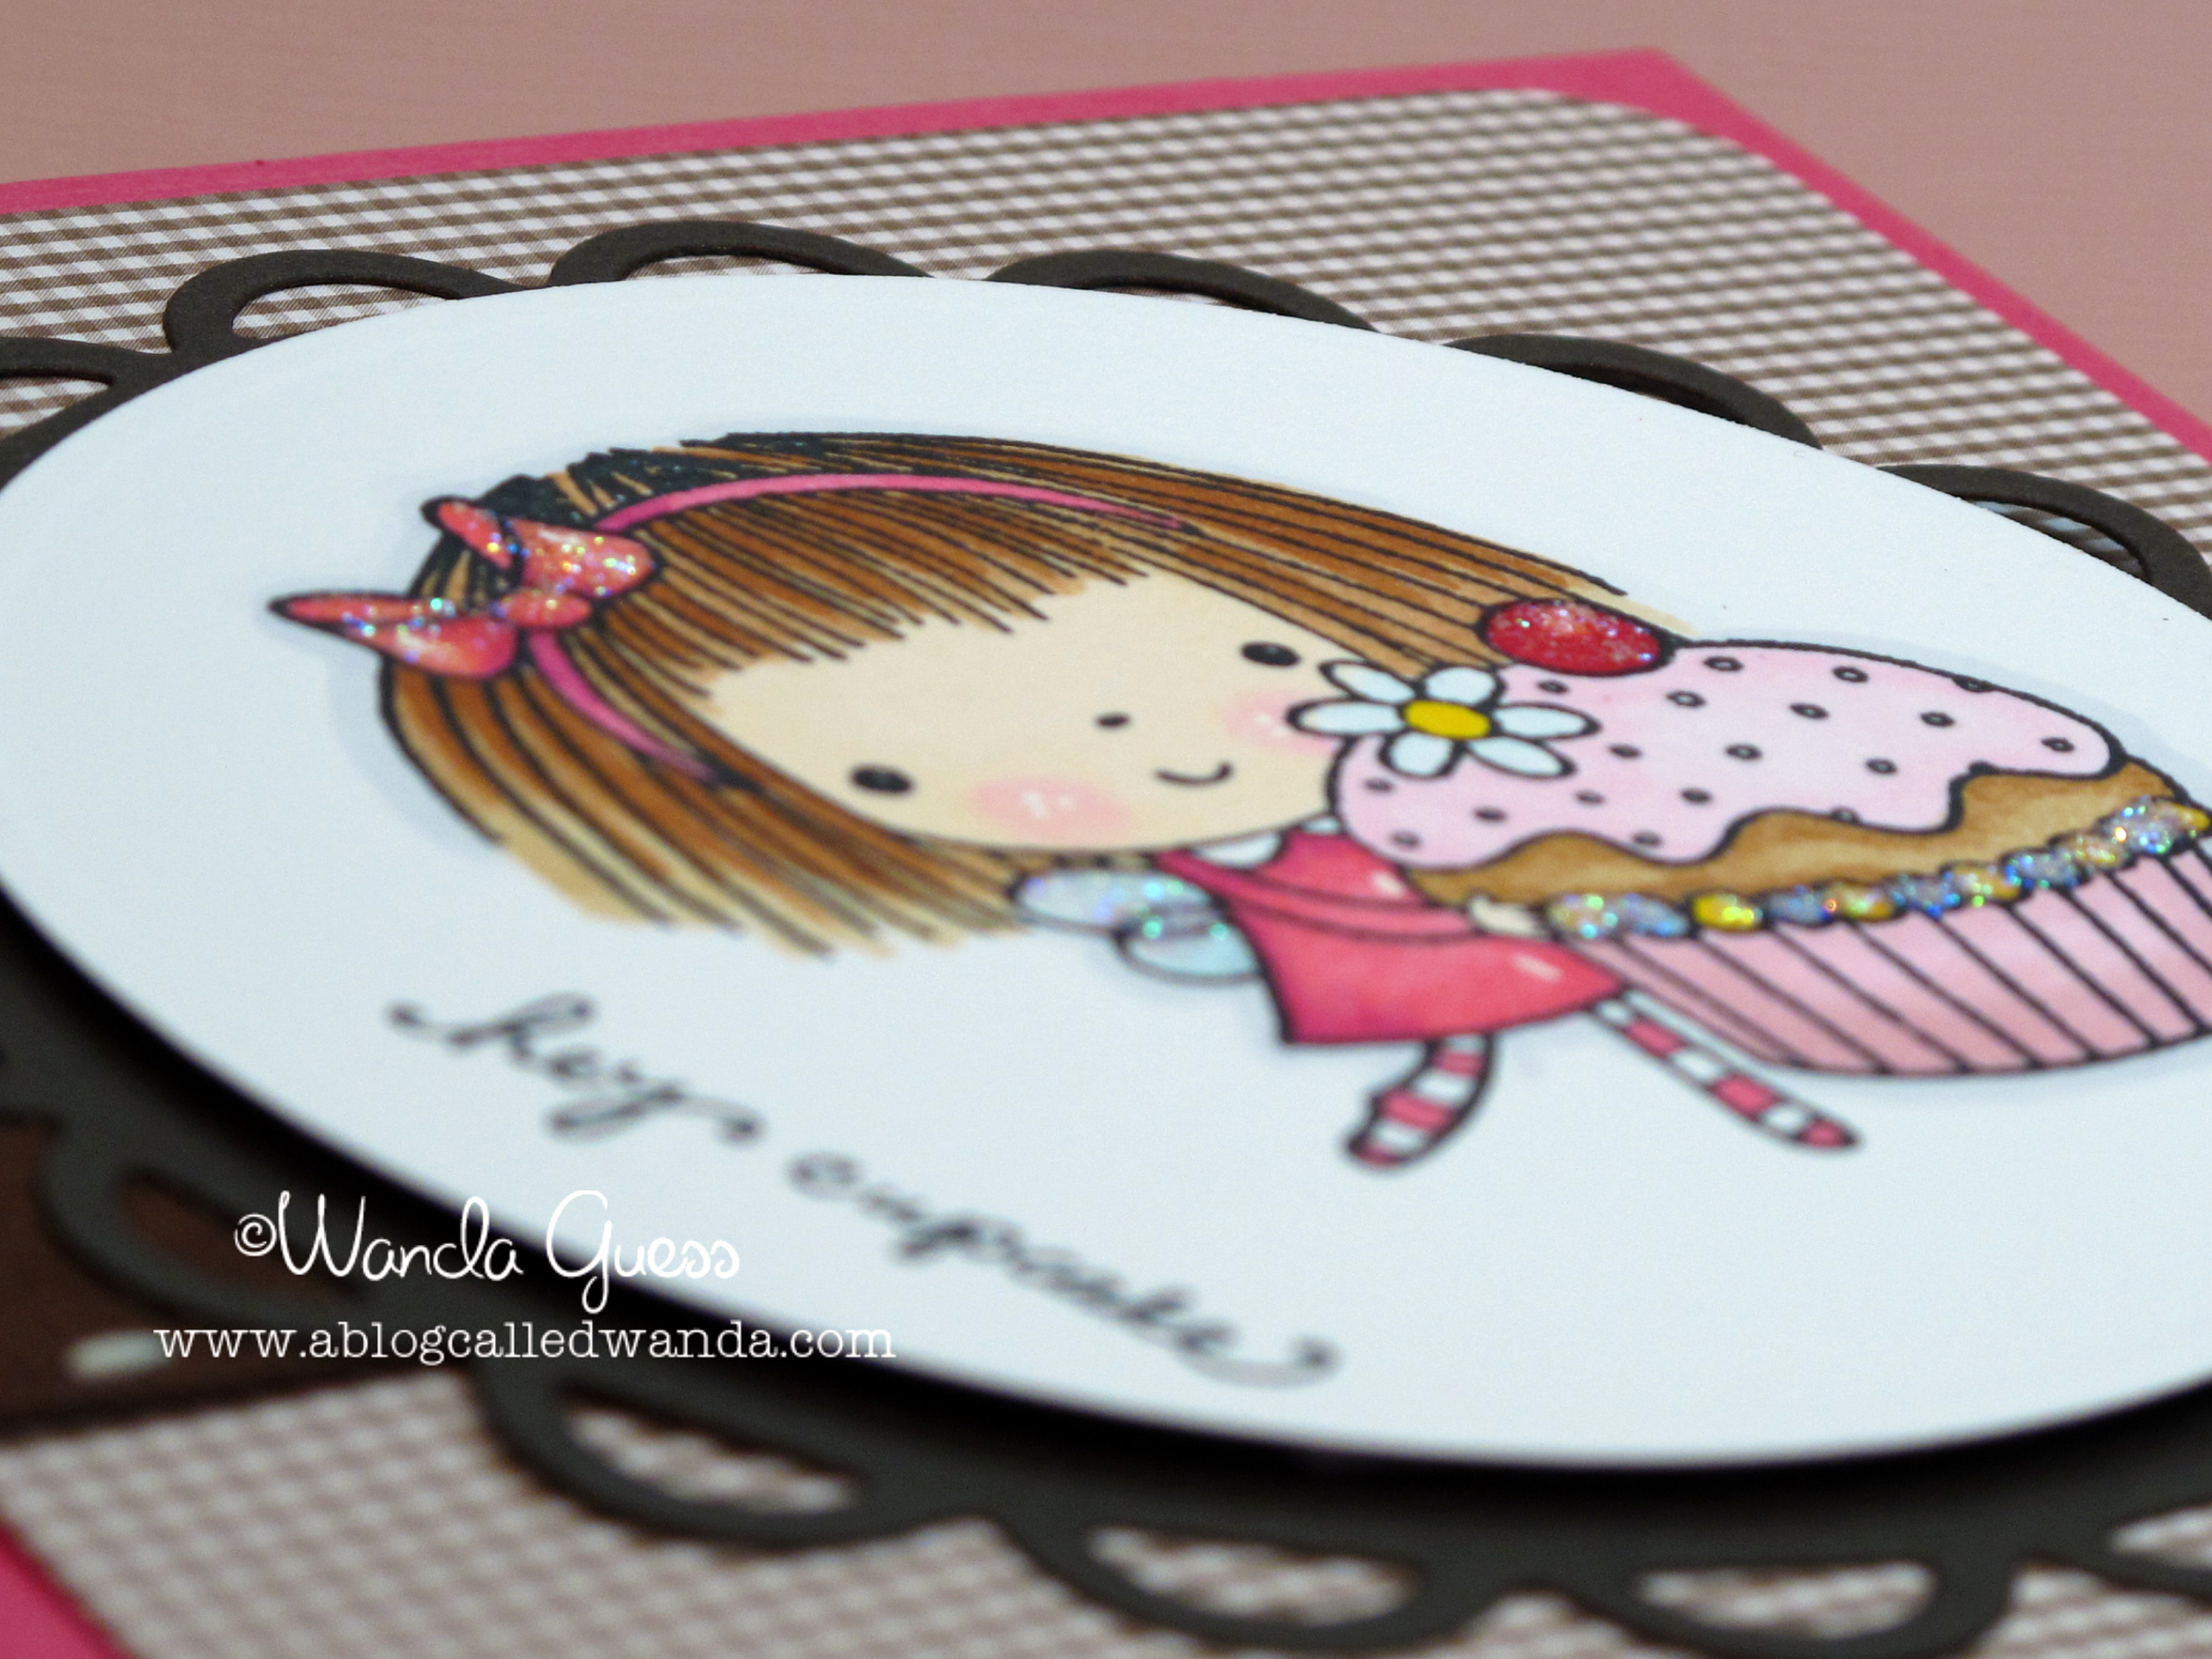
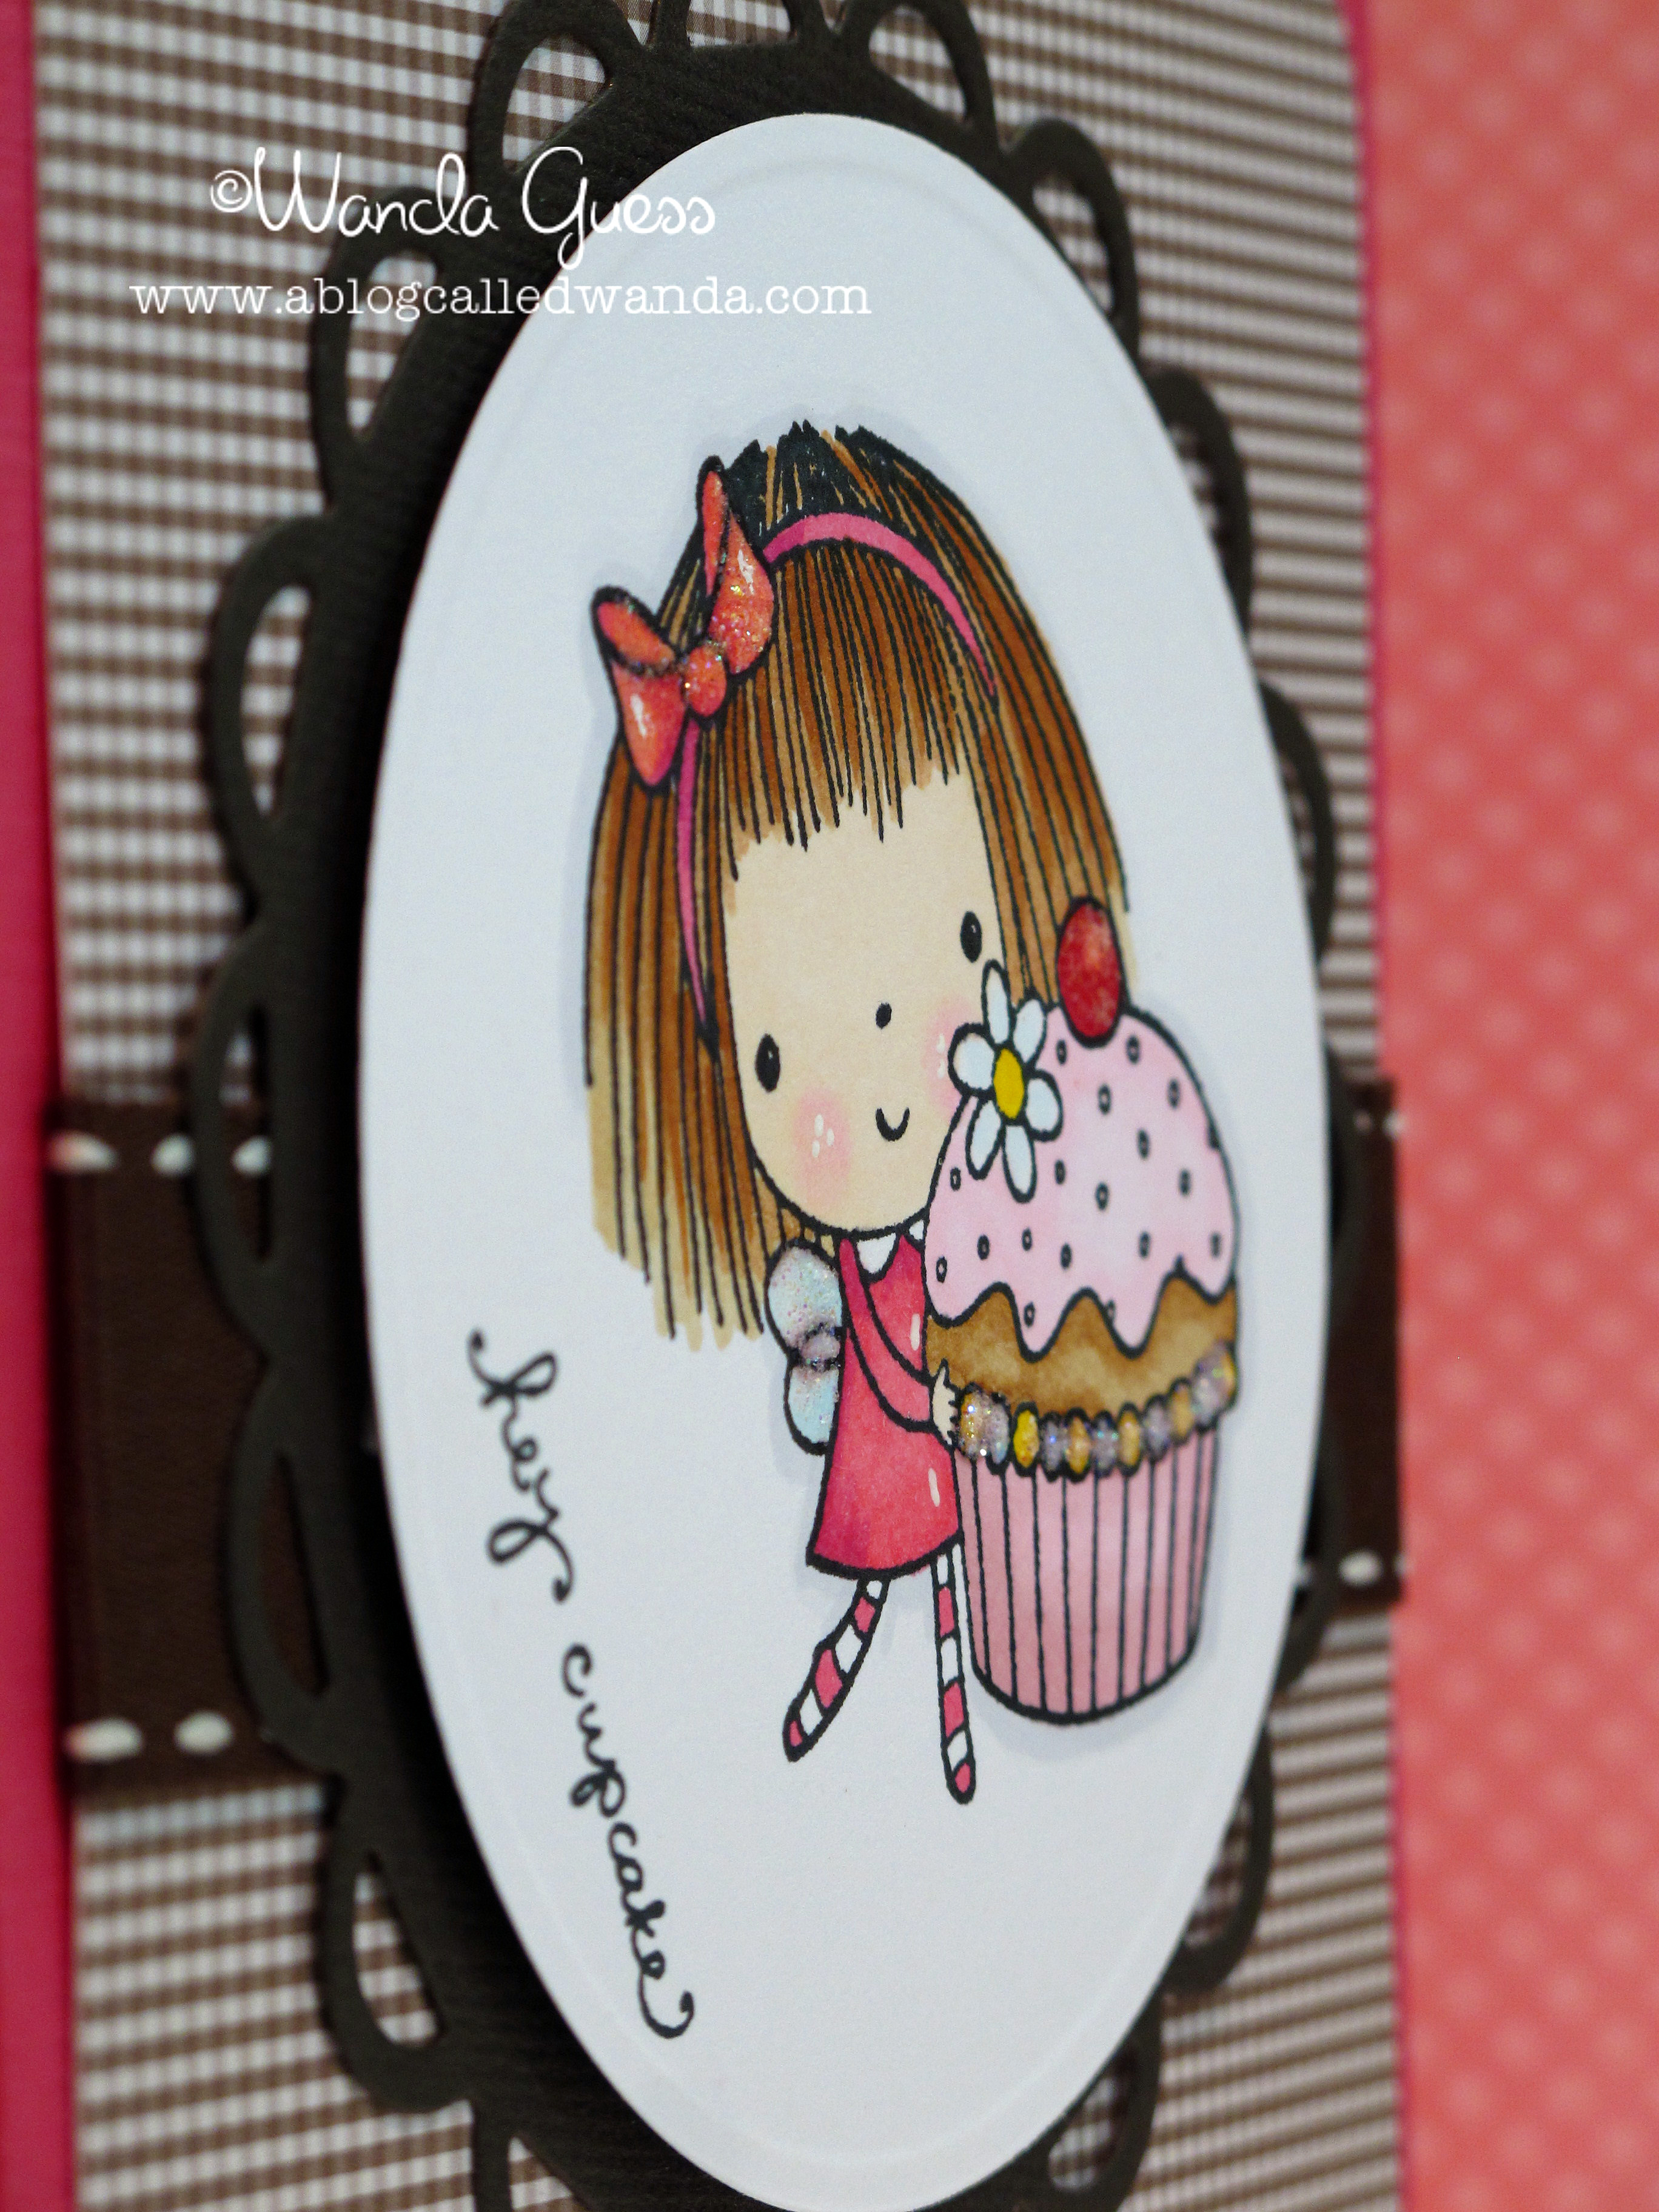
    Here is the card. I tried a new technique with the cut out. I used my Creative Memories oval cutter after putting the layers of patterned paper together. Then I used my oval punches to make a center piece and hooked it all up with ribbon!

    IMG_2490

    Some cute little pink cupcakes in the background…

    IMG_2492


    IMG_2493


    IMG_2494

    Have a fantastic weekend everyone!
  • TESC #122 Challenge card!

    I am trying to use some different color combinations in my cards and I found this pretty patterned paper from Crate Paper in my stash to use for inspiration. I love doing the challenges for Taylored Expressions and this card is my entry for Challenge #122. Hey…I used orange…and purple…and brown! Hahaha…and take note…no polka dots!


    IMG_2522 

    The sketch image is below. I tried to use different items for the accents, but ended up using butterflies because it looked the best and stayed true to the sketch.

    TESC122


    The butterfly punch is one of my favorites from, where else, Martha Stewart. I used some gingham ribbon and tied a lavender button on with some twine. One of my favorite tricks with the butterflies is to glue down the center only and pop the wings off the page.

    IMG_2523


    I just love making these butterflies pop up off the page!

     IMG_2524 

  • Shabby Tea Room Challenge #19!

    Saturday! Glorious Saturday! Hi everybody…hope you are having a wonderful weekend. I've been holed up in the craft room all day with Mr. Buddy. We're watching Mad Men Season 3 on DVD getting ready for the Season 4 premiere tomorrow night! That Don Draper is dreamy…and a total cad! Does anyone else remember the office party with the tractor? Just sayin' - brilliant television!  

    I finally got my craft on this week! Yay! The first card I made today is my entry for the Shabby Tea Room Blog Challenge #19. It's been too long since I entered their challenge. Glad to be back! The theme for this week is "From the Garden" using Red, White, Yellow and Green colors. I got the idea instanty to use the PTI Friendship Jar set with the pretty daisies…fresh from the garden. Hope you likey.


    IMG_2477


    All the stamps are from Papertrey Ink…love that company, don't you? Lots of cutting on this one…the label, the top flower, the scallop red lining on the jar, the bee…

    IMG_2482


    I really wanted the flowers to look like white daisies but it seemed strange to leave them all white. I used my lightest yellow Copics to barely color the petals. I put some prisma glitter in the centers. I used a MS edge puncher and the red paper is also from PTI.

    IMG_2478  

    I felt that it needed something in the bottom corner so I added the bee. Notice that I popped up several parts of the card with foam tape to add dimension. I couldn't live without foam tape! I may later add a sentiment on the very bottom also. But for now I just liked it as is.


  • TESC #121 Challenge Card!

    Today's card is my entry for Taylored Expressions Challenge #121! I haven't entered Taylor's challenge in a couple of weeks and it's fun to play along again. There's still time…why don't you make a card and enter too? After making this card, I realized I need to stop with the yellow and the polka dots! Hmmmm. What will be my next obsession? Anyhoo…here is my card! You best be appreciatin' all the cutting involved in this one! hahaha. This is a great layout. The finished card is 6 inches square.

    IMG_2407


    The sketch image from Taylor:

    TESC121


    Supplies – October Afternoon stamps, Copic Markers, Dotted Swiss paper from Bazzill, Amuse cloud paper, Creative Memories circle cutter, and blossom nestabilities…

    IMG_2406


    IMG_2409


    IMG_2410


    Chirp Chirp!

    IMG_2413 

  • Amuse Marigold Card

    Hello chicadees! Oy, it's still roasting here in Sac-town and I'm in the craft room trying to stay cool…

    The DH just went up to Target to get the Season 3 Mad Men DVD set so we can get ready for Season 4 which starts next weekend. He got the LAST copy!!! Thanks honey!!! He said he only had to hurt one person! Just kidding! If you have never watched that show, I highly recommend it. I would start from season 1 and watch the whole thing. It's my favorite show – like a wonderful, beautiful movie each week. So well made, I can hardly believe it's television. Sunday nights on AMC. Check it out.

    The card I'm posting today was inspired by Julie's Amuse flowers class we took last week at Paper Garden. I made a round card inspired by one of her cards and used the new marigold stamp I bought – which we used on another card in class. I kept it sweet and simple, too. Hope you likey.

    I used my large scallop die from Stampin' Up in my Cuttlebug to make the card bases. One tip Julie gave us is to score the back circle instead of the front one – so your card front is a solid circle. I punched two small holes on the side for the bright yellow riboon.

    IMG_2401

    This marigold stamp is very versatile…you can stamp it in any color and it makes a nice crisp image. I used Adirondack Ink in Sunshine Yellow. The "Thank You" is a Stampin' Up image.

    IMG_2402


    Notice the tiny clear rhinestones in the center of the flowers?

    IMG_2403

    This is the inside of the card. The bee is from PTI and the saying is from Paper Source.

    IMG_2405


    Pretty little Thank You's all ready to go!

    IMG_2400 

  • Cards for little ones…

    A friend at work hired me to make some cards for her recently. One card for a little girl turning one and the other card for a little boy turning two. I don't often do cards for the wee ones! I don't really have a lot of images or paper to fit this scenario. I thought I would share my ideas in case anyone else has this dilemma. I am pleased with how the cards turned out and hope you like them too.

    IMG_2394

    What is sweeter than this pink and white checked paper? I made some banners and stamped her name on them. Added some little daisies and a big number ONE!

    IMG_2395


    IMG_2396


    A really great color combination for boys is blue and orange. Since these are complementary colors on the color wheel, they look great together. To me they imply fun and activity. I can't explain it but I think in color that way. I used Basic Grey paper and letter stickers for this card.

    IMG_2397

    The boy image is from an October Afternoon clear stamp set. I colored him in with my Copic markers to match the paper exactly. I used a small TWO from the letter stickers to put on his t-shirt. I got some new nesties and used them too!