

Hi friends! Happy first day of Spring 2017! I know a lot of you are still waiting for Spring to arrive and I'm sending you loads of sunshine and flower filled wishes from Sacramento. I spent a week in Chicago in March many years ago. Until that week I never realized just how fortunate we are with our weather. It was below freezing every day that entire week, and not a green leaf or bloom in sight! This year, we've already had all of our daffodils bloom and go, and now have a yard full of tulips and crocus. And a face full of pollen! Achooooo! It's all worth it though, to see the seasons change. Especially this year since we had alllllll that rain. I'm feeling the love right now! I'm ready to craft with flowers! I hope you have a great week ahead of you!
Today I'm sharing a different kind of project – a paper flower wreath! I made it form the Pastel Petals Wreath Kit from Paper Source! I LOOOOVE their wreath kits. I think I've made five or six over the years. They are so pretty and fun to make. I used to have to drive 75 miles to a Paper Source, but now we have one about 10 miles from my house! Needless to say, I spend a lot of time there! It's a happy place for sure. I bought this wreath kit a couple of weeks ago and have been dying to make it.
Here is a photo of it hanging on our front door!

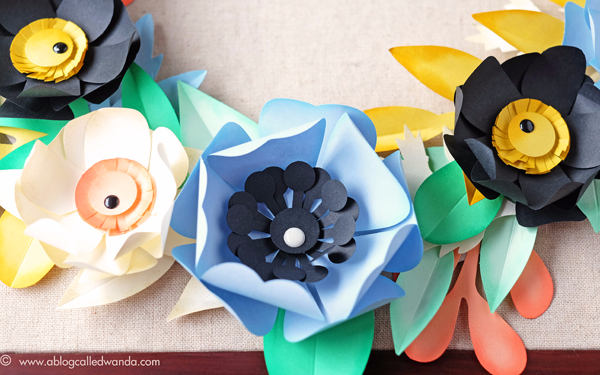
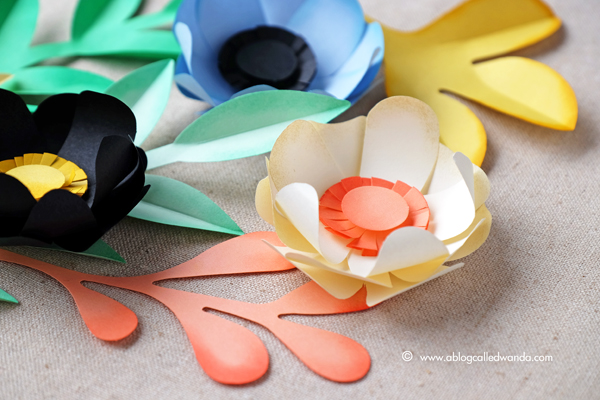
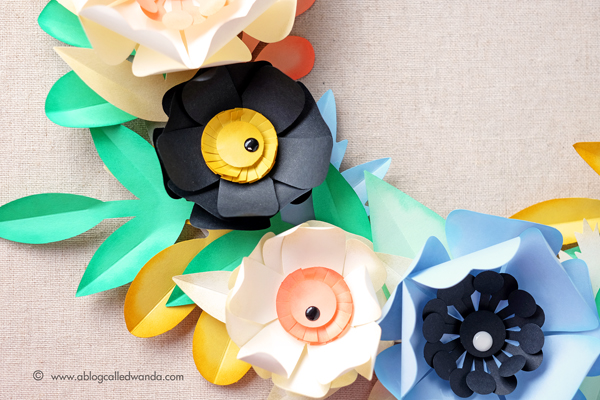
Here are some close up photos of the flowers and leaves. I'll talk more about how I made it farther down in the post….
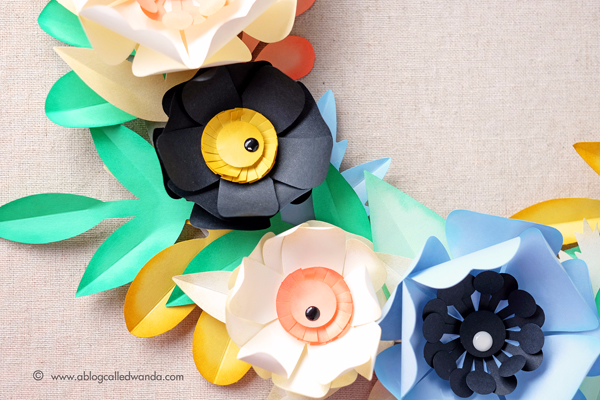
Now this color palette is not one I would normally choose, and I think that might have been what drew me to the kit in the first place. Totally unique colors with a pop of jet black and a touch of gold shimmer. It's all so pretty together.
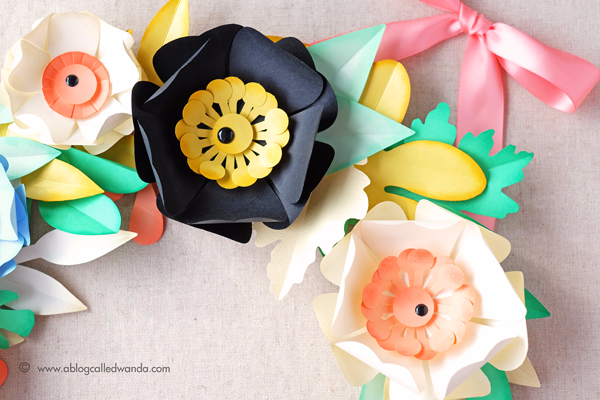
I made the project exactly as outlined in the directions included with the kit – with only two exceptions. I added the Distress Inking around the edges, and I added a few black and white Doodlebug Enamel Dots to the centers of the flowers. I really liked the extra look of a bit of shine on the centers. I was thinking about maybe adding some Rock Candy Distress Glitter, but then decided no on that.
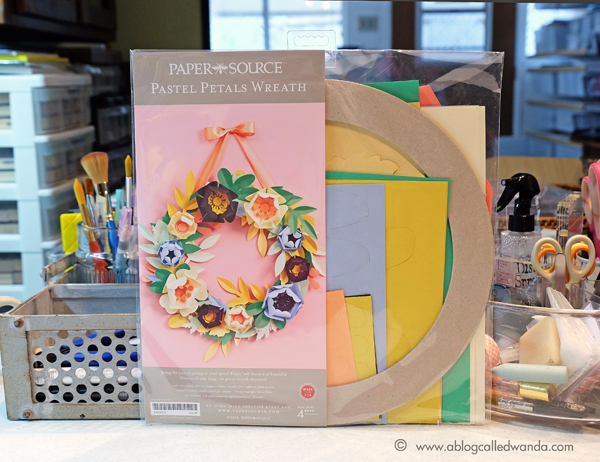
Here is what the Pastel Petals Wreath Kit looks like when you buy it. Everything is included except double stick tape and a bone folder! They even give you awesome (Super Sticky) foam squares and more than you would ever use. The wreath form and the ribbon are included too. They thought of everything. I used the photo on the front of the kit as my guide for placement of my flowers.
Below is a collage of the steps to make the wreath. I think the 'hardest' part was punching out all the parts! They are already cut out, you just have to separate them from the main paper. I decided I wanted to ink the edges of my flowers and leaves to add a bit of dimension to them. That part took a while. I found perfectly matching distress ink shades! Full supplies list at the bottom of the post. On the back of the kit there are directions as to exactly how to assemble the flowers. It's fool proof.

To start assembling the wreath, I first attached the largest leaves in a ring. I attached everything with the enclosed foam squares. After I put down these big leaf sprays, I put the flowers on next. Then I used all the other leaves to fill in the open spaces and parts where you would see the wreath form. I had tons of leaves left over too! So there is plenty to work with.


I thought I would finish with just a couple of photos from our front yard! Happy Spring!
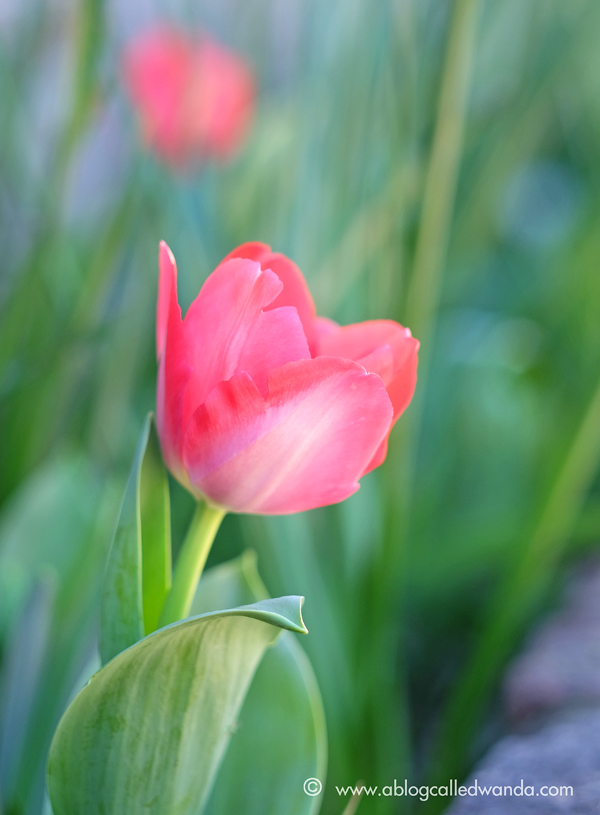
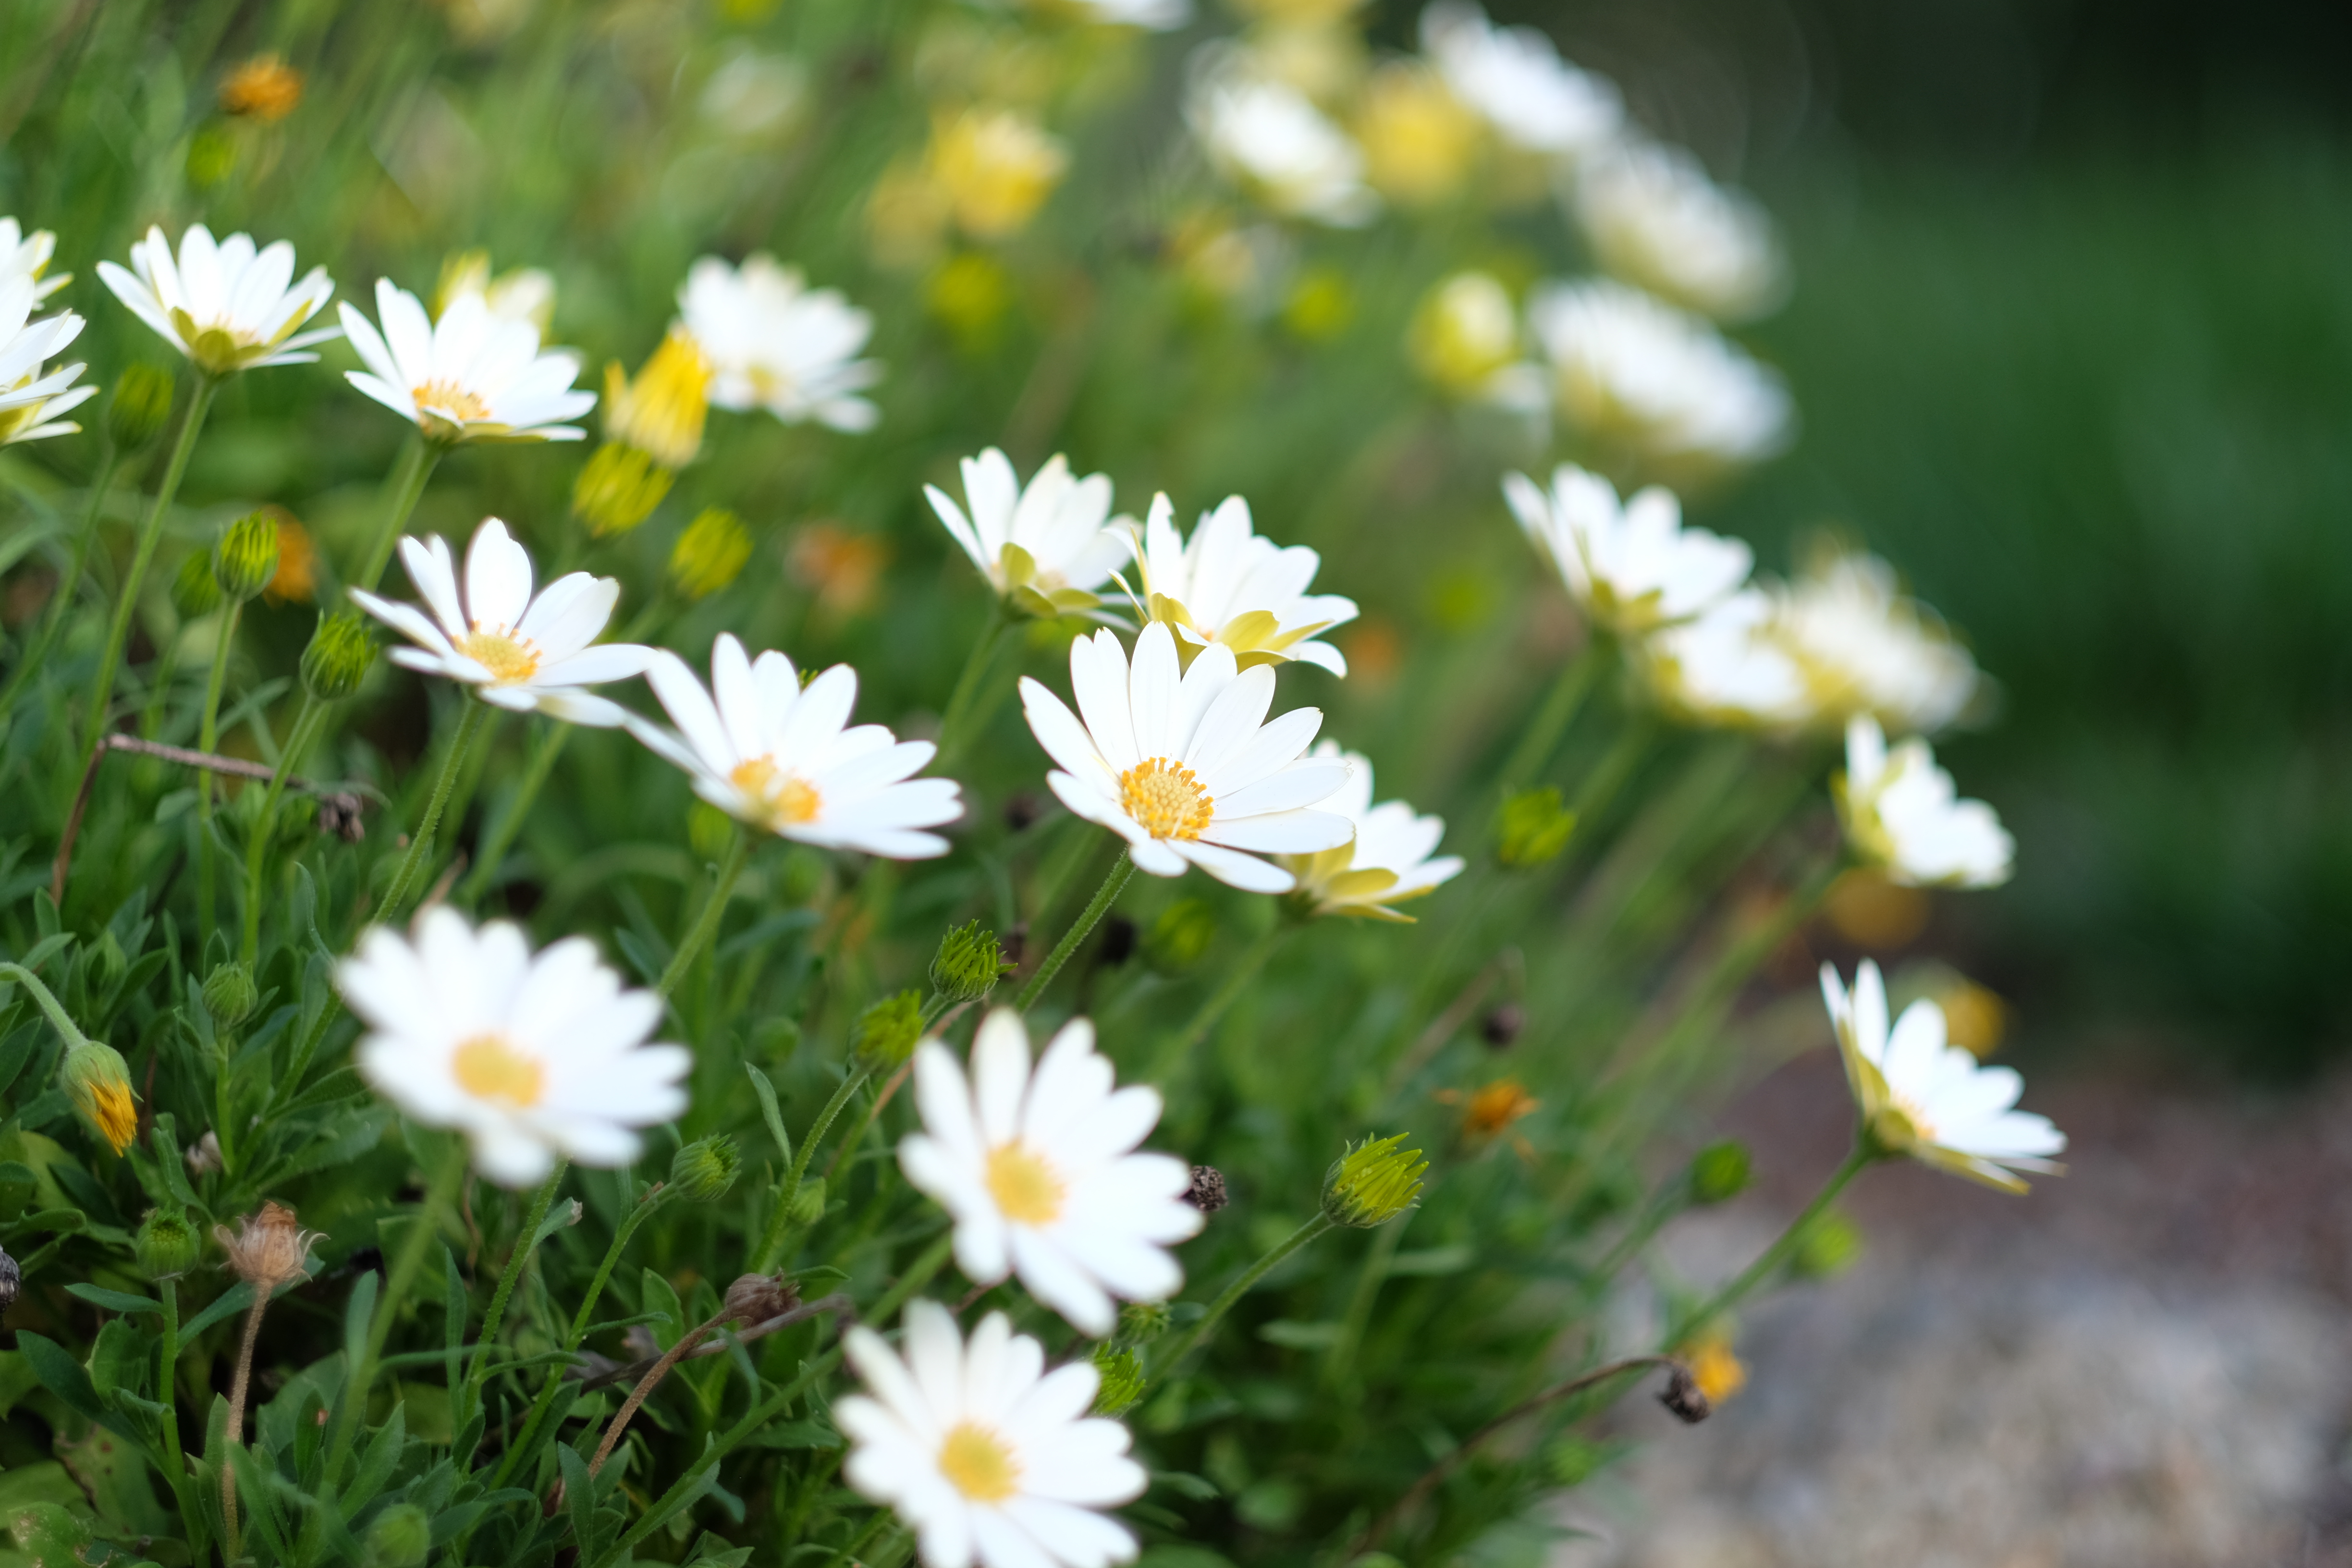
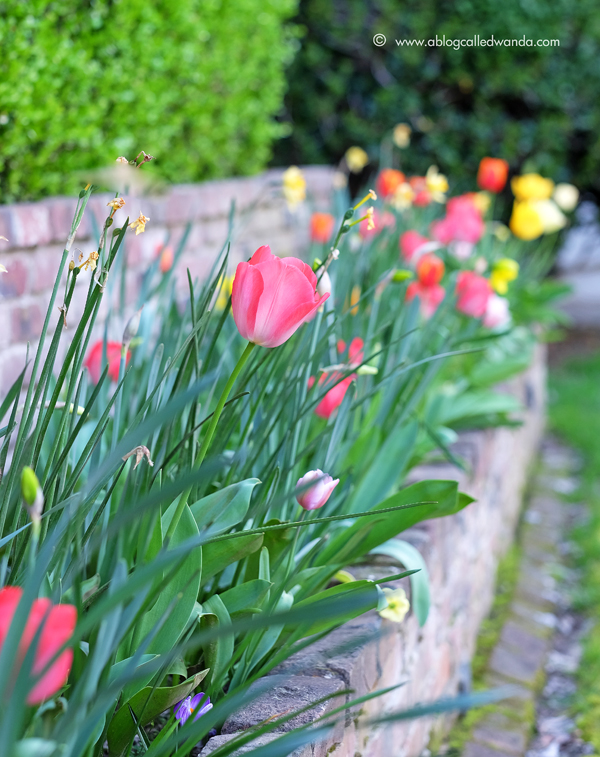
Thank you for spending part of your day with me! I'll be back soon, but I'm not sure with what! LOL! I'm all out of projects for the moment. Let's see what I come up with! For sure I'll be back on Saturday as part of a fun blog hop! But hopefully I'll see you before that! I'd love to know what you're working on right now in your studio. I think I need to start thinking about Easter. XOXO
SUPPLIES FOR TODAY!










Comments
7 responses to “Happy First Day of Spring! Sharing a pretty wreath project!”
Love your bulb photos. Mark planted up 10 pots of tulips a few months ago as a surprise. My patio is full of tulips! It’s raining here today–spring showers💦💦
It’s amazing the things we can do with distress inks! You did a wonderful job, Wanda!
Beautiful wreath. Paper Source is new for me Wanda. I am going to look that up. You are fortunate to have one close by. We are having sun in Michigan. Only around 50 degrees, but for us, I love it. Wonderful pics of your lovely flowers. See you on Saturday xoxo
WOW that is beautiful wreath, Wanda! LOVE it.
What an awesome project. Love you flowers🌺
Such a gorgeous Wreath….
LOVE the garden photo’s….that first one of the tulip..so amazing..love the softness and colors!
I love the paper flower wreath. When I saw the first image I hoped you would take some at an angle so I could really get a sense of their layers.