

Hello Doodlebug Friends! Today is my day up on the Doodlebug Blog! Yay! I made another project with the awesome Cute and Crafty Paper Collection! I can't get enough – it's so cute and cheerful! Everything crafty!! Today I made some flair! I have been a Doodlebug Pin collector for many years and I love wearing them on my denim jackets or on my backpack. They always make me smile! Are you an enamel pin collector? So, for today's project I created my very own Doodlebug Pins and Buttons! I used a Button Press machine and paper, stickers, embellishments and more from the Cute and Crafty Collection. It was a really happy project, and now I have my own custom buttons to wear!
I'm featuring them on my favorite denim jacket along with a few of my favorite Doodlebug Enamel Pins… I made three different sizes of custom buttons…. Small, medium, and large buttons – those are the three available sizes and in the photo you can see the scale of each of them. Gosh, it was so much fun to sit down and craft these!! I'm now obsessed with my Button Press and thinking of what else I can make!

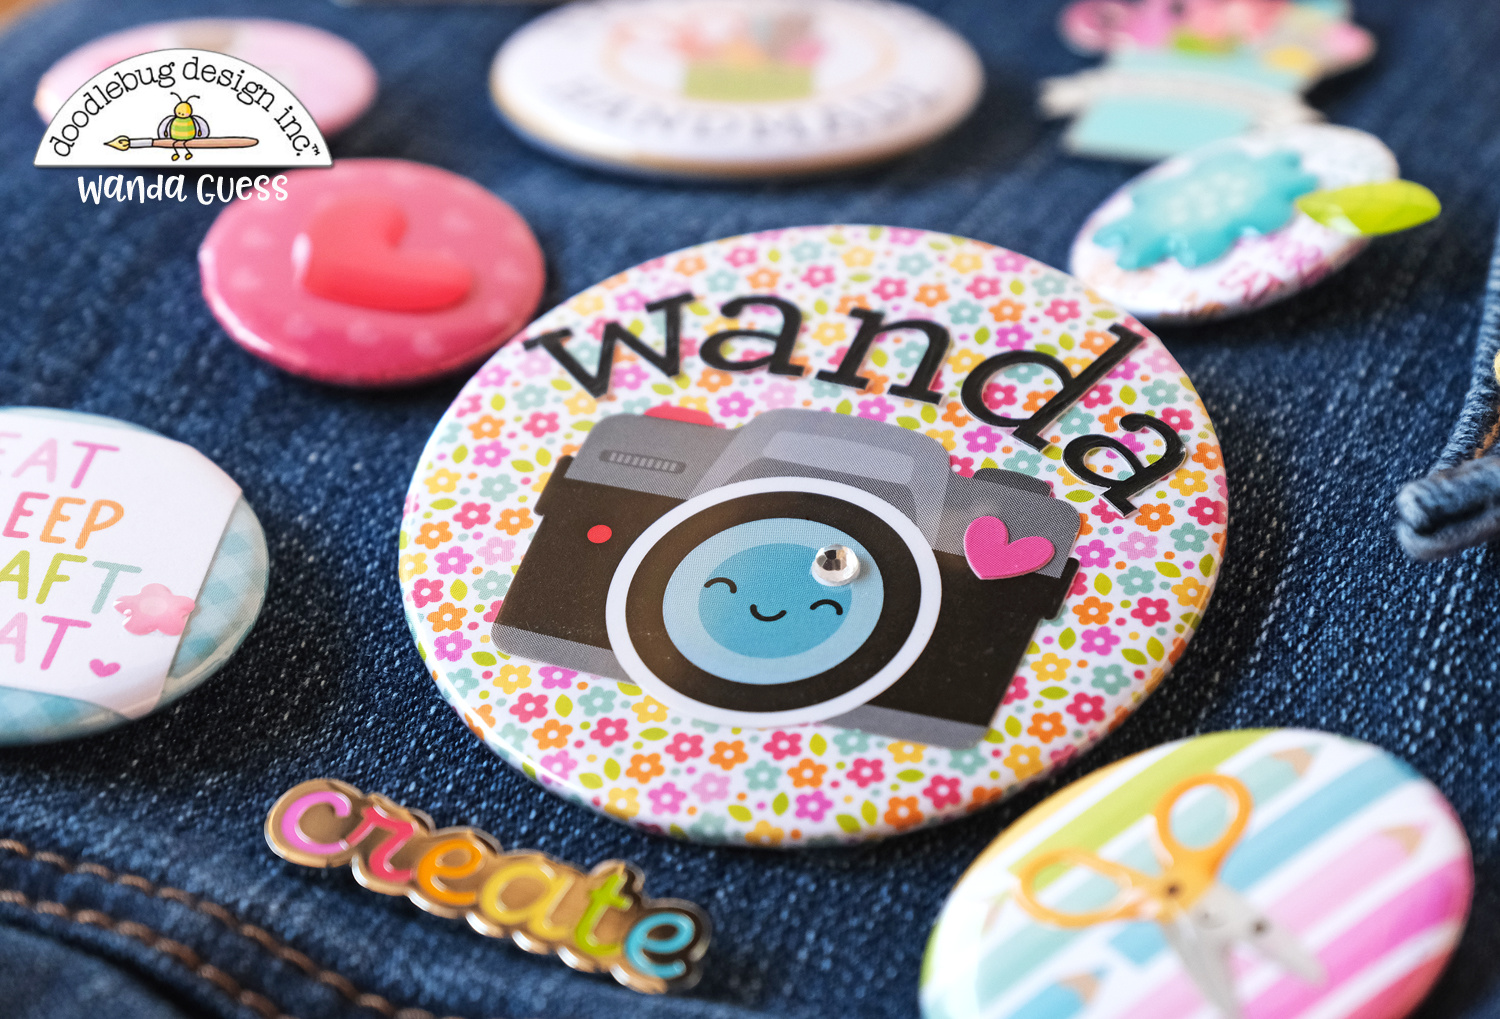
Here's a close up of my favorite NEW pin – create! And create in rainbow colors! This pin is actually from the Cute and Crafty collection! Love!

It's going to be hard to choose which one is my favorite! This is the medium sized button! To make the buttons I used the paper collection, the stickers, the sprinkles and more! This circle embellishment fit perfectly!
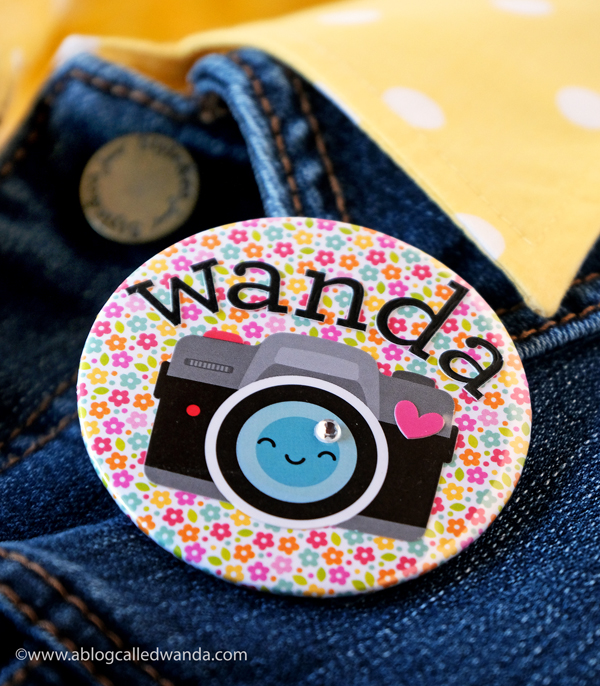
Okay, if I have to choose….this one is my favorite! LOL. It has a cute camera! And my name! I am involved in a few clubs and organizations and we do some photography meet ups. I think this button will be perfect to wear to the meet ups! I used the alphabet stickers to add my name after I made the button. Love it.
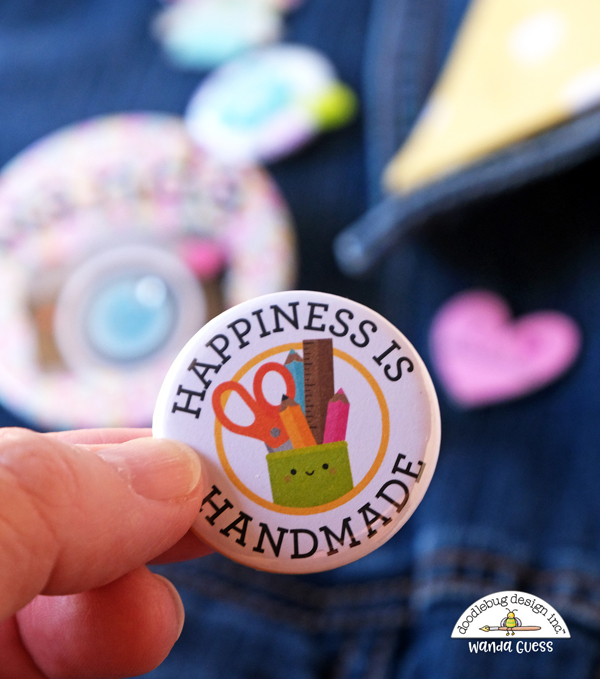
This button has pencils and some smiling scissors!

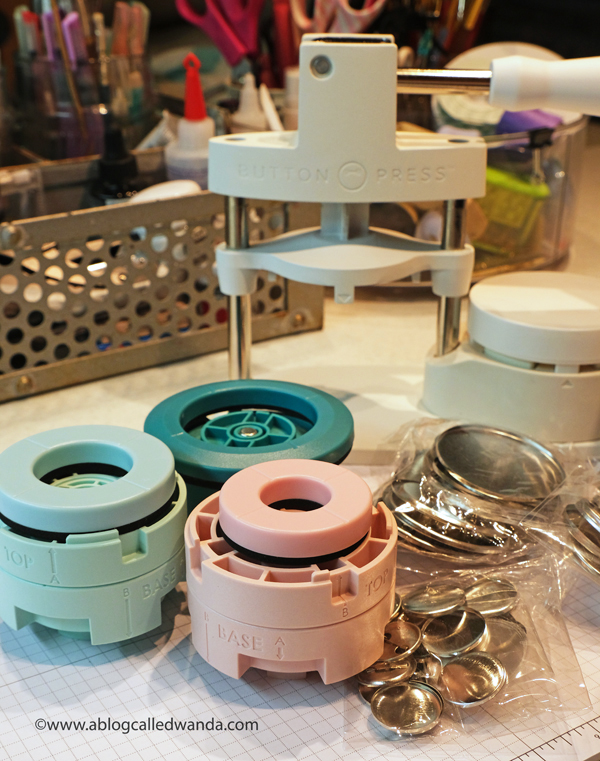
So here's what the button press looks like. It's kind of intimidating! But it could not have been easier. I watched the youtube video from We R Memory Keepers and made my first button following along. It came out perfect! I bought the bundle package which came with the machinery to make all three button sizes and ten of each size button. The perfect starter kit.
If you don't want them to be buttons to wear, you can simply remove the pin portion before finishing the back of the button. I made some to put on a card and left the pin off – and used some foam tape. CUTE!

Eat. Sleep. Craft. Repeat. YEP!

These two are the small size and they're freakin adorable! Look at that teeny tiny stamp sticker!! EEP.


I hope this project made you smile! Have a wonderful, happy, crafty day my friends! As always, be sure to head over to the Doodlebug Blog to leave some love and see what all the other design team members have been making! See you soon with another project!! XOXO
CLICK HERE or on the graphic below to see the supplies used for today's buttons and pins! (Affiliate Links Used)






Comments
6 responses to “Doodlebug Buttons and Pins project! Make your own flair!”
That is such a clever way to use some of your Doodlebug stash. I would never have thought to make flair and they are so fun. Thanks for always sharing your creativity.
What a fun new craft idea….love all the ones you made..so creative
I saw your post yesterday over on Instagram (mrs_lefty_girl), so I wanted to stop by and see how you made your buttons. I might give it a try. I just started collecting crafty pins myself!
Doodlebug is definitely the go to paper for this kind of project. I love the one with your name and camera (so you) that tiny one with the blending tool is really my favorite. So adorable. I have a friend who makes these buttons. Maybe I could arrange a play date? Happy crafting…
I didn’t get this post either! 🙁 There are GREMLINS in the machine! LOL Your Flair Buttons are SO CUTE, Wanda! SO CREATIVE with Doodle Bug Papers & Stickers too! This would be PERFECT for a VBS craft project…..! SO FUN!!!! 😉<3 P.S. Nope, I stayed away from the enamel pins. LOL I could SEE spending a small fortune on them! ;)<3
I love this project!! Now I’m encouraged to add yet another machine to my craft room 🙂 These look like SO much fun! Thanks, Wanda!!