Author: stampcatwg

  • 4th of July Cards!

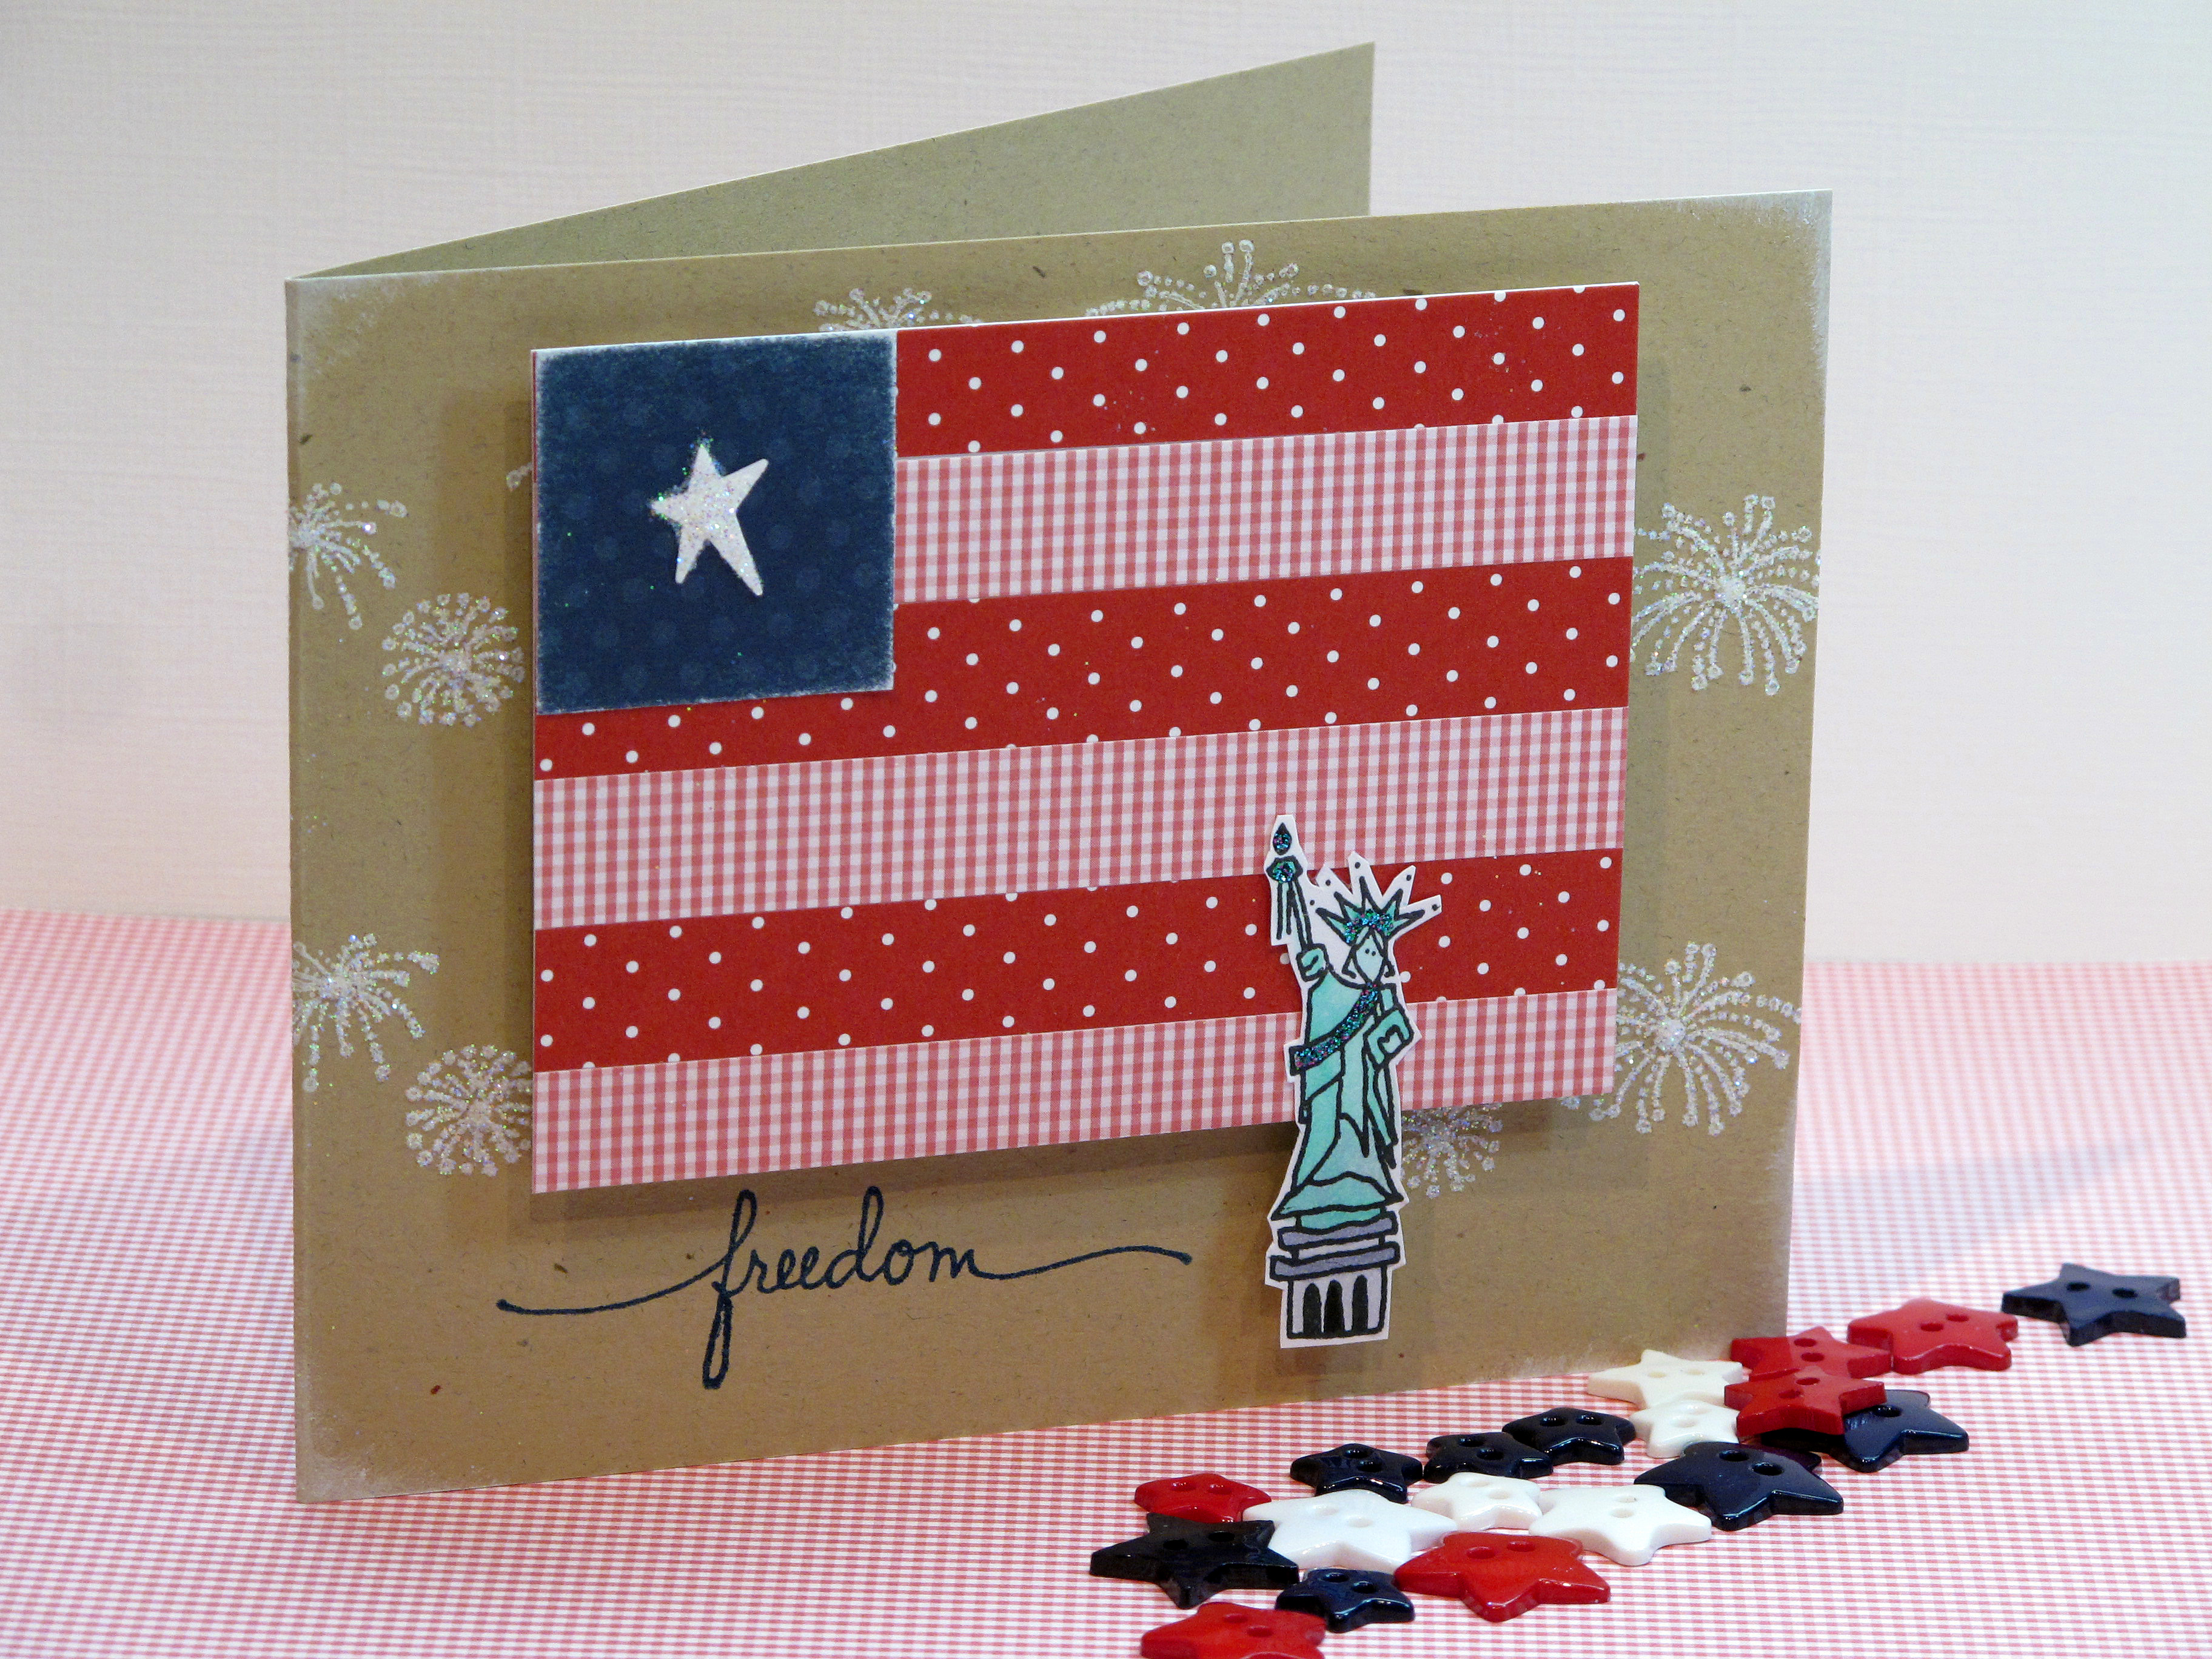
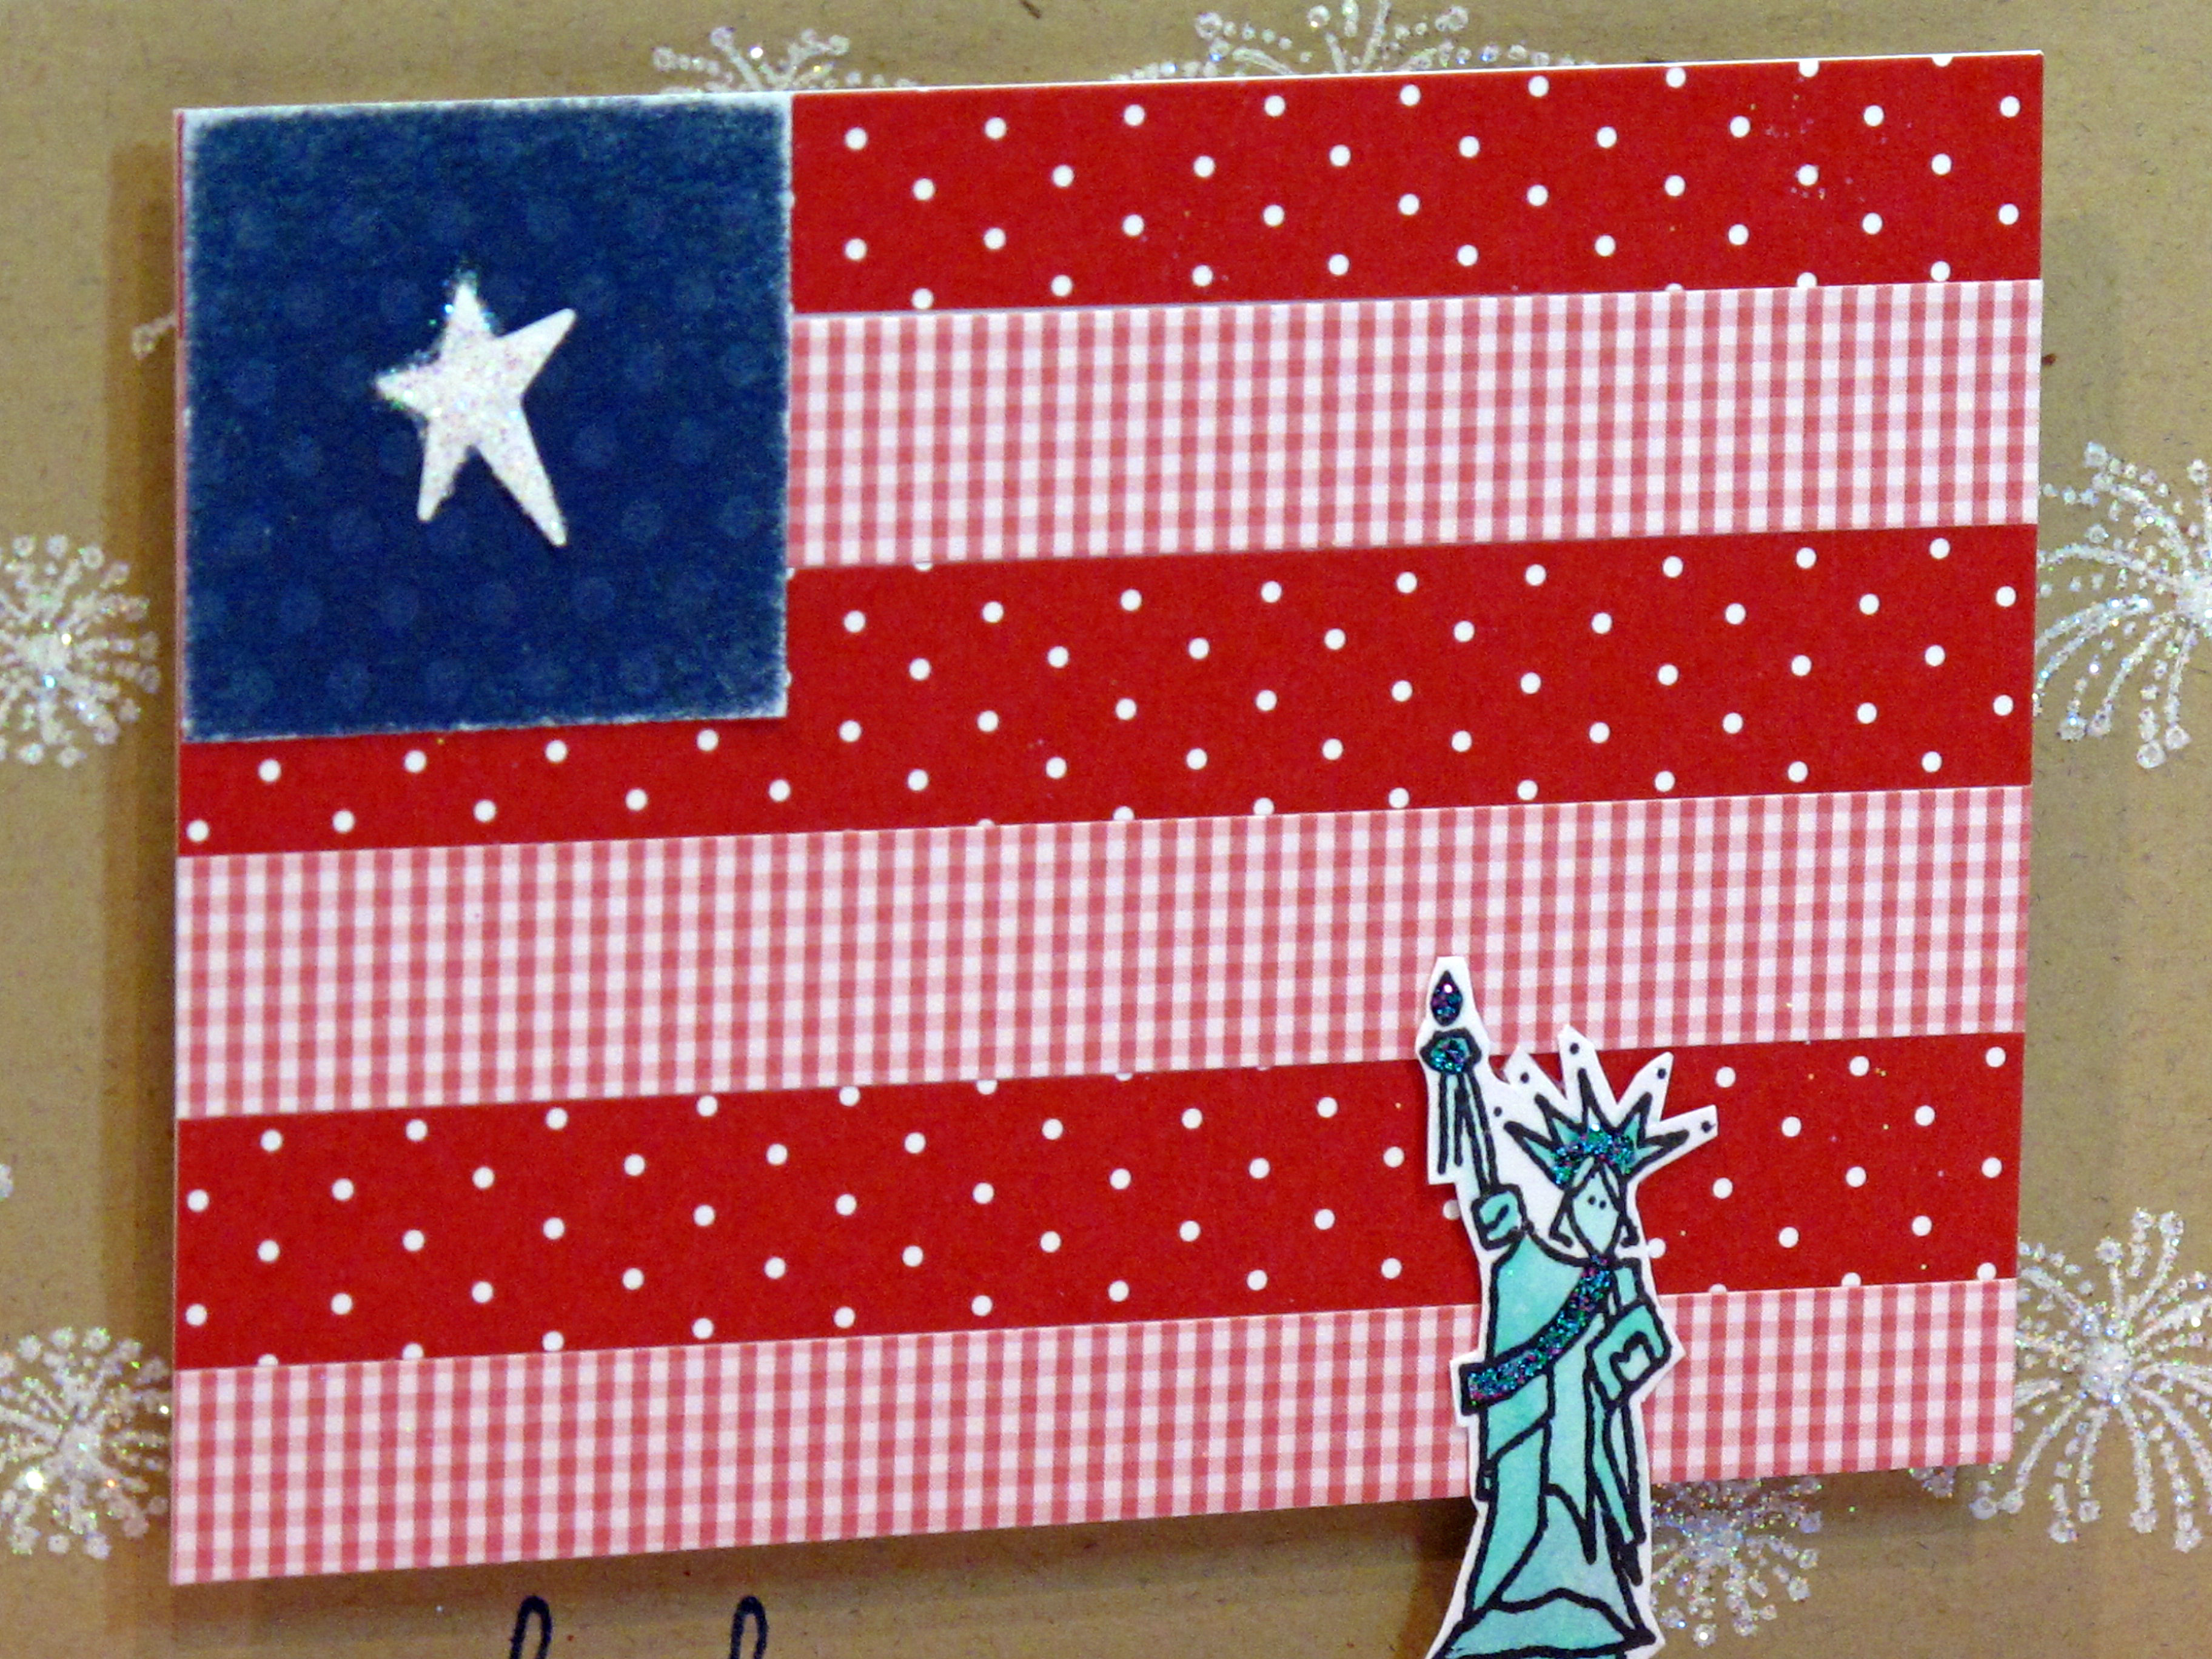
    Let Freedom Ring! Today I'm posting my 4th of July cards to share with you. I love making patriotic cards – as you've probably noticed from my blog! For my 4th of July cards this year I called upon an idea from a card I made a while back for Shabby Tea Room. (click here to see that card). This time I made the flag much smaller and also more geometric.

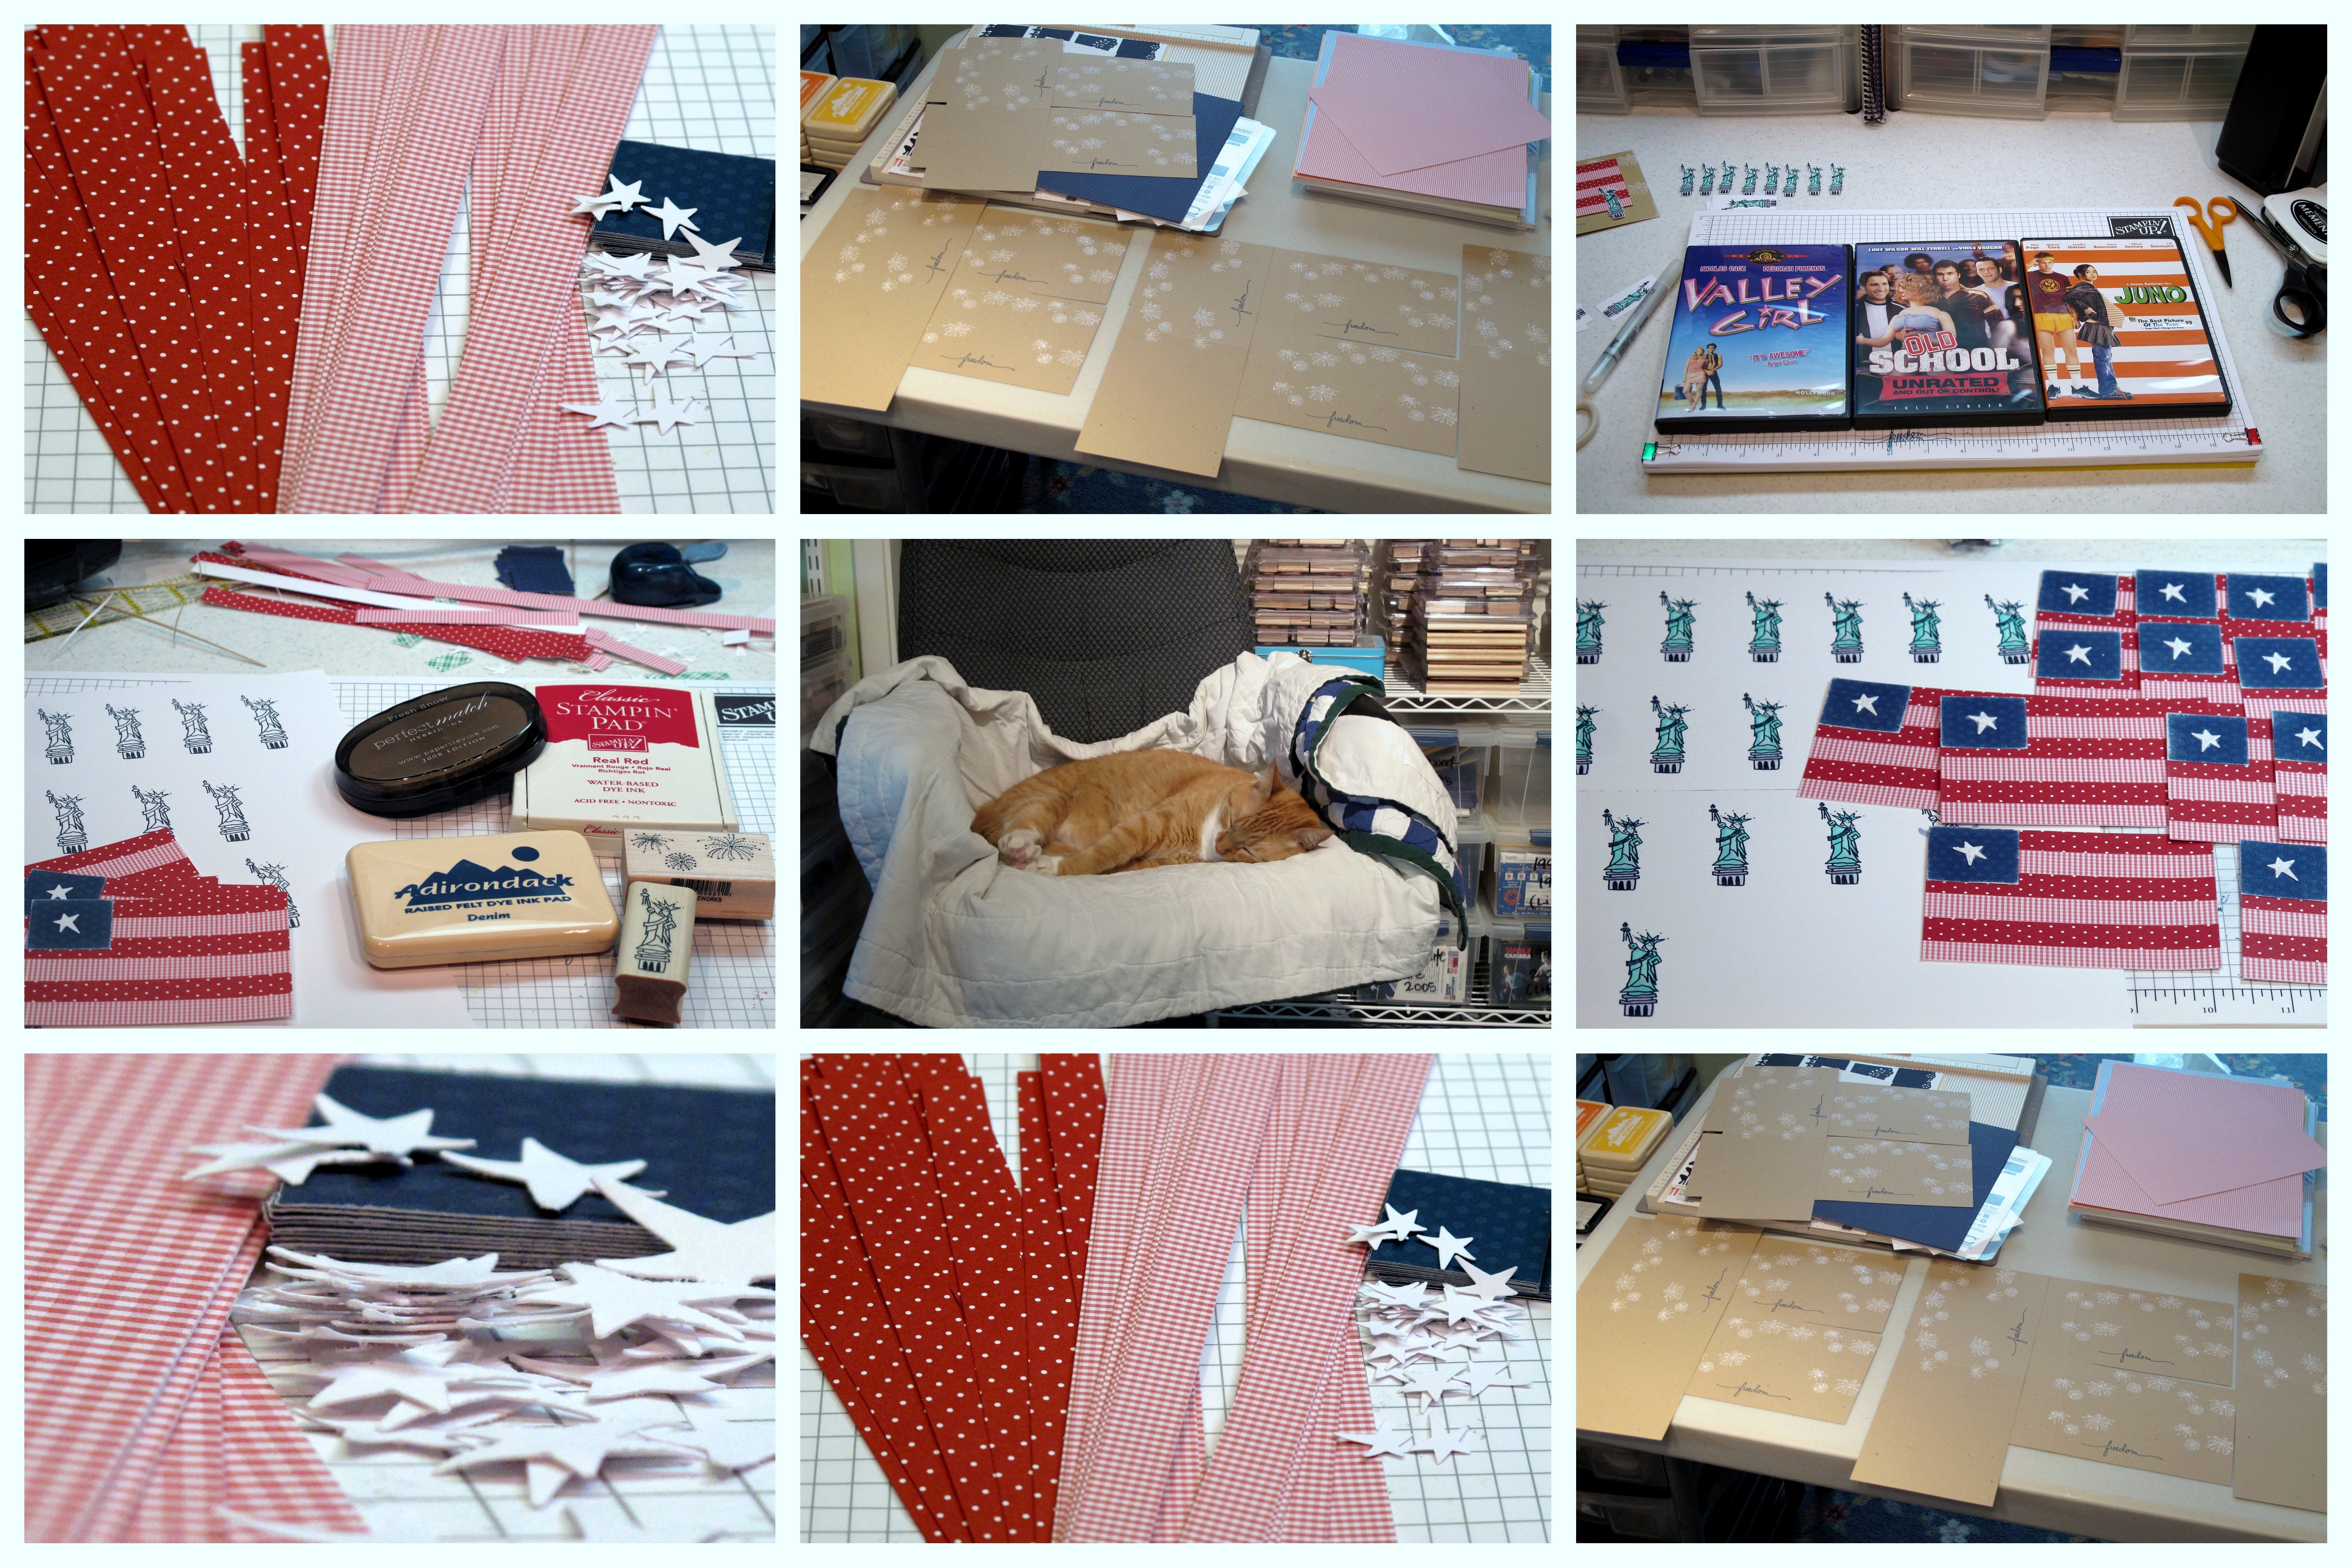
    Okay, I have to say that making one of these was okay….but making 16 of them!? Not so much! I had no idea how long it would take me with all that glitter and cutting, and punching, and gluing! Oy. I do like how they came out though, so I guess it was worth it!! And I got to watch THREE movies…hahaha.

    The card:

    D


    The Process:


    Collage 


    IMG_2191 
     

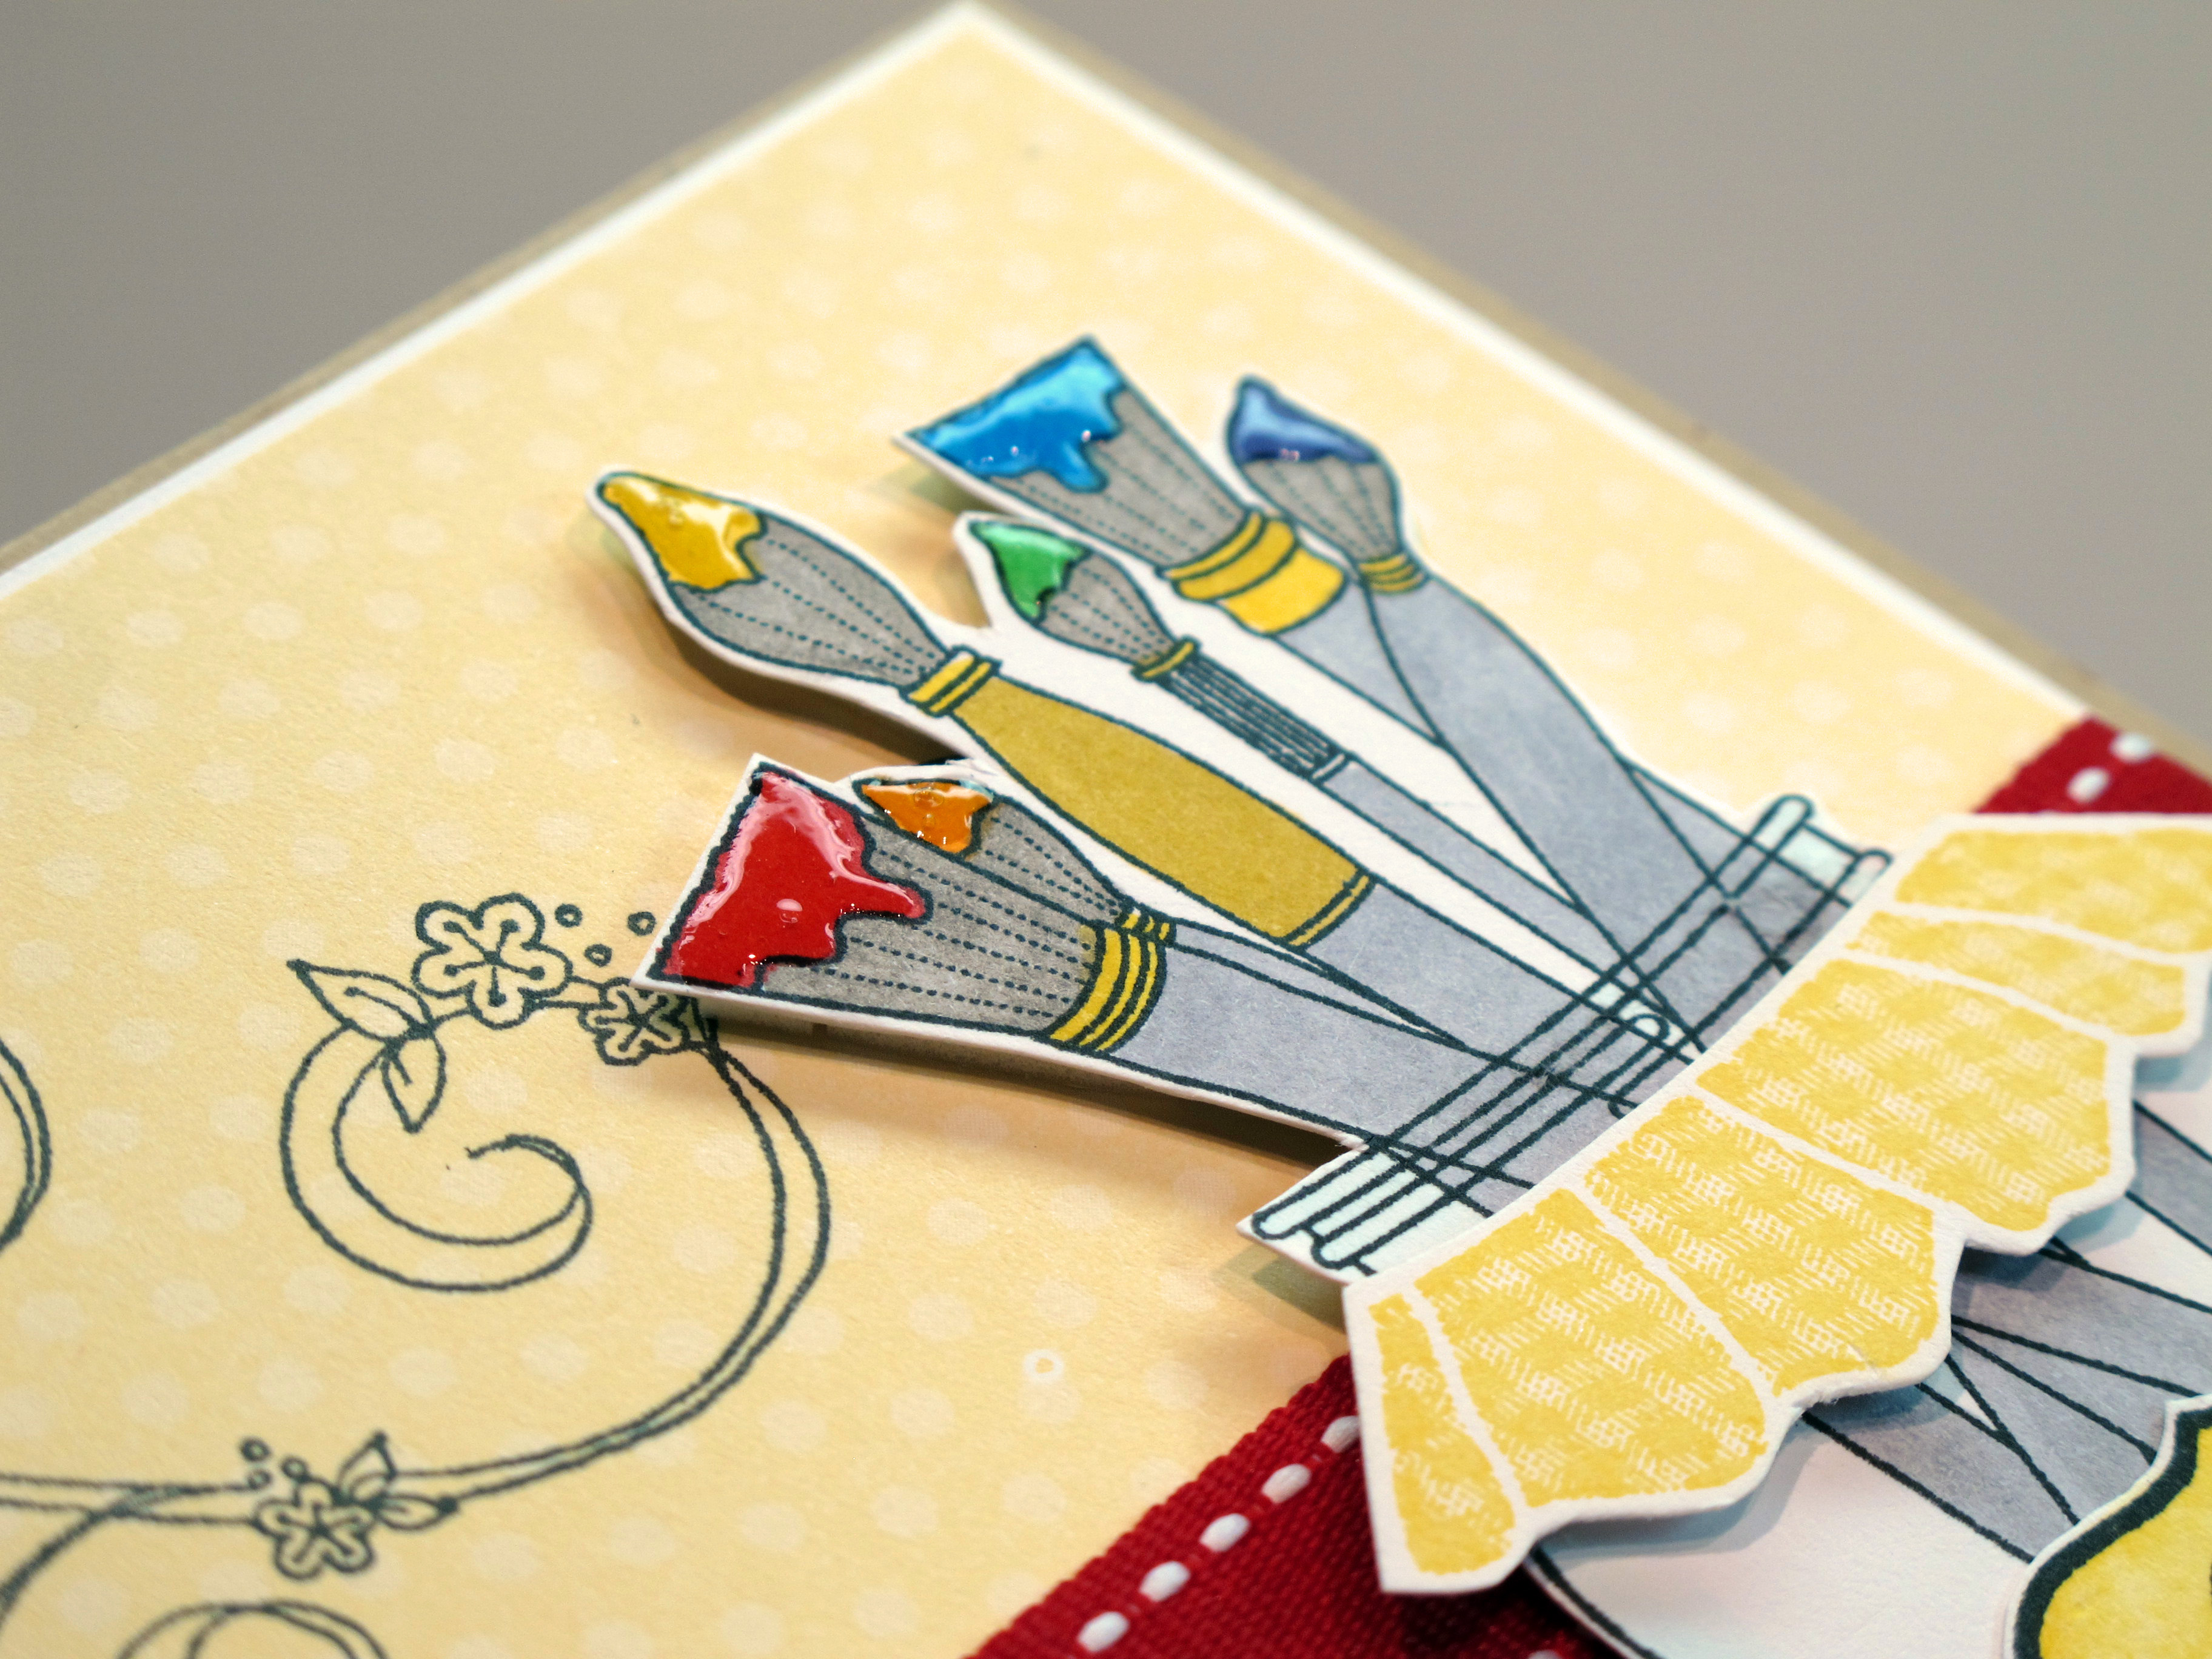
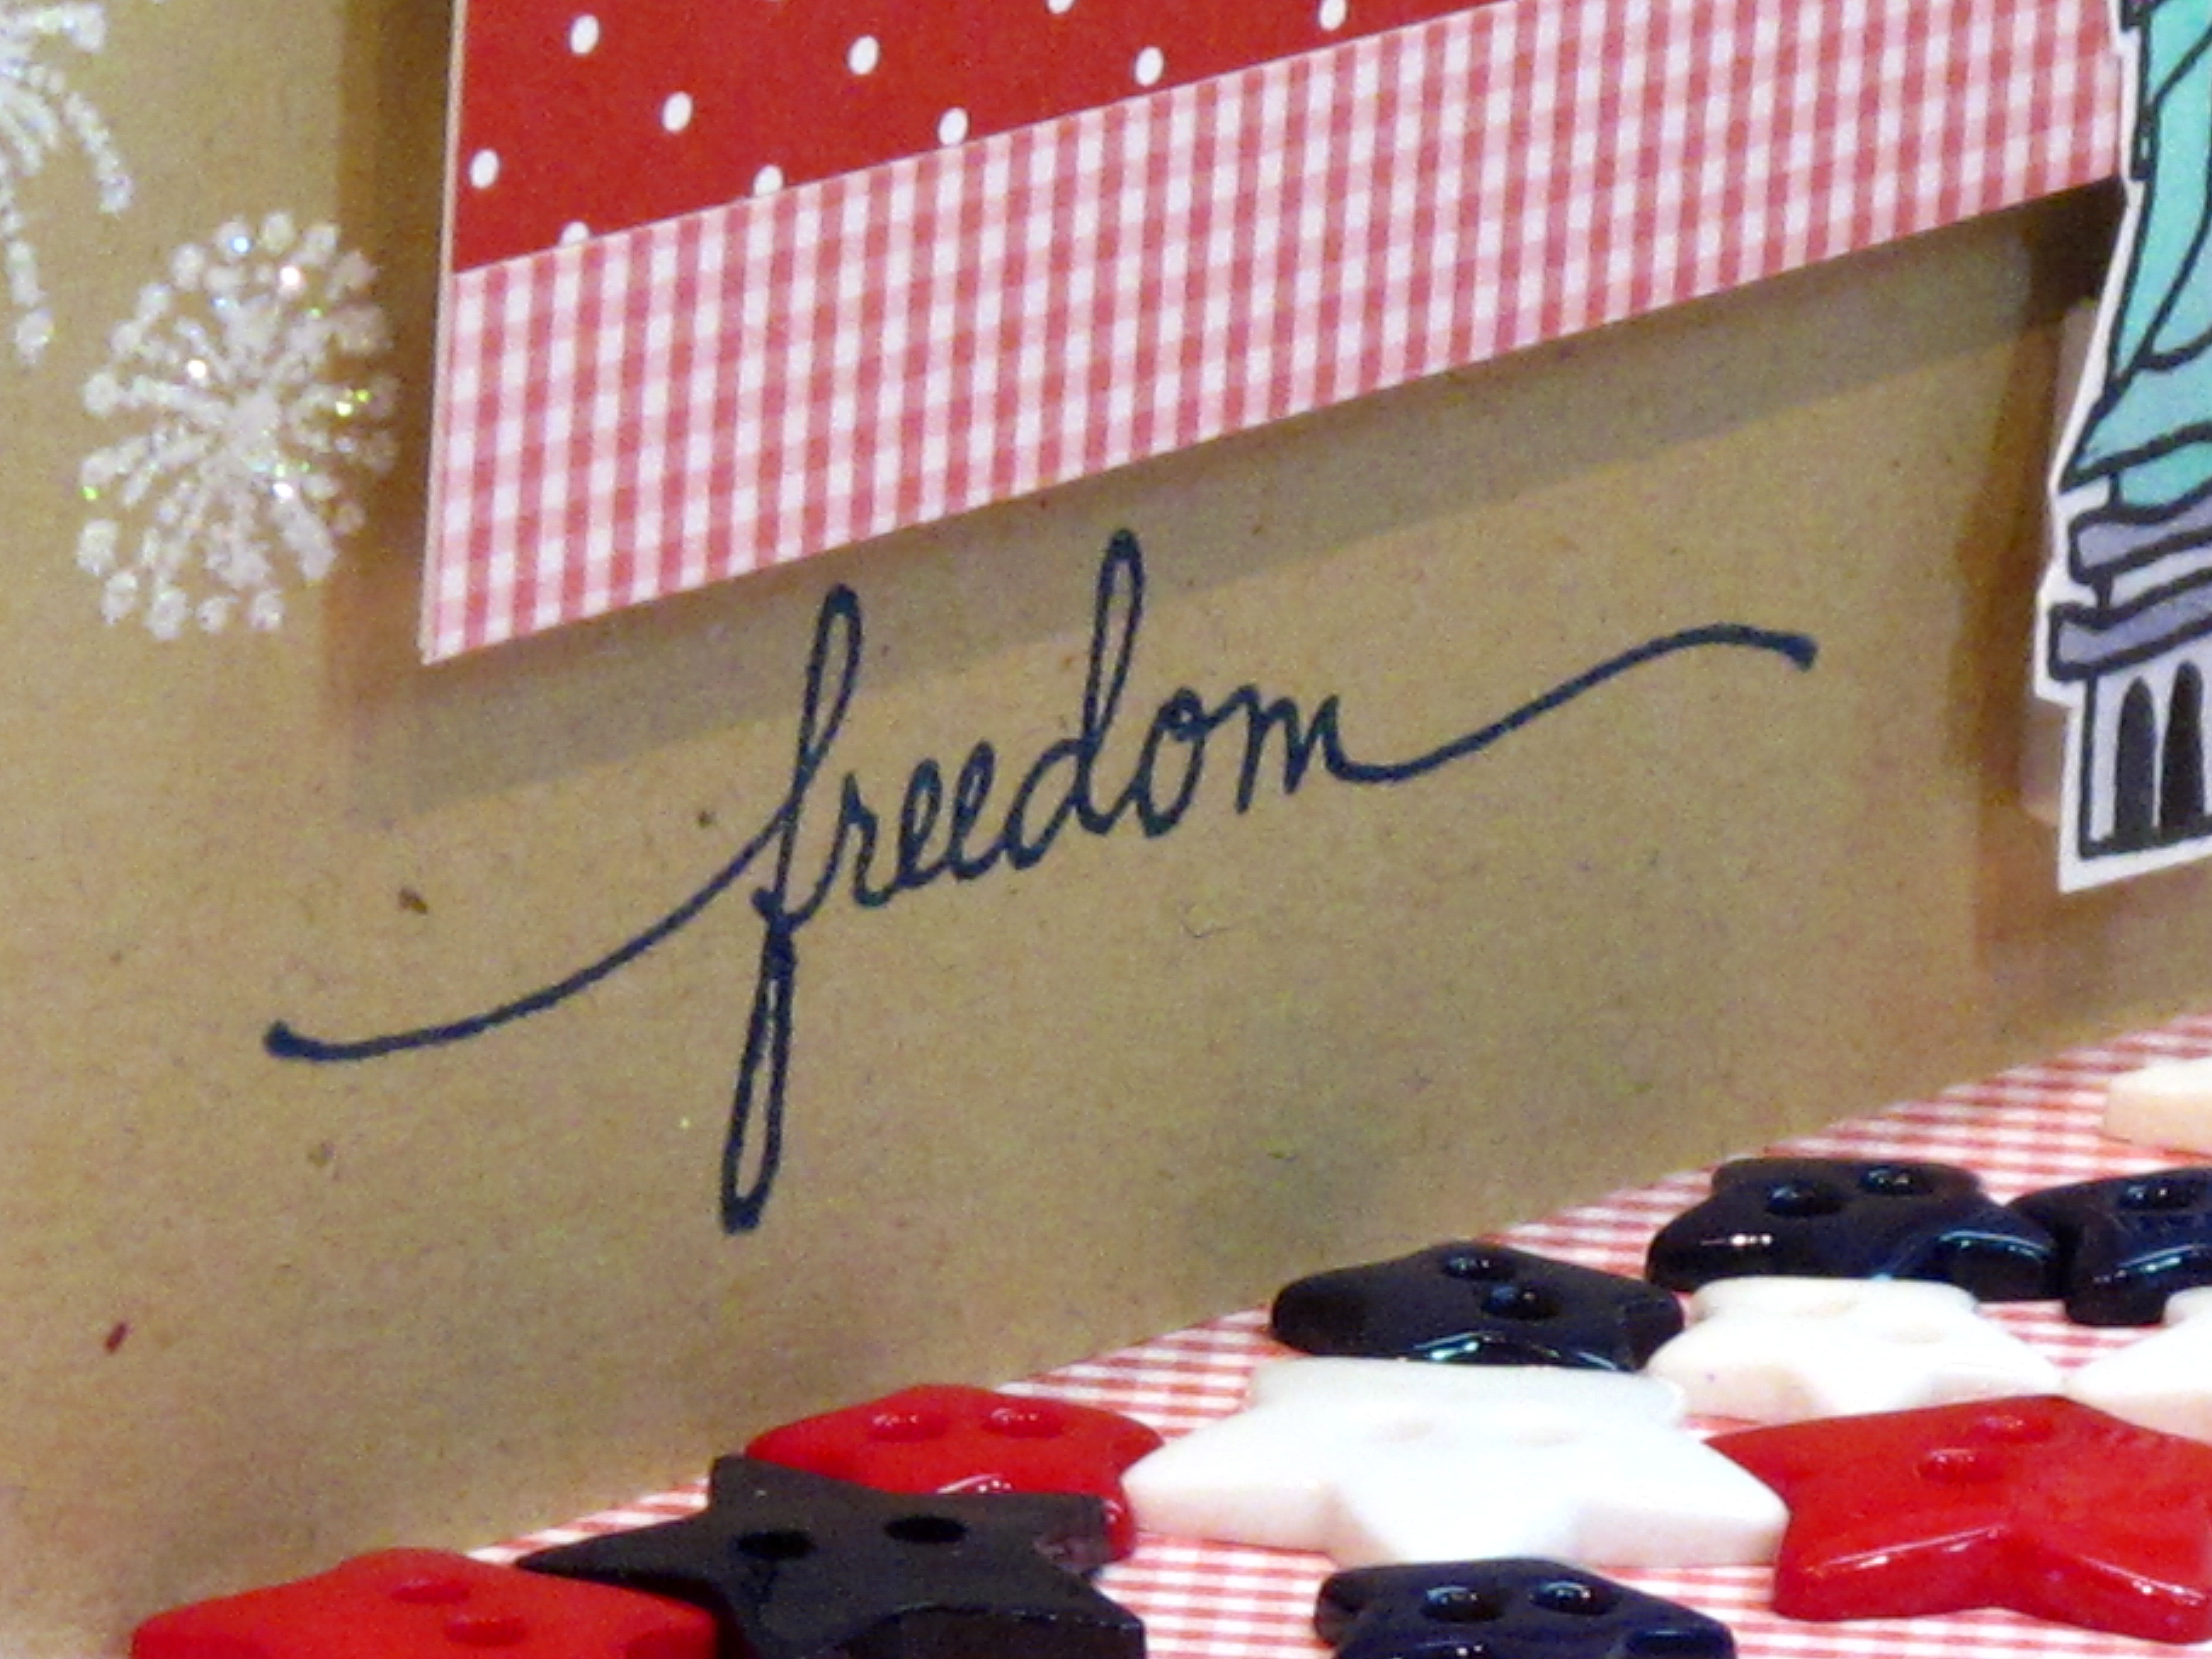
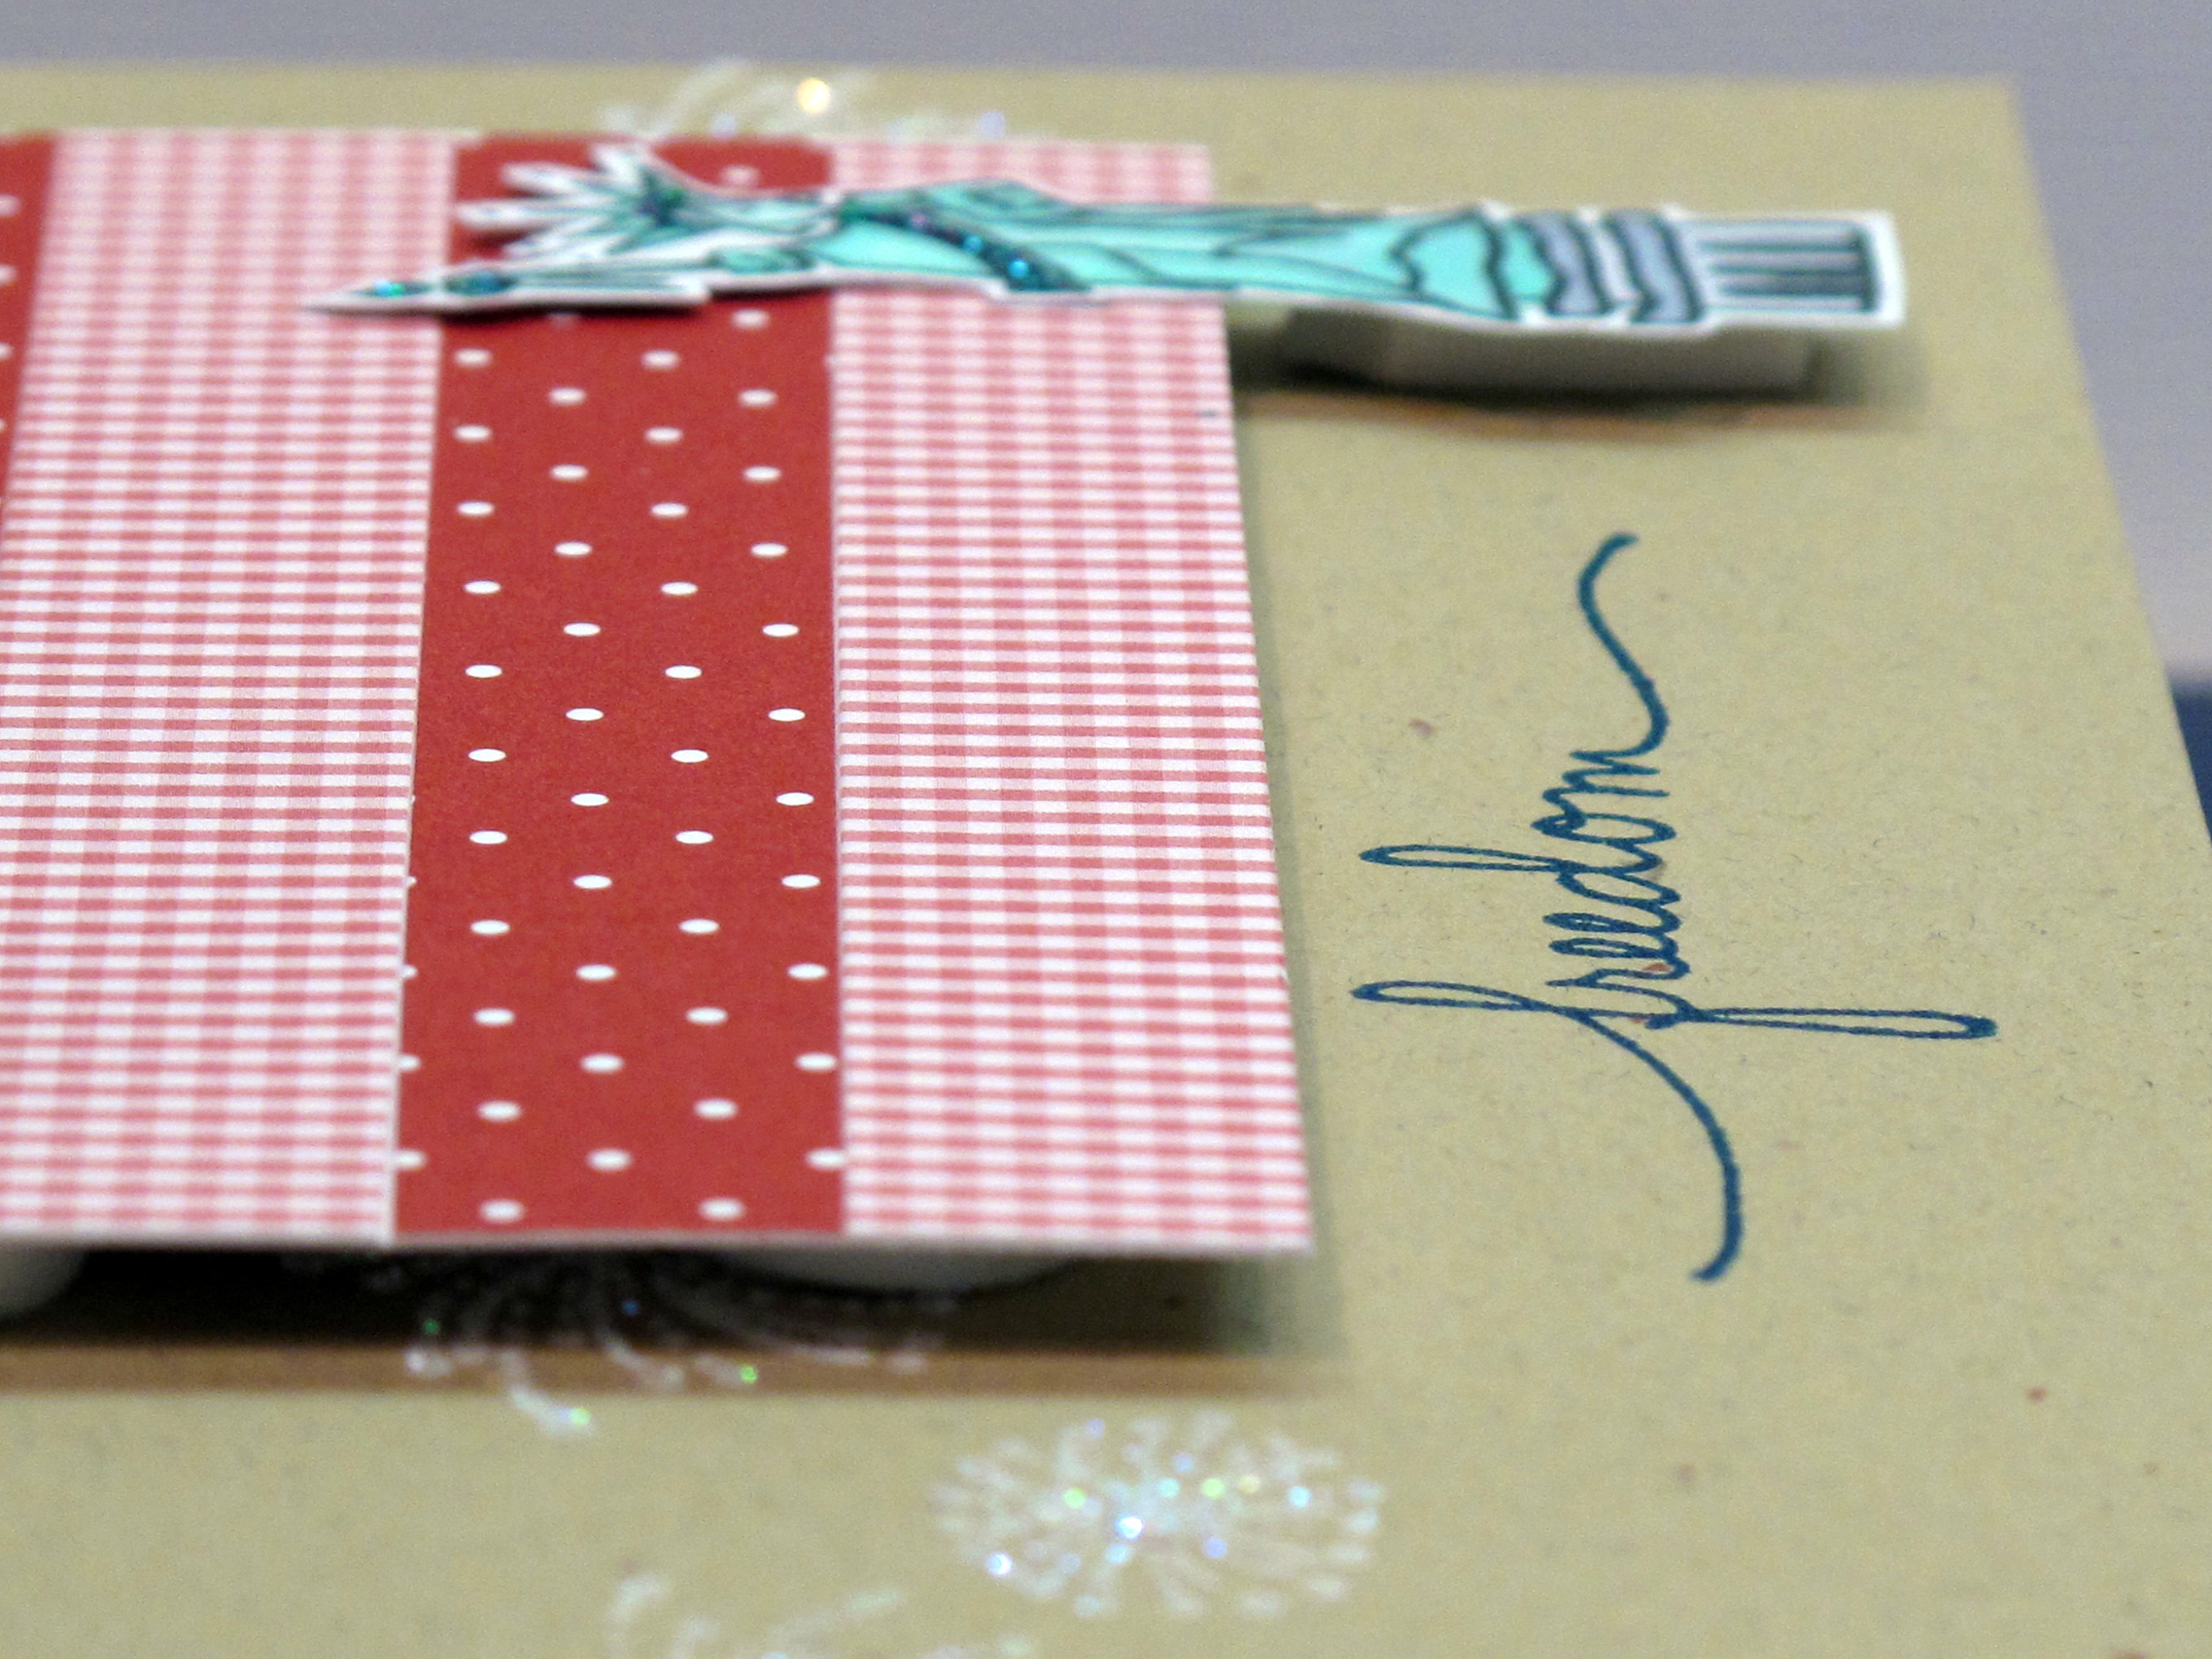
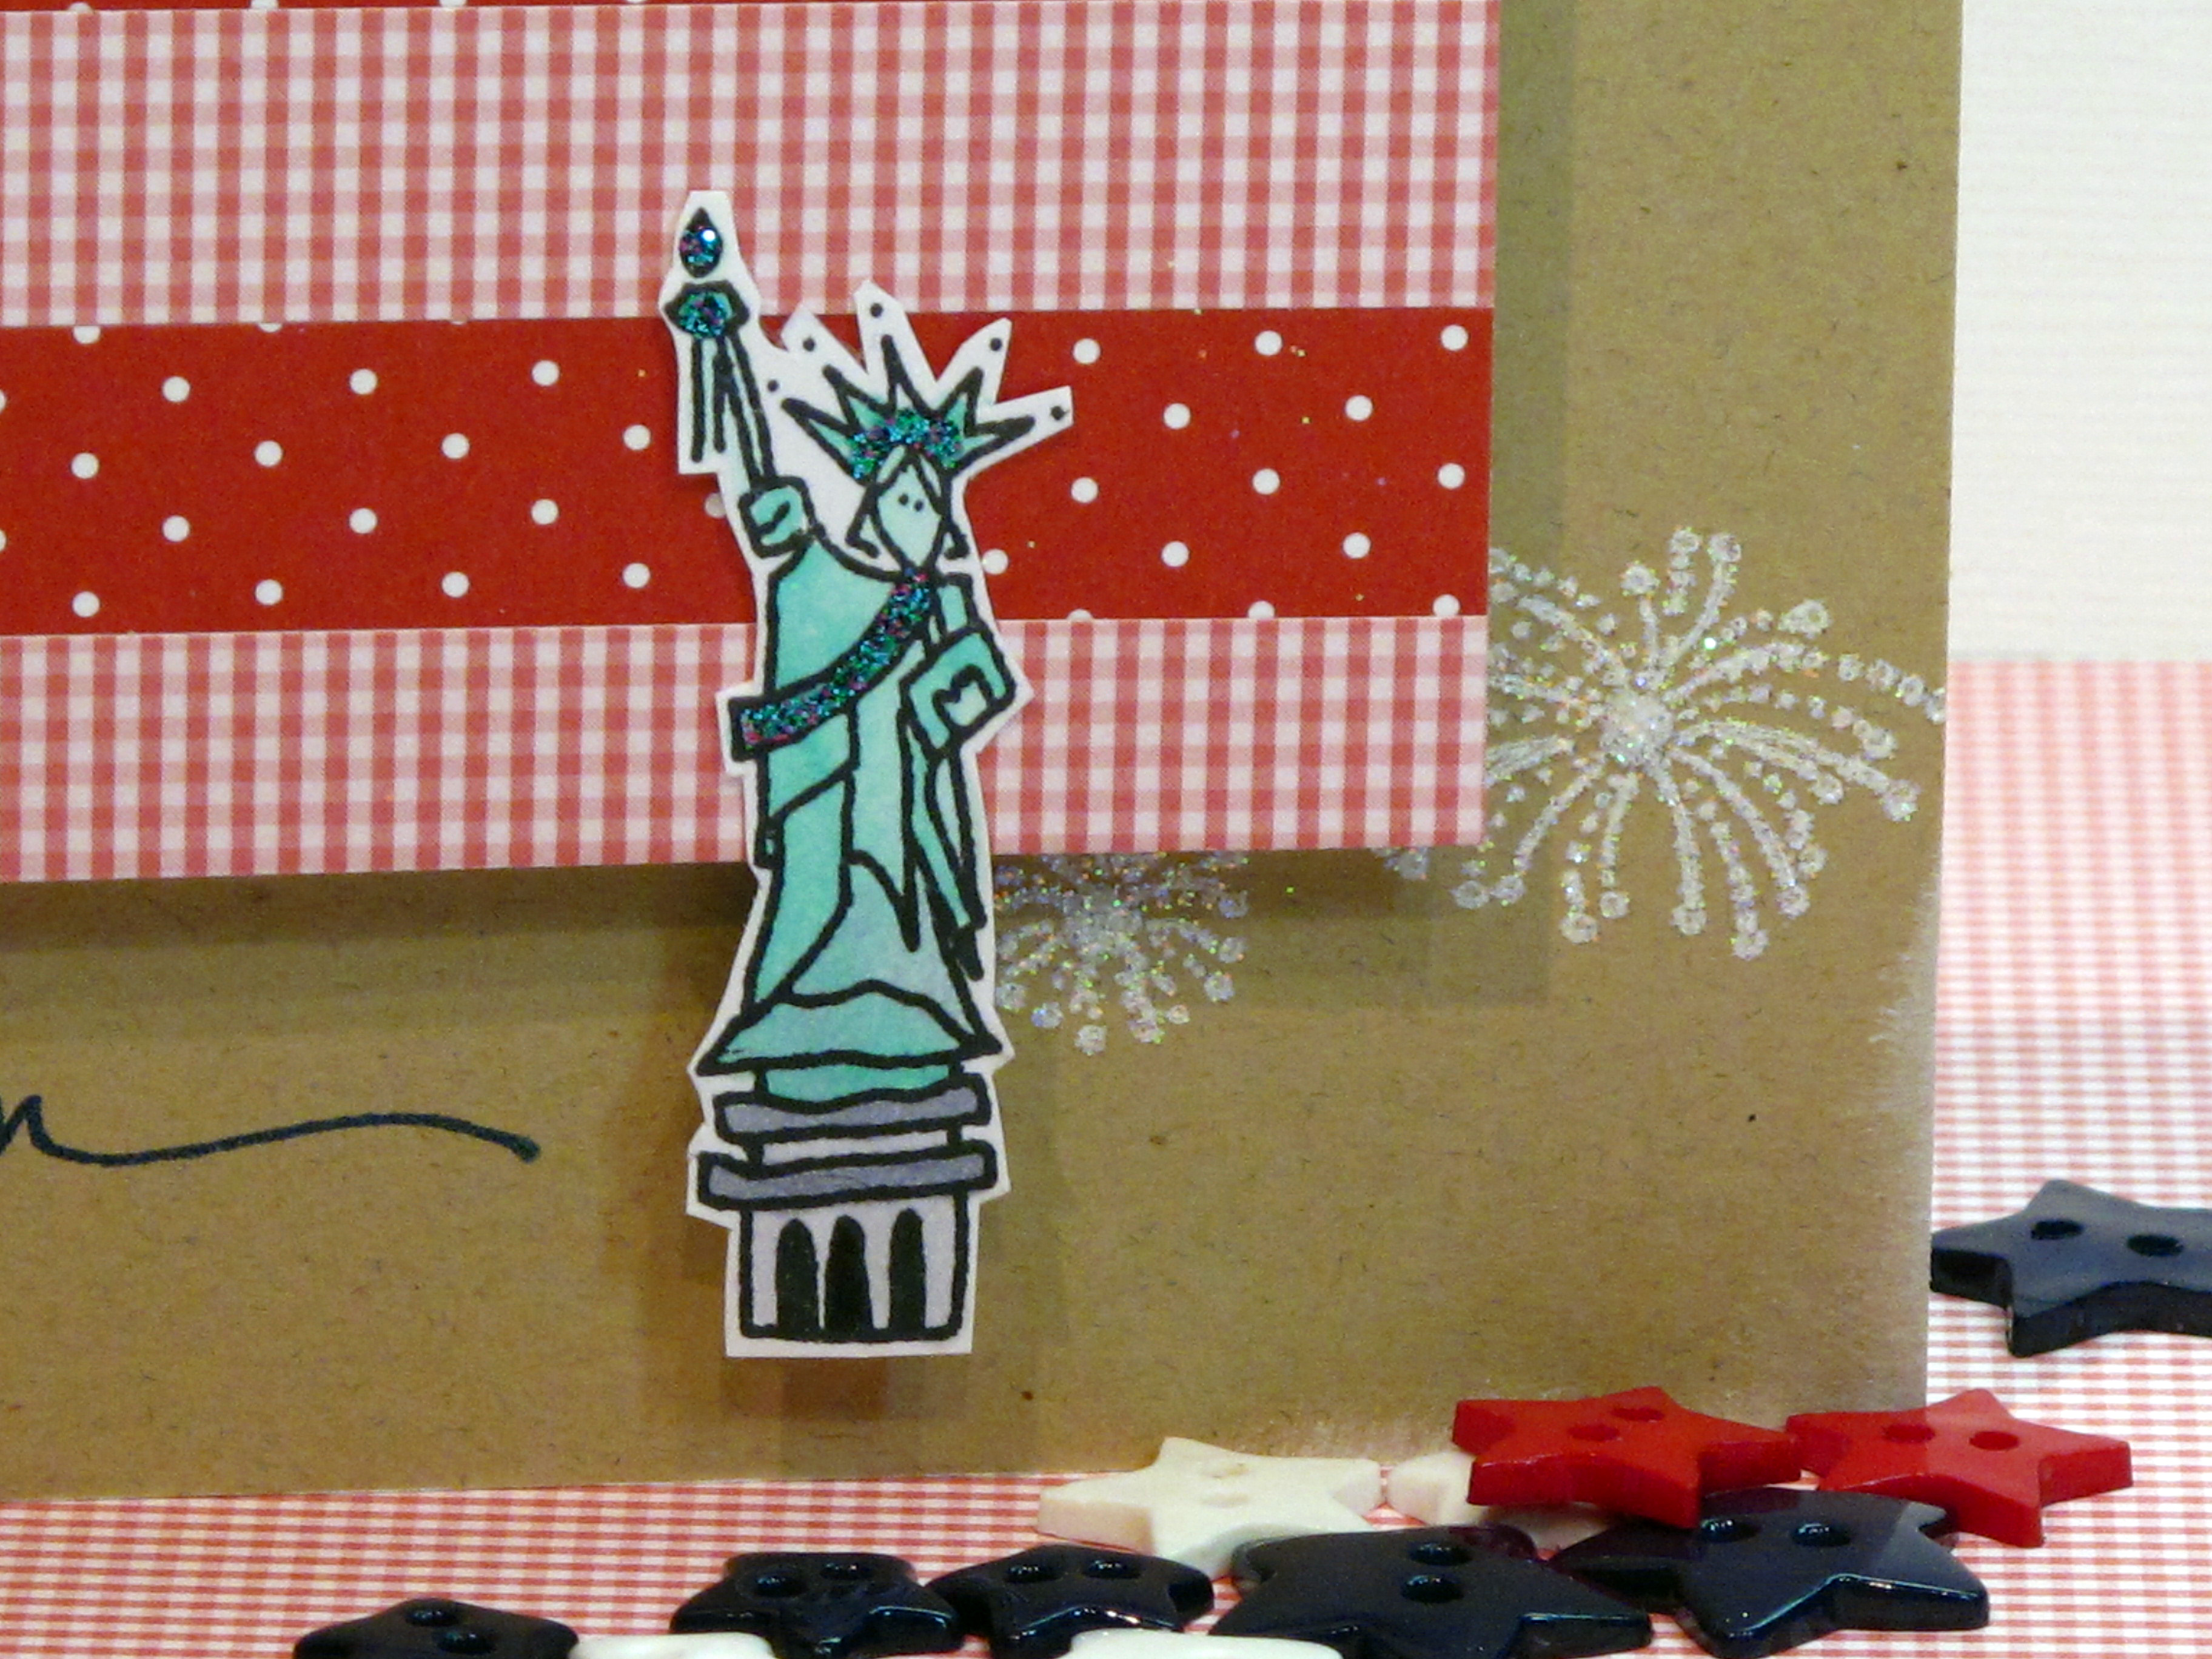
    The finished flag is 4" x 3". The blue part is a 1" square punch. the stripes are 1/2" wide. It was fun to combine two of my favorite things right now: polka dots and gingham! The Statue of Liberty is from Amuse stamps! I colored her with my Copics and then put on some 'mermaid' glitter glue. The fireworks were stamped in white ink and then glittered up!

    IMG_2192


    IMG_2182


    IMG_2189 
      

    God Bless America! Happy 4th of July week!
     
    My card just happened to fit into the Curtain Call #36 Challenge too!
     
  • Punch Drunk!

    Today I'm going to share an obsession… I've alluded to it in the past and you've seen the results of my obsession. Today I'm putting it all out there – my addiction to Martha Stewart punches! I'm buying the entire Martha Stewart punch collection one 40% off coupon at a time!

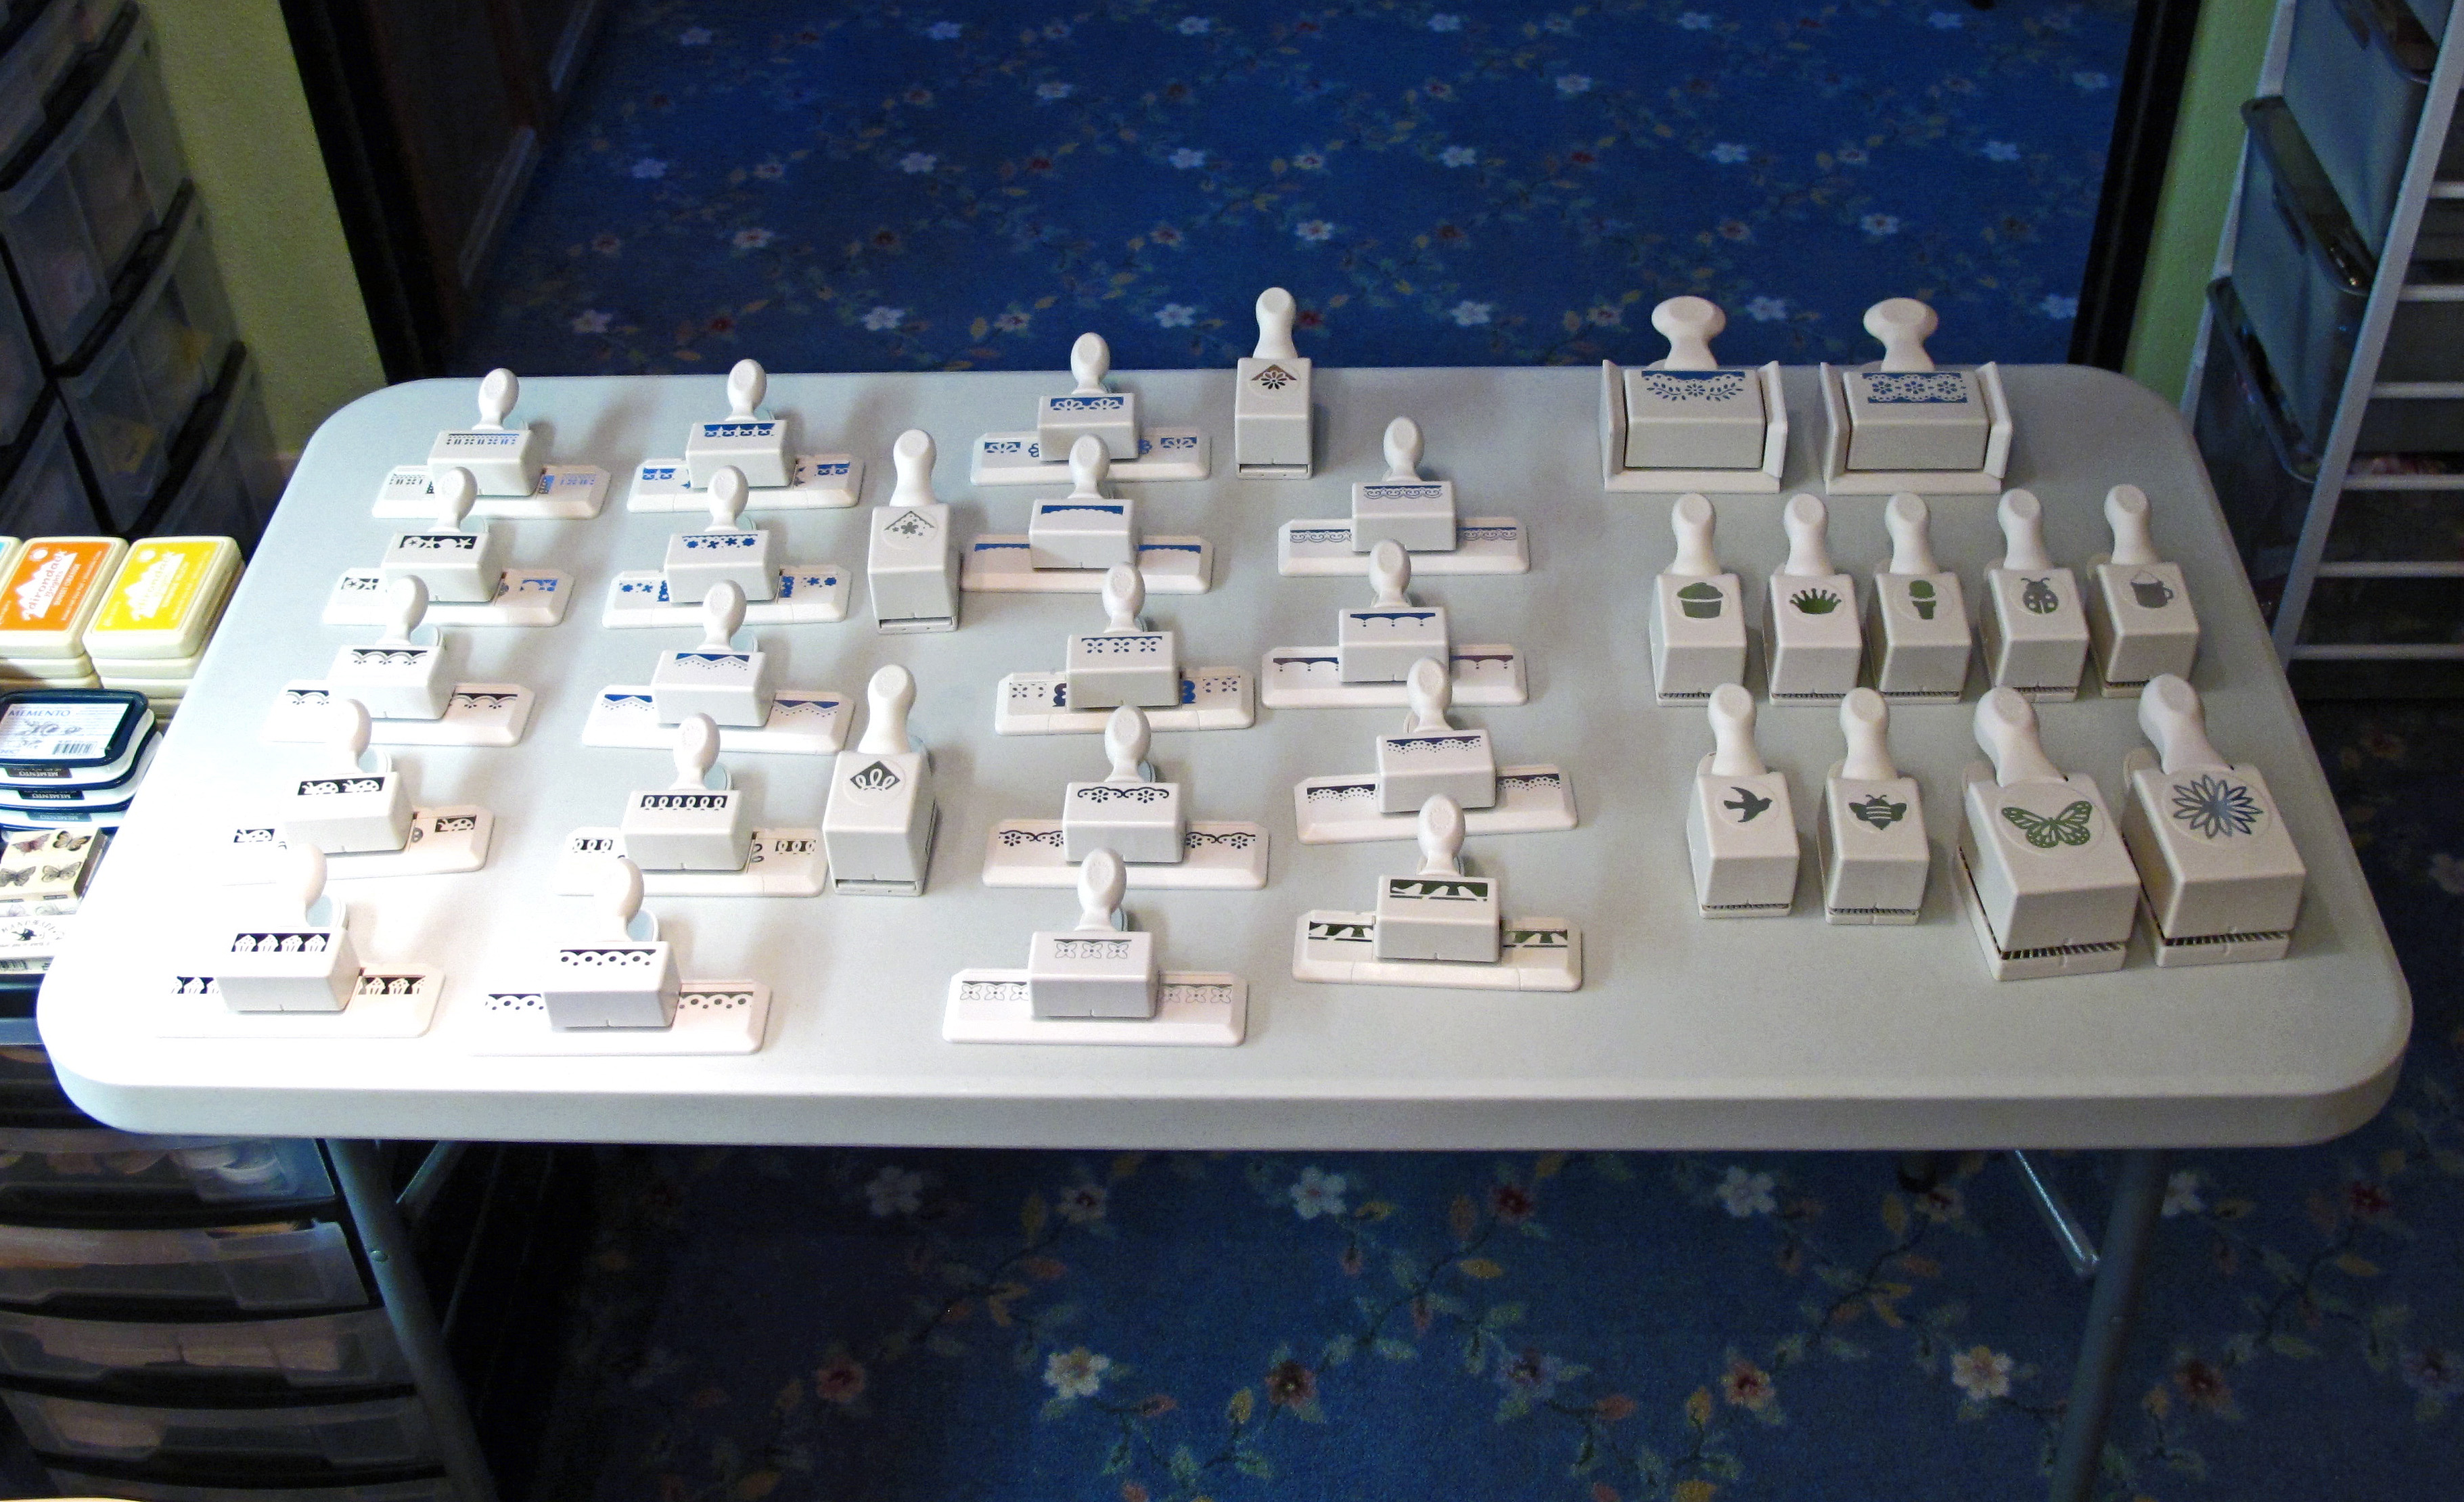
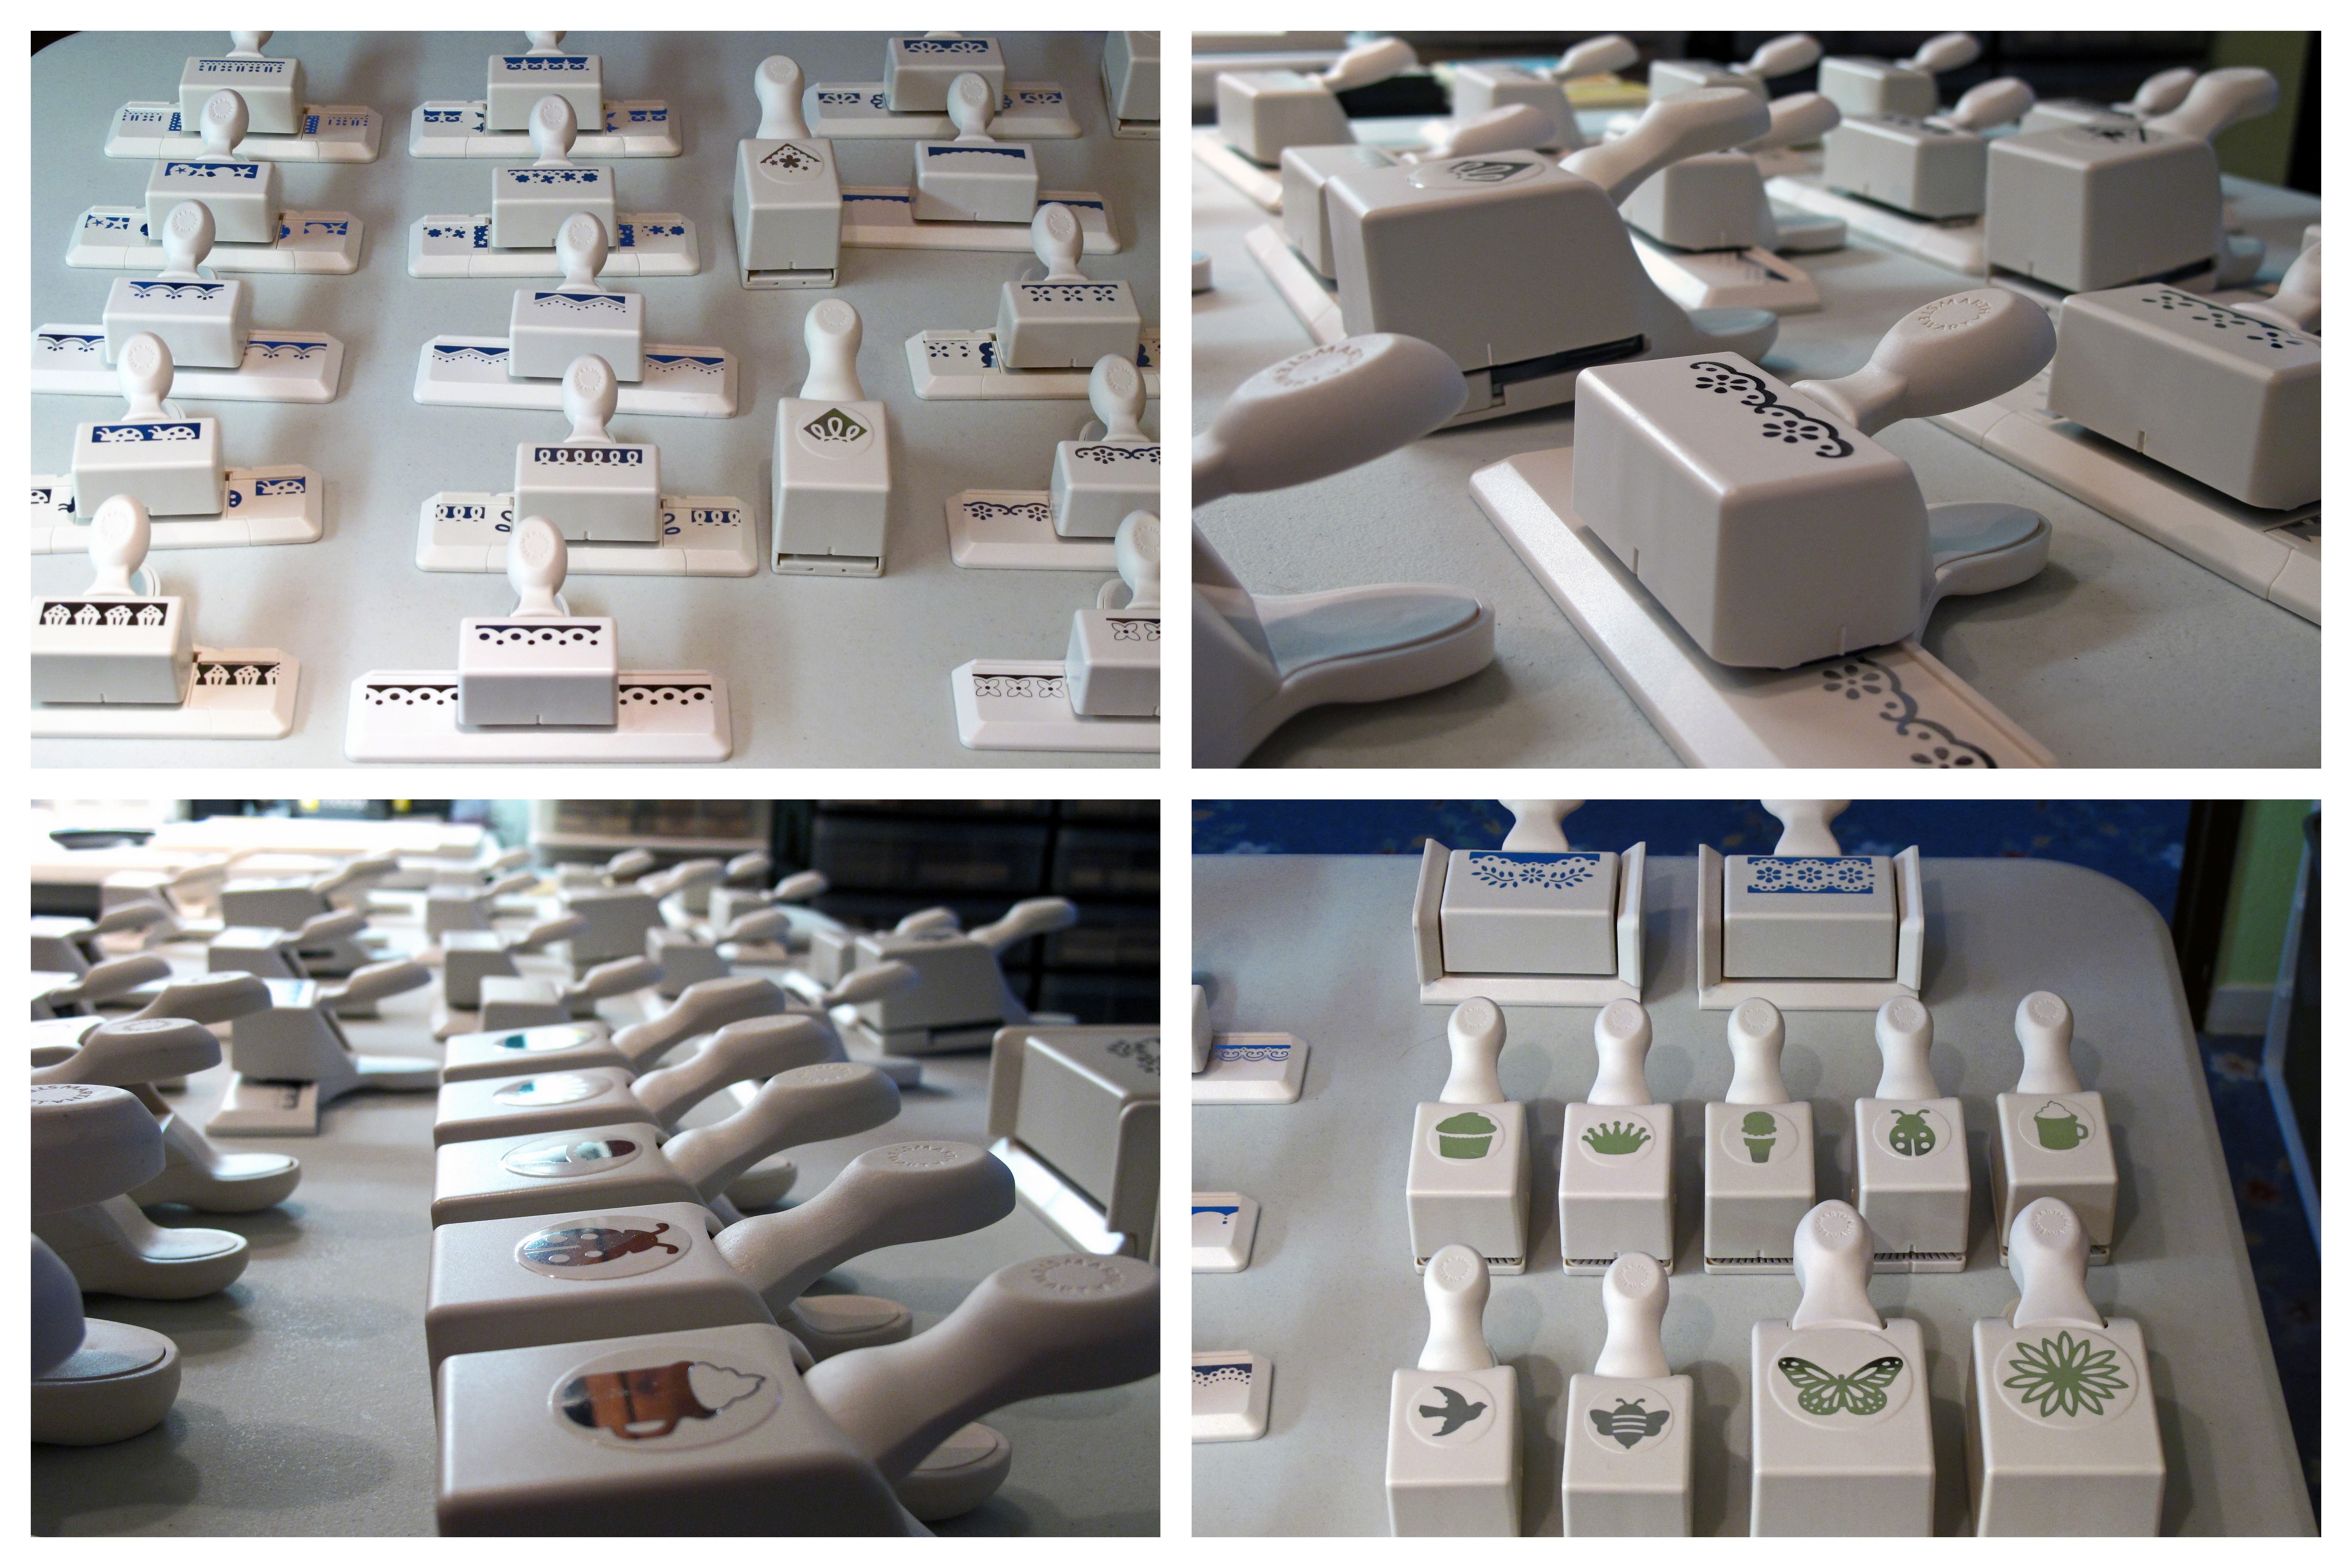
    For a long time I have wanted to catalog them somehow so I could have a reference while I'm making a project. Today I decided to finally do it. First I got out all of my punches and laid them out on my extra table. Oy. Don't make fun of me…

    A


    Aa

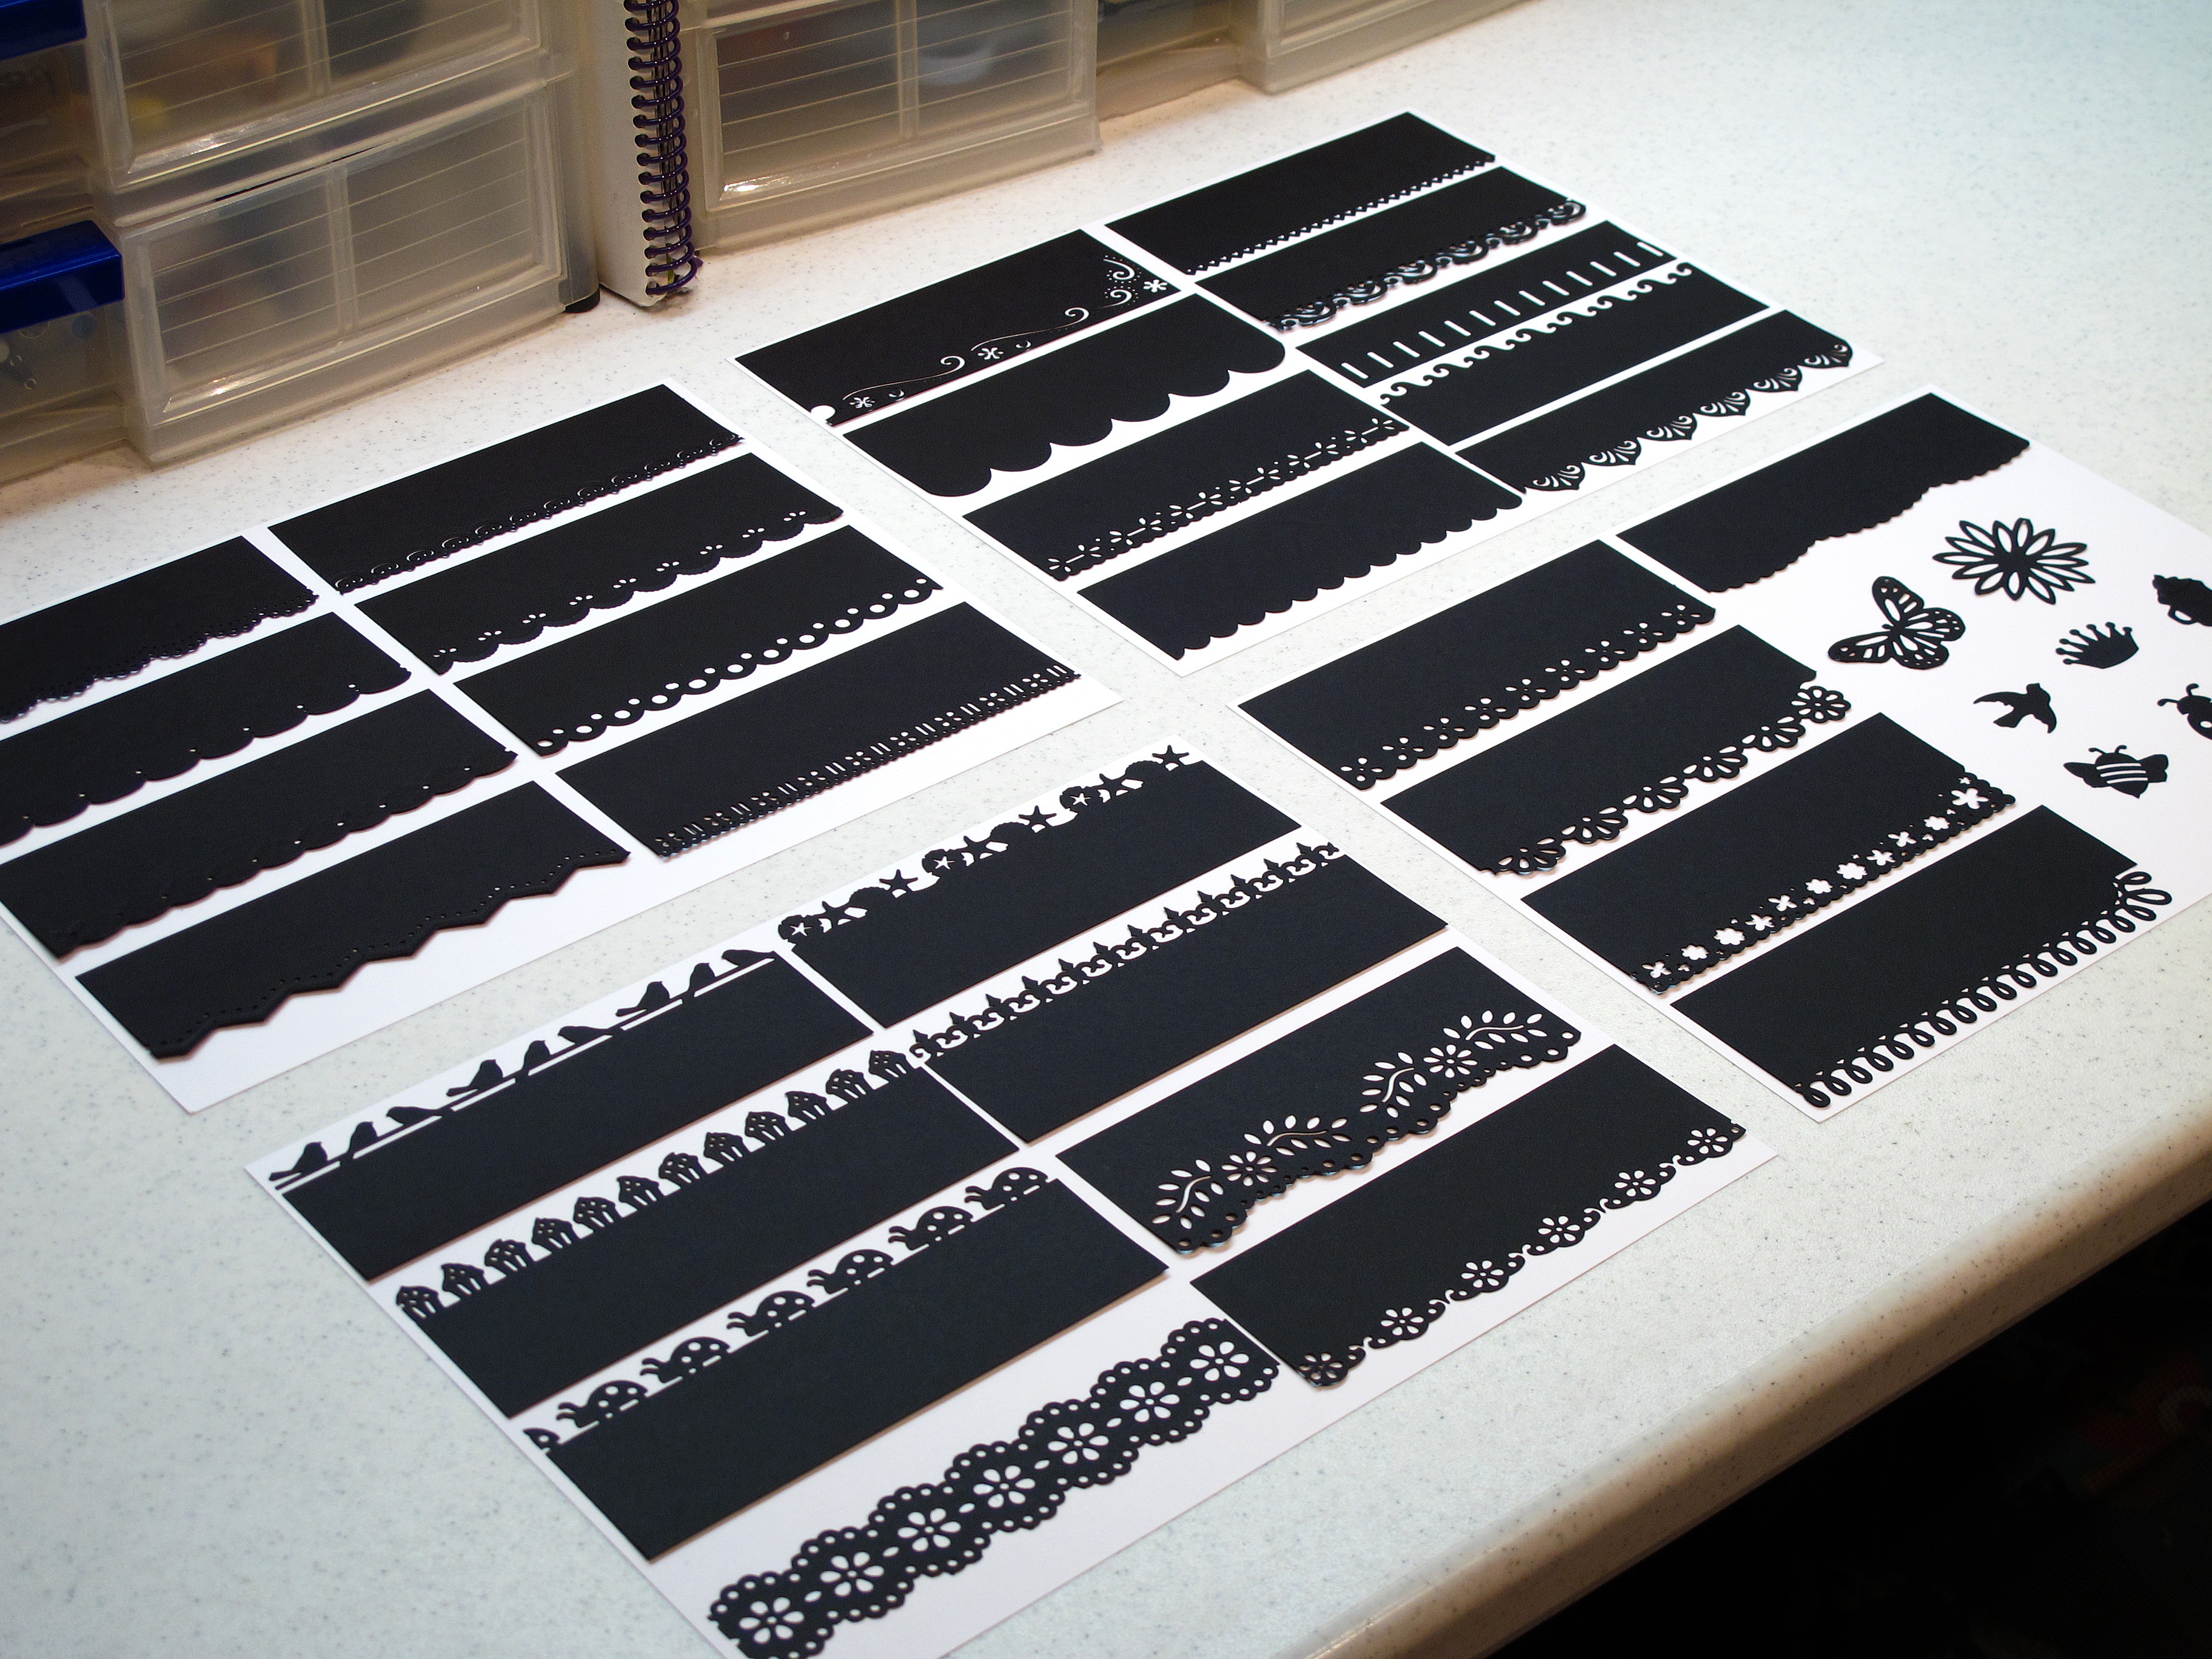
    Then I cut strips of black paper into 5.5" x 2" and punched out all the edge punches. This way I can see what I have at a glance without having to dig through the punch drawer. It was kind of fun to see them all at once and remember what's in there.

    IMG_2156


    Then I put each of the strips onto white paper…and voila! Here is the end result! I think I will try to find some plastic covers to put the sheets in. I think this will help me use them all instead of just choosing my favorites all the time.

    IMG_2157


    IMG_2160

    What do you think? Do you have a craft obsession? Are you willing to admit it? Thanks for sharing this with me today. Have a good one!

  • Hello!

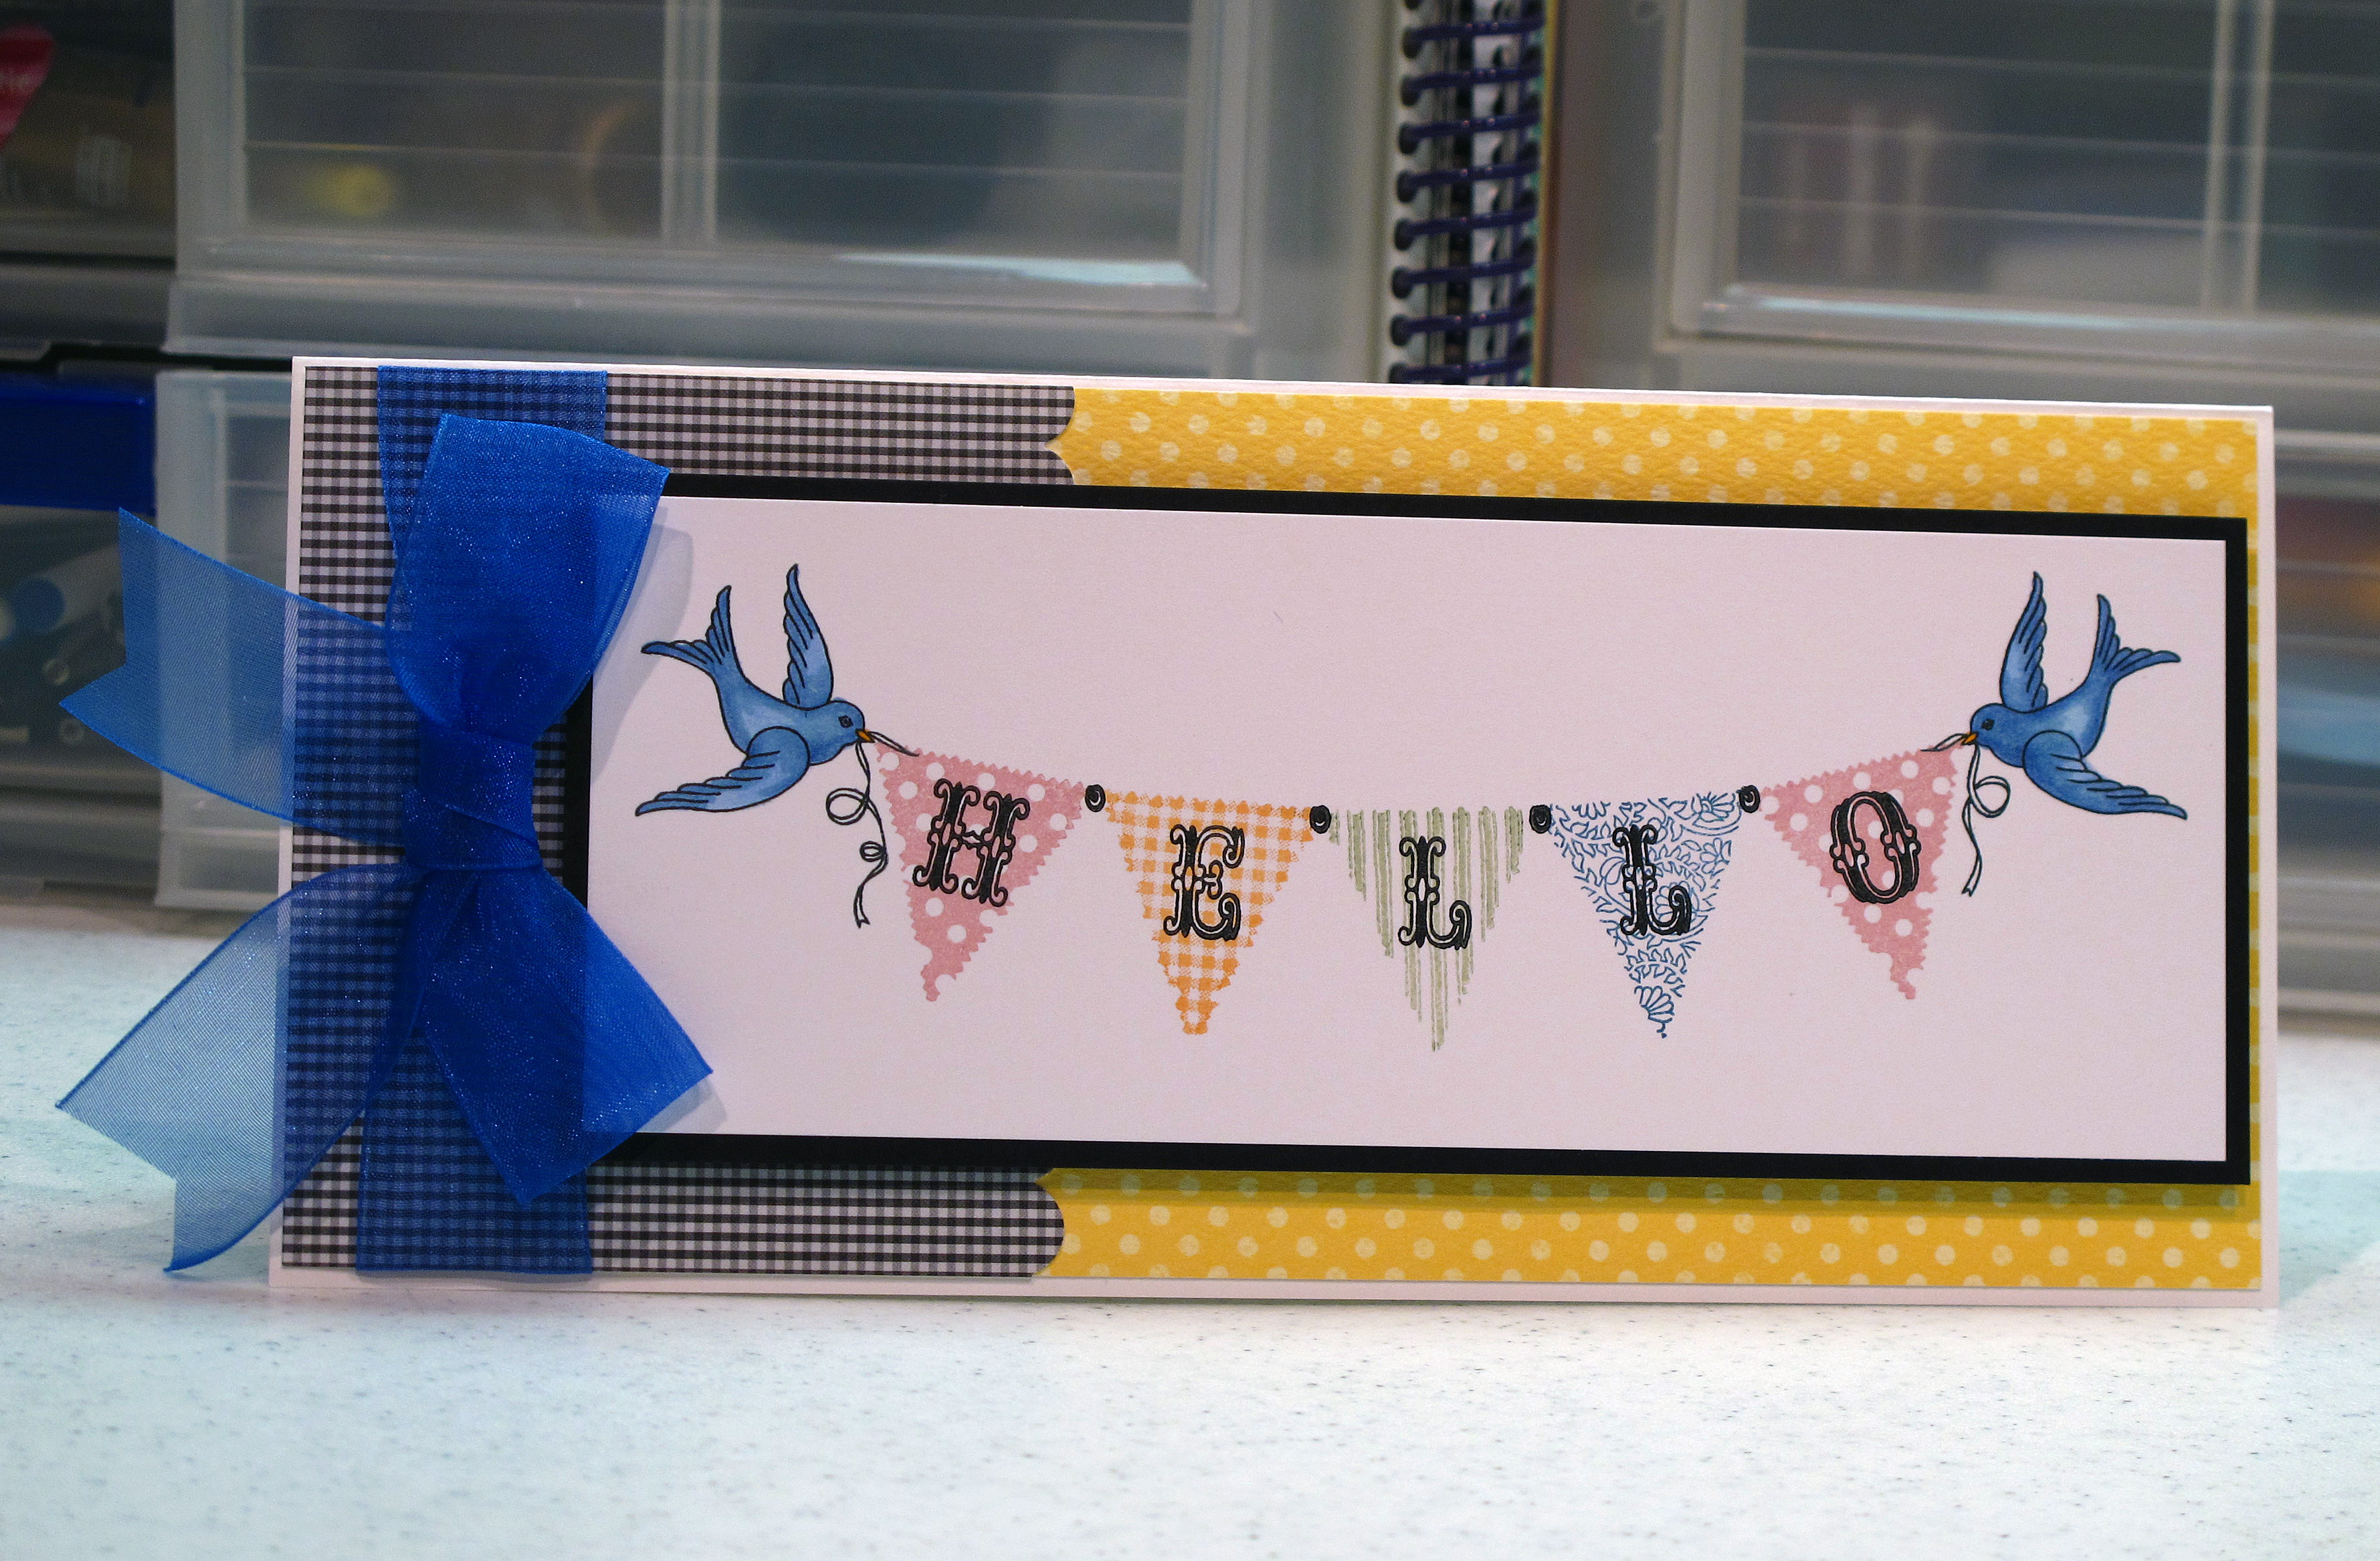
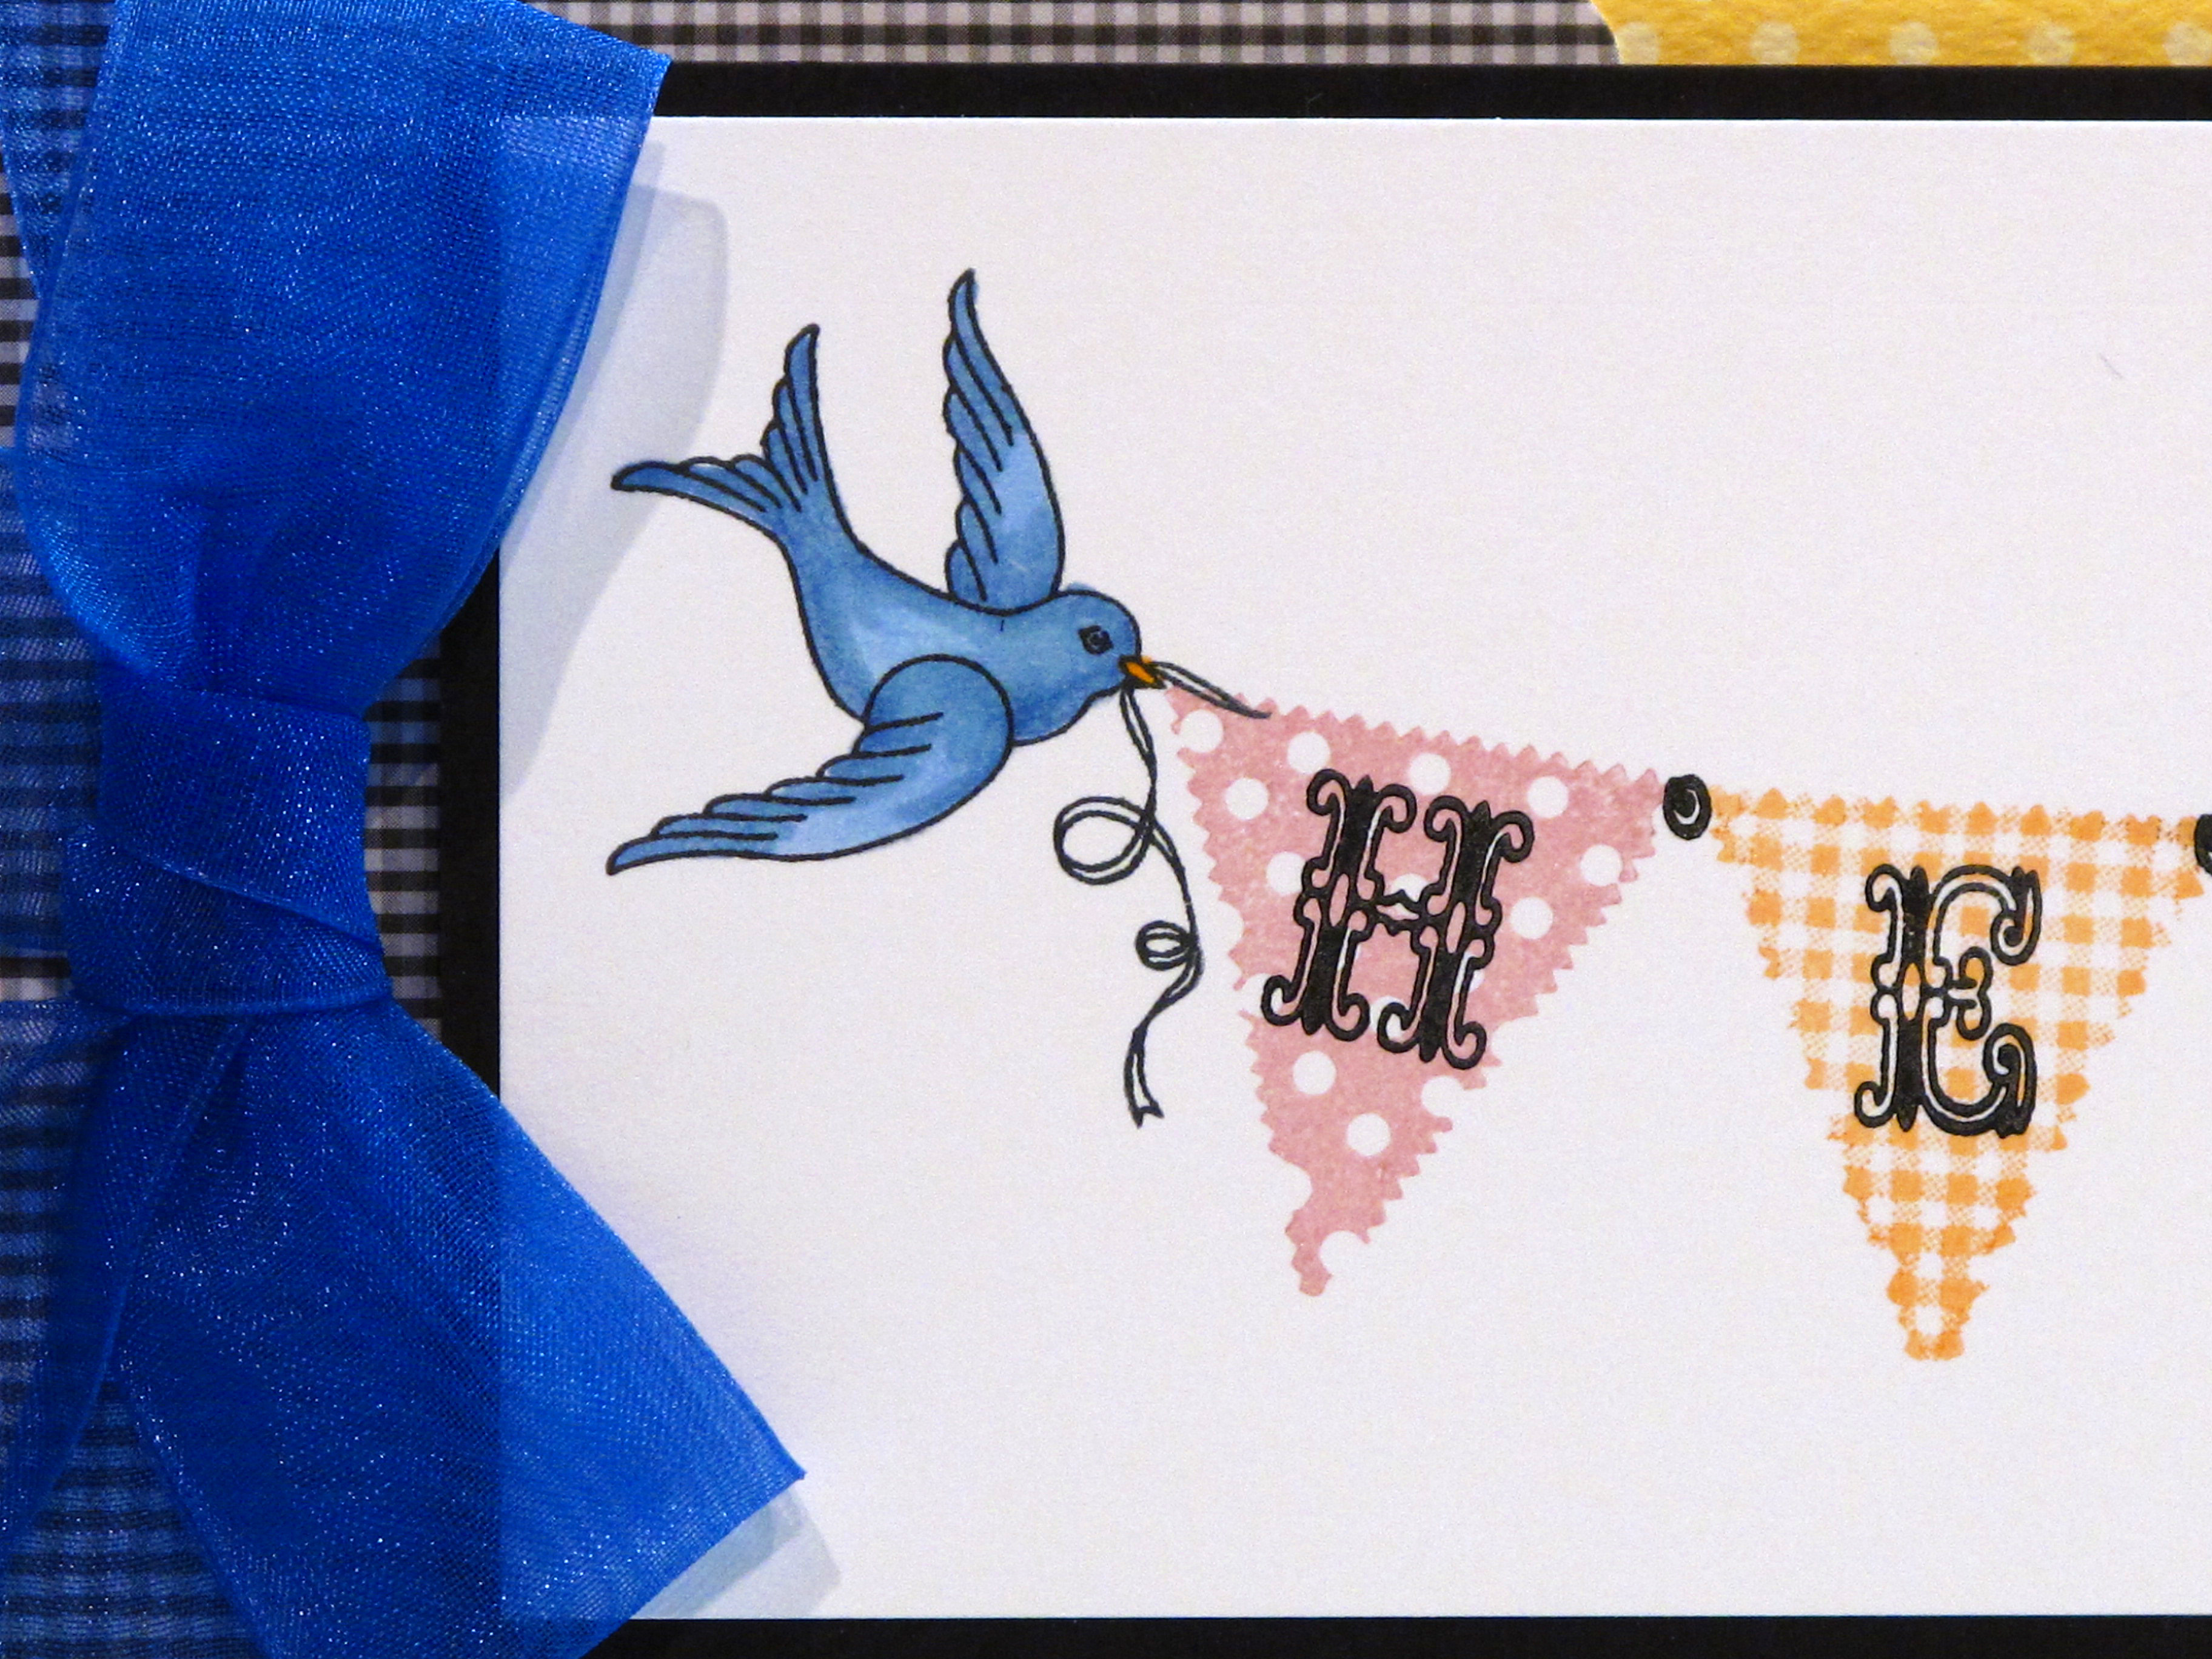
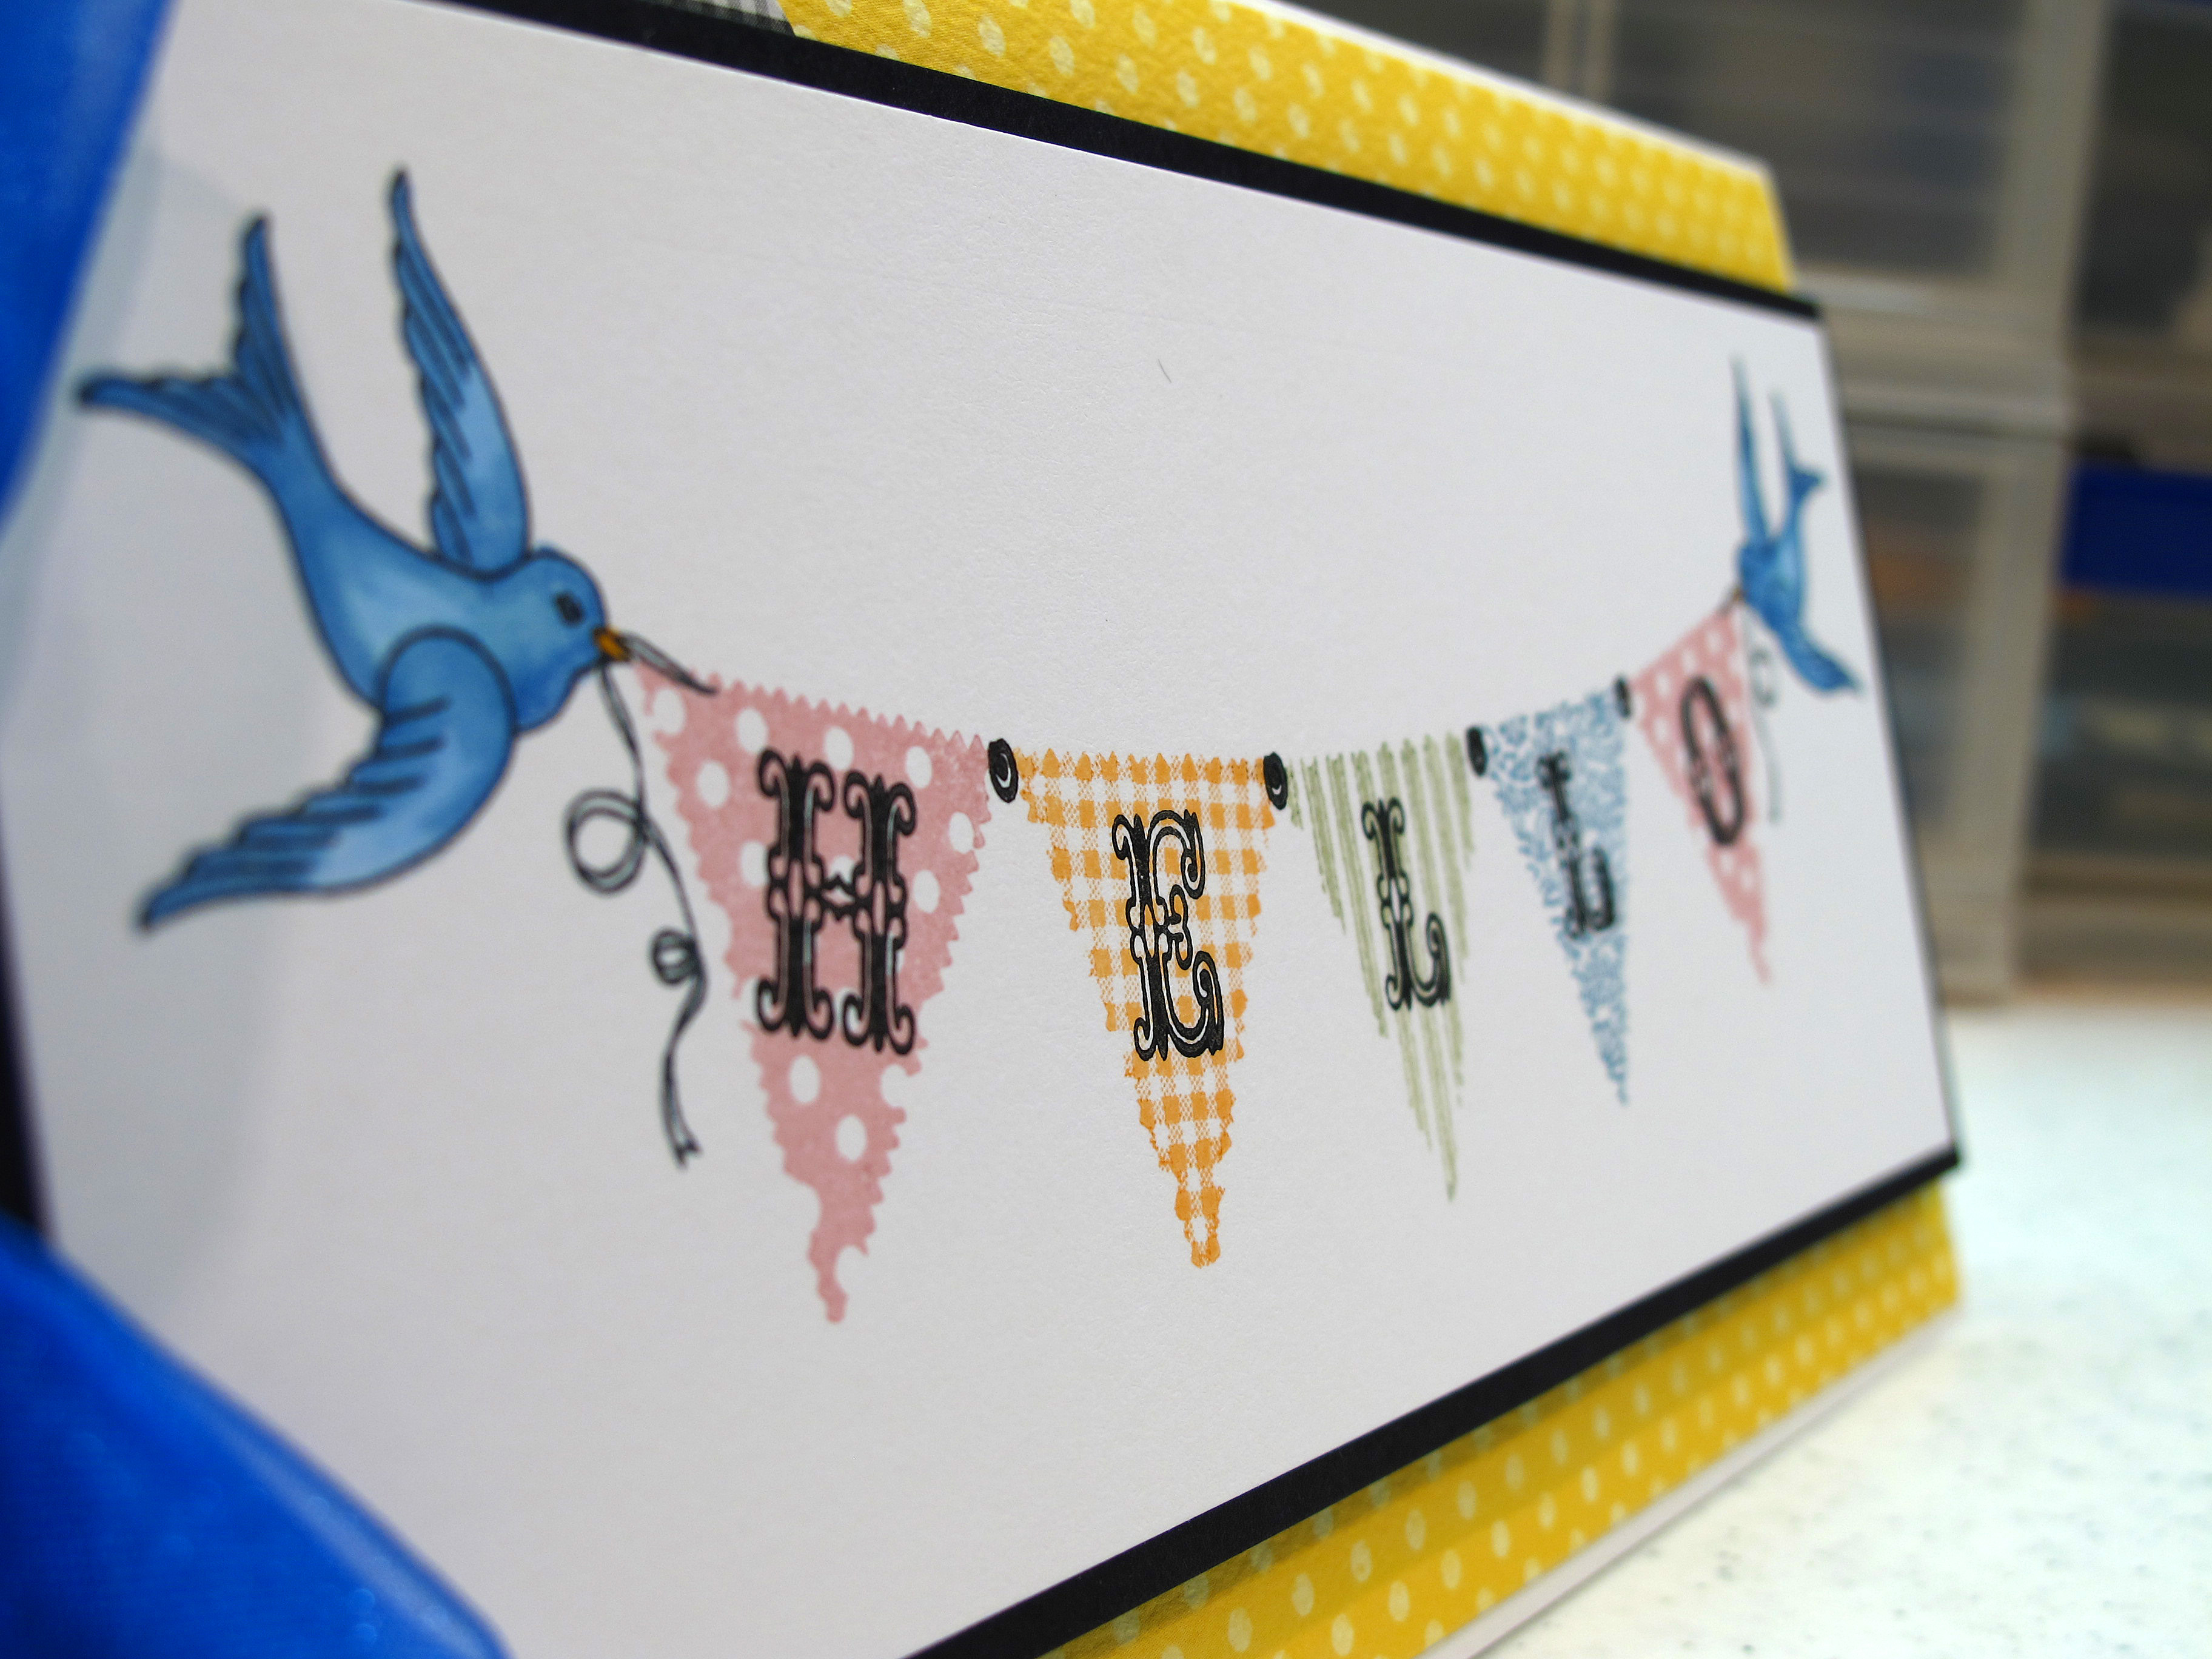
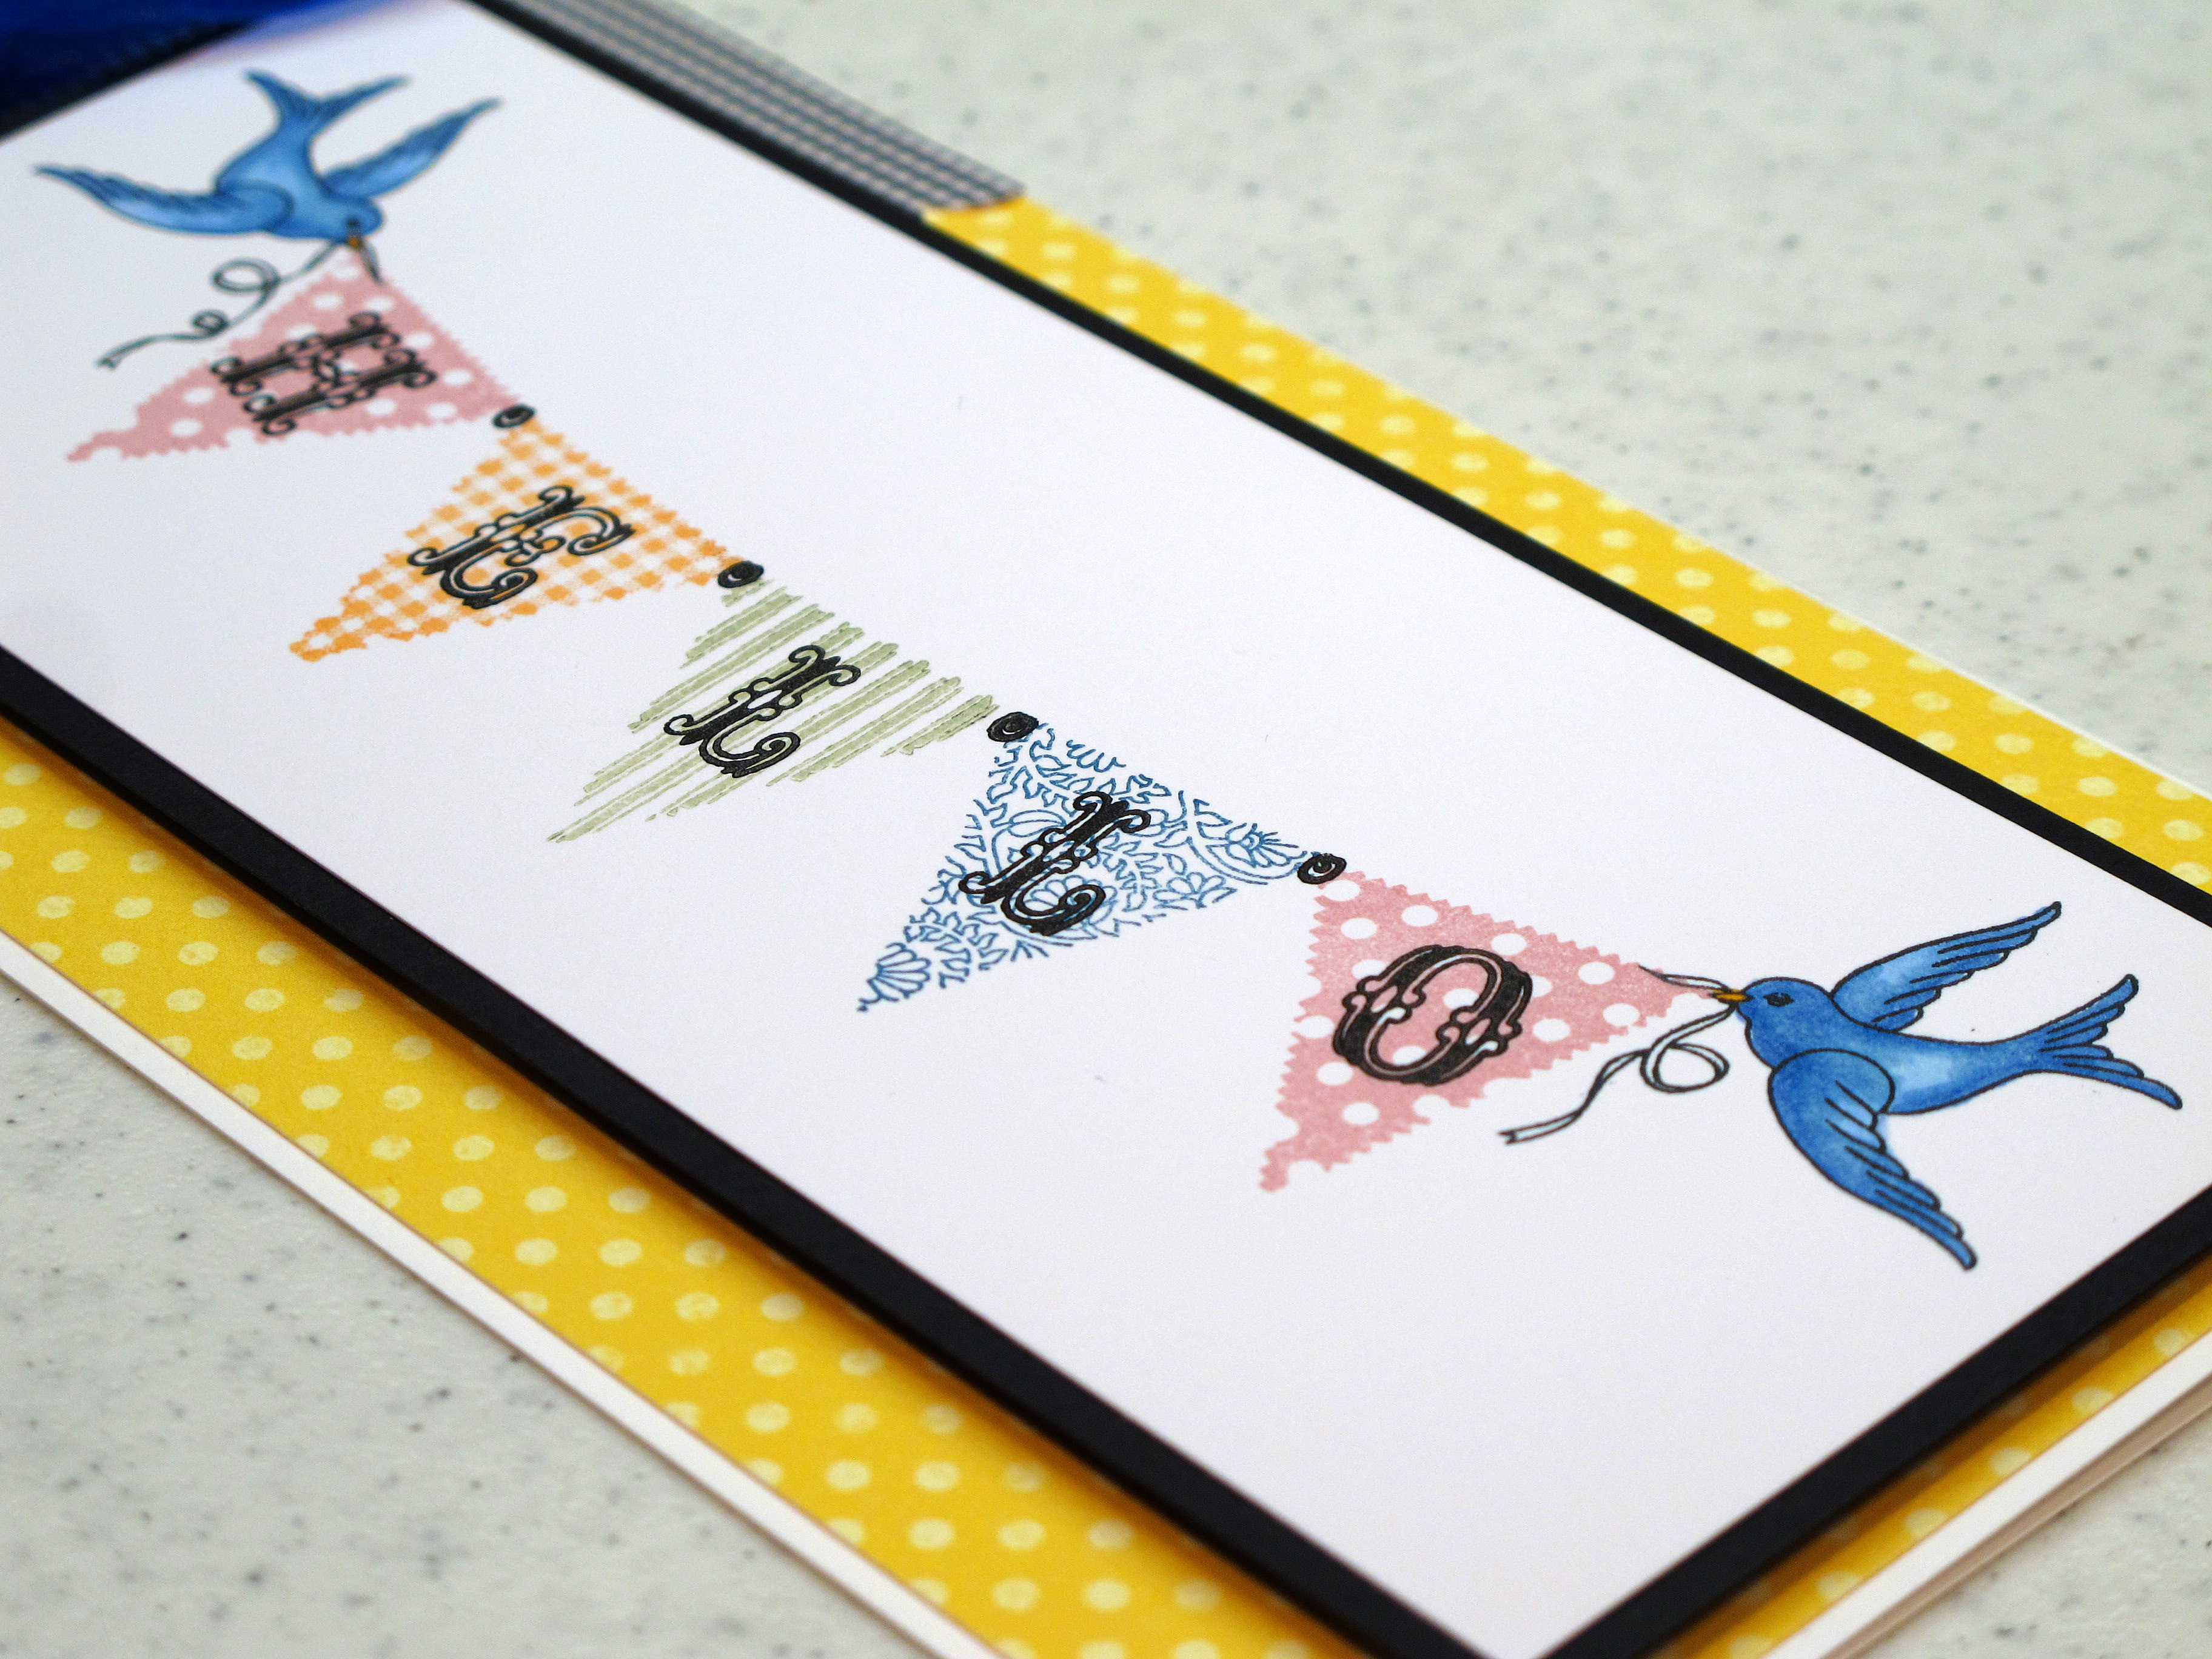
    Today's card was meant to send a happy hello to a friend who just moved to a new city. I wanted her to have some fun mail in her new mail box. I love this stamp set from Pink Persimmon with the little banners and the birdies to hold them. Each banner is a different stamp with a different pattern. Don't even get me started on the cute alphabet that fits just so inside the flags!! I know I will be using it a lot in the future.


    IMG_2035


    I colored the little birdies in with my Copics and used Versamagic ink pads for the banners. The black ink is all Memento Ink.

    IMG_2036


    IMG_2037


    IMG_2038


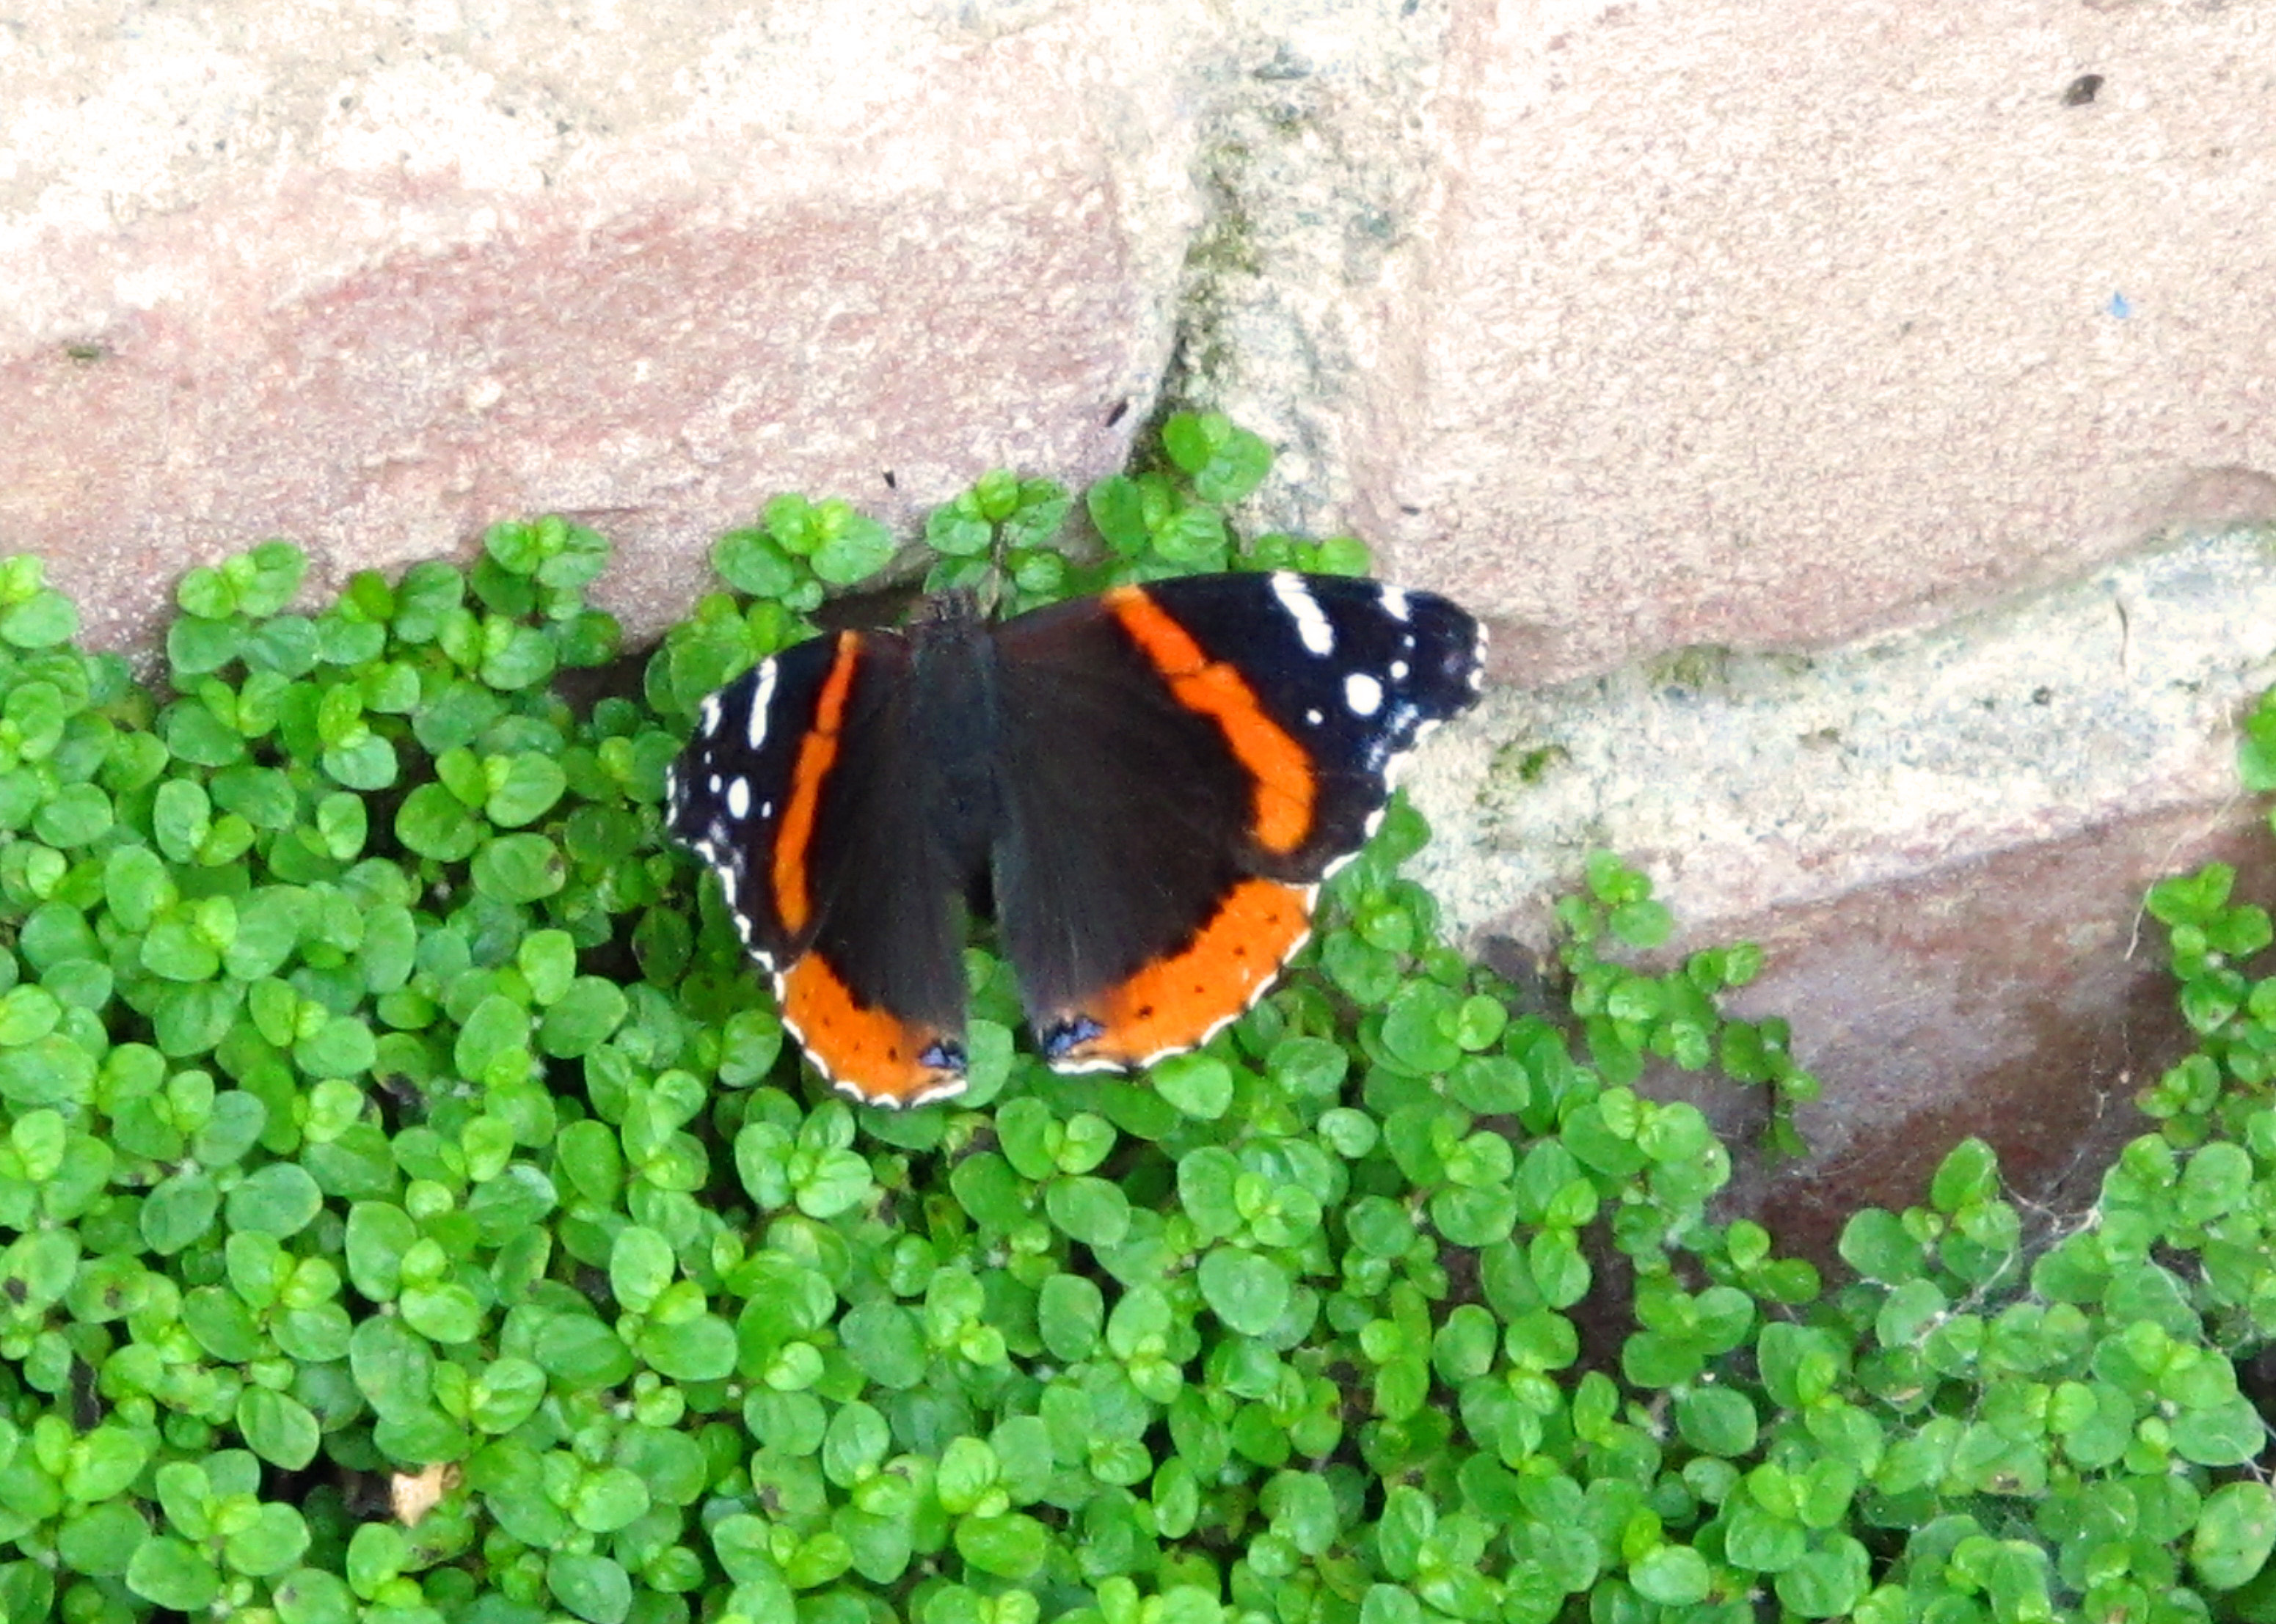
    This little butterfly fluttered by while Mark was out doing yard work! This was the only picture I could snap before she flew away…

    IMG_2094


  • A Pretty Yellow House…

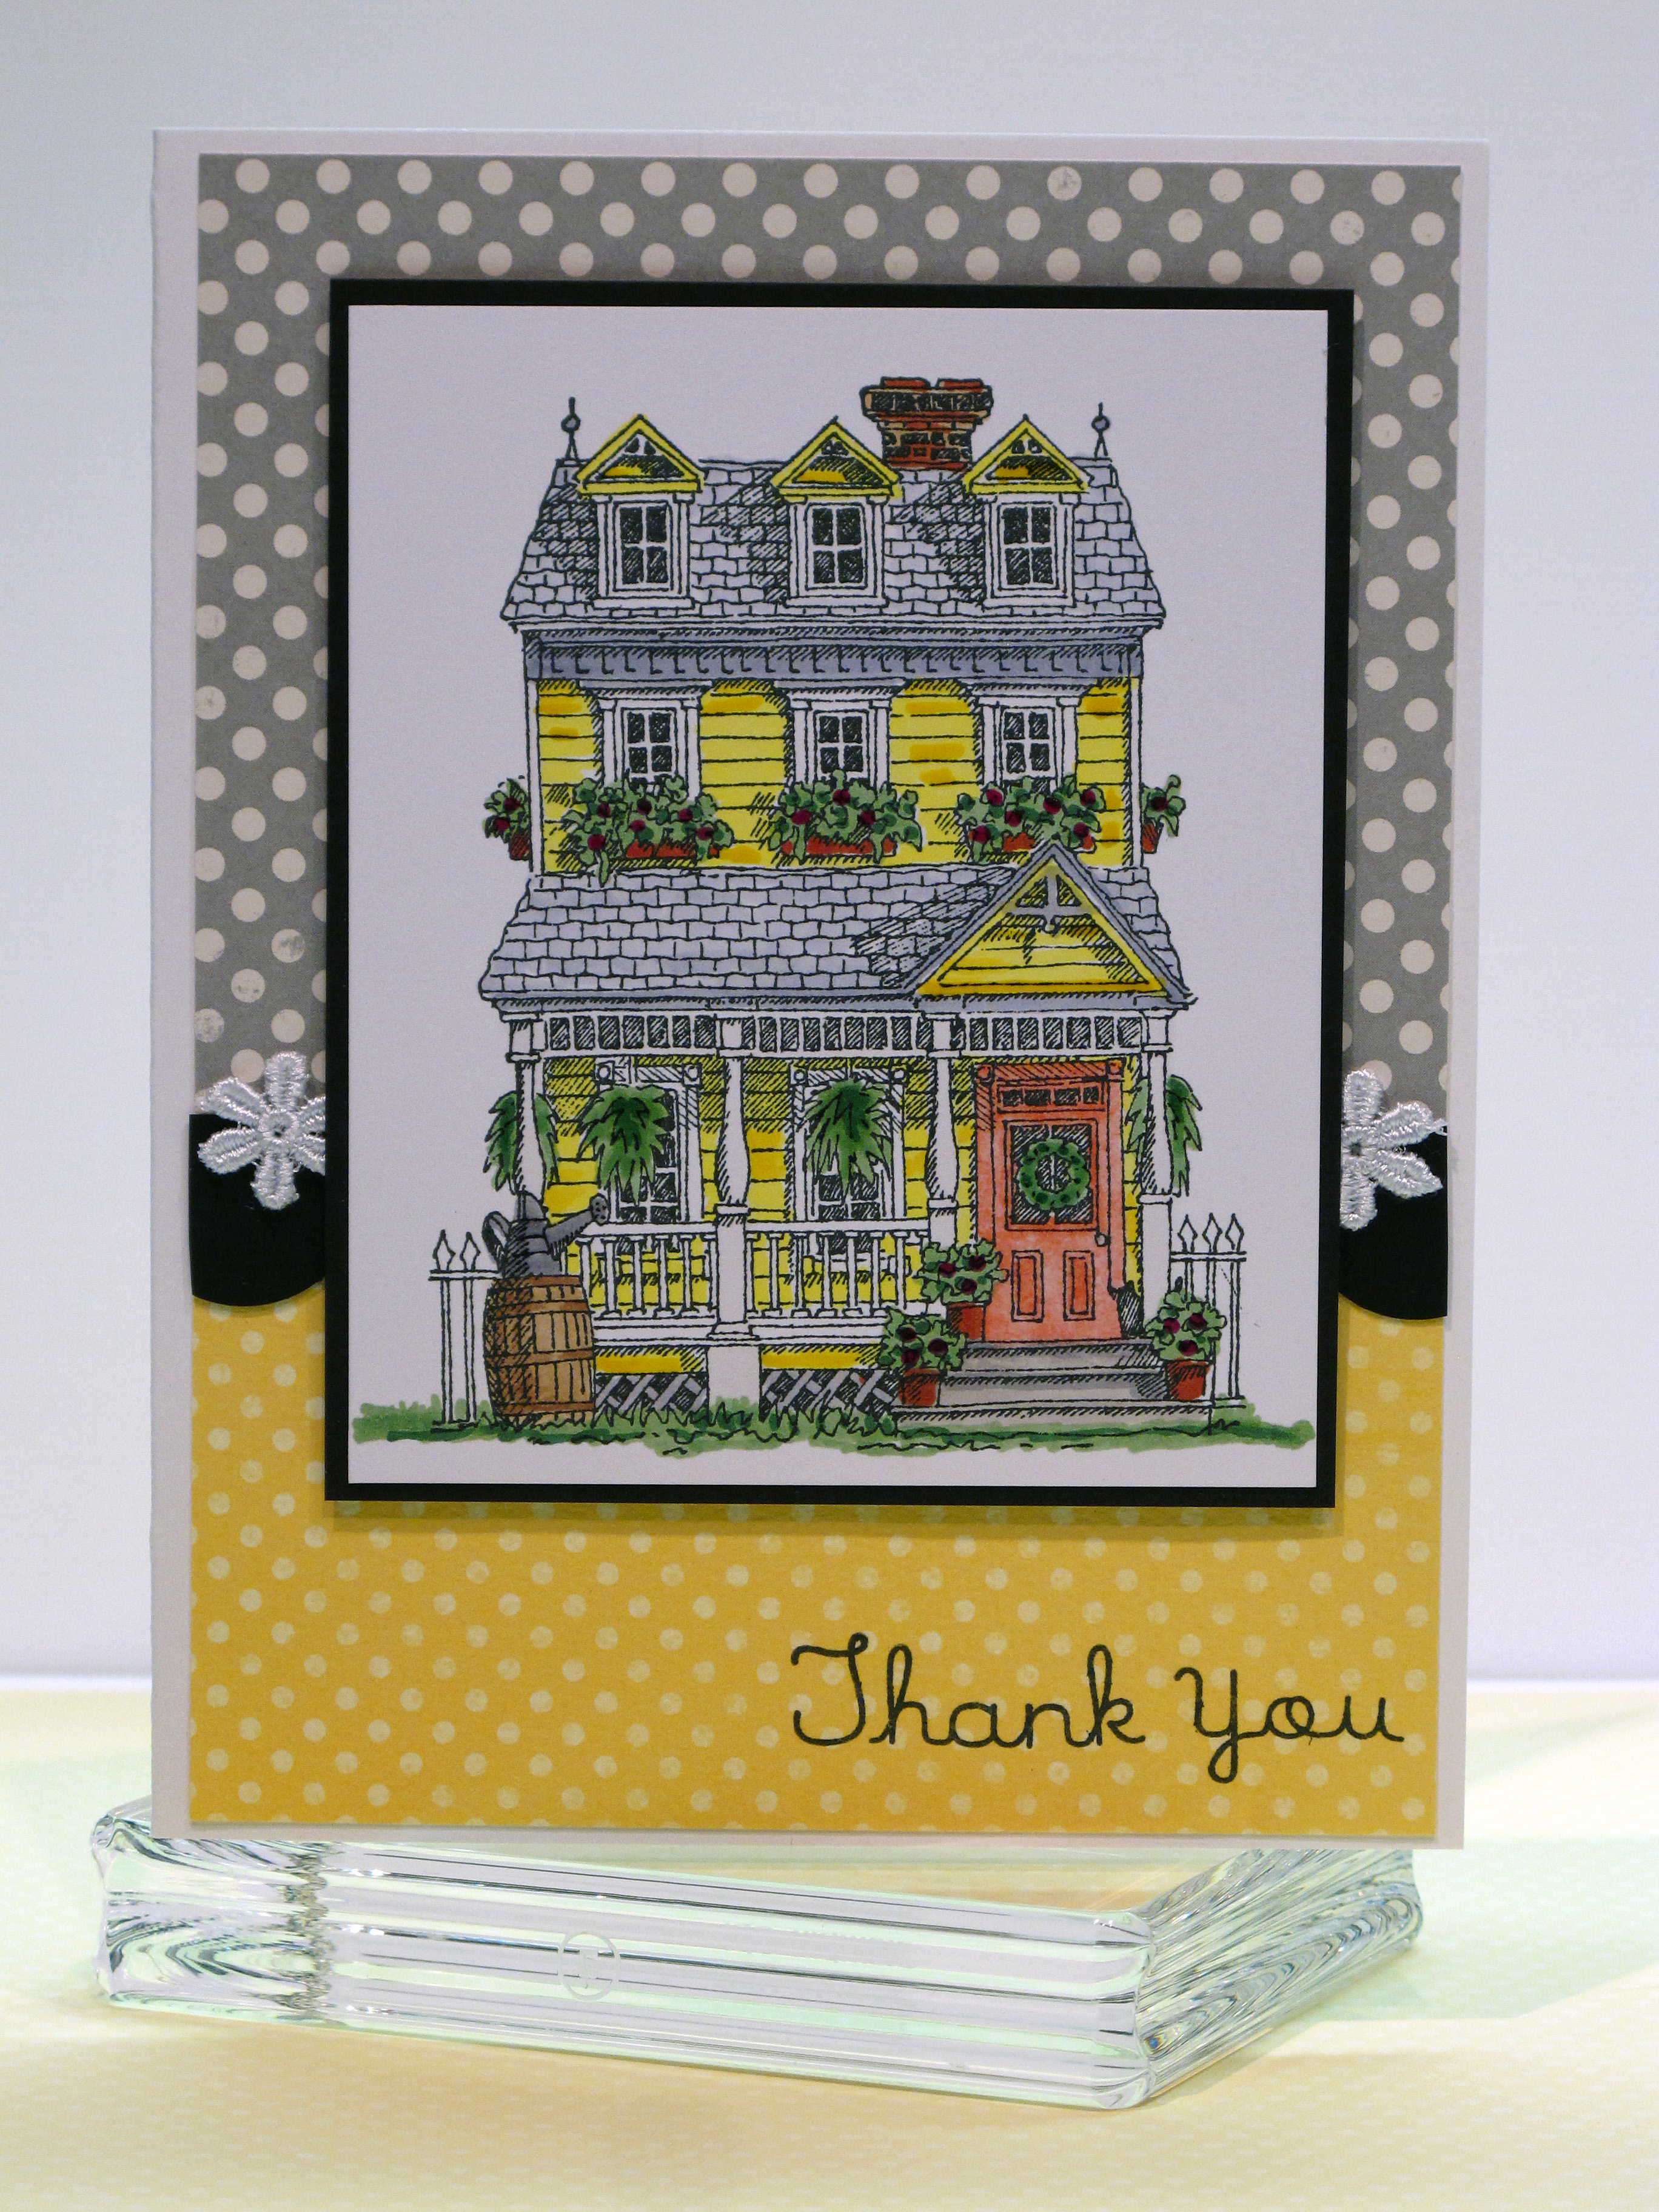
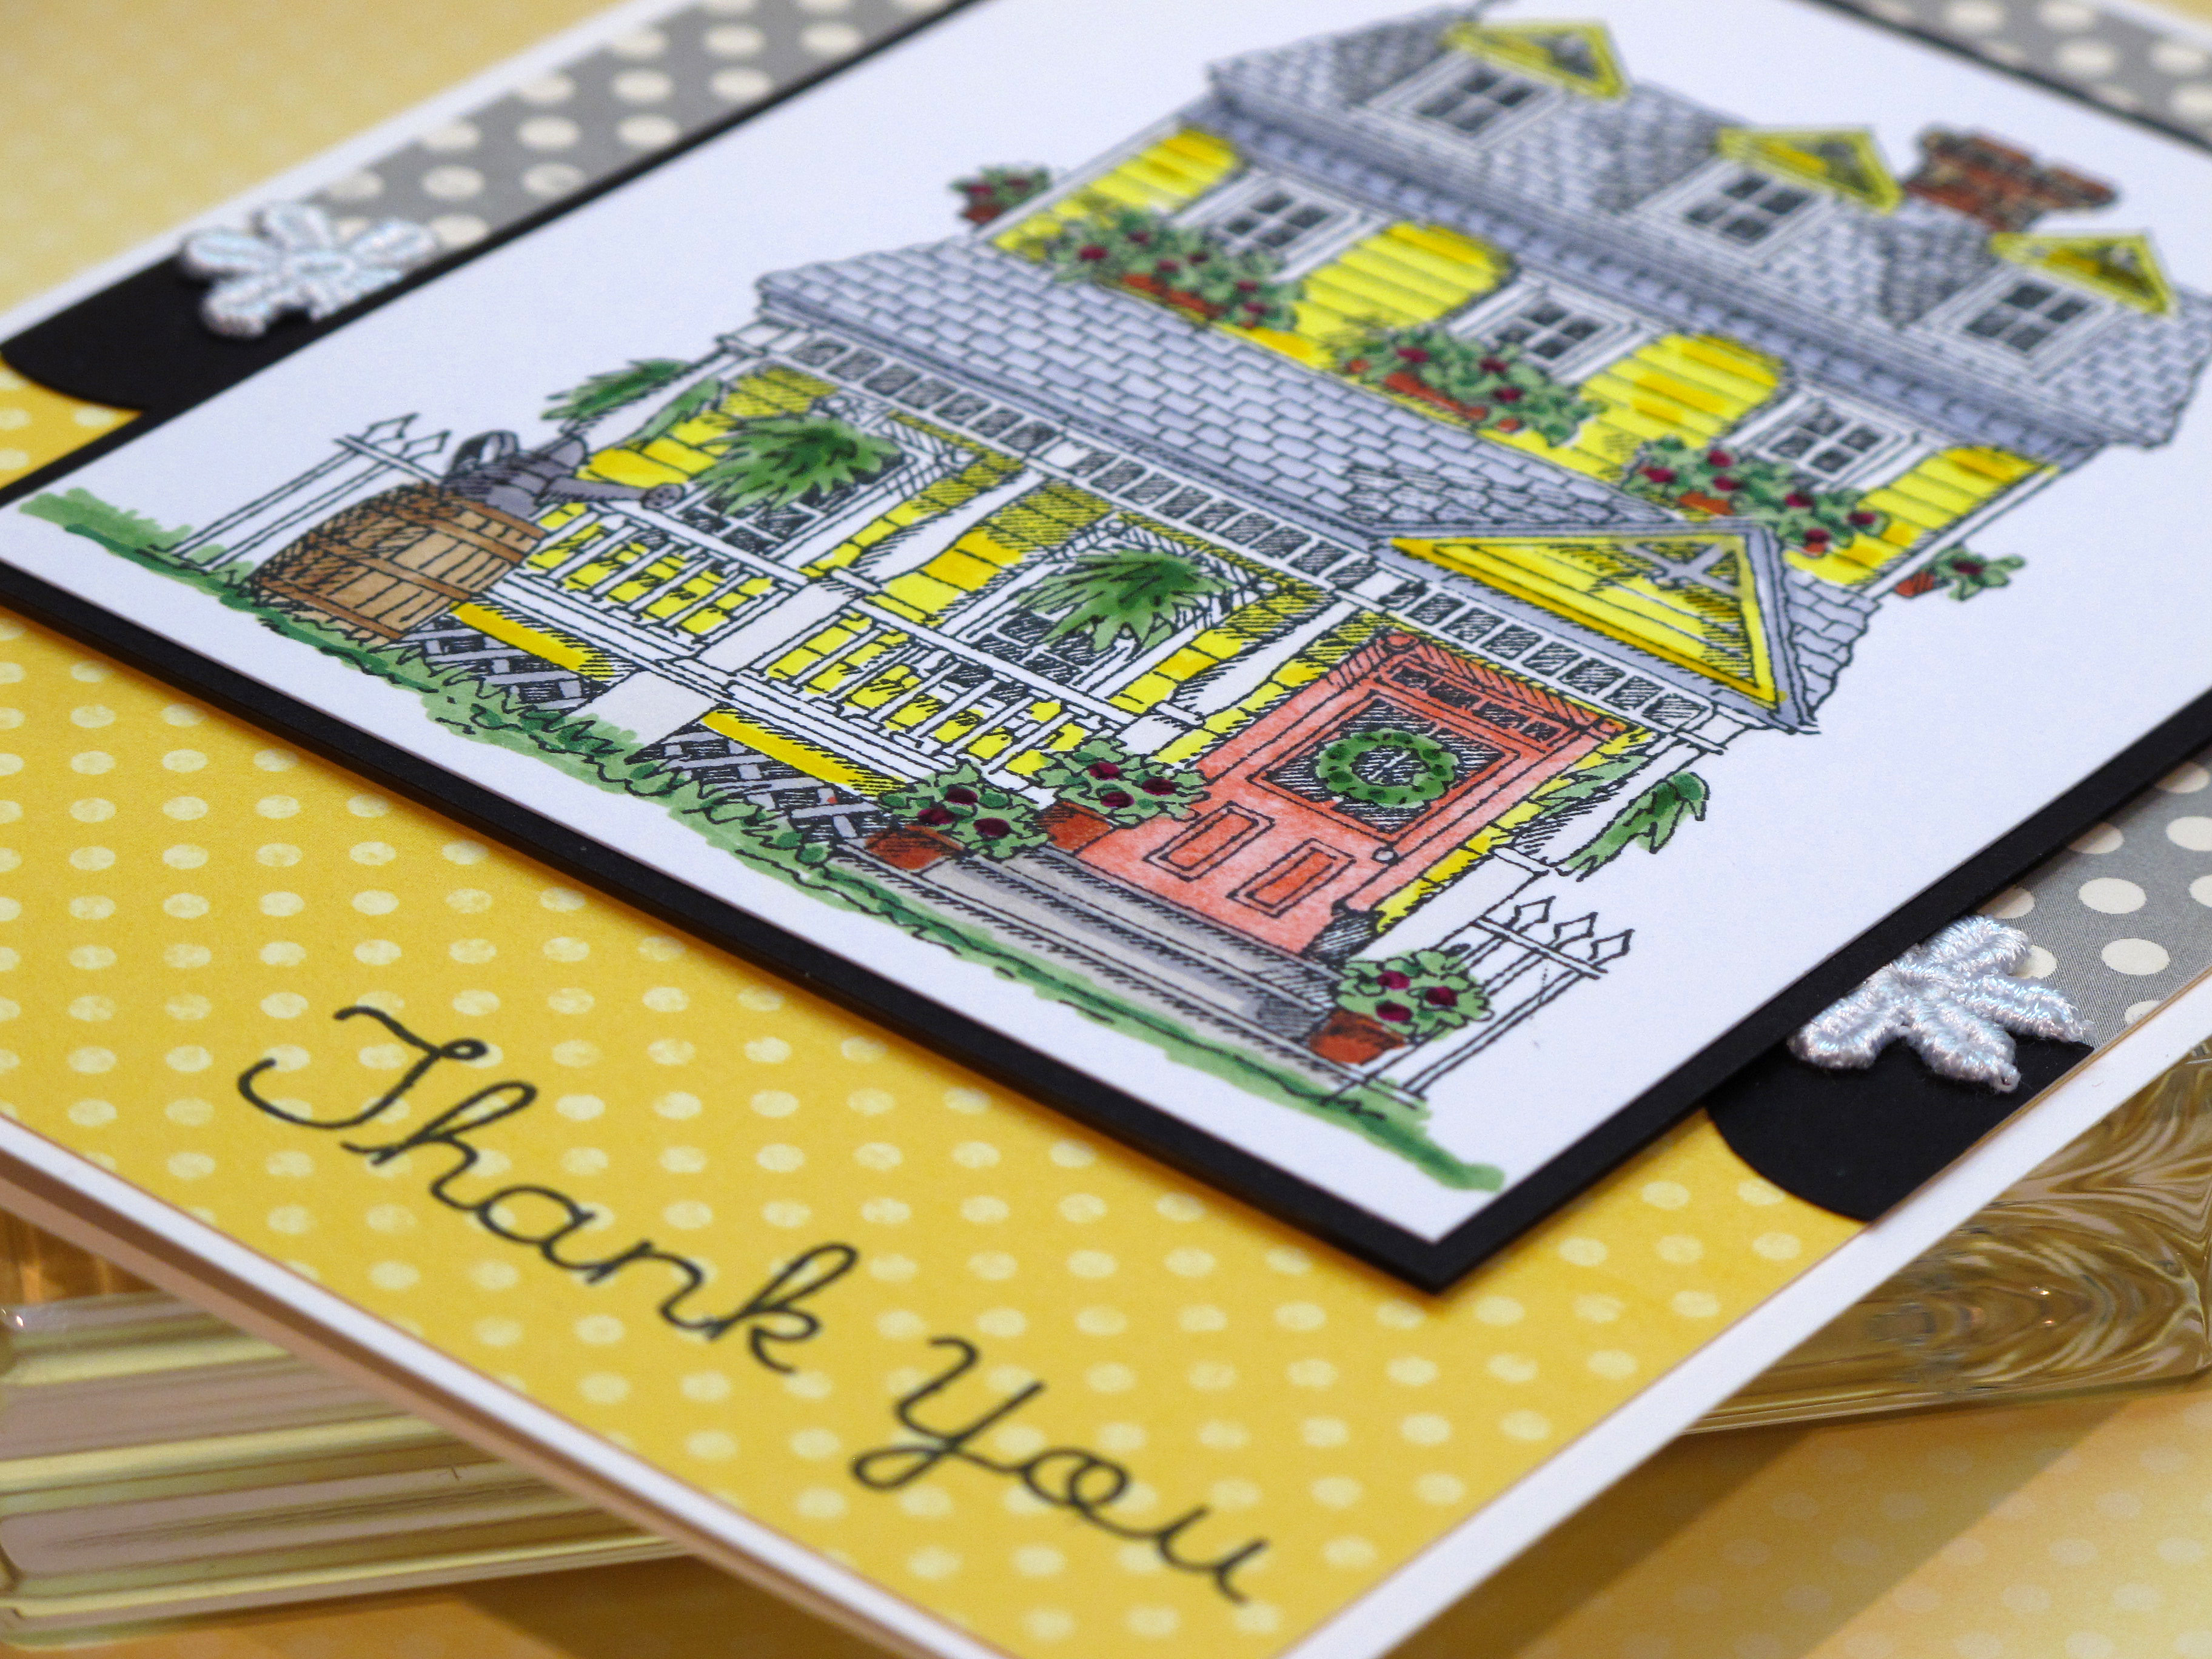
    Hi there! I have a cheerful fun card to share today! My friend Jilli Bling lives in a beautiful yellow victorian house out in the country and she was gracious enough to invite me and some friends over to stamp a while back. I wanted to send her a thank you card and I was so inspired by her wonderful home.

    IMG_2029

    I used my Copic Markers to color the house in…and yes…it took me a long time! I used my glaze pens to add some dimension to the leaves on the plants and some of the yellow siding on the house. I used three or four shades of yellow to get just the right color. I kept the rest of the color scheme simple to focus on the main image.

    IMG_2030

    I'm pretty crazy for polka dots lately…

    IMG_2033

  • Color Cue #5 Challenge!

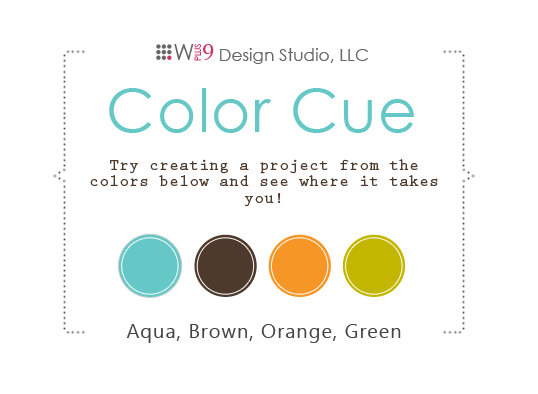
    Hiya! I found another great blog with a color challenge! This one is a color challenge and you can link to the Stamp Away With Me blog by clicking here.

    This is the color pallette we had to work with – nice huh?

    Color_cue5

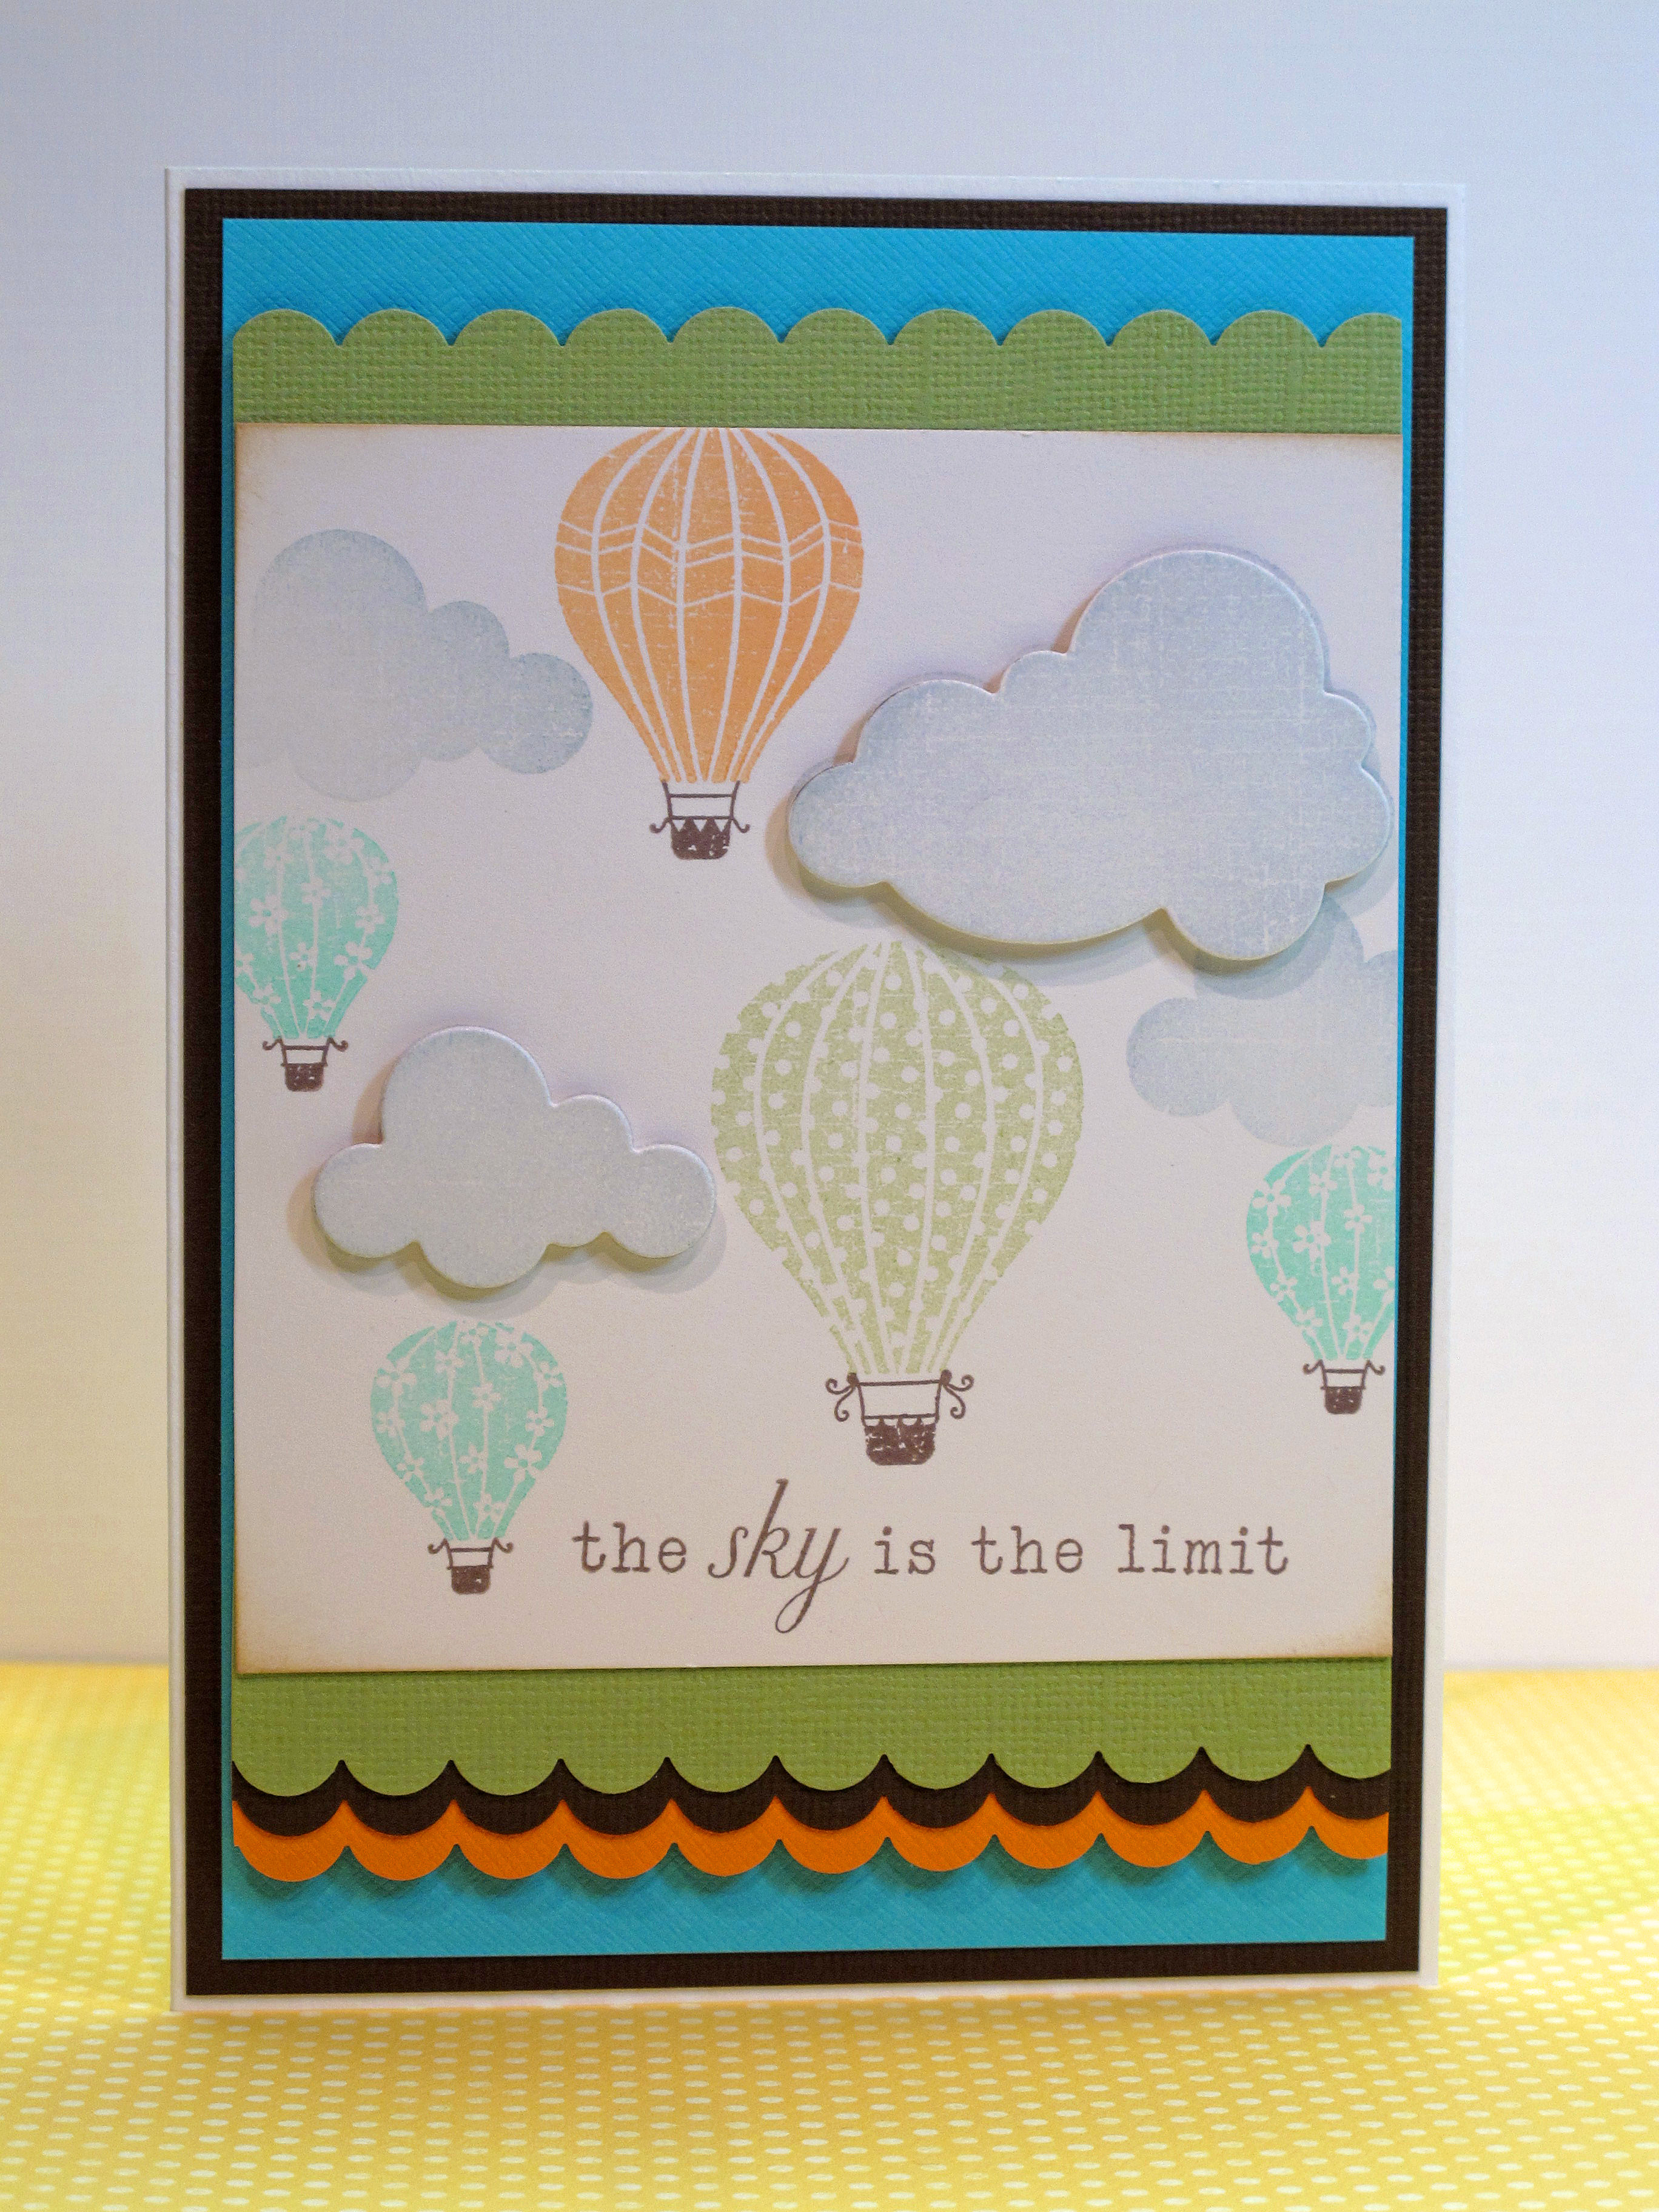
    Here is my card!

    IMG_2195


    IMG_2198


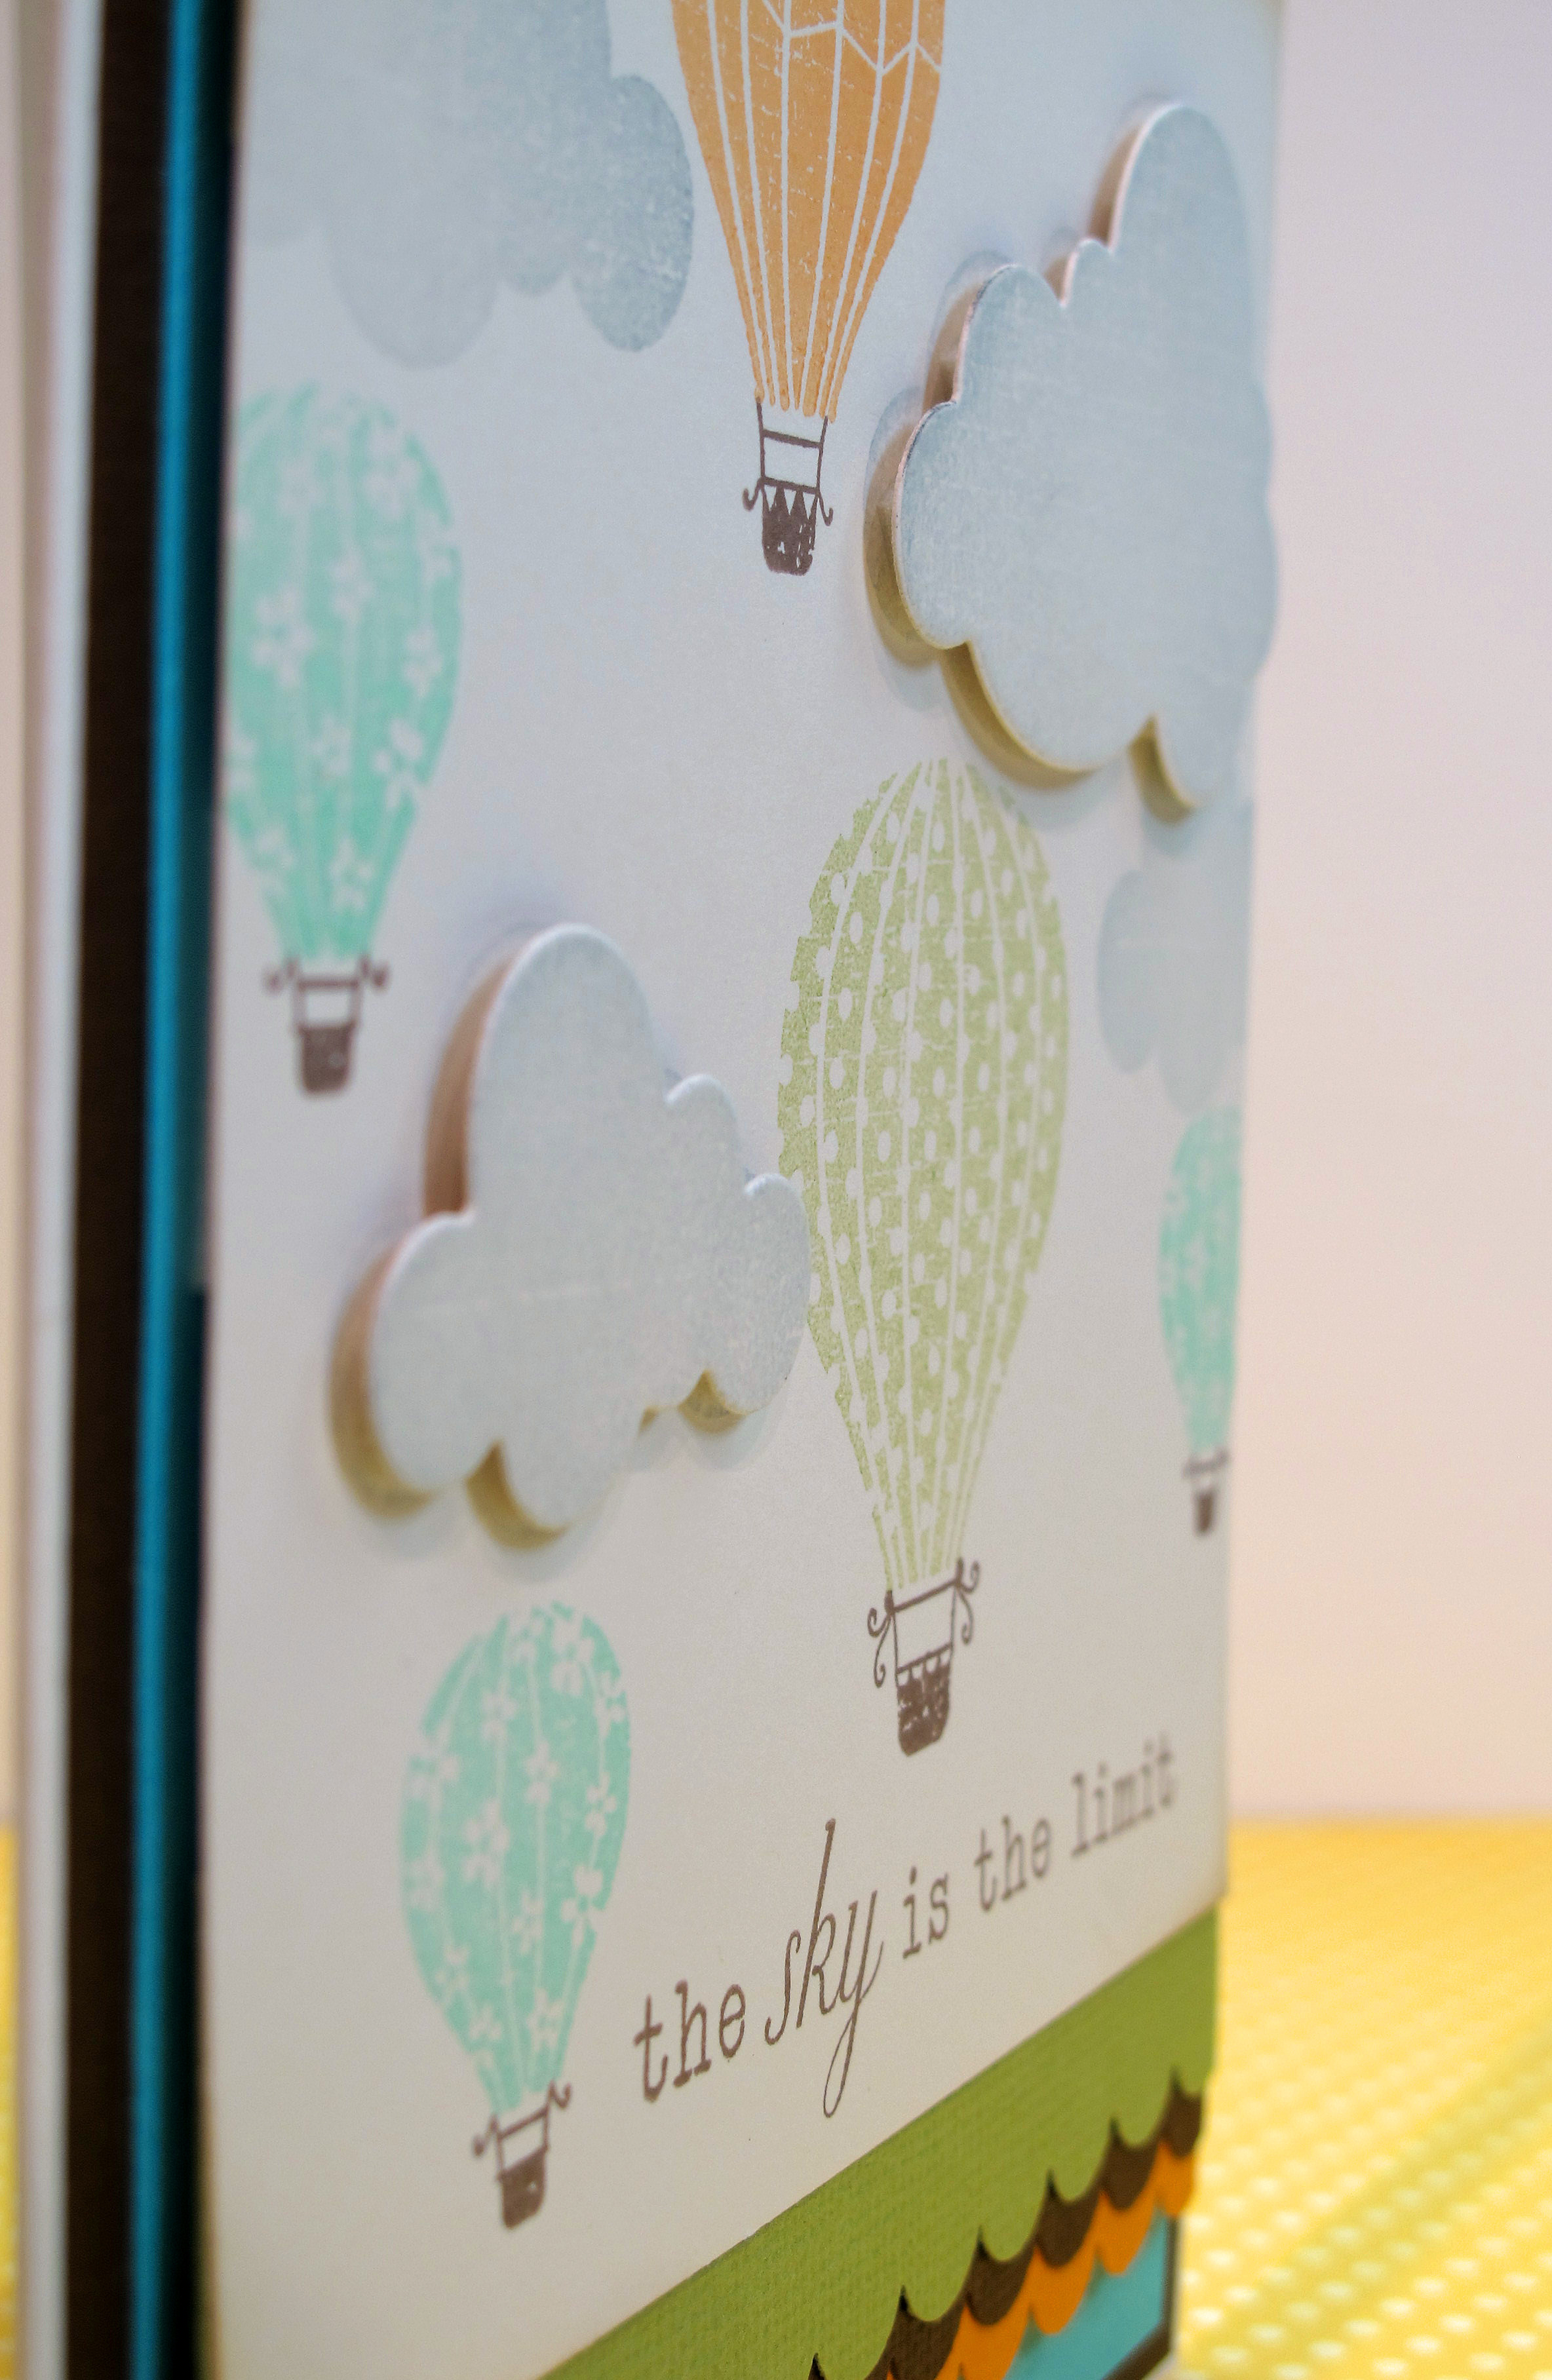
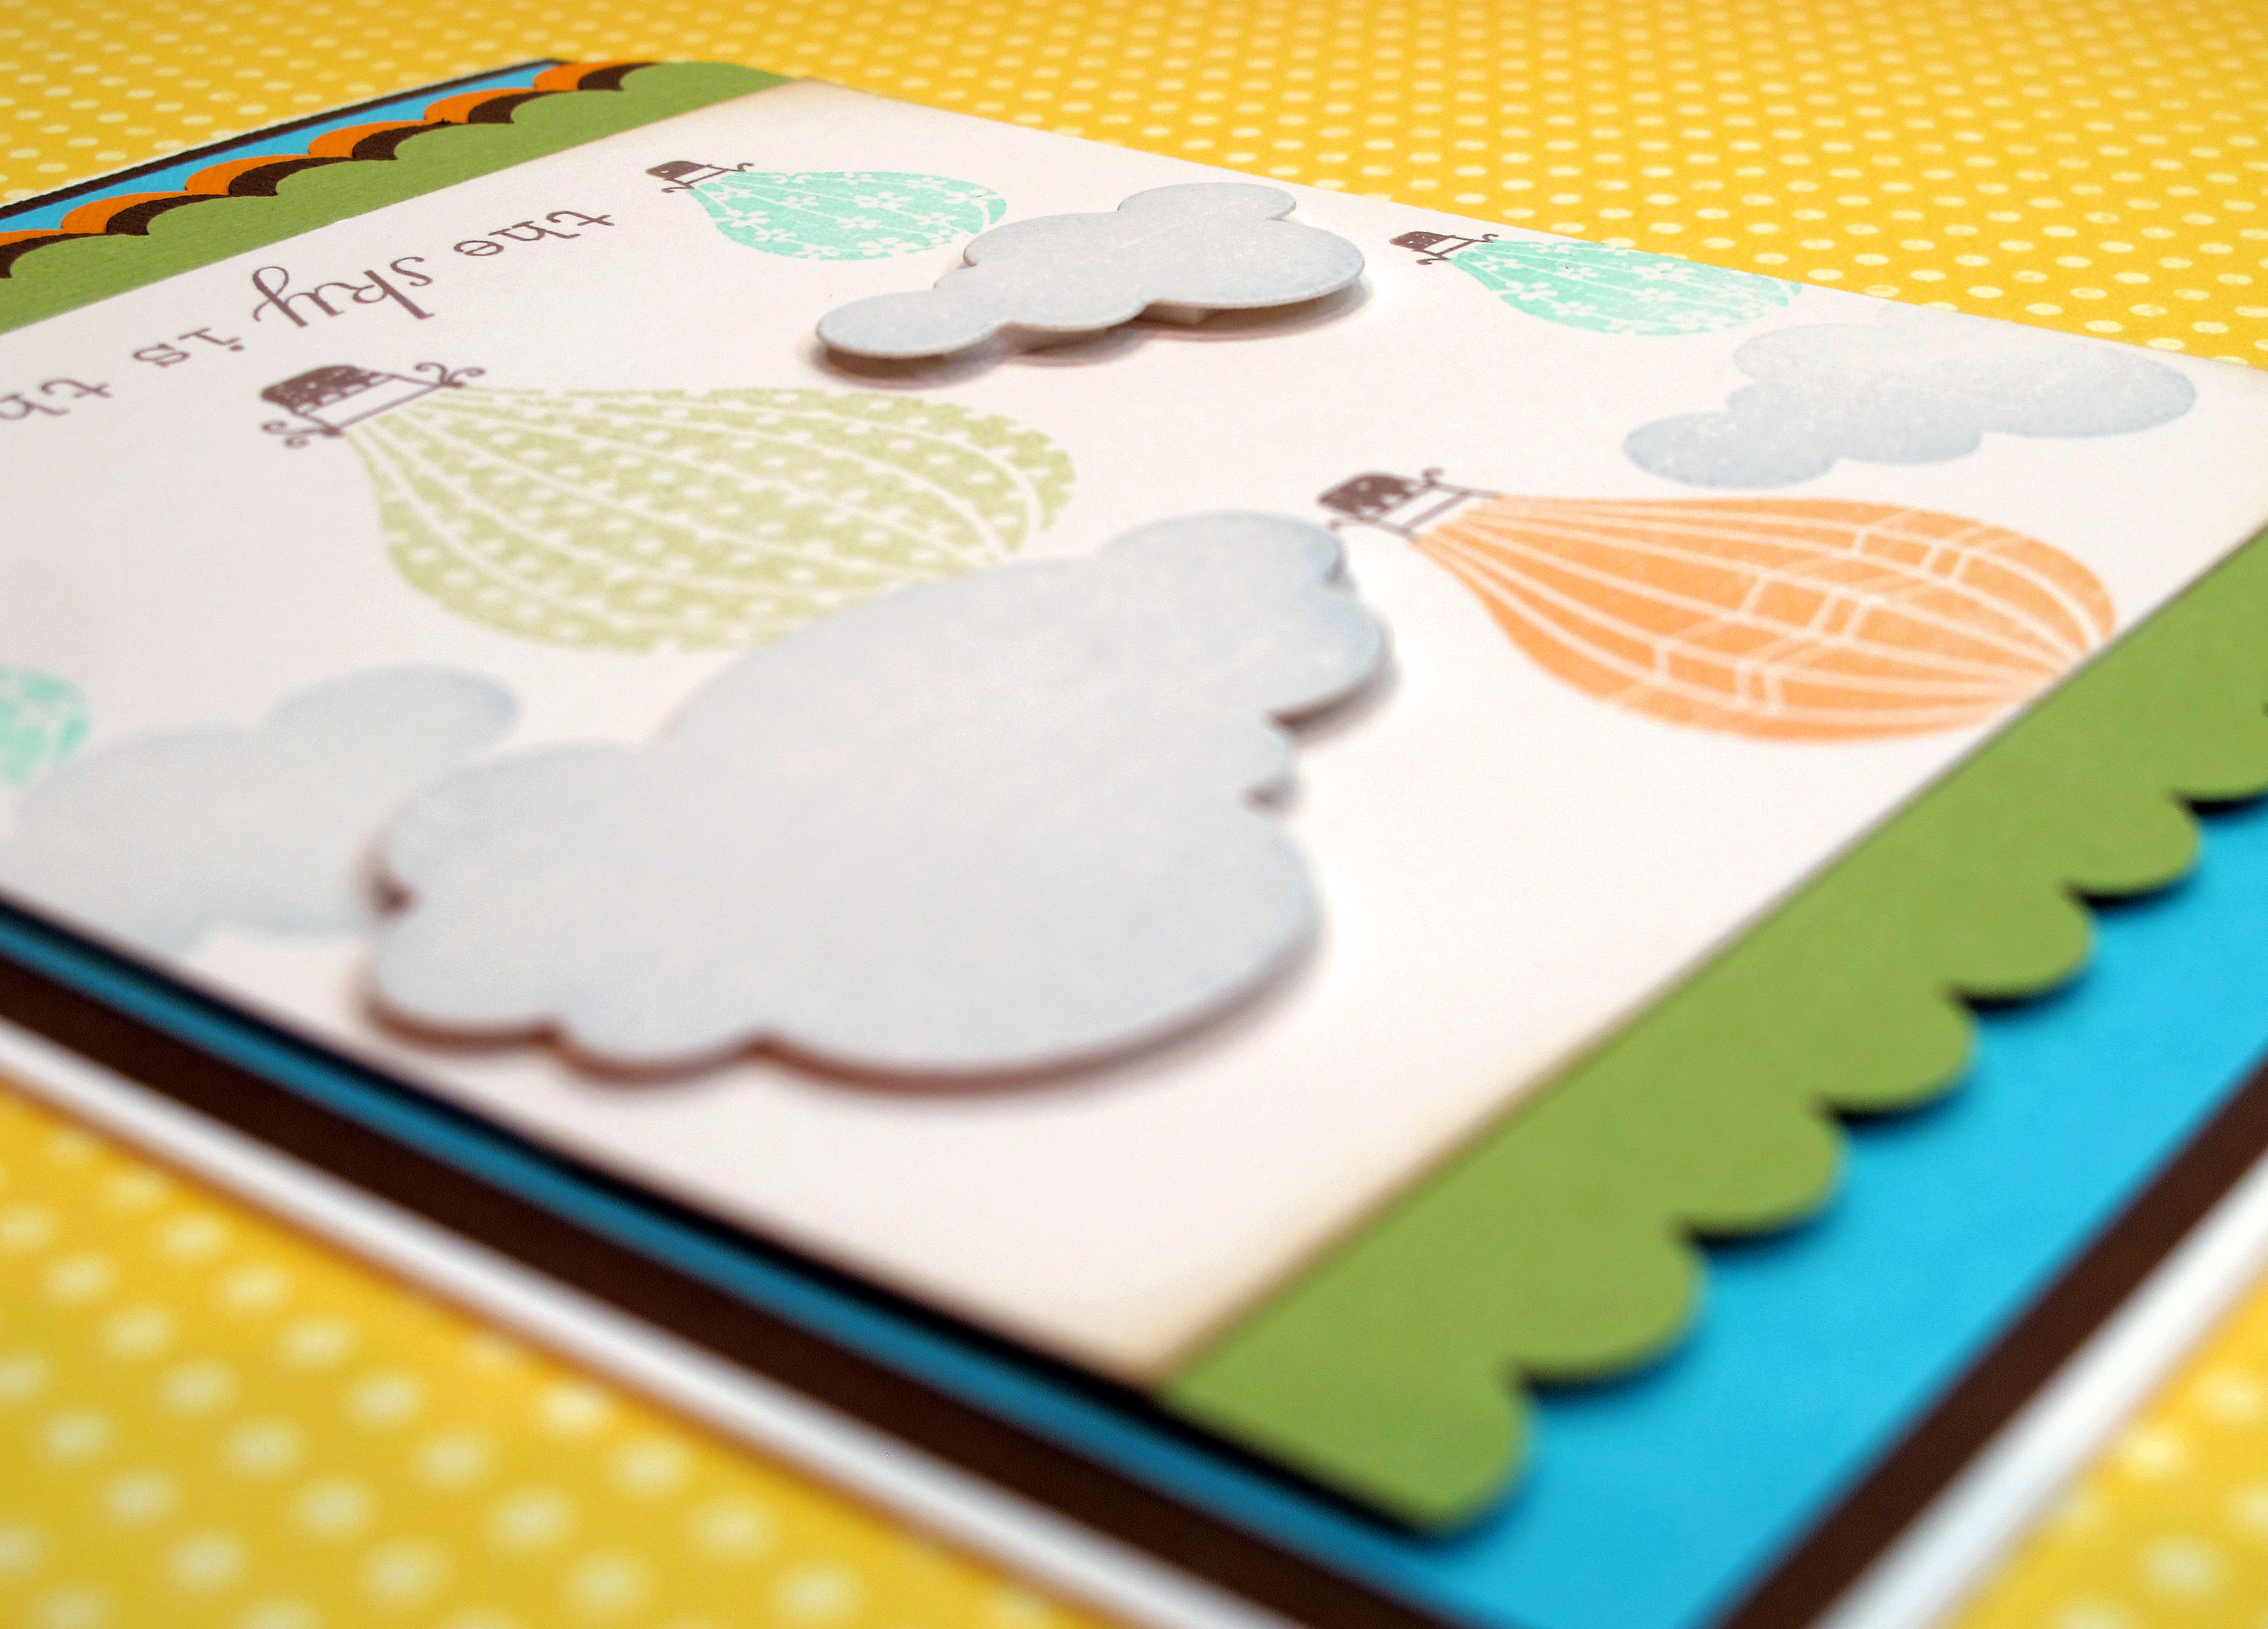
    I used the super super cute PTI hot air balloon set with the cloud die. I used my versamagic inks in the orange, aqua and chartreuse colors and then made the baskets brown. I absolutely adore this stamp set!

    IMG_2200


    I tried adding ribbon, some buttons, a charm…nothing worked…so I just left it sort of simple and clean. The images are so crisp and soft and I like the way the scallops add some dimension.

    IMG_2201

  • Warning…you’re going to be hungry after you read this!

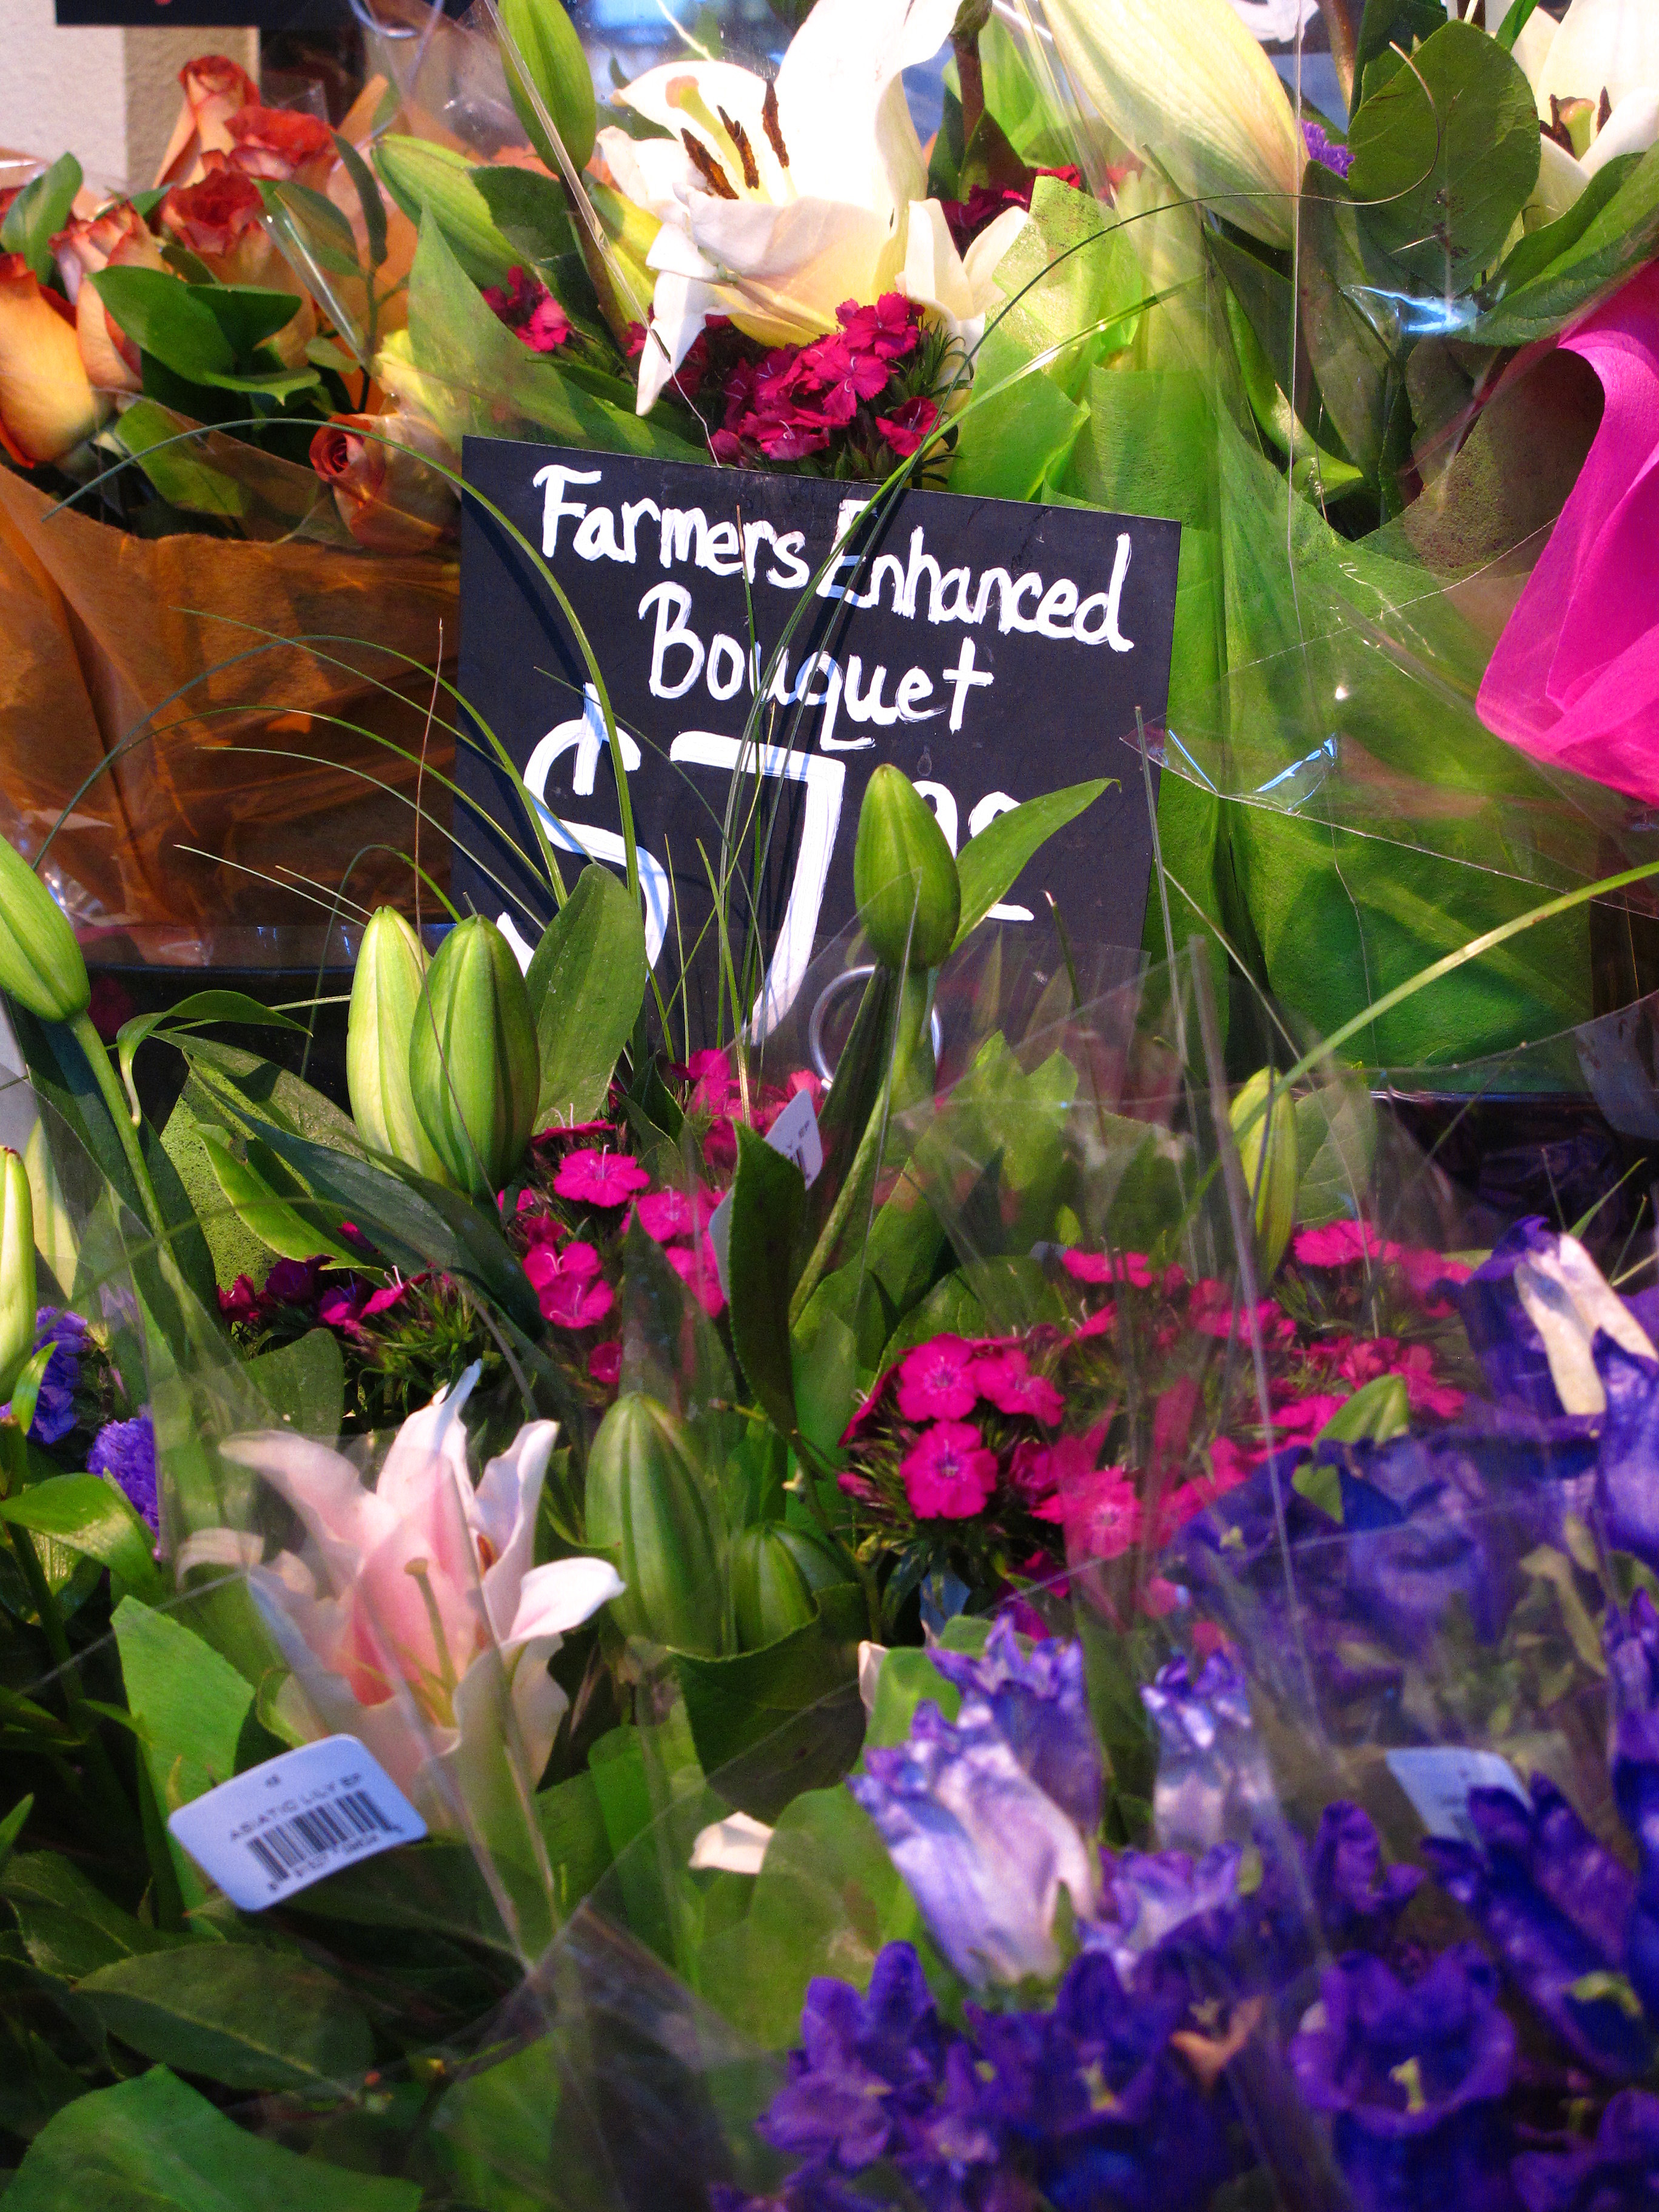
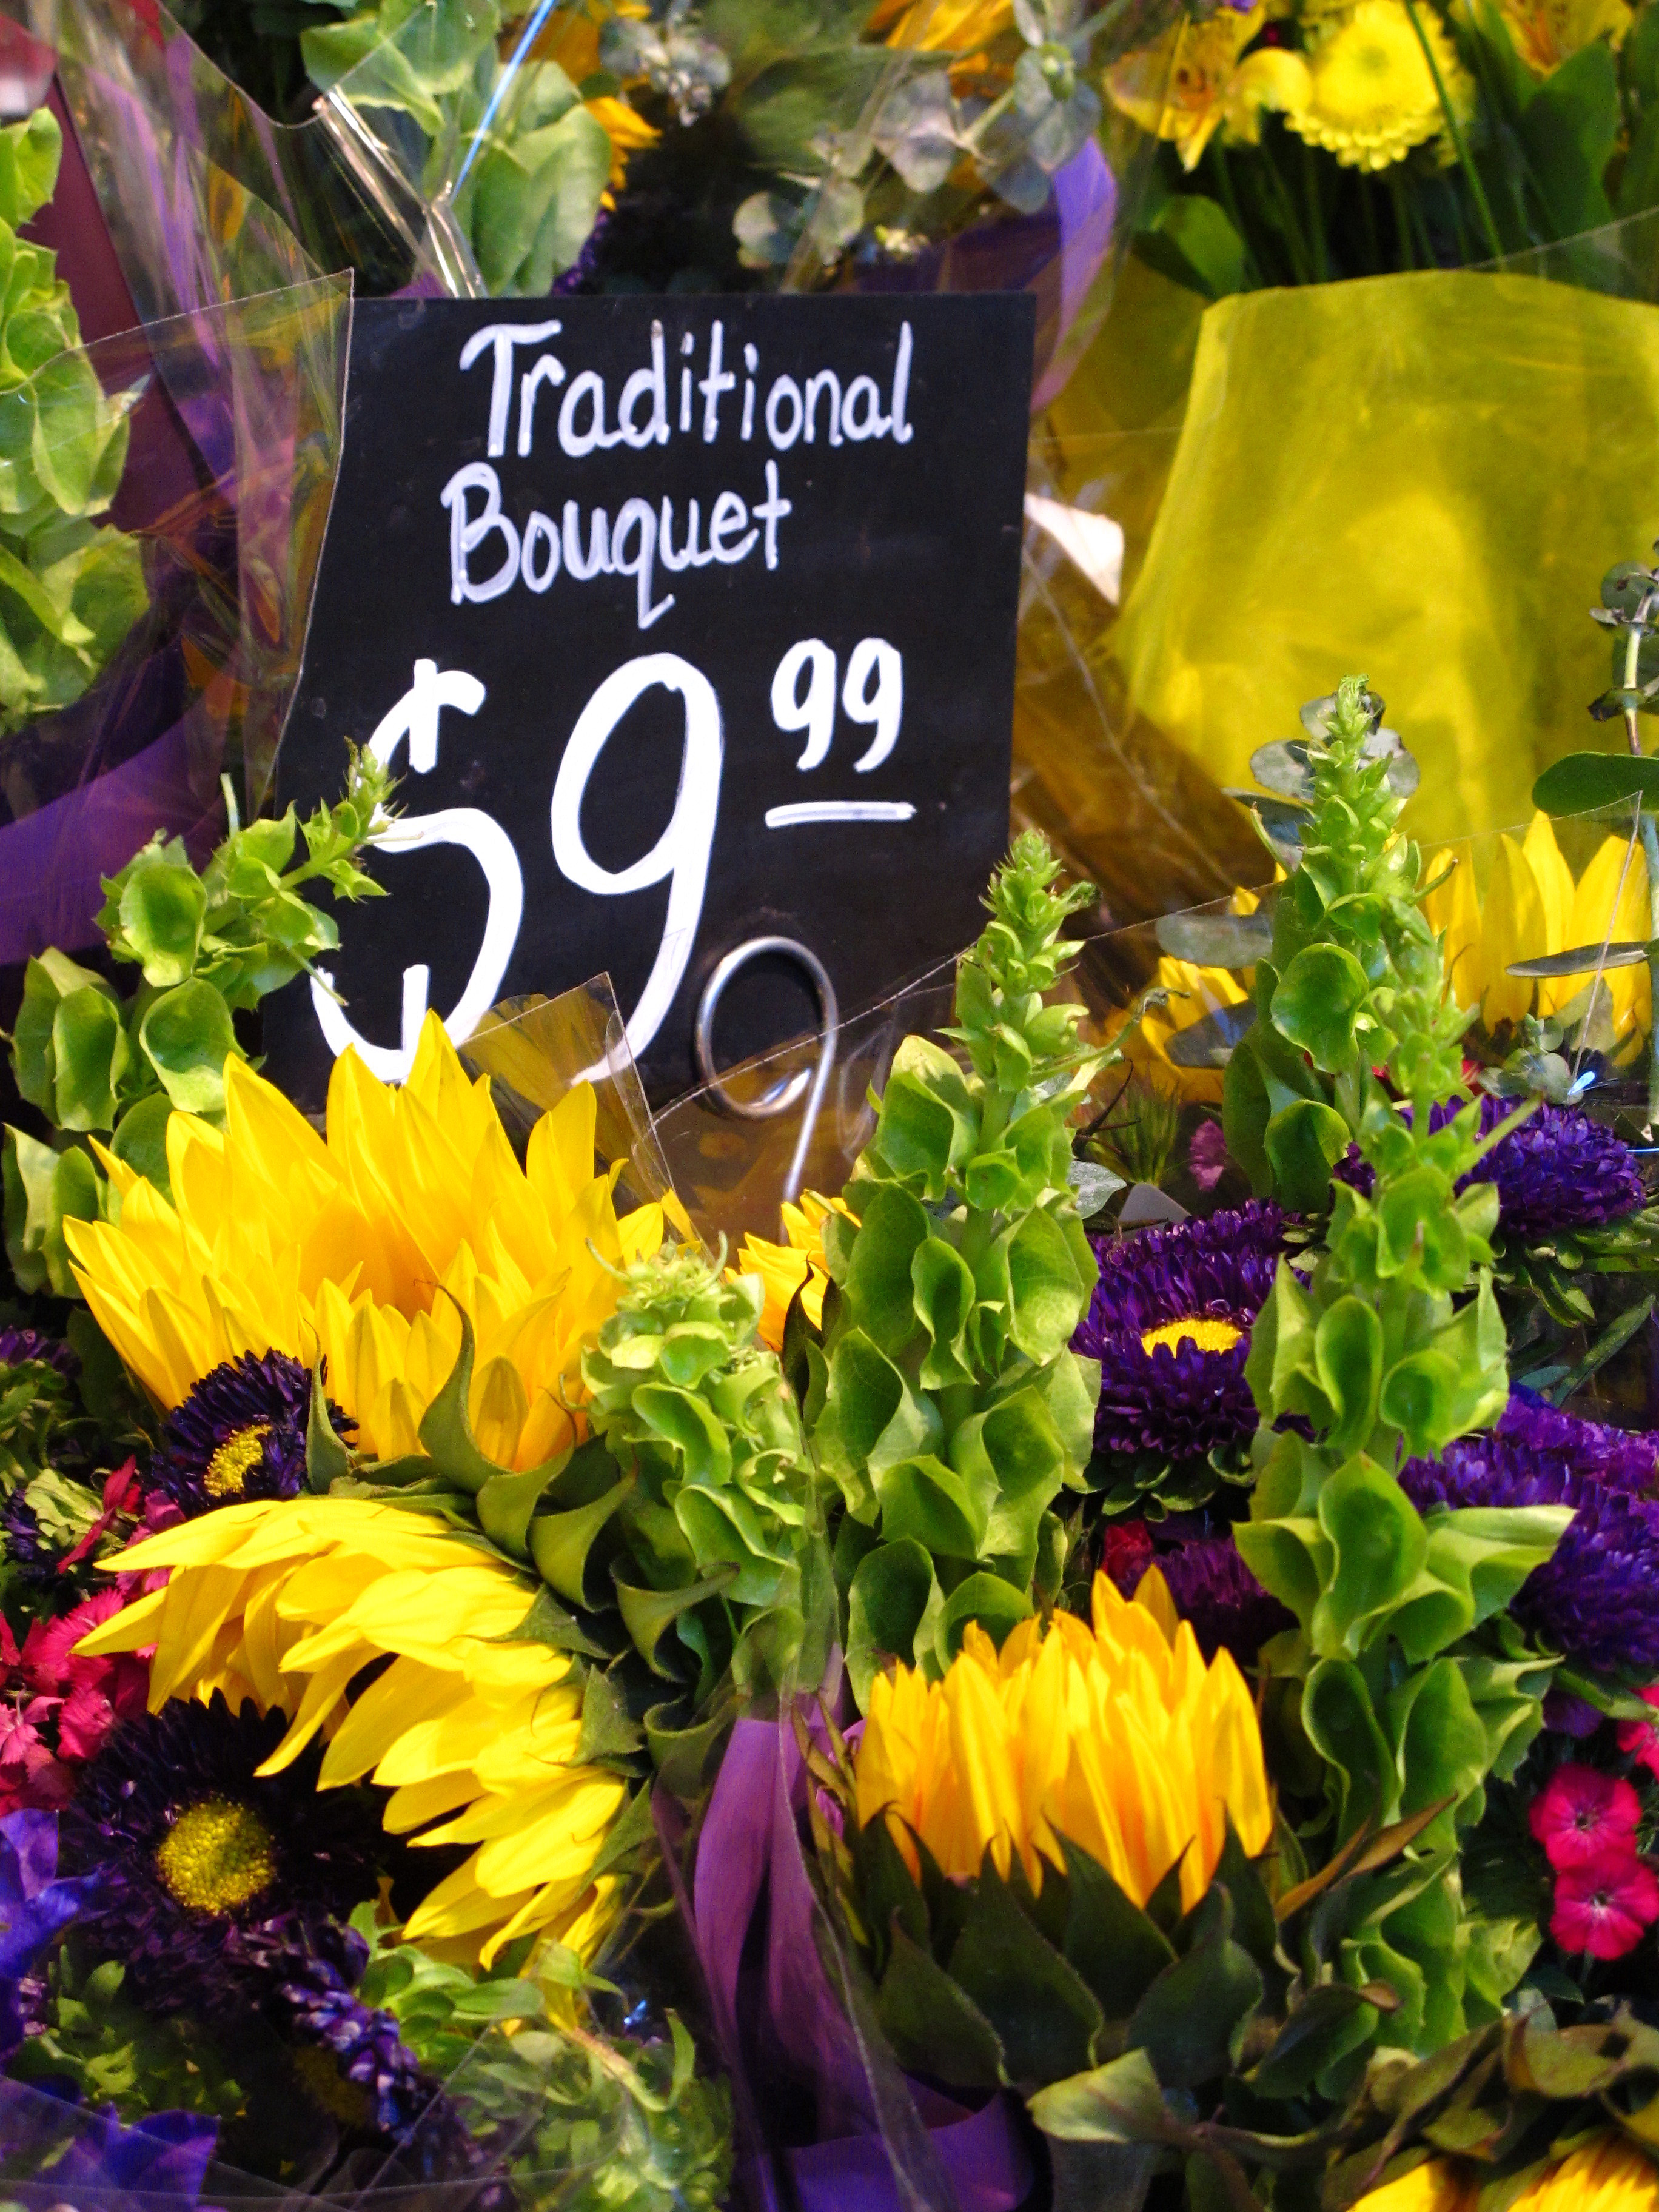
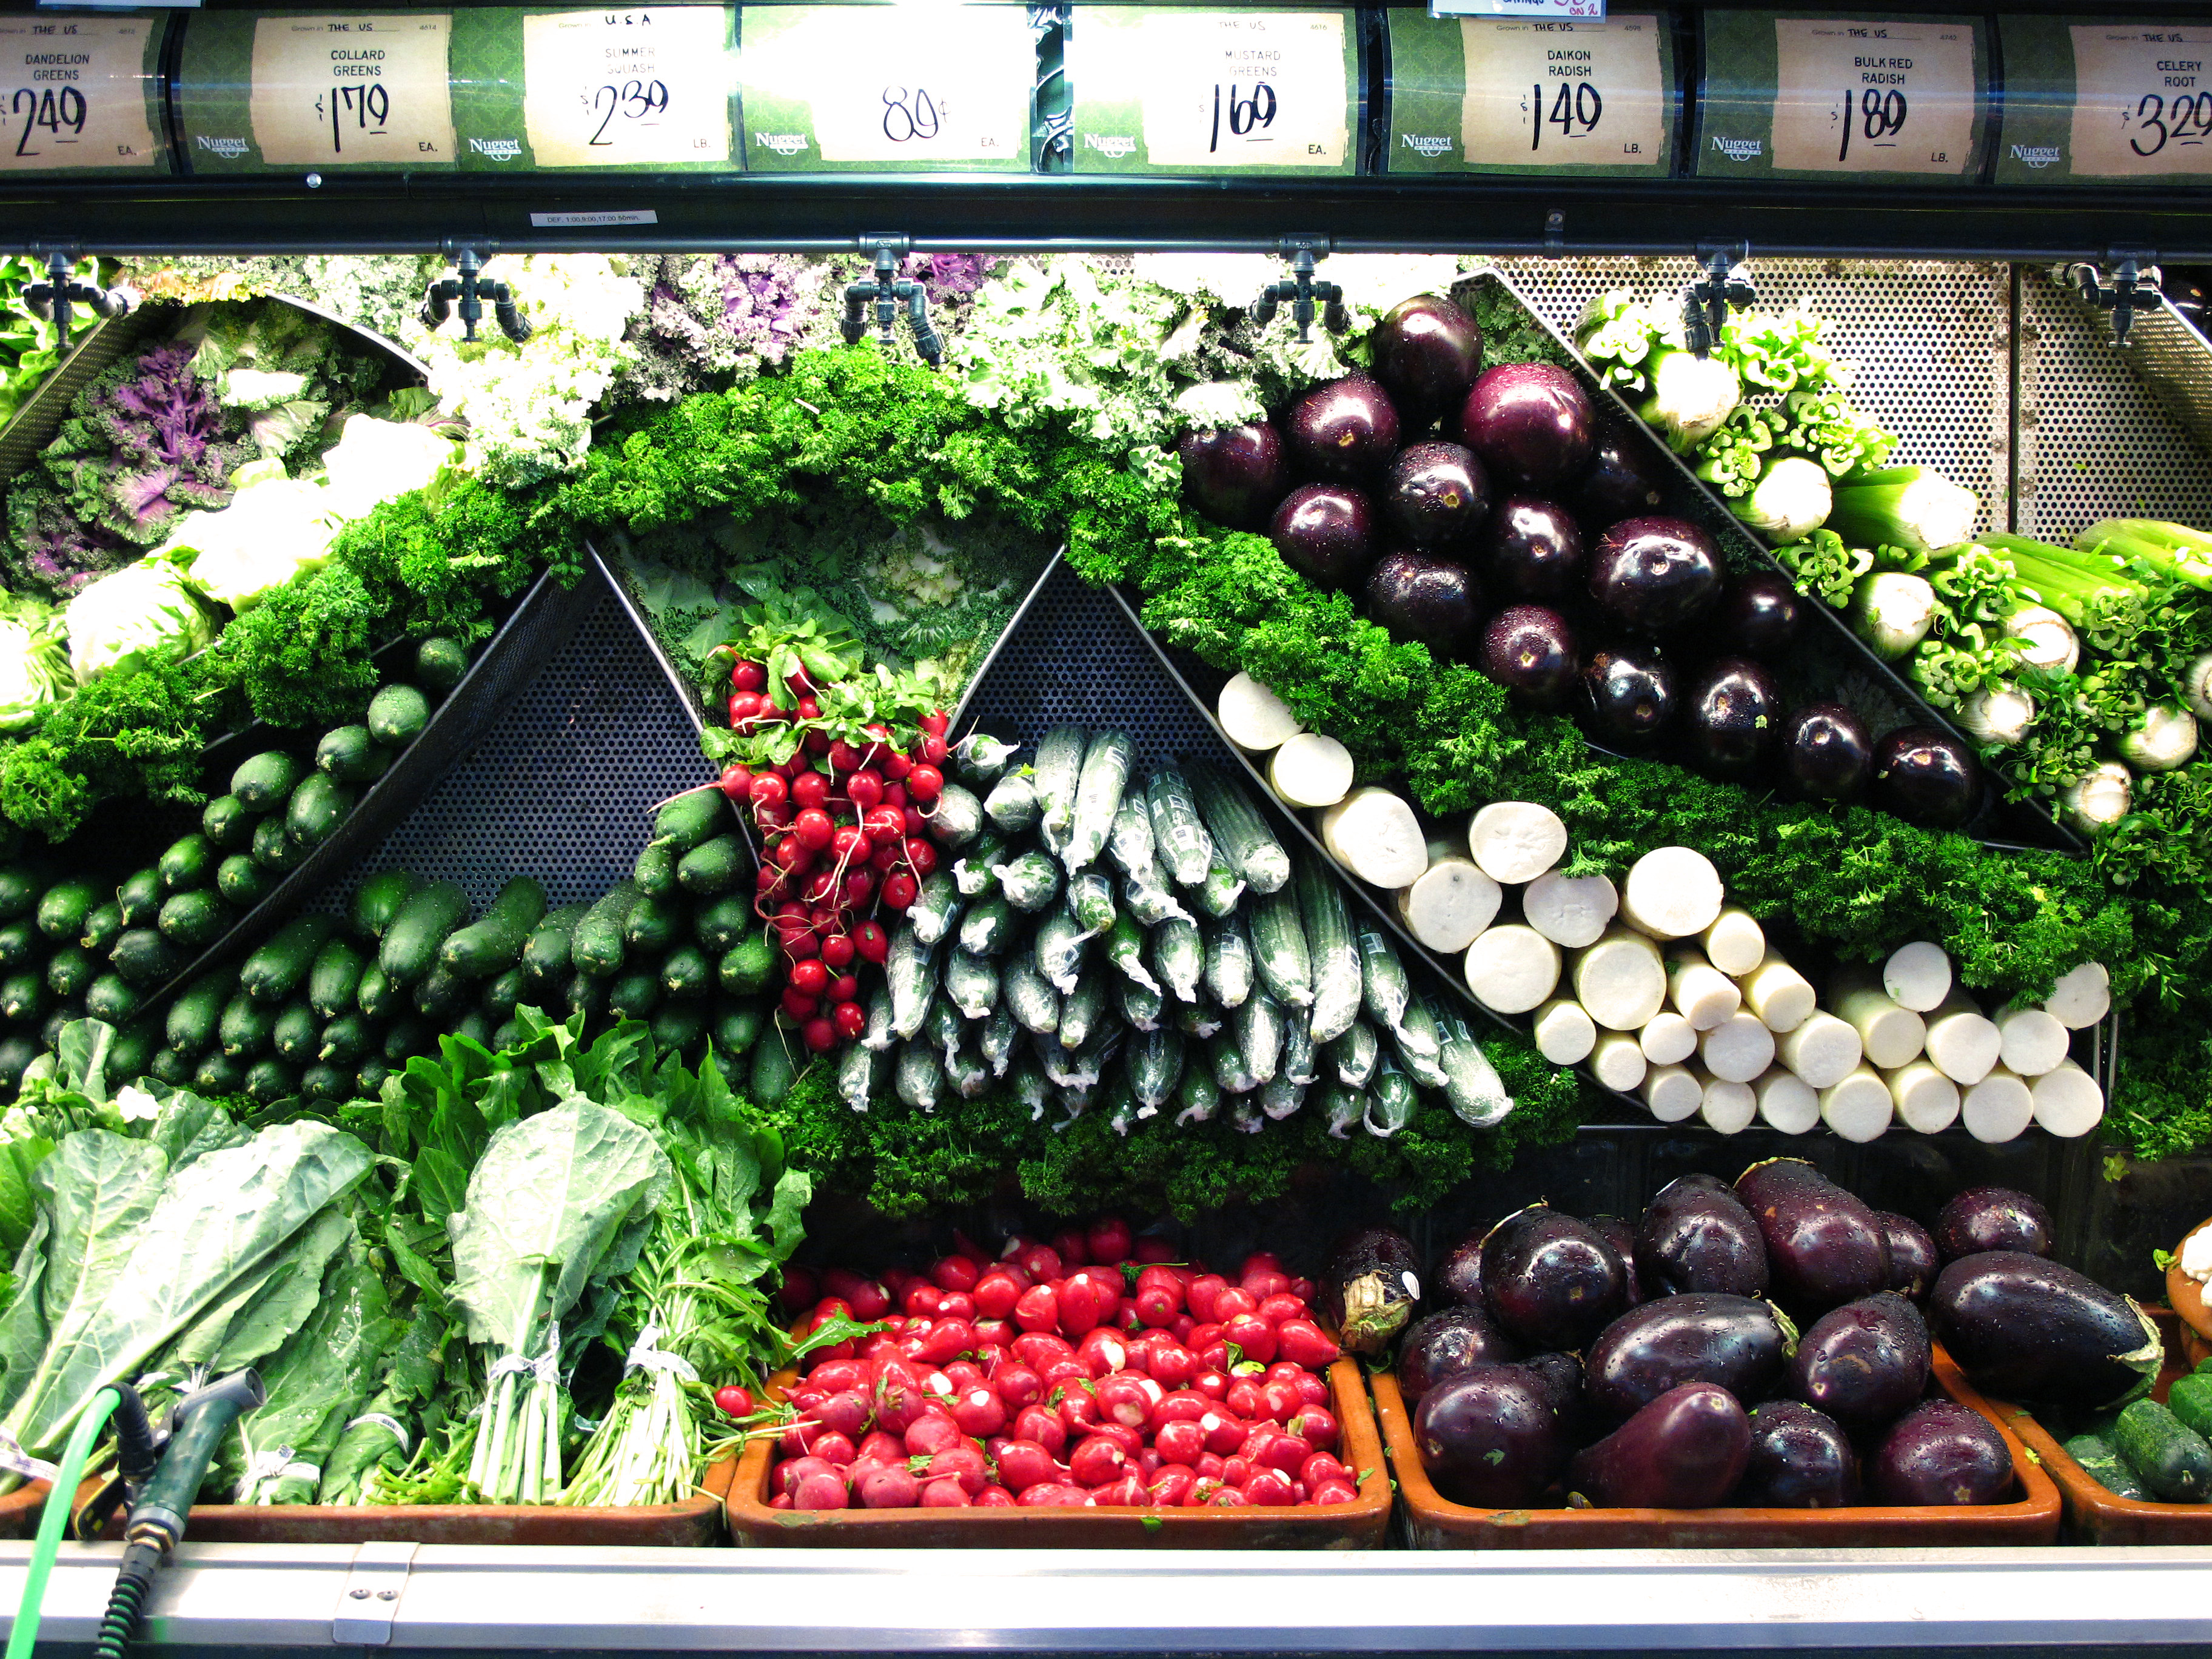
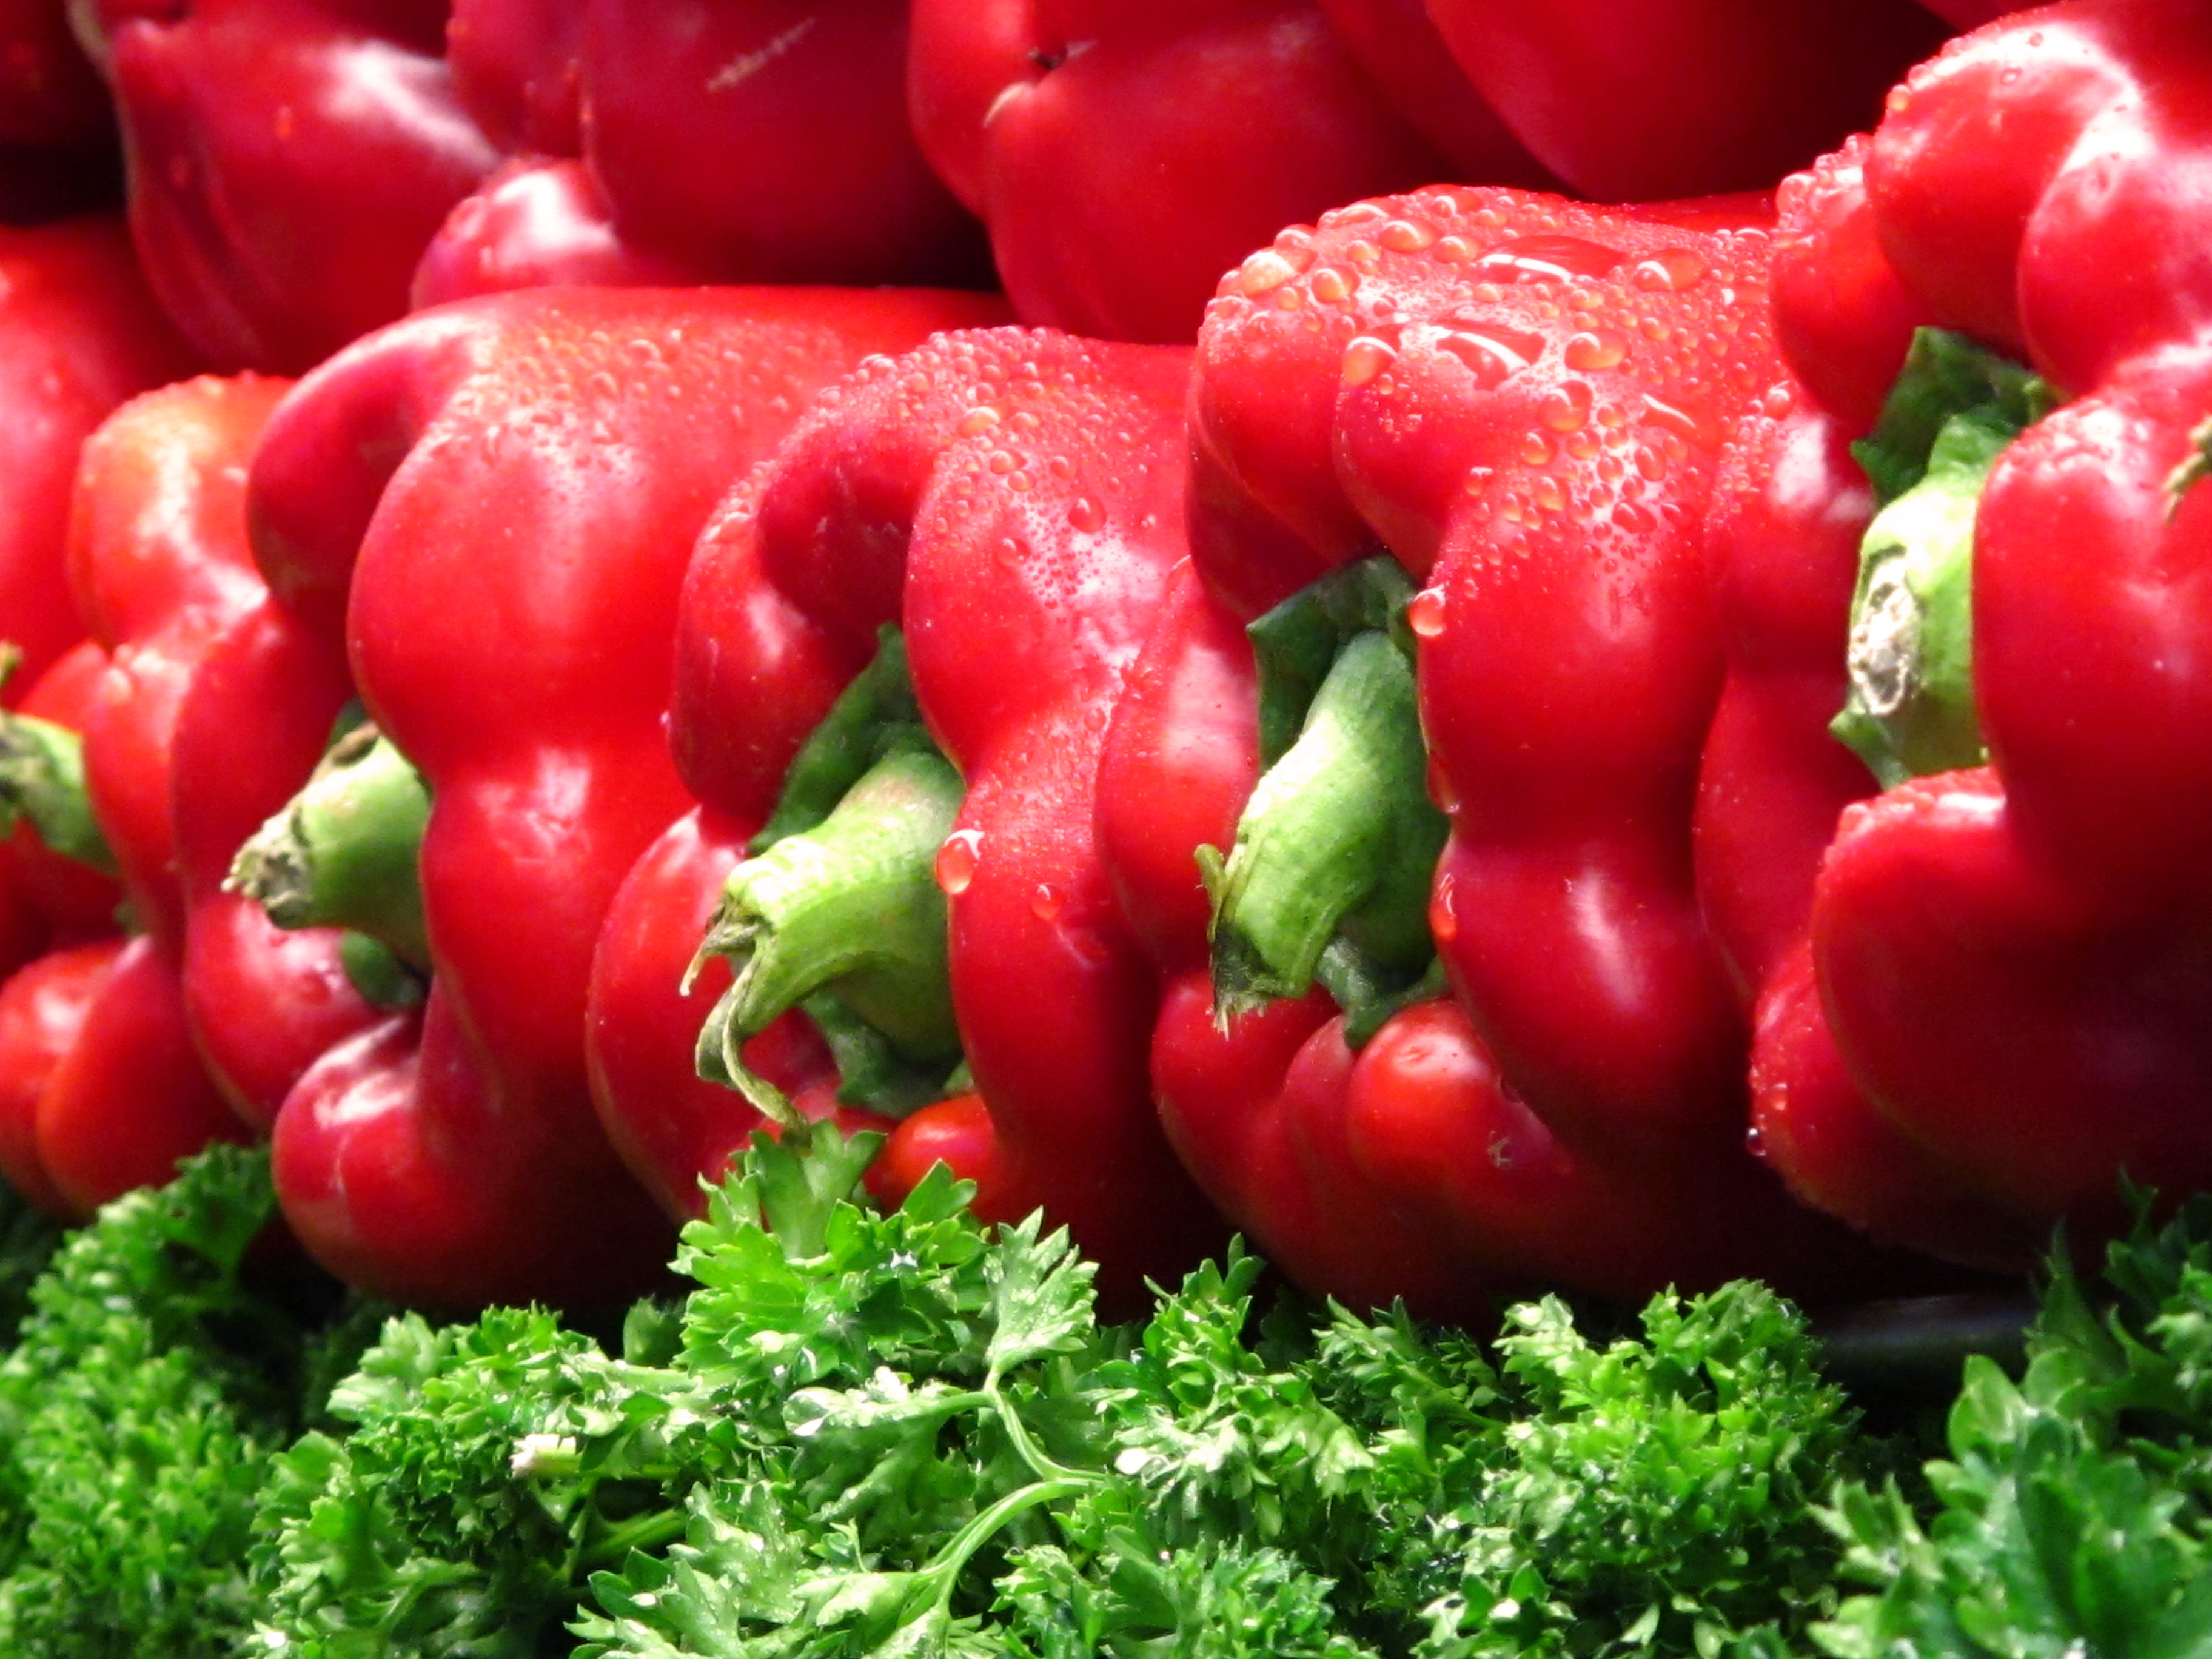
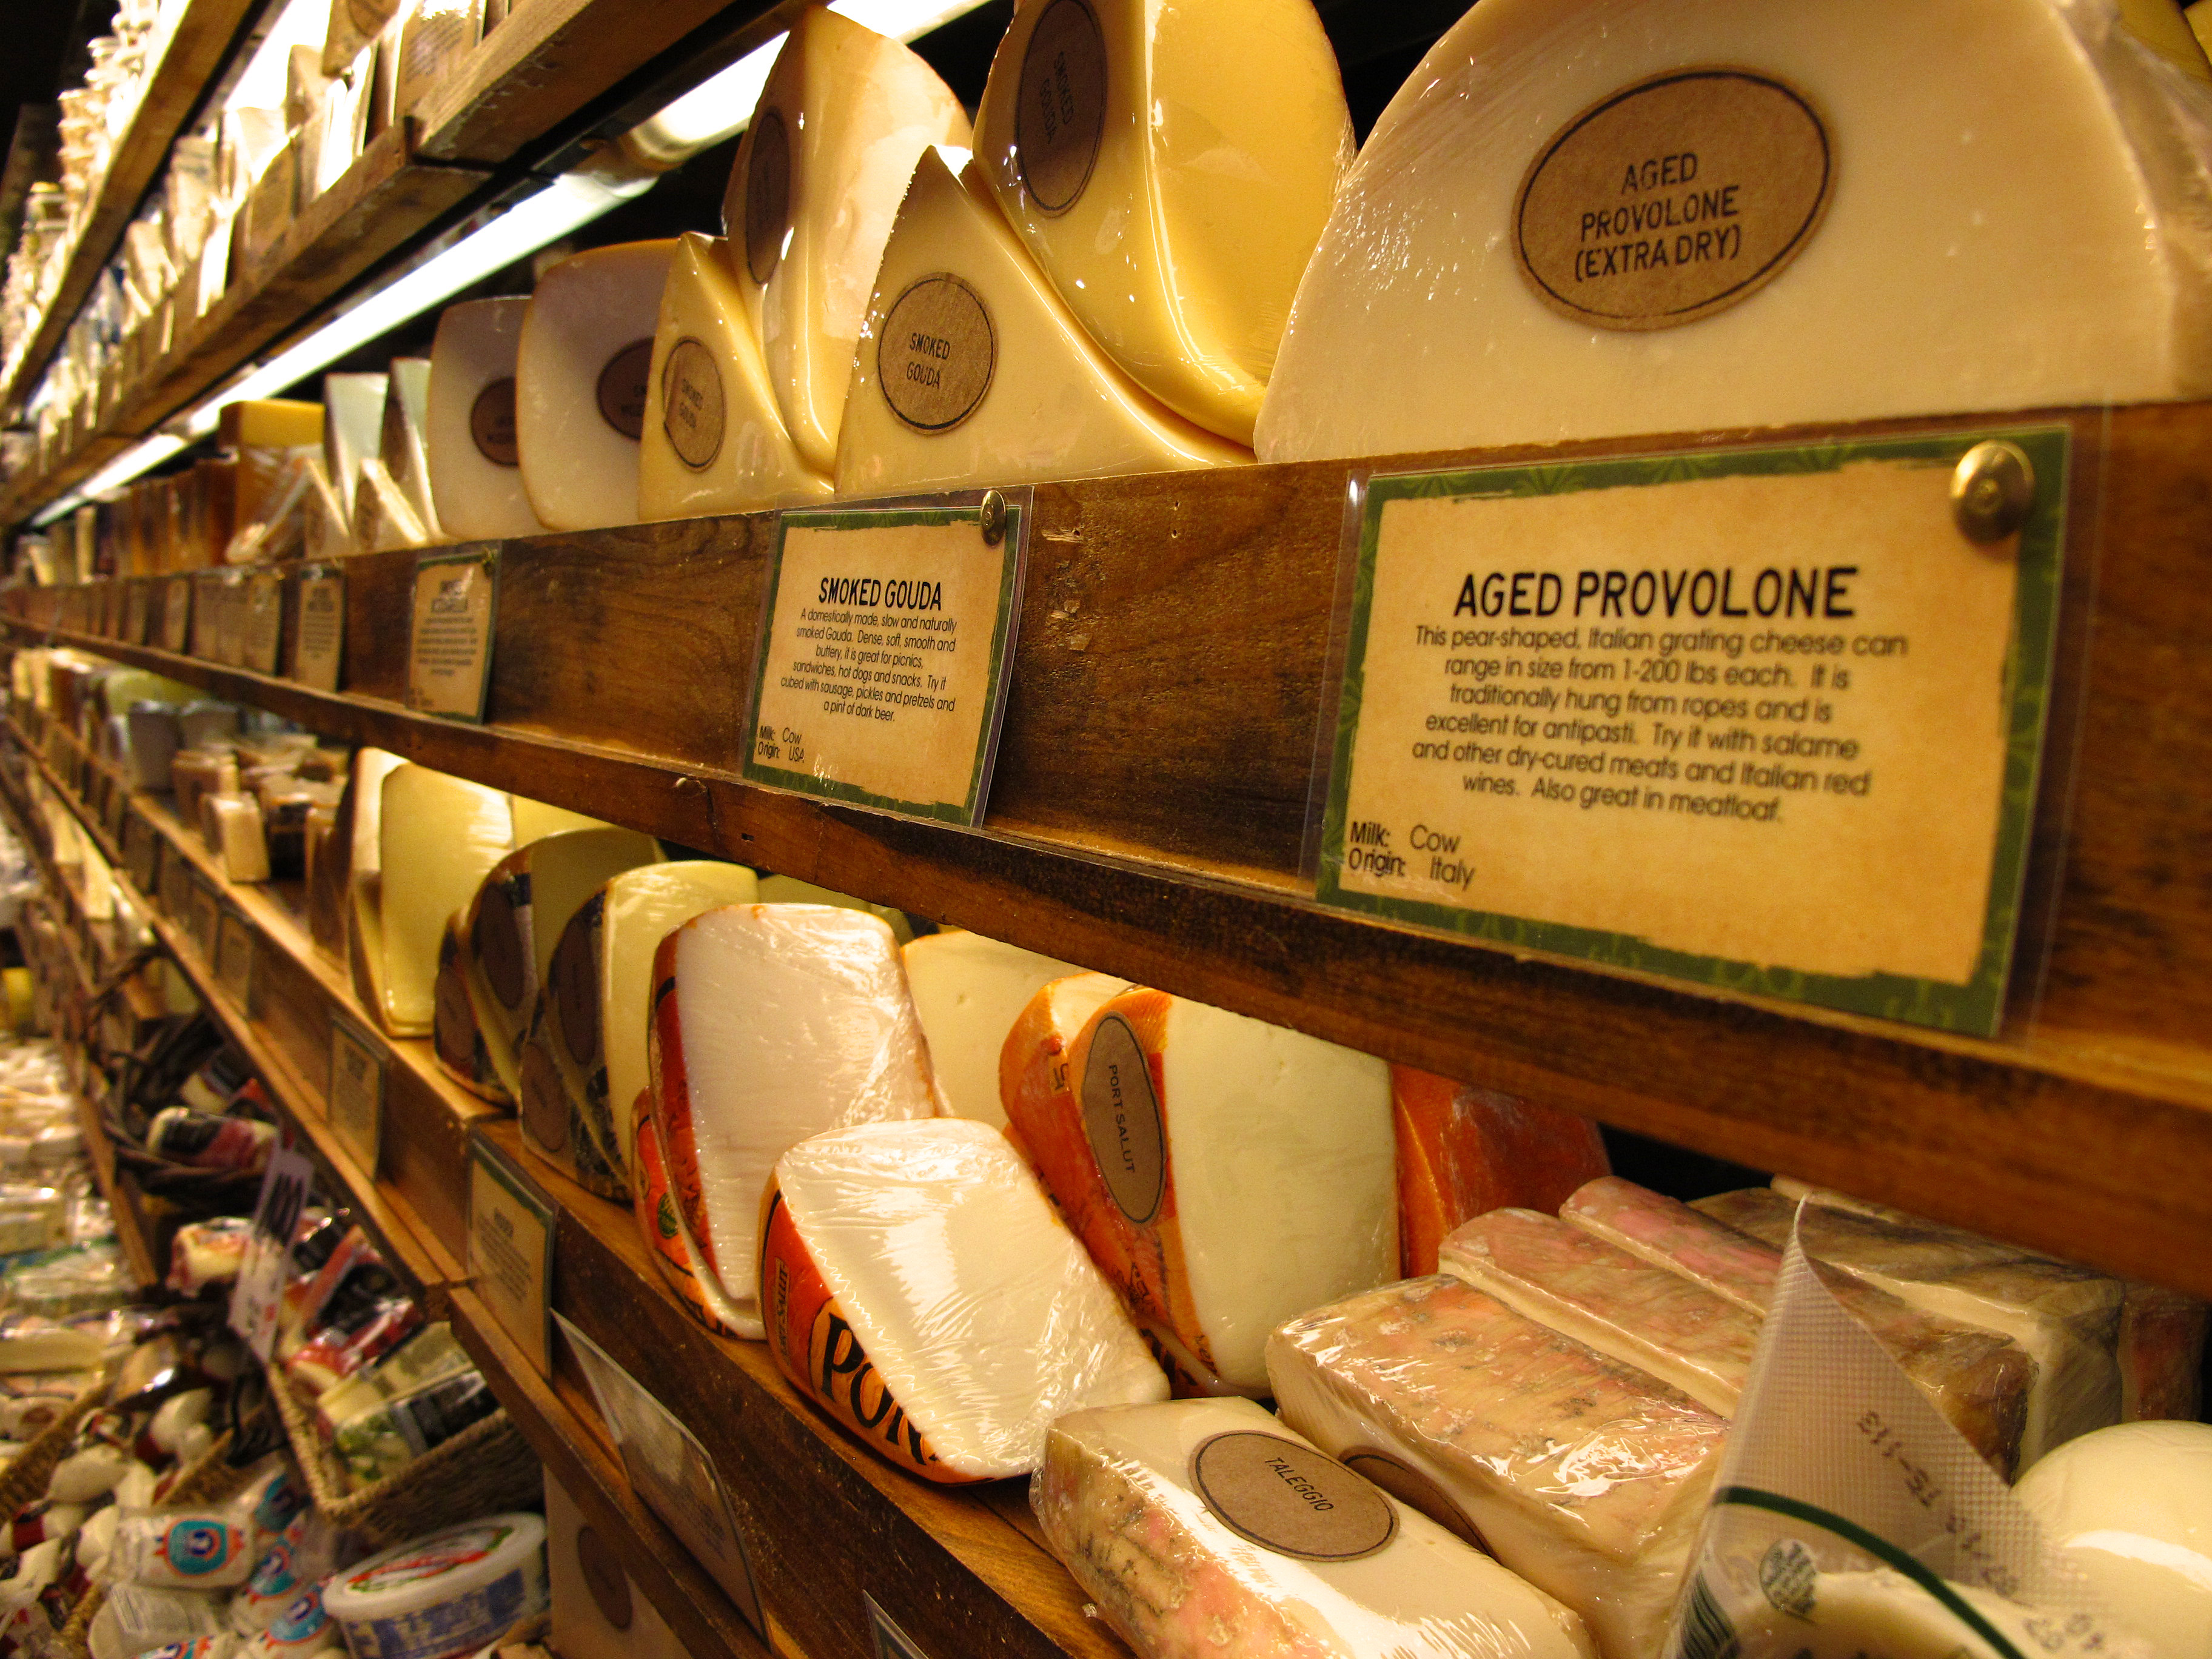
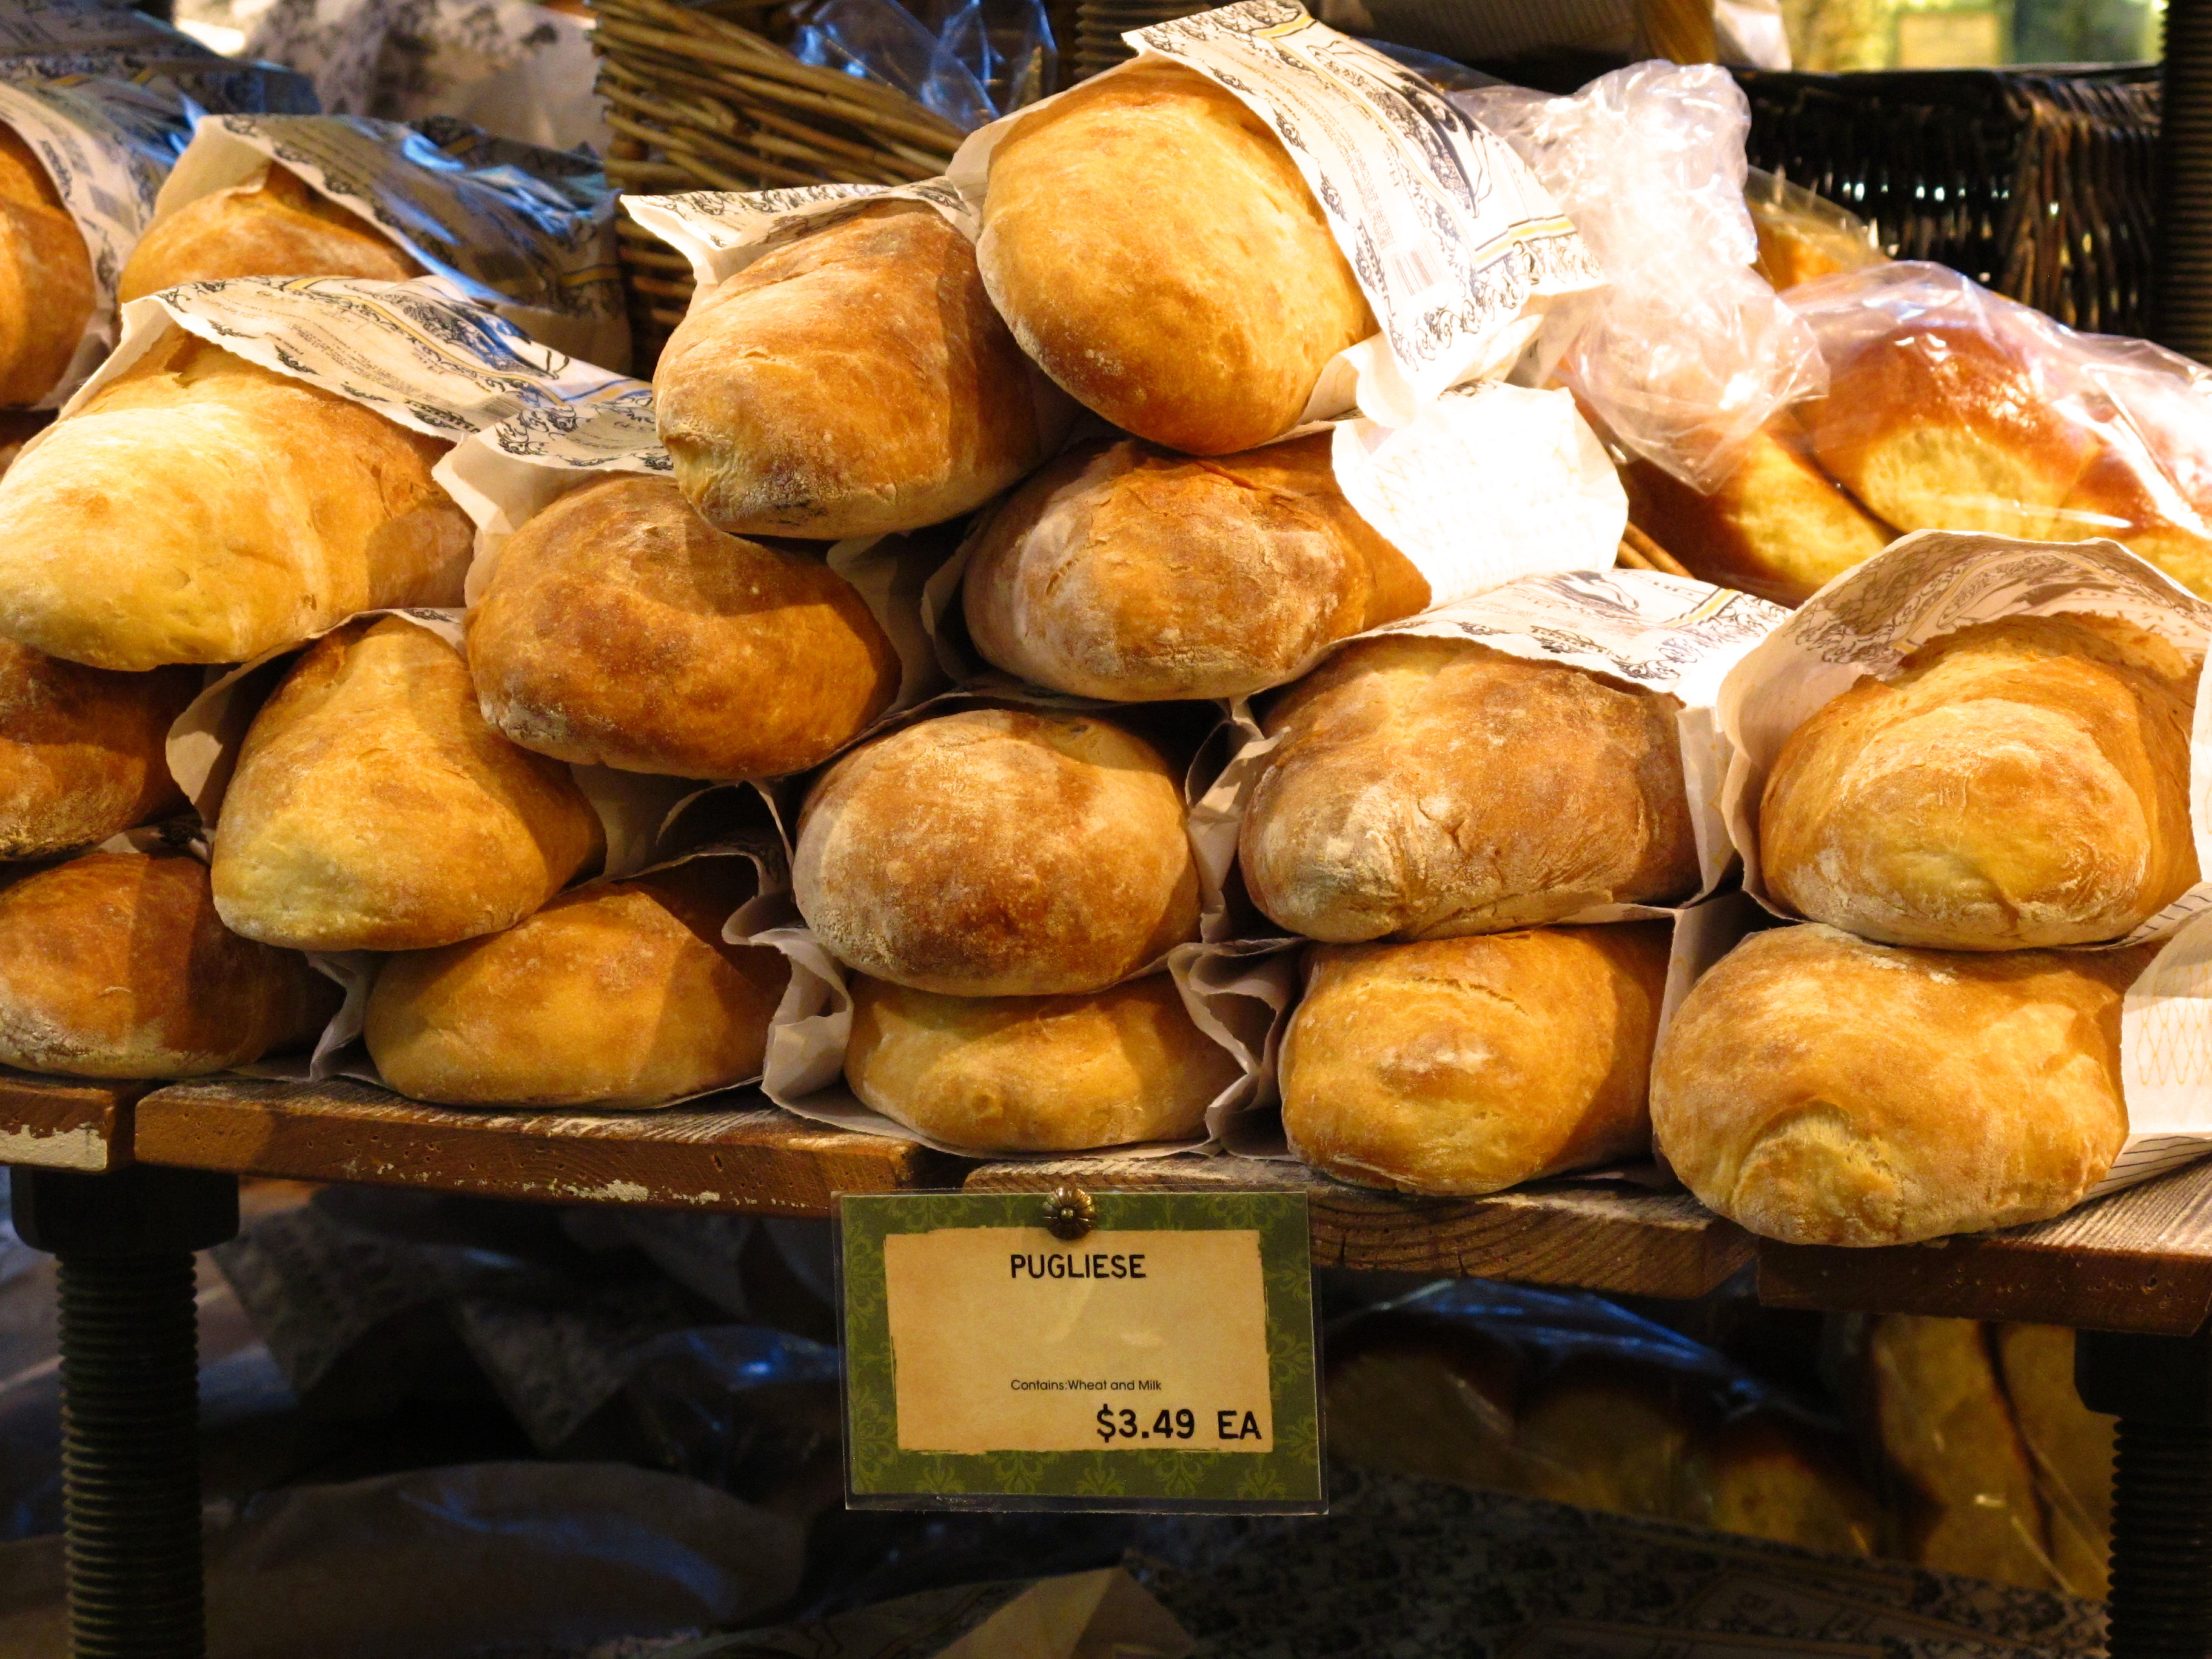
    So you all know that I'm always saying…you have to bring your camera everywhere you go! You never know where beauty will be found and ya need to be ready. Here in Northern California we have this great grocery store chain called Nugget Market. The stores are gorgeous and the food is always fresh and beautiful. When I went there last week to buy the items for the mango salsa…I busted out the camera and took some pictures. I really liked how they came out so I wanted to share them with you. I'm warning you, though, you're going to be hungry after you see these…


    A


    B

    C

    D

    E

    F

    G

    H

    I

    J

    K

    L

    Can't say I didn't warn you! Don't you want to go cook now??

  • Shabby Tea Room Challenge, Week #14 – Summer Fun!

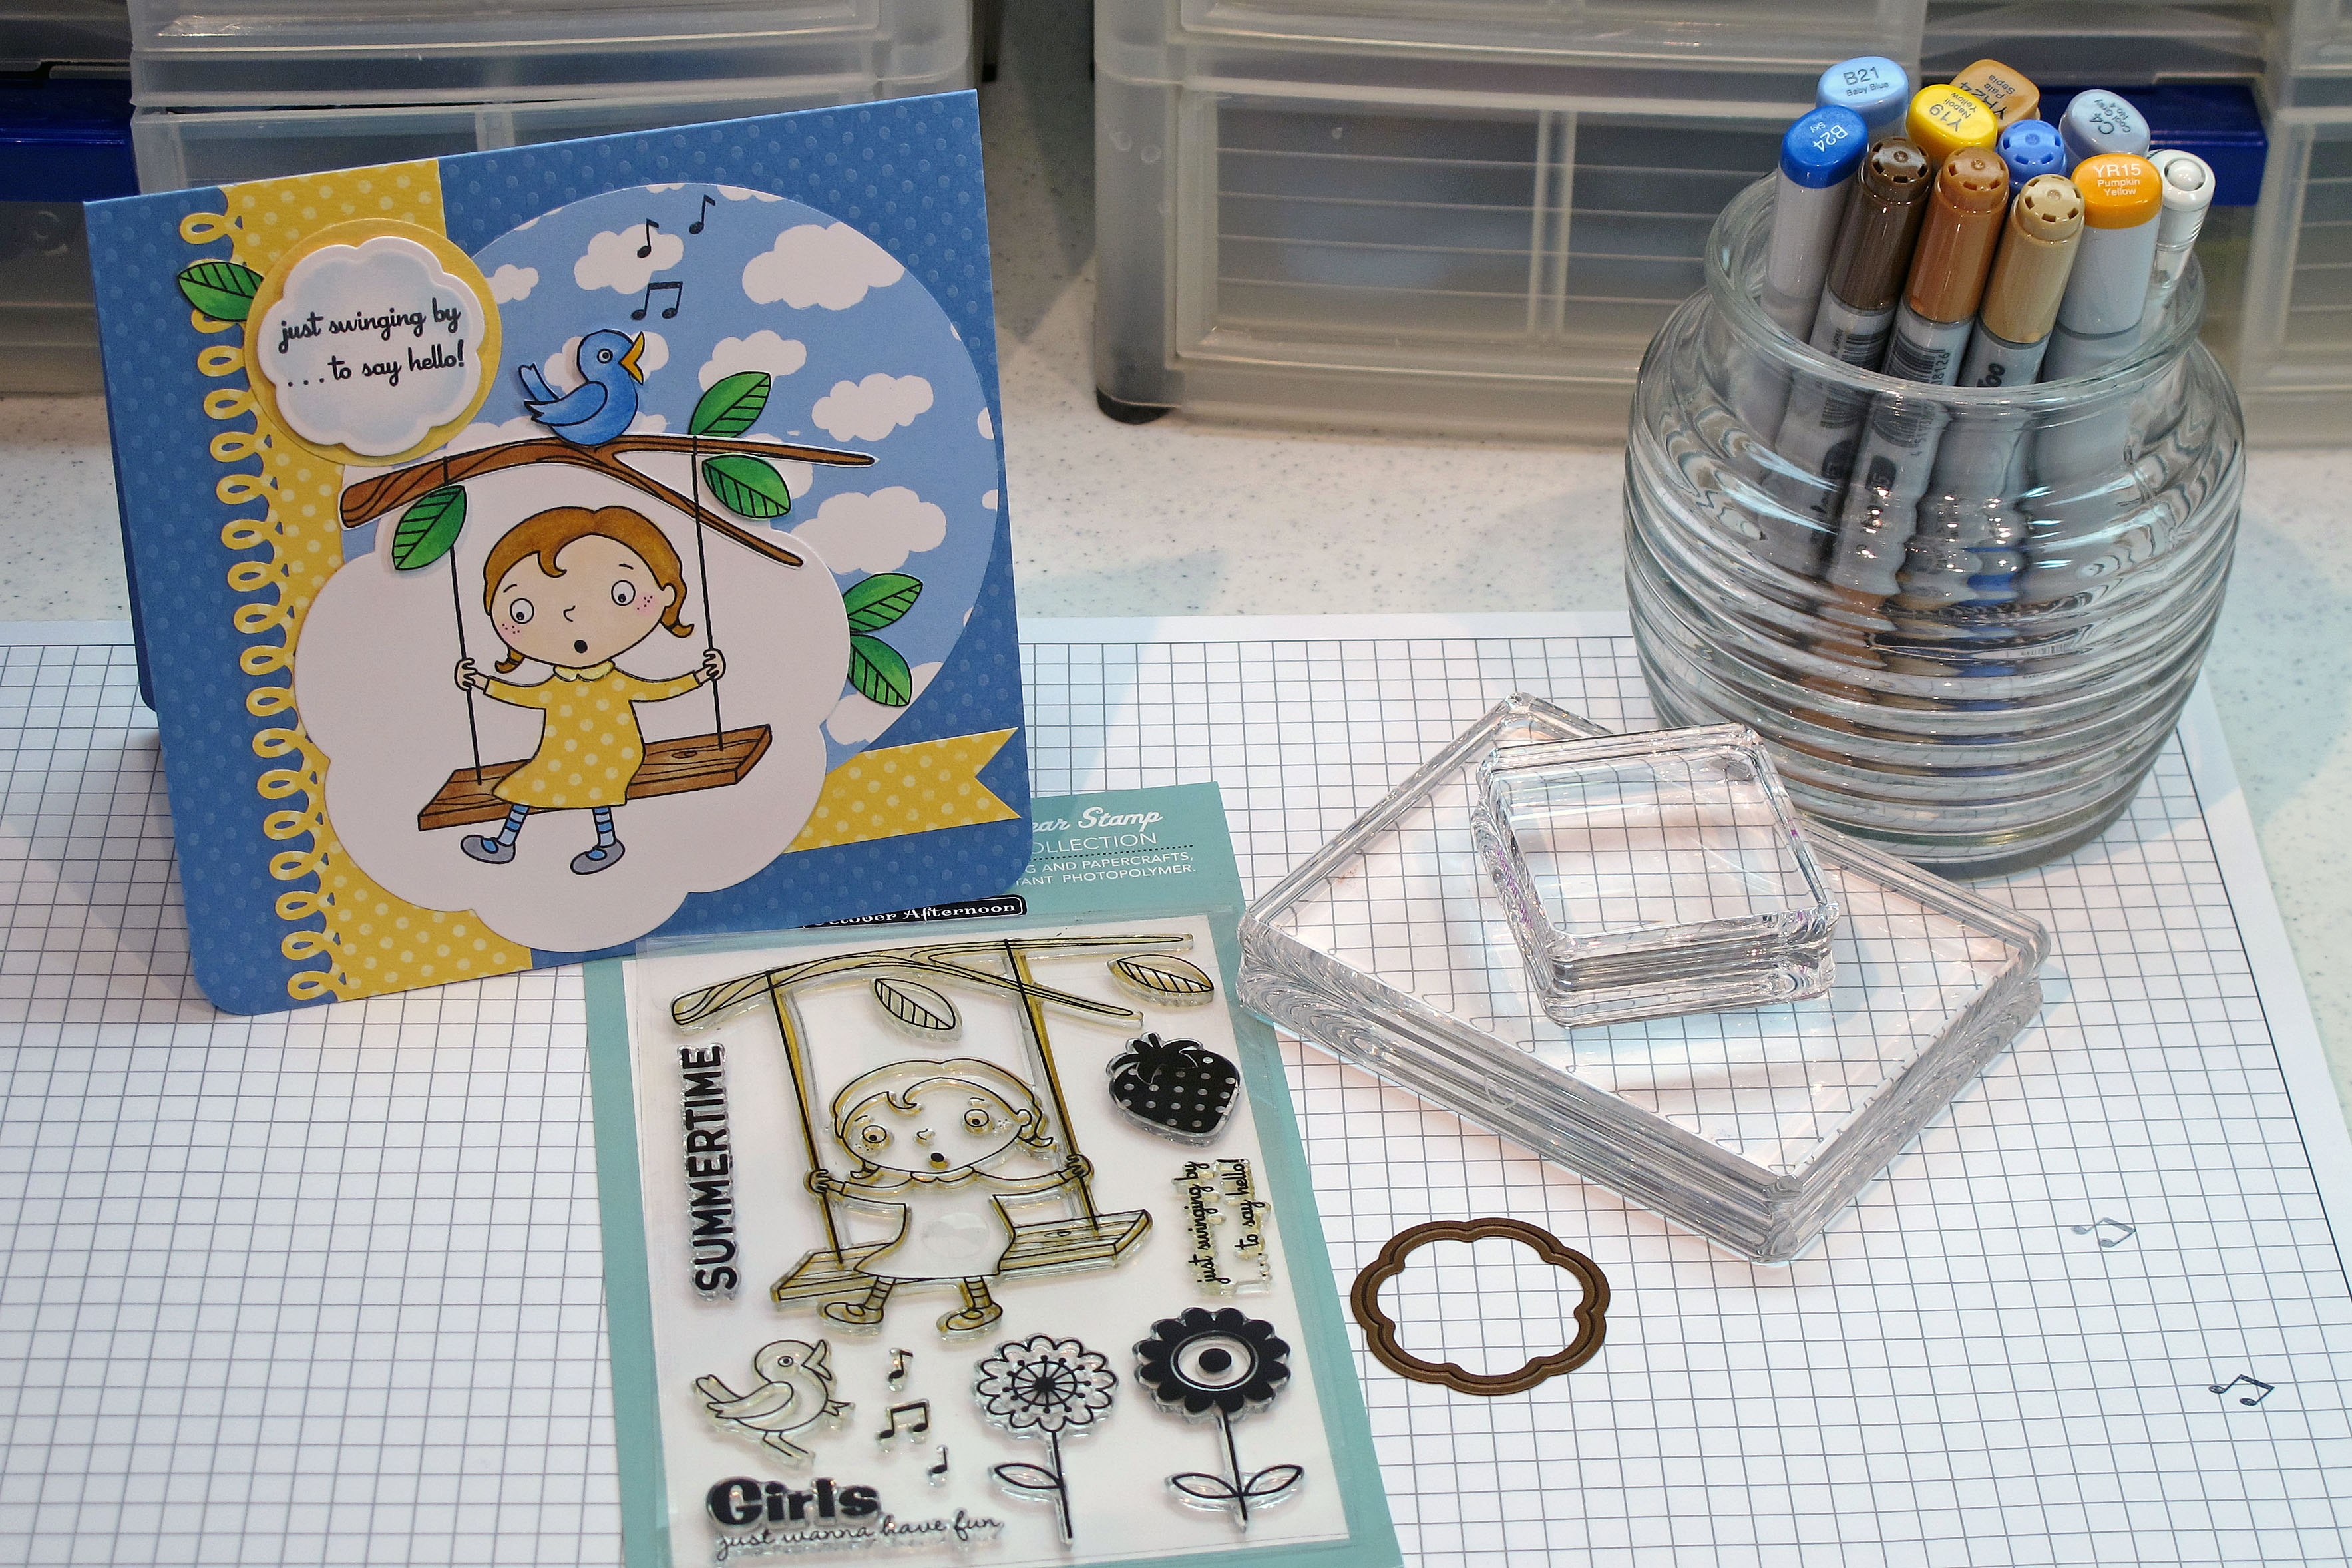
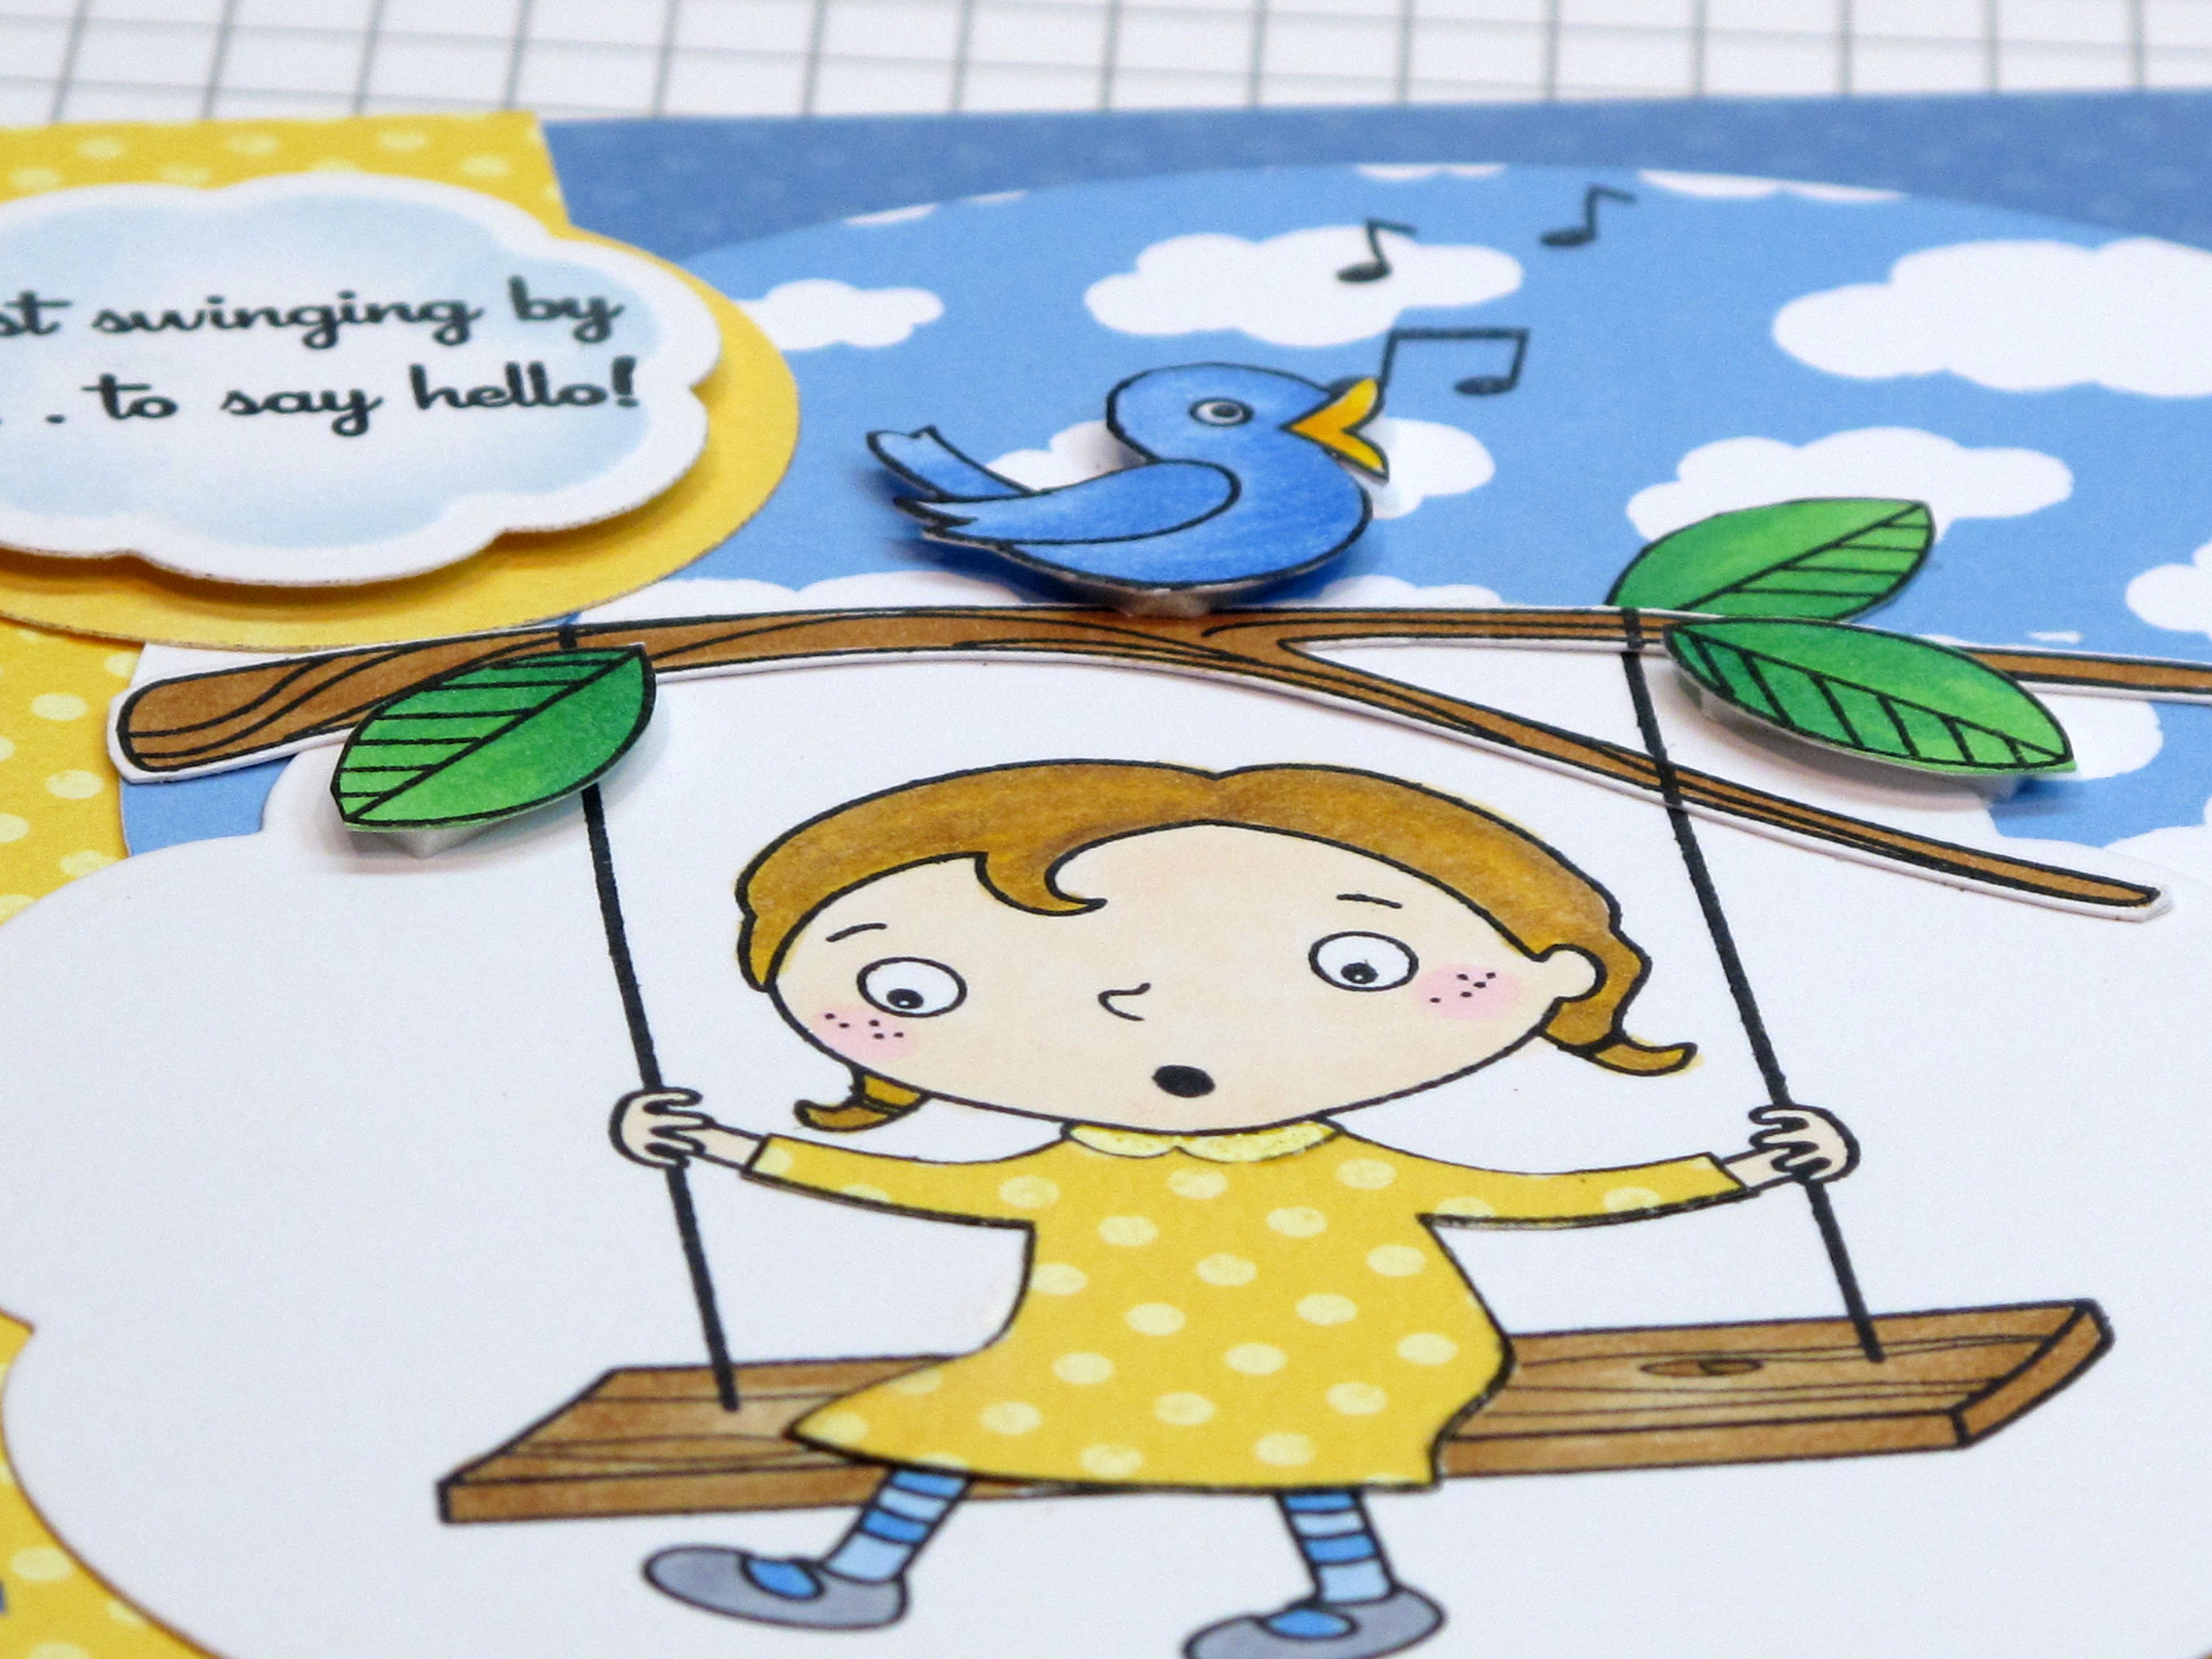
    Summertime, Summertime, Sum, Sum Summertime!!! Woo hoo! Normally I'm not really a hot weather person, but this year, after all the rain, I am ready for it to be nice outside. I do love certain things about Summer: Sandals, warm evenings, fresh fruit and veggies, and being outside.

    Today's card is my entry for the Shabby Tea Room Blog Week #14 Challenge – Summer Fun! I love the Shabby Tea Room challenges! I had fun with this one and I really am happy with my card this week. I hope you like it too! It's a long card – finished size is 8" x 4". I needed all that room for the letters…

    IMG_2163


    I had these fun chipboard letters in the cabinet – have had them for a long time. I found some matching paper and some shells and ribbon all in this sort of retro Summer color pallette. Not your typical super bright colors. I sanded the paper to make it look like an old beach towel – all worn in. I stamped the palm trees in the same color ink as the paper. I tried Versamark ink but that wasn't dark enough.

    IMG_2164 (2)


    IMG_2165


    IMG_2167


    Some of the supplies I used. I created my own fun little embellishment with the chipboard, some ribbon and a pretty shell. I've also had those shells forever! Glad to finally use them.

    IMG_2168

  • Tropical Cuties Card…

    Good News! I was chosen as one of the Top Crops over at Taylored Expressions for my card from last week. (Challenge #116). Check out the announcement by clicking here! WOOO HOOO! Thanks Taylor! I love her blog so to be selected (again) is wonderful!

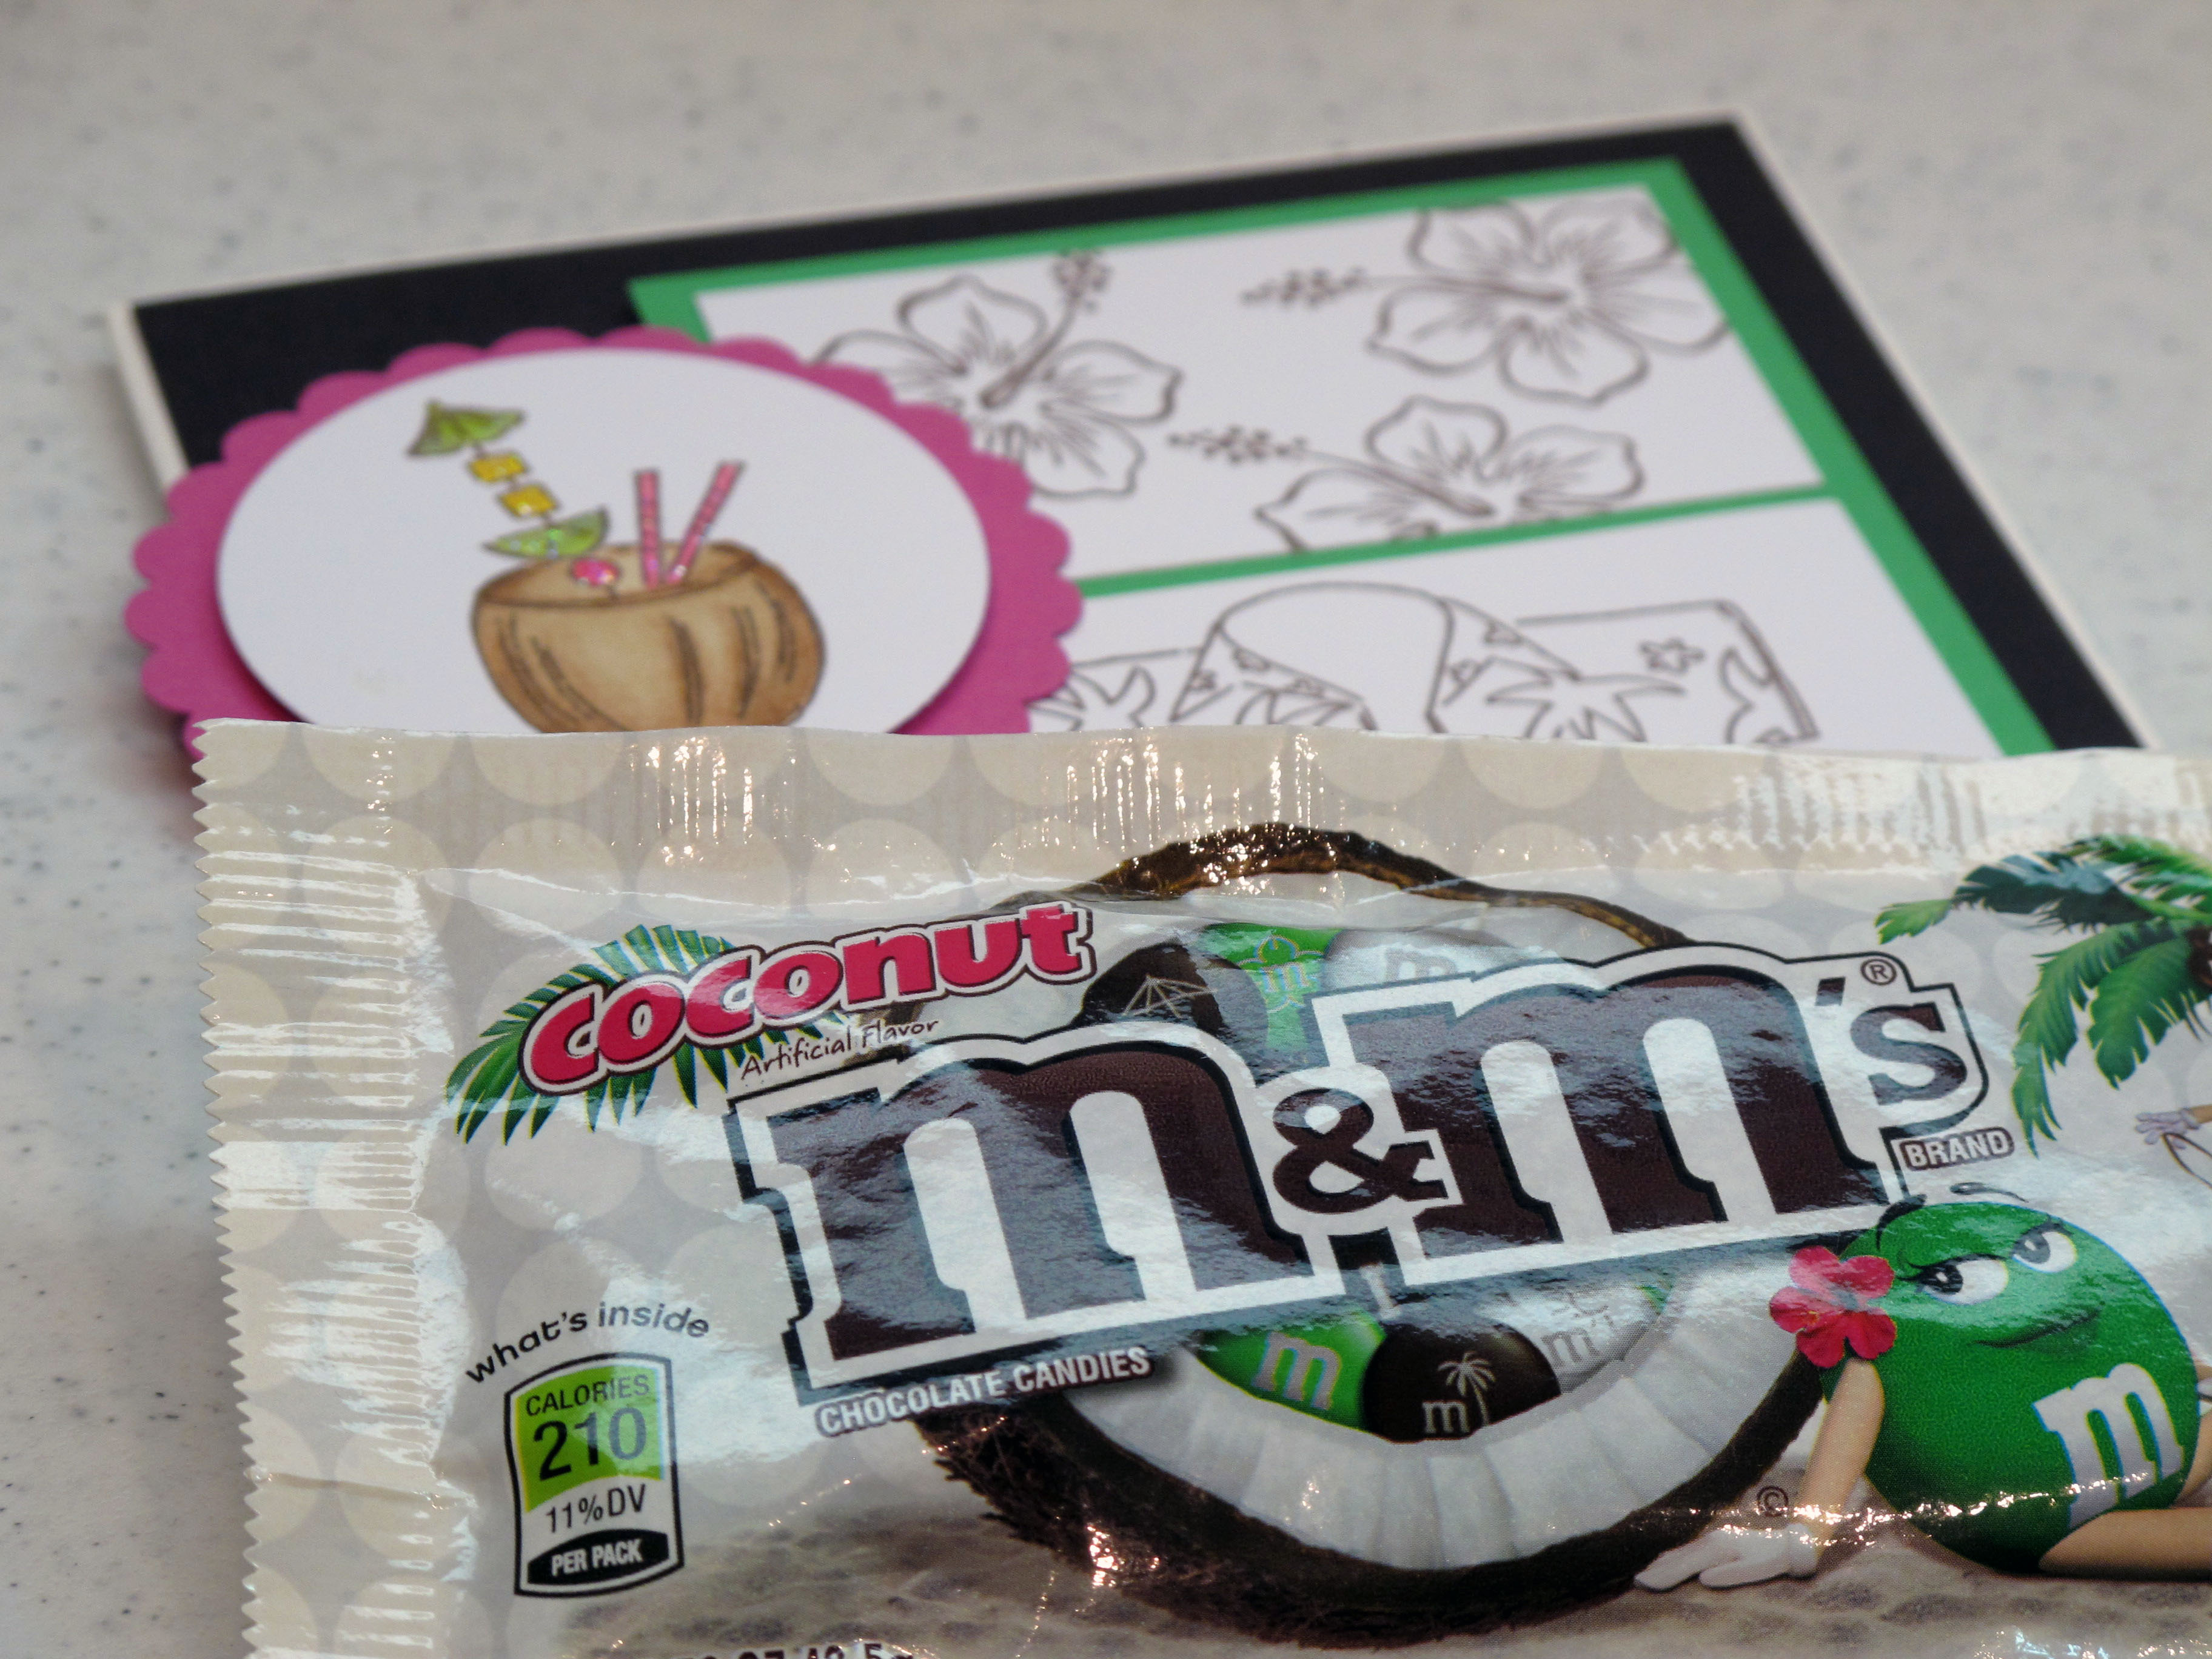
    Today's card was made especially for my sweet friend TeaDub! I just knew she would like these little tropical cuties! I colored the image first and then decided to go all out tropical with the color scheme too. I love these bright sunny colors.


    IMG_2016

    I colored the mice with my Copic Markers and colored the sun a nice yellow hue. I added some ultrafine prisma glitter to the sun to make it shine. The flower embellishment came with the glitter already on it. I used my nesties for the circle and scallop circle.

    IMG_2020


    IMG_2021

    Aloha!


  • Two Challenges in one! TESC #117 and Embellish Magazine Color Challenge…
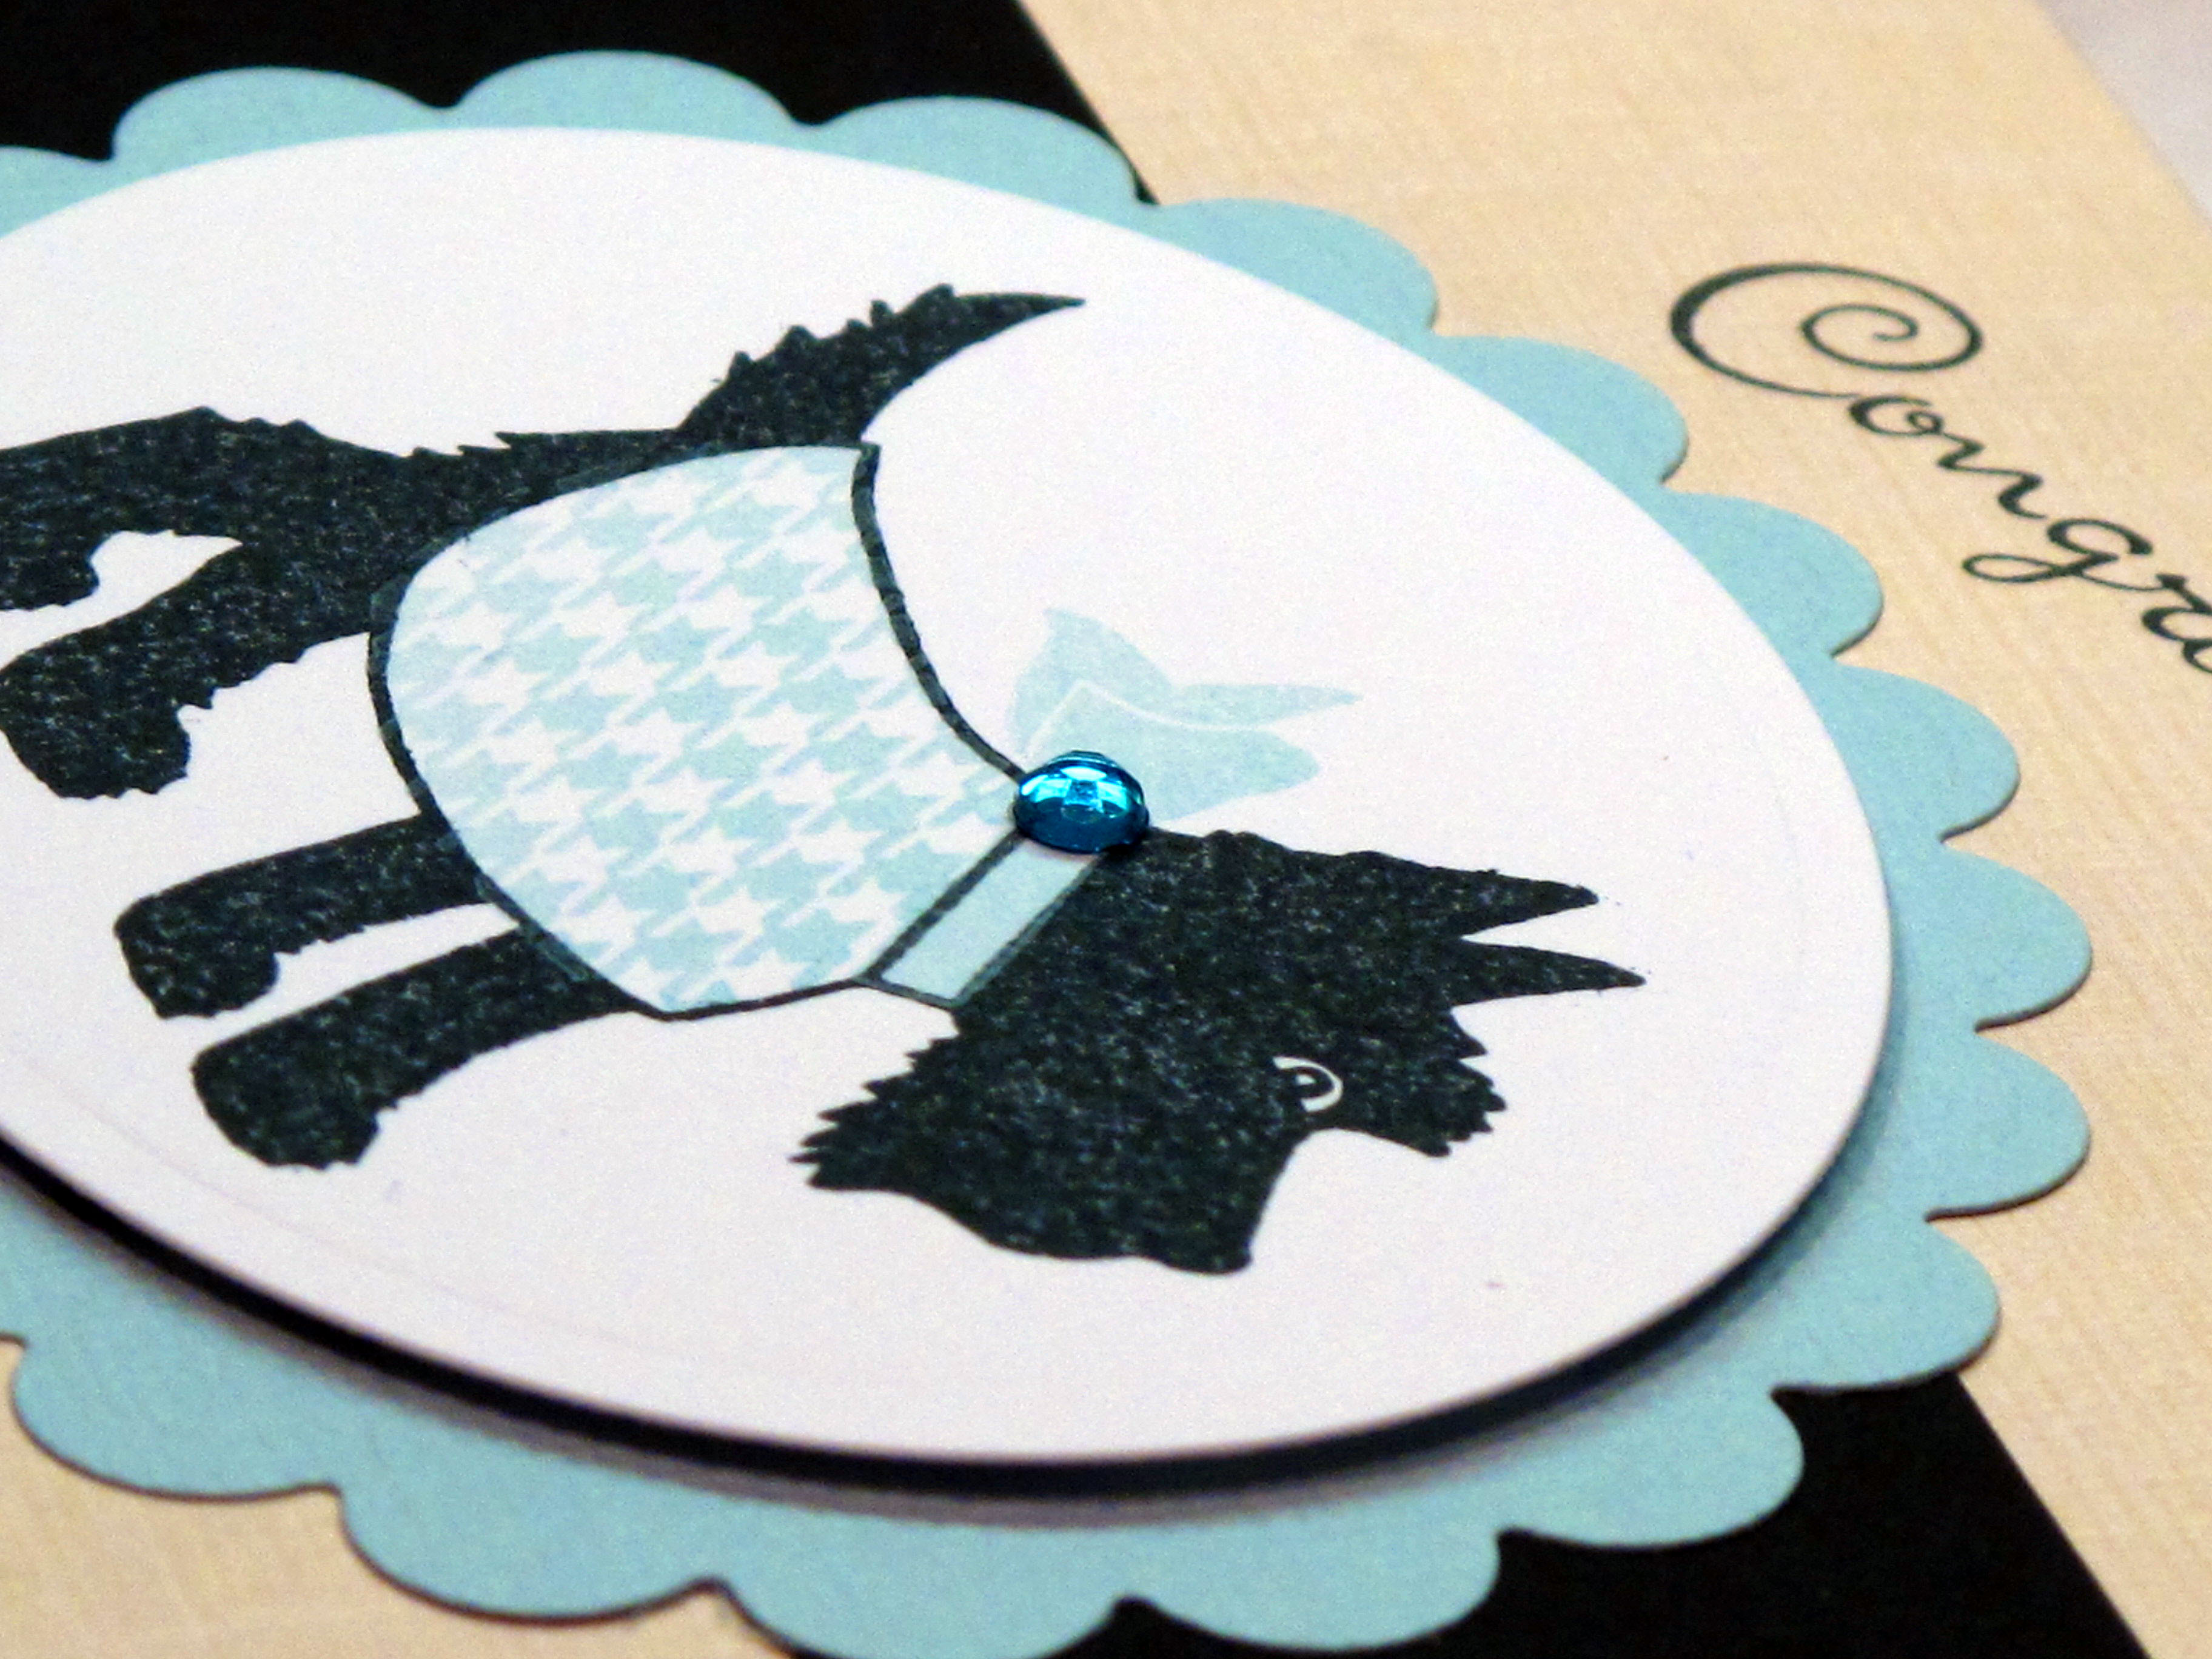
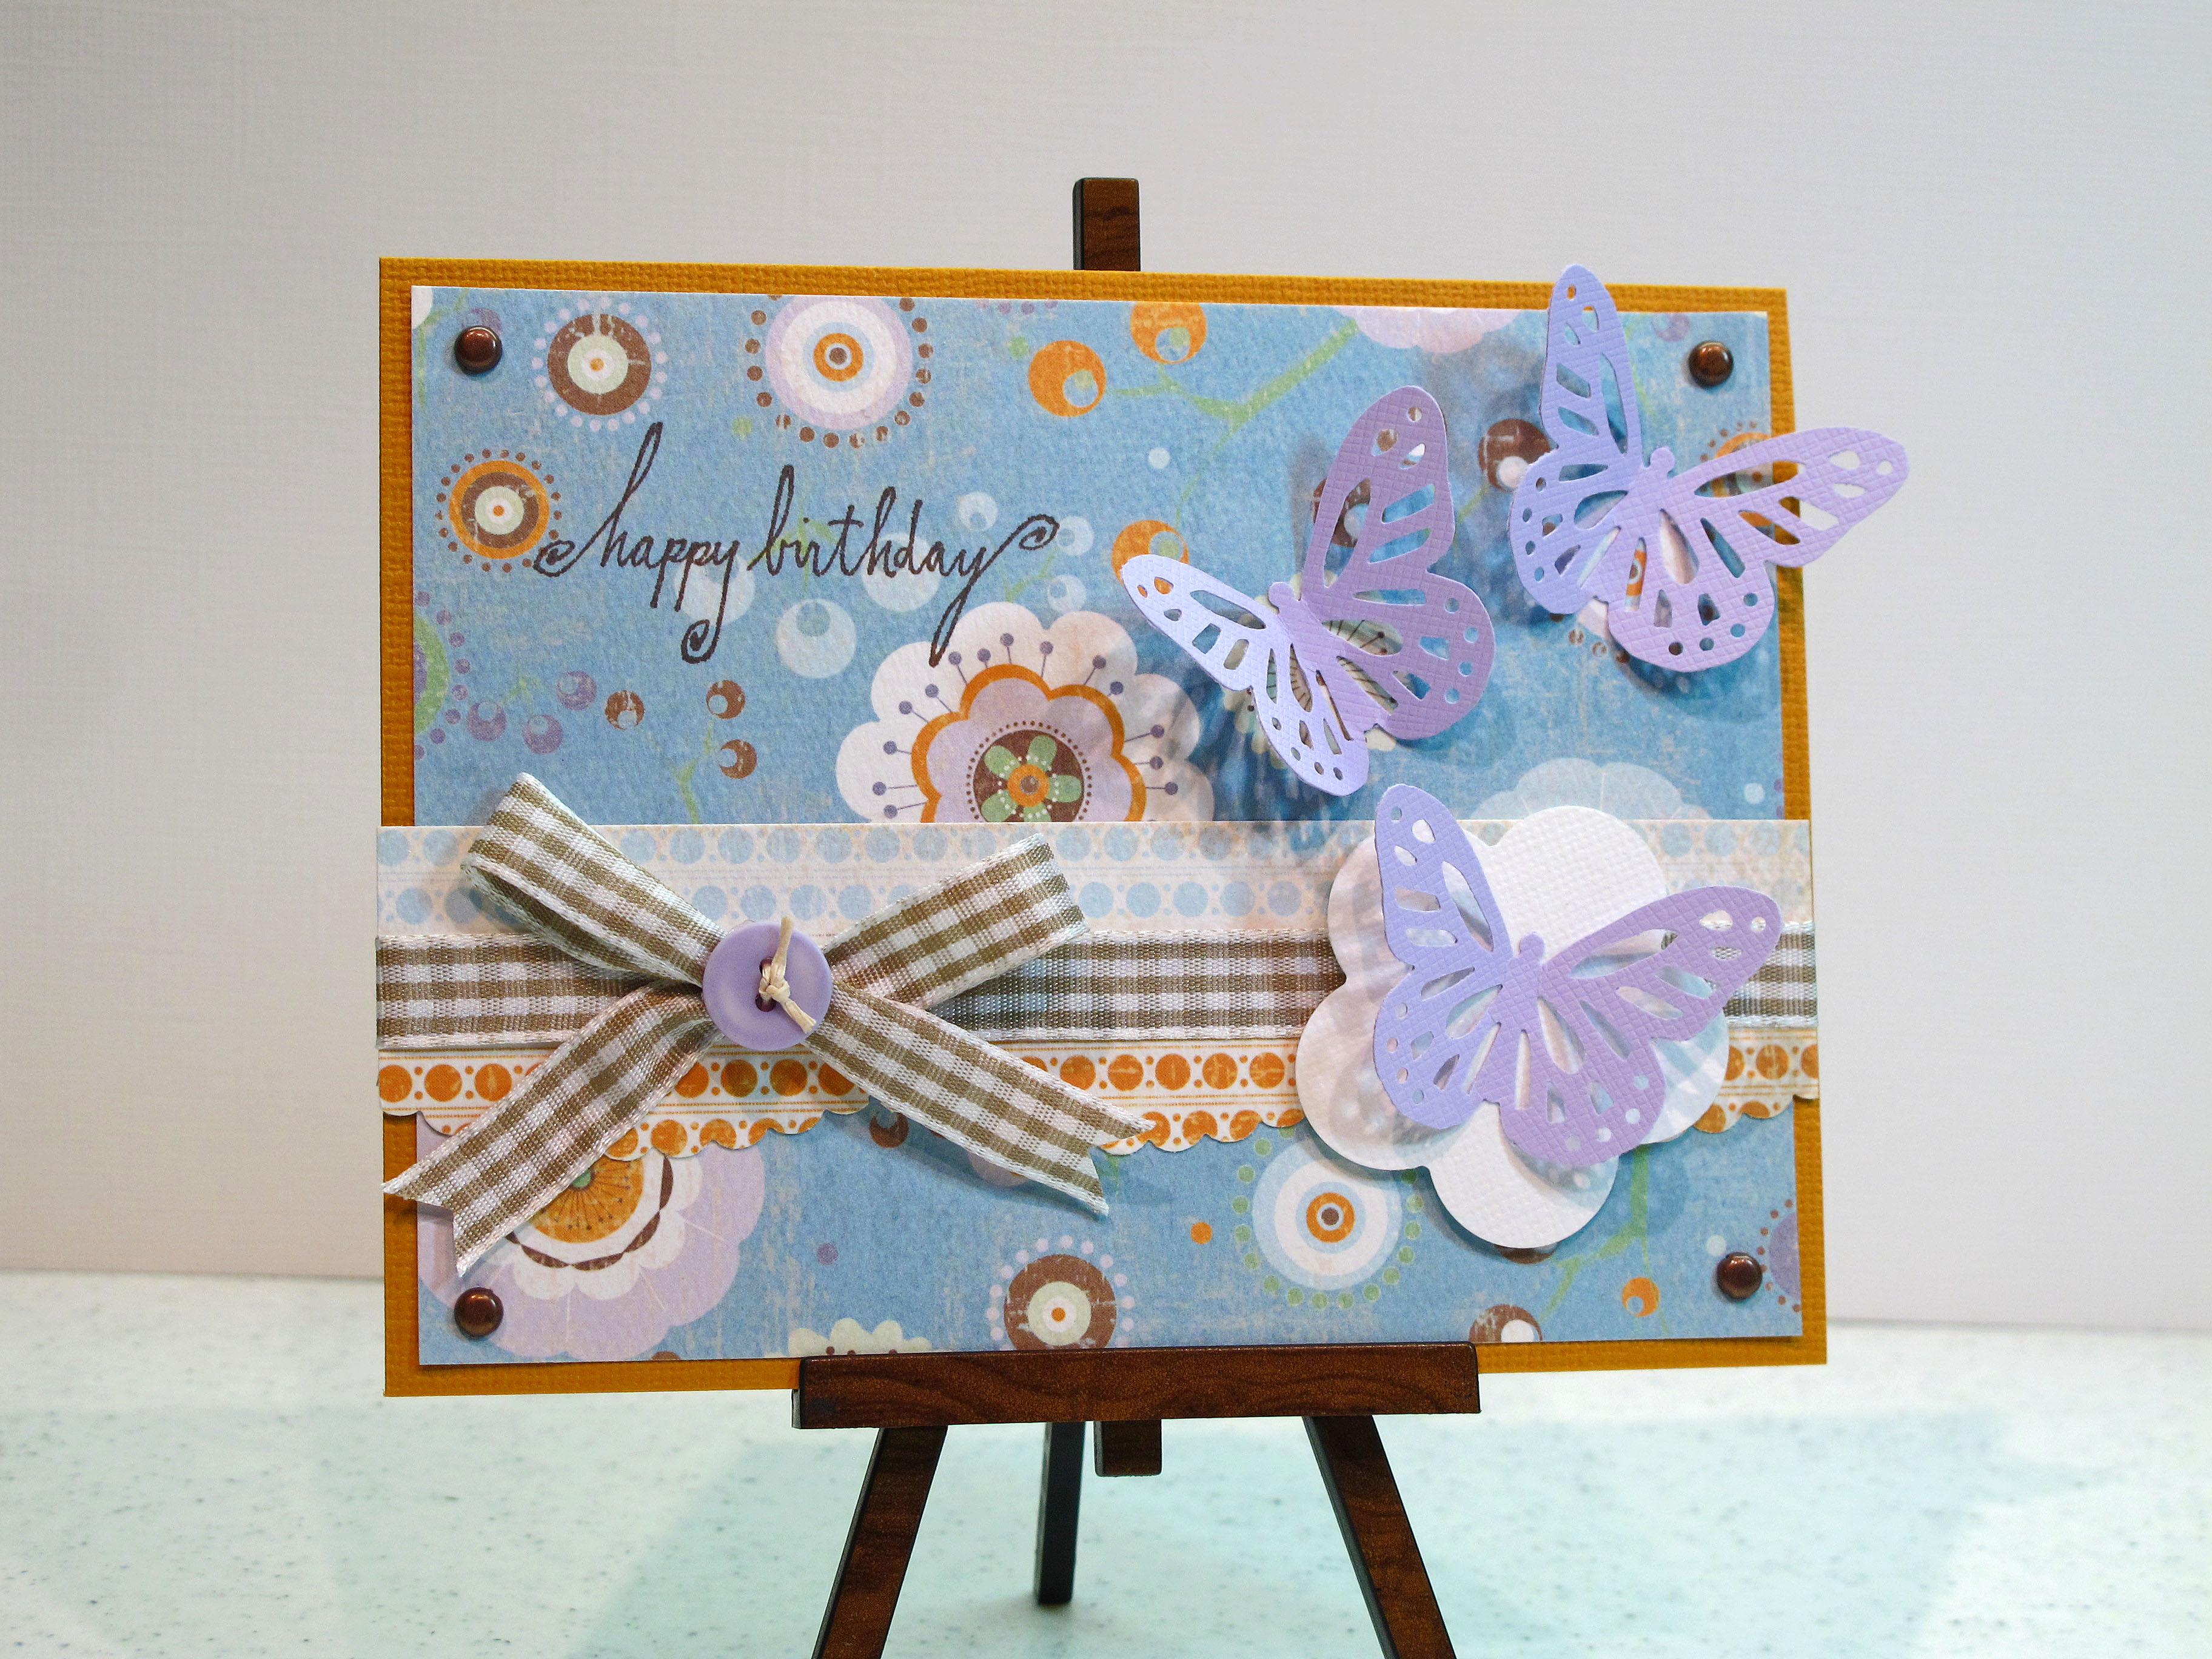
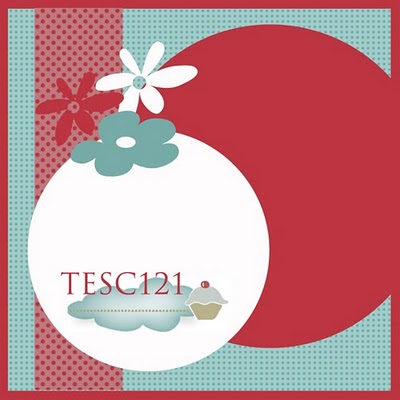
    This weekend was pretty busy and I didn't get in very much stamping time (gasp!) at home. I needed a birthday card and so I combined a color challenge with a sketch challenge to come up with one. The sketch is from Taylored Expressions (#117) and the color challenge is from Embellish Magazine Blog. I'm not sure why I can never get brown to photograph correctly?? The layer on the card, the ink and the velvet flower are all rich chocolatey brown.


    IMG_2109 

    Taylor's Sketch Image:

    TESC117[1]


    IMG_2111

    Embellish Color Image – Yellow, Brown and Coral Pink:

    Z


    IMG_2112 

    I couldn't resist putting in a picture of my cutie patootie nephew Gabriel, who we saw at the BBQ on Sunday. He just had his one year birthday. What a face! Could you eat him with a spoon??? Oy.

    IMG_2118 

  • Wanda’s Mango Party Salsa Recipe!

    Hi! Today we are heading up to my brother and sister-in-law’s house to celebrate her birthday and their youngest son’s birthday. One thing I haven’t made in a long time is my Mango Party Salsa. I decided that would be a good thing to bring to the party.

    Here’s the Recipe: Two mangoes, two kiwis, I cup crushed pineapple (drained), 1/2 red onion, 1 red bell pepper, two tsp sugar, juice from one small lime, and a dash of salt. Optional: Cilantro and/or jalapeno peppers. Cut all ingredients into small, uniform pieces and mix. Chill for at least an hour before serving. 

    I like to serve it with Scoops chips or some other light, white corn chips. It is also really great on a salad of butter lettuce with some chicken breast. I hope you try it and enjoy it!

    Before:

    IMG_2048


    After!

    B copy


    A


    C

    I was in the kitchen today a lot…made blueberry muffins for breakfast…and a cappuccino! I love those days when I can cook good healthy food for us. Never enough time to do that, huh?

    Mango salsa bloggy


  • Cards for the Troops!

    Today I went over to JRR's and had a wonderful day of making Cards for our troops! There is an organization that coordinates sending handmade cards to our armed services so that they can have cards to send home for free. It is such a heartfelt, kind gesture and I am happy to be a tiny part of it. Janice coordinates sending our cards to Missouri to the main organization and then they get sent on from there. A BIG thanks to her for doing this for us!!! We had a great time talking and having some snacks and using our hands for God's work.

    Please click here to read more about FROMOURHEARTS.INFO or to make a donation or send some cards too!

    IMG_2072


    IMG_2073


    IMG_2074
    It's pretty cool to wonder where our cards might end up! Tomorrow I'll be back with my recipe for Wanda's Mango Party Salsa…
  • Birthday Hedgies!

    Greetings and Salutations! Today I'd like to share a birthday card made with those ever popular and oh- so-cute Penny Black hedgehogs! Yup, I love 'em too. I've been collecting these fun stamps for at least 12 years or so.

    Fun fact about me…I used to have a real live hedgehog! Her name was Emma and she was an African Pygmy Hedgehog. She lived about five years – which is a good life for a pygmy hedgie. She was such a fun pet! She had the cutest little feet and her tummy was soft fur. Too much fun! Only down side is that hedgies only eat live food – in the form of meal worms! EW. You know I loved her because I would go to the pet store every week to buy her food. Again…EW. Other than that she was cool and unusual and fun to have around the house!

    Emma:


    Img038

    Here's my card to share today:


    Bloggie 001


    Can you tell that I am SERIOUSLY in love with that blue and white polka dot paper? I know, two posts in a row… The hedgies were colored with Copics and then I added some glitter accents to the balloons, present and flowers. This card, again, cute and simple. I let the image speak for iteself.

    Bloggie 002

    I started coloring the hedgies with E00 for their tummies and hands/feet. I then used RV10 for their cheeks. I used three or four shades of both warm grey and cool grey to fill in their spikes. No real pattern to it, just keep going until it looks the way you like.


    Bloggie 004

    One more day…and then it's FRIDAY!
  • Curtain Call Color Challenge #33

    Hiya! Today's card is for Stacey's Stamping Stage Color Challenge #33! Check out her blog – lots of cute ideas and cards, and I love her color challenges. I've entered her contest before. The one for this week just happens to be in one of my favorite color pallettes – blues and greens. Soft blues and greens, like the ocean or beach glass.

    Here is my card:

    IMG_2012

    Act 33

    IMG_2014

    My card turned out just sort of sweet and simple. The image is from Unity and I colored it with my Copic markers. Used BG000 for the water and G00 for the glass vases!

    IMG_2015

    As always, thank you so much for stopping by my bloggy blog. Have a wonderful Day!
  • TESC #116 Challenge Card!

    HELLO! Happy Monday…I have been a bizzy bee in the craft room today! I had the day off and, after cleaning up the house a bit and doing tons of laundry, I settled into the craft room with Mr. Buddy by my side. I redid my blog banner for Summer…you like? I took that picture in front of the most beautiful church in Lake Forest Illinois last summer.

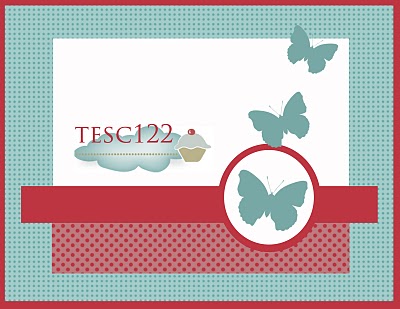
    The card I want to post today is for Taylored Expressions Challenge #116. I love her sketch challenges!

    Here's the card – a nice cheery birthday message:

    IMG_2004 

    Is this little birdie too cute? He's from Whipper Snapper stamps. The banner and words are from Pink Persimmon stamps. I colored in with my Copics and then added a tiny bit of glitter in the center of the flowers. The sweet felt flowers are from Impress and I've had those for ages.

    IMG_2005

    Here is the sketch image:

    TESC116

    Close up of the coloring…

    IMG_2006

    IMG_2007

      
      Hope a fantastic week is in store for you!
  • Signs of Summer!

    Yikes! After all the excitement from yesterday – today seems kinda mellow! Mark made it to Stockton to drop off the Silver Surfer at around 3:00 in the morning! Today we celebrated our anniversary by going out for a nice lunch at our favorite place – PF Chang's. YUM-MMMY! It was nice to be out and about and we also did a little shopping for some necessities. It was a wonderful day together.

    Tomorrow I'm heading off to Jilli Bling's beautiful home to stamp all day with the gal pals. I cannot wait. It is my first time doing the whole shoe-box thing too. Everyone will bring enough project supplies so that we can all make two of each person's card. I am looking forward to it very much. I will also be bringing the Copics to do some coloring. We are having a salad potluck and I volunteered to bring a dessert. I found a recipe for Lime Cake and baked that today. Click here for the recipe.

    IMG_1987


    IMG_1994


    IMG_1991


    IMG_1989 


    Our little impatiens are starting to take off and grow…

    IMG_1972


    The hydrangeas are going CRAZY…

    IMG_1967

    These are some clouds that I saw Thurdsday night! They were so amazing I had to pull off the freeway and take a picture. The clouds were so unique and they looked like soft folds of fabric. I don't think I've ever seen clouds quite like these.

    IMG_1976

     That's it…some signs of Summer from my home to yours. Have a great night!

  • And so the weekend begins…Weird story ahead!

    Okay, kids, you’re about to hear a weird story of how our weekend just began! I have to give you some background information first…

    My husband is a comic book guy. That is one of his passions (the others being hiking and of course me) and he has been collecting comics since he was a kid. For those of you who get this, he is a Marvel guy. In 2007 the movie “Fantastic Four, Rise of the Silver Surfer” came out in the theaters. Naturally, we went to see it and it was fabulous! Well…back to the story. When the movie left town, the theater by our house was left with the lobby props. One of those being a life size Silver Surfer statue with a city behind him! Mark contacted the manager and turns out they auction that stuff off for charity! Mark bought it! So…he has been living at our house for three years. As you can see, he takes up a lot of room and has taken over Mark’s office. It is super cool!

    silver surfer, a blog called wanda, wanda guess, statue, comic books, silver surfer statue, story

    Well, times are hard and we are both state workers and kinda broke. Hubs has been selling some of his things on ebay to make extra money. One of the things he put on ebay was the Silver Surfer. It has been listed for a couple of months, but no bites.

    Tonight Mark gets an email from someone saying they want the Silver Surfer and they need it tomorrow morning! They want to come up from LA and get it…NOW. Huh? What? That’s weird. Come to find out the Director (!) of the Spike TV Guy’s Choice Awards needs it on his set to begin filming the award show at 6am. Click here for a link to the show. It will air June 20th. So, he instantly paypal-ed the money and now it is being disassembled…Mark and his brother are going to drive it as far as Stockton to meet up with the staff so they don’t have to drive the entire way!

    IMG_1981 
    Okay – weirdest story ever???? This is a great start to the weekend for us and proves that the LORD really does work in the most mysterious of ways. HE will provide and you never know how! Today is our 17 year anniversary as a couple! I would say this is an excellent anniversary present!

    Have a great weekend everyone. Hopefully I will get in some stamping time tomorrow to post a card.

  • Swap time again?

    It's time to make my swap cards for the stamp club I go to on Wednesdays once a month! 'Membah last month I made those little strawberries? This month I wanted to use a new Stampin' Up set from the mini catalog…such a cute set!

    IMG_1941

    The cards were made with the Stampin' Up Big Shot die – large scallop square! Cut your pretty paper into a 10 x 5 inches sheet and fold it in the middle. When you go to cut it, put the card fold just under the top scallop…and voila! You will end up with a cute square card that is 4.25 x 4.25 inches.

    IMG_1945

    I put a little bit of glitter on the cherry. I layered my white paper with foam tape for some dimension. I used a slightly deeper pink for the outline shape. This is a such a nice and simple card to make. You can make it in blues for a boy or use it for a Summer party invite. Love it!

    IMG_1946

  • TESC #114 – Sorry it took me so long to get back!

    Hi friends in blog-land! I'm back after a super busy, super fun weekend full of crafty goodness. Sorry to have gone so long without a post! I'm back today with my entry for Taylored Expressions #114 challenge! For my entry, I made a thank you card! On a side note, my card for TESC #113 came in THIRD in the voting last week! If you voted for me, thank you! What an honor – there were so many cute cards.

    Here is the sketch:

    TESC114


    Here is my thank you card:

    D


    I used the stamp set "Enjoy the Ride" from Papertrey Ink to make my cute little VW car. The saying is a stamp from Impression Obsession. I used about 7 shades of green to get my car to look kind of old and beat up but still shiny. I had these funny clear bubbles that fit perfectly as headlights! Added a band of chartreuse ribbon and some buttons….

    IMG_1884


    IMG_1885


    IMG_1888

    Okay, so I have to tell you about my weekend! Friday night after work I headed over to the site for the Annual Rubber Stamp Convention put on by my friends at A Stamp in the Hand. Kat, Wendy and Joyce came in from LA and I was anxious to see them! We went out to dinner and gabbed and caught up. Saturday morning I went over early to get situated at the Rubber Stamp Concepts booth. Harry  hired me this year to do demo's and make-n-takes for him. Cute necklace project with ecoboard and foil! You guys are not going to believe that I didn't take ONE picture at the stamp show! It was so crazy busy the entire time that I barely had time to go to the bathroom. The day flew by. I went out to dinner with ASITH gang and Judikins gang and we had Thai food. The best part was this amazing coconut ice cream with toasted almonds and caramel sauce. OMG. My "I don't want any dessert" turned into "yes, please!" THANKS KAT! Got home around 9:30….

    I got to meet some of you that follow my blog on Saturday and that was wonderful! I was amazed that some people recognized me because of my new apron! Yay! Nice to meet all of you – and thanks for your support. Leave me a comment if you have time!

    Woke up early on Sunday morning and went out to a nice breakfast with the DH and then he dropped me off at my friend LG's house. So, four crazy stamping girls headed off to Berkeley for a day of paper shopping! Whew. It was a perfect day. Beautiful weather, good company, and great shopping.

    I think that's the weekend in a nutshell. Well….this morning this is what was waiting outside at 5:30 am!!! Three big deer in the street! I know these pictures are terrible…but it was still practically dark out. I'm surprised they came out at all. Usually the only wild life on our street is skunks, raccoons and the crazy turkeys!

    X


    Y

    Z

    Okay…it's Monday…go and have a great week!

  • Taylored Expressions Challenge #113

    Hello Everyone! Today's card is my entry into the Taylored Expressions Challenge – #113. I liked this sketch - cuz there's a lot going on! I had purchased, but not used yet, a new paper pack from Die Cuts With a View. It's called Songbird and I got it at Michael's. It has some really cute little sentiments and the colors are great. It also has some sparkle to it!

    Here is the sketch image:


    Aaa


    Here is my take on the challenge!


    C


    A side view and a little peek inside! I added lots of dimension with all the layers and my favorite foam tape. Isn't that bird the cutest thing? The sentiment only said "Happy" so I added "Birthday" with a PTI stamp and some brown ink.

    D


    Close up of the flower embellishments:


    E


    One thing I do a lot is make my own embellishments out of patterned paper. This paper pattern scale is way too big for a card. But, the flowers individually are perfect for adding on to a card! I cut out three of the flowers and popped them with foam tape. I also cut out extra leaves to add to the top part of the card since I liked that little extra green for balance.

    G


    This is an extra card I'm throwing in – just a simple card with a nice sentiment – not too busy but nice nevertheless. I colored the Stampin' Up image with my Copic markers and then cut the shapes with my nestabilities (LOVE them). I cut the card out of the giant sizzix square – also from Stampin' Up.

    Z

    Have a fab day!


  • Shabby Tea Room Challenge – week #10 – Stars and Stripes

    Oh beautiful for spacious skies, for amber waves of grain…for purple mountains majesty, across the fruited plain…America, America, God shed His grace on thee! What a great song and what a nice sentiment as we enter the most patriotic of seasons – Summer! We have Memorial Day, Fourth of July, and then Labor Day – all purely American traditions.

    Today my card is my entry for The Shabby Tea Room, Week #10 Challenge. The "rules" were to use either Stars & Stripes or Red, White and Blue. So, of course, I did both! Funny that I had just made a Red, White and Blue card a week or so ago…hmmm…must be something on everyone's mind. It's a great combo – how can you go wrong?


    Here is my card for today:


    A 

    I started by making the big flag in the background. I simply tore strips of bazzill paper to make a rough flag. I used silver star shaped brads to make the blue part. Reminiscent of one of our first flags. I had the old travel tags that say New York and Boston. I stamped the sentiment in Denim blue Adirondack ink. The background is kraft paper with stars stamped in white pigment ink.


    IMG_1840

    IMG_1841


    The stars and stripes flying proudly in our front yard! God Bless America!


    IMG_1862