Hey guys! How is your week going? There's a lot happening here on my blog this week, and it's all gooooood! Did you see my post on Tuesday for SCT Magazine? I loved that post! And today and tomorrow, two more posts! Yep, I've been busy. I hope you are doing great and getting in crafty time and relaxing time.
Today's post is all about a big fabulous blog hop to launch the Pinkfresh Studio June 2020 Product Release! YIPPPEEEE! At the bottom of this post, you can read about prizes, and shipping specials, and see the links to the blogs for today. I'm always so excited to participate in a beautiful new release from our friends at Pinkfresh Studio!! Their products are so pretty and nice to create with. I made two cards today using the same product suite: Hexagons! Yes, hexagons are back on trend, and I LOVE it!
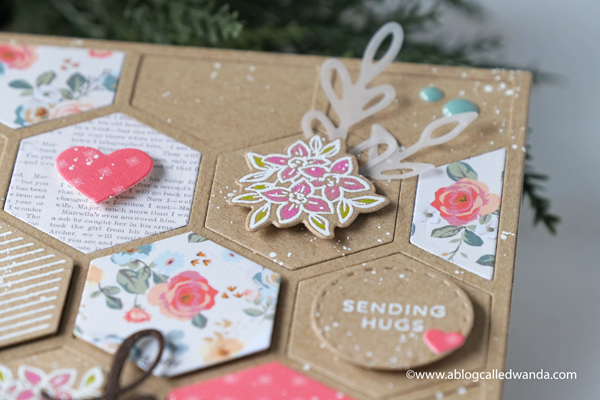
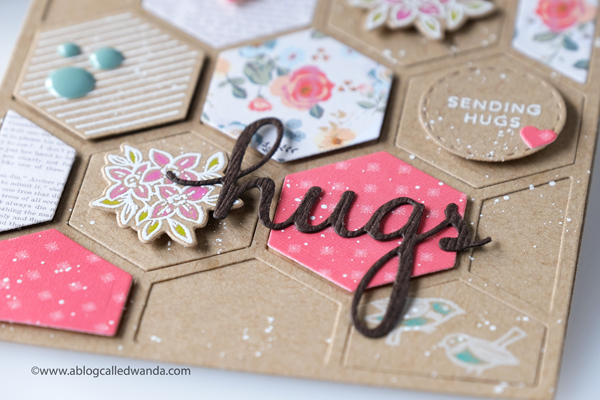
First up is a country quilt feeling card I made using the Simply Hexagons Die and the Pop Out Hexagons stamp set with matching dies. Such a creative and fun product collection! My finished card is an A2 card base from Kraft cardstock.
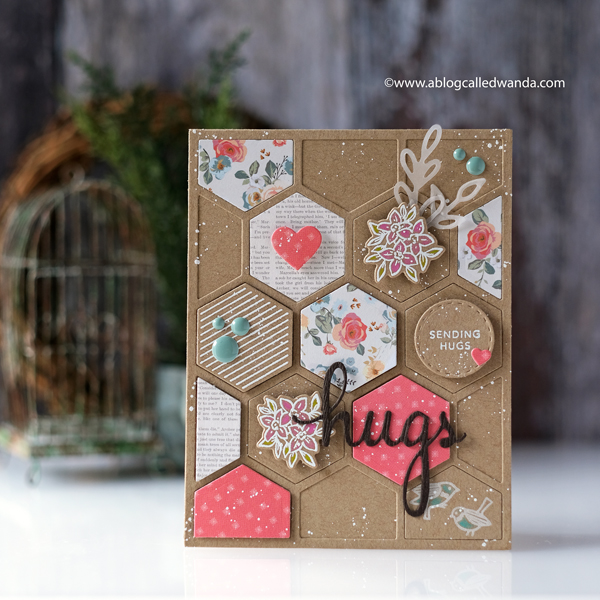

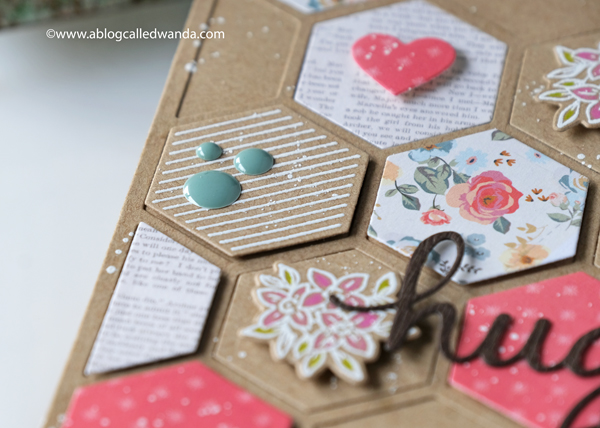
The theme of my card was making a patchwork quilt. I have a quilt on my couch at home in these pretty colors…pinks and dusty blues and greens… So it inspired my card. I used bits of patterned paper for some hexagons, and embossed some of the hexagons… Love how fun this turned out.

This hexagons stamp set comes with small sentiments that fit inside the hexagons. It also has these tiny floral clusters with matching dies. It's really all so fabulous. I die cut the hexagons die from kraft cardstock and glued it to the front of the card. Then I used that as a 'frame' for all my different elements.

Here's how the Simply Hexagons Die cuts out – a perfect A2 size!!! Cuts like a dream.

I used the hugs die cut to add a bit of a darker element for contrast. I used white paint to splatter over the card. I heat embossed parts of it too, with white embossing powder…. Oh, and added a few hearts and enamel dots for good measure!
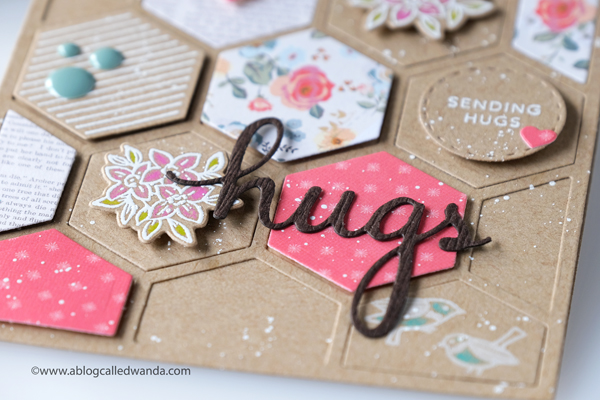
These diagonal strips are one of the small stamps that come with the Pop Out Hexagons stamp set.
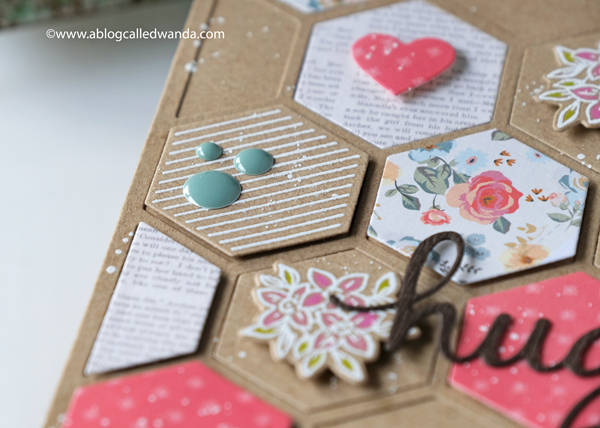
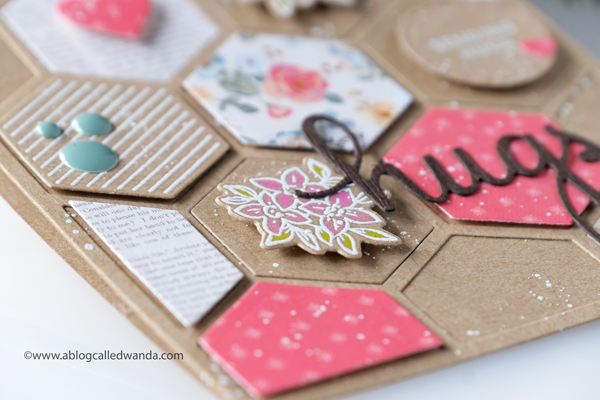
For visual interest, some of the hexagons are popped up with foam circles, and some are glued flat to the card. That's one of my fav techniques – building up elements with foam tapes.
Put on your sunglasses for this next card! I used the same supplies as the card above – but made this one into a beehive honeycomb shaker card! Full of warm golden tones and pretty crystals!! This finished card is also an A2 card base. I used Distress Inks and blended them to look like a beehive. Felt like some good vibes to me!
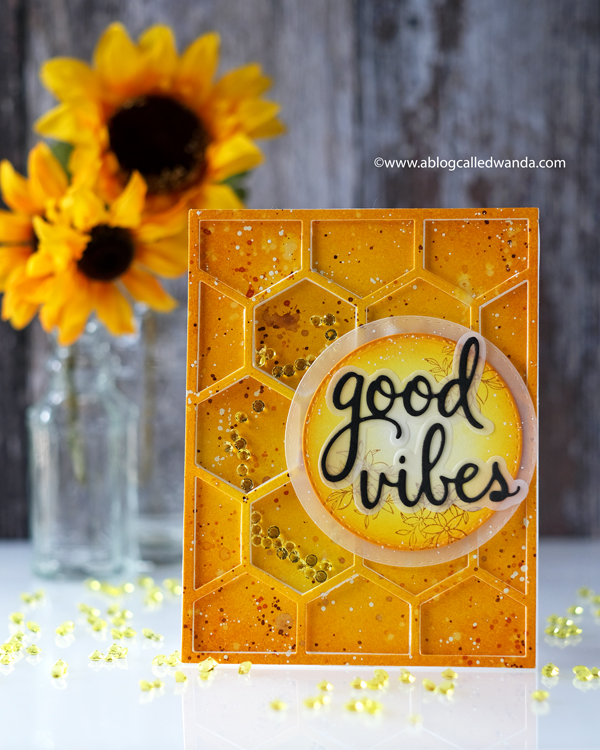
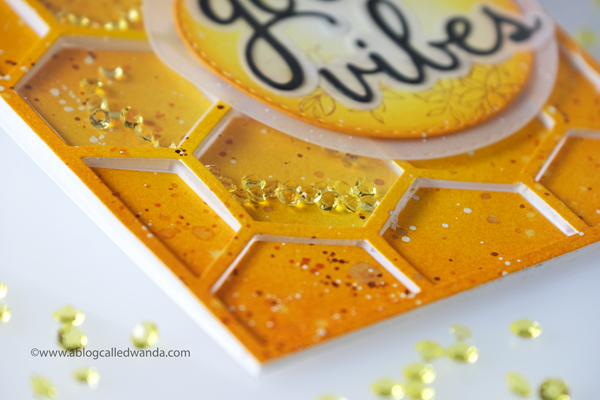
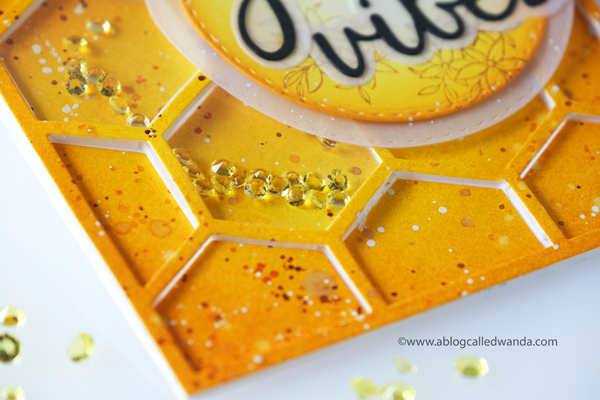
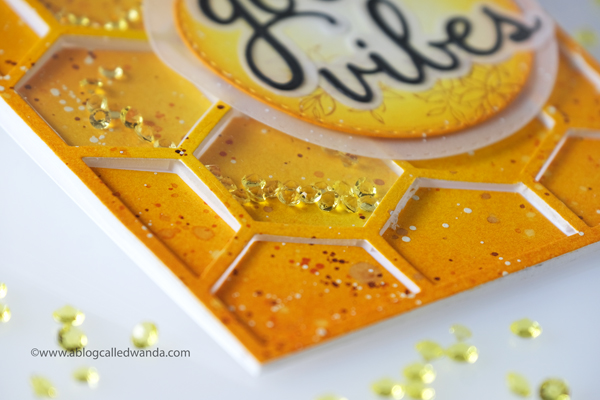
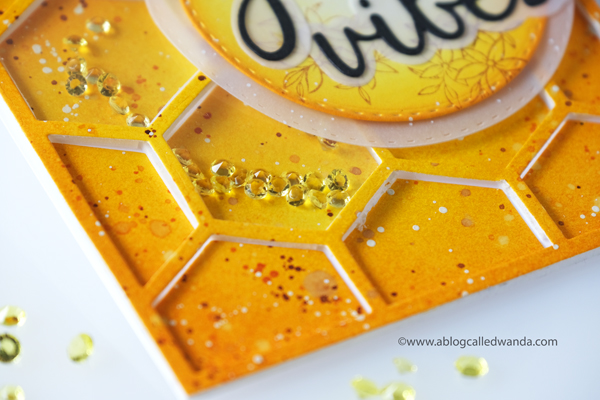
This card took a little bit of construction… I inked my paper, splattered it, blended it, etc. THEN, I used the Simply Hexagons Die to cut it out. Then, I made it into a shaker card… But only three of the hexagons are shakers. The rest are flat inside the outlines of the hexagon frame. I used acetate over those three hexagons and used the gorgeous Pinkfresh Studio Crystals to fill them.
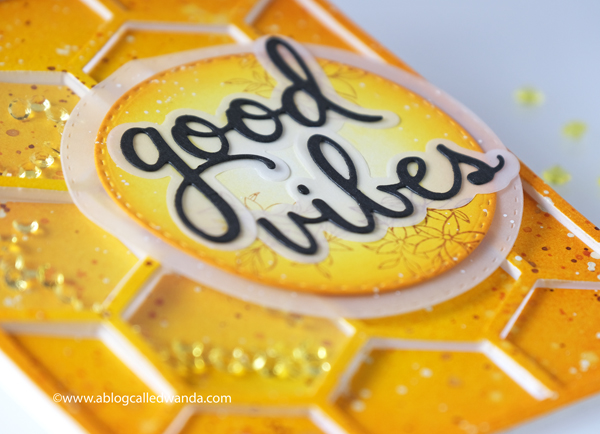
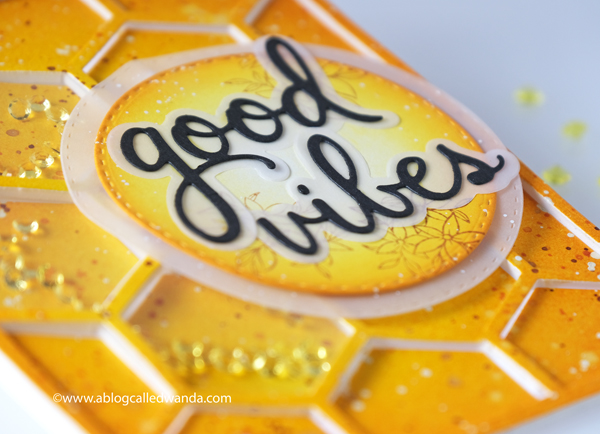
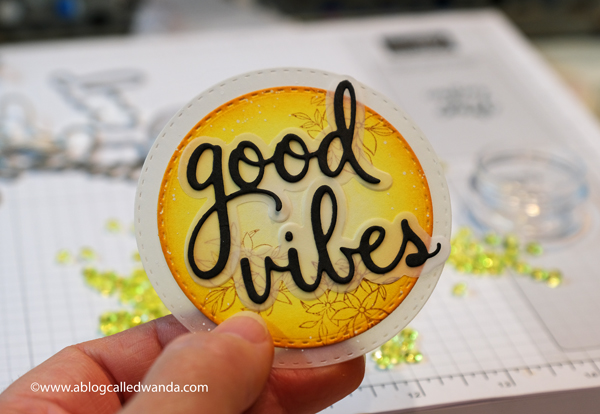
The card needed some black or another dark color to contrast all that yellow so I made my focal point a circle with a sentiment inside! I inked the edges of the circle and also stamped some of the small florals onto that circle.
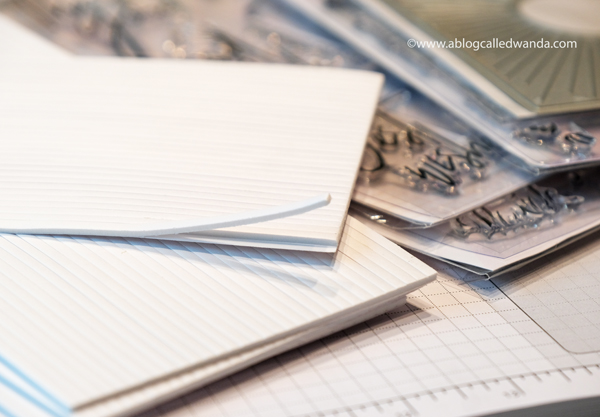
This product right here is LIFE CHANGING!! I just got these a couple weeks ago and wowza. 1/8 inch strips of foam tape!!!! Perfect for shaker cards and long pieces to attach together!!! I used these strips along all the frames of my hexagons to mount it above and to make the shaker card portions.
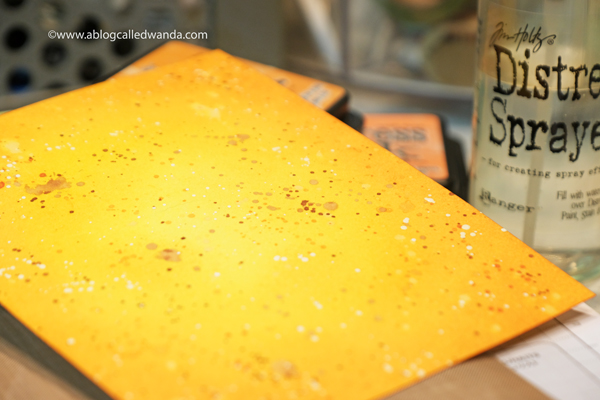
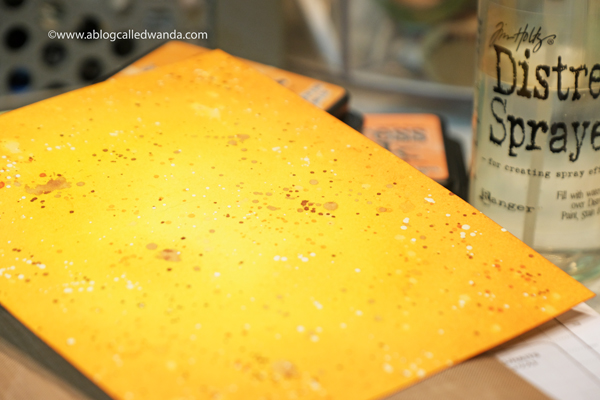
Here is my ink blended background before I jazzed it up with water, ink, and splatters!! Such a sunny and pretty color combination. I'm really into yellow right now for summer projects. I use Bristol Cardstock for a nice even blend.

OOOOH. It's getting good now!
And here it is cut out with that beautiful die! YUM.

Good vibes to you!! Here is a close up of my focal point. I use the Phrase Builder dies A LOT – and love how they have outlines (in vellum) dies too. See the pretty yellow crystals?? Yeah, I spilled them. But what a pretty mess!

Thank you so much for coming by my blog today! If you're new – welcome! I hope I see you again! Thanks for participating in our Blog Hop to launch this awesome new Pinkfresh Studio Release!! Please head over to the Pinkfresh Studio Blog to see more inspiration and all the links to everyone's blogs for today!
PRIZE ALERT!!!! Pinkfresh Studio will be giving away the full release on the Pinkfresh blog, IG feed & YouTube channel… So be sure to check out all the Pinkfresh social media channels!! On each blog today we will be giving away a $25 gift card on each post!! Yes, all of them! The winners will be picked from all the comments. Lea will pull the winners & post them on June 19, 2020 on the Pinkfresh GIVEAWAY PAGE. You must check that page & claim your prize within 2 weeks.
Pinkfresh Studio is offering a FREEBIE DIE with $25+ purchase – this will load automatically into your cart! Also: Pinkfresh Studio is offering FREE US or discounted international shipping on all orders $50+ from June 12th to June 18th!!
CLICK HERE or on the graphic below to see the supplies I used for today's projects! (Affiliate Links Used).