Hi friends! It's one week until Valentine's Day and my craft room has been a flurry of hearts and flowers lately! I really got into Valentine's Day this year for some reason. Made lots of cards and had fun doing it too! I am also inspired by the 30 Day Coloring Challenge which is really making me think, and getting me to create something each day. It's leading to all kinds of fun. I'm rediscovering some of my older stamps and dies and trying new/old techniques. This card I'm sharing today took on a life of it's own last weekend. I thought – I'll just mess around with these cool roses dies. Well, before you know it, I was doing all kinds of Instagram stories and water coloring and inking and distressing and embossing…Oh my! And a card was born. I love it when that happens… When creativity takes it's own organic pathway. Something cool usually emerges. So today's card is a "more is more' creation full of techniques and stuff. It was a labor of love – literally! Ha! This post has lots of pictures, and I also saved the Instagram stories of my step by step process if you want to see that too. Let's go!
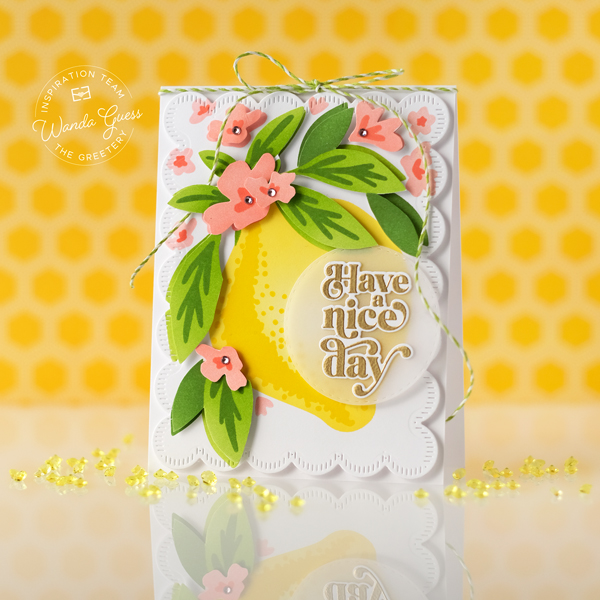
Here is my finished vintage Valentine inspired card!

The finished card is an A2 size white card base. I covered the top of the card with red cardstock. This way, the inside of the card will be white. Then I layered an embossed layer, then the heart, then the roses and love die! This card is heavy! Gonna need some extra postage for this one! LOL. I used loads of distress inks to 'vintage' it up. It was fun!! The roses are in pieces (you'll see later in the post) and I watercolored them, and the leaves. Like I said – SO FUN!

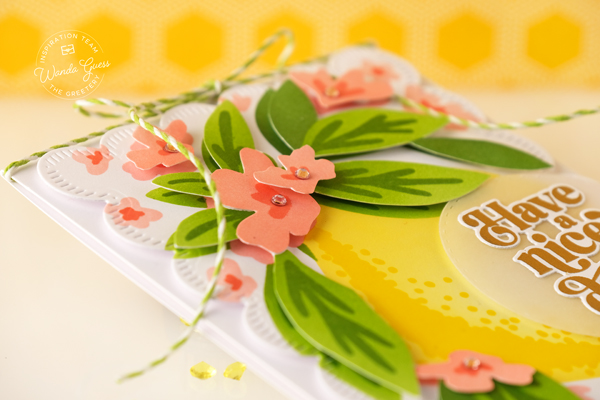
Here's a close up side view of the roses and leaves. Here you can see all the different layers. I glued them together using quick dry clear glue.

In this side view you can see all the card layers. The love die was glued on at each end and left 'free' in the center to float over everything else.

I looooooove these Tim Holtz Ideaology charms! This bird was perfect for a love letter!!


Each rose has four die cut pieces. I watercolored them in shades of dusty pink/rose. One rose is dark in the center and gets lighter and the other one is the opposite. I was experimenting to see which one I liked the best. I die cut all the pieces out of watercolor paper so they would stand up to my coloring. When they're dry, you glue them together! It's magic.

Here are my roses and leaves before all the splattering and distressing! The leaves are in two die cut pieces before you glue them together.

I splattered the roses and leaves with Vintage Photo Distress Ink mixed with water. Then I used a sponge and inked around the edges. YUUUMMMMM.


Now on to the card… I die cut a heart out of watercolor paper. I used the Tim Holtz Random Quotes stamp set because one of the stamps is a love letter in pretty script! It was perfect! I tried two different ones because I didn't like the first one – it was toooo blurry. On the blurry one, I sprayed the heart paper with water first and then stamped into it. For the second one, the one that I ended up using, I inked the stamp, then sprayed the stamp with water, then stamped onto dry paper. Just the right amount of 'messiness' for this project.

The next step was to ink up the heart and splatter it! (Of course)

I had this cool embossing folder from We R Memory Keepers in my stash. It looks like old wallpaper to me! I embossed it onto watercolor paper. Then I used Distress Inks and water to water color each of the roses! LOVE!!! Then I distressed the edges and inked everything up. Doesn't it look like I just peeled it off the wall of an old house!!??

Now it was finally time to assemble! I glued on all the pieces with glue and foam tape! Then I added a few pearls! I'm now thinking that instead of a Valentine, this might make a great wedding card?!


And some random photos of stuff! The light was so pretty the day I was photographing this project!!


If you're still reading along – yay! It was a long post! I was so excited to share this with you! Hope you have a lovely day! It's almost the weekend! XOXO


