• Taylored Expressions Challenge #113

    Hello Everyone! Today's card is my entry into the Taylored Expressions Challenge – #113. I liked this sketch - cuz there's a lot going on! I had purchased, but not used yet, a new paper pack from Die Cuts With a View. It's called Songbird and I got it at Michael's. It has some really cute little sentiments and the colors are great. It also has some sparkle to it!

    Here is the sketch image:


    Aaa


    Here is my take on the challenge!


    C


    A side view and a little peek inside! I added lots of dimension with all the layers and my favorite foam tape. Isn't that bird the cutest thing? The sentiment only said "Happy" so I added "Birthday" with a PTI stamp and some brown ink.

    D


    Close up of the flower embellishments:


    E


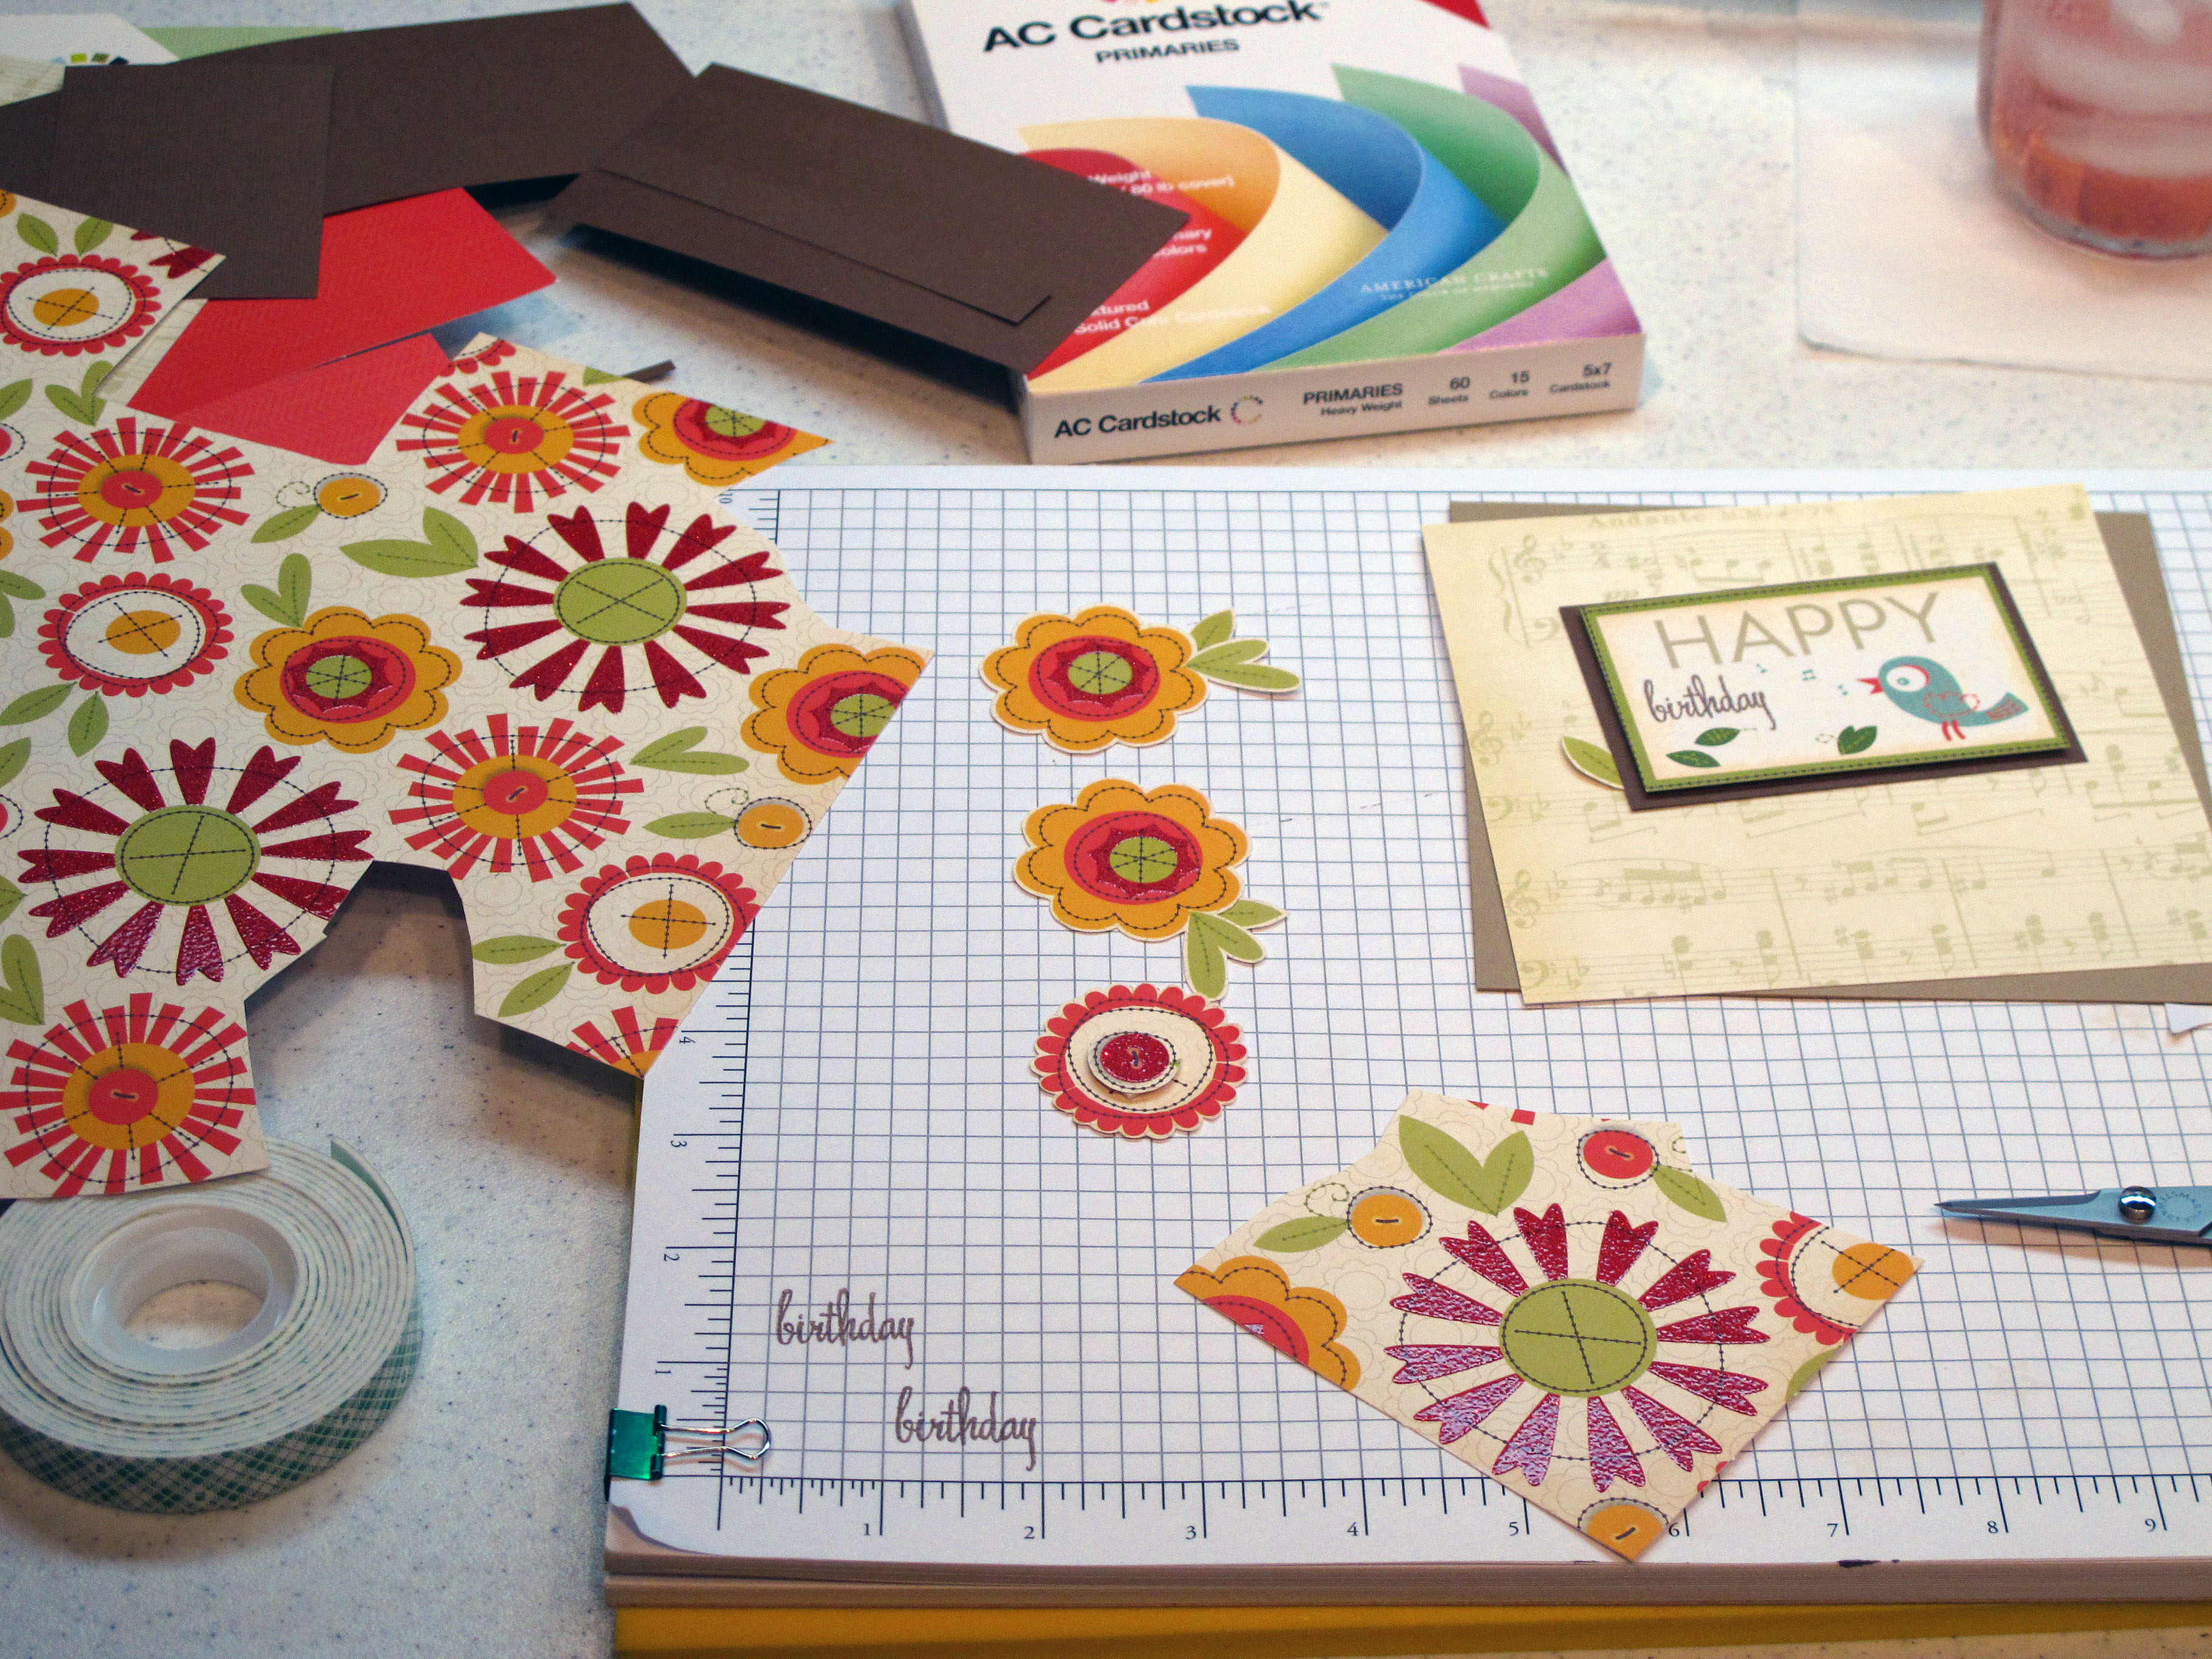
    One thing I do a lot is make my own embellishments out of patterned paper. This paper pattern scale is way too big for a card. But, the flowers individually are perfect for adding on to a card! I cut out three of the flowers and popped them with foam tape. I also cut out extra leaves to add to the top part of the card since I liked that little extra green for balance.

    G


    This is an extra card I'm throwing in – just a simple card with a nice sentiment – not too busy but nice nevertheless. I colored the Stampin' Up image with my Copic markers and then cut the shapes with my nestabilities (LOVE them). I cut the card out of the giant sizzix square – also from Stampin' Up.

    Z

    Have a fab day!


  • Shabby Tea Room Challenge – week #10 – Stars and Stripes

    Oh beautiful for spacious skies, for amber waves of grain…for purple mountains majesty, across the fruited plain…America, America, God shed His grace on thee! What a great song and what a nice sentiment as we enter the most patriotic of seasons – Summer! We have Memorial Day, Fourth of July, and then Labor Day – all purely American traditions.

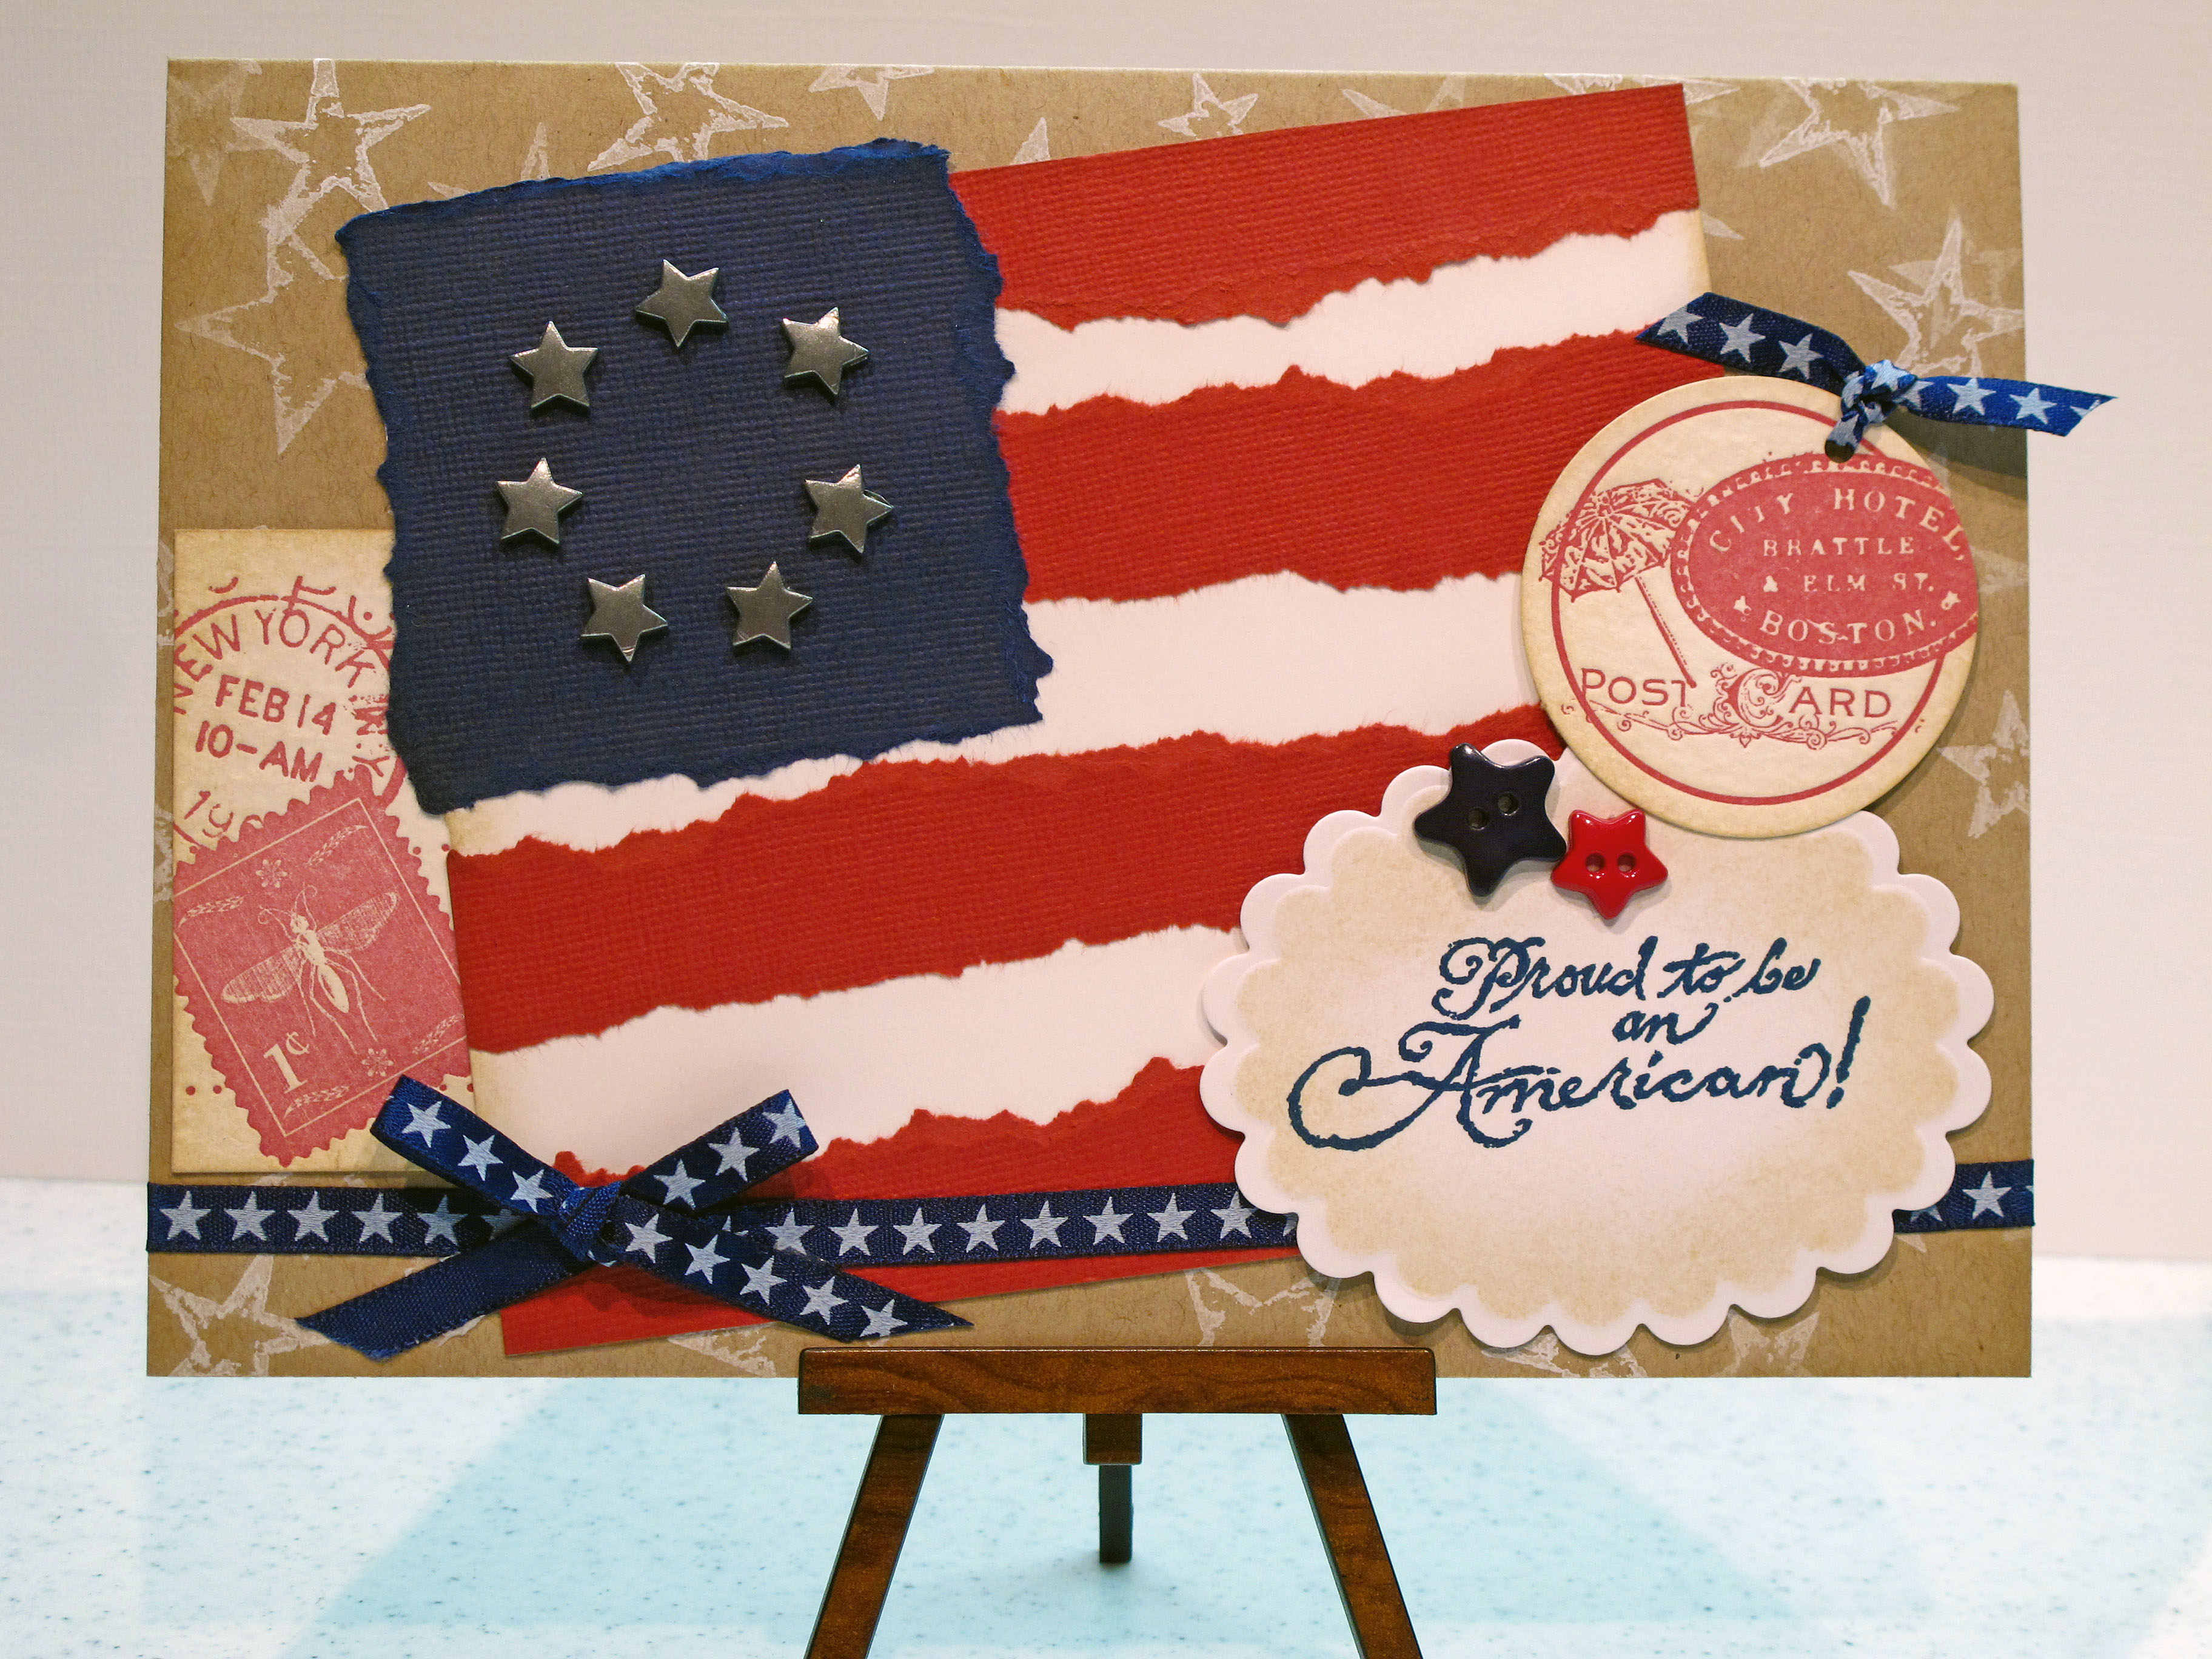
    Today my card is my entry for The Shabby Tea Room, Week #10 Challenge. The "rules" were to use either Stars & Stripes or Red, White and Blue. So, of course, I did both! Funny that I had just made a Red, White and Blue card a week or so ago…hmmm…must be something on everyone's mind. It's a great combo – how can you go wrong?


    Here is my card for today:


    A 

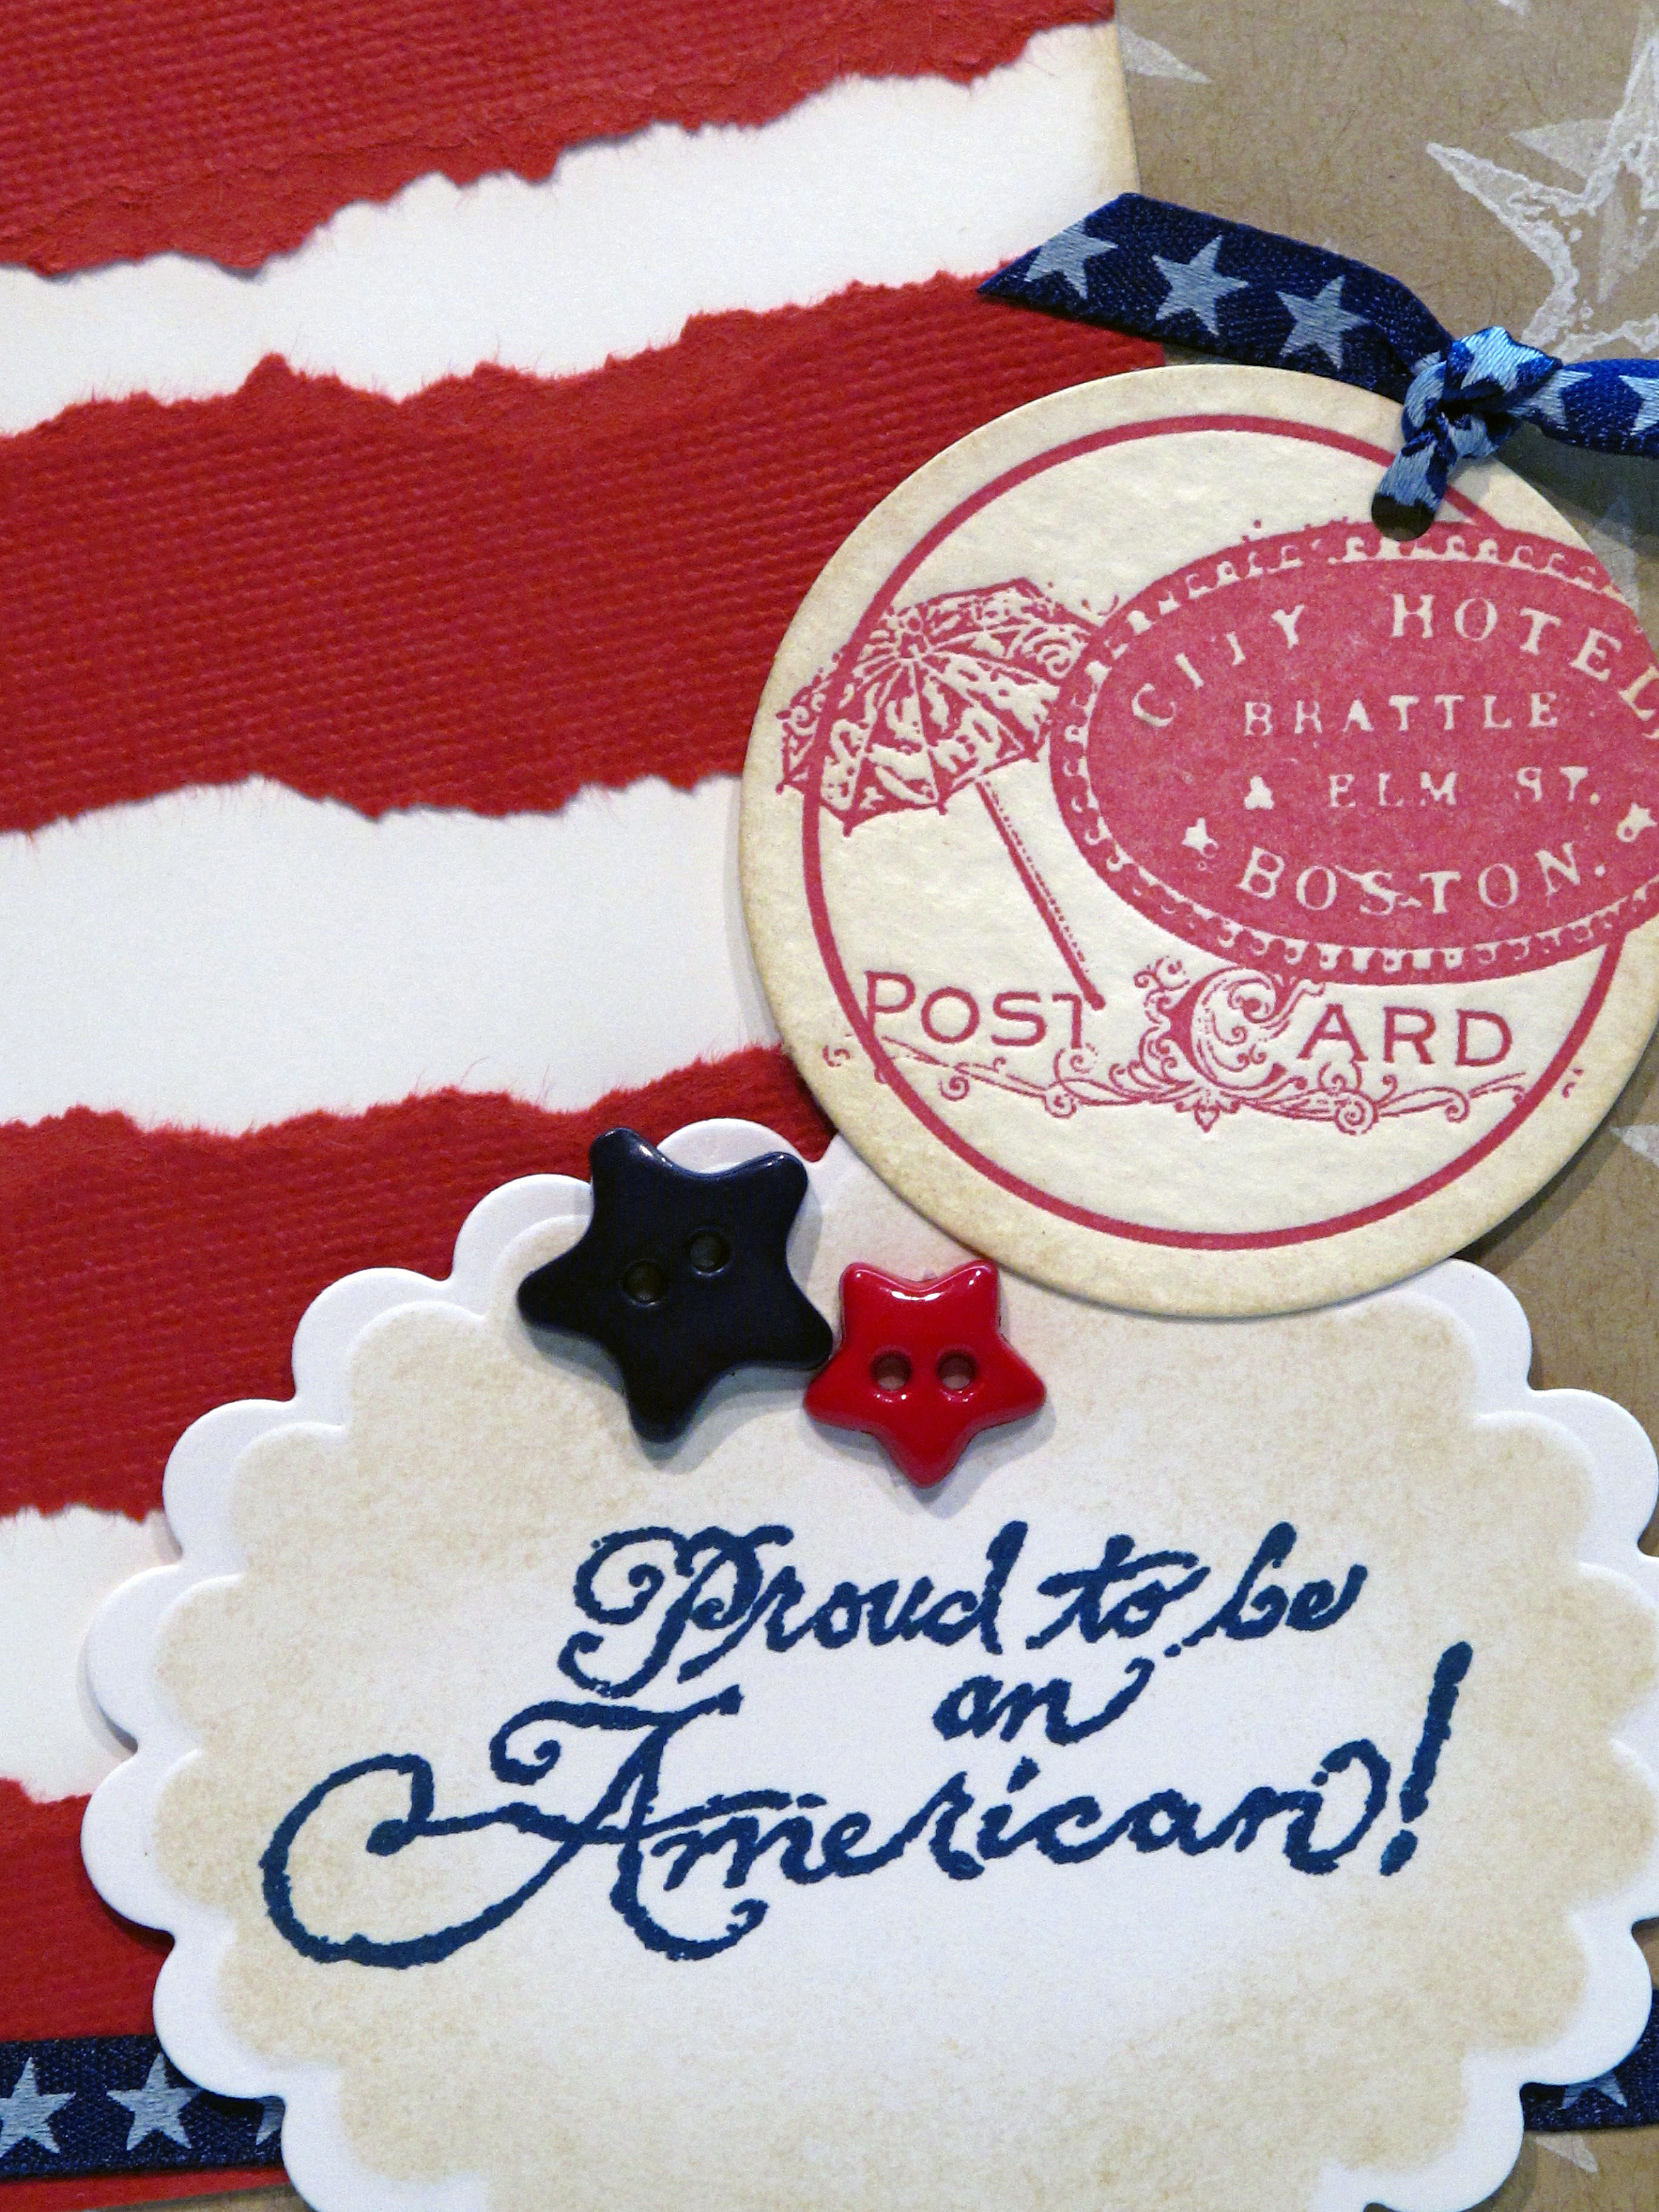
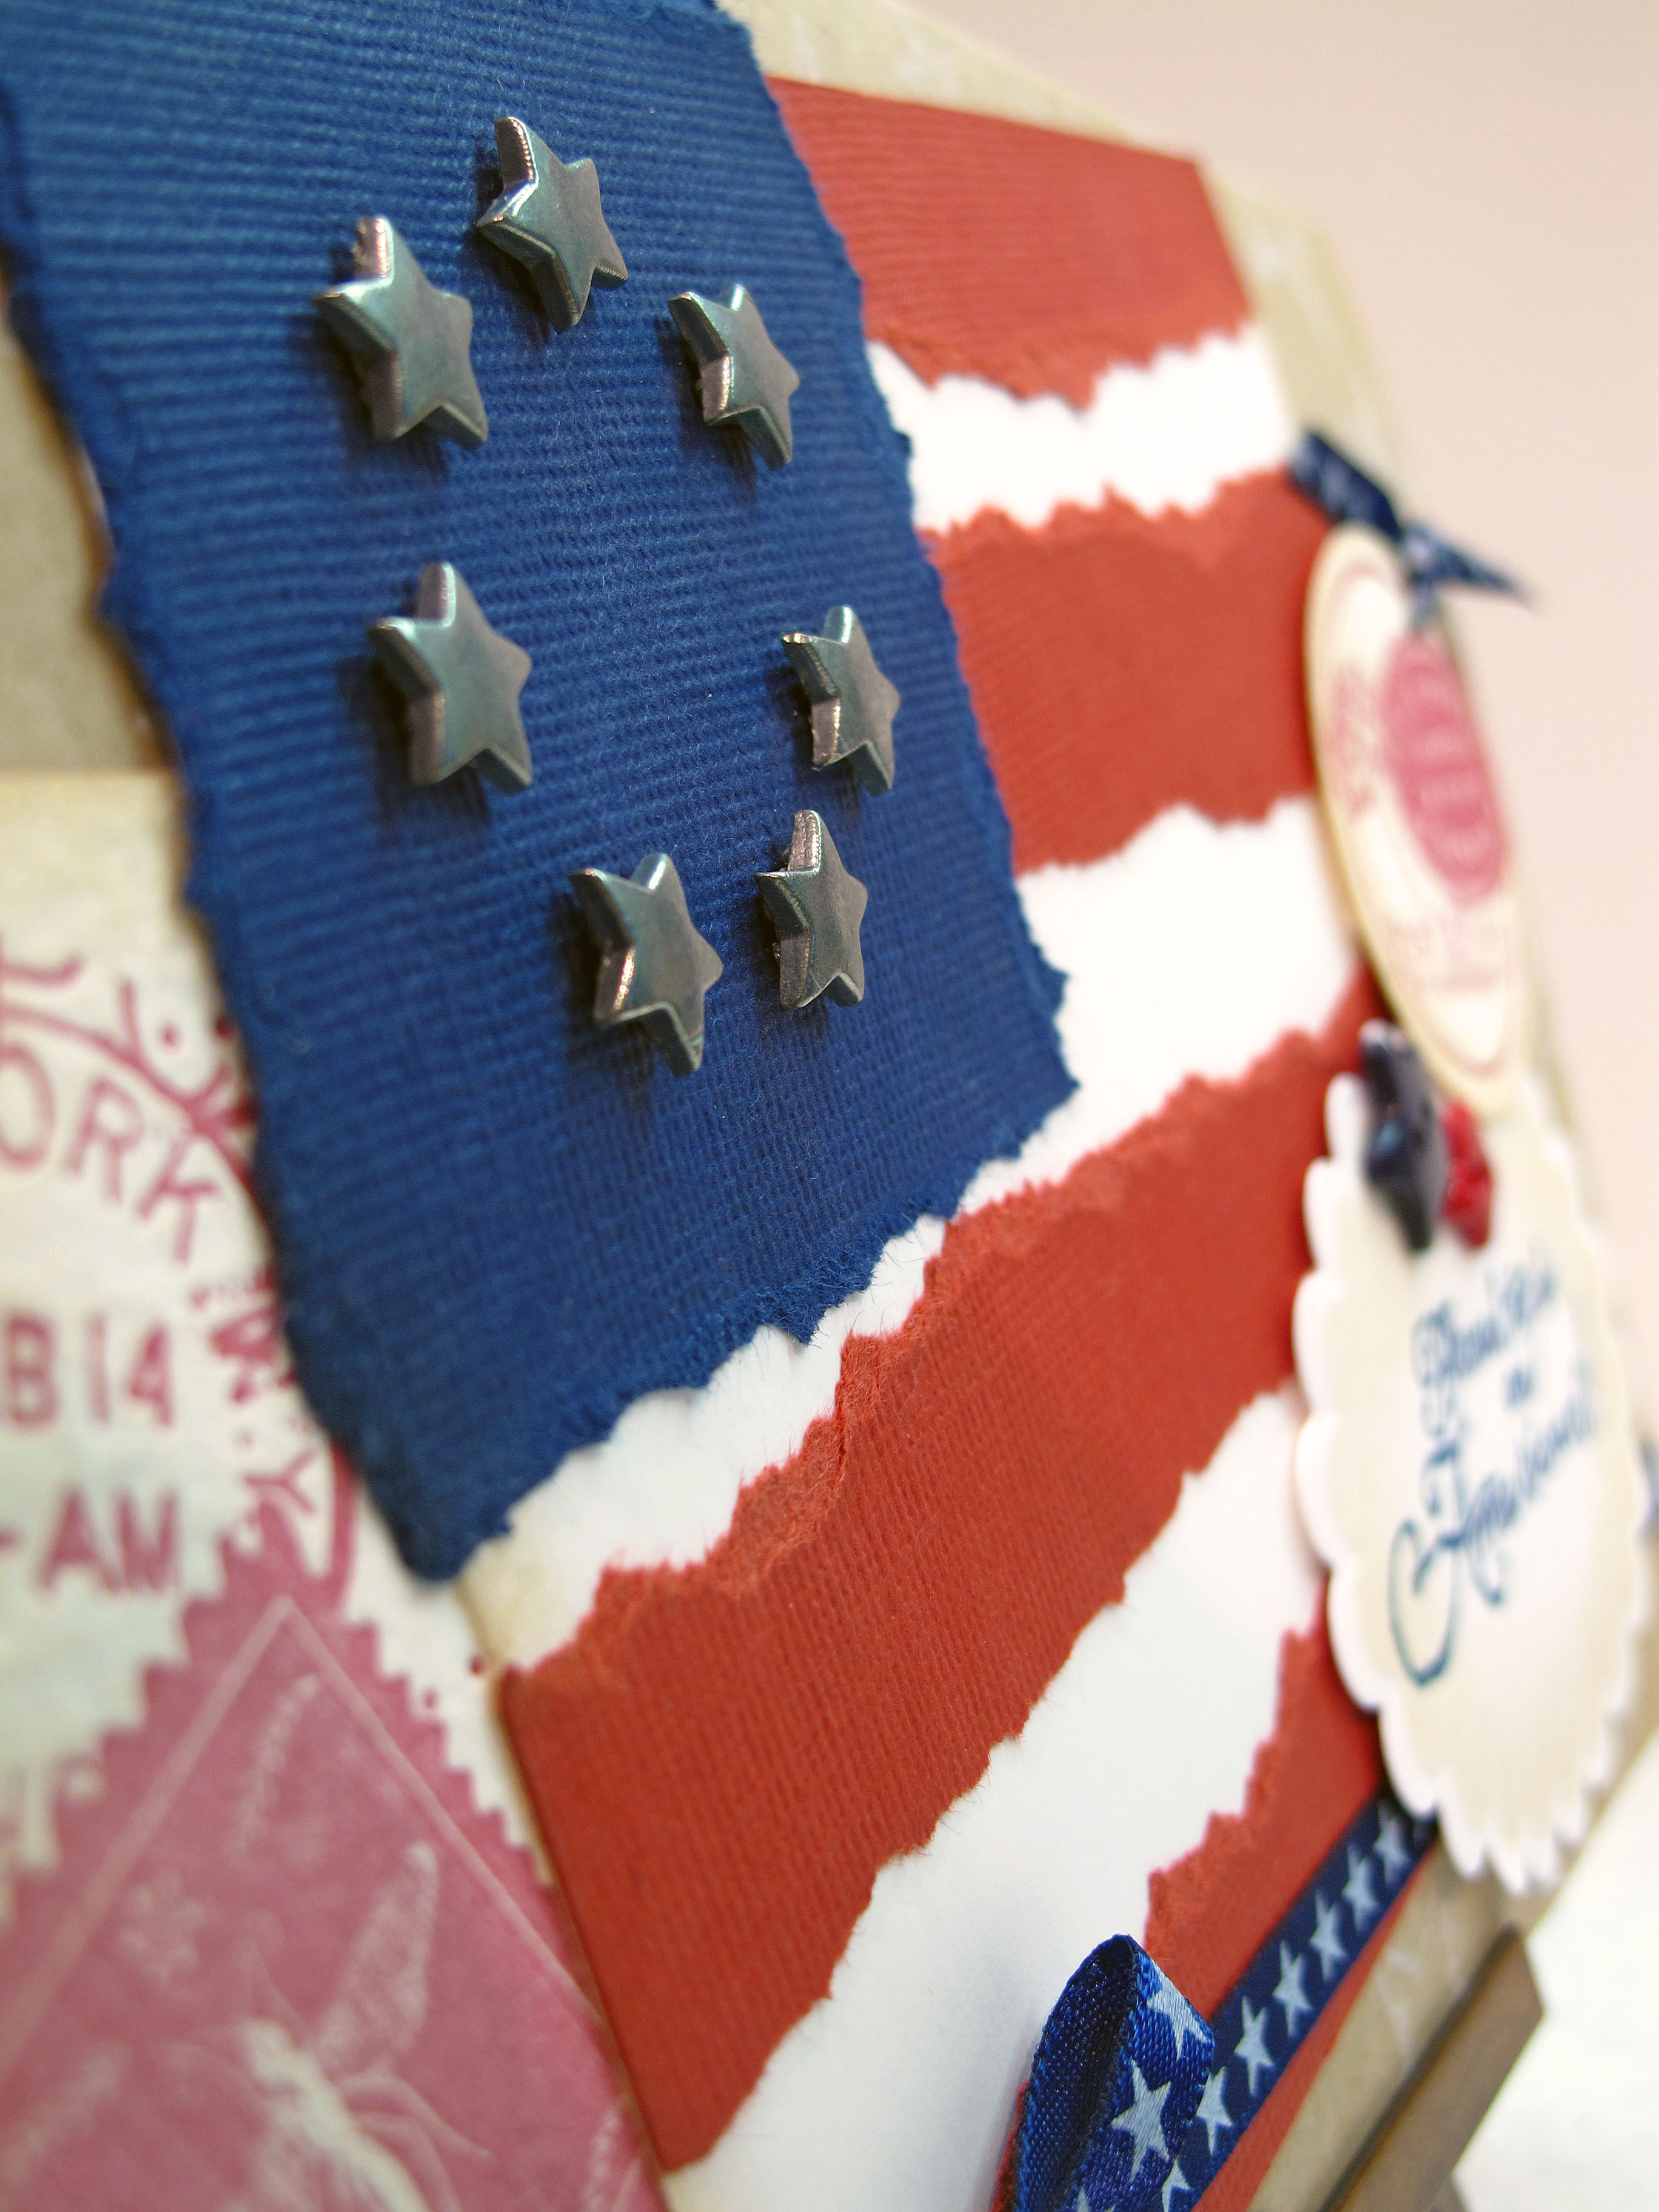
    I started by making the big flag in the background. I simply tore strips of bazzill paper to make a rough flag. I used silver star shaped brads to make the blue part. Reminiscent of one of our first flags. I had the old travel tags that say New York and Boston. I stamped the sentiment in Denim blue Adirondack ink. The background is kraft paper with stars stamped in white pigment ink.


    IMG_1840

    IMG_1841


    The stars and stripes flying proudly in our front yard! God Bless America!


    IMG_1862
     

  • I’m back – with a neat project!

    Hi everybody! It's been a busy weekend and I cannot believe it's Sunday night again. Dang. Where does the weekend go? It was a nice weekend full of activities. Friday  night the DH and I went to the movies after work and saw Ironman 2. It was great – and I must say I am a huge Robert Downey Jr. fan! It was nice to be out and about on a Friday night. We don't usually do that.

    Yesterday morning I went to a monster craft garage sale. I didn't buy anything, but it was fun to look. There were so many peeps there, that I had to park almost two blocks away! After that it was time to do errands (purchased items for today's project among other stuff). Last night was a pool party for Jilli's husband's retirement celebration. It was a fun party and it was nice to meet the rest of her family.

    Today I have been crafting up a storm and doing laundry. It's hot here! All of sudden it went to 80 degrees! I will just say, hopefully for the last time, allergies suck. Okay, got that out of the way. Achoo.  Achoo. Achoo.

    For the past 6-7 years I have worked at the Rubber Stamp Convention here in Sacramento. It is put on by Kat from A Stamp in the Hand Company. It is something I look forward to every year. I have become friends with the awesome gals there and even visit them when I'm in LA. I can't wait to see them next weekend when the show comes to town for 2010.  Holla! For several years I worked the register for ASITH booth. Last year I worked at the Denami booth. This year I will be demo'ing for a stamp company in their booth. SO…this is a long story leading to today's project!

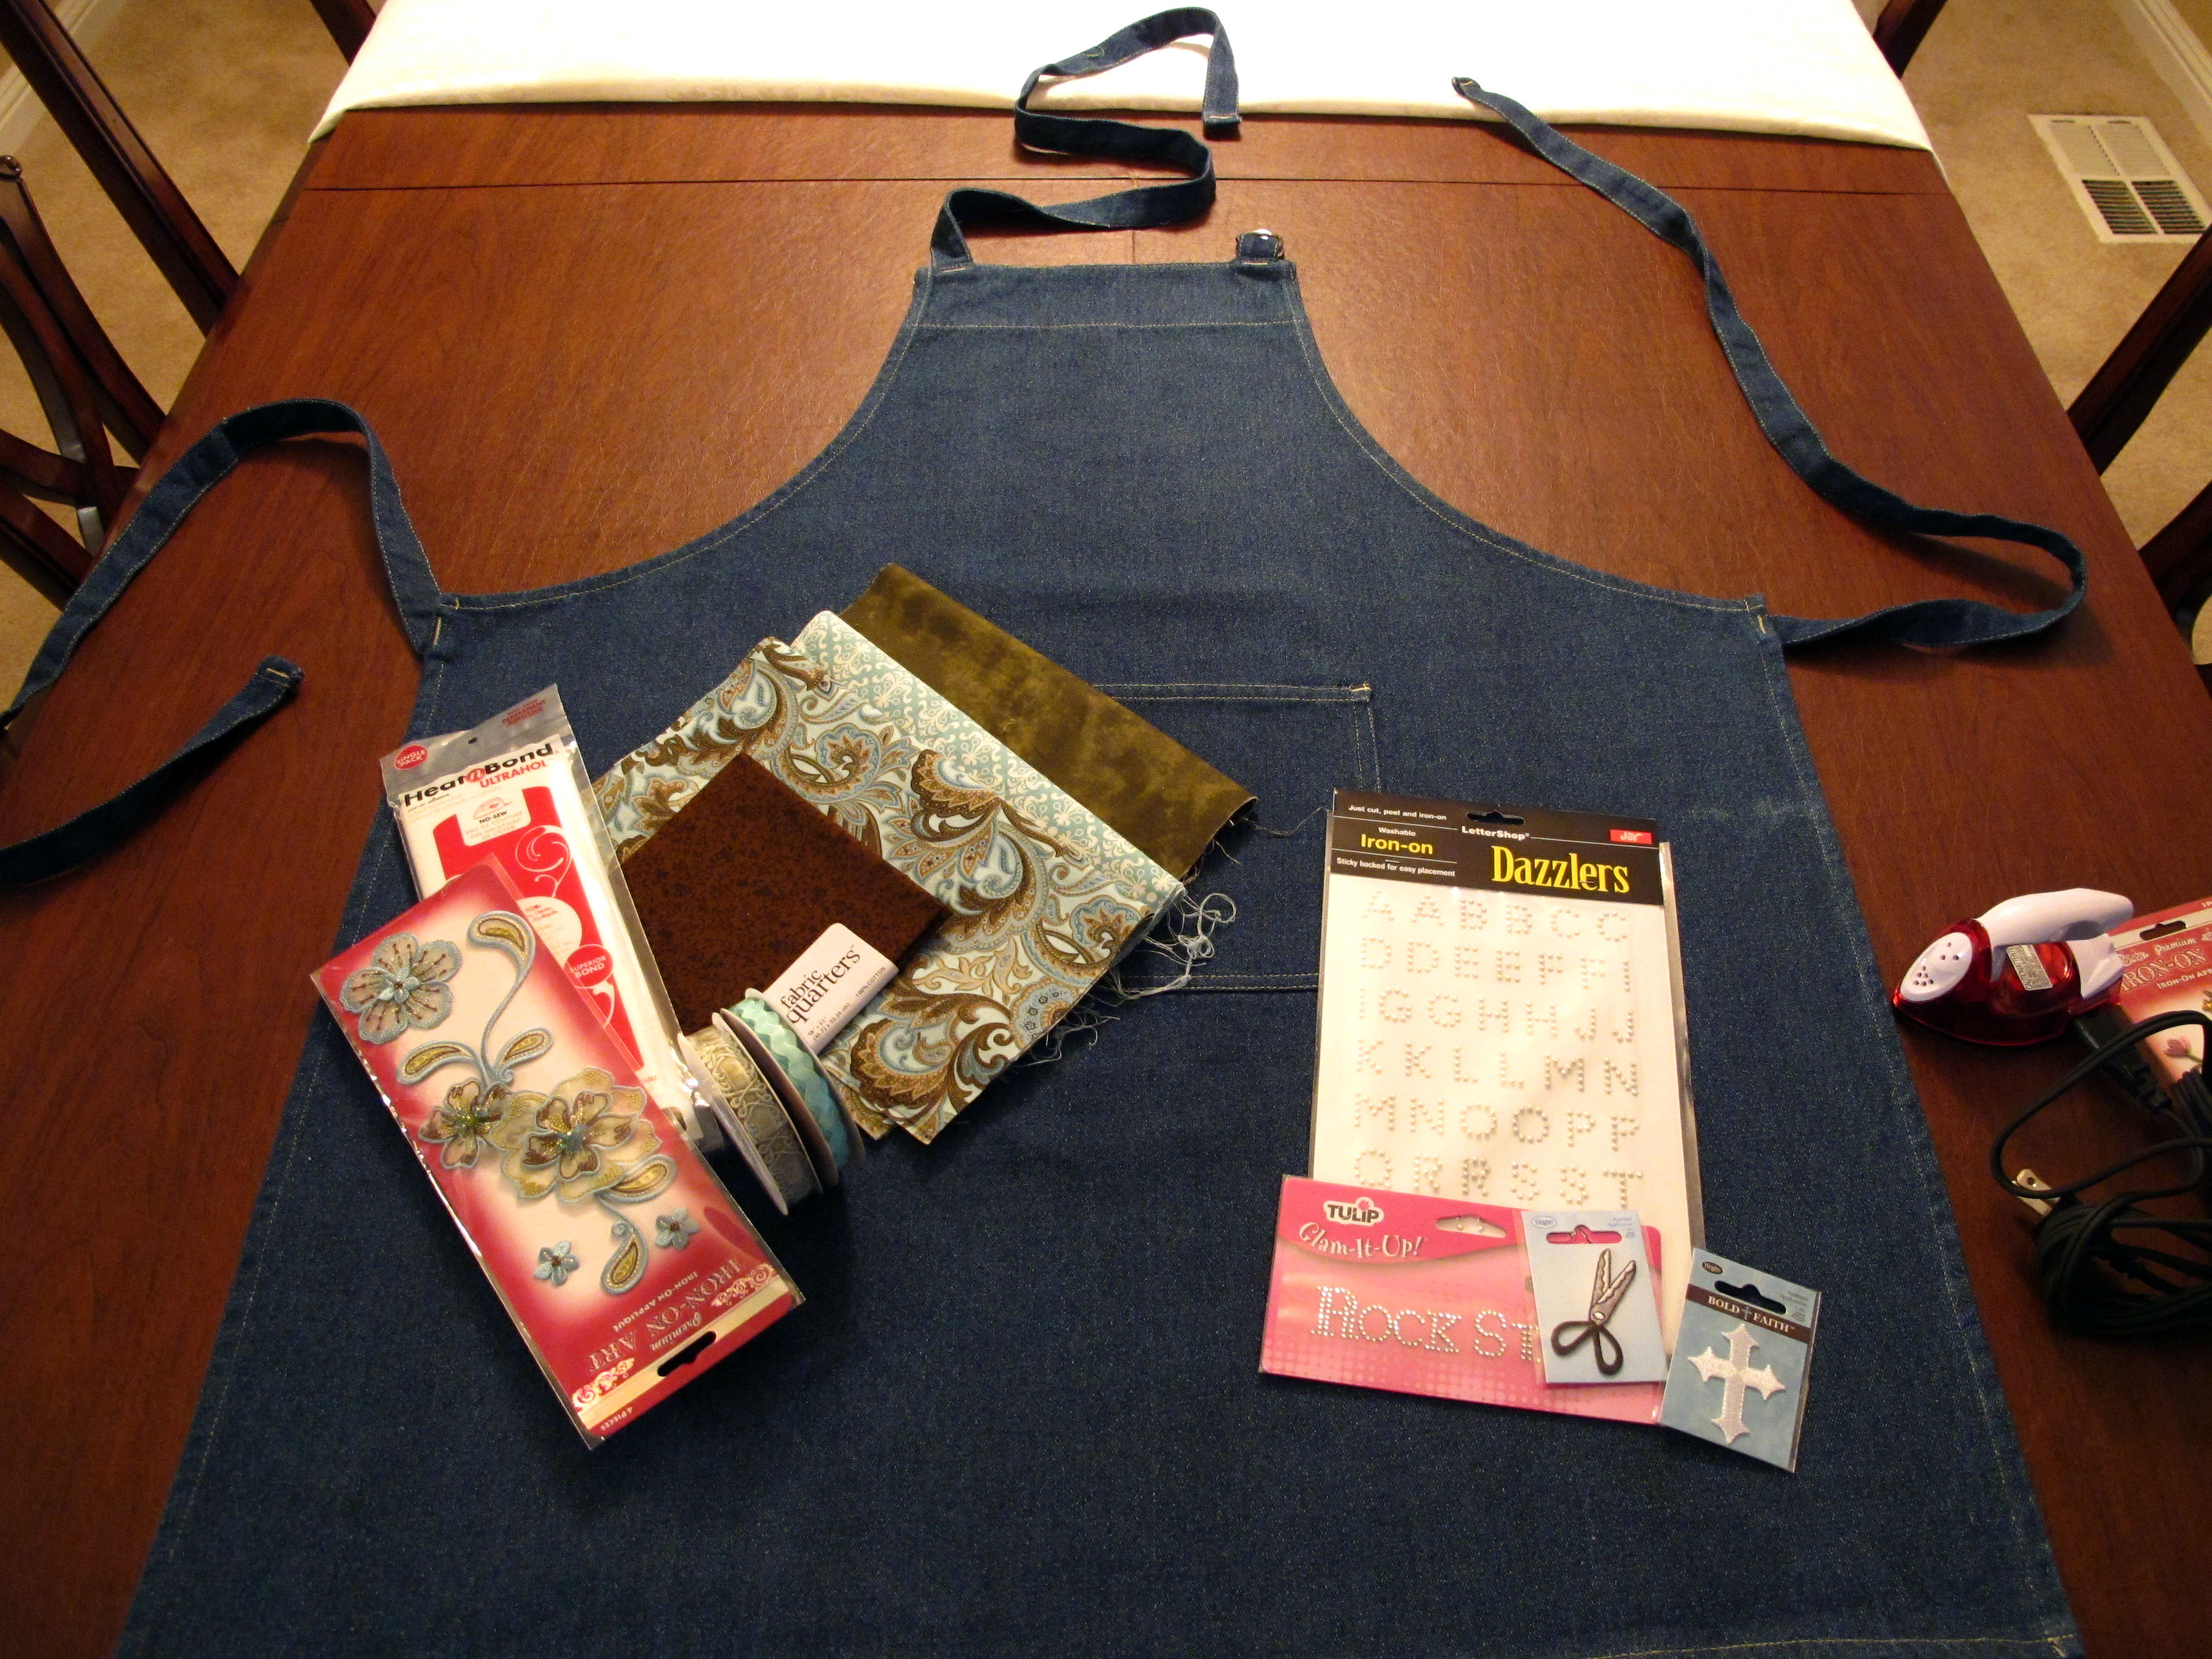
    I have not been able to find my stamping apron. I used it for many years when I used to teach classes all the time.  I've looked high and low and it's nowhere to be seen. DING. Light bulb! Make a new one! The idea came to me to have a denim one this time. My old one was pink. The ideas just kept popping int my head, and after a trip to the kitchen store and Joann's – voila!

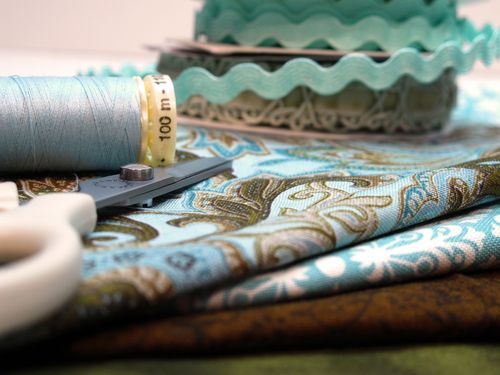
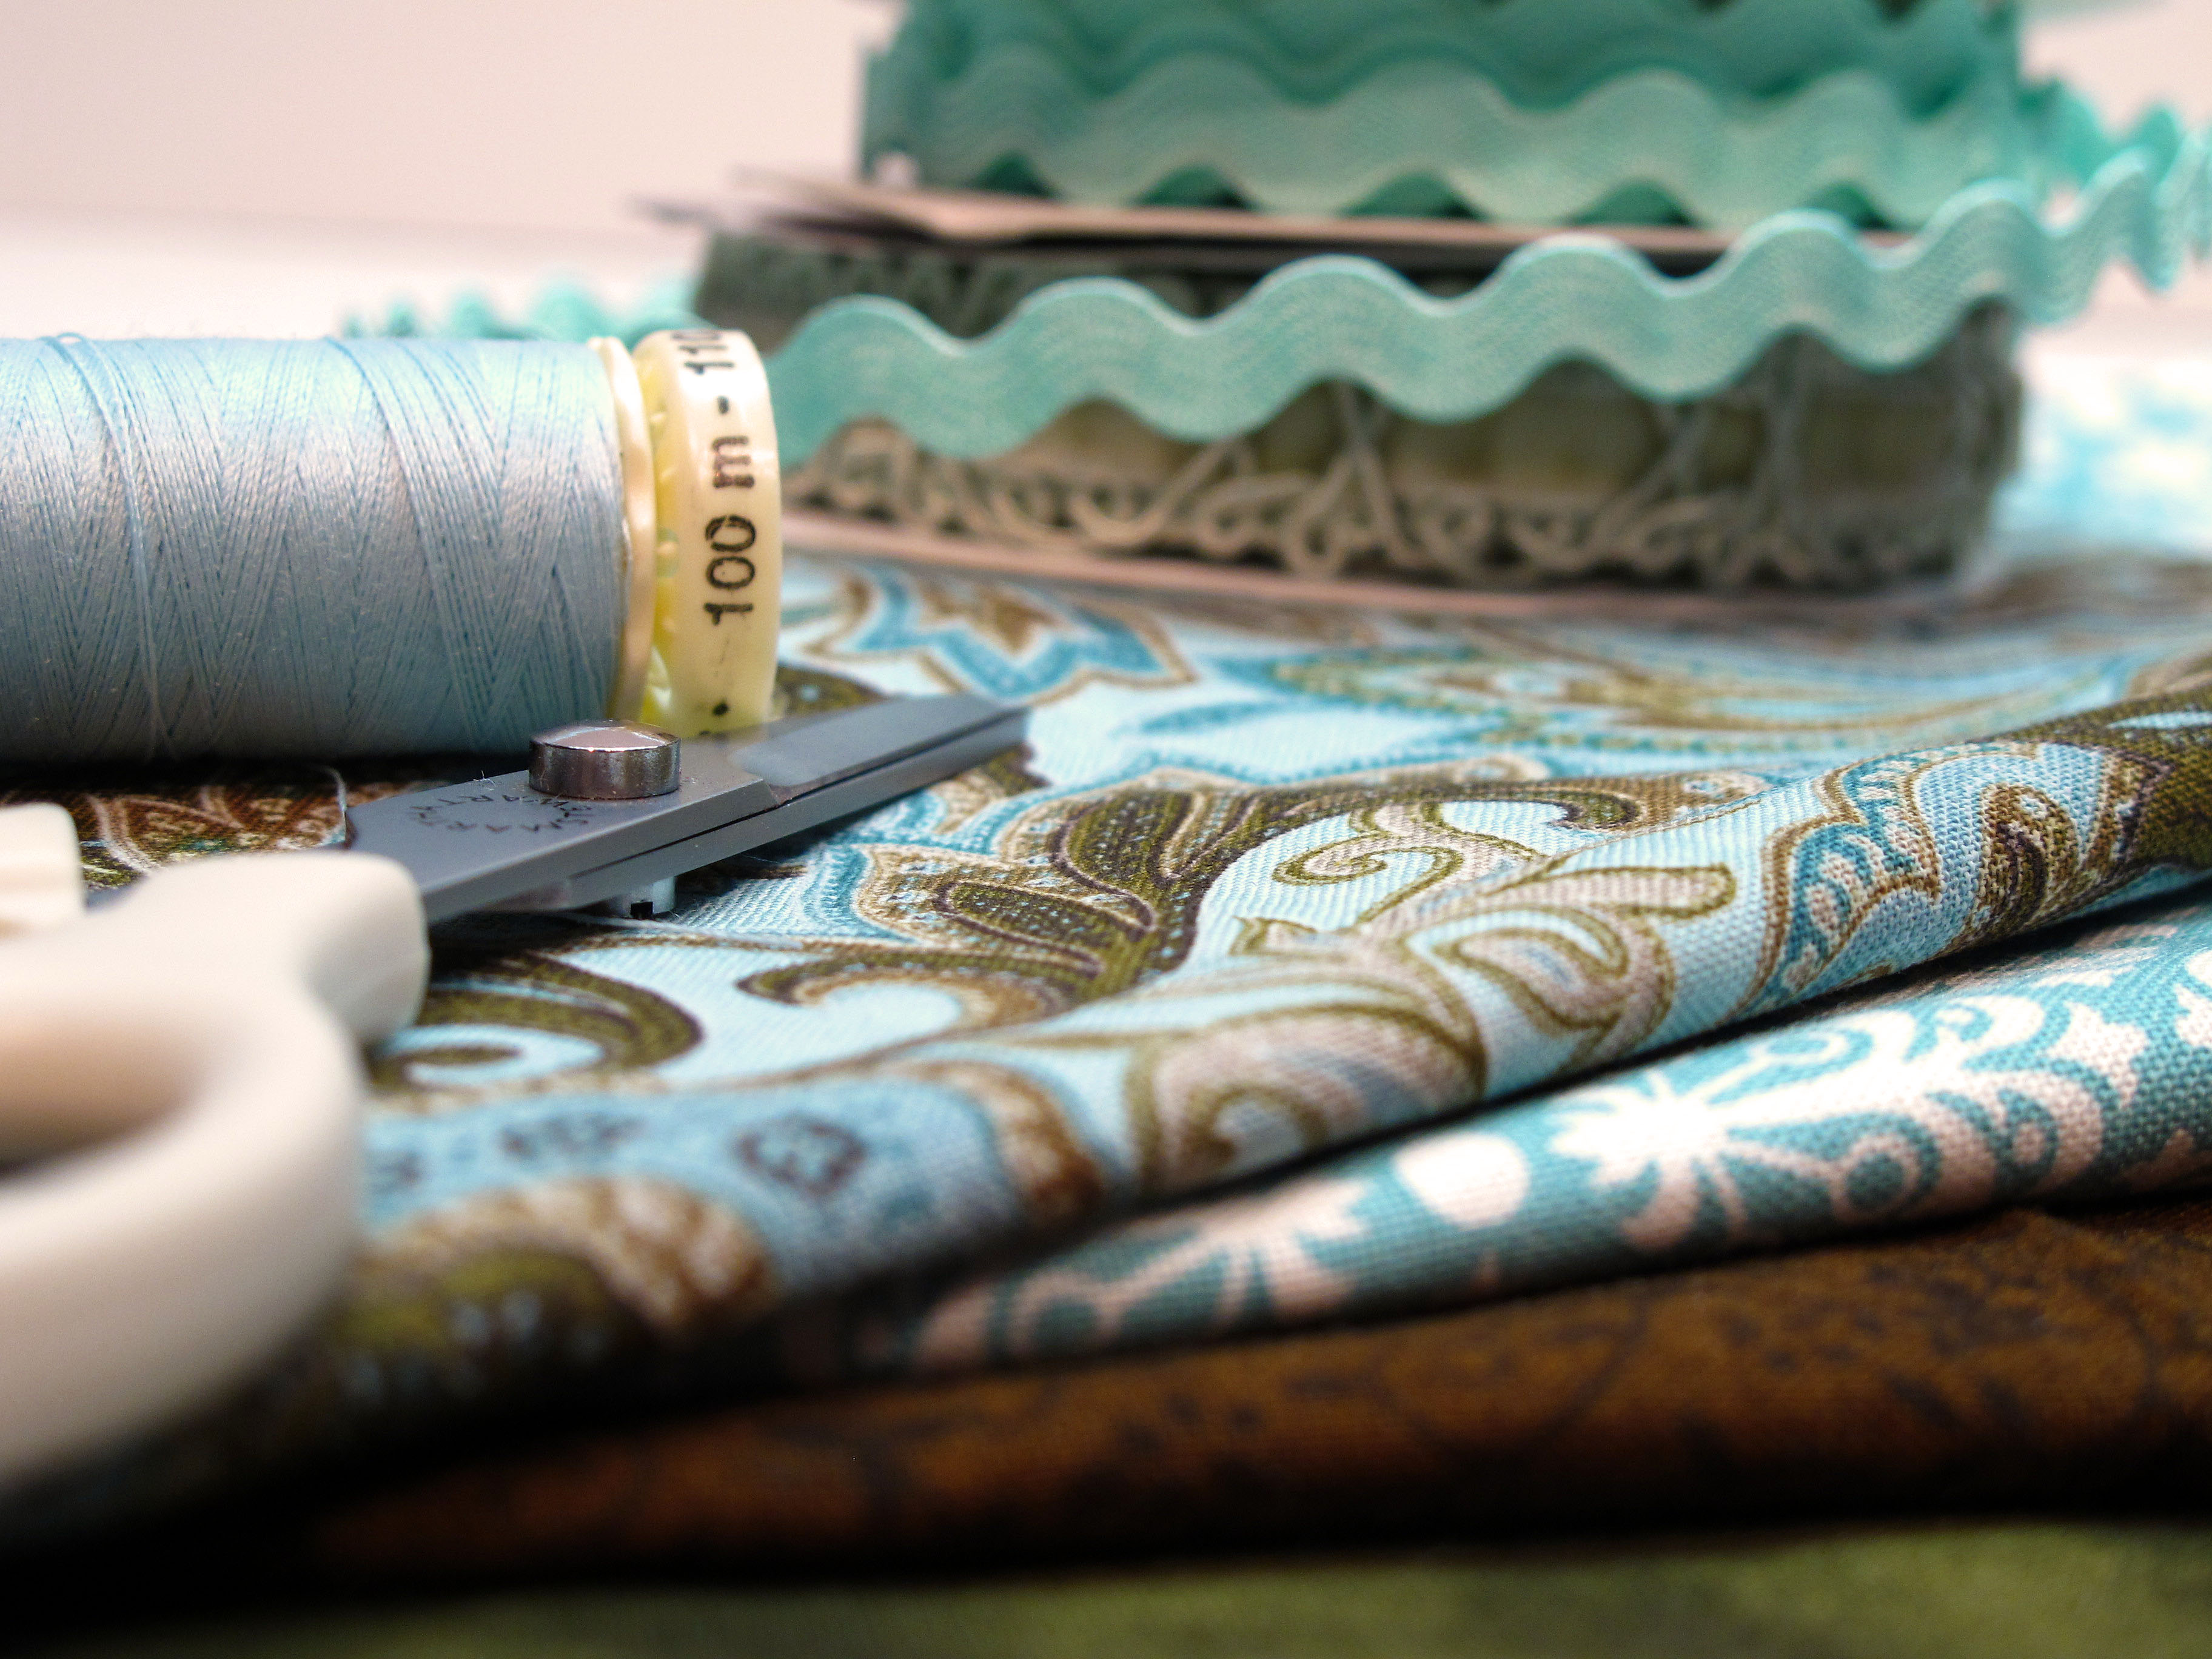
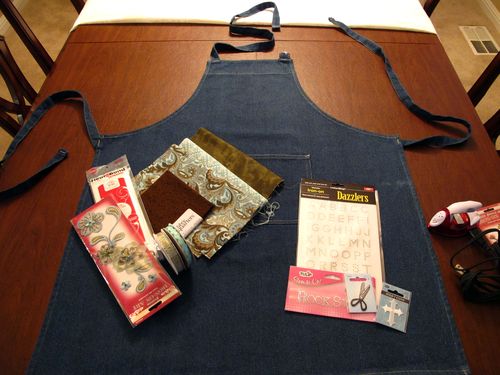
    The supplies…

    A


    The blank canvas…and the planning stage…
    B


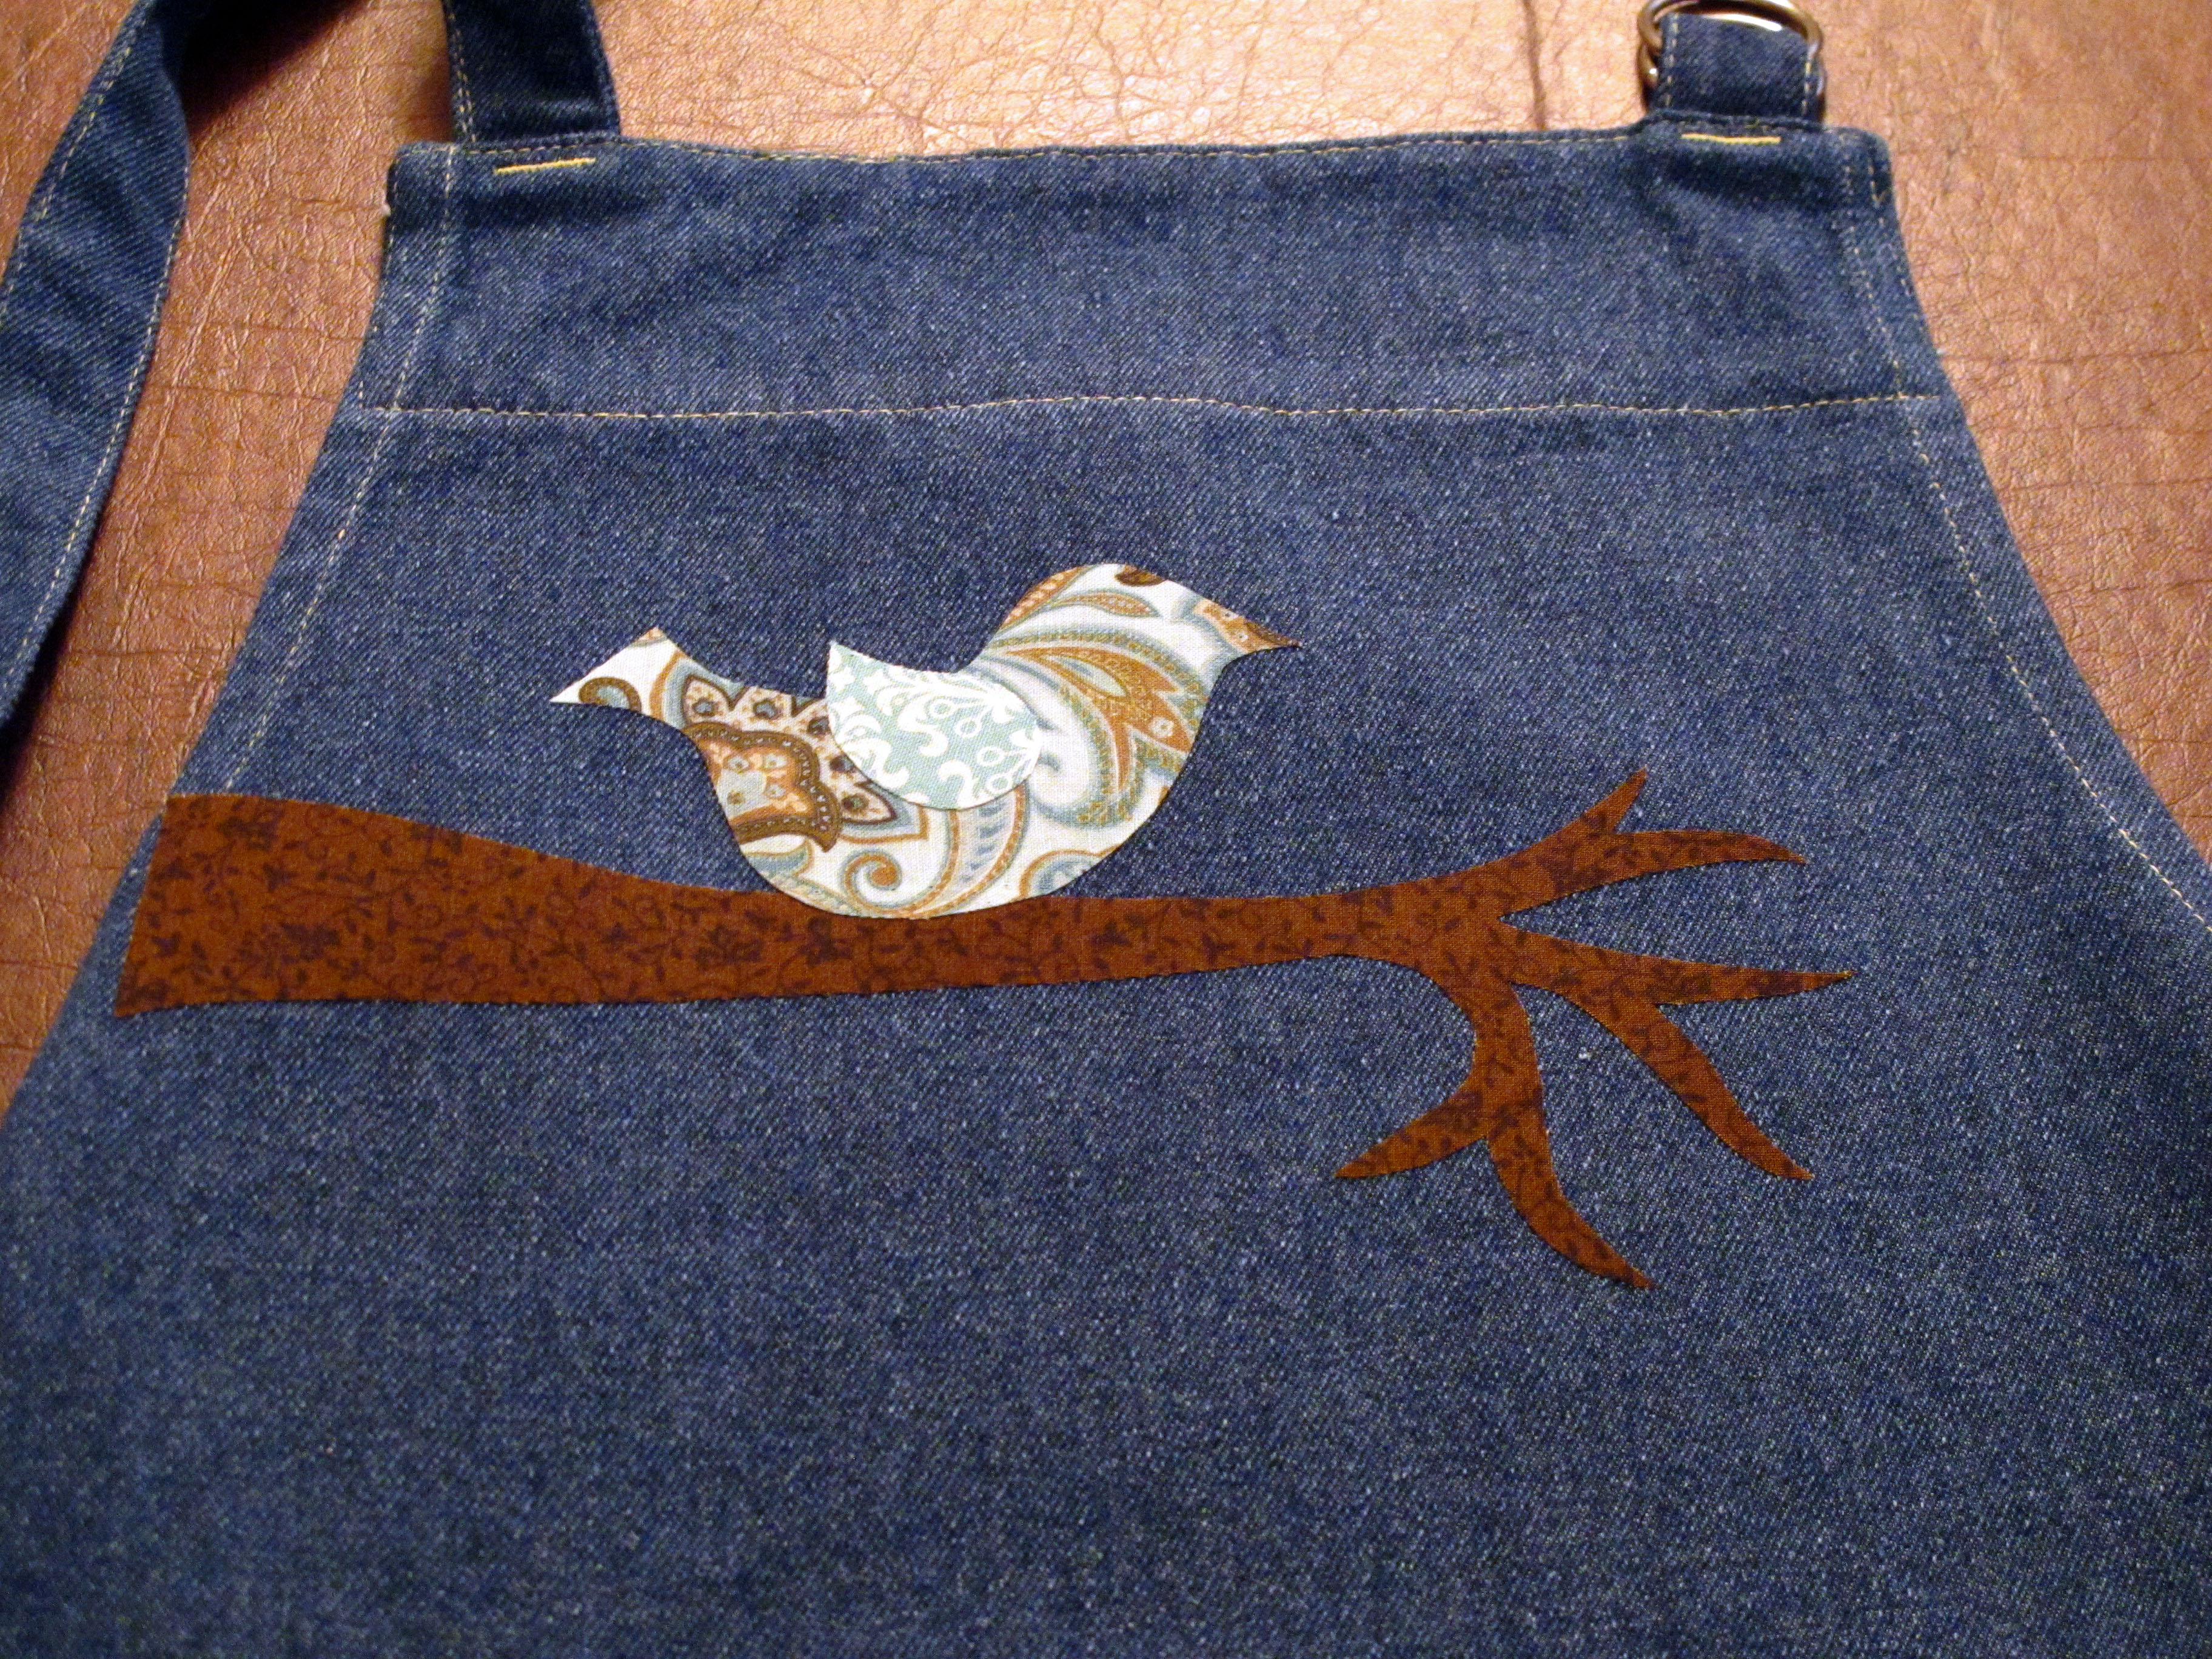
    The templates…I drew the branch and leaf templates free hand. The bird template is copied from a piece of chipboard I had. I didn't end up using this pretty green ribbon.

    C


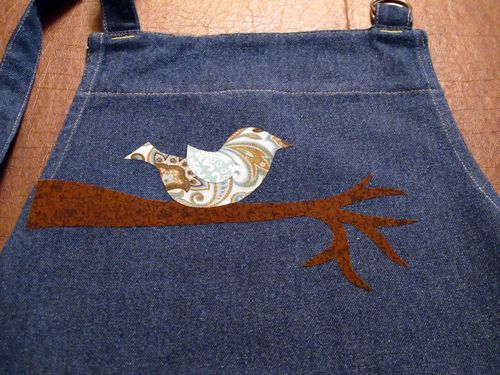
    The first few pieces are starting to come together!
    D


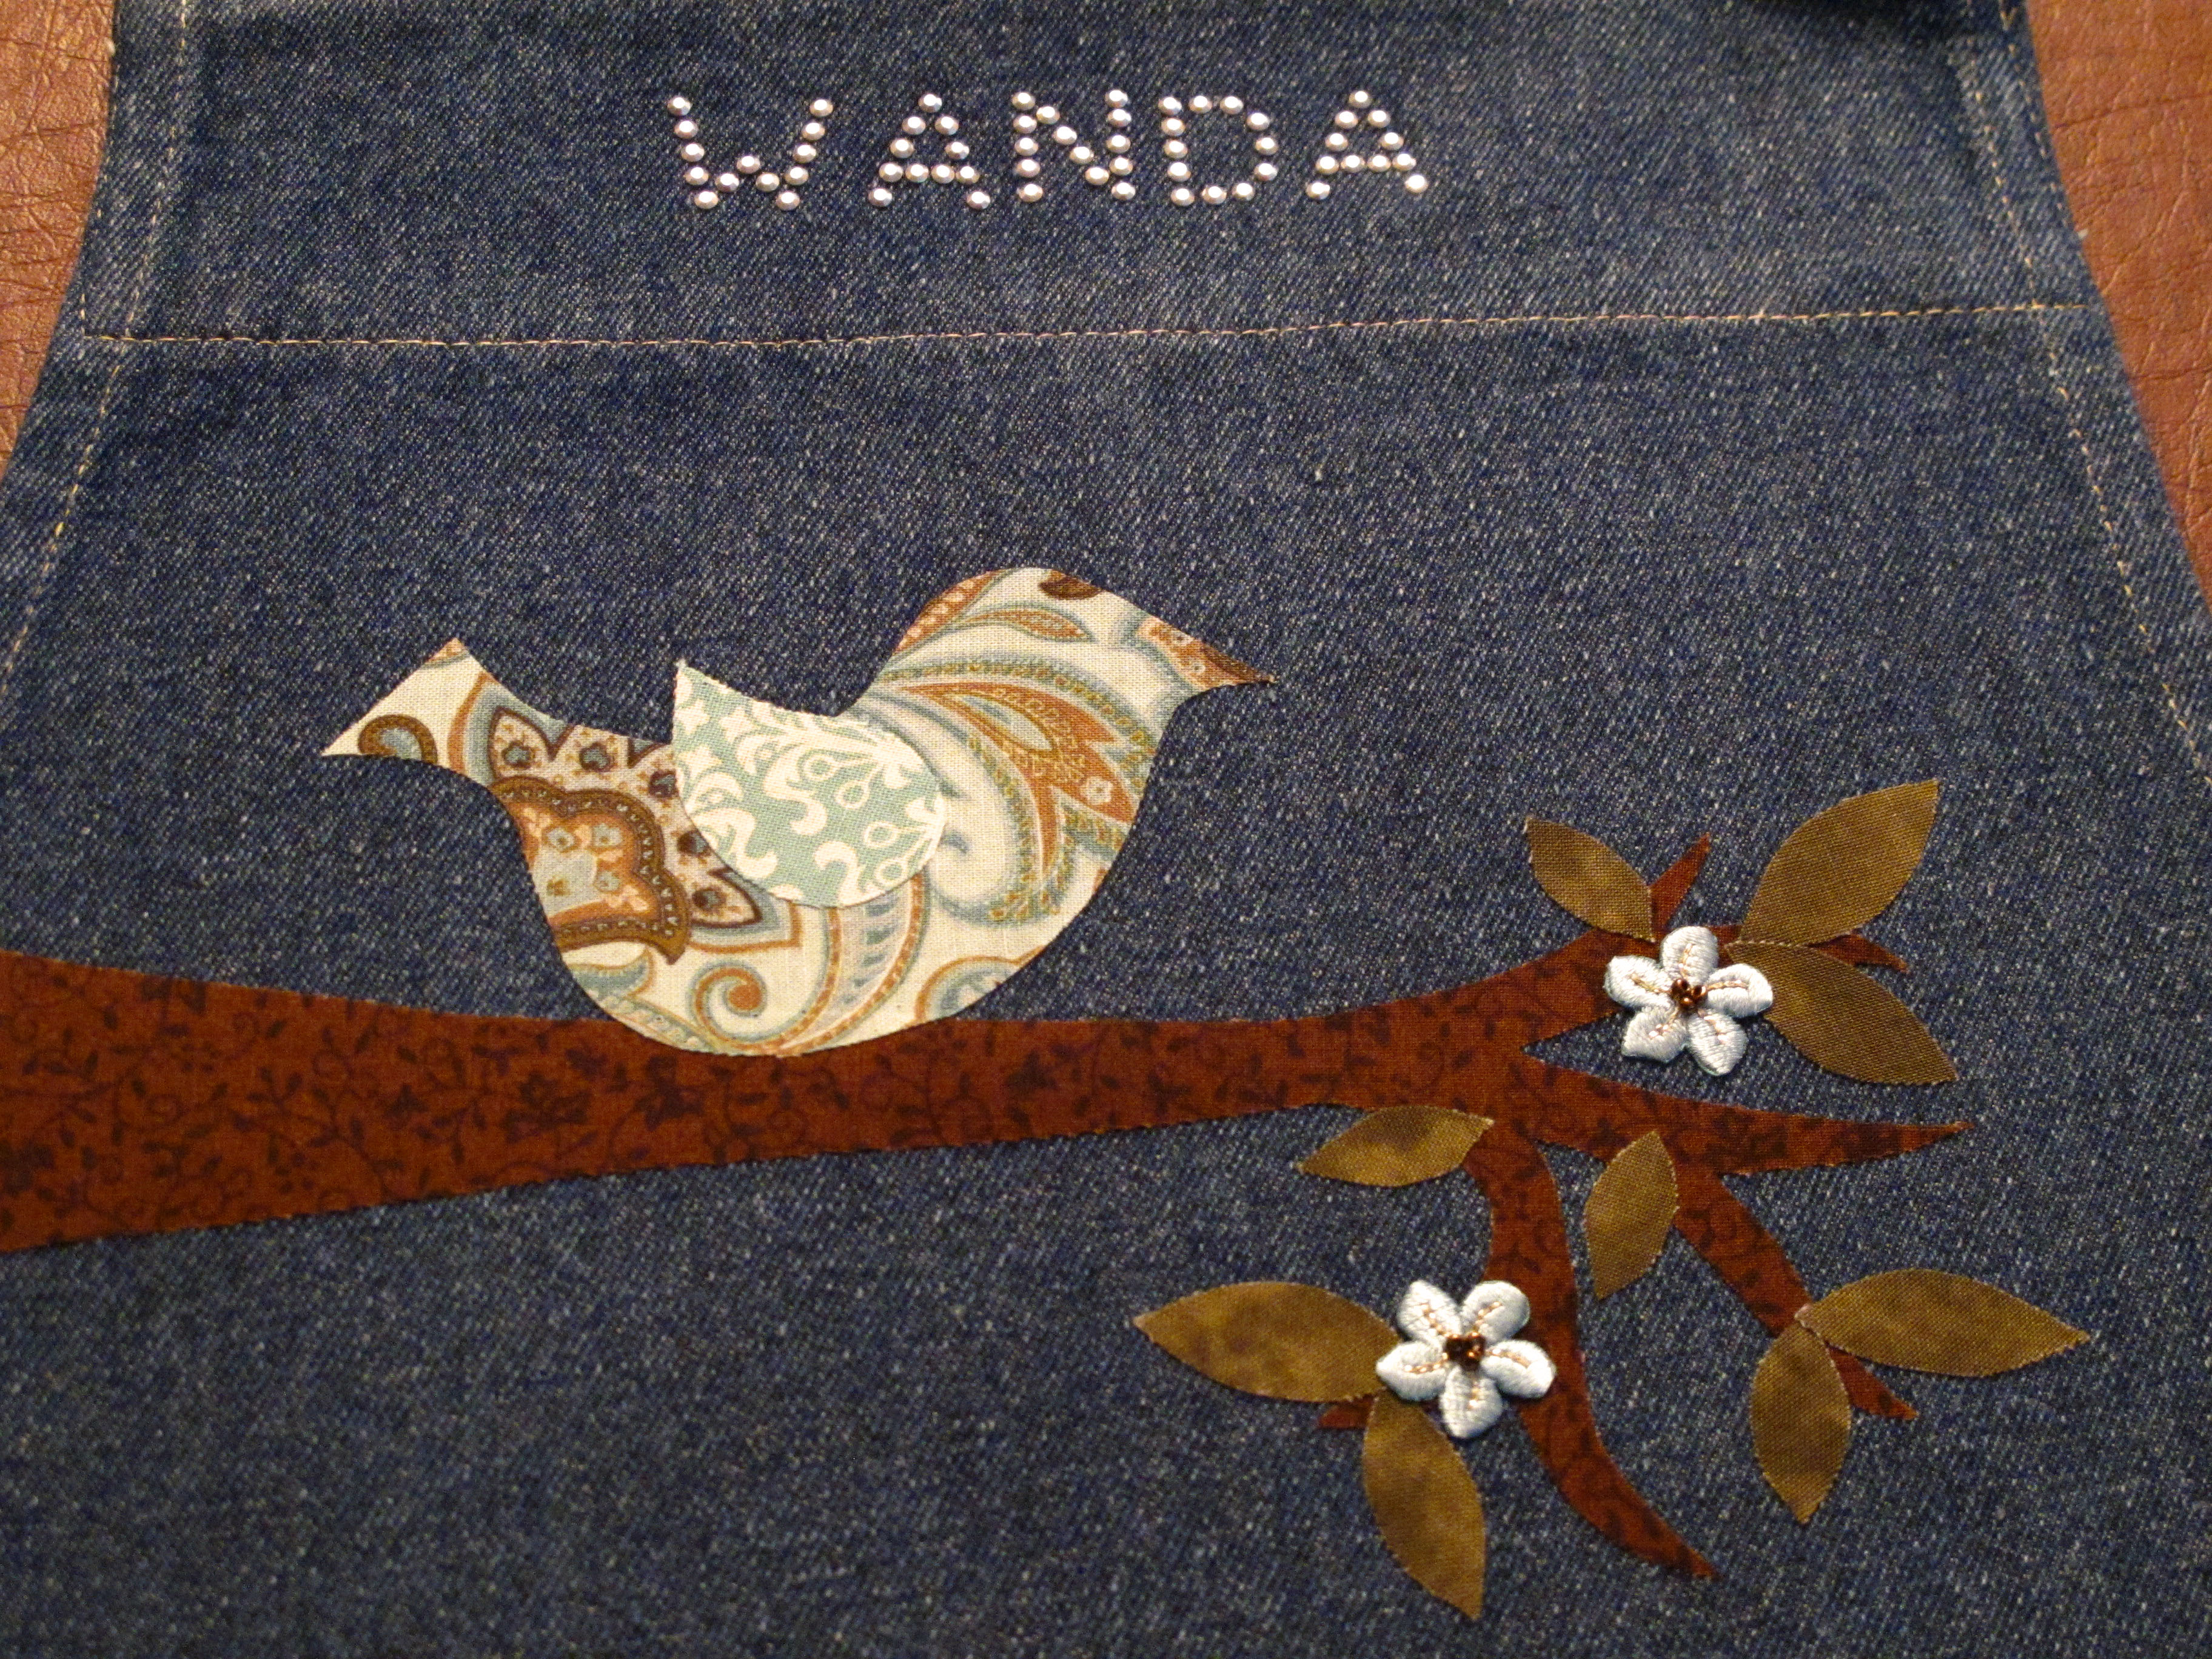
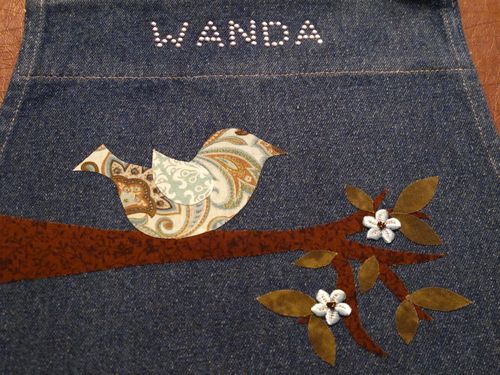
    I put my name in the center with some bling! Here the leaves are on and some pretty aqua flowers…
    E


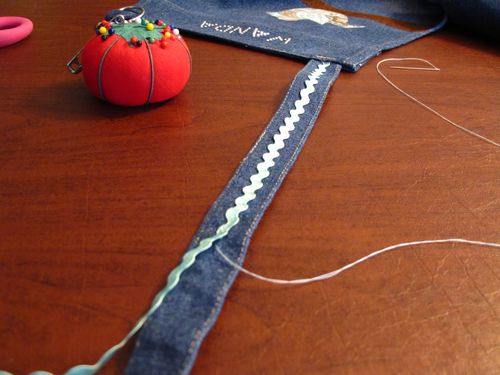
    This part took forever! I sewed the aqua rick rack on by hand to the part that goes around my neck…
    F 

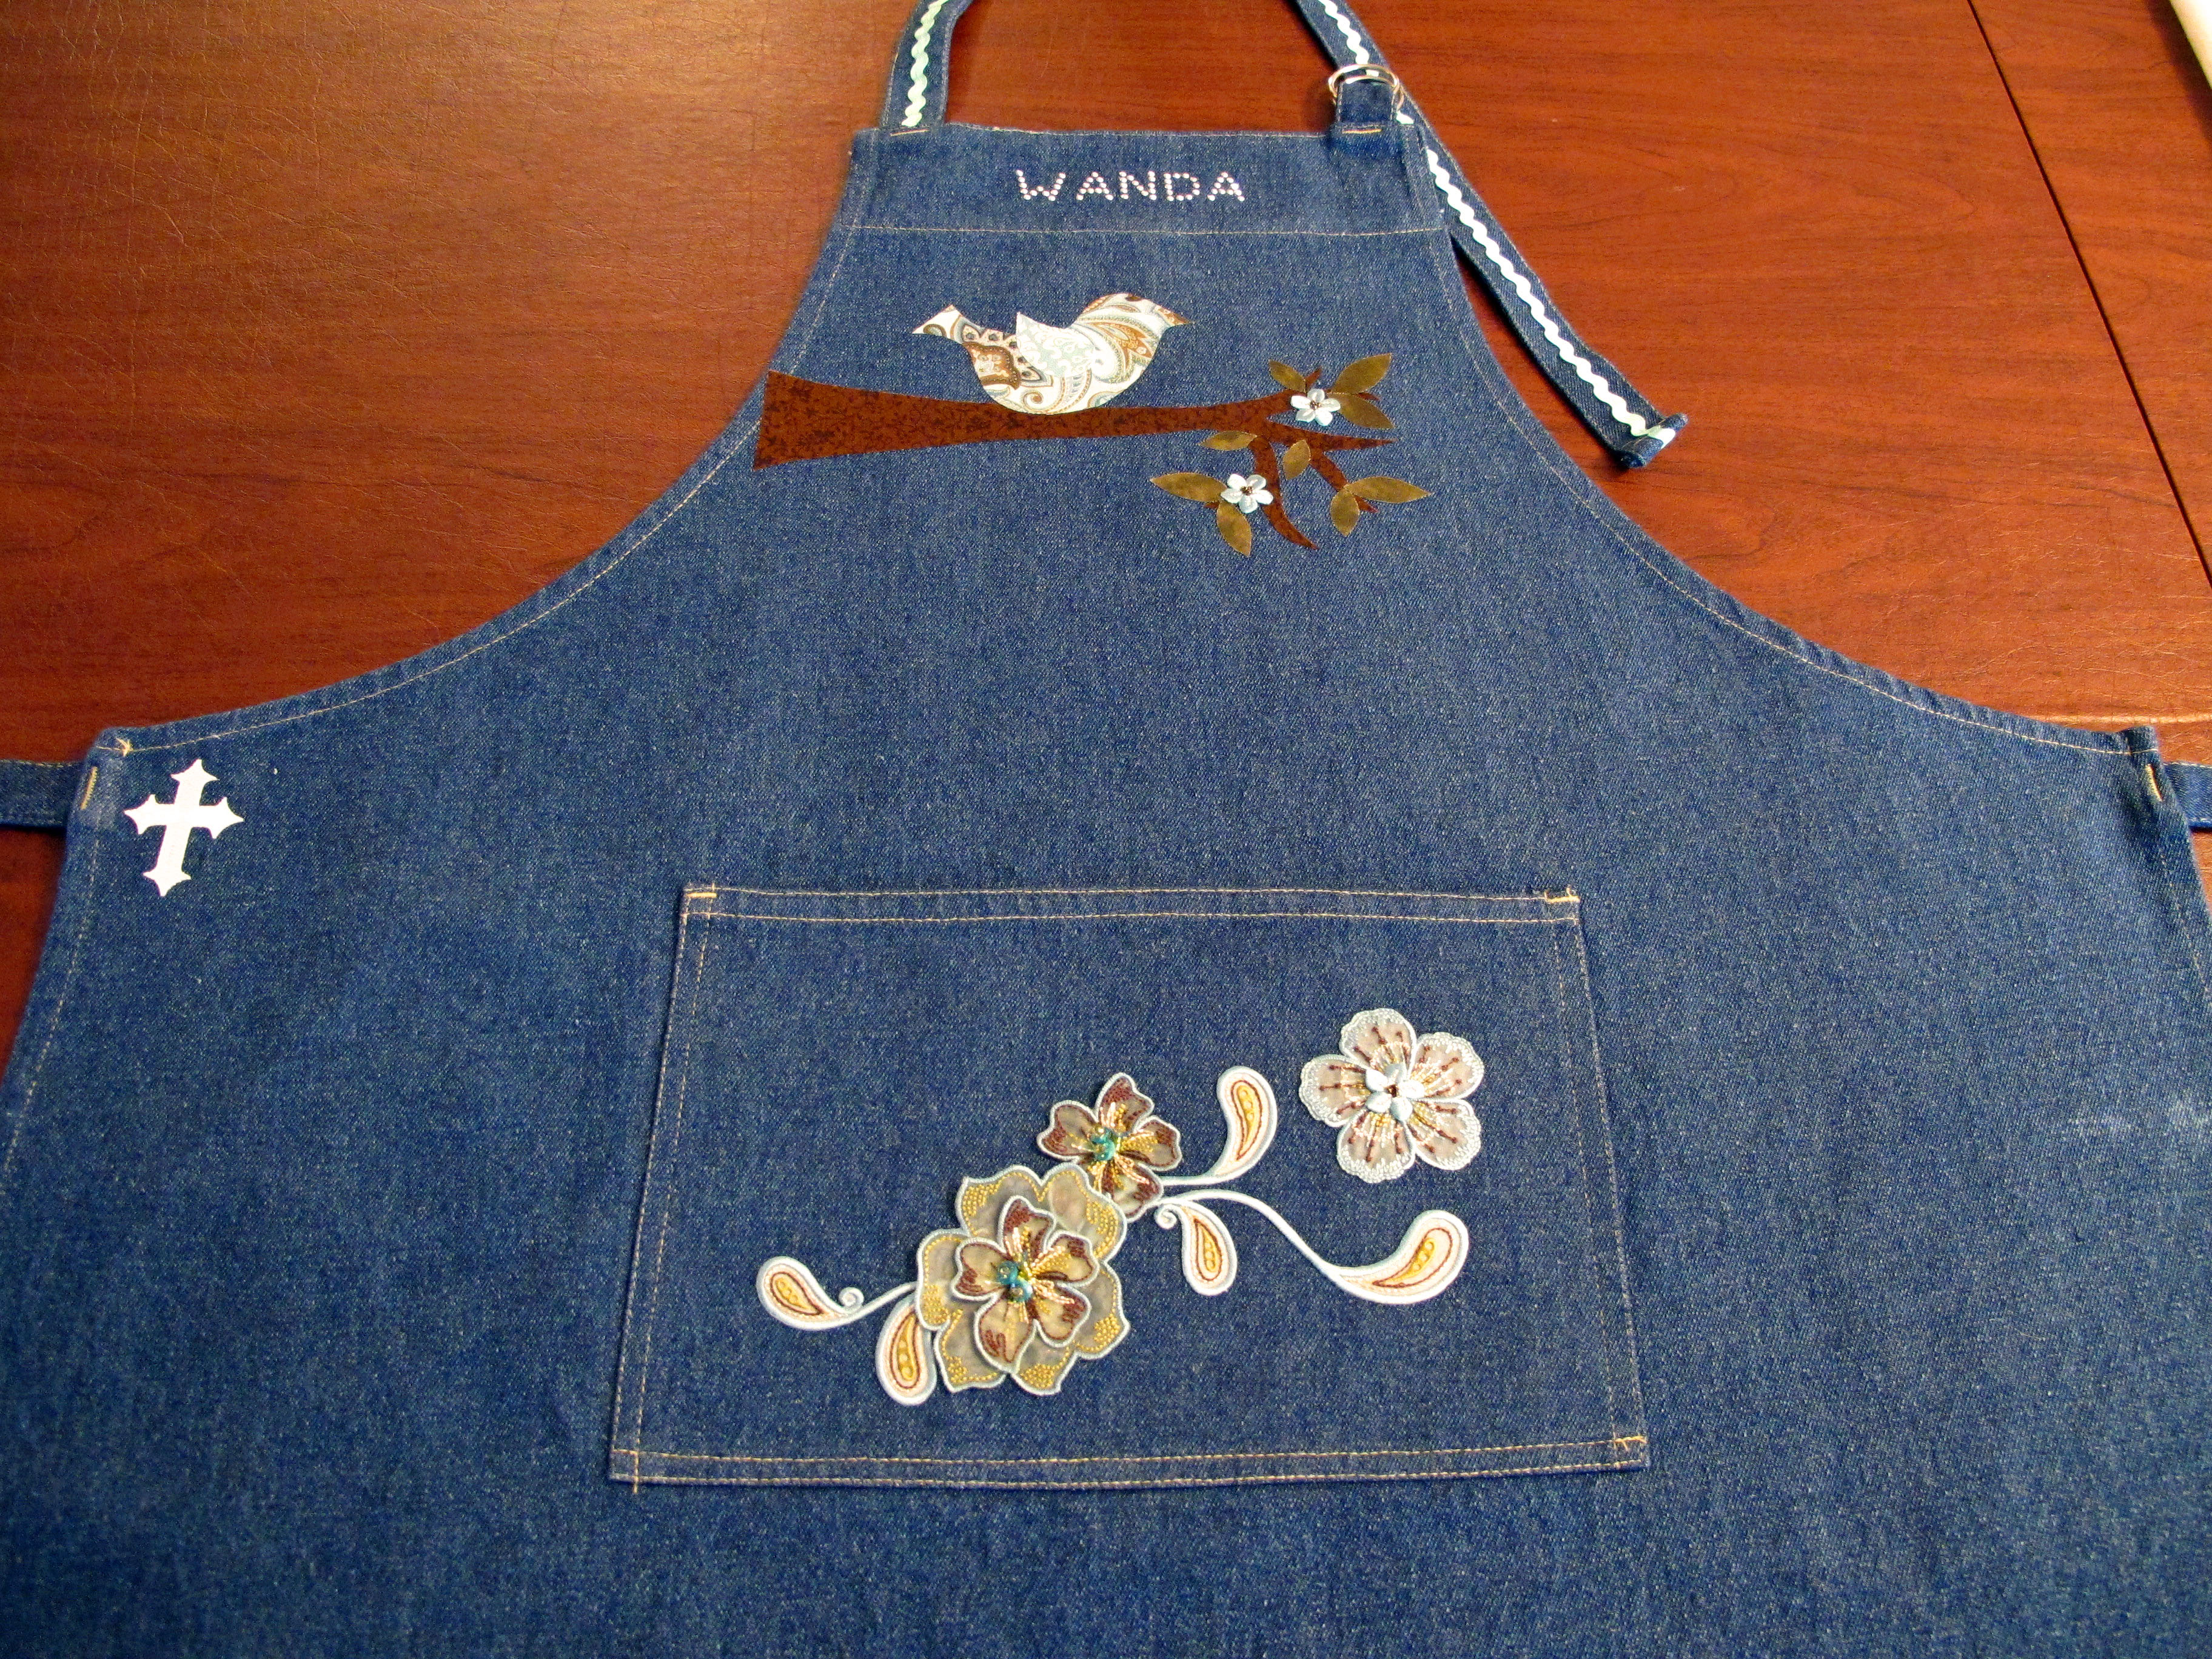
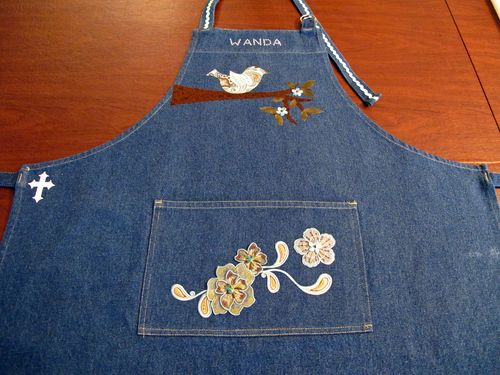
    Here it is…almost done! The flowers on the pocket are a set of iron on patches that came in a package with the small aqua flowers. SO pretty and they matched exactly. I picked out all the fabric first and then just happened to get lucky to find the flowers.
    G


    H


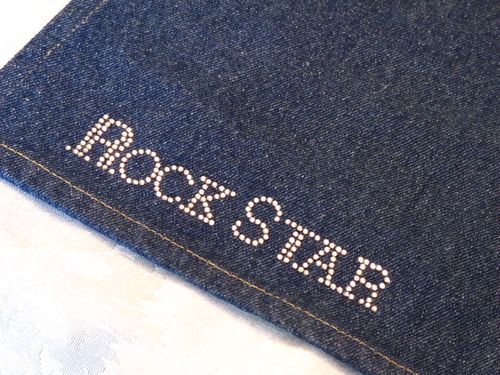
    I couldn't resist this iron on patch! It's on the bottom in the corner. Sometimes we all need to remind ourselves that we are rock stars! {smile}
    I


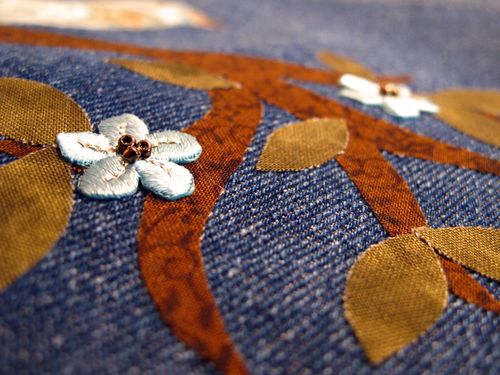
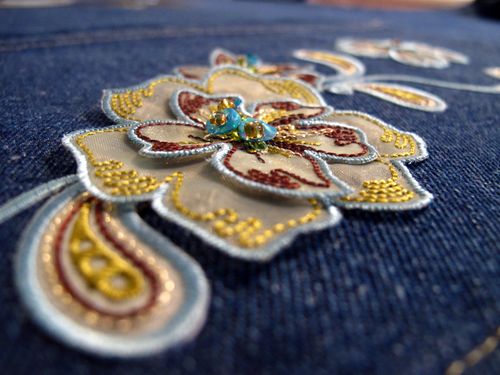
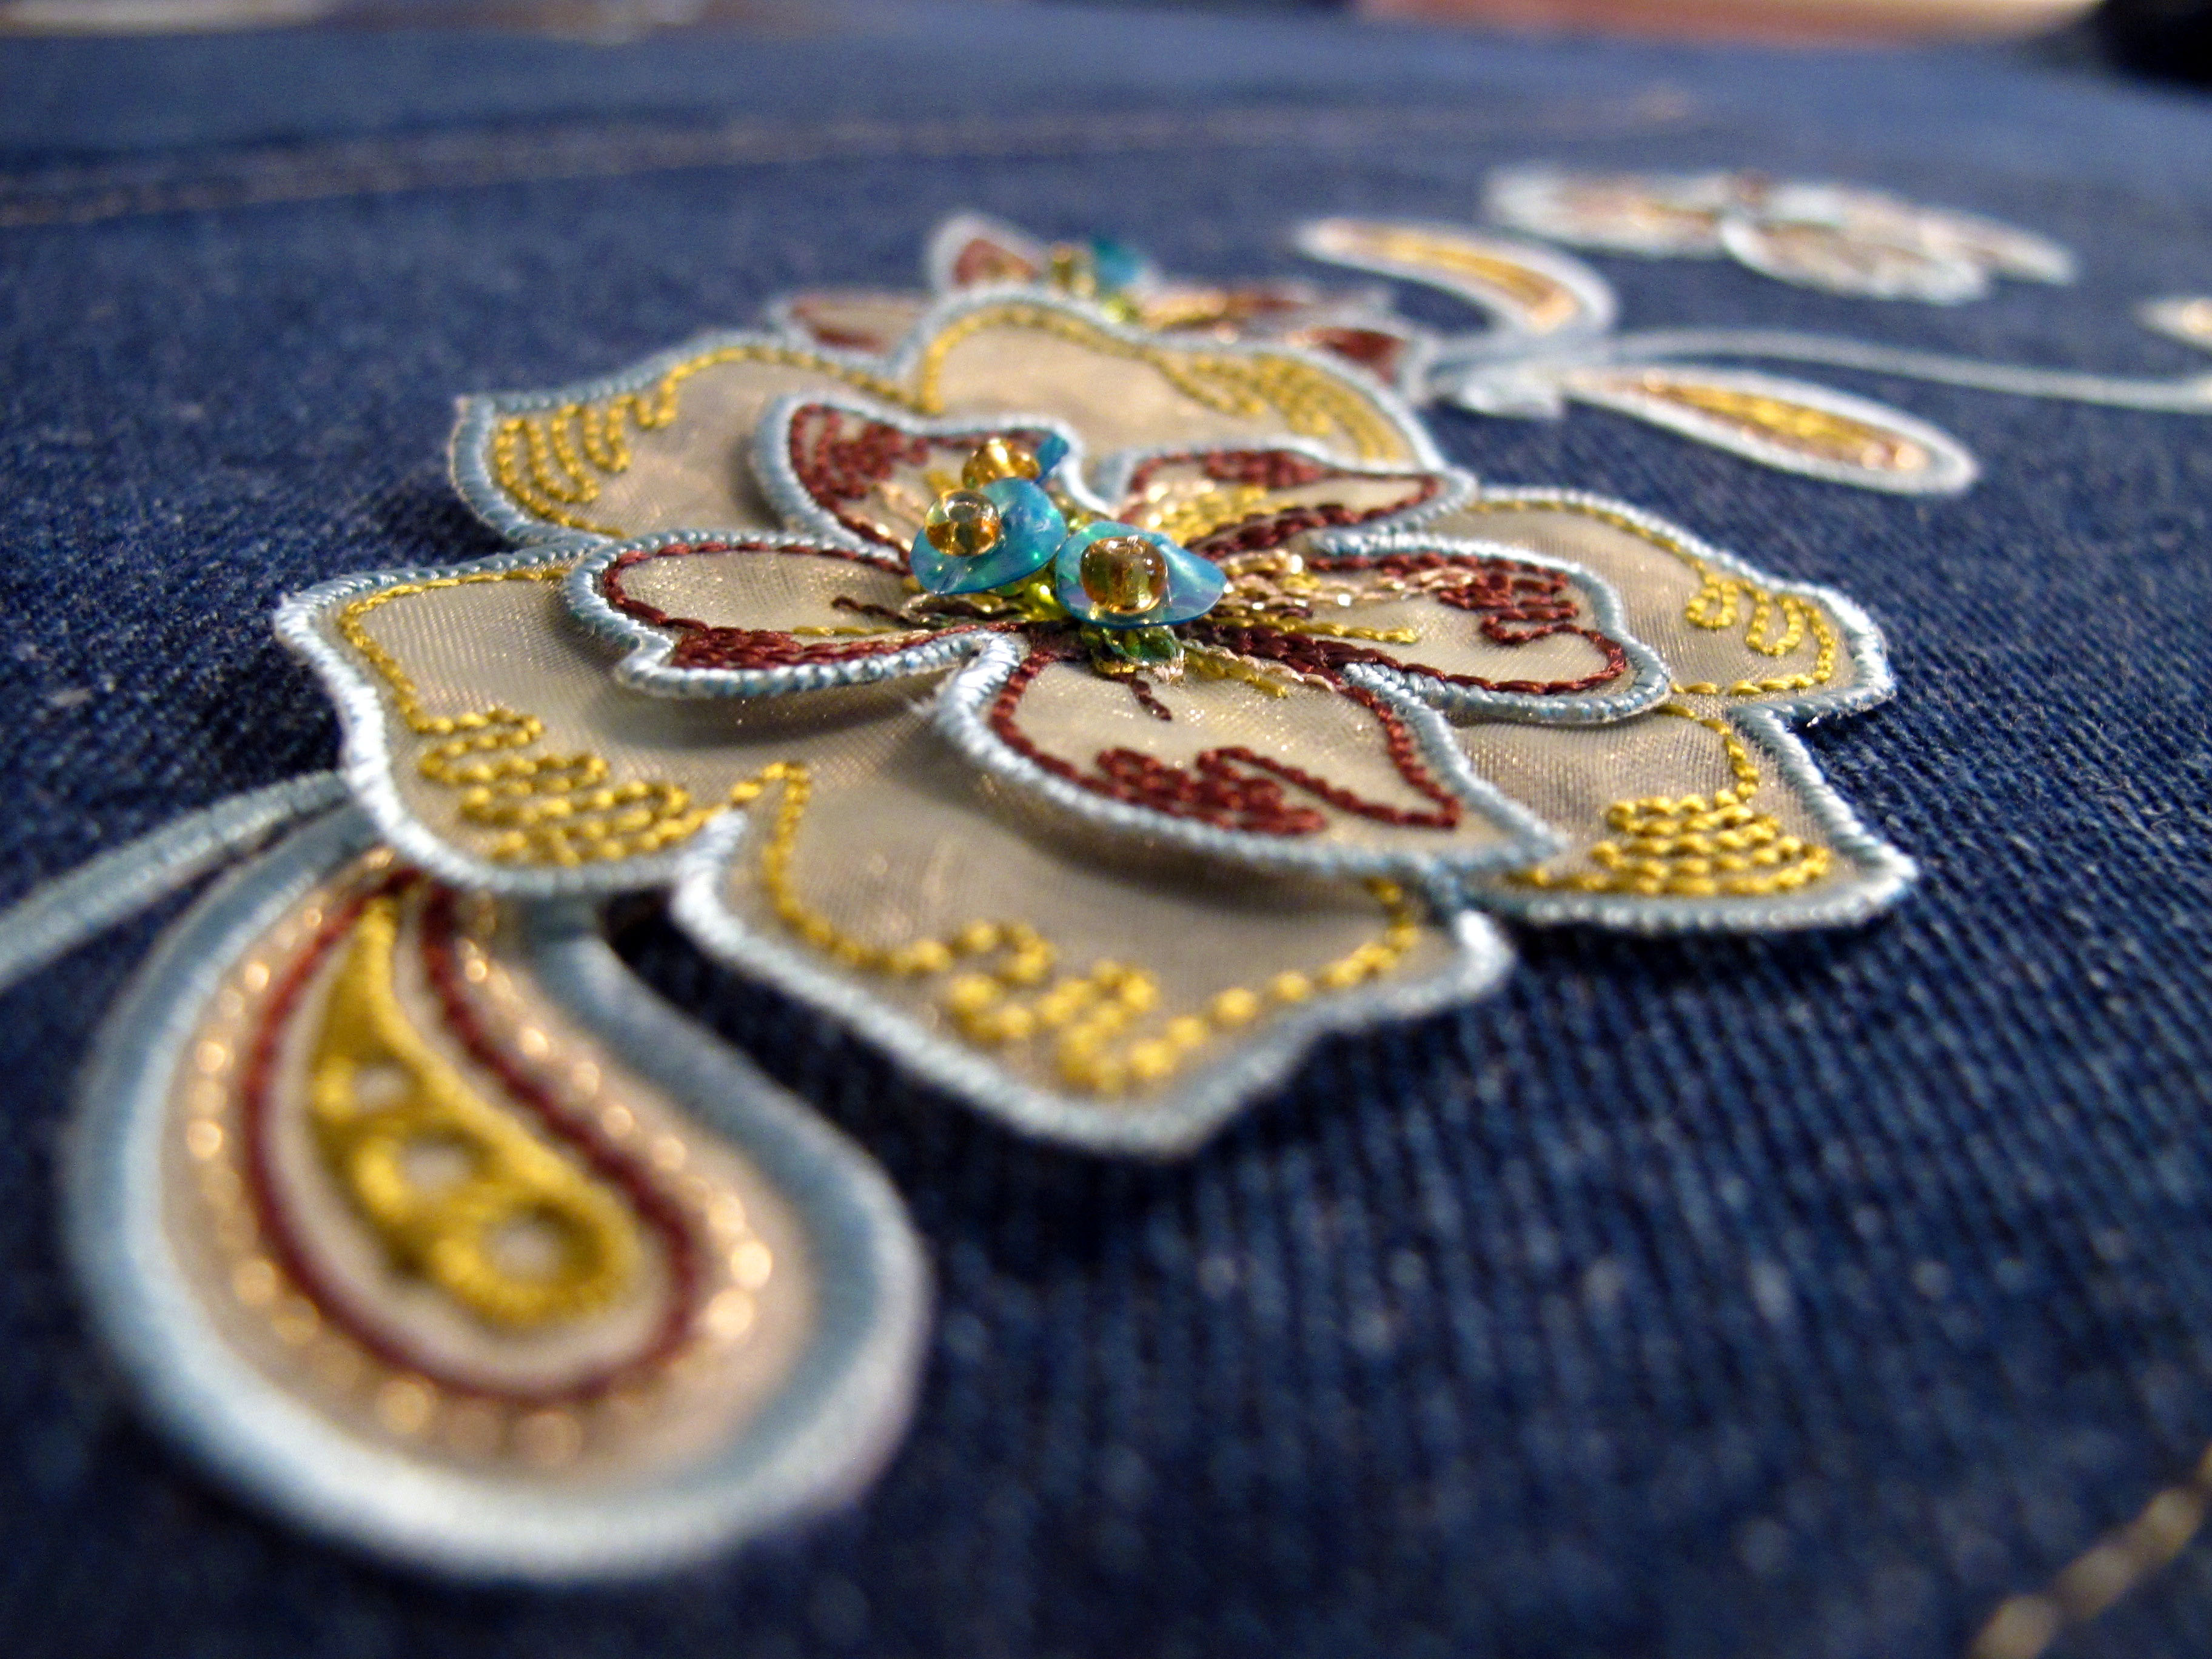
    Some close ups…

    K

    L

    X

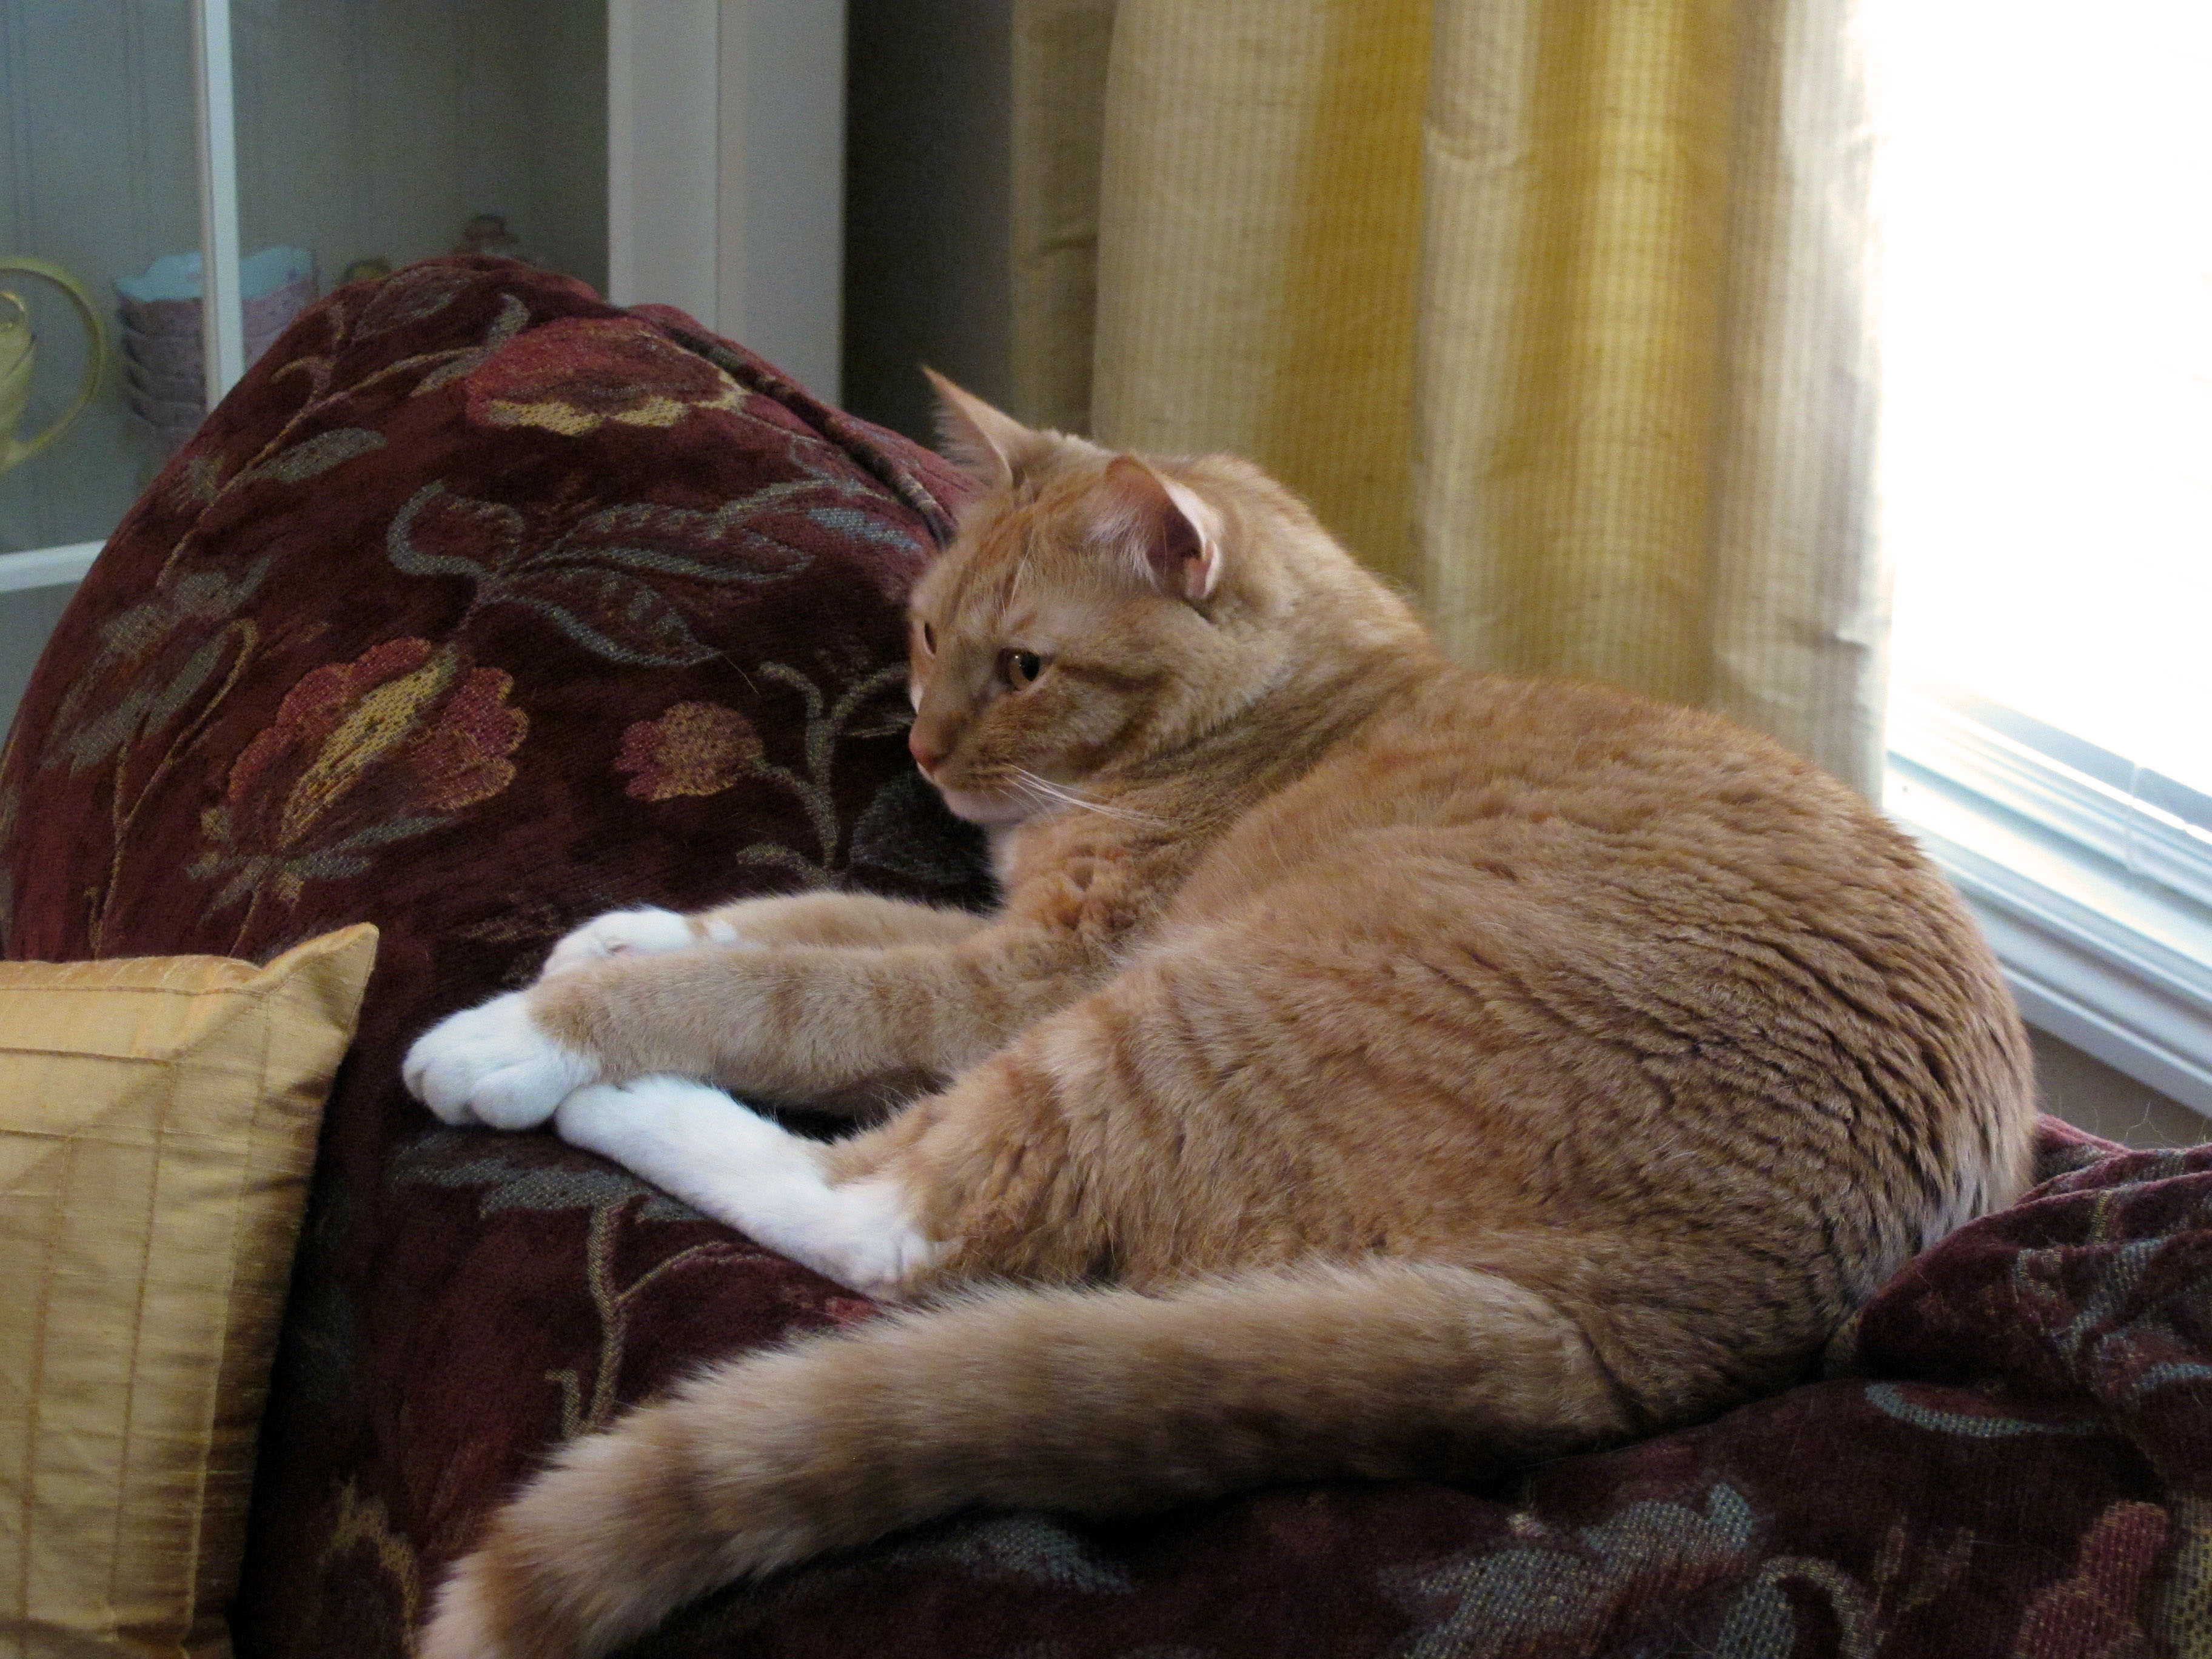
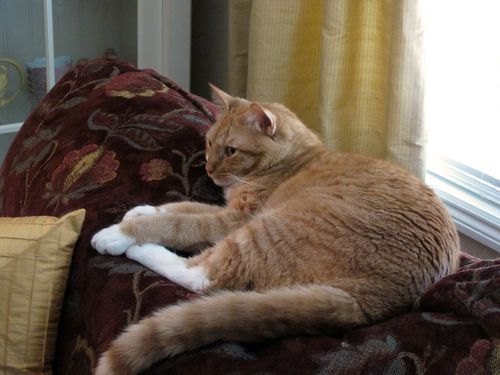
    I was working all spread out on the dining room table – not in the craft room. Mr. Buddy always wants to be by my side when I'm at home. This is Buddy on the good sofa about one minute before getting his bootay kicked off the good sofa! He knows he's not allowed on there…but he was trying to look cute and get away with it. Not!
    Y
    I hope you have enjoyed my little project for today! If you come to the Rubber Stamp Convention, you can see me wearing it in person! It's all day Saturday the 22nd at the Scottish Rite Center on Carlson Street, right next to Sac State! 

  • Shabby Tea Room Challenge, week #9!

    I must say that I am having a shabby good time with these challenges from The Shabby Tea Room Blog! The challenges are putting me back in touch with my shabby chic side! I love the combination of a big floral print with a stripe with a checked pattern all in a beautiful muted color pallette. Does anyone else remember when shabby chic was all the rage? I loved loved loved Rachel Ashwell and her show and her books.

    So, another week in the Shabby Tea Room contest for me! You can find their blog by clicking here. Go check it out…or better yet…enter a card too! This weeks rules only called for the use of chipboard. I went through my giant bin of chipboard shapes and found…a teacup! Also a cute little heart. That got me started, and served as my inspiration.
    IMG_1770

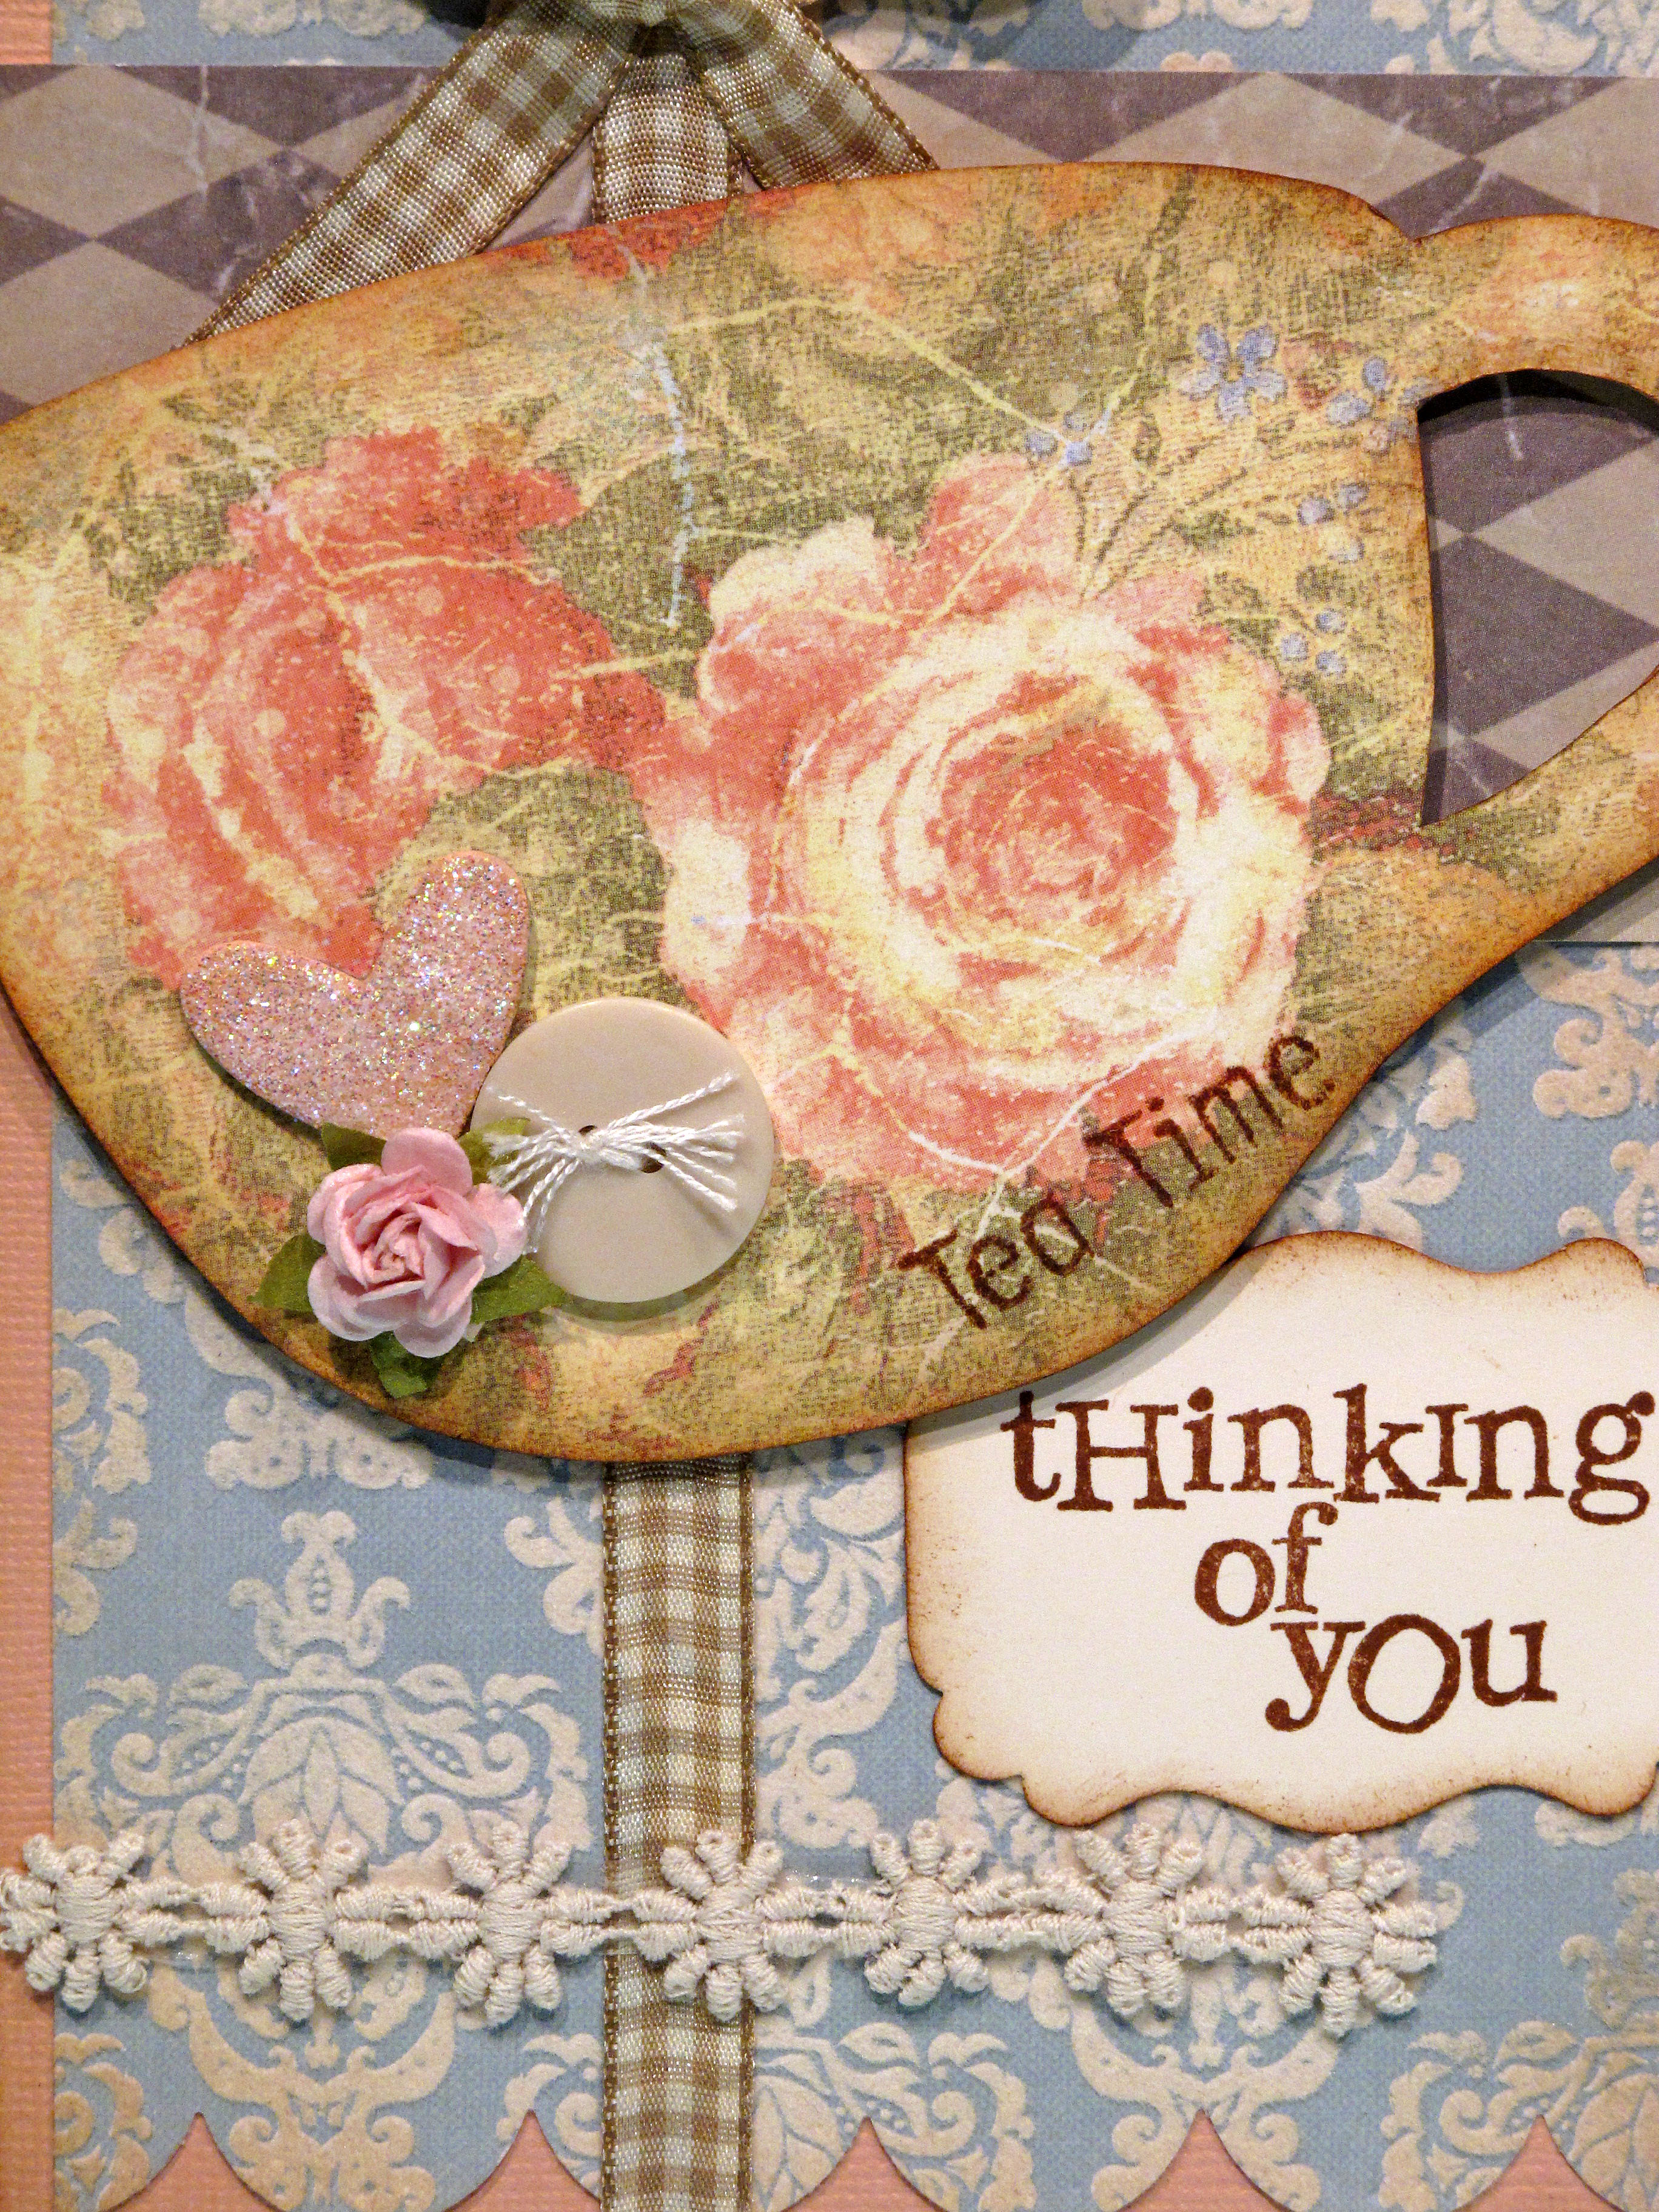
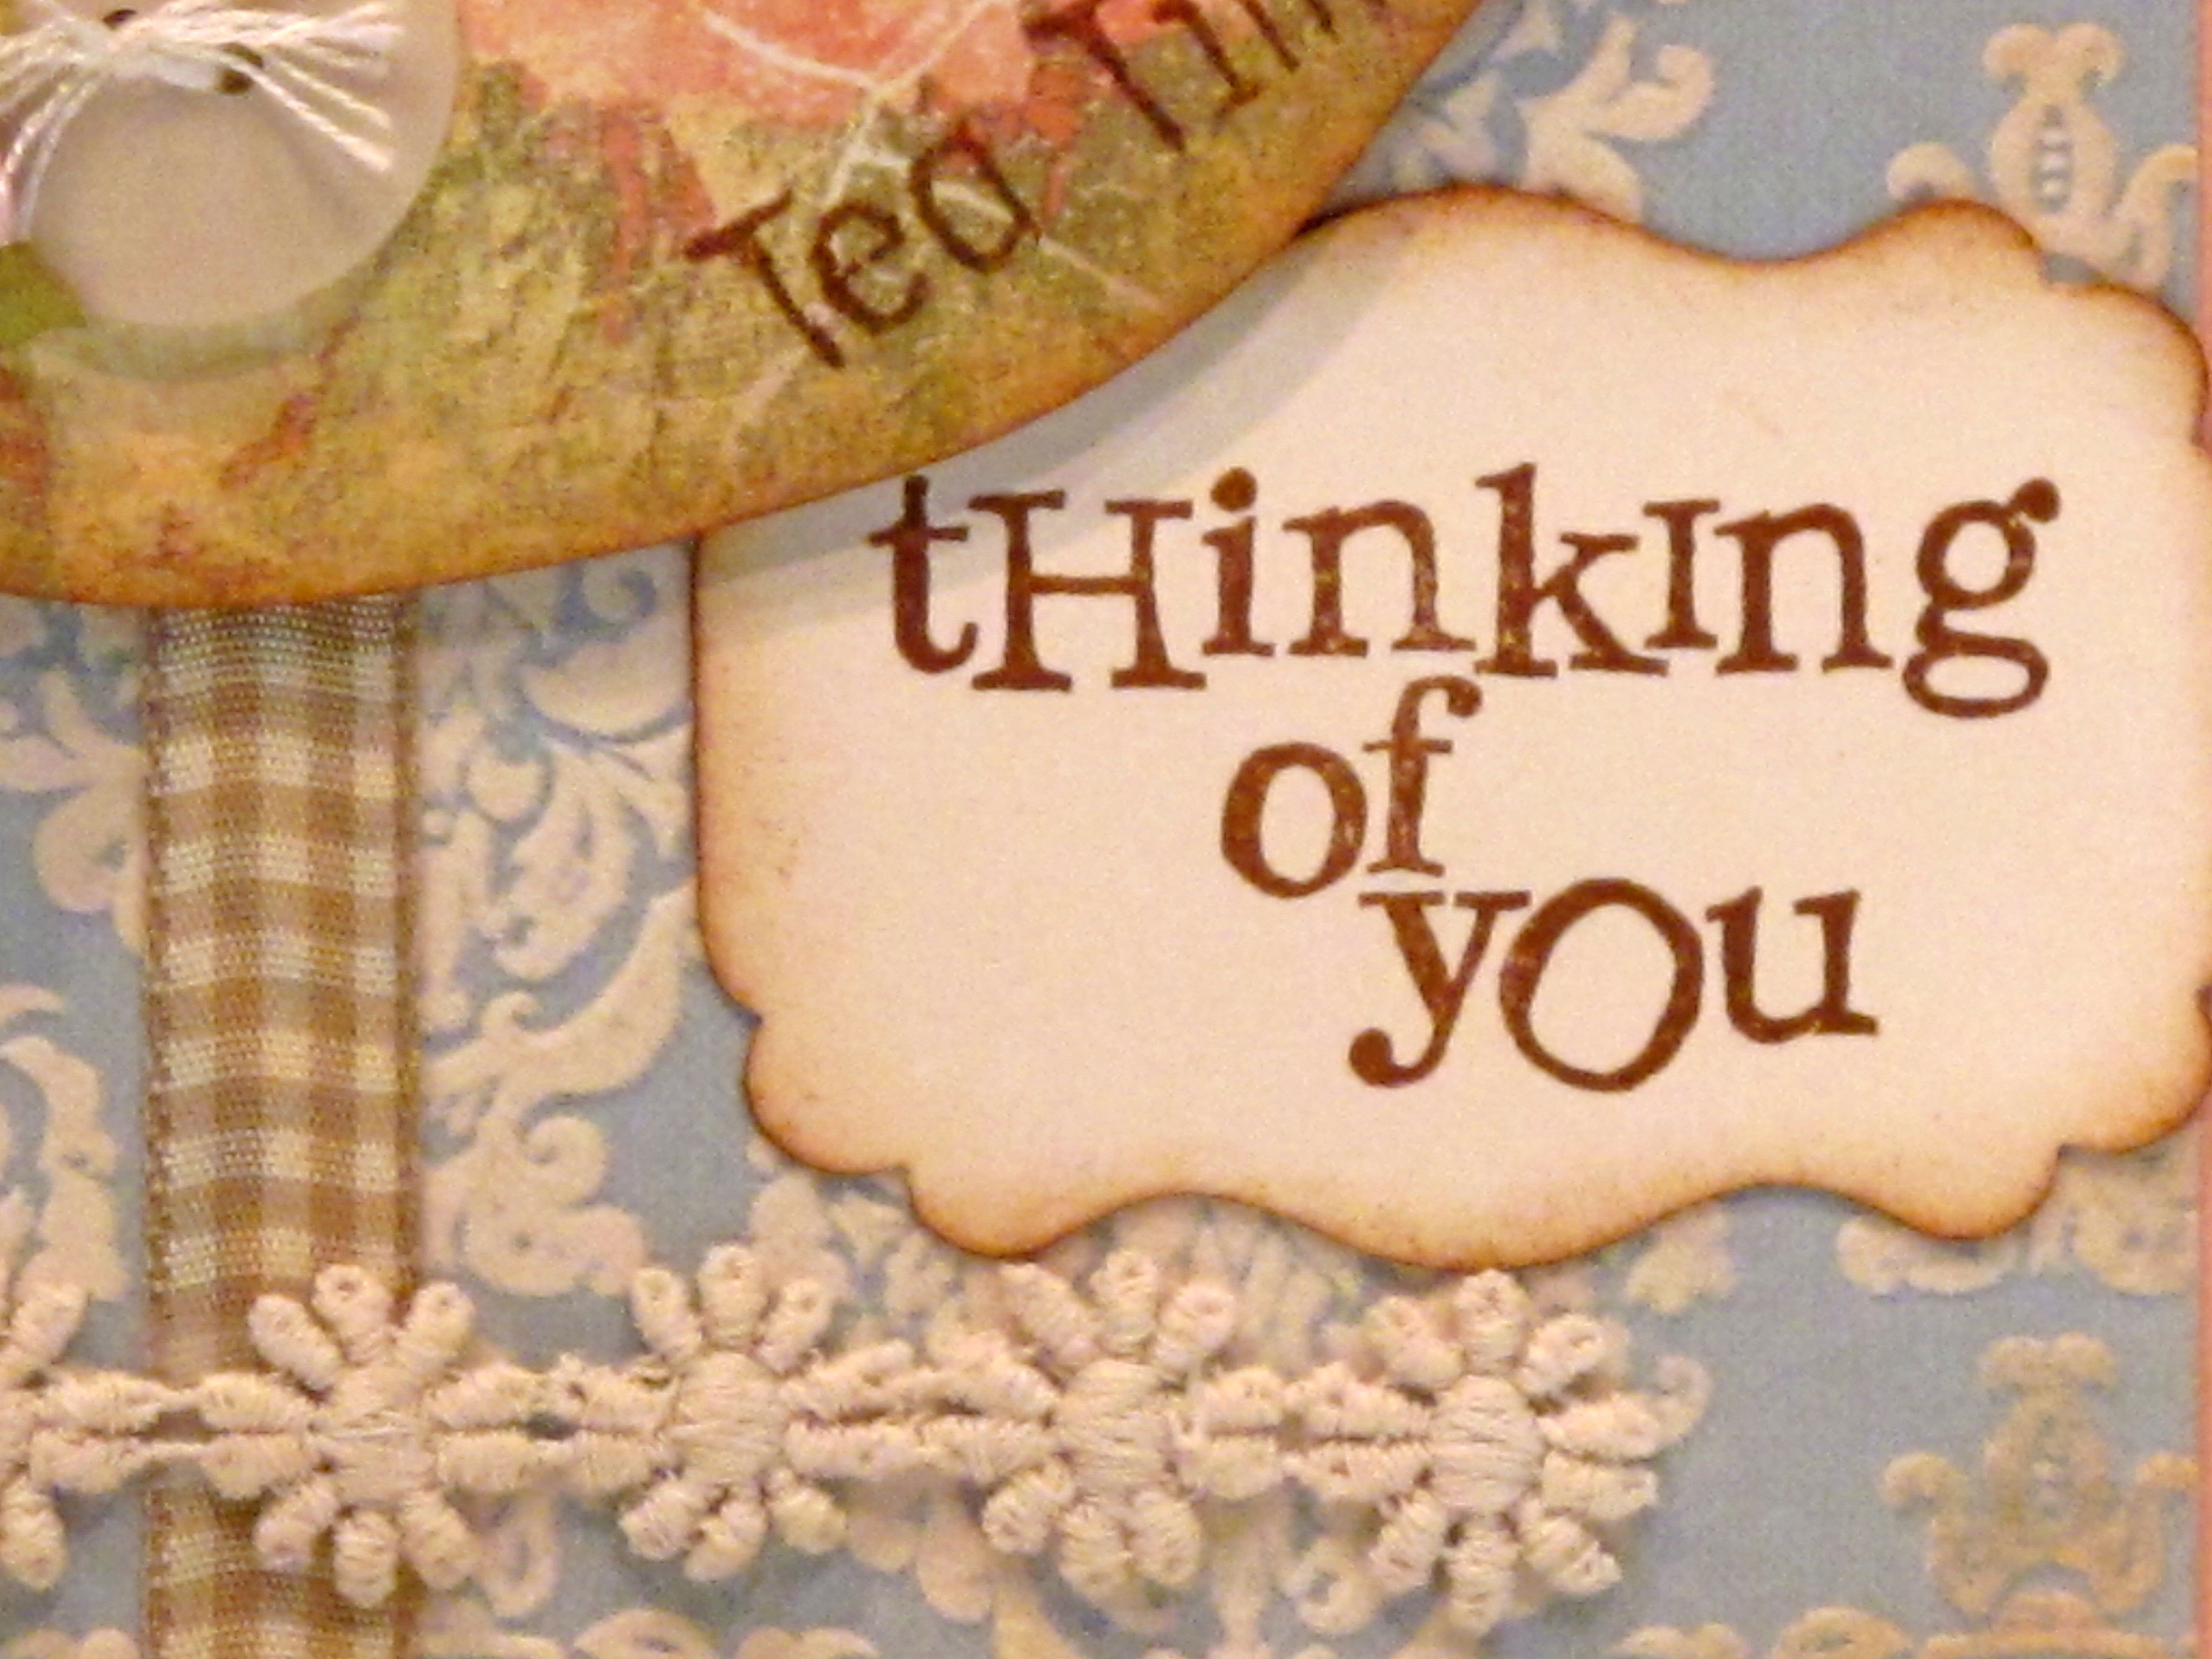
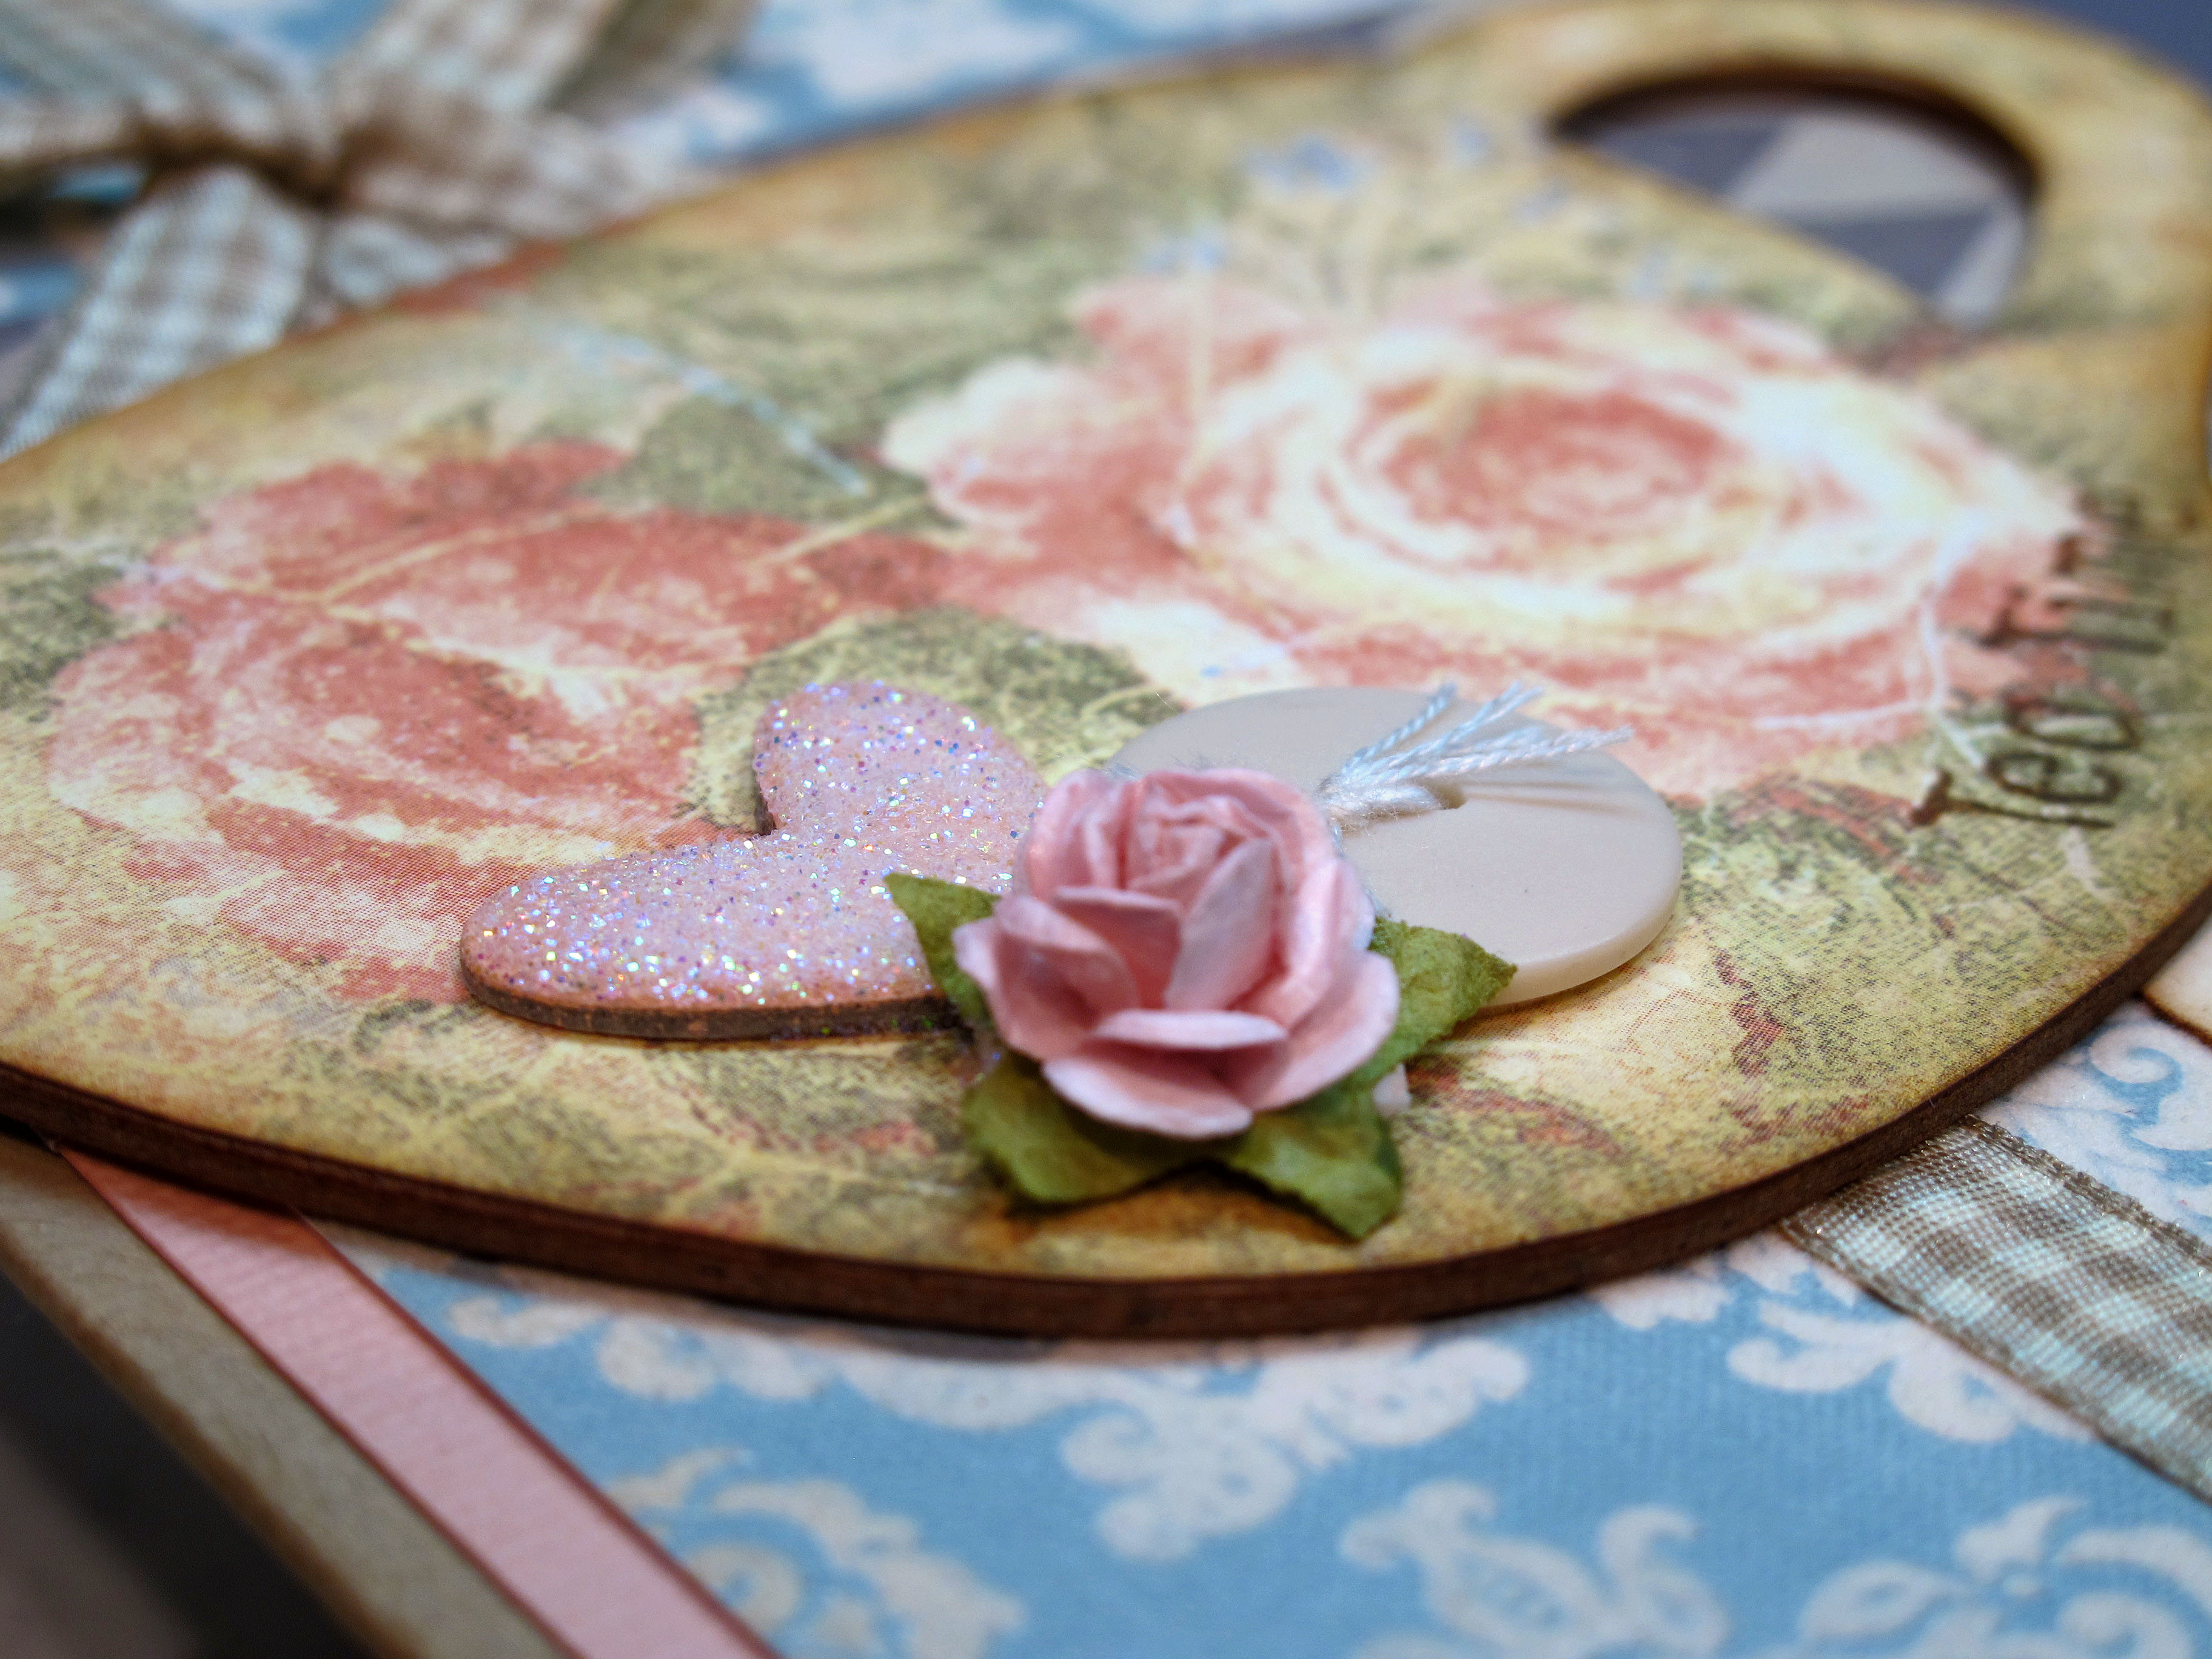
    Here's a close up of the chipboard tea cup and heart. I covered the tea cup shape with patterned paper to look like an antique. Then I inked the edges with brown ink. I painted the tiny heart with salmon colored craft paint and then covered it in glitter to add a pop of sparkle. I had the button, ribbon and the rose in my bag of tricks already.

    IMG_1763


    The process begins…

    IMG_1759


    I am in LOVE with this blue paper. It is actually flocked and furry!! MMMMM.

    IMG_1772


    IMG_1769


    IMG_1767

  • TESC #112 Challenge! A masculine card!

    A friend at work commissioned some Father's Day cards – which put me to the test. Masculine cards are something I don't do that often. If I do, it's usually leaves or trees or something made with the Cricut. I dumped out lots of stamping bins and found some good masculine images of boats and lighthouses. I wanted to enter the TESC challenge so this is one of the cards I came up with! You can find the sketch over at Taylored Expressions Blog! 


    IMG_1755


    The Sketch Image:

    TESC112

    IMG_1756


    I really wanted this card to have a vintage feel to it. I crumpled the cream paper with the central boat image and then flattened it out again. I distressed the edges with brown ink. I tore some of the blue paper to look worn also. The background paper reminded me of old mattress ticking or sail cloth. It already had the vintage look to it. Added some Scrapper's floss to mimic rope. You can never go wrong with red, white and blue as a color scheme. I like how it came together! The sentiment was printed on the computer.

    IMG_1758  

  • It’s a banner day!

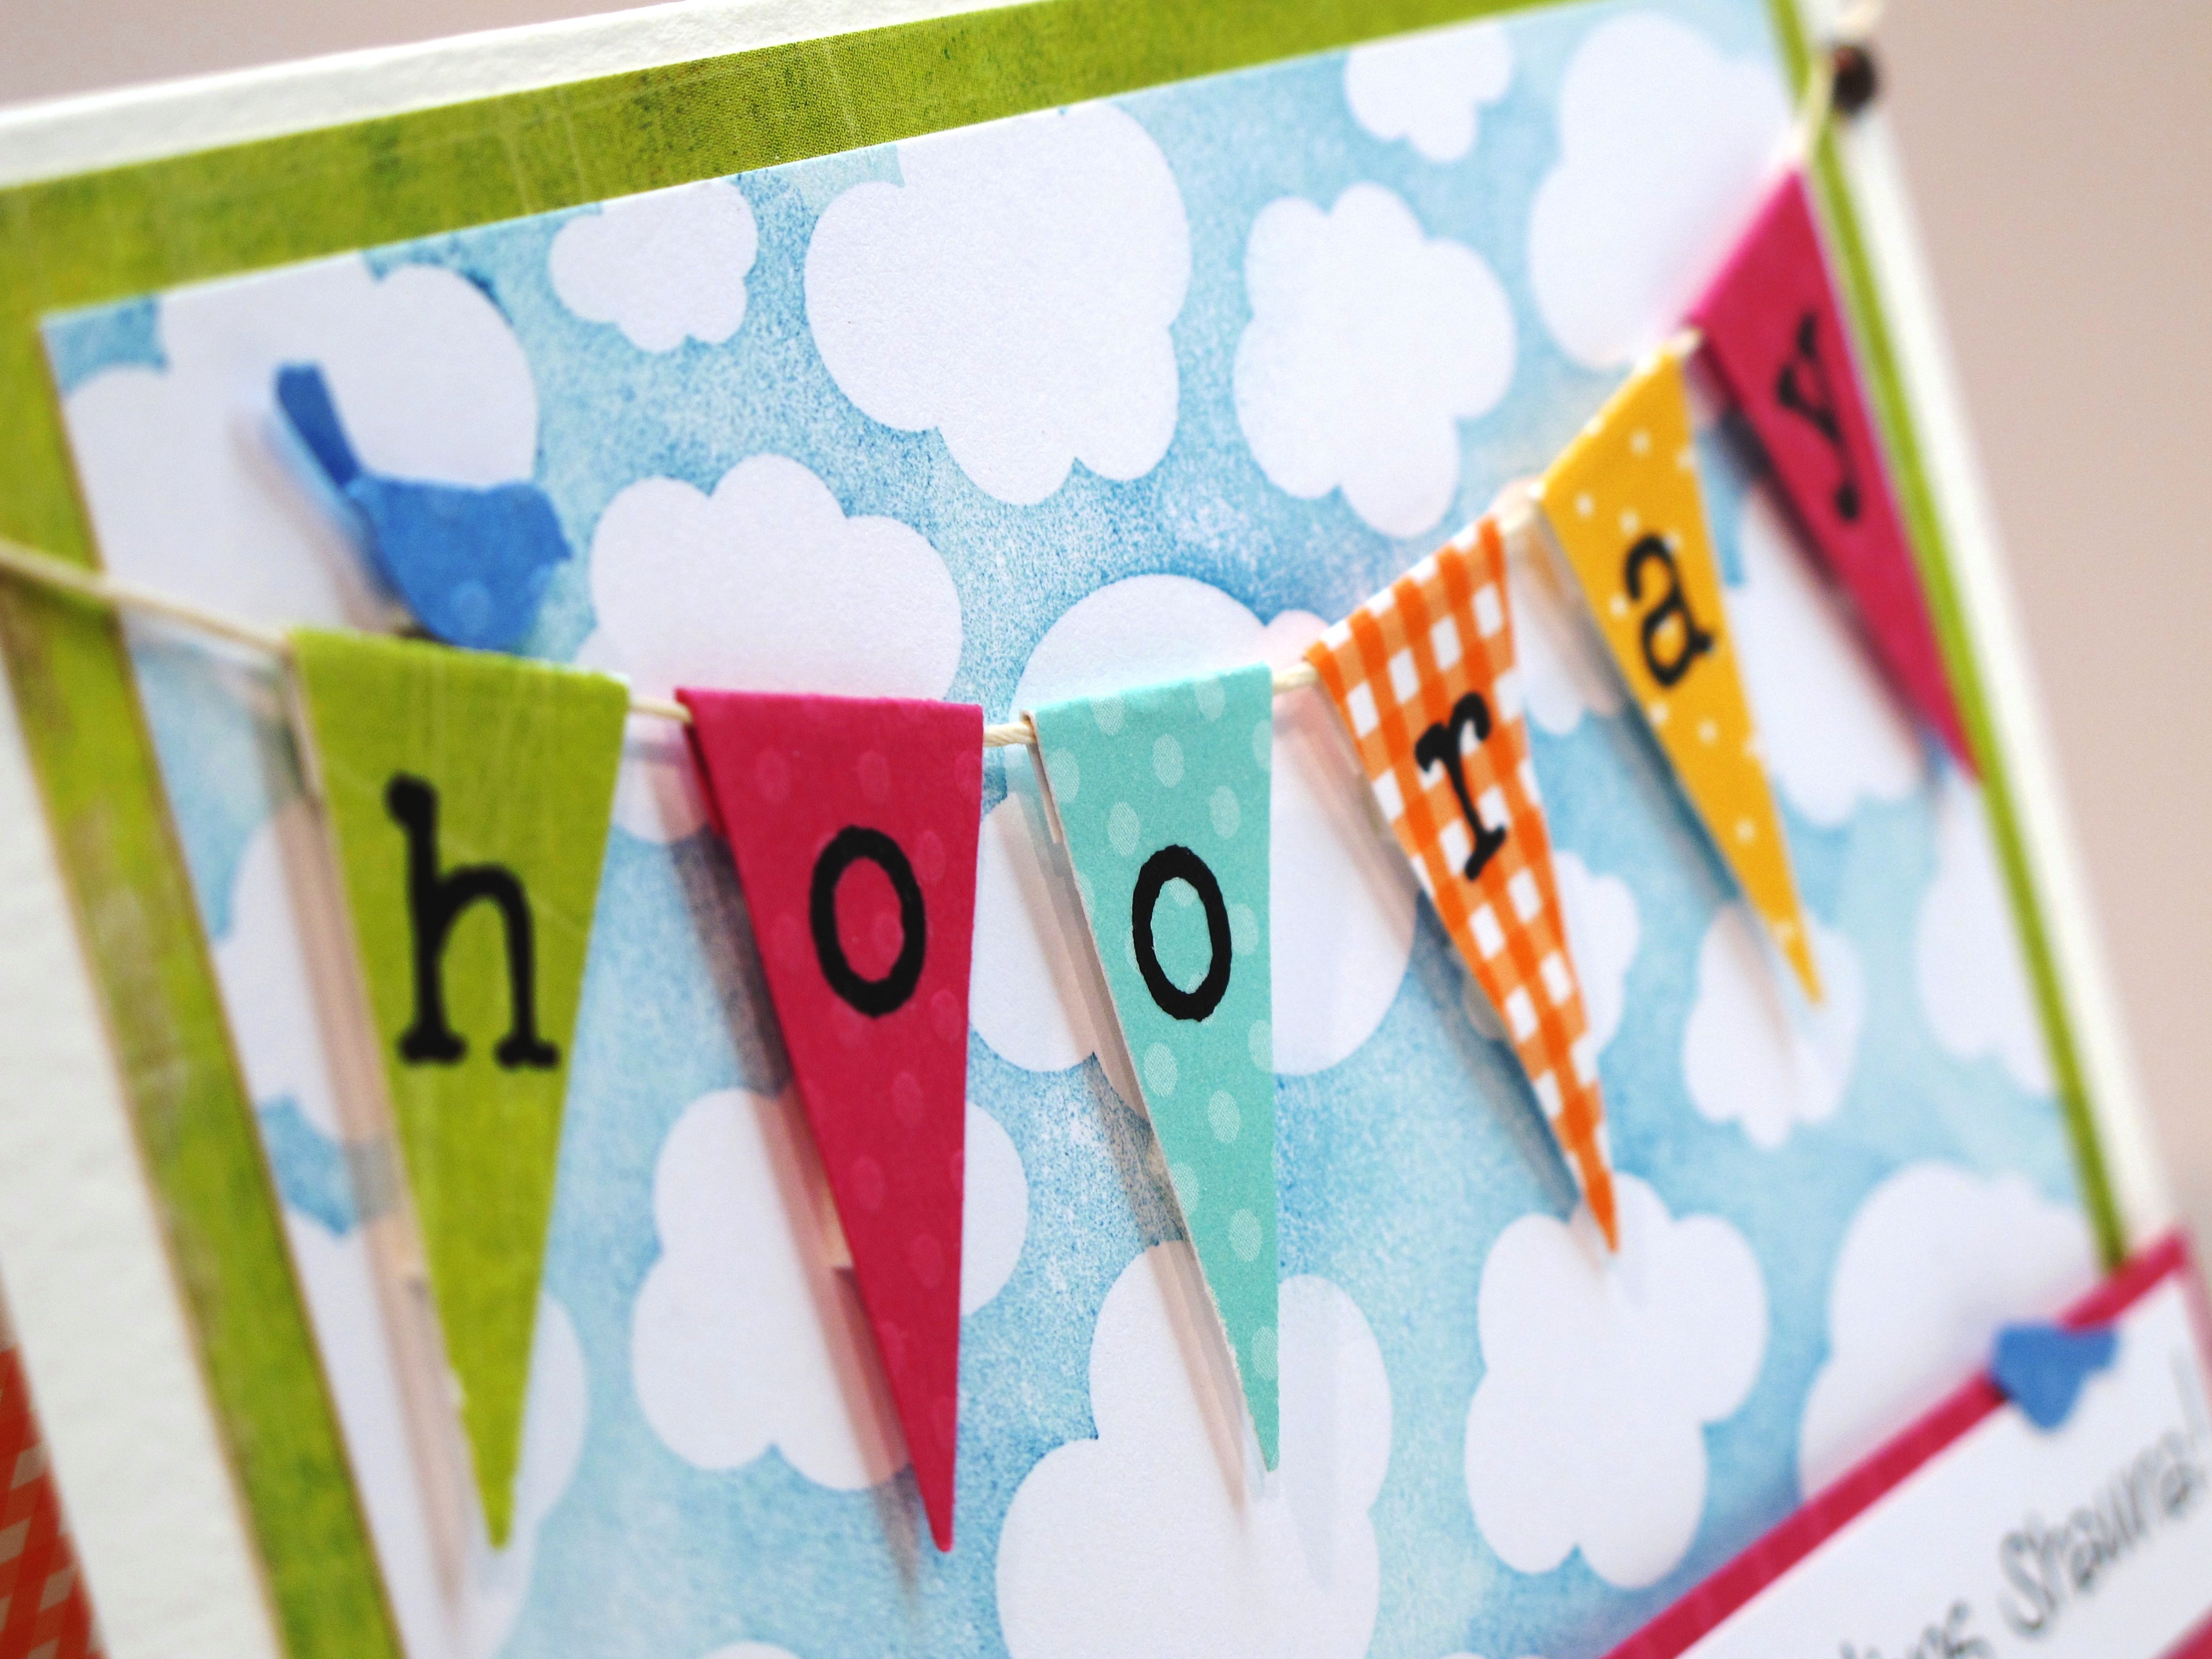
    How are you this lovely breezy day!? It is so beautiful today that I am uplifted and energized. Have you seen all the supah cute banner cards posted on the interwebs and blogs lately? I love that look because it's so cheerful and happy. Well… I've been wanting to make my own banner card for a long time…and lo and behold…it finally happened! One of my sweet friends just earned her Master's Degree and that calls for a HOORAY! Here is the card I made for her:

    Bloggie 002


    I attached the flags onto scrapper's floss and then popped them off the page with foam tape.

    Bloggie 006


    Here's the side view with a peek inside – there's a little birdie flying by!

    Bloggie 008


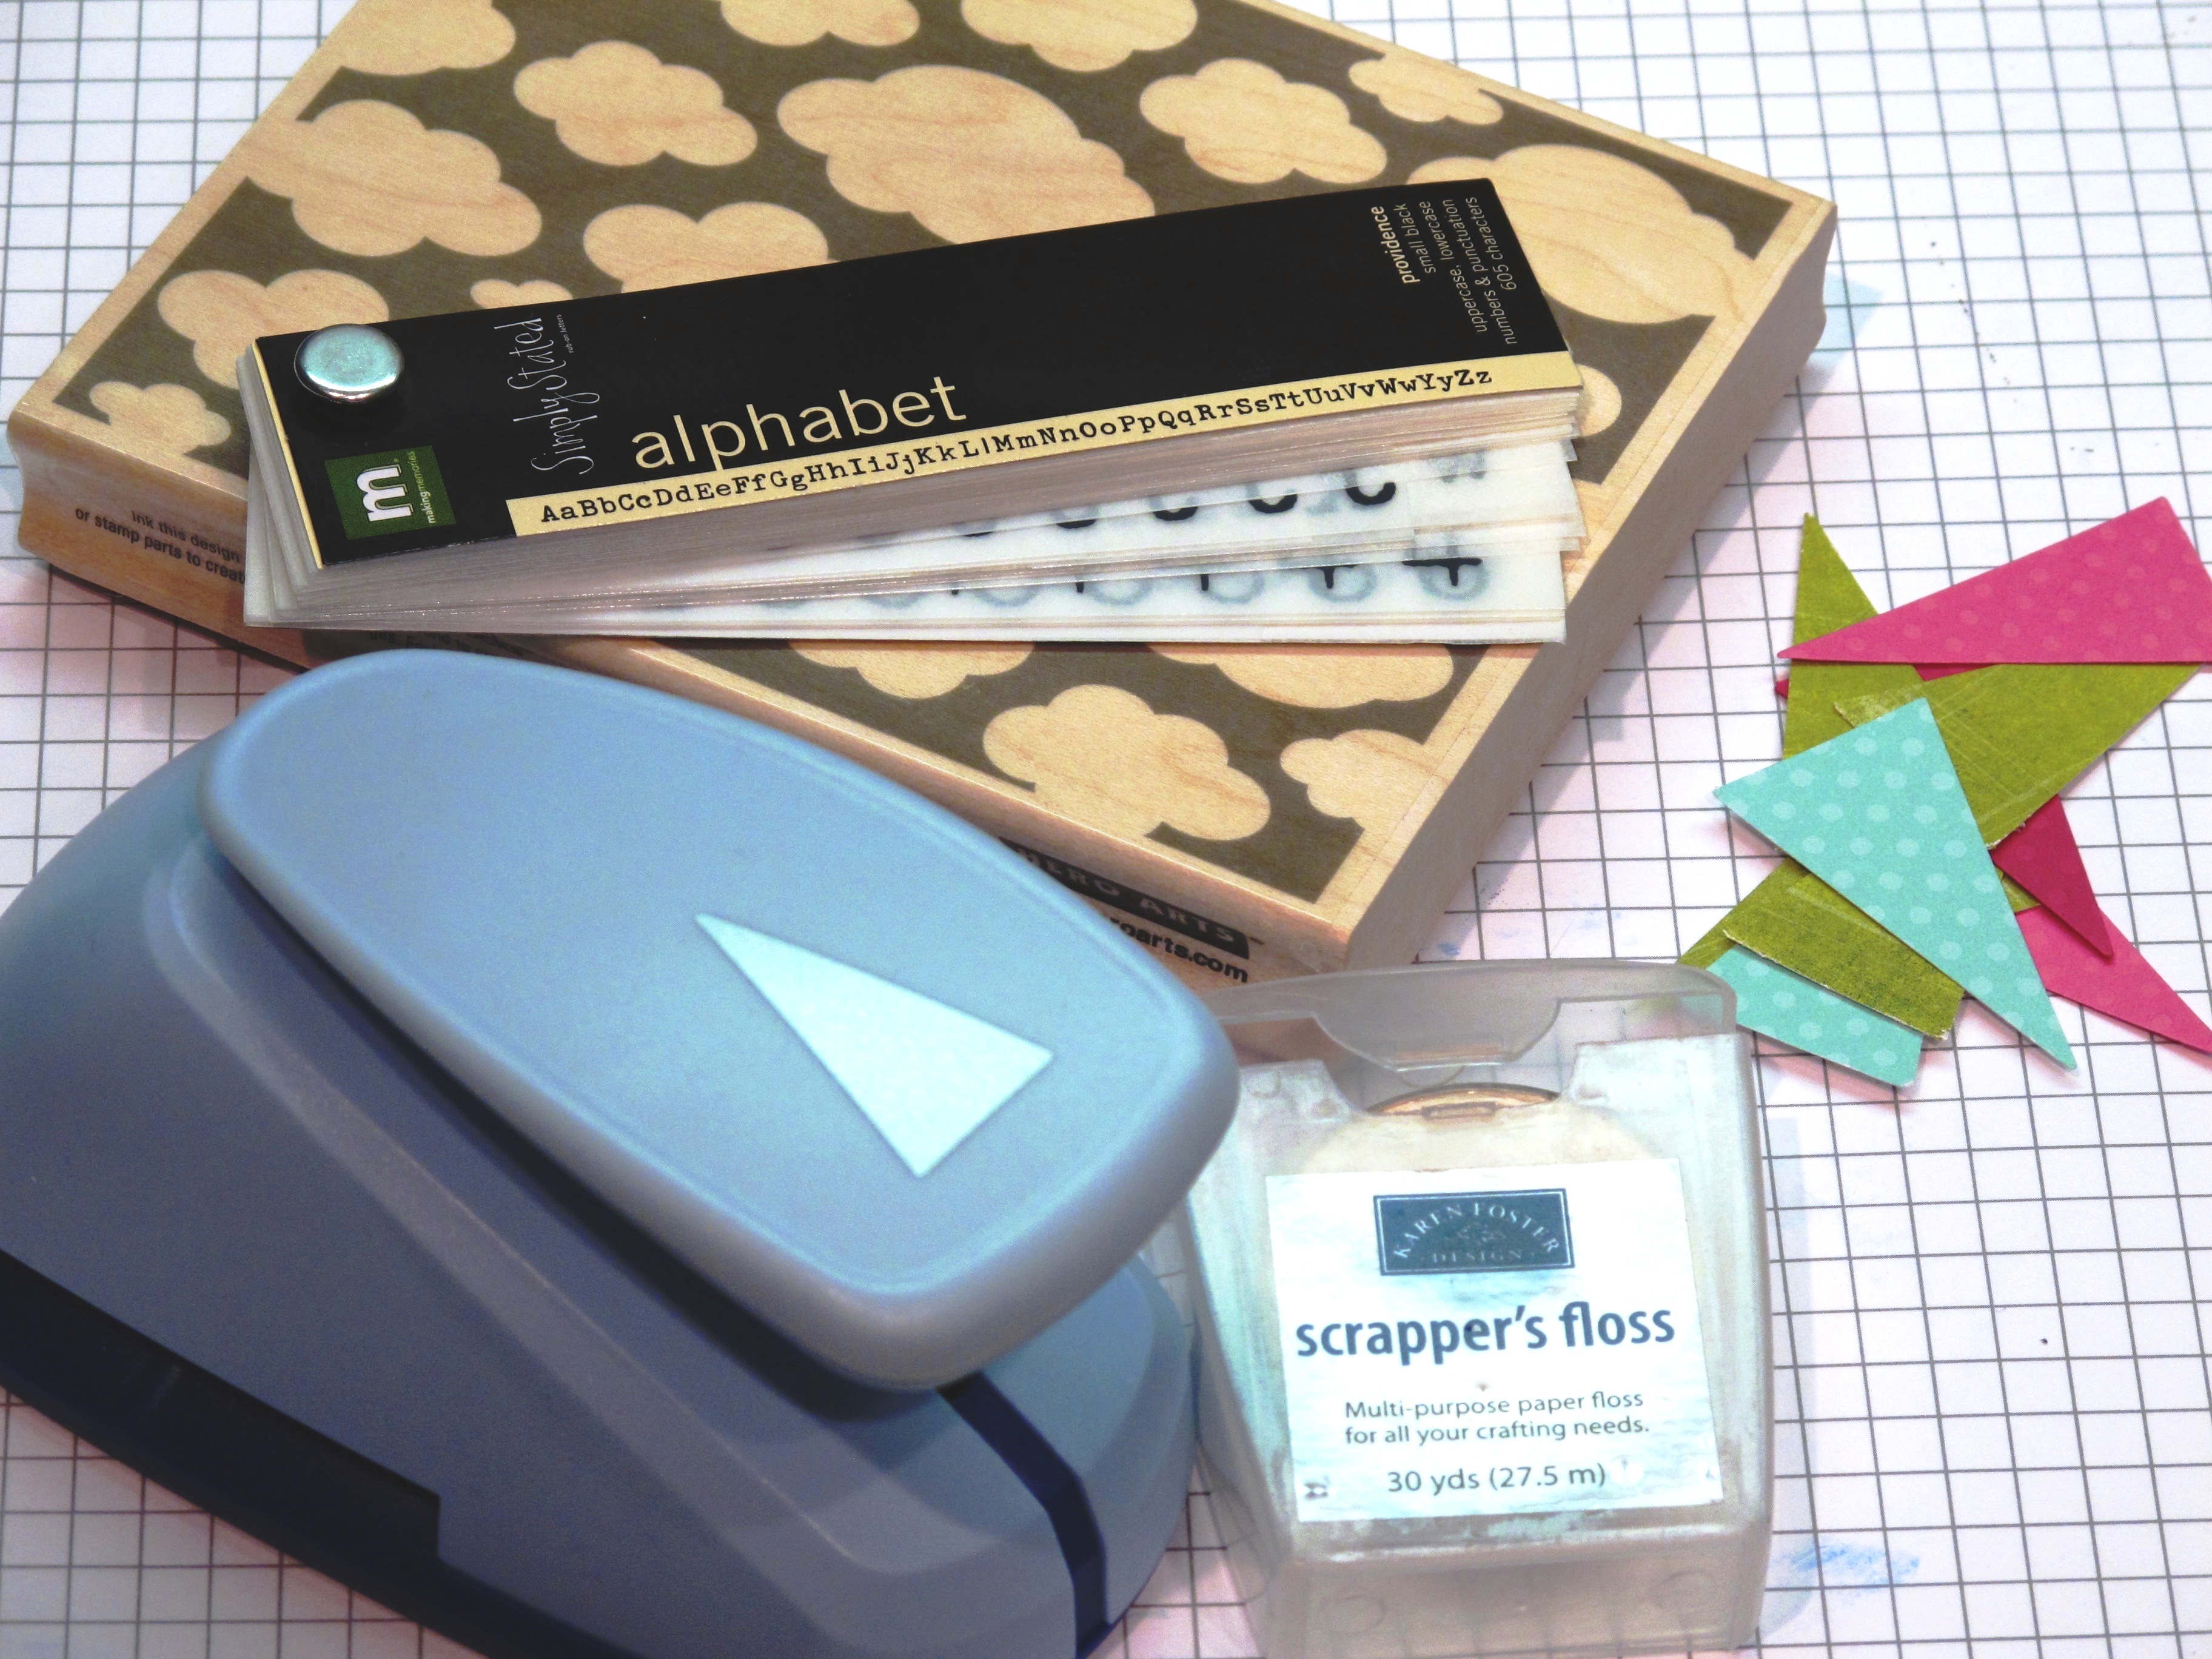
    Here are some of the materials I used! The giant cloud stamp is from Hero Arts (do you love that?)…The punch is from Marvy. The alphabet I used to spell hooray is an old rub on set from Making Memories. The little birdies are (what else) Martha Stewart punches.

    Bloggie 001

    What do you have to celebrate today?

  • Sweet Strawberries!

    Tonight is my monthly stamp club meeting! Yay! it's a group that gets together the first Wednesday of every month to potluck, stamp and gab and it's wonderful. I look forward to seeing those crazy gals each month. We do card swaps too – woohoo! Tonight instead of a card to swap, I'm bringing little paper strawberries that I made. Stephanie at Paper Garden had these as a make-n-take a long time ago and my little berry has been sitting in my craft room ever since – and now finally I made a whole bunch!

    Bloggie 001

    I cut the strawberries out of different red papers and the tops out of green polka dots! The sentiment is from Amuse stamps and the strawberry is an old Stampin' Up image. I colored the strawberry stamp with my water based markers from SU! in Rose Red and Green Galore.

    Bloggie 002 

    My little strawberry patch is ready to go! Inside are dark chocolate kisses….mmmmm.

    Bloggie 004

    Close up of the sentiment.

    Bloggie 006 

    Have a sweet day!

  • Some random stuff for a Tuesday…

    Today I have a little story, a card and a funny picture! Over at The Shabby Tea Room Blog I got an honorable mention for my last entry!!! Woo hoo!!! I love that blog and the entries are always beautiful and amazing. I was honored to be mentioned! Get it…snort snort. Anyhoo…I was excited about this development. It's the card I made last week with the pretty Victorian house and the shabby flowers.

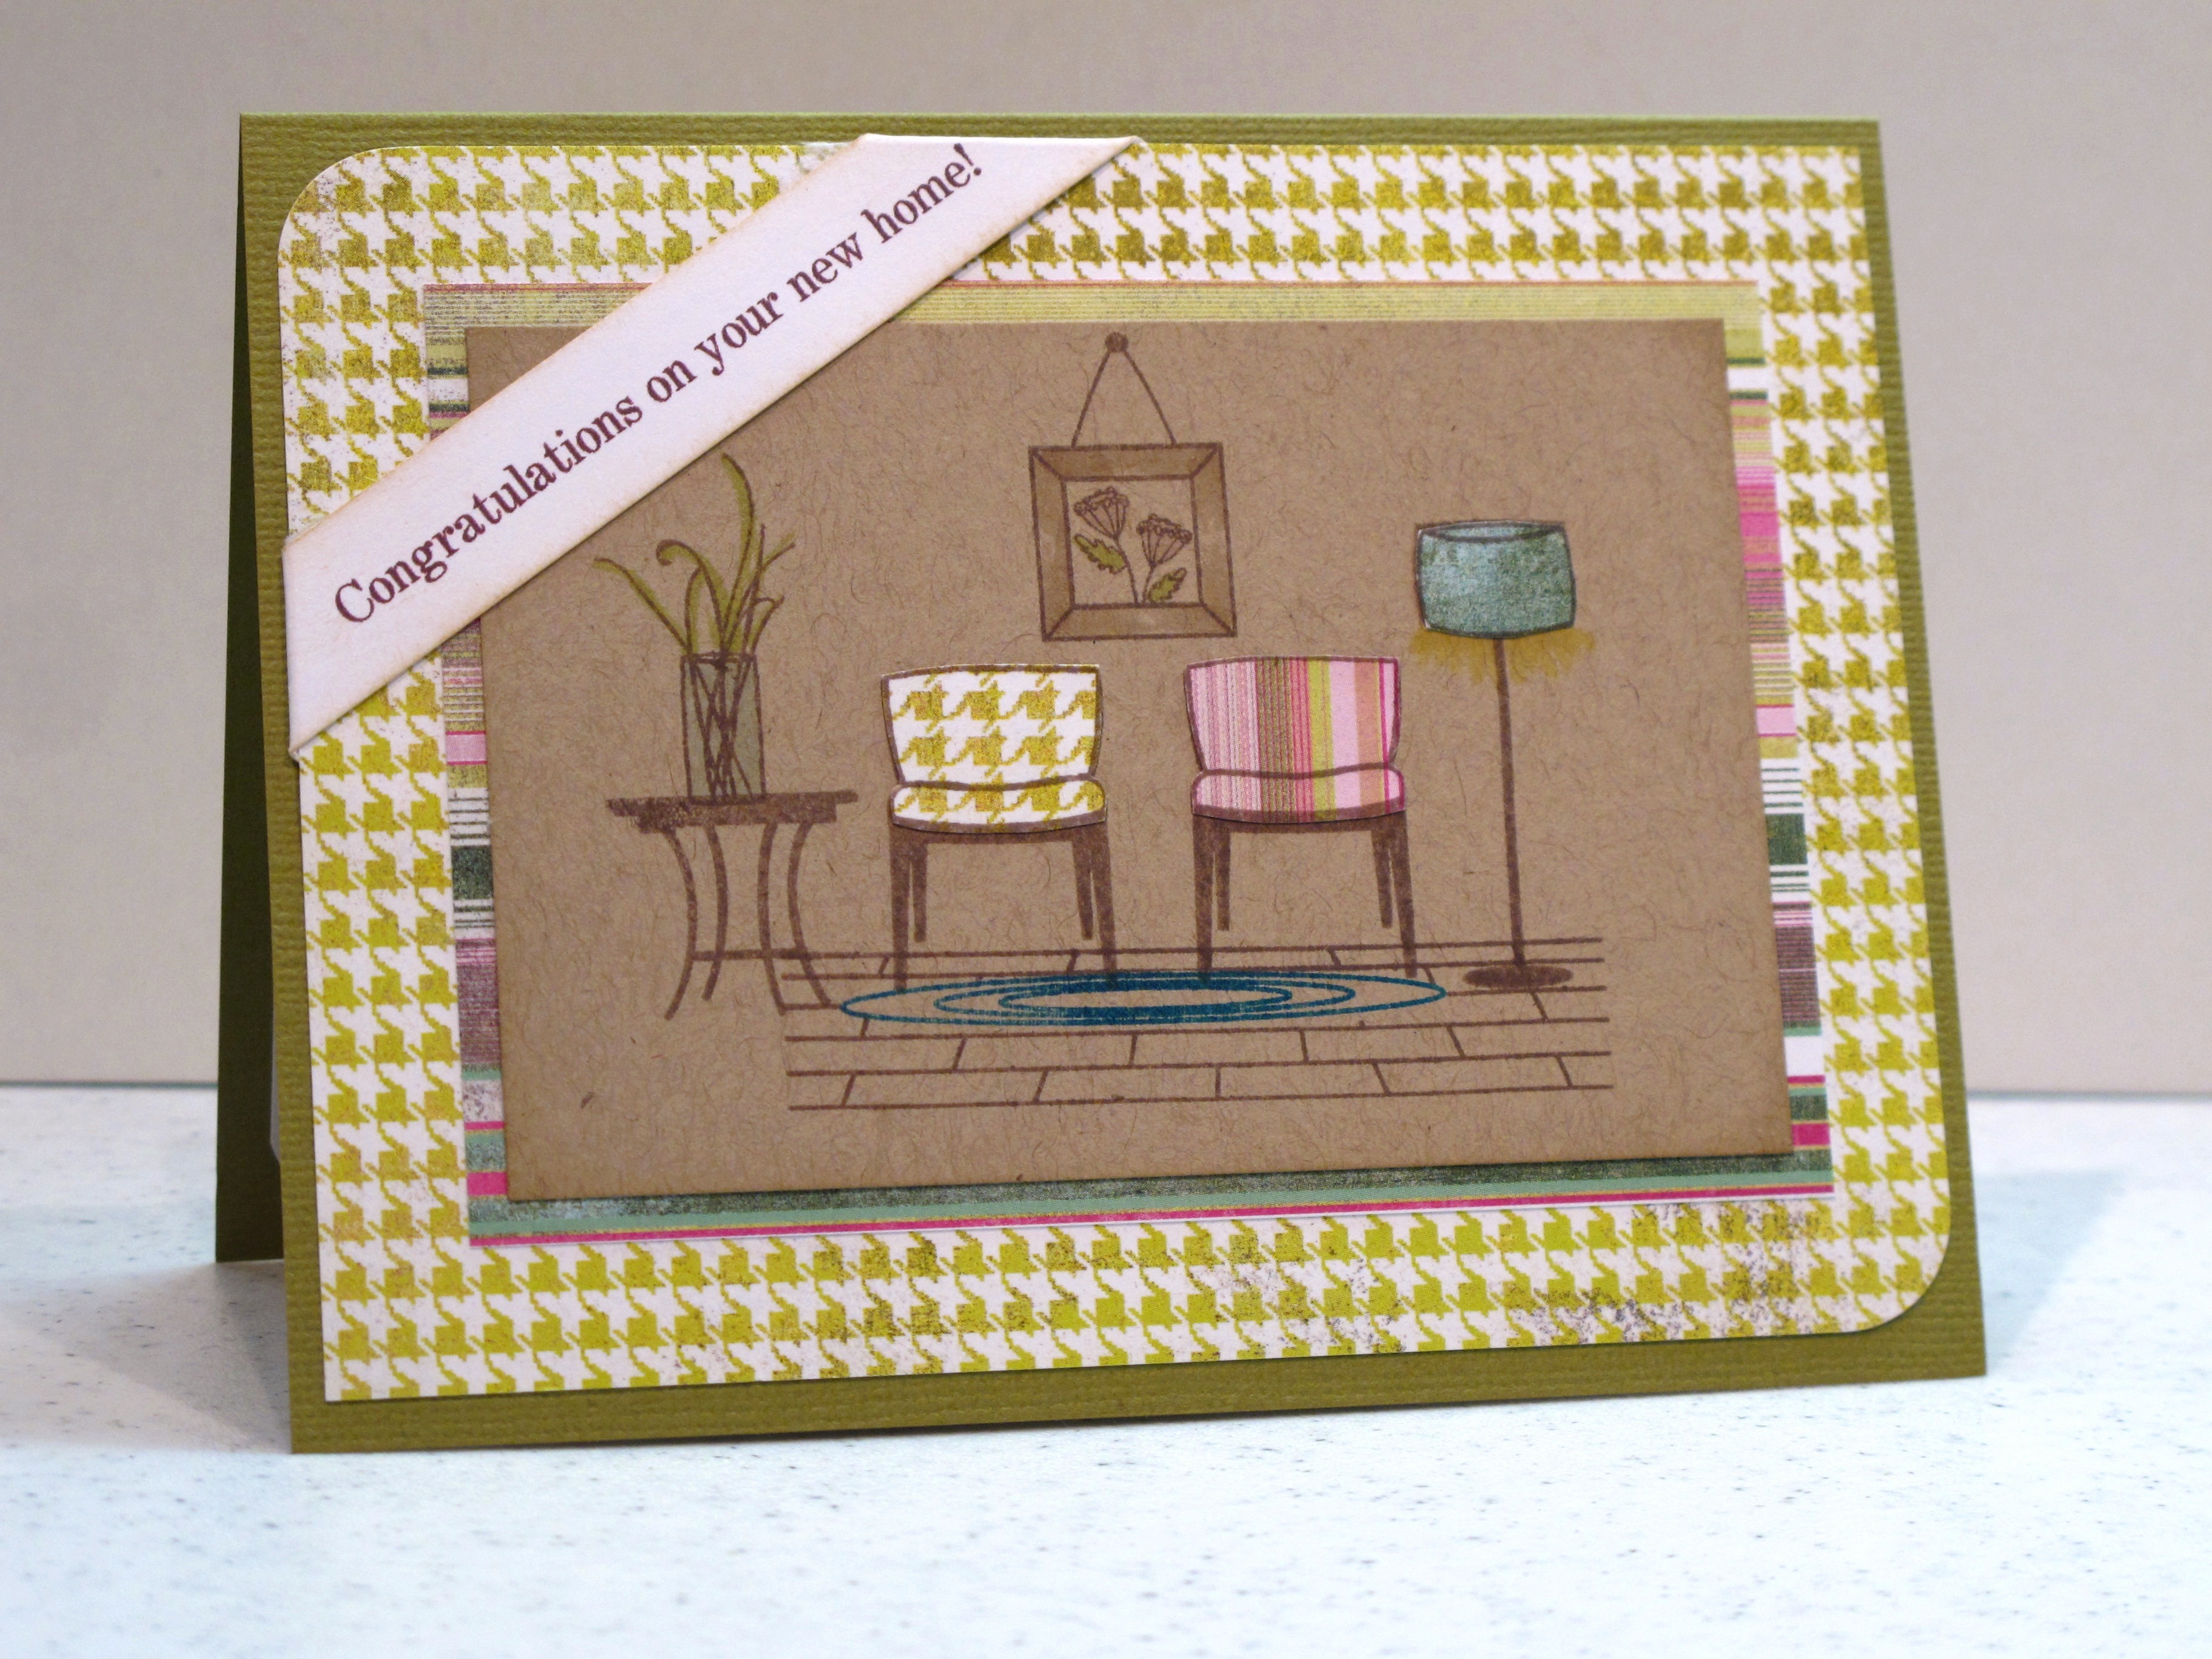
    My card for today was commissioned by my best customer – TJ. She needed a new home card for her gal pal in New York. We decided on a cool retro color scheme and then the ideas started flowing. Okay – how much, seriously, can you love the PTI couches, chairs, etc.??? Oy. Three Cheers for Chairs! (This is also a Moxie Fab Card Challenge!)

    Bloggie 001

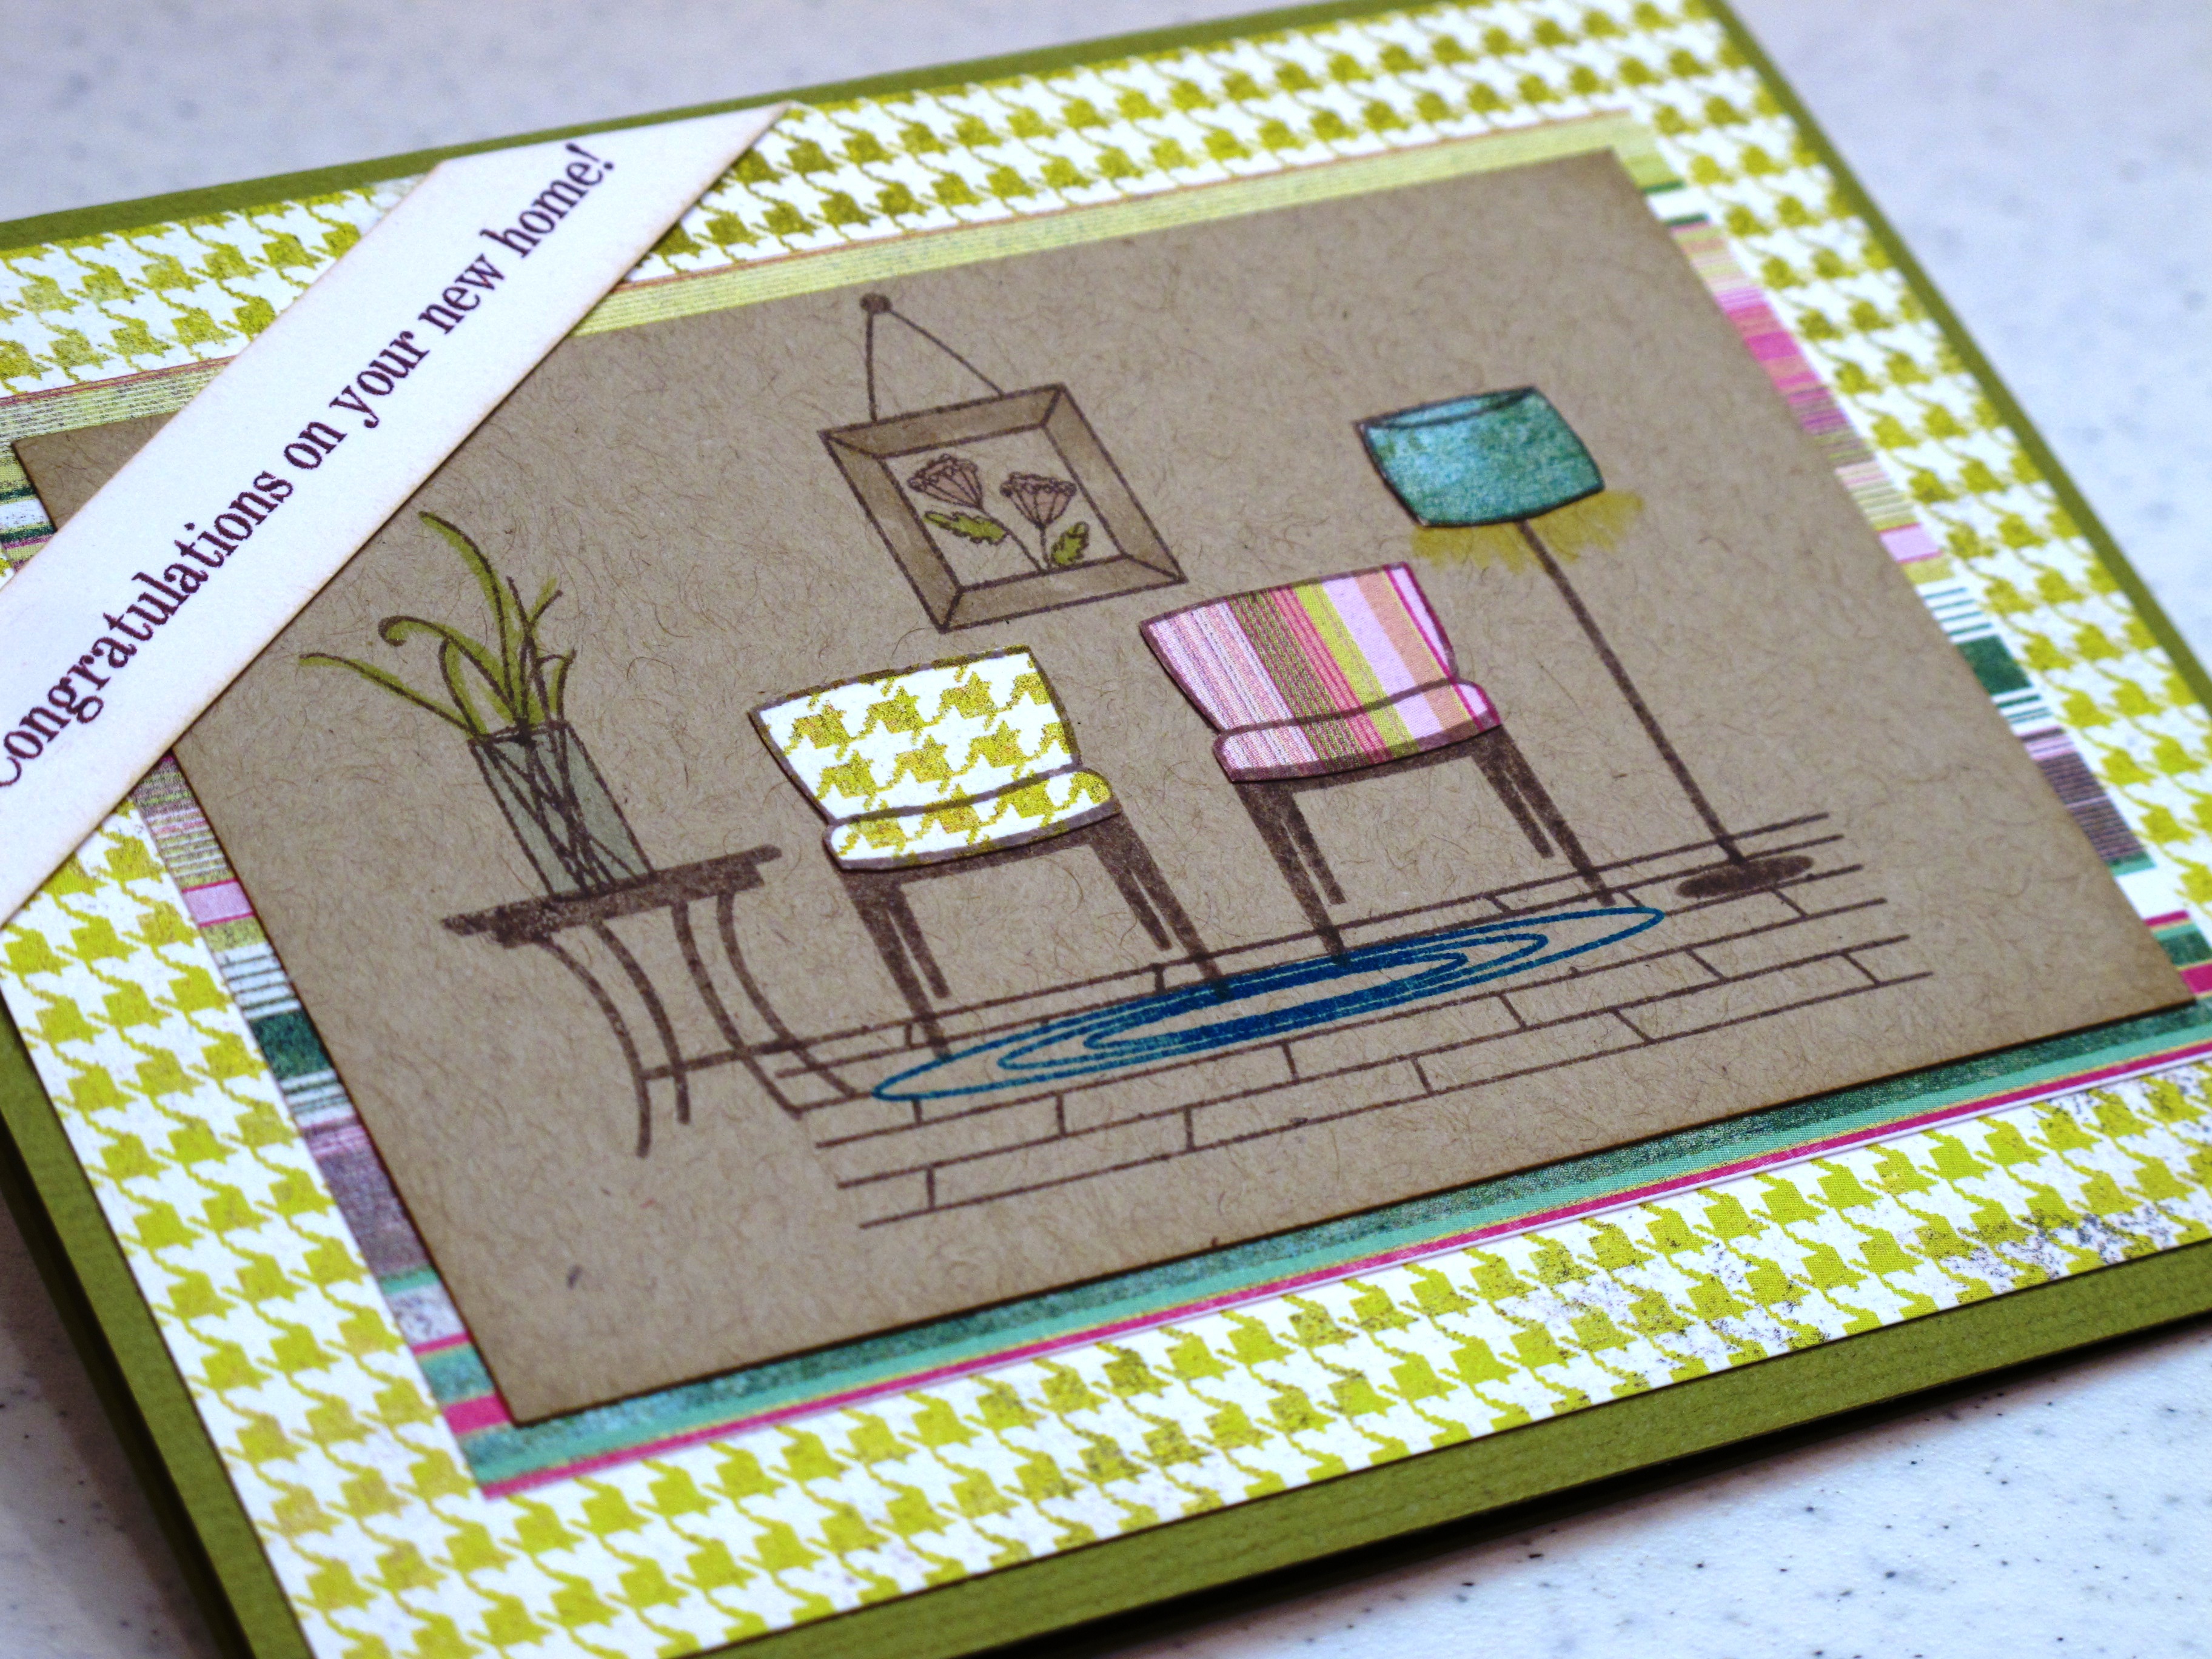
    This little cozy scene used SEVEN stamps! LOVE it! I used my Copics to color in the rays of light from the lamp, the photo on the wall and the vase.

    Bloggie 003

    This is the inside. Both the sentiment on the front and the one on the inside were printed on my computer using a font called Annual. You know I had to make one more chair!! I really enjoy paper piecing these projects. Not too much detailed cutting.

    Bloggie 004

    Bloggie 005


    The last thing for today is a fun photo! This picture proves that, if you want to badly enough, you can stamp ANYWHERE! My adorable friend Jilli Bling stamping in the car. CLASSIC! Had to share this with you guys.

    Photo

     Hope your week is good so far and that it keeps gettin' better! 

    OH! Okay, one more thing. This is a totally random reference and I know ONE other person out there is gonna crack up. I am a Bravo tv junkie. I'll just admit it right now. I also have recently become a DWTS junkie. Think of these two voices: Chad from Million Dollar Listing and Evan Lysacek… Am I right?? If you are the one other person that gets that – email me! I want to be your friend! Okay – bye now.

  • Copic Camp was a success!

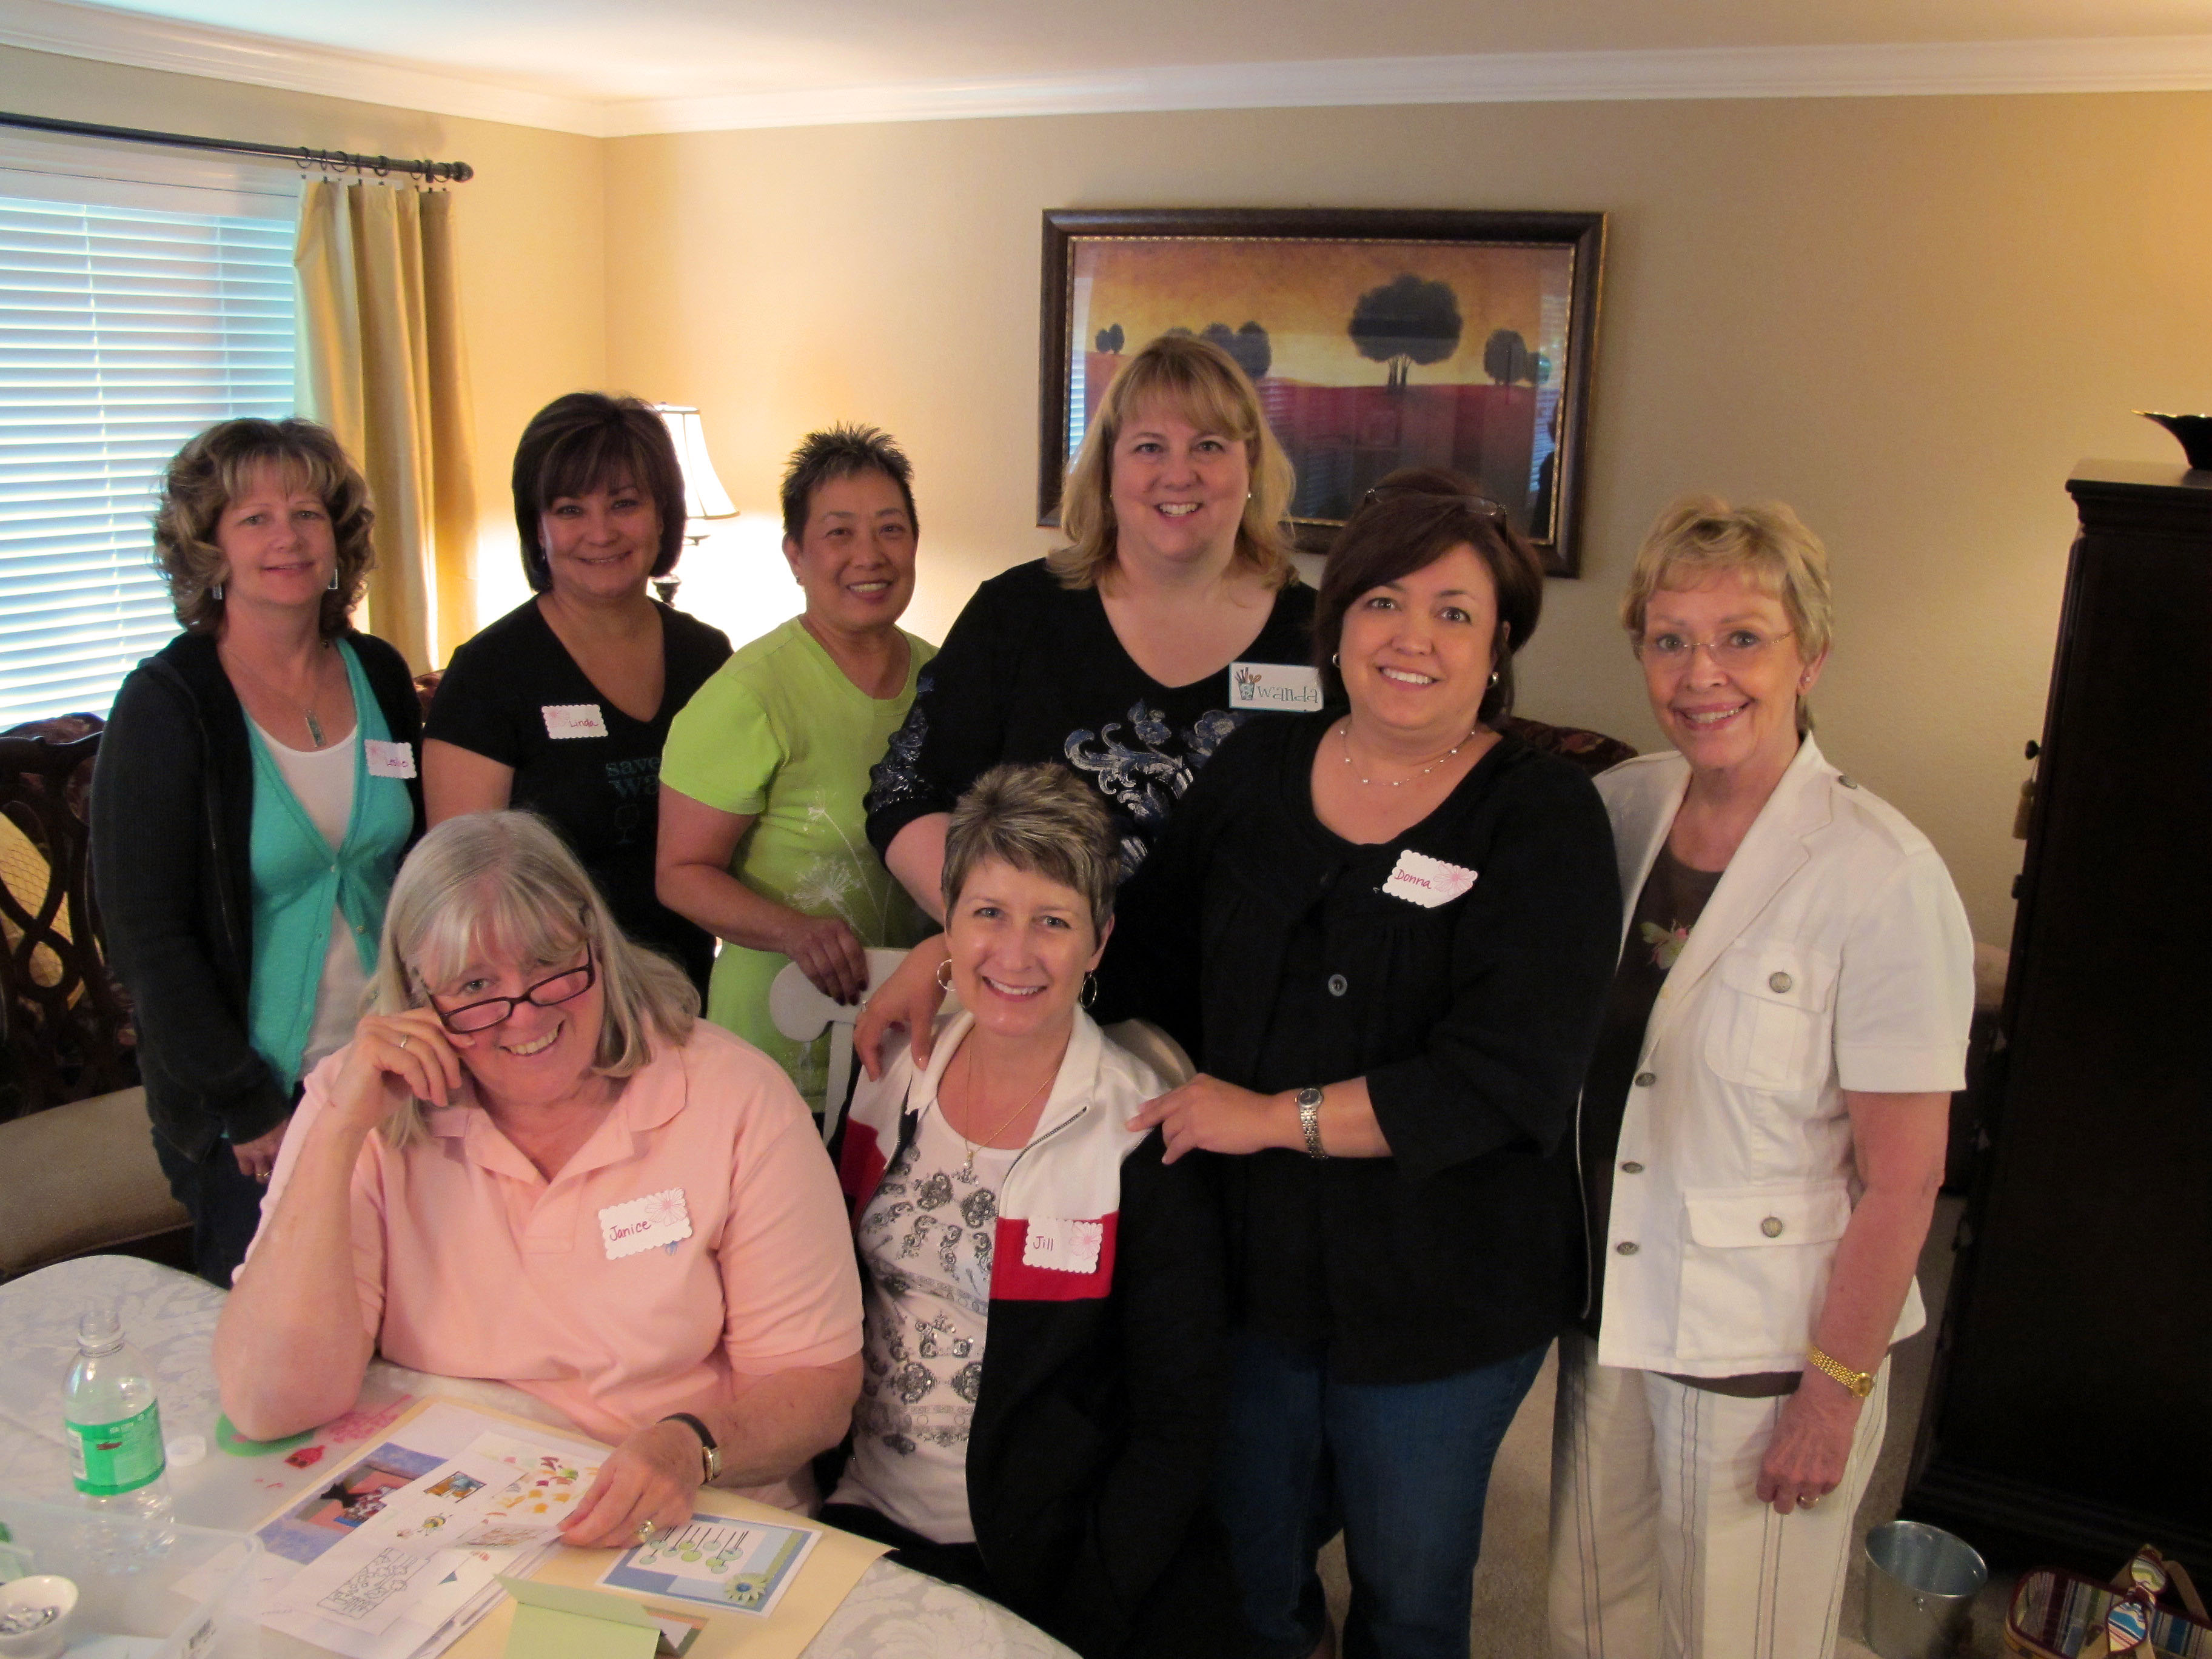
    Hi everyone! I am so excited to report that Copic Camp weekend was a success! It's Sunday night and I'm taking a moment to sit down and let it all sink in. I'm re-acquainting myself with my boys who have been inundated by women all weekend! We had a great time of stamping, laughing, eating and learning together at Copic Camp. I taught two 5 hour classes on the techniques, tips and tricks to Copic Markers. There were 6 people on Saturday and 7 on Sunday. I know I had a great time! I'm pretty sure I got everyone hooked on Copics. Thank you to everyone who came! Your enthusiasm is contagious and I enjoyed spending time with all of you – and making some new stamping friends along the way. Stamping chicks rock! Okay, here are some pix to share…

    Saturday's group:

    IMG_1689


    IMG_1683


    IMG_1685


    This was Shauna's first card EVER! Good job girlfriend!

    IMG_1686 

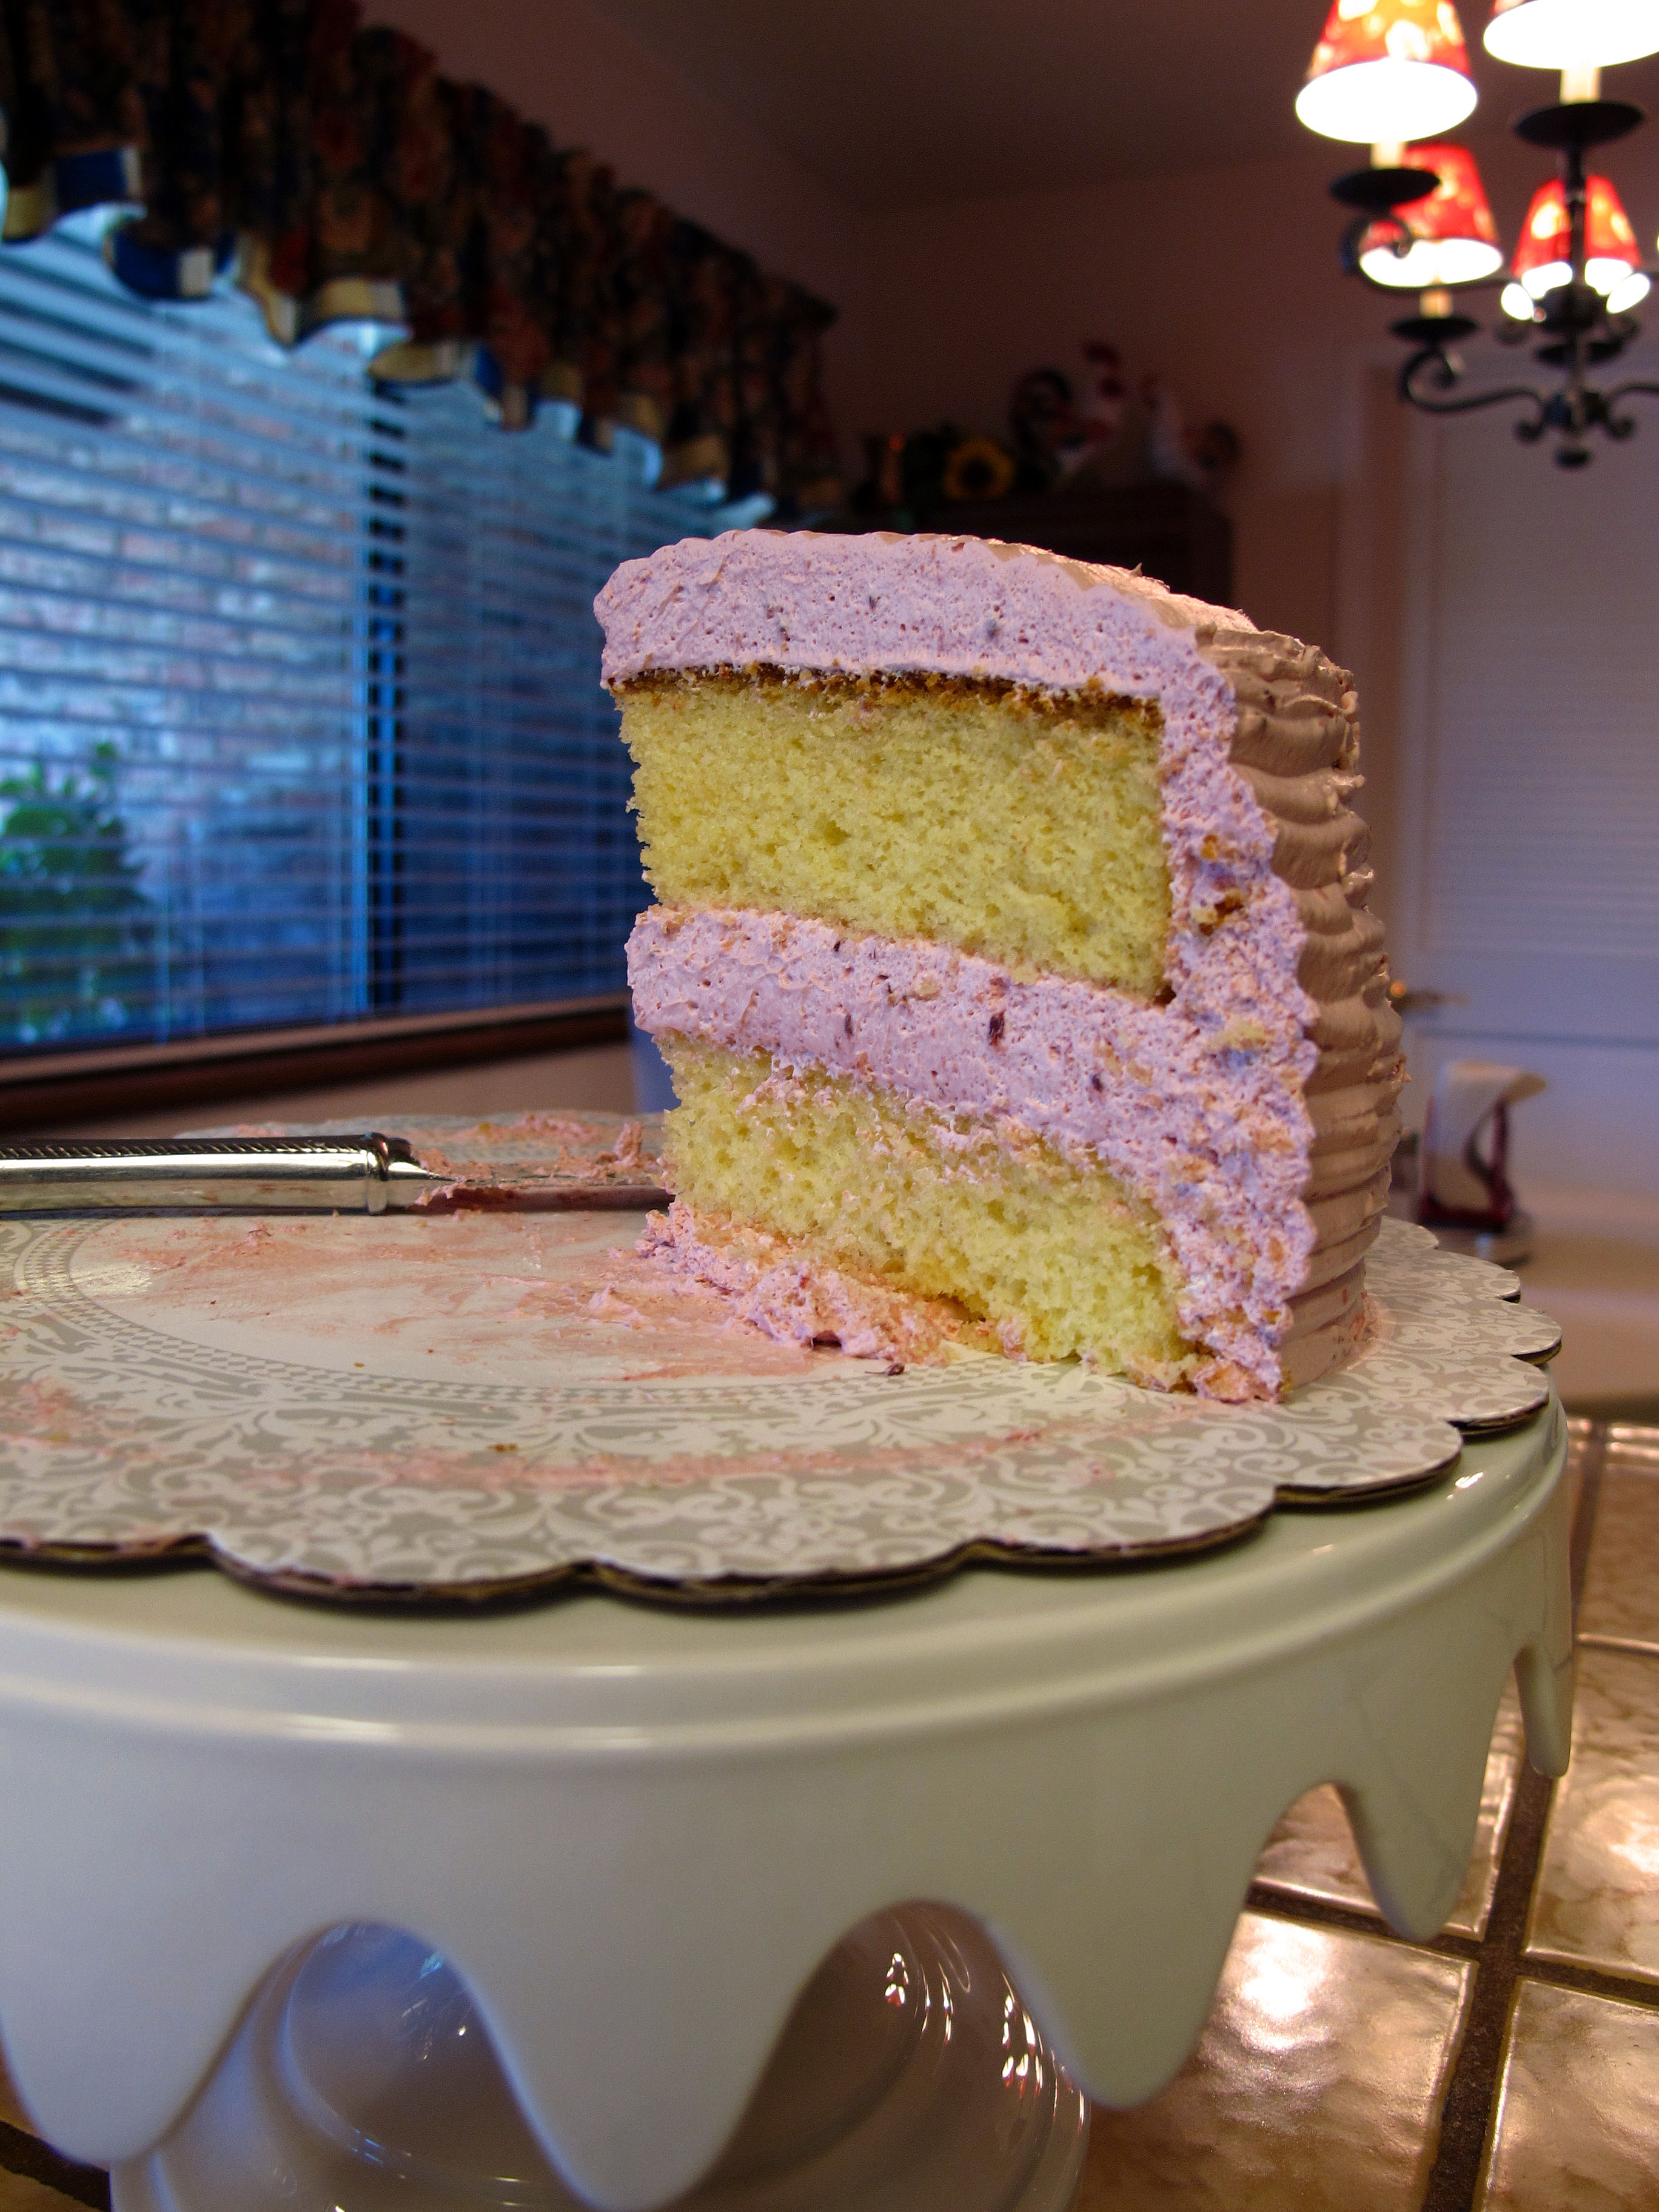
    Caroline brought this beautiful cake to share with everyone. She is a fantastic baker/cake decorator. Um, only thing is, I forgot to take a before picture! Here's the after! It was delicious and didn't last long.

    IMG_1688 

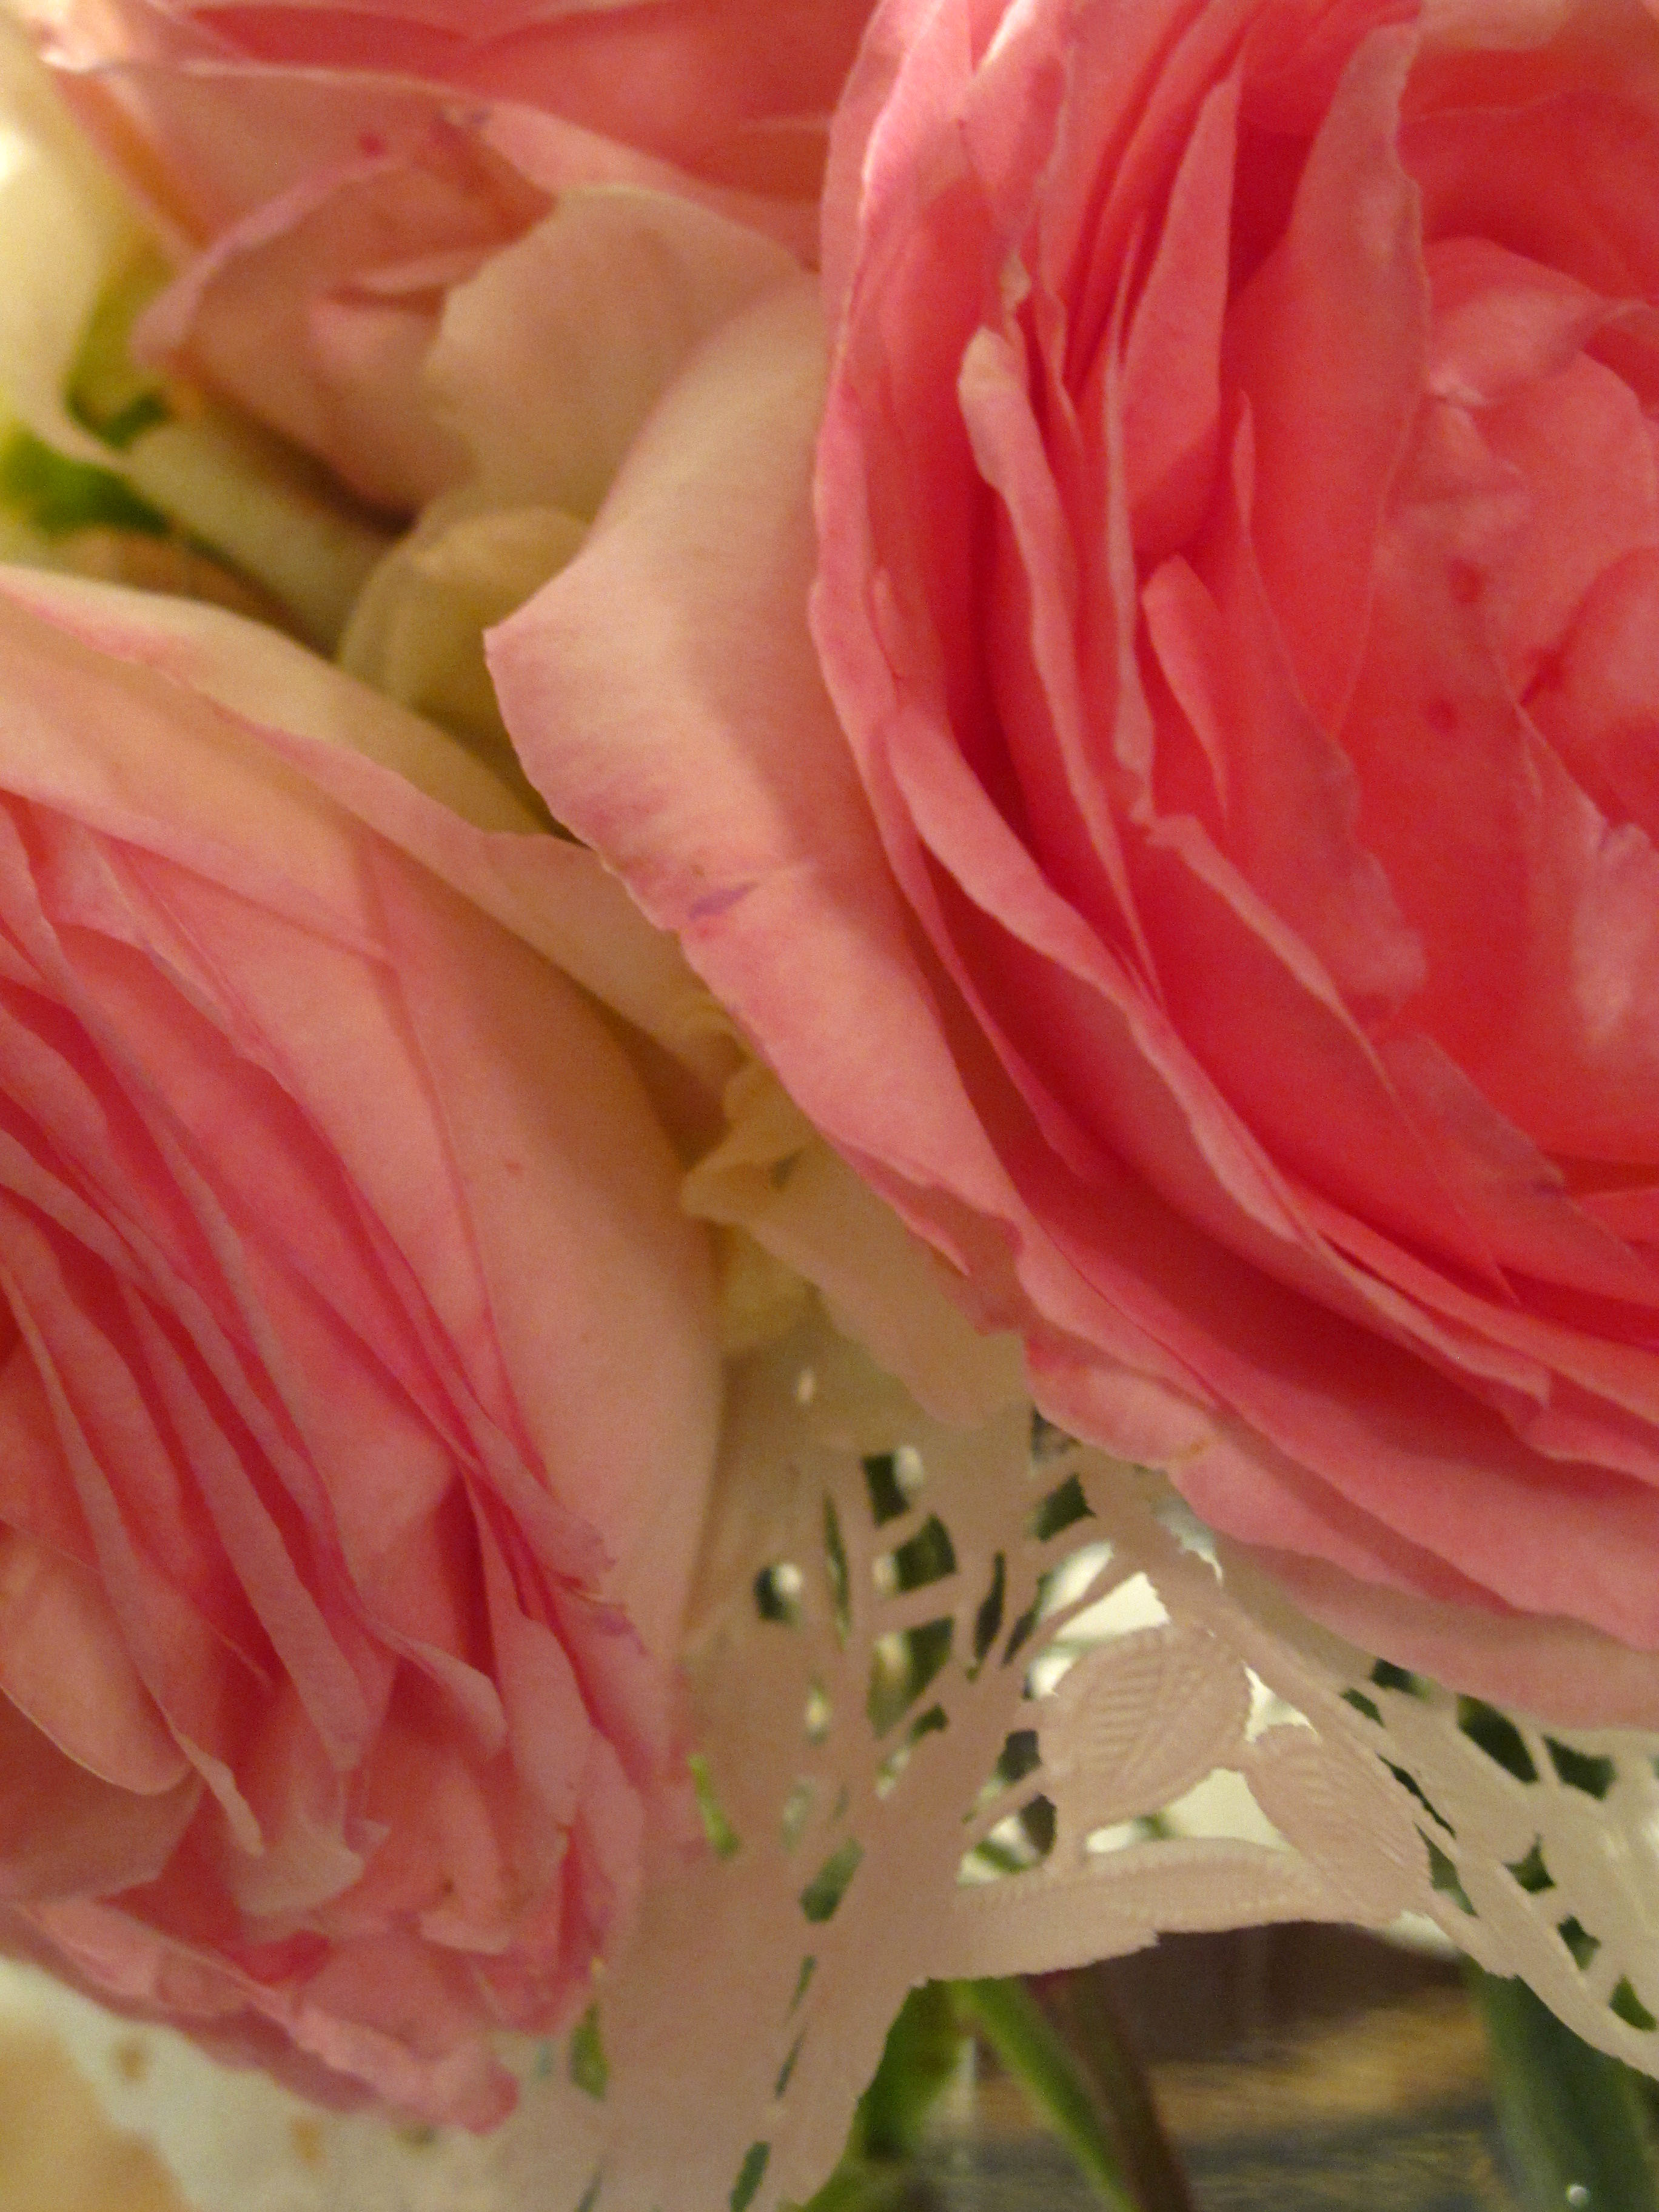
    Shauna brought these gorgeous roses from her garden. Look how she put that pretty doily underneath the flowers to make a sweet bouquet. I am enjoying these flowers so much!

    IMG_1696


    Here is Sunday's group!

    IMG_1706

    This looks pretty serious… Markers everywhere and deep concentration…

    IMG_1703


    IMG_1698 

    Here's to a great week ahead – cheers! 

  • Comforts of Home…Shabby Tea Room challenge card!

    FRIDAY! GLORIOUS FRIDAY! We made it! Whew…had to get that off my chest. Lots going on with me this week and here it is FRIDAY! Today's card is my entry to The Shabby Tea Room blog contest #7 titled The Comforts of Home. They had a lovely soft image to work from that I fell in love with instantly. Can I just say that I adore this color pallette? MMMMMM. It was easy to get the old creative juices flowing for this challenge.

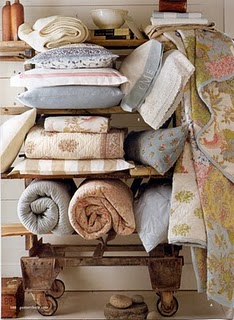
    Here is the beautiful image! Could you just die? That stack of pretty quilts all piled up like that contrasted with the weathered wood. Go-jus. Really. It sets a mood for sure.

    Photo inspiration _7 

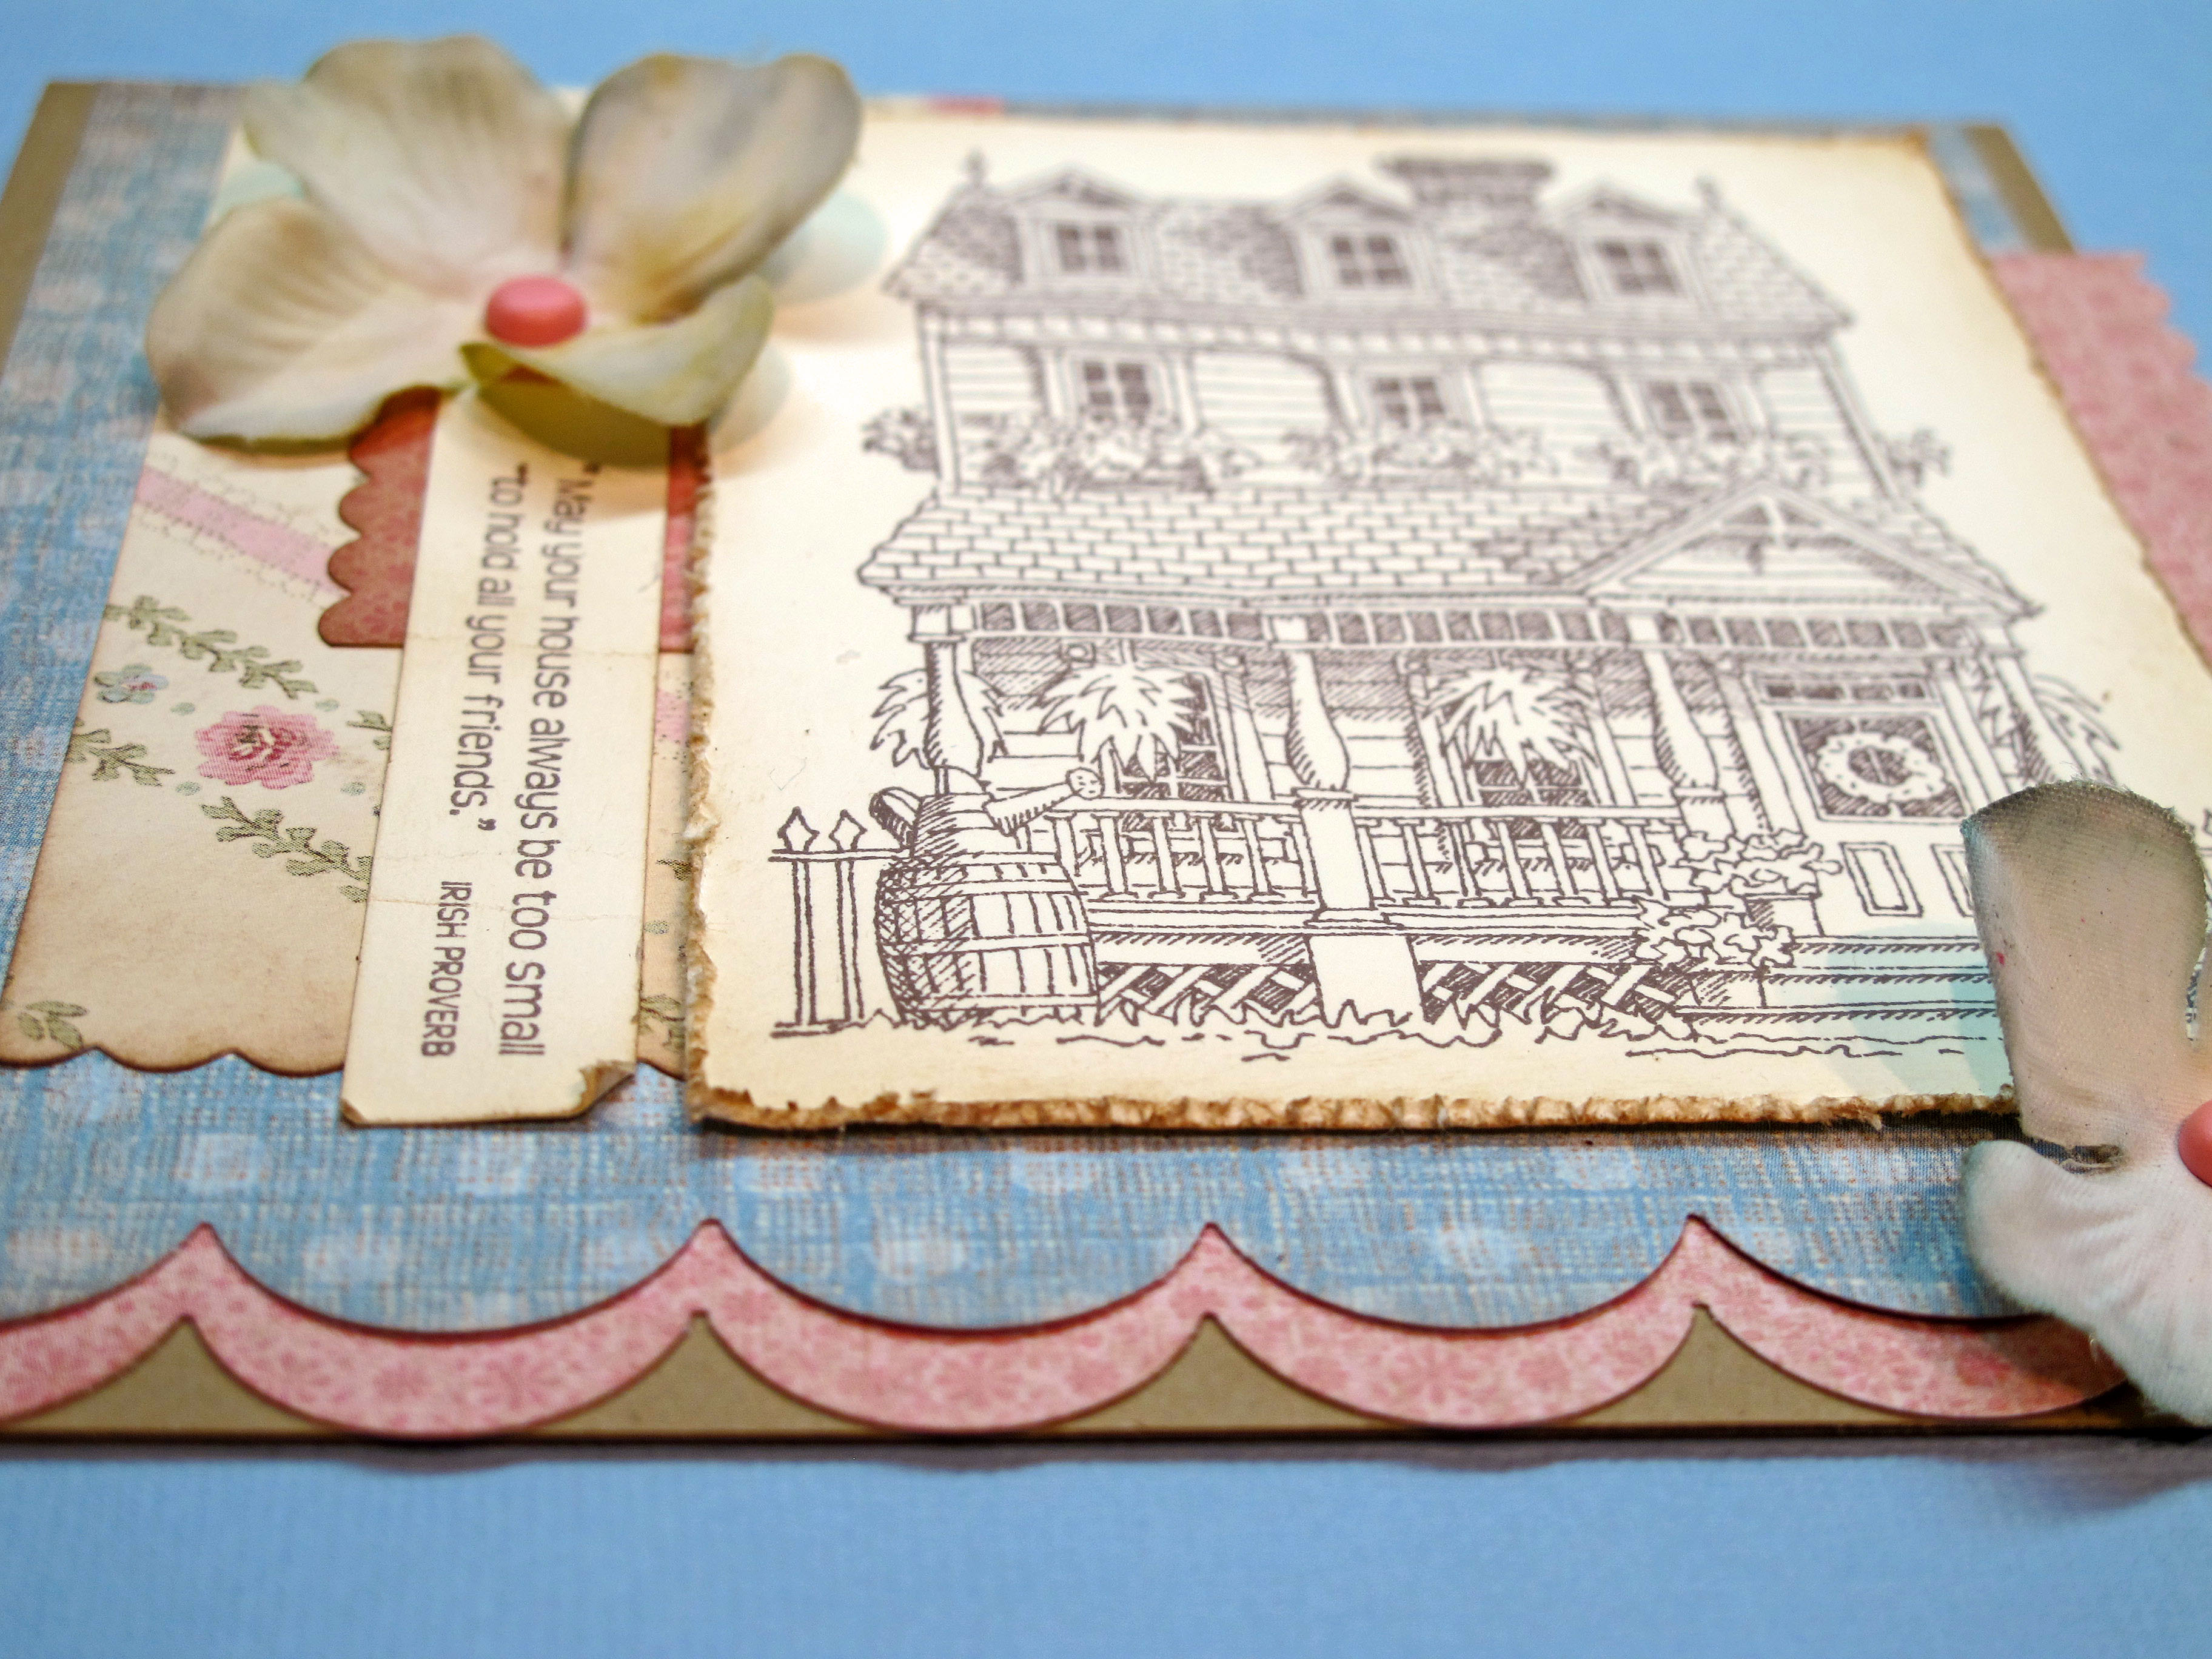
    Here is my entry for the challenge combining the image with the sentiment "Comforts of Home." I incorporated most of the colors with the patterned paper and gave the feel of the stack of quilts via using different patterned papers.

    IMG_1670_edited-1 

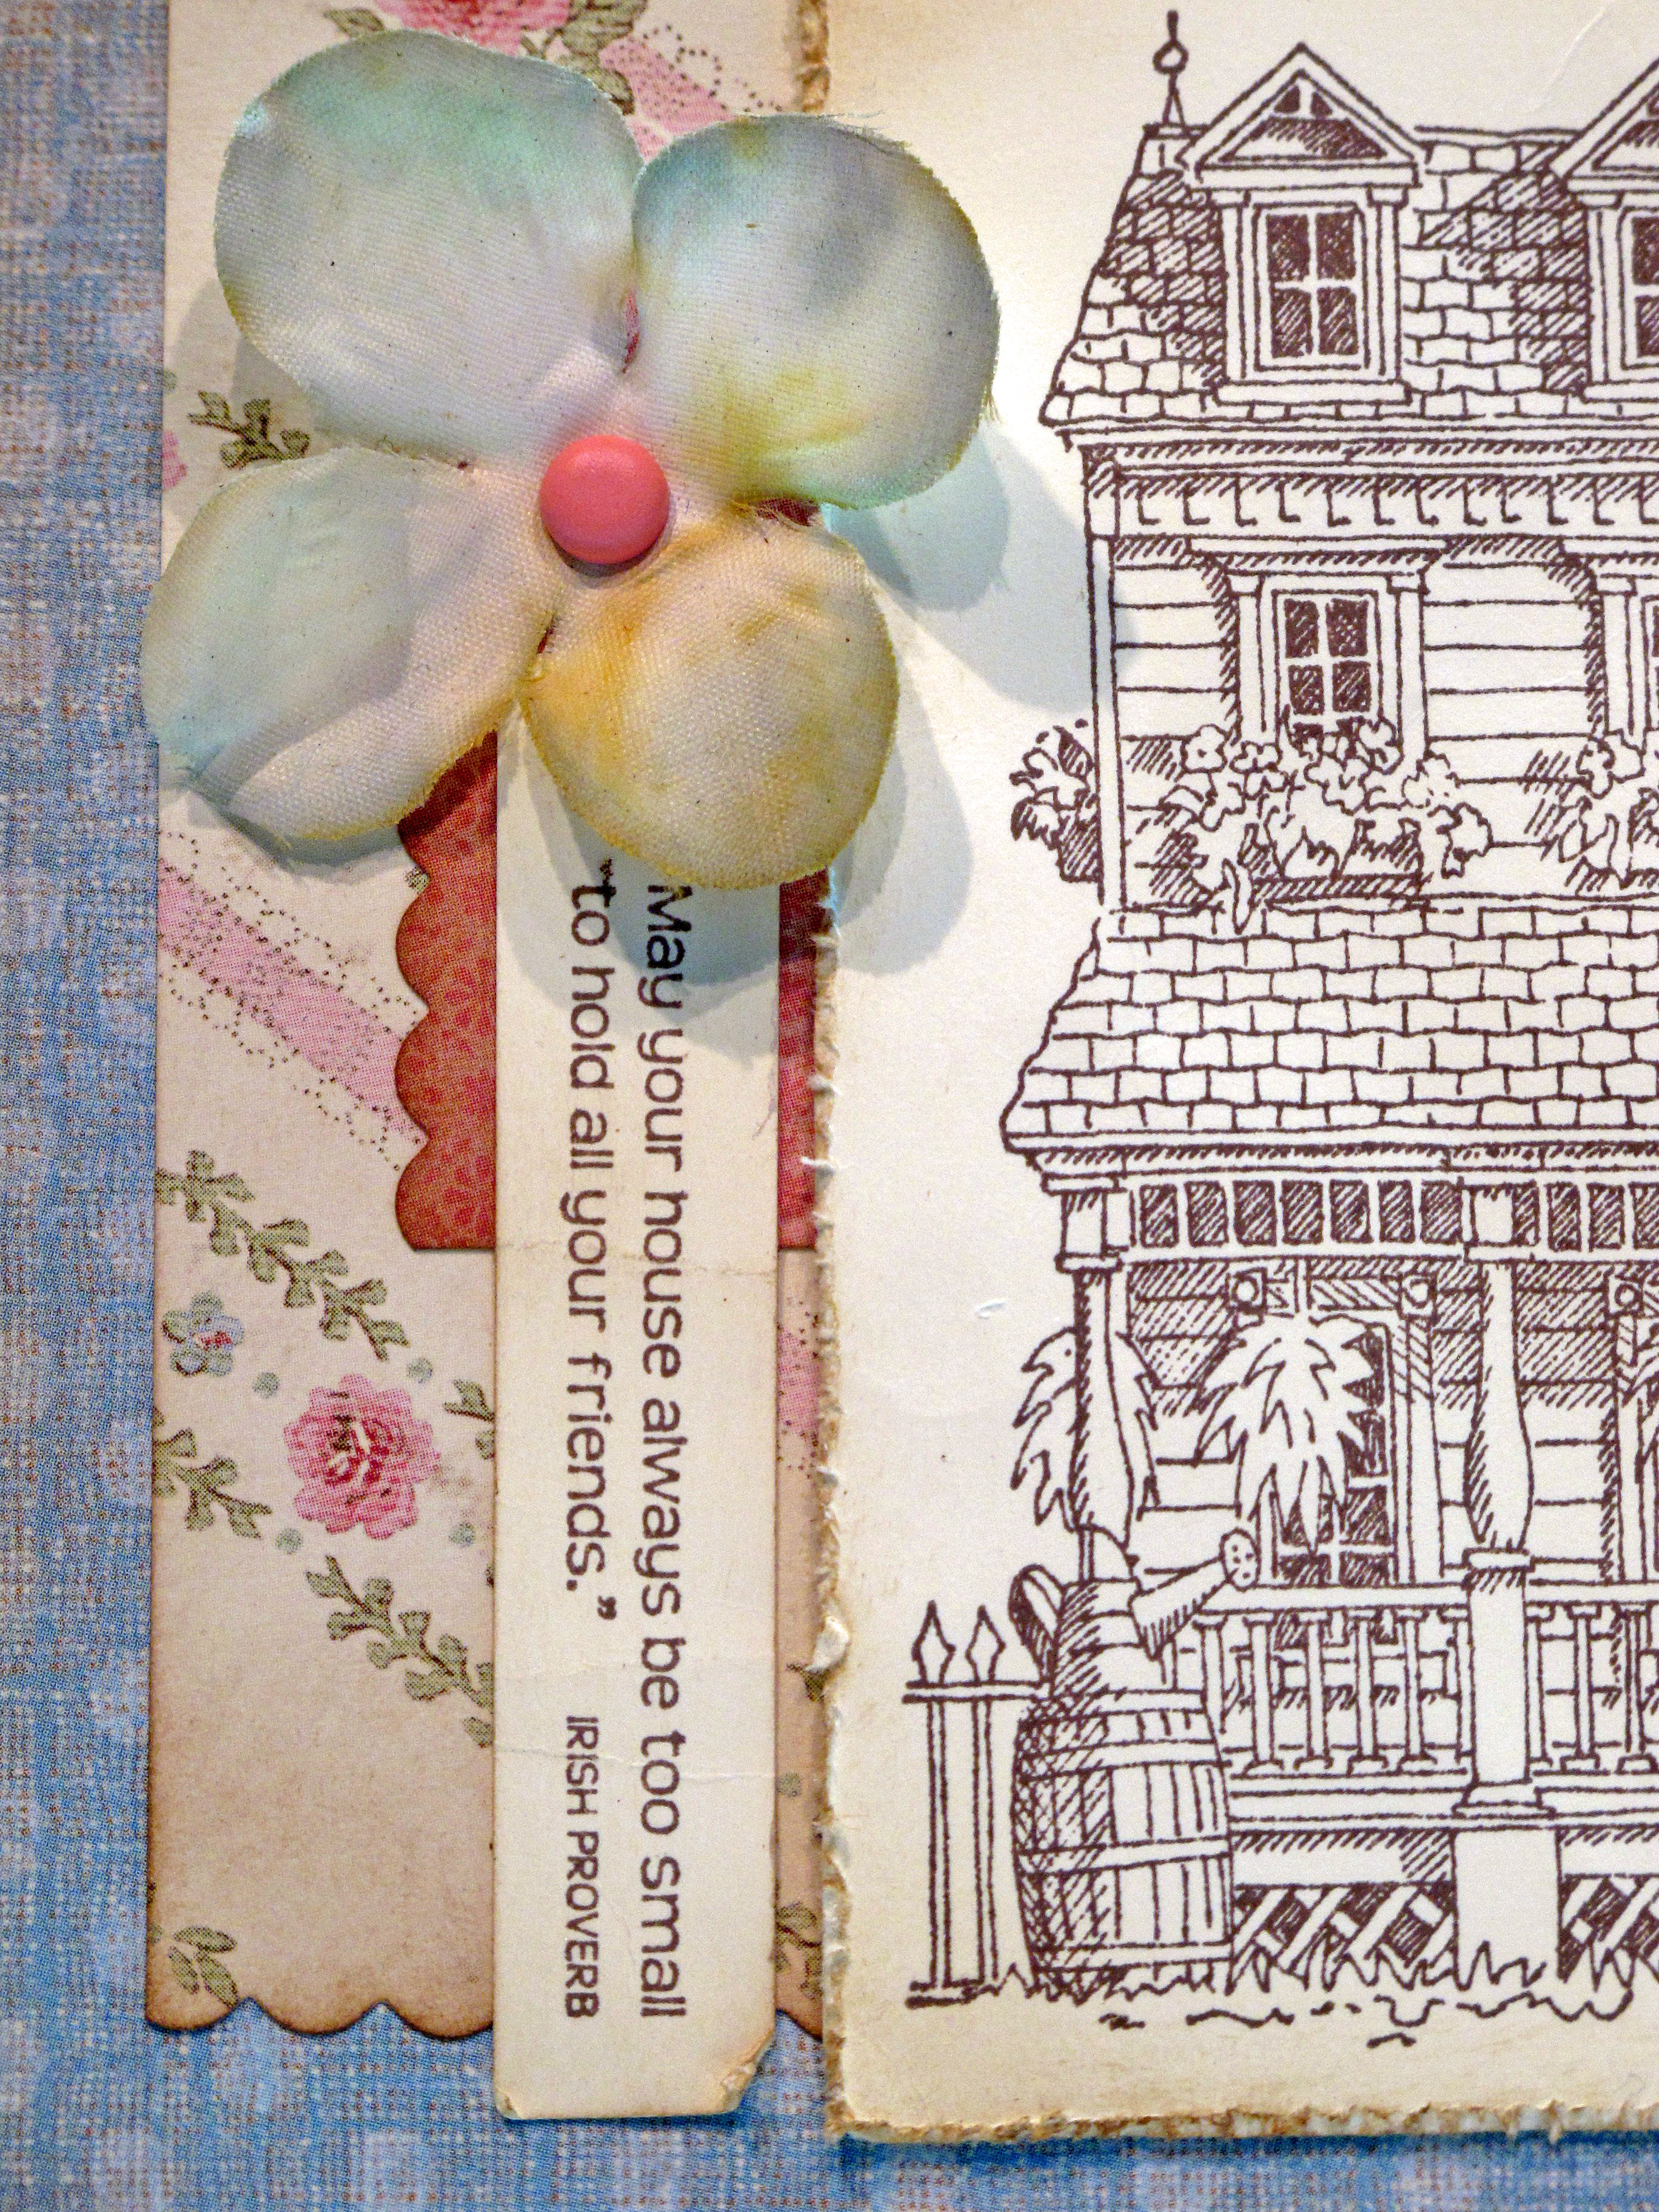
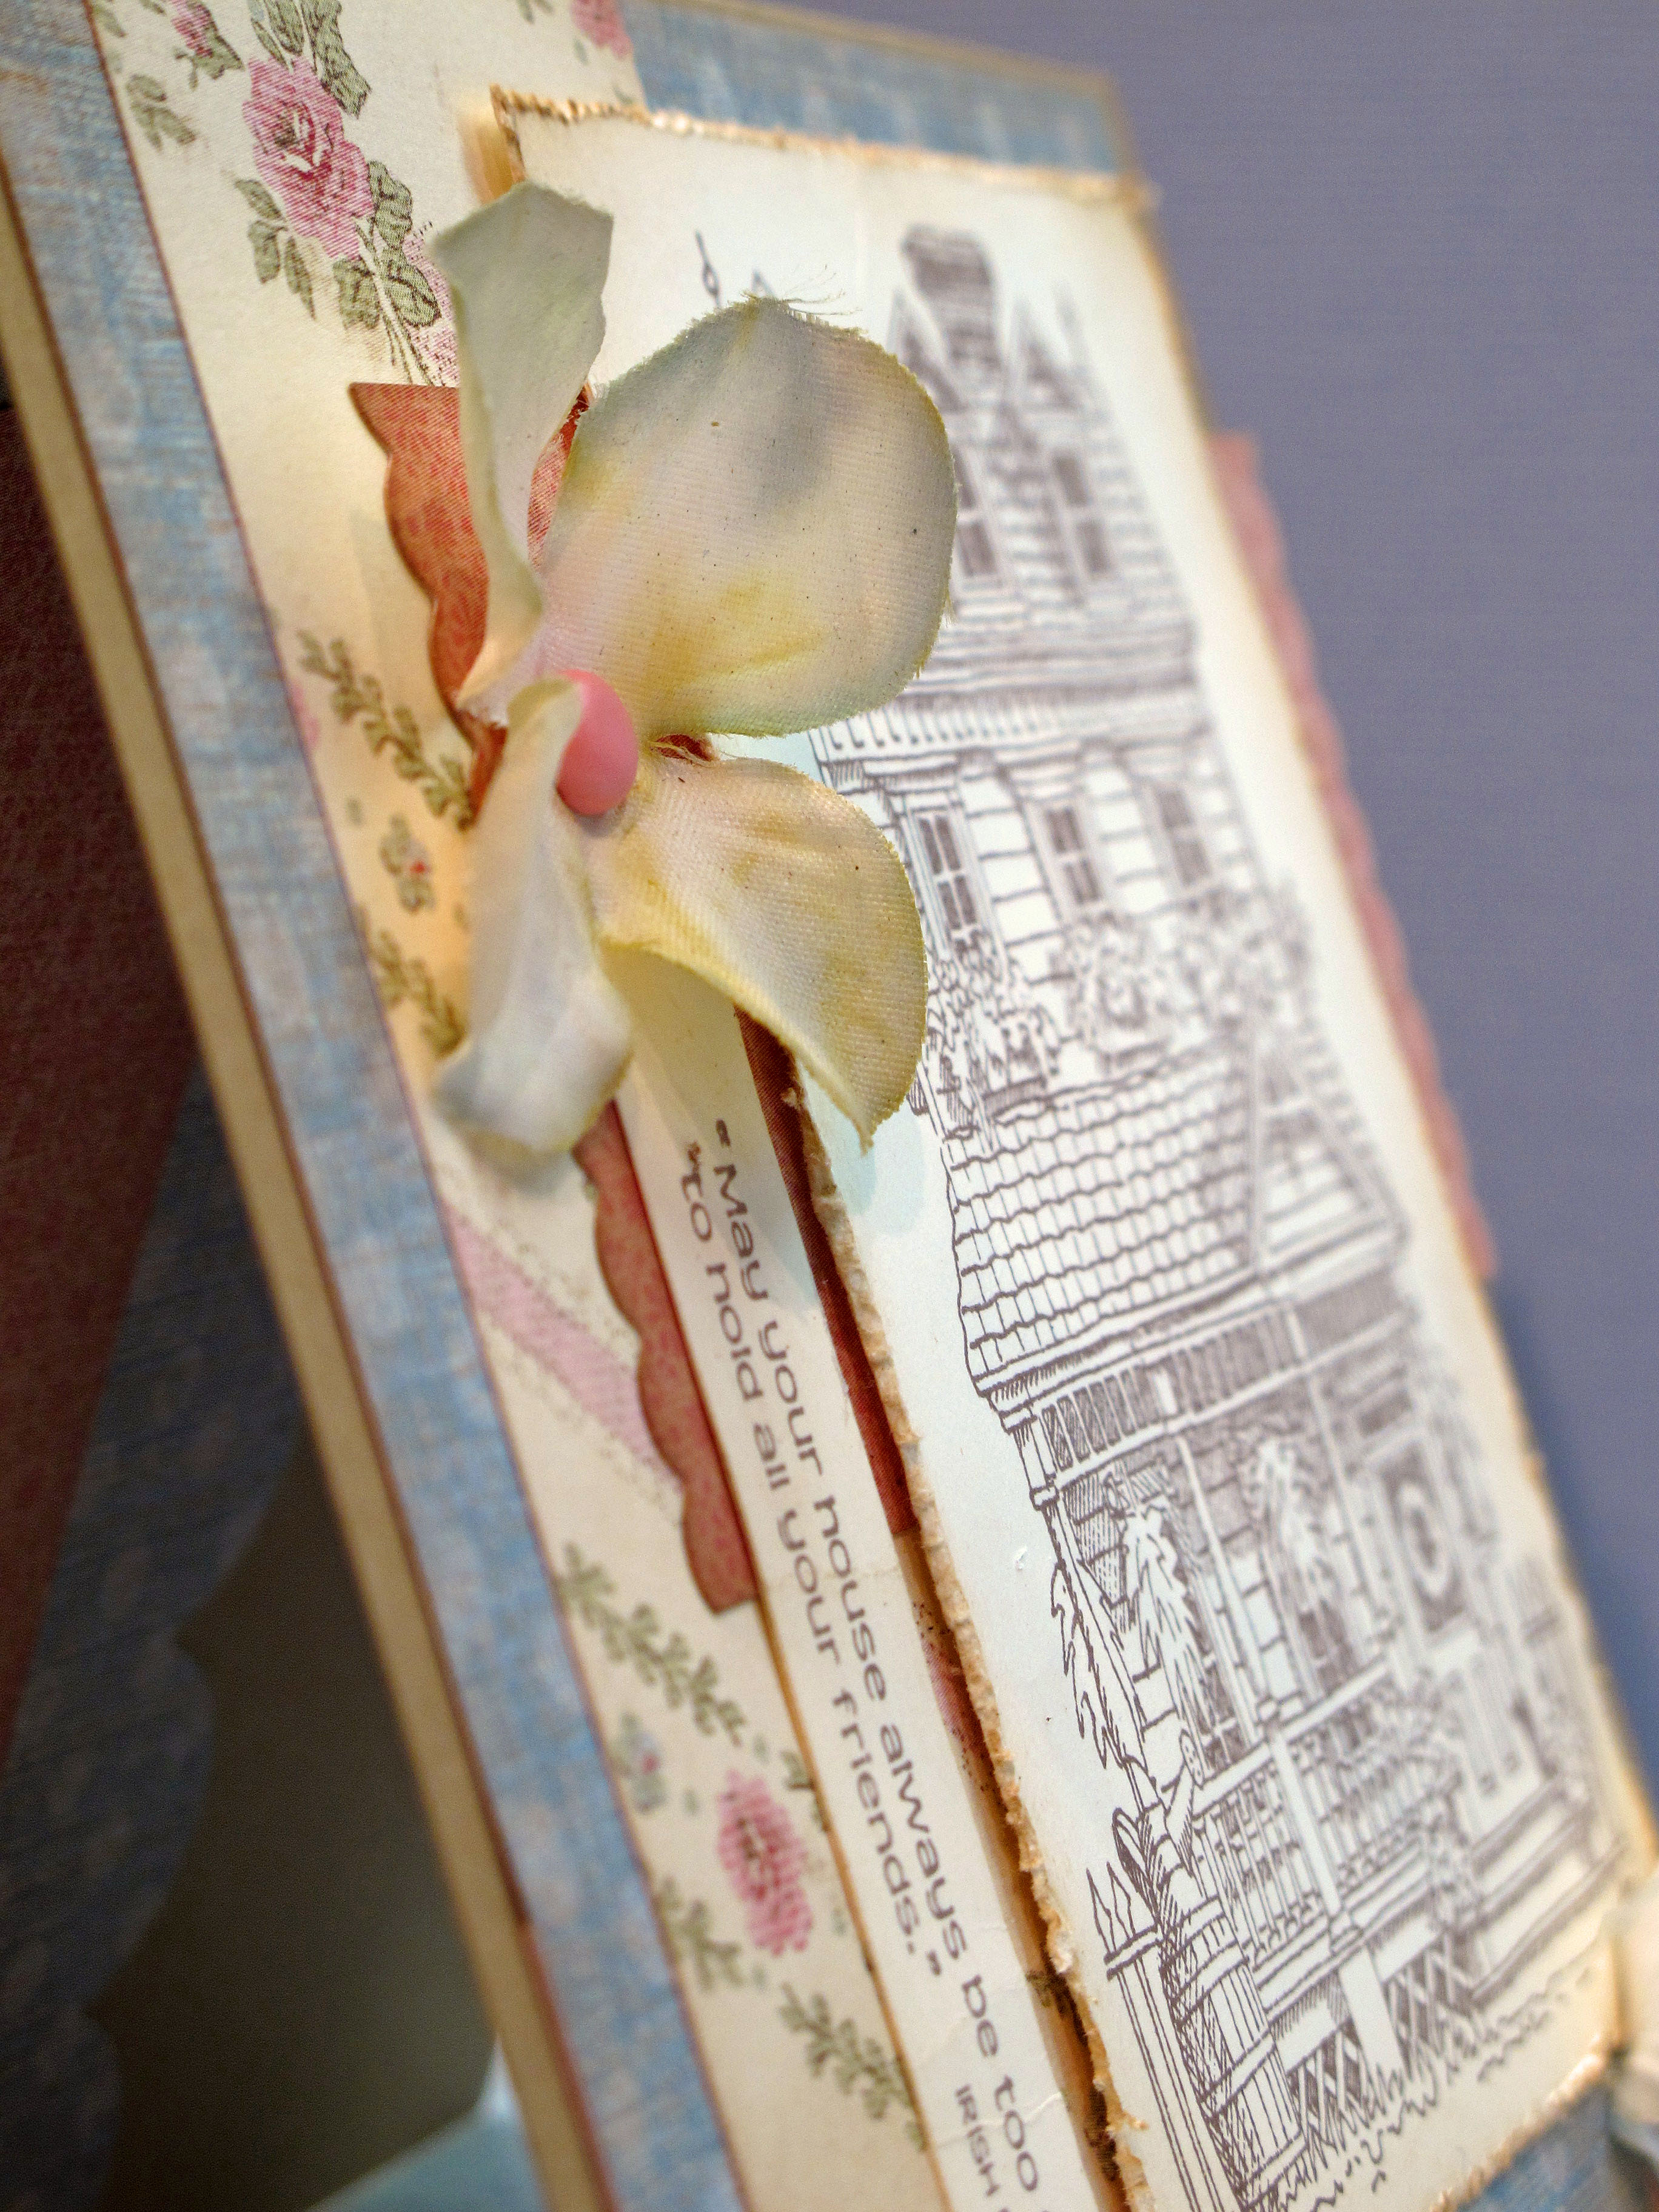
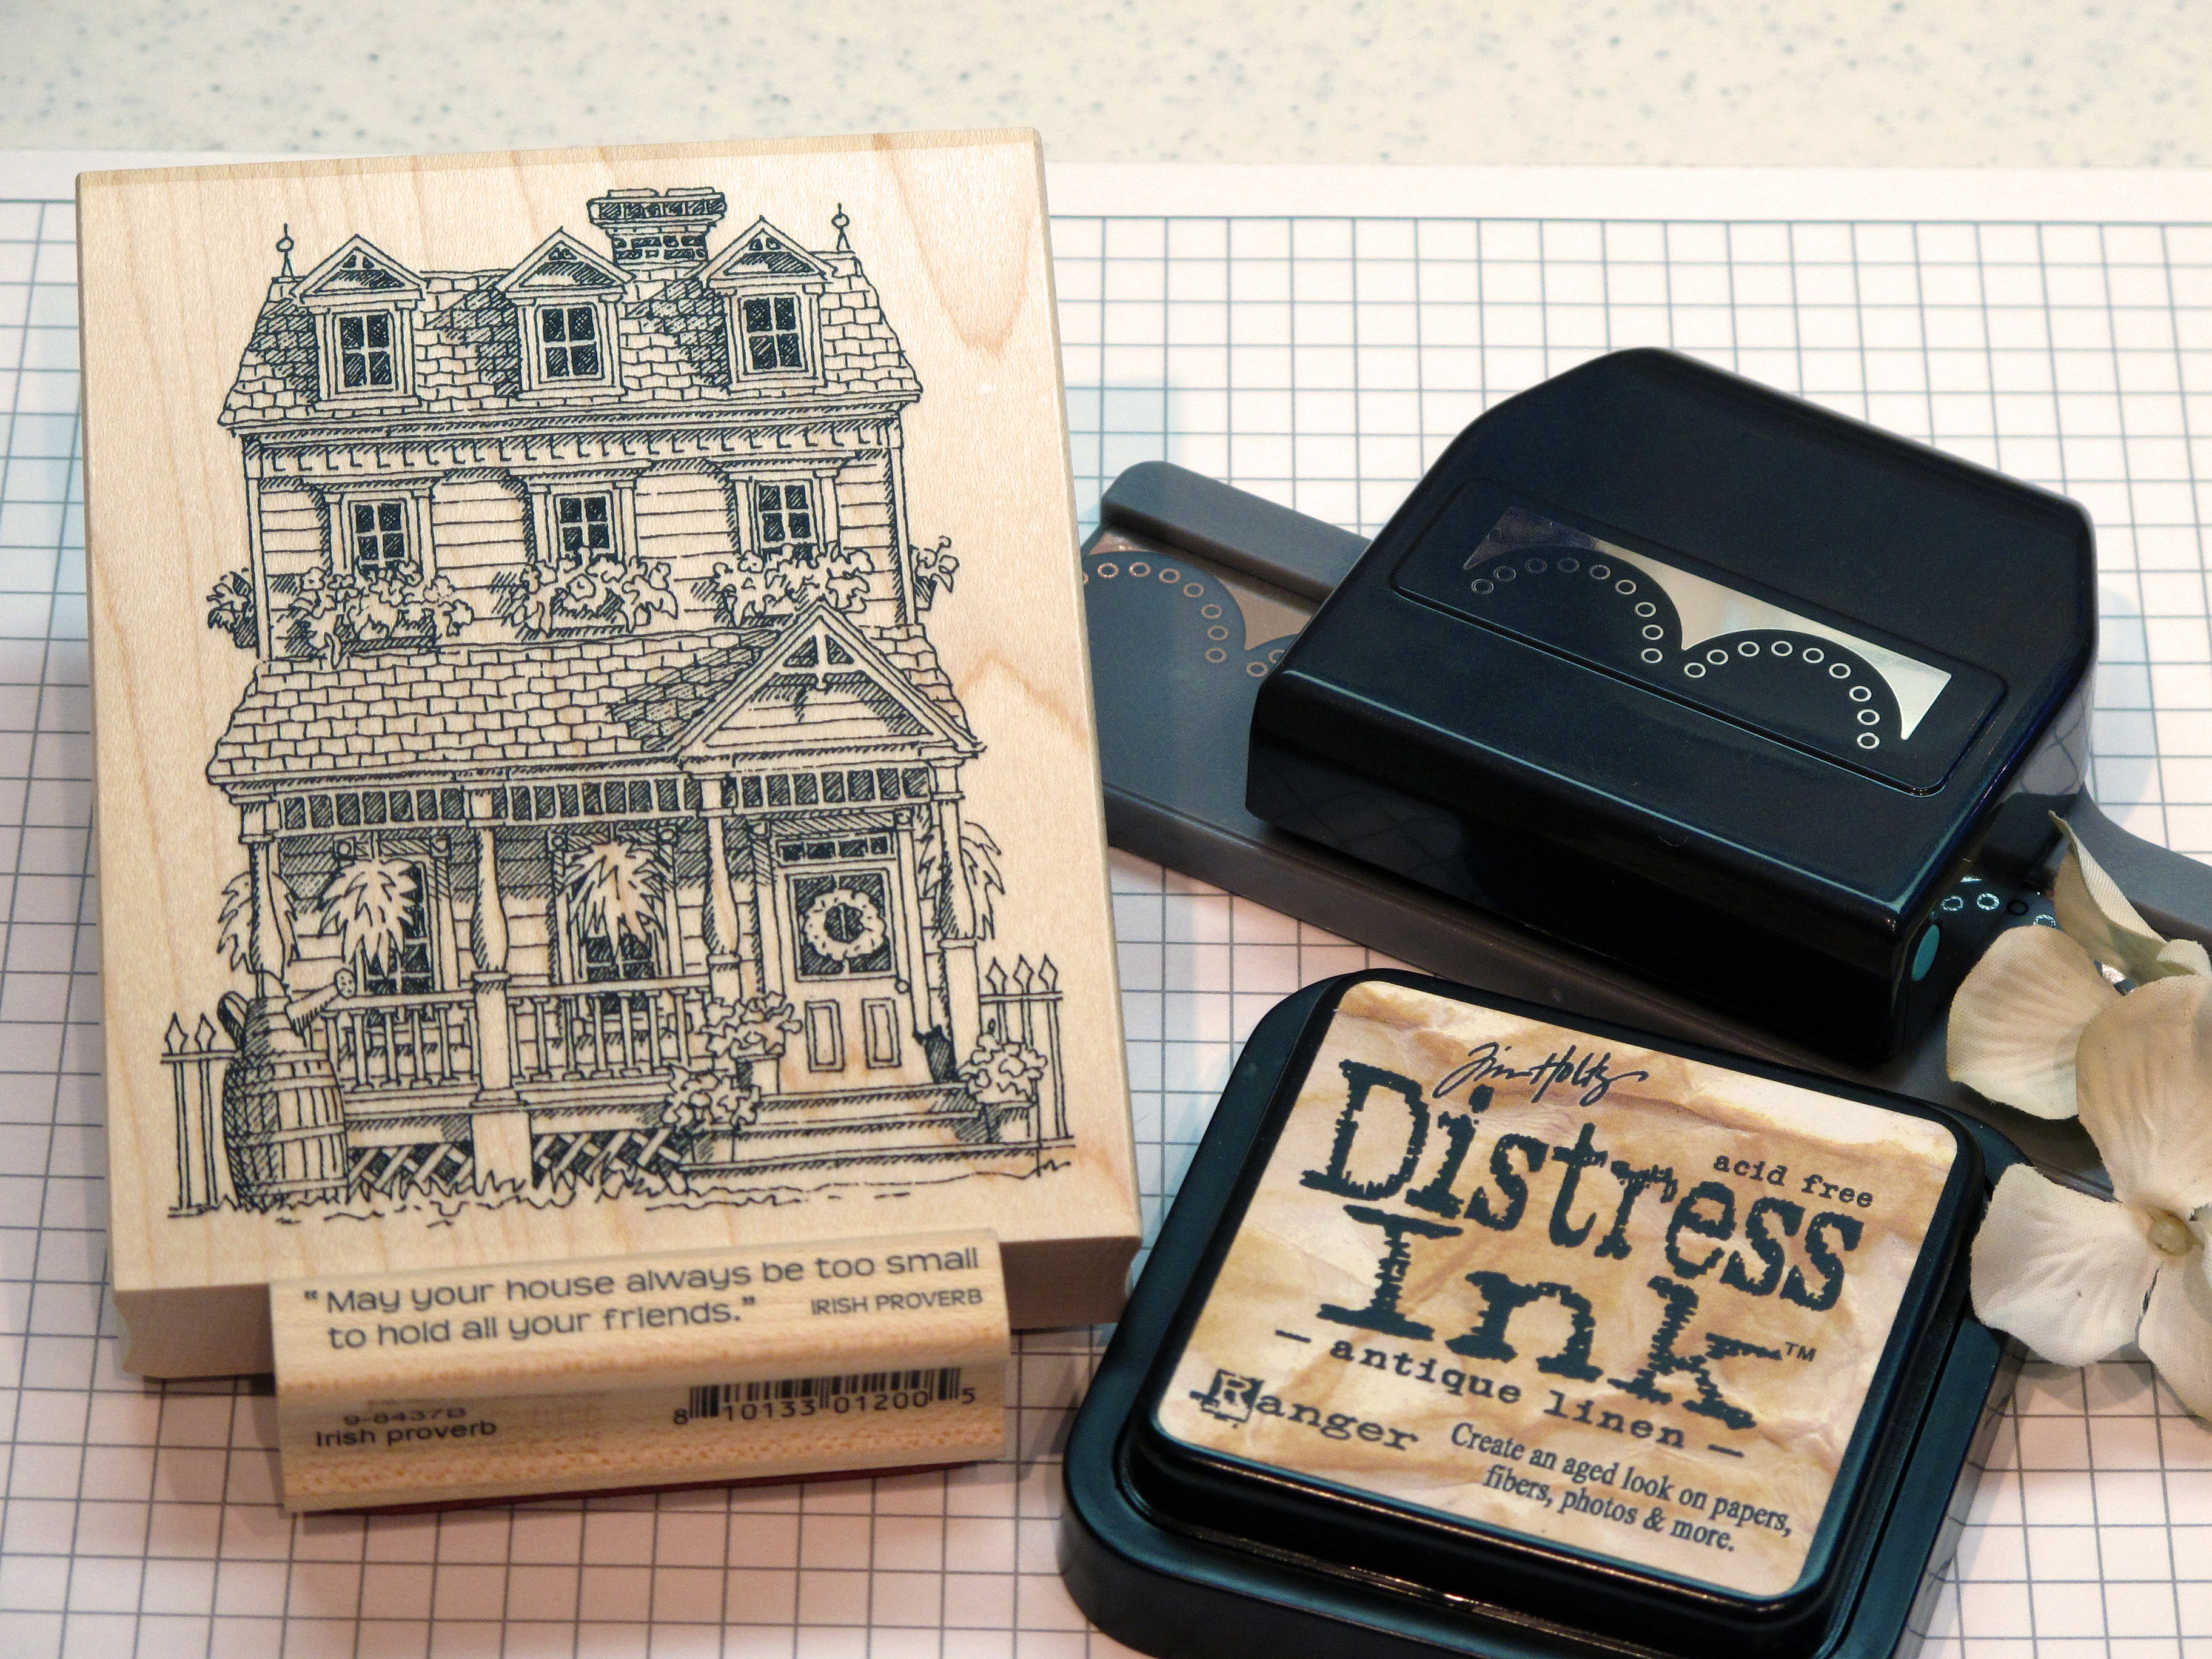
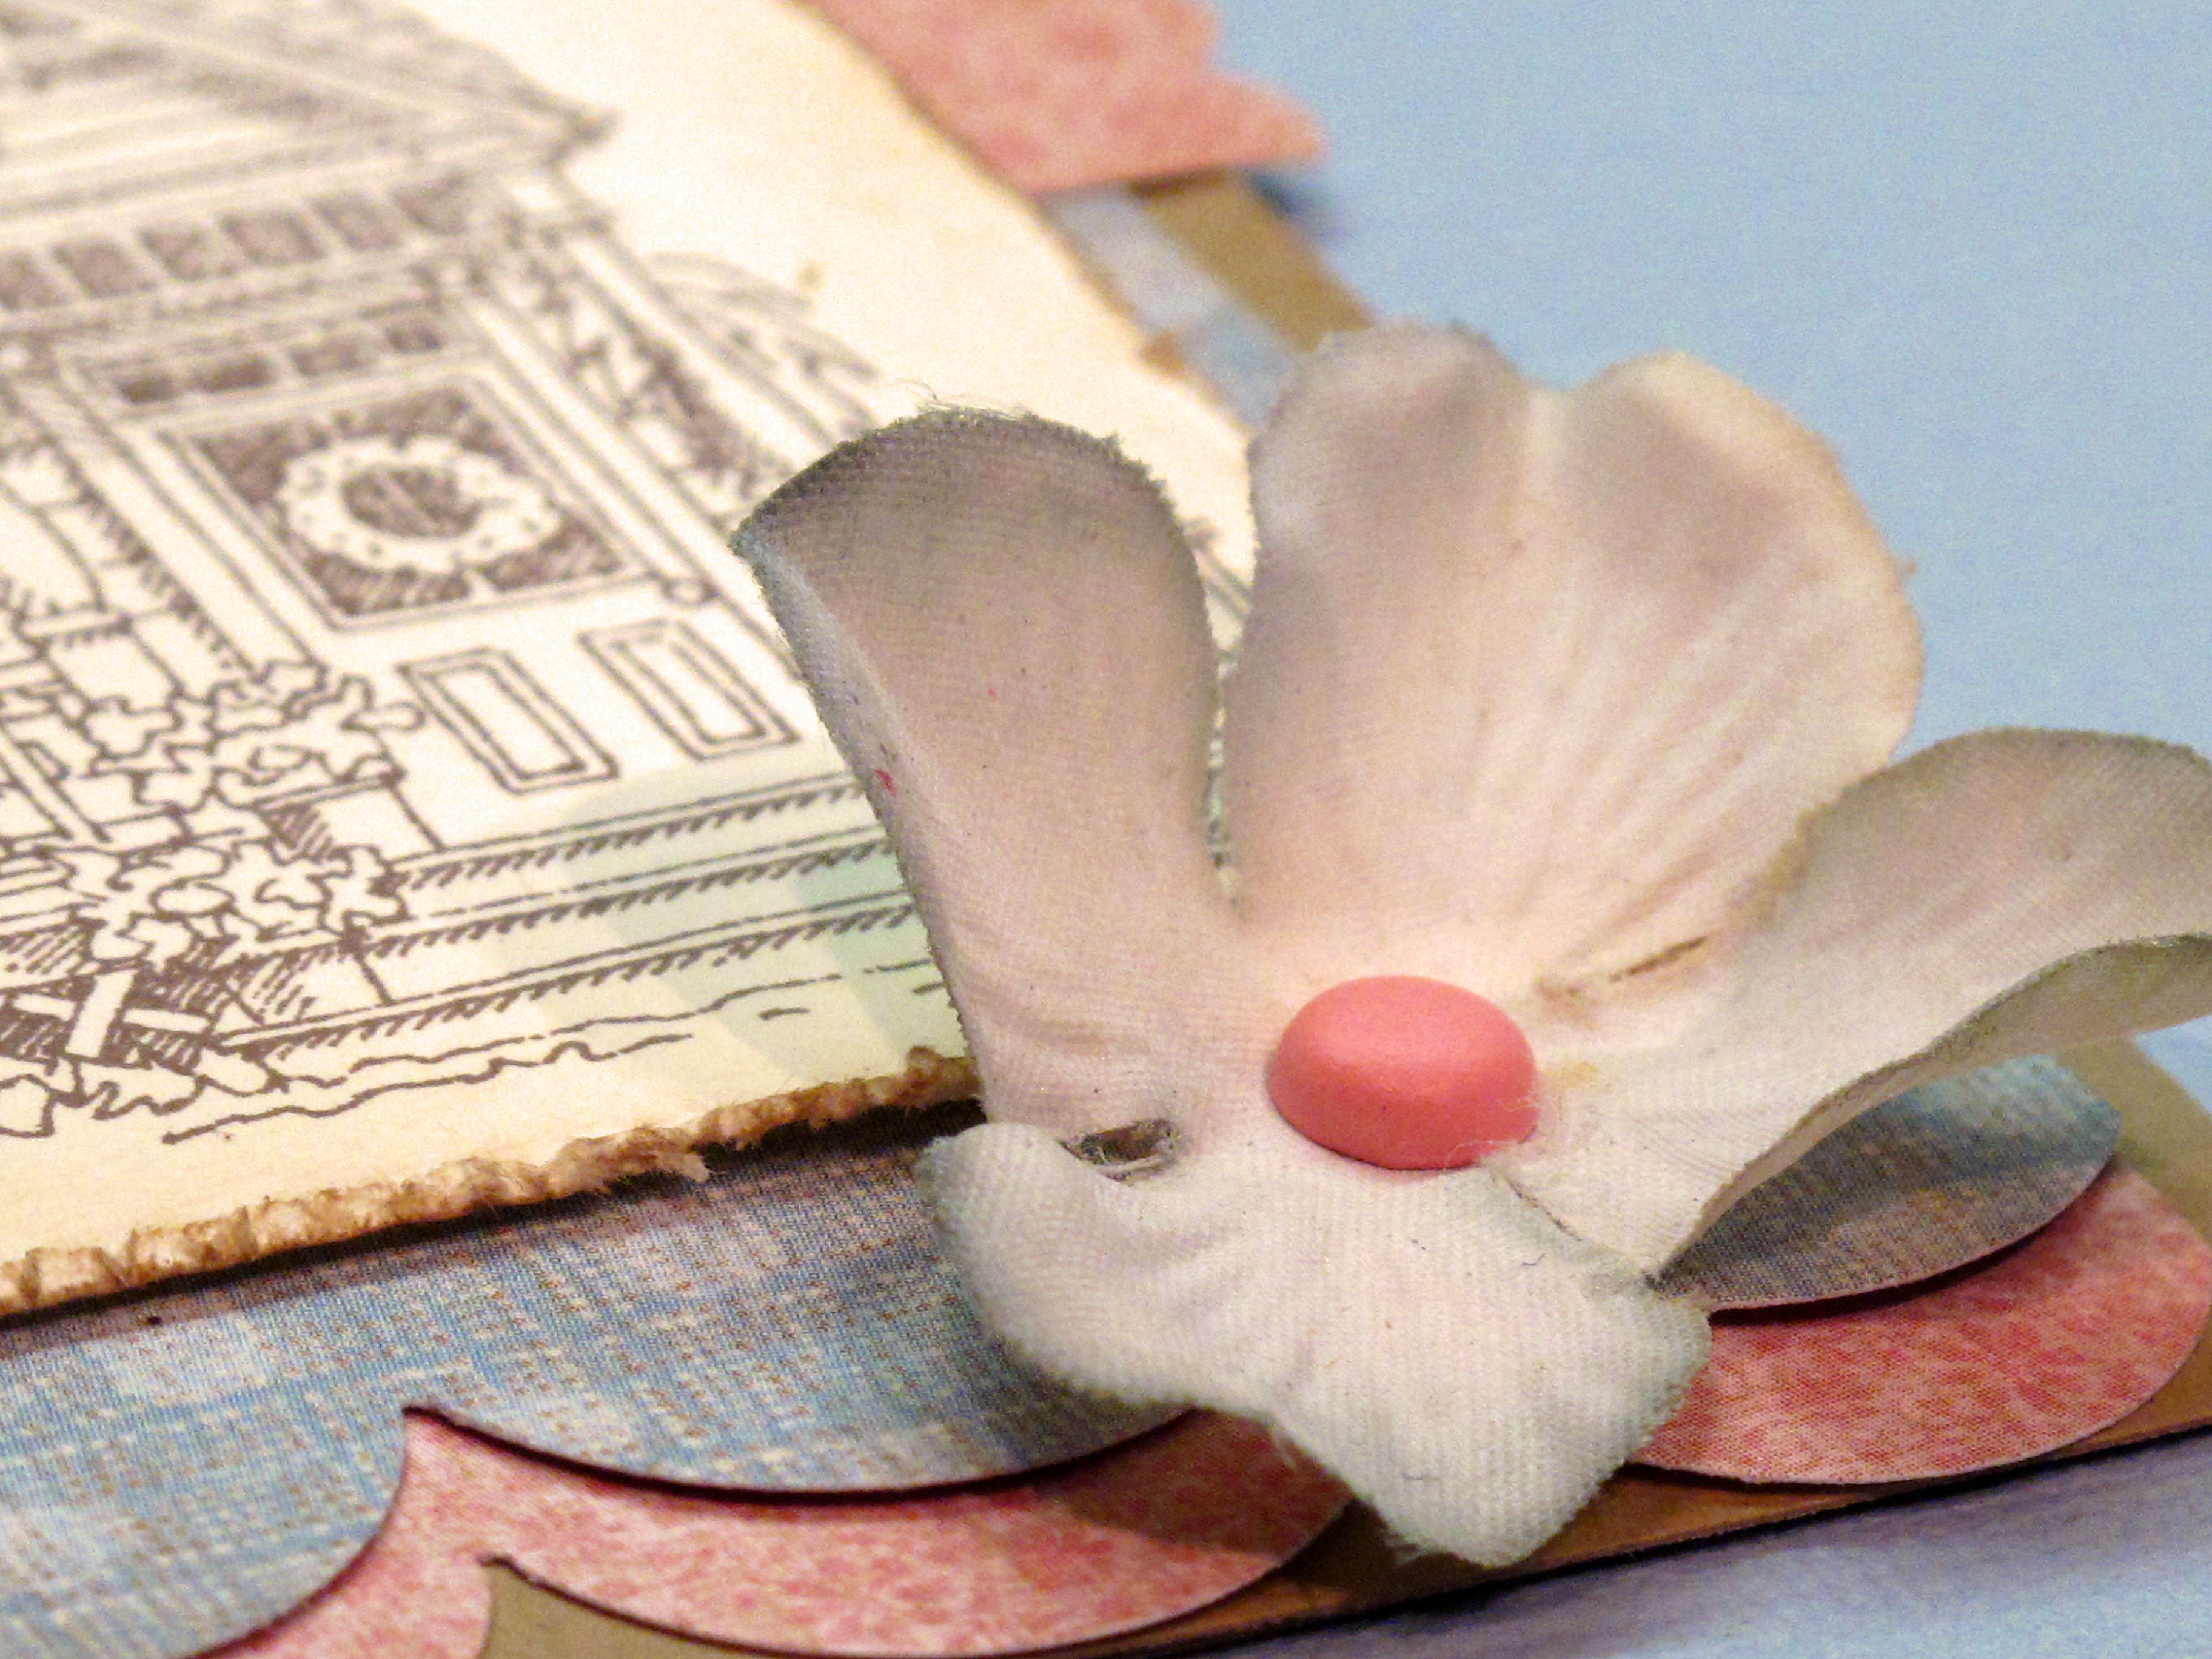
    I stamped my images in brown ink. Then I grunged up the edges of the paper with my distresser and some light brown ink. I took the image of the house and the sentiment and crumpled the paper a bit to make it less "perfect." I mounted the house with foam tape. The little flowers were part of a giant hydrangea silk flower….then I put some soft pink brads in the center. 

    IMG_1671


    IMG_1672

    I am in love with this new edge punch from EK Success!!! Giant scallop – perfection.

    IMG_1675


    IMG_1666


    IMG_1674 
       

    Before I sign off for today – I want to let you know that I probably won't be blogging this weekend. I am holding my first ever Copic Camp weekend at my house! Classes from 10-3 both days talking about Copic Marker techniques, tricks and tips. I have 14 people coming and I am really excited about it. I love to share my, um, obsession about Copics! I'm making a nice lunch and we're doing two card projects too. I taught classes for four years at one of my local stamp stores, but it's been quite some time ago. I forgot how much fun it is to get ready and teach/share with other cool, crafty women. I will take pictures and post all about it on Monday!

    Have a fantastic weekend everyone!